💕✨️Español✨️💕
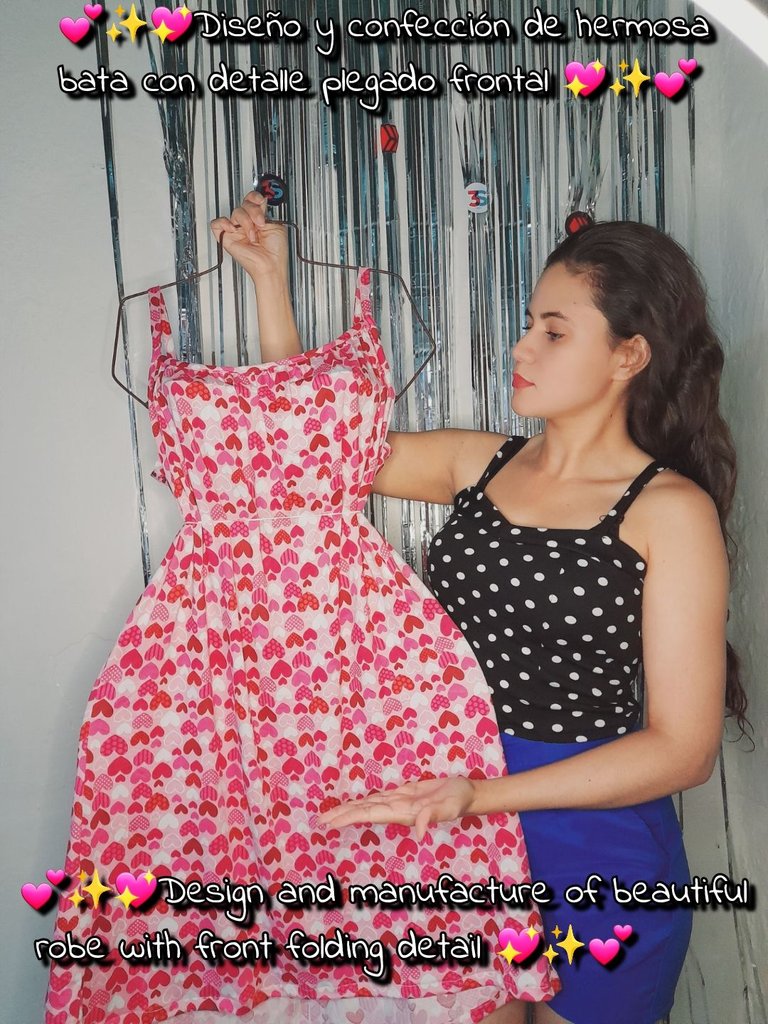
En esta ocasión quiero compartir con ustedes un tutorial dedicado al diseño y la confección de una hermosa bata con detalle plegado frontal donde paso a paso les mostraré como la hice con el fin de que también ustedes puedan realizarla desde la comodidad de su casa me encantaría que me acompañaran en todos y cada uno de los pasos a seguir a continuación.Hola hola mi gente linda de hive muy buenas noches para todos queridos amigos espero que todos se encuentren muy bien disfrutando de la noche ❤️ saludos para todos en esta creativa e ingeniosa comunidad de #Diy donde día a día somos testigos del ingenio y la creatividad de todas las personas que hacen vida acá.
✨️Estos fueron los materiales que use✨️
• Máquina de coser
• Tijera
• Hilo de coser
• Tela
• Prenda de medida
💖✨️Pasos✨️💖
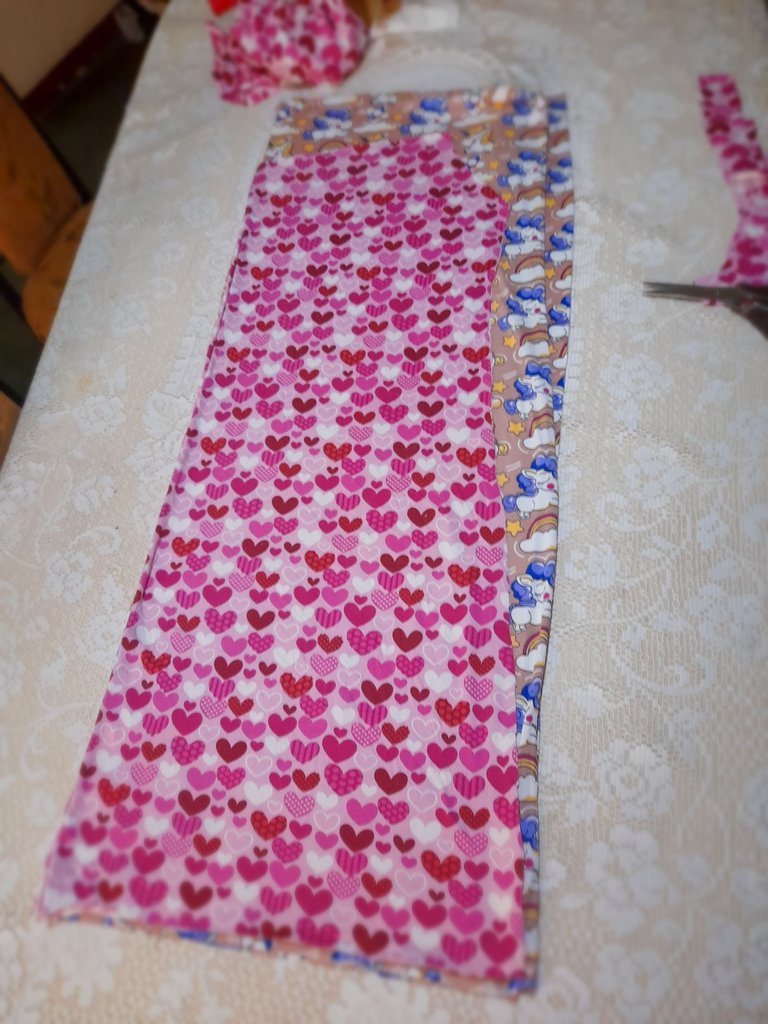
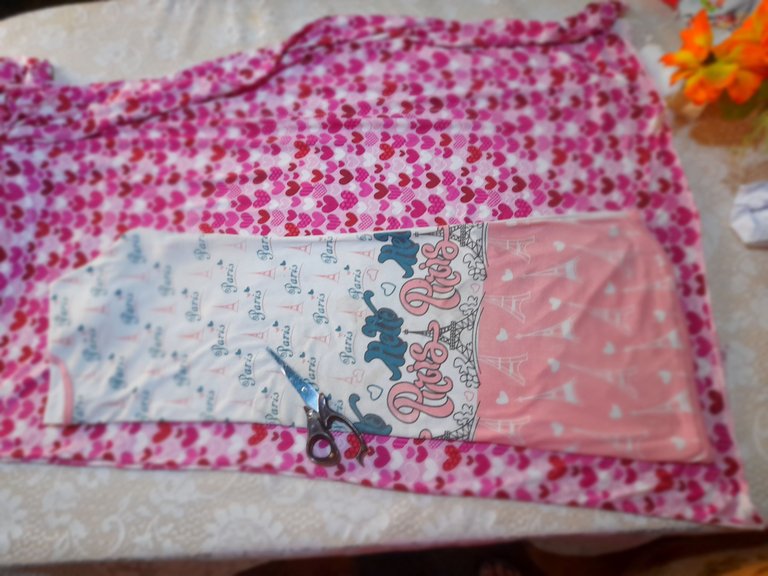
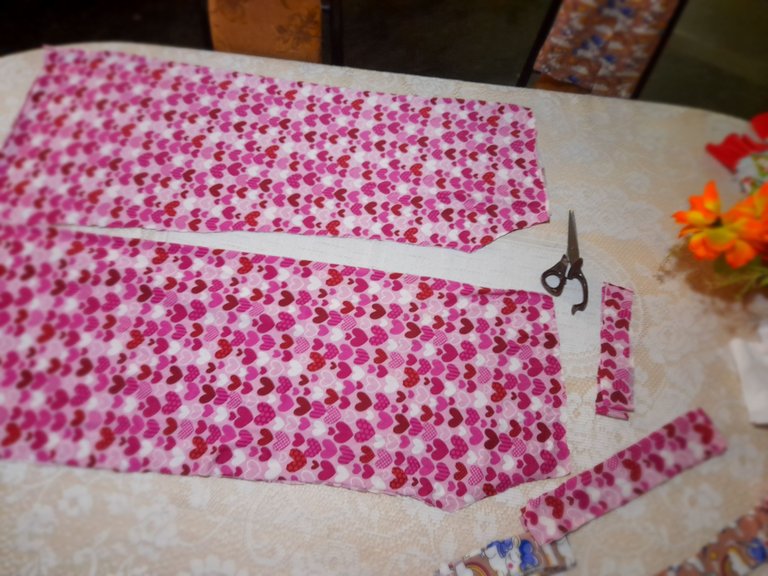
•✨️Cómo primer paso voy a cortar todas las piezas de mi bata siendo estas una pieza delantera, dos piezas traseras, dos orillas superiores y dos tiros haciendo uso de una prenda de medida como método de referencia.
 |  |  |
|---|
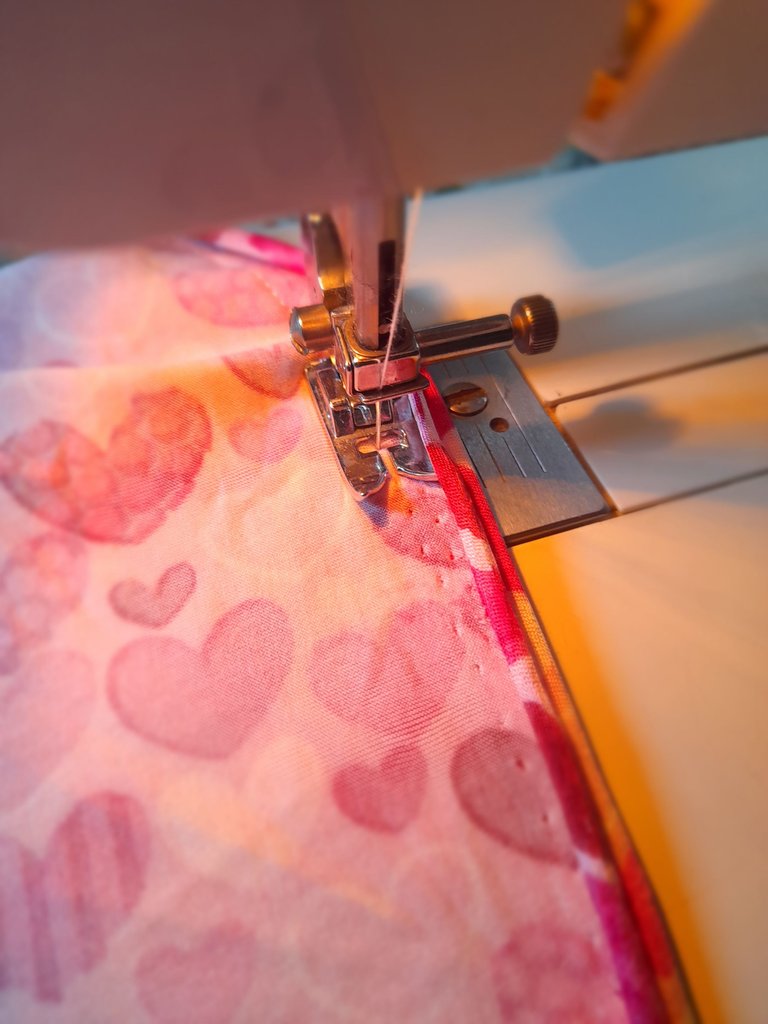
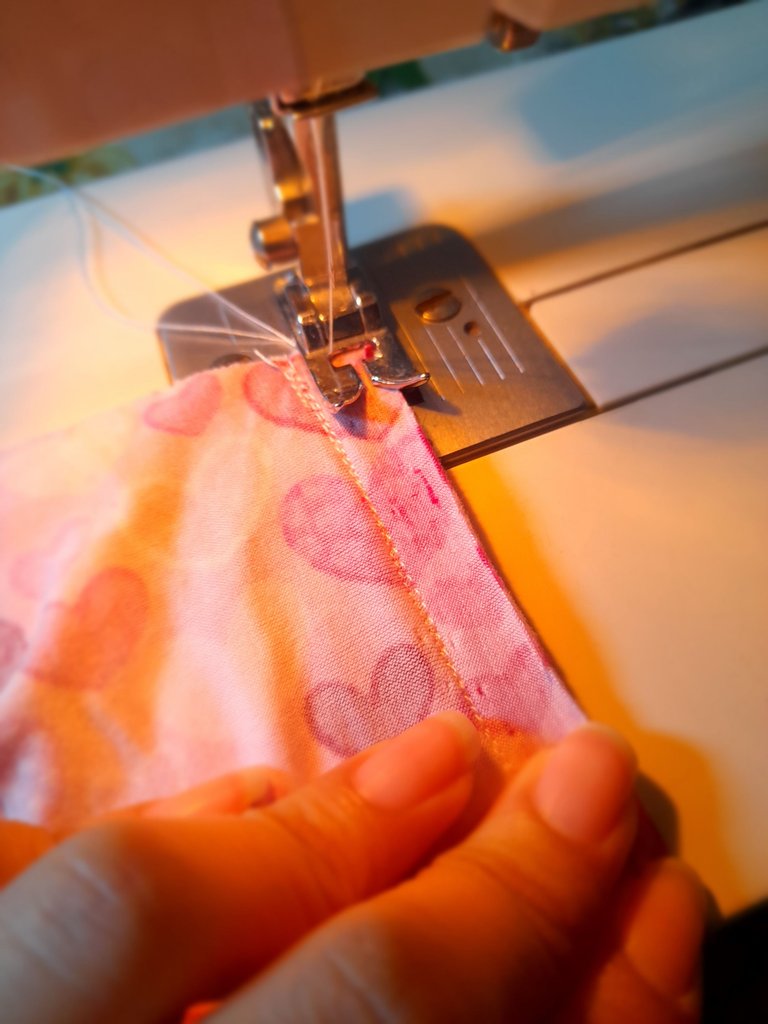
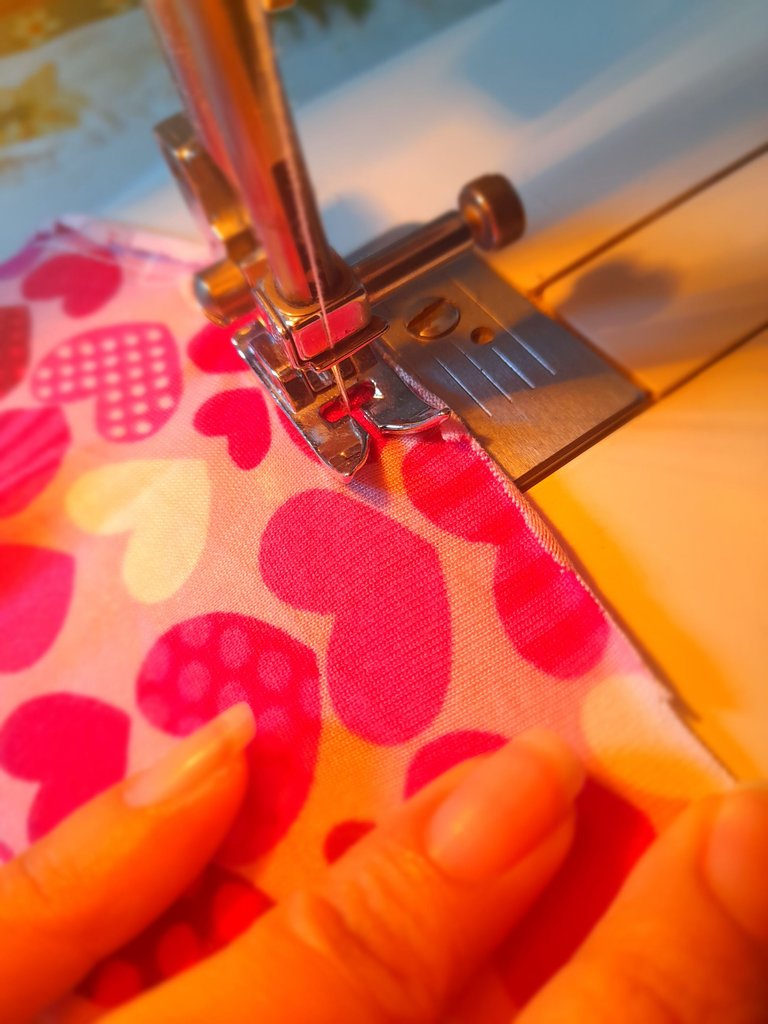
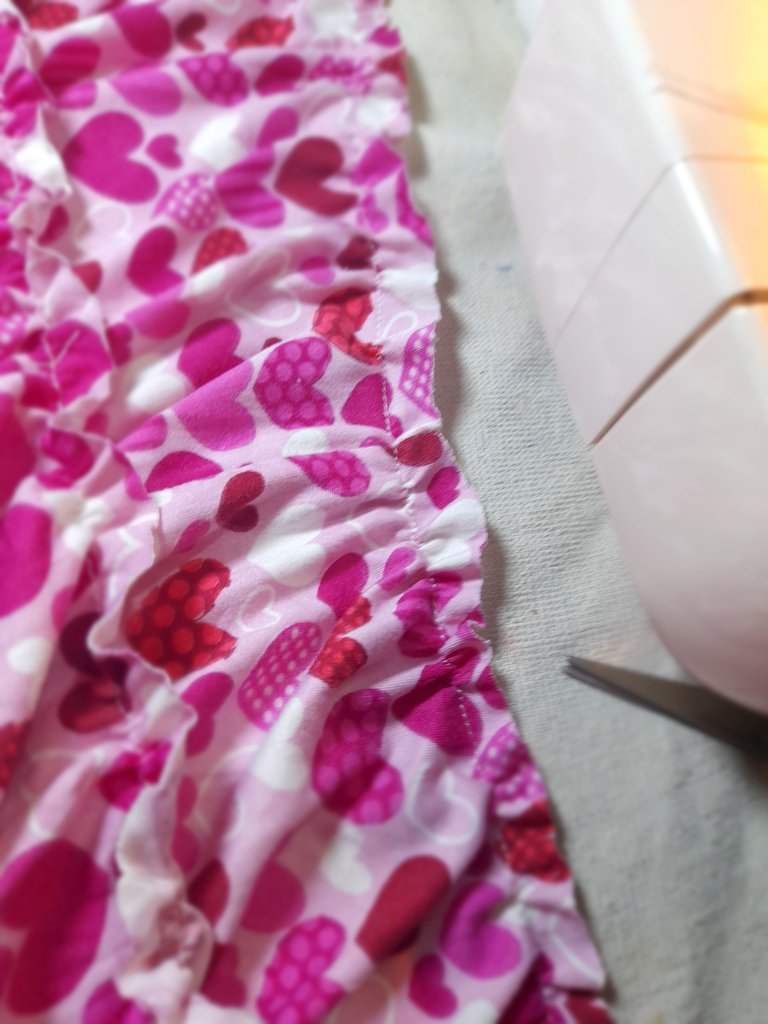
•✨️Luego continúo uniendo ambas piezas traseras con una costura recta y zigzag para asegurar y para crear mis pliegues superiores voy hacer una costura recta superior con una puntada ancha y la tensión de la costura un poco floja con el propósito de jalar uno de los hilos e ir haciendo los pliegues luego una vez hecho esto voy a coser una costura recta para evitar que se deshagan mis pliegues y hacer ese seguro.
 |  |
|---|---|
 |  |
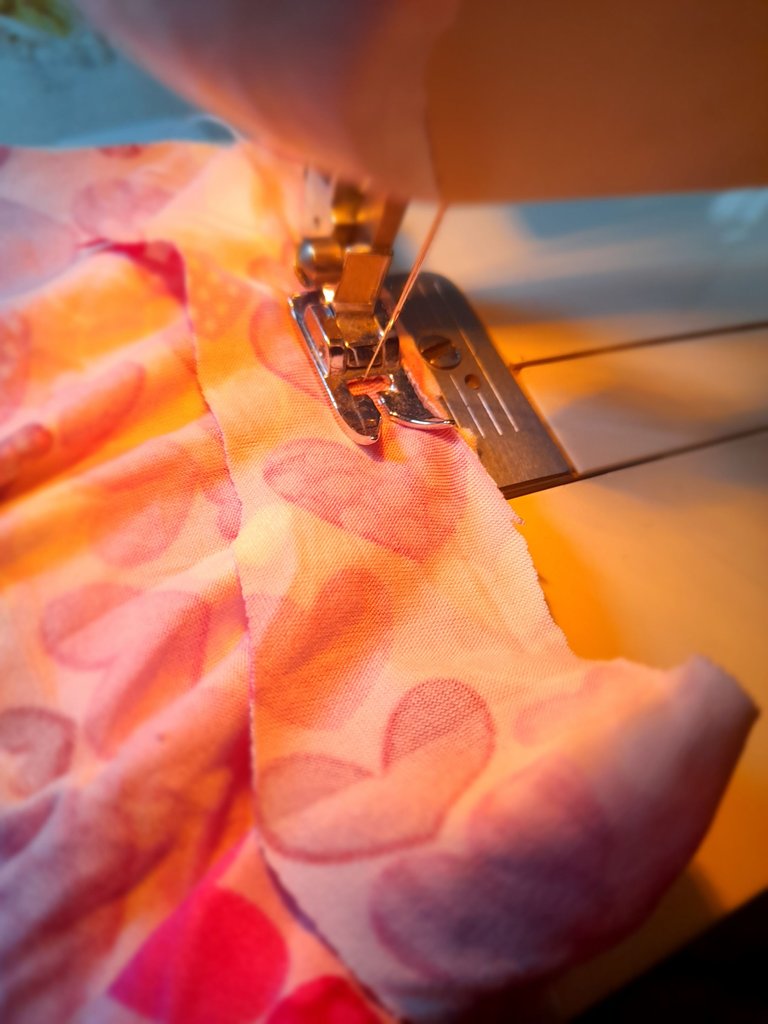
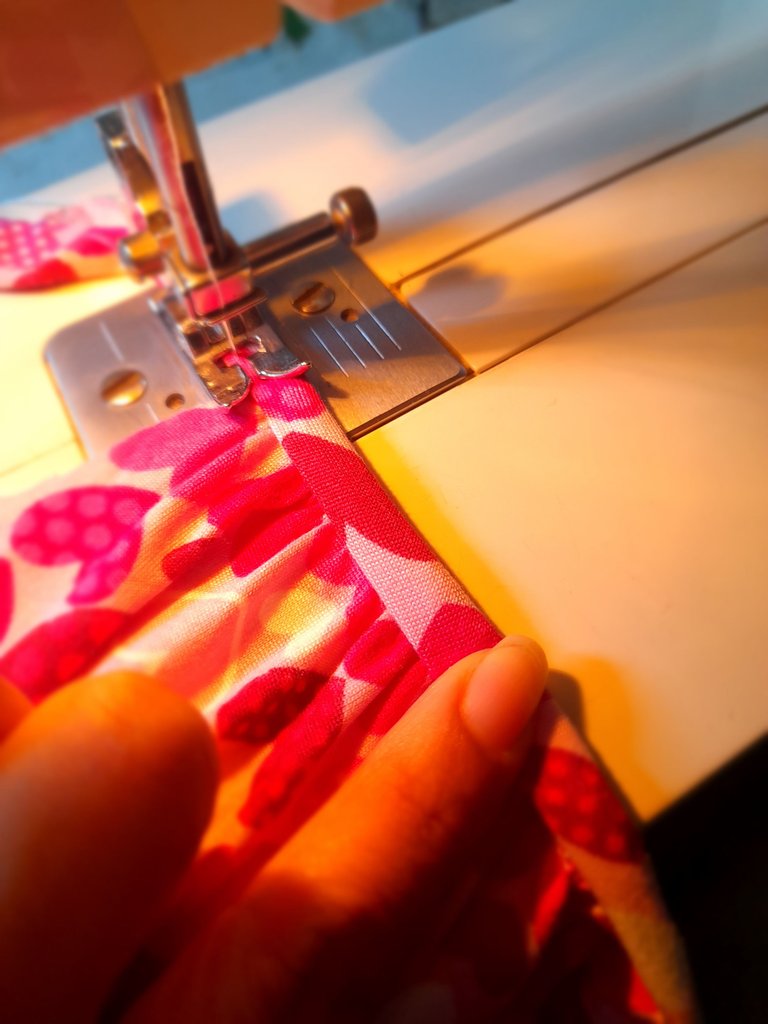
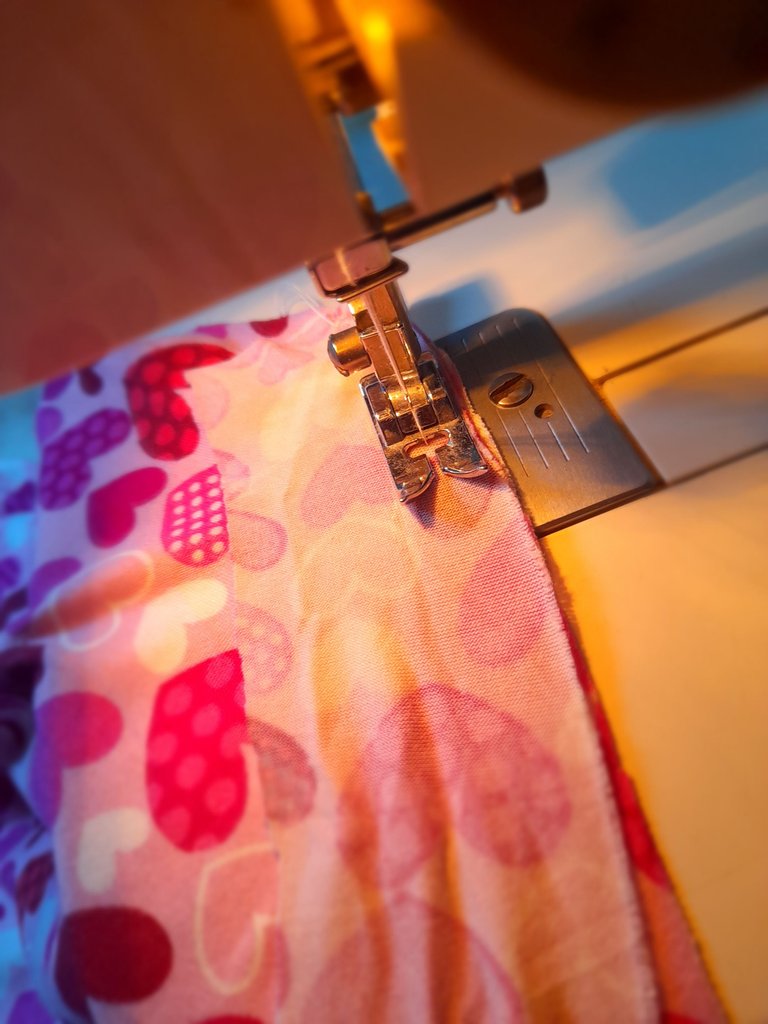
•✨️Luego voy a coser la orilla superior primero colocando esta en el lado reverso de la tela y cosiendo con costura recta para luego voltear y doblar y coser con costura recta nuevamente luego continúo cosiendo los tiros colocandolos por el lado derecho de la tela y cosiendo con costura recta.
 |  |  |
|---|
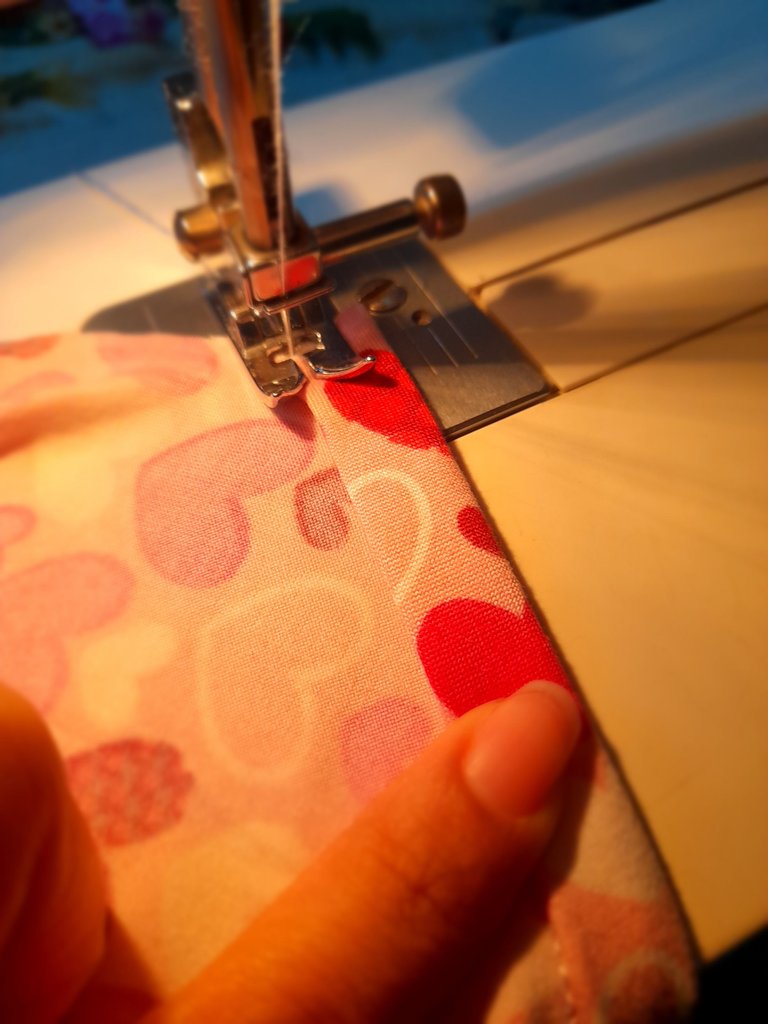
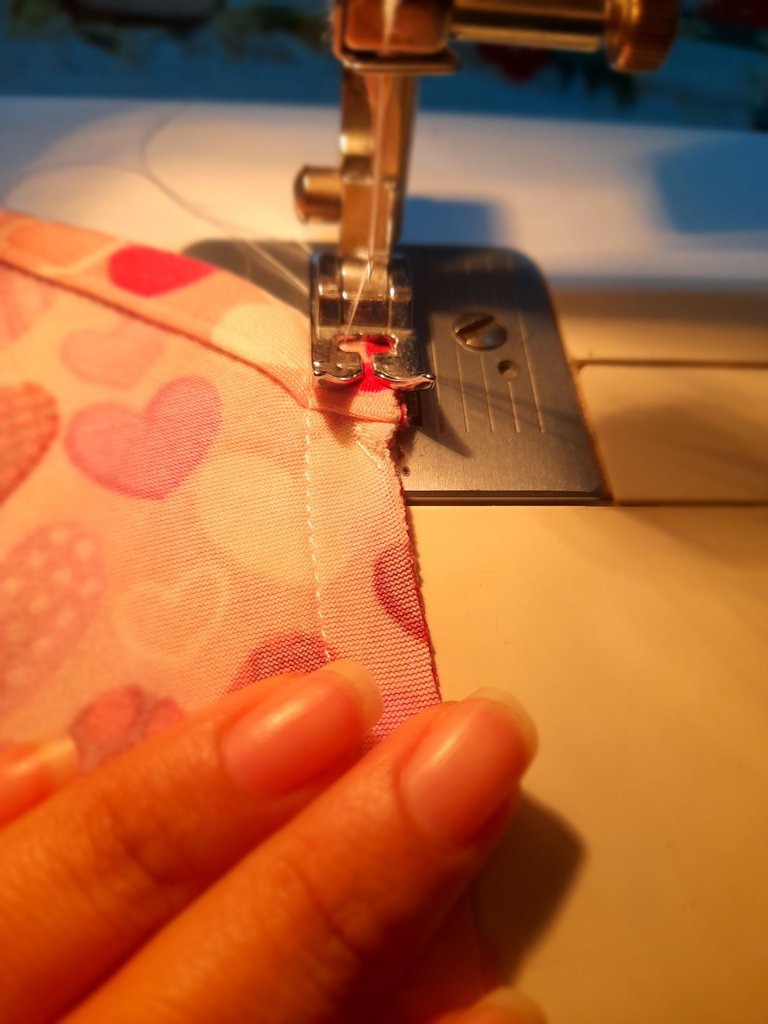
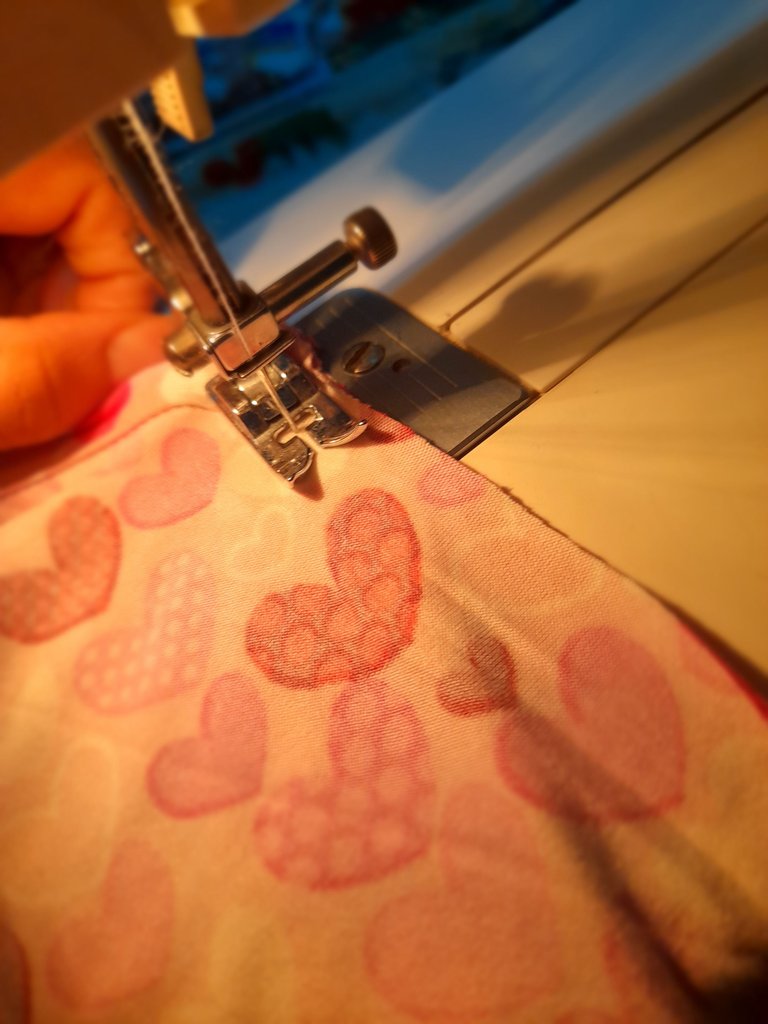
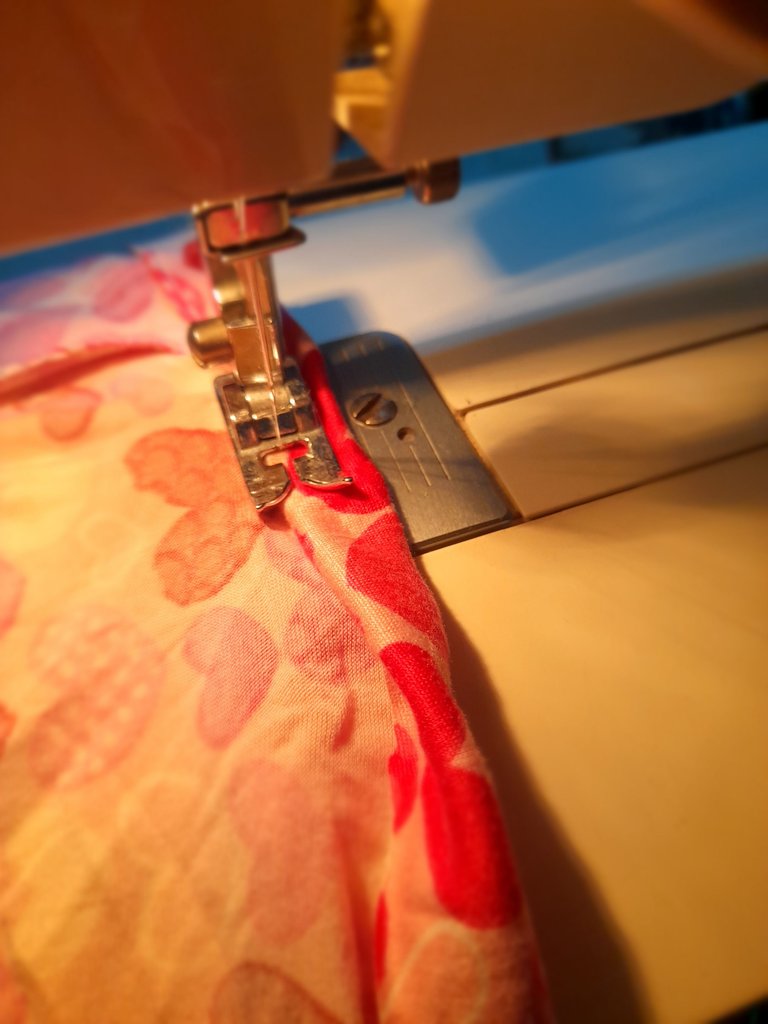
•✨️Voy a doblar los tiros y voy a coser con costura recta y continúo cosiendo los extremos de la pieza con una costura recta y zigzag para asegurar imitando de esta manera un falso overlock luego para terminar mi prenda voy a coser con costura recta el ruedo doblando la tela y cosiendo de esta manera.
 |  |
|---|---|
 |  |
💕✨️Resultados✨️💕
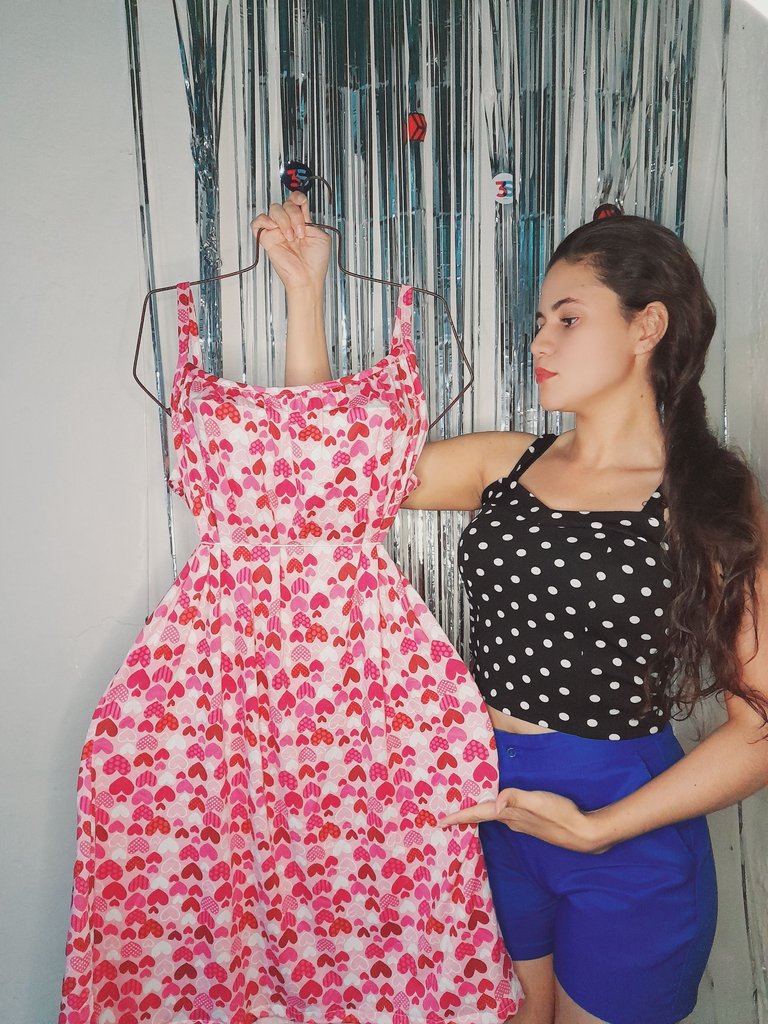
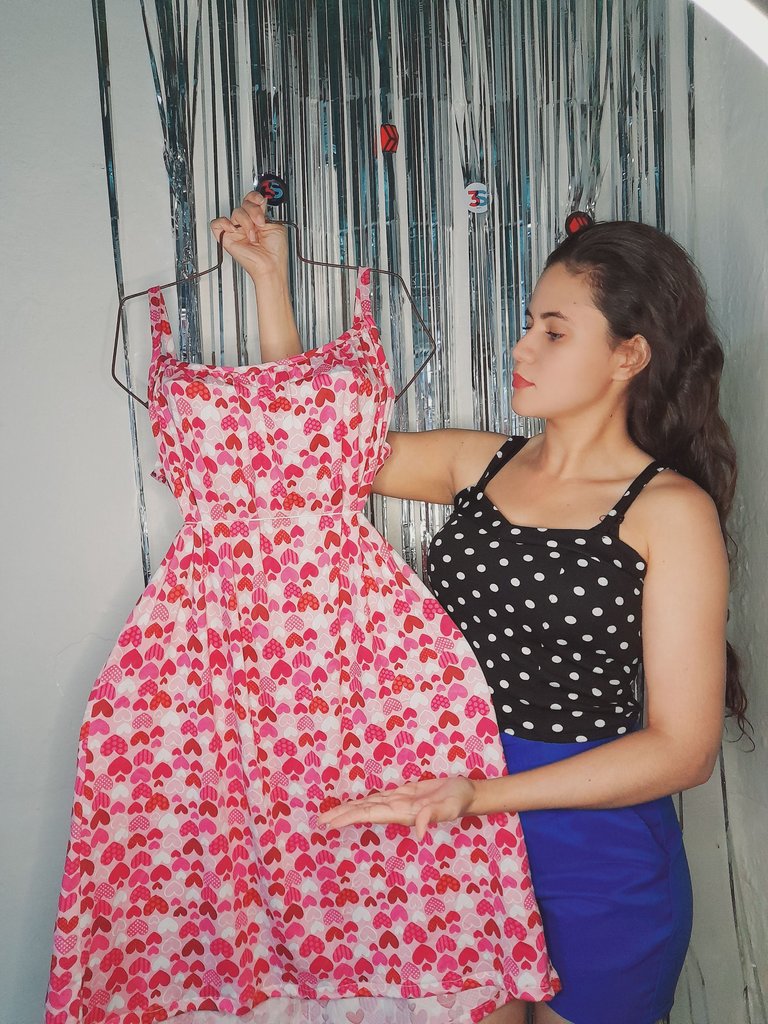
Este es un diseño muy sencillo y lindo sobre todo fácil de realizar el cual puede convertirse en una prenda de obsequio para un ser querido también puede convertirse en una forma de emprendimiento ya que estas pijamas son muy lindas y cómodas por la calidad de la tela ya que al ser una tela de piel de durazno es muy delicada y suave al tacto. Me alegra mucho haber estado acá compartiendo con todos ustedes algo nuevo la noche de hoy y haber compartido estos tips y conocimientos de corte y confección espero sean de gran utilidad para todos ustedes espero de todo corazón les haya gustado mi post y mi pequeño aporte para la comunidad ❤️ un abrazo enorme espero tengan una bendecida noche.
💕✨️English✨️💕
 Hello hello my beautiful hive people, good night to all dear friends, I hope you are all well enjoying the night ❤️ greetings to everyone in this creative and ingenious #DIY community where day by day we witness the ingenuity and creativity of all the people who live here. On this occasion I want to share with you a tutorial dedicated to the design and making of a beautiful robe with a front folded detail where step by step I will show you how I made it so that you can also make it from the comfort of your home. I would love it if you They will accompany me in each and every one of the steps to follow below.
✨️These were the materials I used✨️
• Sewing machine
• Scissors
• Sewing thread
• Fabric
• Measurement garment
💖✨️Steps✨️💖
•✨️As a first step, I am going to cut all the pieces of my robe, these being a front piece, two back pieces, two upper edges and two edges, using a garment measurement as a reference method.
 |  |  |
|---|
•✨️Then I continue joining both back pieces with a straight and zigzag seam to secure and to create my top folds I am going to make a straight top seam with a wide stitch and the tension of the seam a little loose in order to pull one of the threads and make the folds then once this is done I am going to sew a straight seam to prevent my folds from unraveling and to make that insurance.
 |  |
|---|---|
 |  |
•✨️Then I am going to sew the upper edge first, placing it on the wrong side of the fabric and sewing with a straight seam and then turn and fold and sew with a straight seam again, then I continue sewing the shots, placing them on the right side of the fabric and sewing with straight seam.
 |  |  |
|---|
•✨️I am going to double the shots and I am going to sew with a straight seam and I continue sewing the ends of the piece with a straight and zigzag seam to ensure, thus imitating a false overlock, then to finish my garment I am going to sew the hem with a straight seam folding the fabric and sewing this way.
 |  |
|---|---|
 |  |
💕✨️Results✨️💕


This is a very simple and cute design, especially easy to make, which can become a gift item for a loved one. It can also become a form of entrepreneurship since these pajamas are very cute and comfortable due to the quality of the fabric. which, being a peach skin fabric, is very delicate and soft to the touch. I am very happy to have been here sharing with you all something new tonight and to have shared these tips and knowledge of cutting and sewing. I hope they are very useful for all of you. I hope with all my heart that you liked my post and my small contribution to the community ❤️ a huge hug I hope you have a blessed night.
💁♀️Todas las fotografías son de mi autoría capturadas con mi Samsung Galaxy A12 y editadas en GridArt.
El texto y resumen es totalmente de mi autoría.
Texto traducido en el traductor Google.💁♀️
💁♀️All the photographs are my own, captured with my Samsung Galaxy A12 and edited in GridArt.
The text and summary is entirely my own.
Translated text in Google translator.💁♀️
What a beautiful design! It is so charming, elegant, and stylish. Love it. It shows your skills. Thank you for sharing this. Keep it up!
Excelente trabajo. El color está muy llamativo