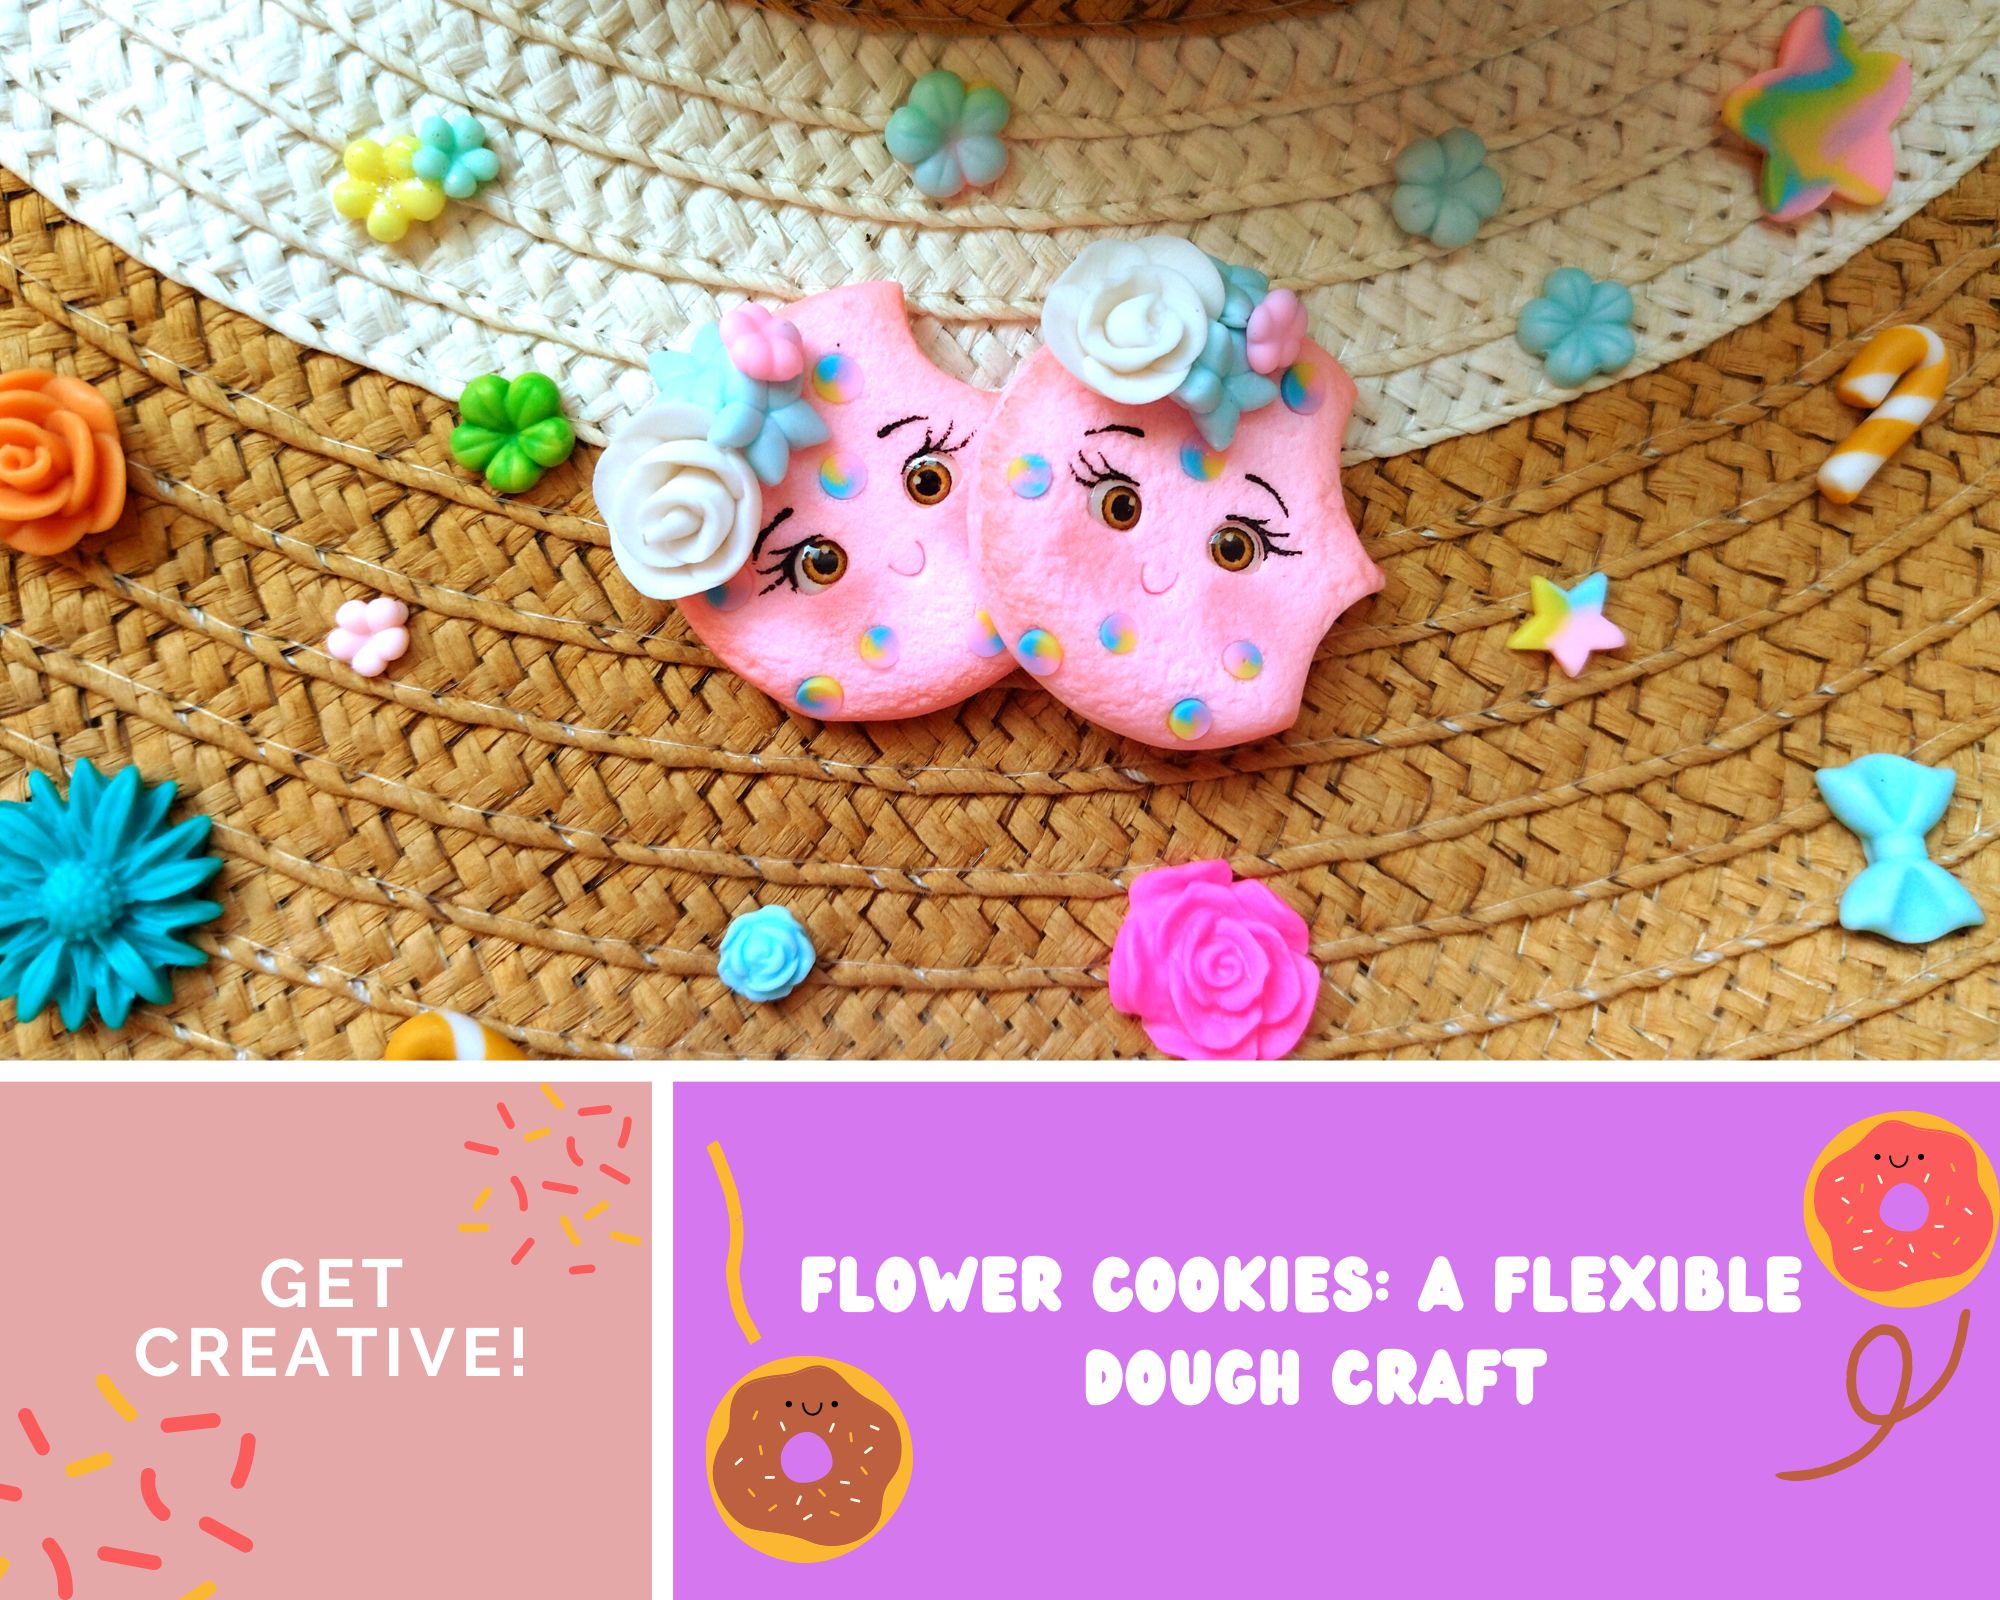
Hola queridos amigos súper creativos de esta bella comunidad de Hive Diy , espero que se encuentre muy bien. Hoy quiero compartir con ustedes el paso a paso para realizar estas hermosas galletitas florales con masa flexible, espero que les guste😁❤️.
Hello dear super creative friends of this beautiful Hive Diy community, I hope you are doing well. Today I want to share with you the step by step to make these beautiful floral cookies with flexible dough, I hope you like it😁❤️.
.jpg)
Materiales // Materials

.jpg)
Cómo se realiza❓// How is it done❓
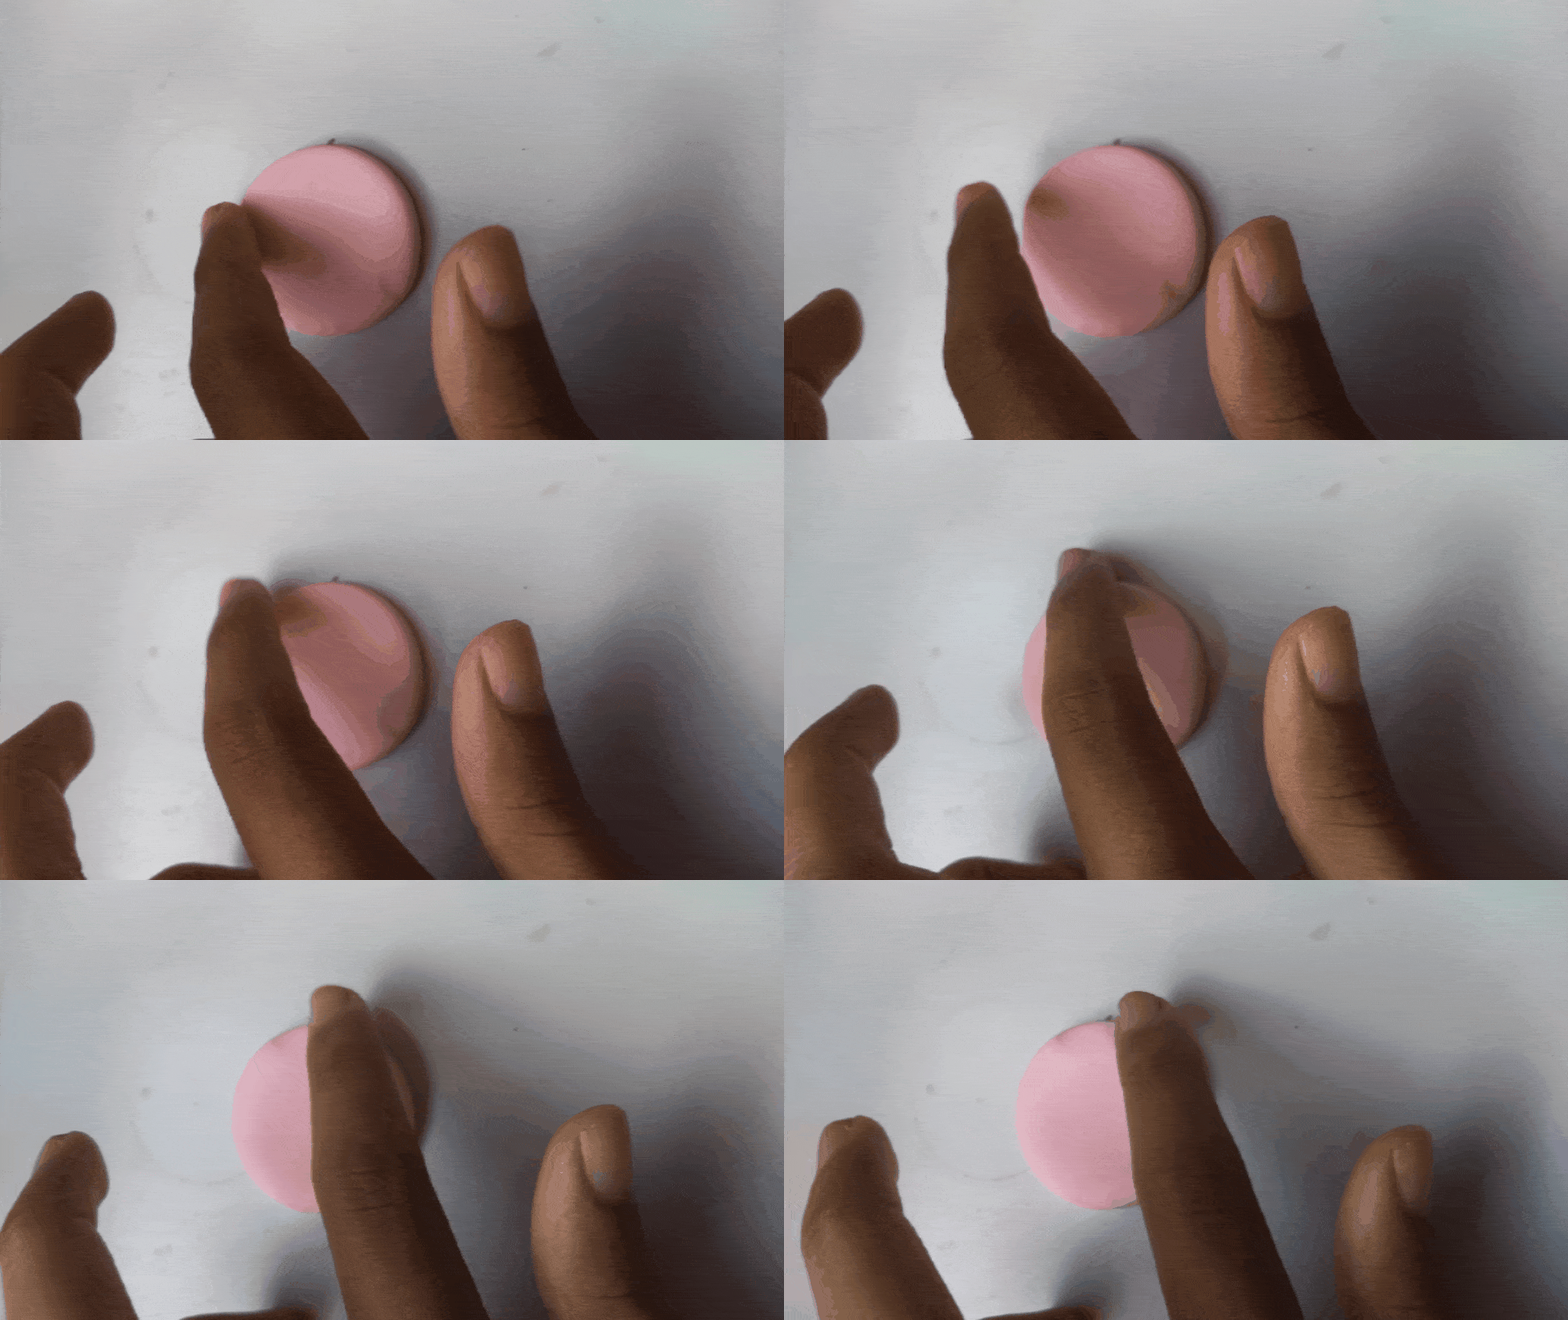
🌸Paso 1. Lo primero que debemos hacer tomar un poquito de desmoldante y esparcirlo sobre la mesa de trabajo para evitar que la masa se peque, posteriormente se colocará las paletas. Se toma la masa de color rosado se formará una pelota y se aplasta con el rodillo.
🌸Step 1. The first thing we must do is take a little release agent and spread it on the work table to prevent the dough from sinking, then the pallets will be placed. The pink dough is taken, it will form a ball and it is crushed with the rolling pin.
.jpg)
.jpg)
🌸 Paso 2. Luego se corta la masa con el cortador grande para sacar la base de la galletita, luego con el cortador más pequeño se corta el borde del círculo para simular una mordía.
🌸 Step 2. Then the dough is cut with the large cutter to remove the base of the cookie, then with the smaller cutter the edge of the circle is cut to simulate a bite.
.jpg)
.jpg)
🌸Paso 3. Una vez realizado esto, se debe a suavizar los bordes usando los dedo. Después con el cepillo dental pullamos toda la pieza para que nos dé una textura de galletas.
🌸Step 3. Once this is done, it is due to smooth the edges using your fingers. Then with the toothbrush we polish the whole piece so that it gives us a cookie texture.

.jpg)
🌸Paso 4. Posteriormente, marcamos la altura y el lugar donde colocarles los ojitos y utilizando el pitillo de café procedemos a marcar la boca.
🌸Step 4. Later, we mark the height and the place where to place the eyes and using the coffee cigarette we proceed to mark the mouth.
.jpg)
.jpg)
🌸Paso 5. Luego se procede a colocar los ojos de etiquetas usando la pinza de cejas. Con ayuda del pincel vamos a difuminar por todo el borde la tiza marrón y después con la tiza roja le agregaremos un poquito de rubor para que quede más tierna.
🌸Step 5. Then proceed to place the label eyes using the eyebrow tweezers. With the help of the brush we are going to blur the brown chalk all over the edge and then with the red chalk we will add a little blush to make it more tender.
.jpg)
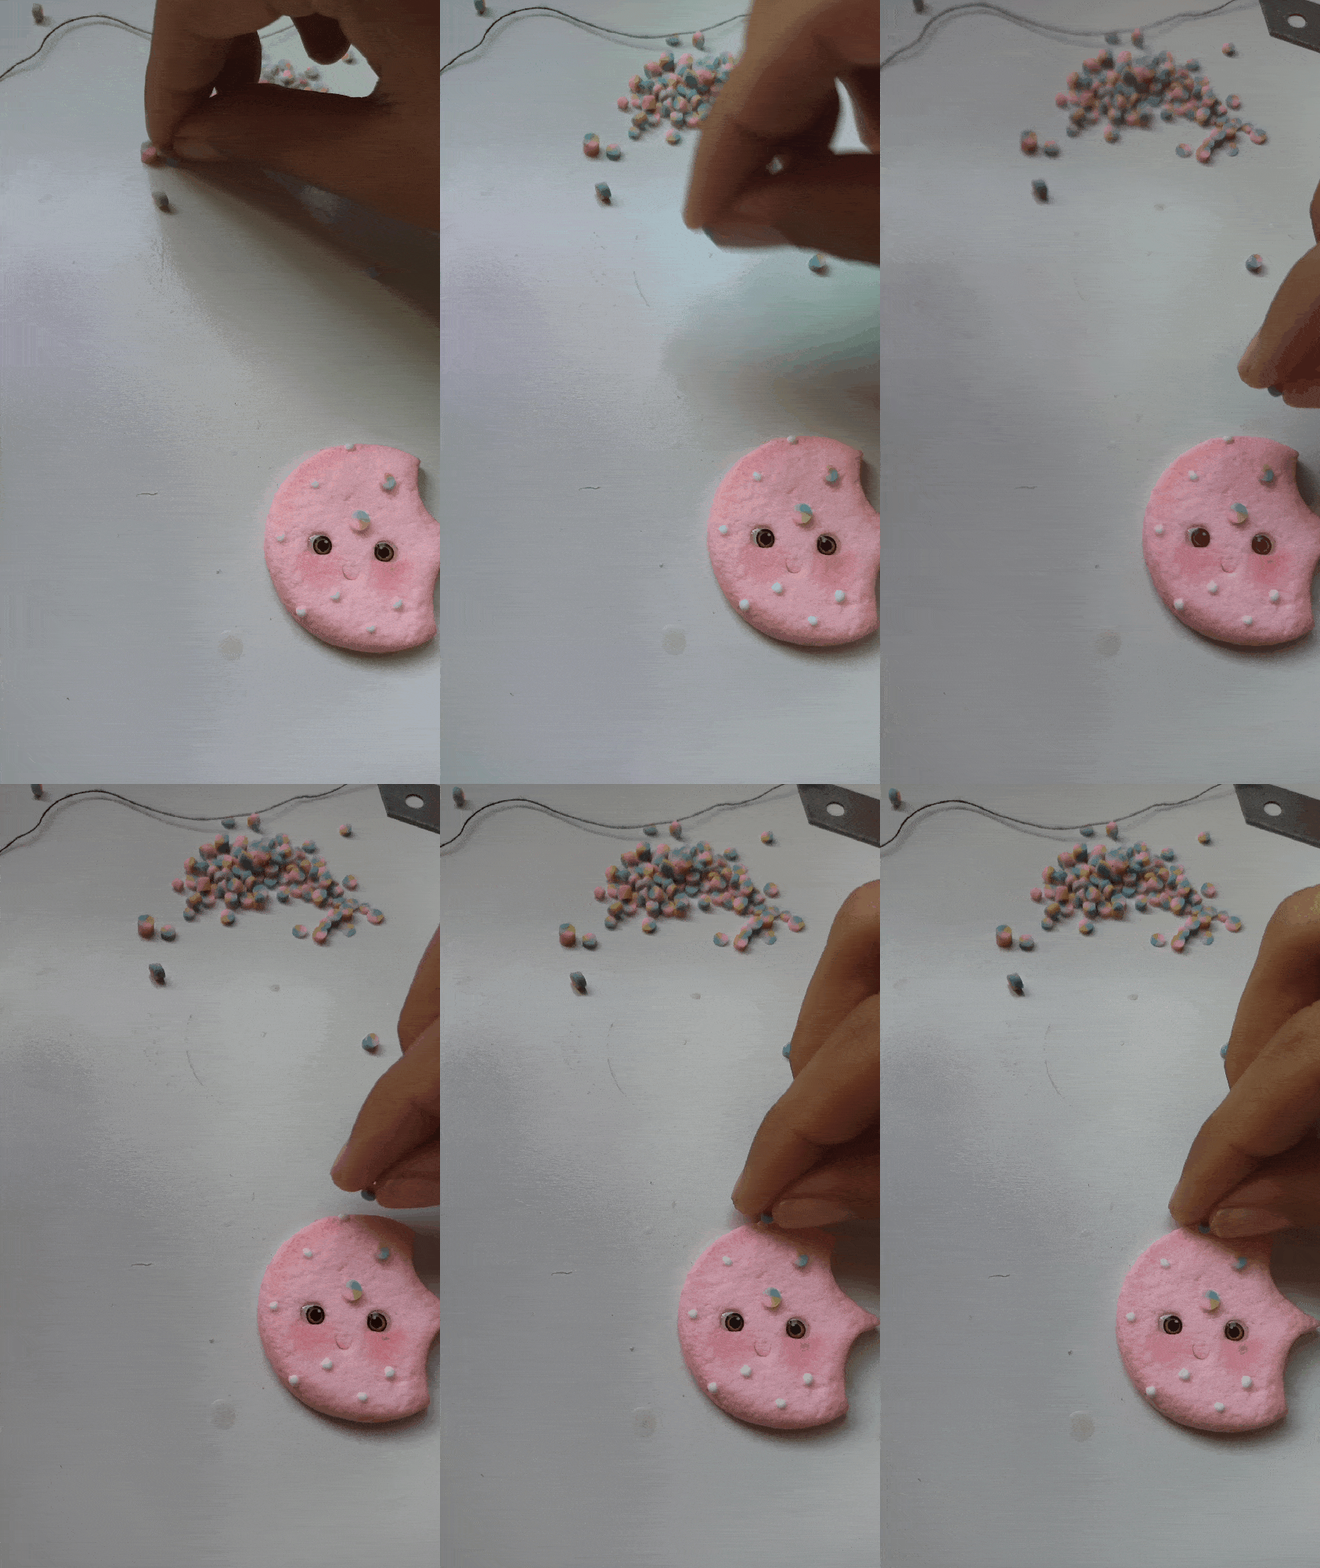
🌸Paso 6. Ahora bien, tomaremos nuestra pega blanca y vamos a realizar pequeños puntos al rededor de la masa, los cuales serán los lugares donde se colocar las chispas de nuestra galletita y después se procederán a colocarlas.
🌸Step 6. Now, we will take our white paste and we will make small dots around the dough, which will be the places where the sparks of our cookie will be placed and then we will proceed to place them.

🌸Paso 7. Con ayuda de nuestro pincel de punta fina procederemos a pintar las pestañas y cejas de nuestra galleta a su gusto y dejaremos secar la pieza.
🌸Step 7. With the help of our fine-tipped brush we will proceed to paint the eyelashes and eyebrows of our cookie to your liking and we will let the piece dry.
.jpg)
🌸Paso 8. Una vez seca, vamos a realizar una flor de masa flexible para adórnala. Para esto con nuestra masa de color mantecado haremos 8 pelotitas del mismo tamaño, aplastamos y las vamos a unir formando una fila, después la enrollamos y con ayuda de nuestro exacto cortamos y le agregaremos unas flores de molde y está listo.
🌸Step 8. Once dry, we are going to make a flexible dough flower to decorate it. For this, with our shortbread-colored dough, we will make 8 balls of the same size, flatten them and join them in a row, then roll them up and with the help of our exact cutter, we will cut and add some mold flowers and it is ready.
.jpg)

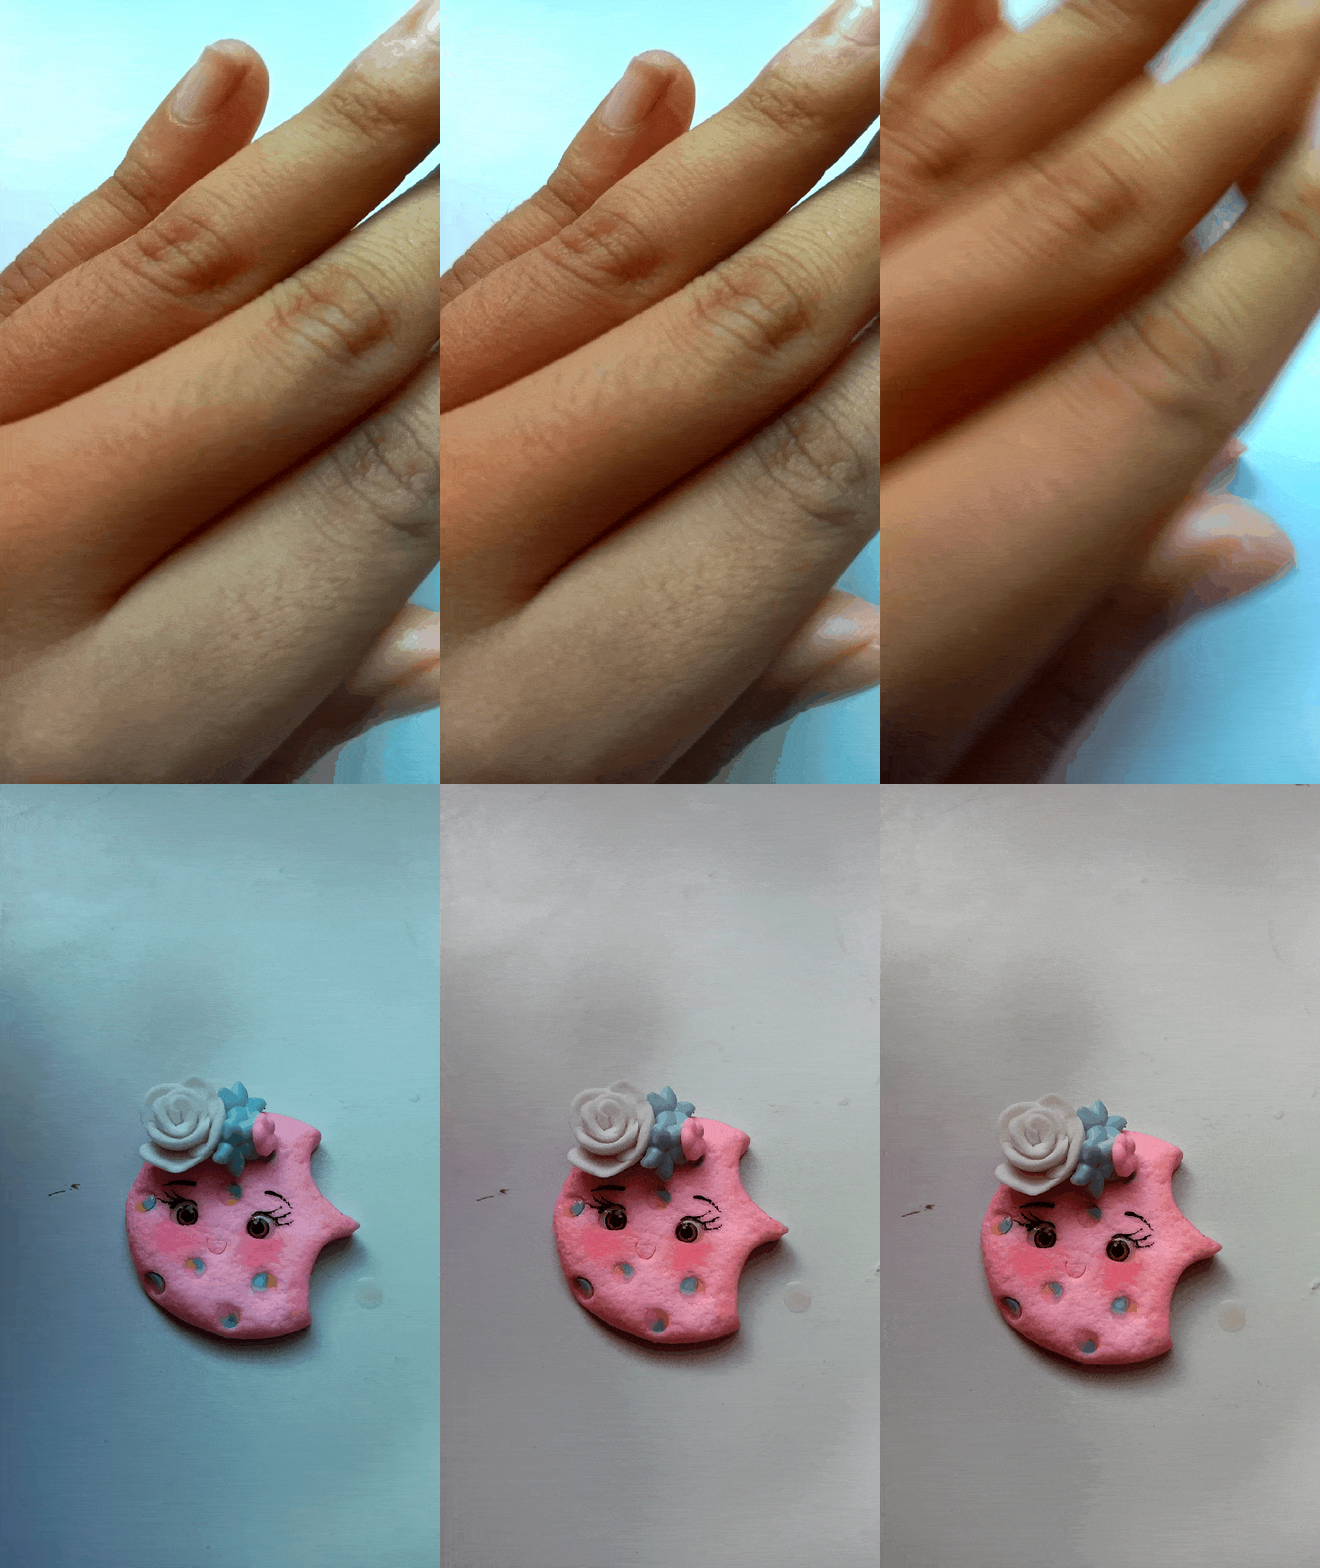
Espero que les hayas gustado está hermosa manualidad yo estoy súper feliz con el resultado y lo hermoso que quedó. Hasta un próximo post.
I hope you liked this beautiful craft, I am super happy with the result and how beautiful it was. Until a next post.
.jpg)

Congratulations @sarayscristina! You have completed the following achievement on the Hive blockchain and have been rewarded with new badge(s):
Your next target is to reach 50 posts.
Your next target is to reach 7000 upvotes.
You can view your badges on your board and compare yourself to others in the Ranking
If you no longer want to receive notifications, reply to this comment with the word
STOPTo support your work, I also upvoted your post!
Check out the last post from @hivebuzz:
Support the HiveBuzz project. Vote for our proposal!
Hola amiga, realmente quedaron muy lindas, gracias por compartir.
😁 me alegro mucho de que les gustará
Ay yu mio que cosita tan tierna y dulce! jajaja me ha super encantado. Gracias por compartir con nosotros una publicación tan espectacular
Gracias a usted por tomarte la molestia de leer mi post. Me alegro mucho de que te gustará
Muy bonito !....Y ,muy creativo.... sabe , a mi como pintor siempre me ha inquietado ese asunto de las textura , tanto así que es como una obsesión tratar de imitarlas en plano creo que porque se relaciona con ese asunto de 3D., y me llama la atención esa textura que usted le aplica a su trabajo, por supuesto que esta muy bien hecho, Felicitaciones.! saludos!....Ha ! y bendiciones!
Muchas gracias 😁 bendiciones para usted también y me alegro que le haya gustado mi trabajo