hola mi familia de esta hermosa y creativa #comunidad de #hivediy, espero que tengan un excelente inicio de semana con la bendición de Dios siempre. Hoy quiero compartir con ustedes esta increíble concurso, la cual va de la mano de nuestro compañero @gaboamc239. Por lo tanto; le hago la invitación a @mariaced. La cual; el concurso tiene por nombre de "Diseña tu plantilla y decora a tu gusto". Esto conlleva ah explicar como elaboramos la caja para ese obsequio especial.
Well, in this case, I am encouraged to carry out this incredible contest, because it favors me these days. Someone special birthday this week, and what more than to dedicate this gift to him, that he gave or made with my own hands, I have always said, that the crafts or the things that we make with our own ✋ hands we do with a lot of love.
bueno en este caso me anime a realizar este increíble concurso, porqué me favorece en estos días. Alguien especial cumpleaños esta semana, y que mas que dedicarle este obsequió, que esta echó o elaborado con mis propias manos, yo siempre eh dicho, que las manualidades o las cosas que elaboramos con nuestras propias ✋ manos la hacemos con mucho amor.
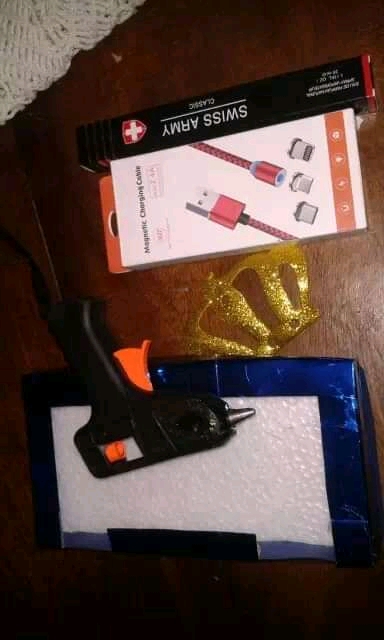
the materials I used to assemble my template and the box were.
▪︎leaf.
▪︎pencil.
▪︎ rule.
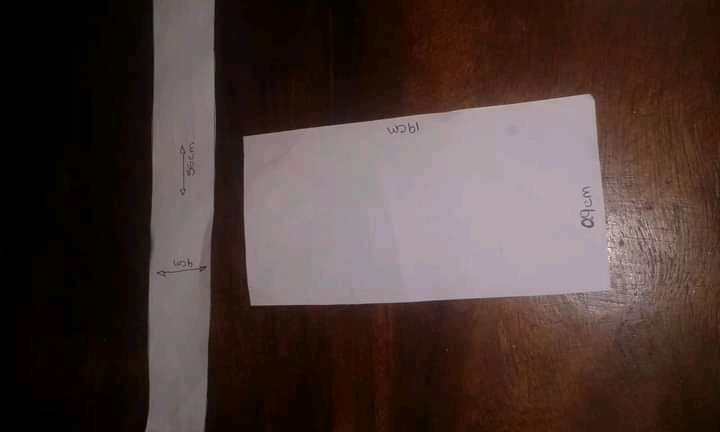
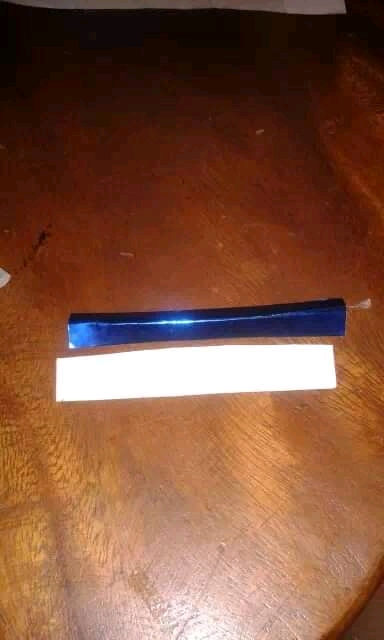
▪︎double blue fax cardboard
▪︎ metallic blue cardboard.
▪︎ hot silicone.
▪︎ scissors.
▪︎ anime.
▪︎ short anime.
▪︎ ornaments to decorate.
▪︎ hello transparent.
los materiales que utilicé para armar mi plantilla y la caja fueron.
▪︎hoja.
▪︎lápiz.
▪︎regla.
▪︎cartulina doble fax azul.
▪︎cartulina azul metalizada.
▪︎silicon caliente.
▪︎tijera.
▪︎anime.
▪︎corta anime.
▪︎adornos para decorar.
▪︎hola transparente.
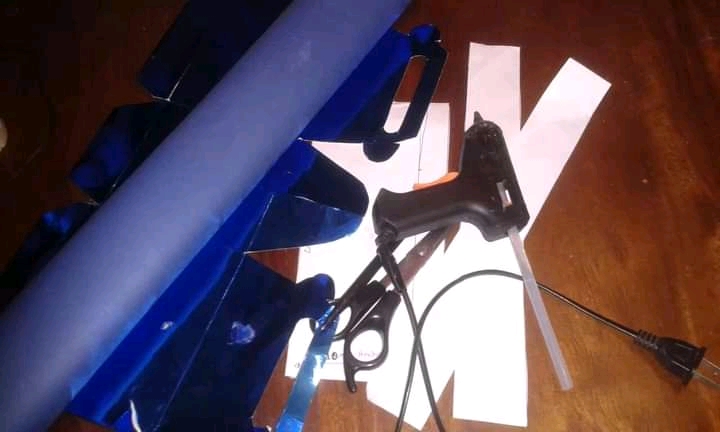
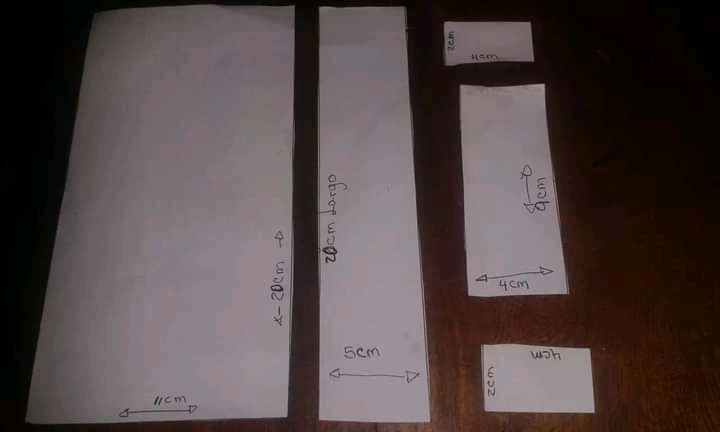
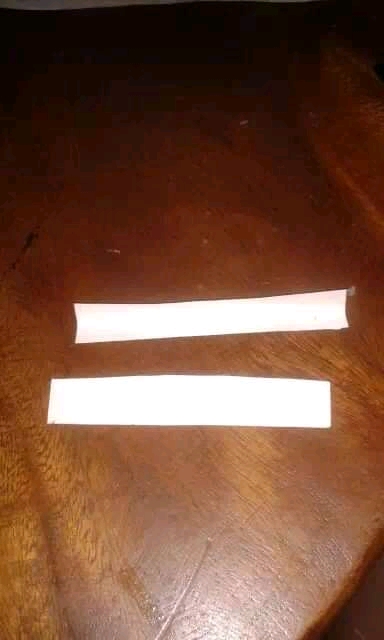
step 1 The first thing I made is the template for the bottom of the box, which I made a rectangle with measurements 20 cm long and 10 cm wide, but before taking those measurements, first place what I am going to place inside the box, then I measured a perfume both in length and width.
paso 1
Lo primero que realicé es la plantilla de la parte de abajo de la caja, la cual hice un rectángulo con unas medidas de 20 cm de largo y 10 cm de ancho, pero antes de agarrar esas medidas primero coloque lo que voy a colocar dentro de la caja, entonces medi un perfume tanto de largo como de ancho.
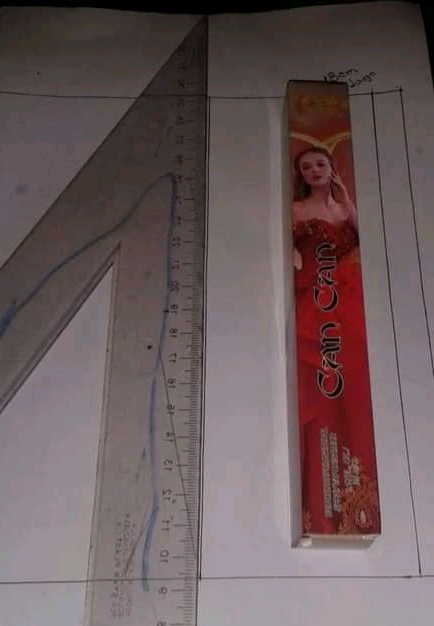
I also made the template for the part that will cover around that rectangle. Which measures were 4 cm long and 55 cm wide.
también realicé la plantilla la parte que va a cubrir al rededor de ese rectangulo. La cual la medidas fueron 4 cm de largo y 55 cm de ancho.
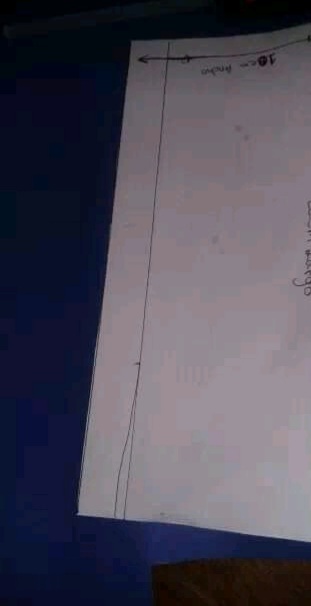
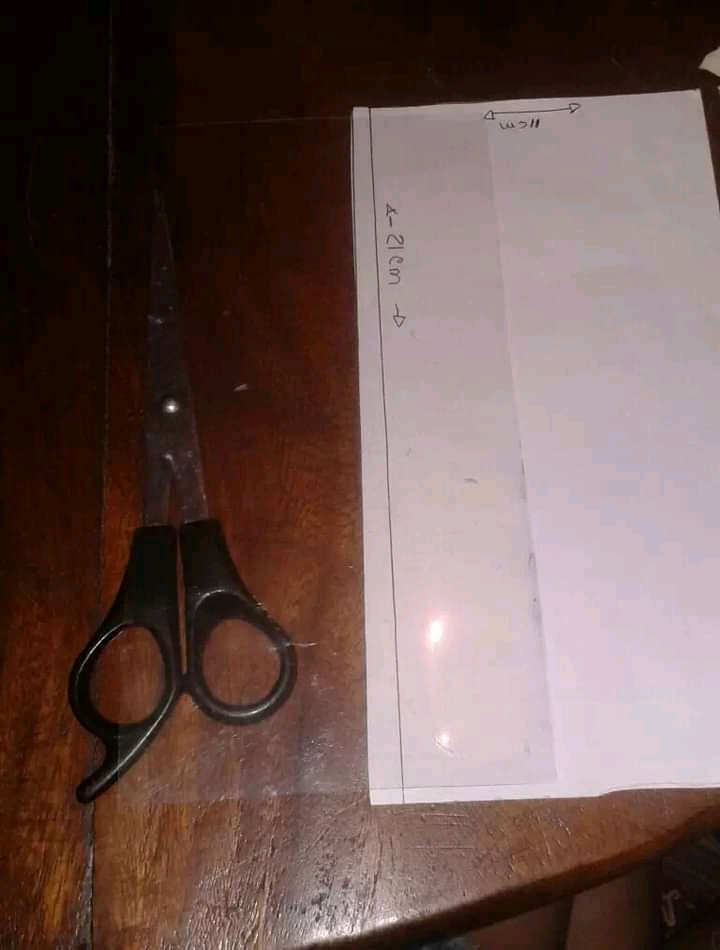
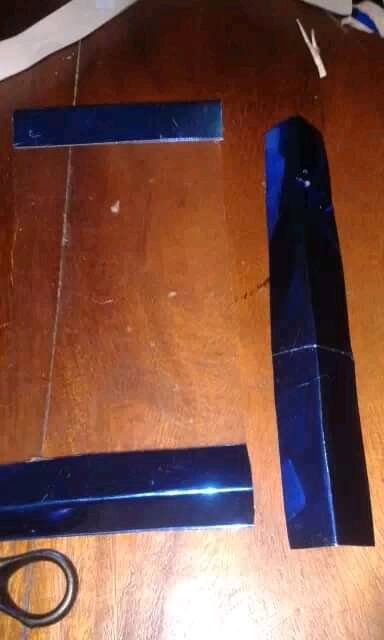
step 2 In another way, I made the other template, the upper part, that is, the lid of our box. Which had a rectangle 21 cm long and 11 cm wide. Separate a strip of 21 cm long and 5 cm wide to place on one side of the rectangle. And other smaller ones to stick it with the box at the bottom. The measurements are there in the following images.
paso 2
De otra manera, realicé la otra plantilla, la parte de arriba, es decir la tapa de nuestra caja. La cual tuvo un rectangulo de 21 cm de largo y 11 cm de ancho. Aparte una tira de 21 cm de lago y 5 cm de ancho para colocarle de un lado del rectangulo. Y otros mas pequeños para pegarlo con la caja en la parte de abajo. Las medidas estan alli en las siguientes imagenes.
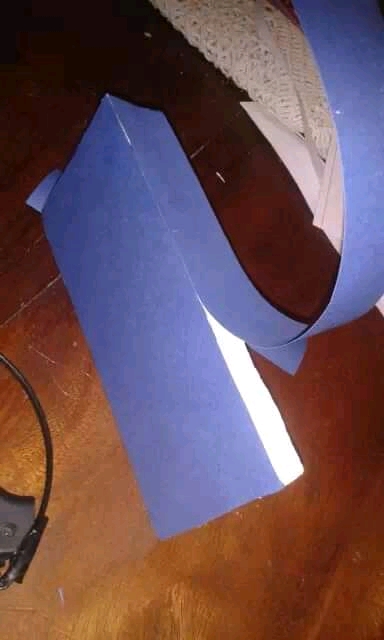
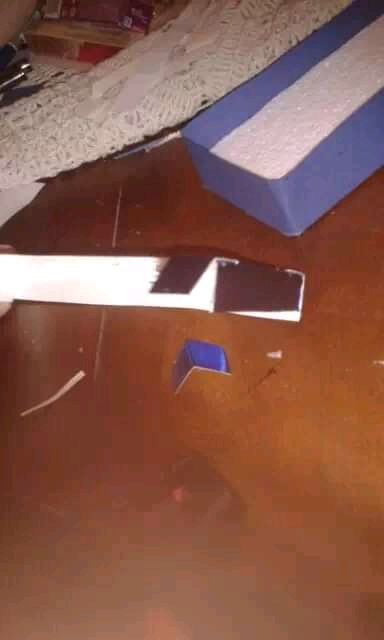
Step 3 Now yes, let's build my box for that special person. I take the template from the bottom and draw it on the blue cardstock.
Paso 3
Ahora si, vamos a contruir mi caja para esa persona especial. Tomo la plantilla de la parte de abajo y la dibujo en la cartulina azul.
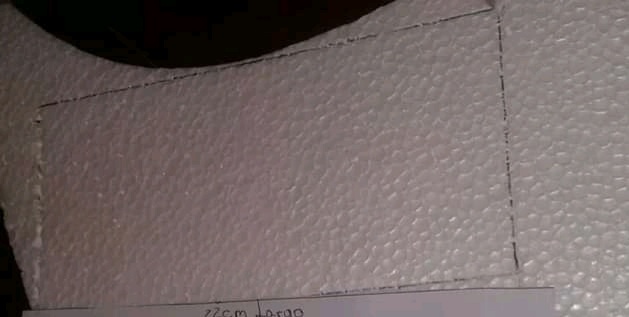
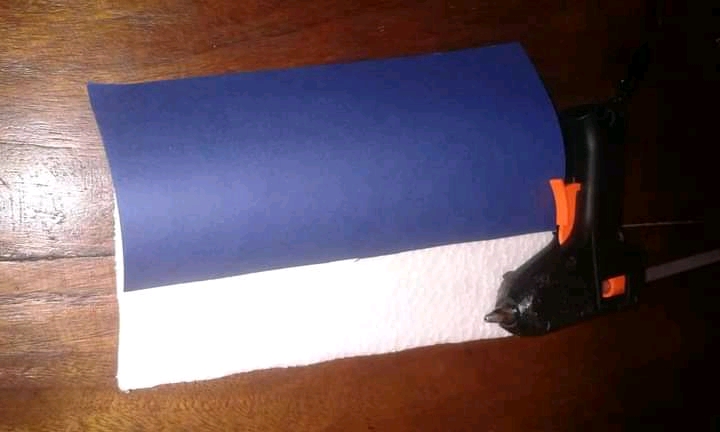
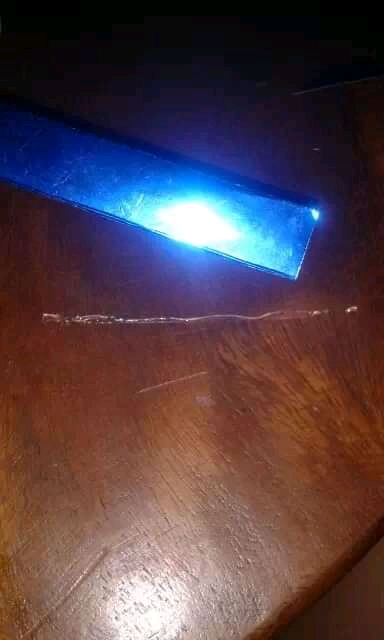
step 4 Next, we are going to place the same template that we used on a piece of anime, and cut it out. This is so that the box holds up well.
paso 4
Después, vamos colocar la misma plantilla que utilizamos en un pedazo de anime, y recortamos. Esto es para que la caja se mantenga bien.
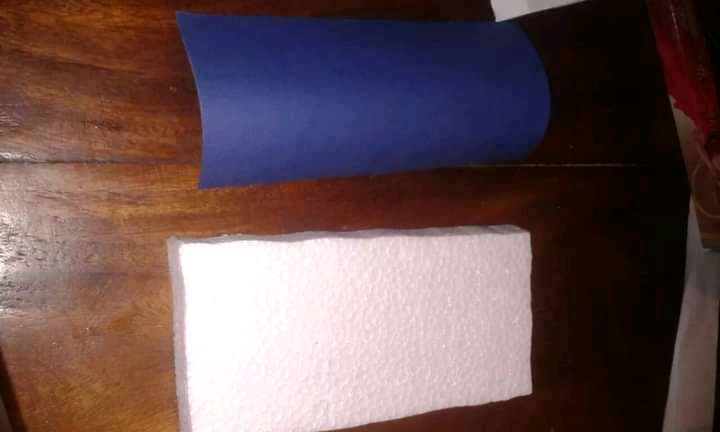
step 5 Then, we are going to paste with the silicone, the blue cardboard rectangle and the already chopped anime. We would stay like this.
paso 5
Luego, vamos a pegar con el silicon, el rectangulo de cartulina azul y el anime ya picado. Nos quedaria asi.
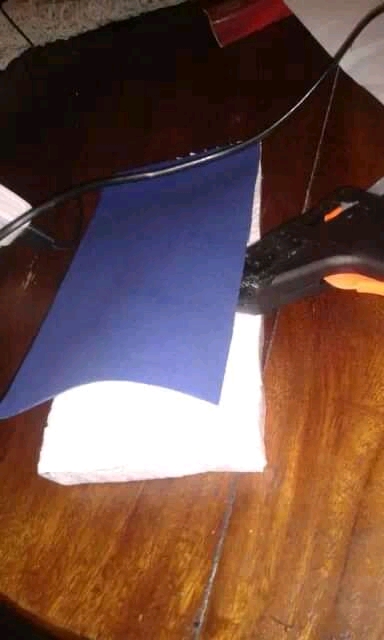
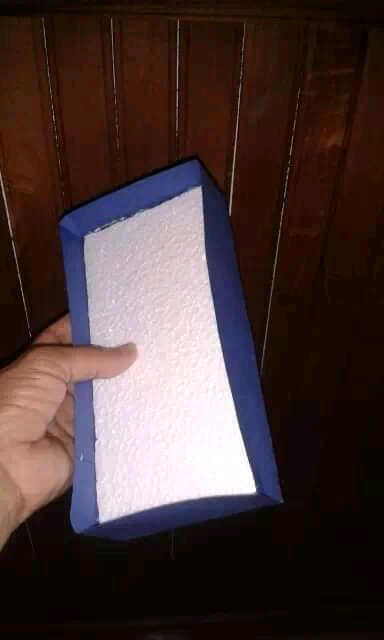
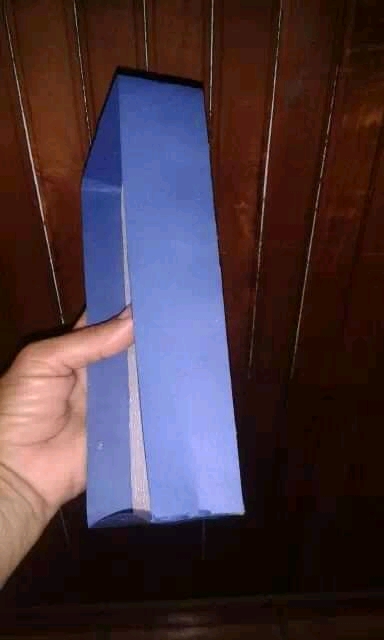
step 6 Now what we are going to do is some strips that obviously we already have the template, what we have to do is draw it. Having the strips of blue cardboard ready, we glued them around what we did in step 5. It would look like this. And the bottom of the box is ready
paso 6
Ahora lo que vamos hacer es unas tiras que obviamente ya tenemos la plantilla lo que tenemos es que dibujarla. Ya teniendo las tiras de la cartulina azul lista, la pegamos al rededor de lo que hicimos en el paso 5. Nos quedaria de esta manera. Y la parte de abajo de la caja esta listo.
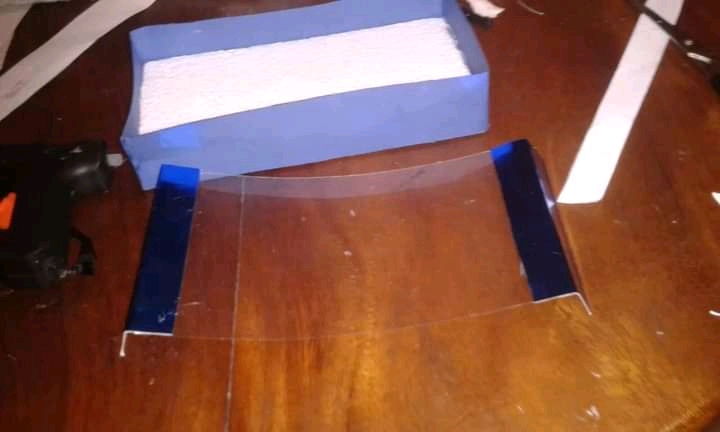
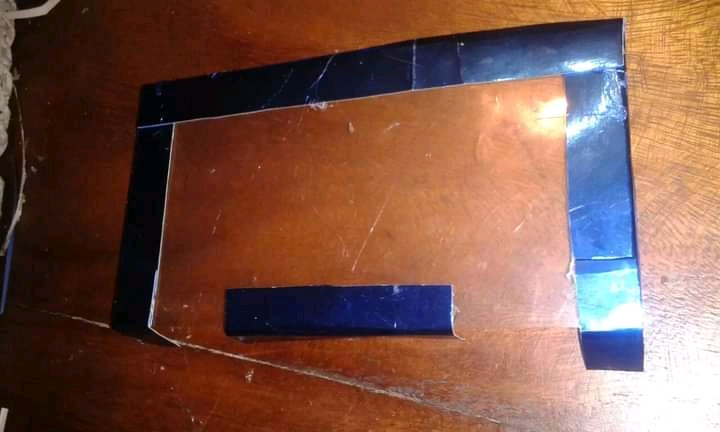
step 7 In this step we are going to make the lid of our box, we start using the rectangular template with its measurements already ready and we cut out a rectangle of transparent sheet. The top lid should be a centimeter larger.
paso 7
En este paso vamos a realizar la tapa de nuestra caja, comenzamos utilizando la plantilla rectangular con sus medidas ya listas y recortamos un rectángulo de hoja transparente. La tapa de arriba debe de ser un centímetro mas grande.
step 8 We are going to start by placing strips measuring 9 cm long and 4 cm wide at the top and bottom. Now we are going to fold it in half, half we are going to stick it on the transparent sheet and the other half is to be able to close the box itself.
paso 8
Vamos a comenzar colocar en la parte superior y inferior unas tiras con las medidas de 9 cm de largo y 4 cm de ancho. Ahora vamos a doblarlo a la mitad, mitad vamos a pegarla en la hoja transparente y la otra mitad es para poder cerrar la caja en si.
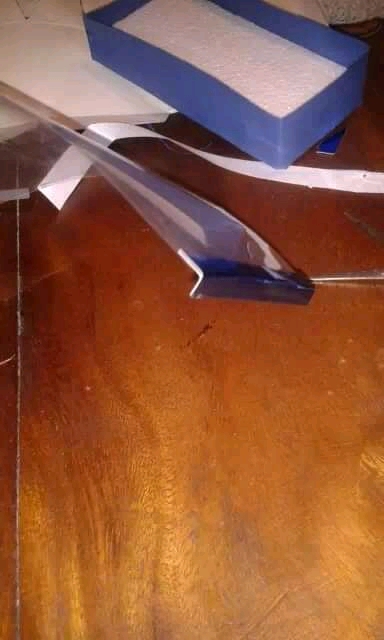
step 9 Then we cut a strip to place it on the right side of the box, that part will be where it closes. And it would stay that way for now.
paso 9
Después cortamos una tira para colocarlo en la parte derecha de la caja, esa parte va hacer donde se cierra. Y nos quedaria asi por los momentos.

step 10 Now we are going to place another strip on the left in the middle measuring 9 cm long and 4 cm wide, the same measure that we placed on the top and bottom of the lid.
paso 10
Ahora vamos a colocar en la parte izquierda en el medio otra tira con la medida de 9 cm de largo y 4 de ancho la misma medida que colocamos en la parte superior y inferior de la tapa.
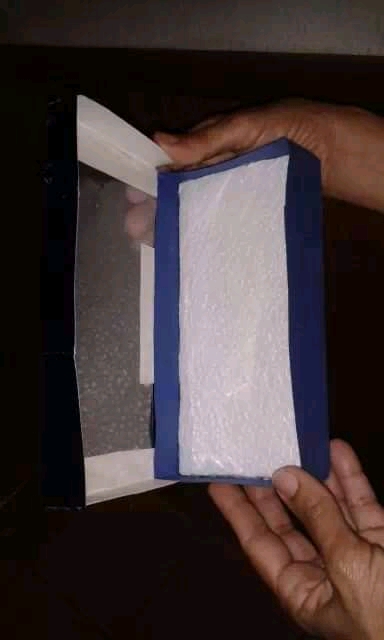
step 11 To finish our box, now we are going to place some small strips on the left side but this time, it is on the ends, one below and one above, measuring 4 cm long and 2 cm wide. All of these are folded in half, half is glued to the top and the other half to the bottom of the box. The important thing is that we can open and close our surprise box.
paso 11
Para terminar nuestra caja, ahora vamos a colocarle unas tirar pequeñas en la parte izquierda pero esta vez, es en las puntas, una abajo y una arriba, de una medida de 4 cm de largo y 2 cm de ancho. Todas estas van dobladas a la mitad, mitad la pegamos en la parte de la tapa y la otra mitad en la parte de abajo de la caja. Lo importante es que podamos abrir y cerrar nuestra cajita sorpresa.
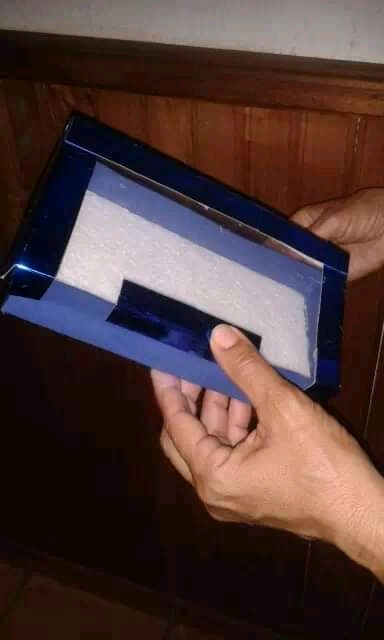
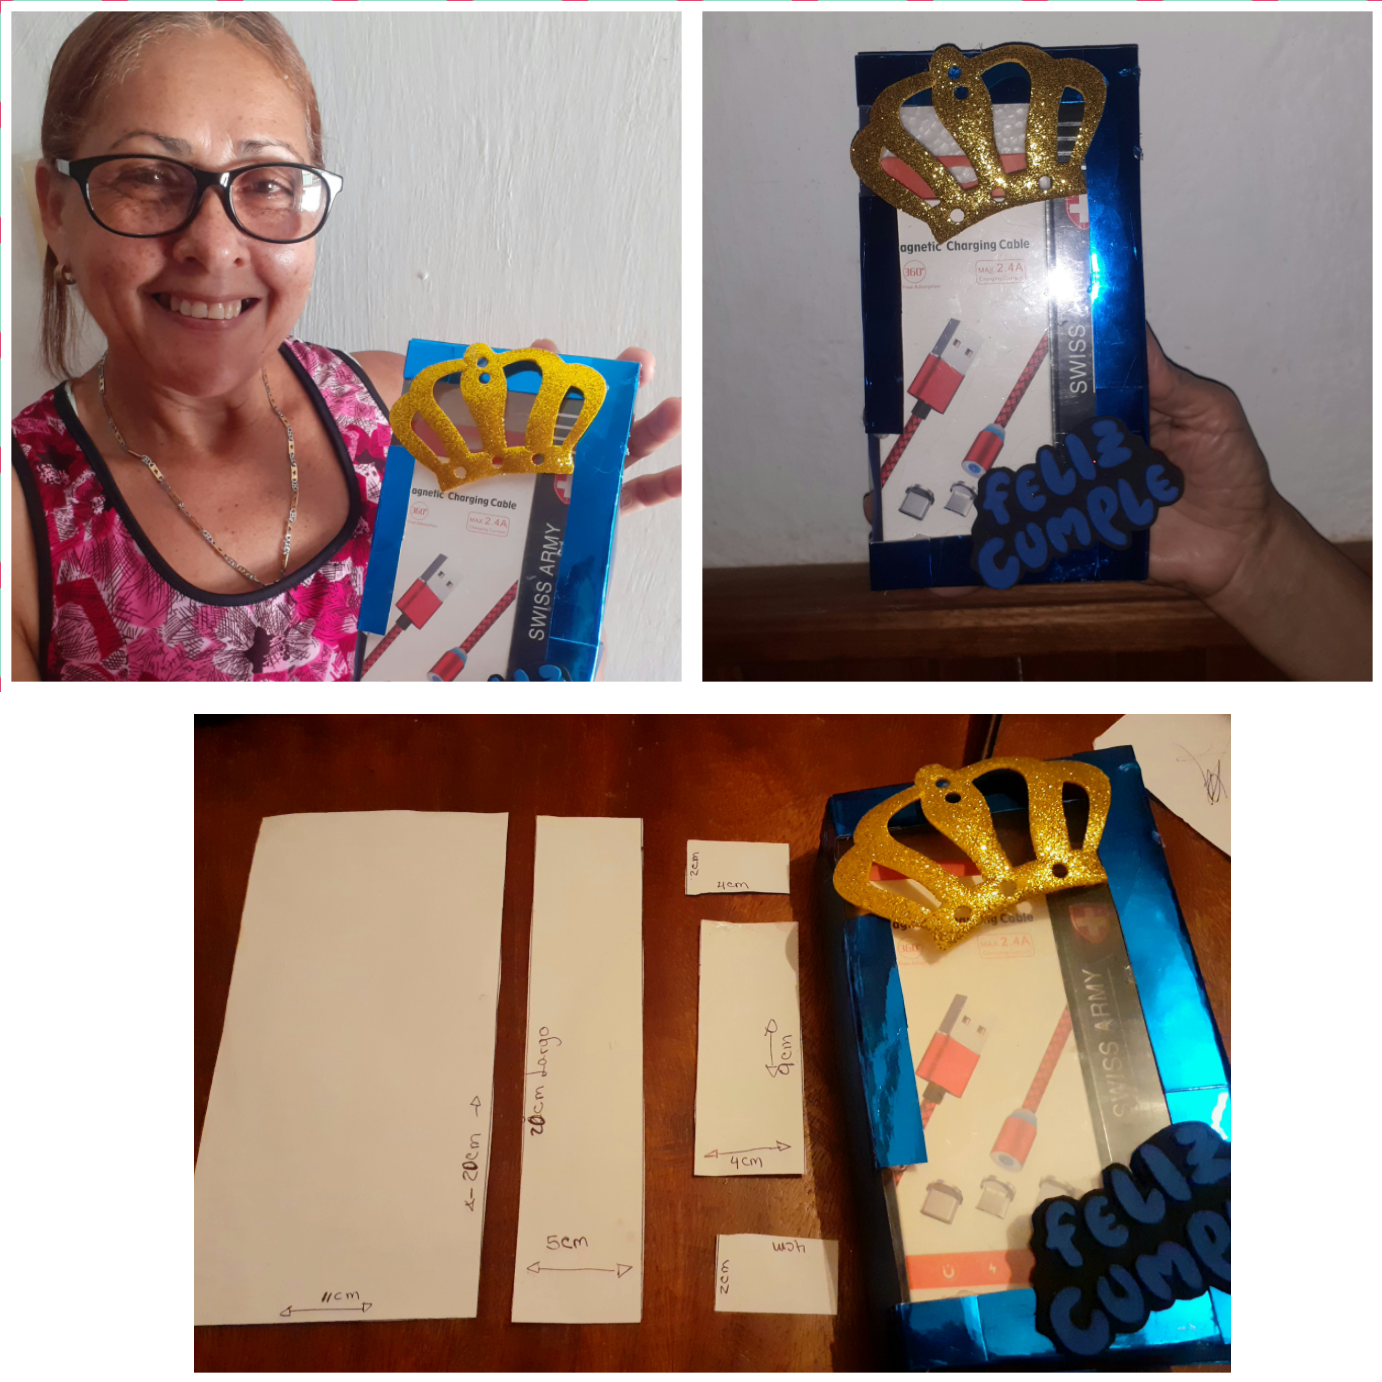
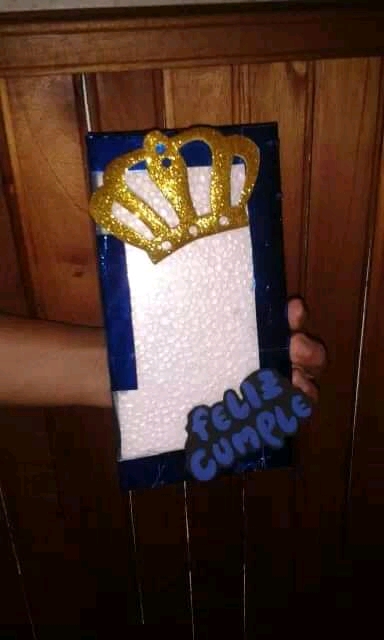
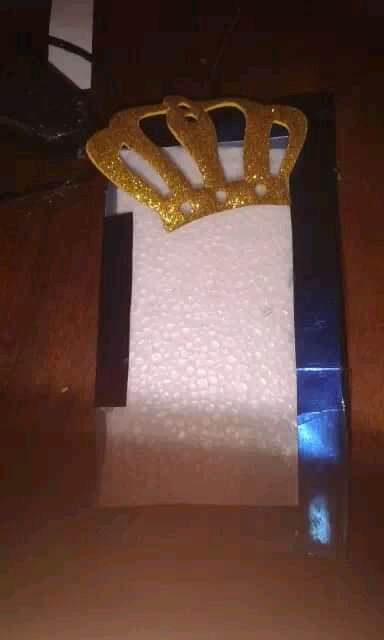
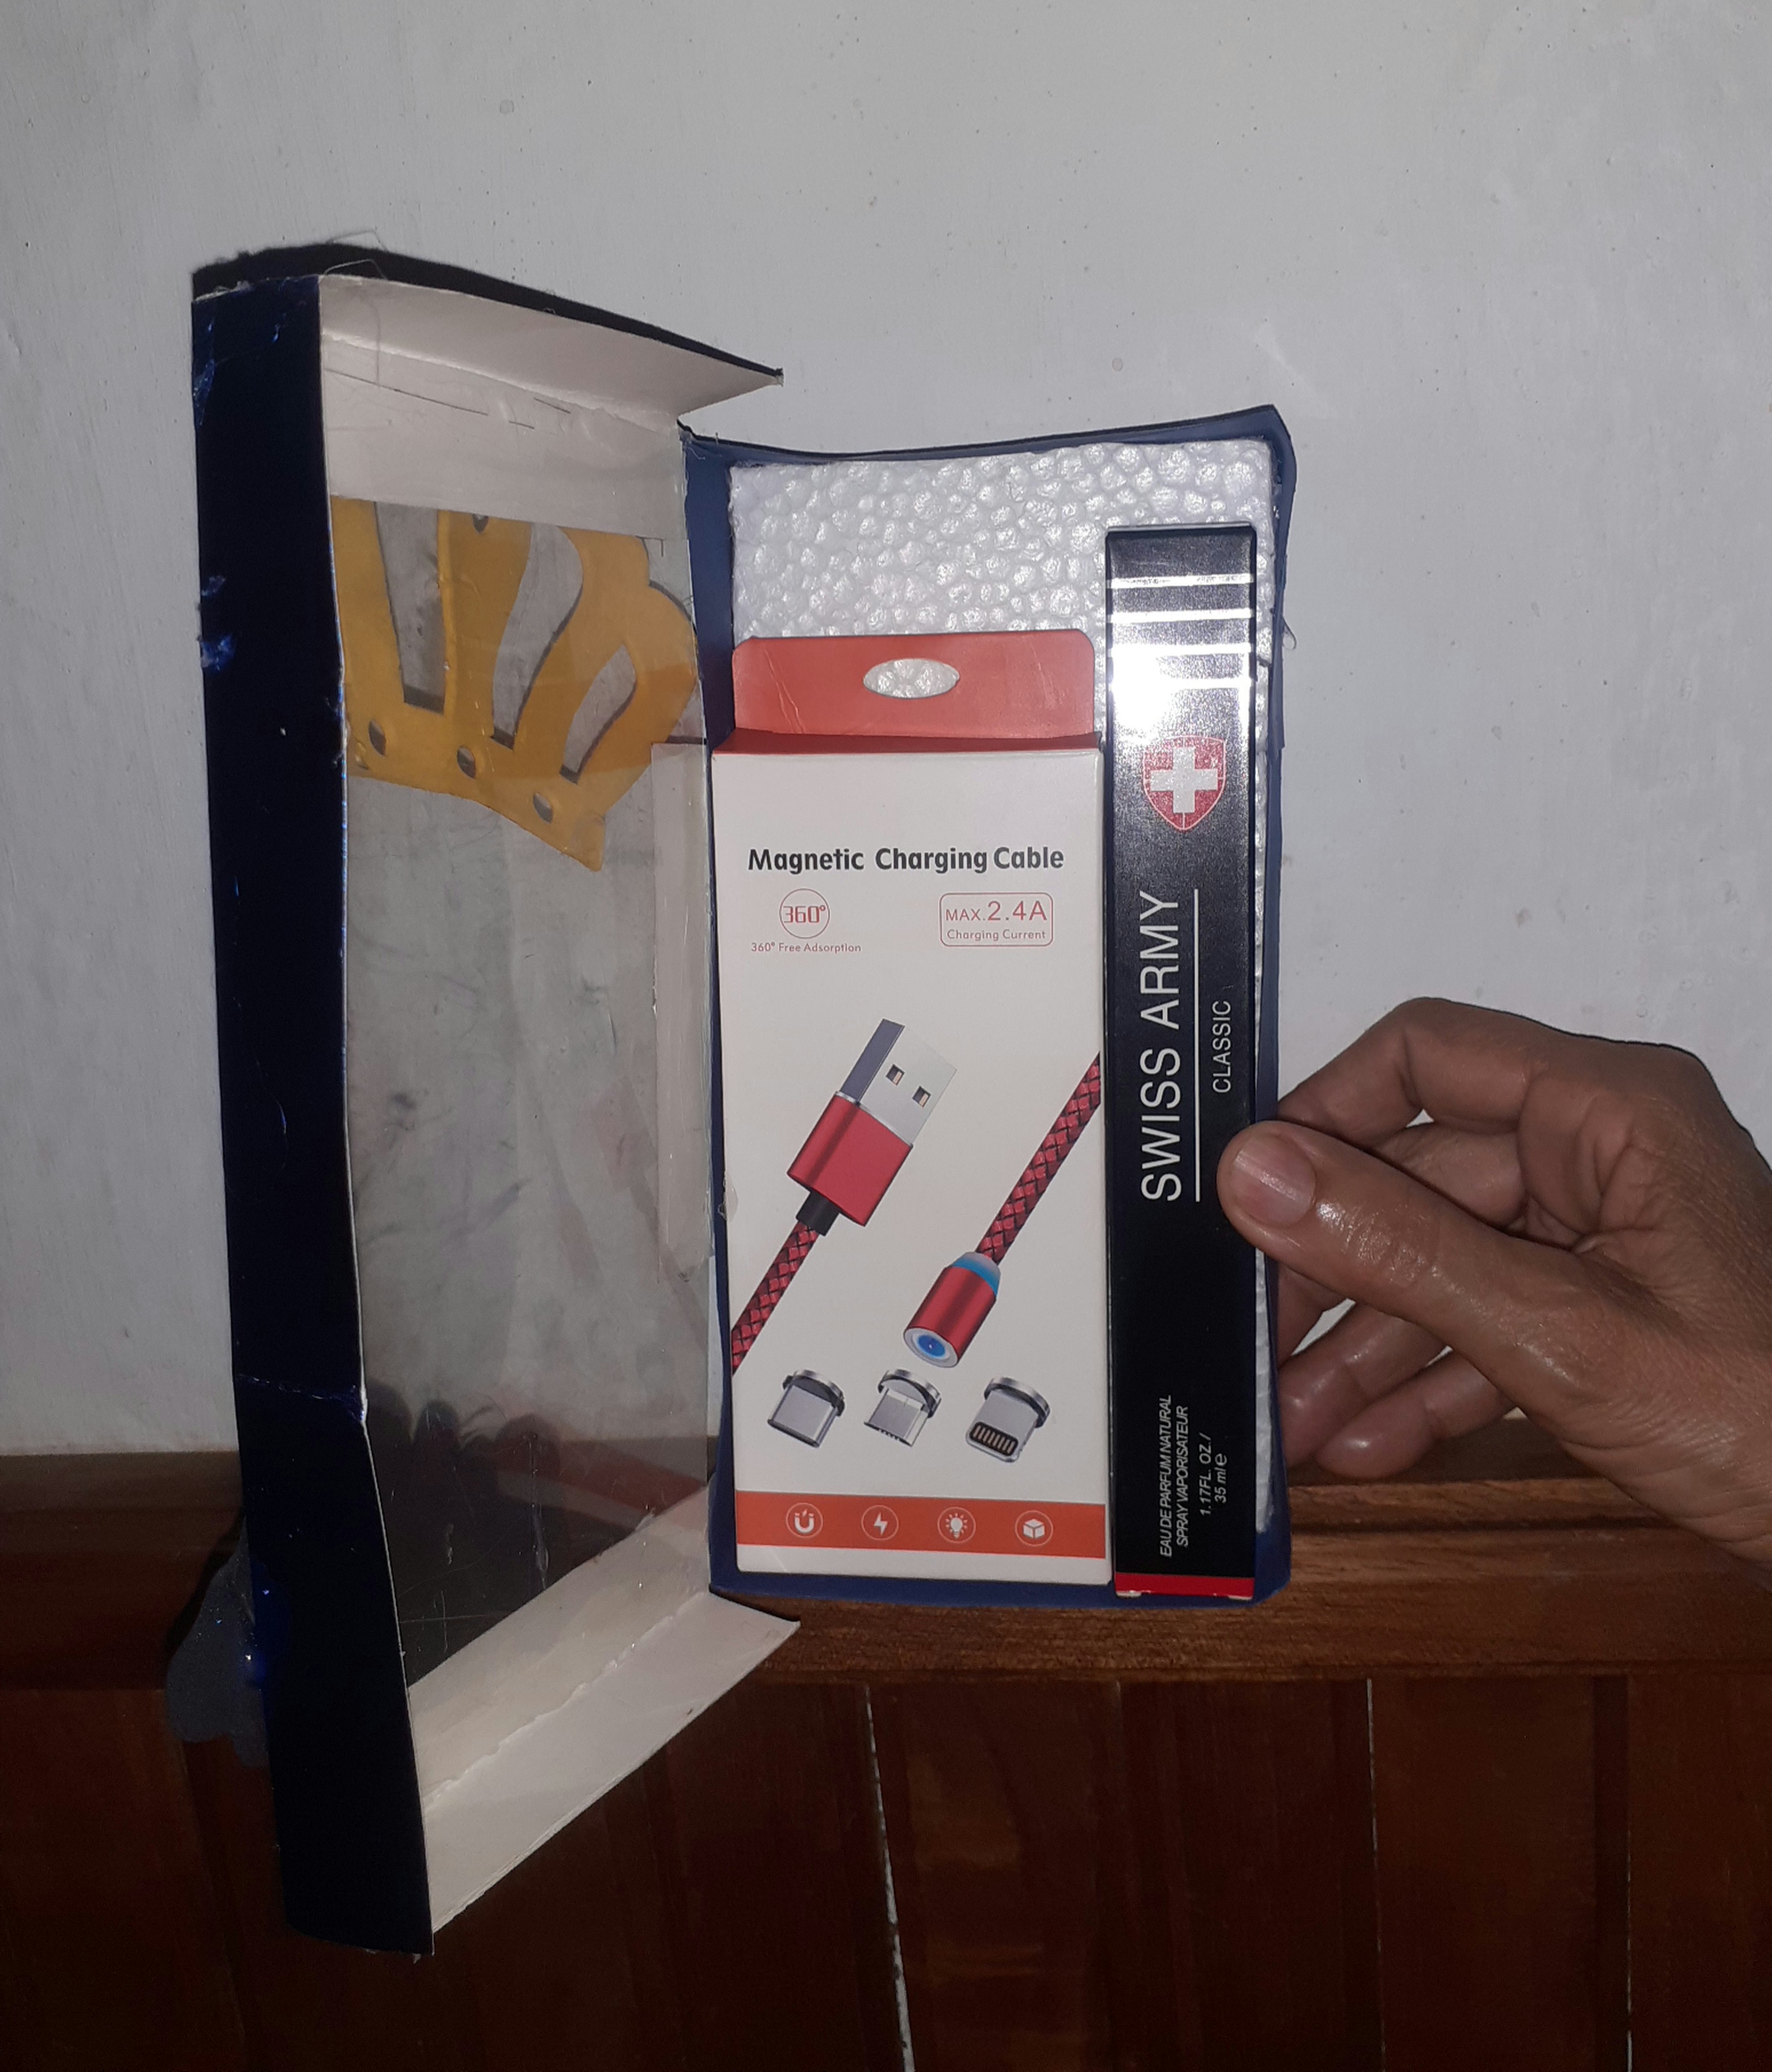
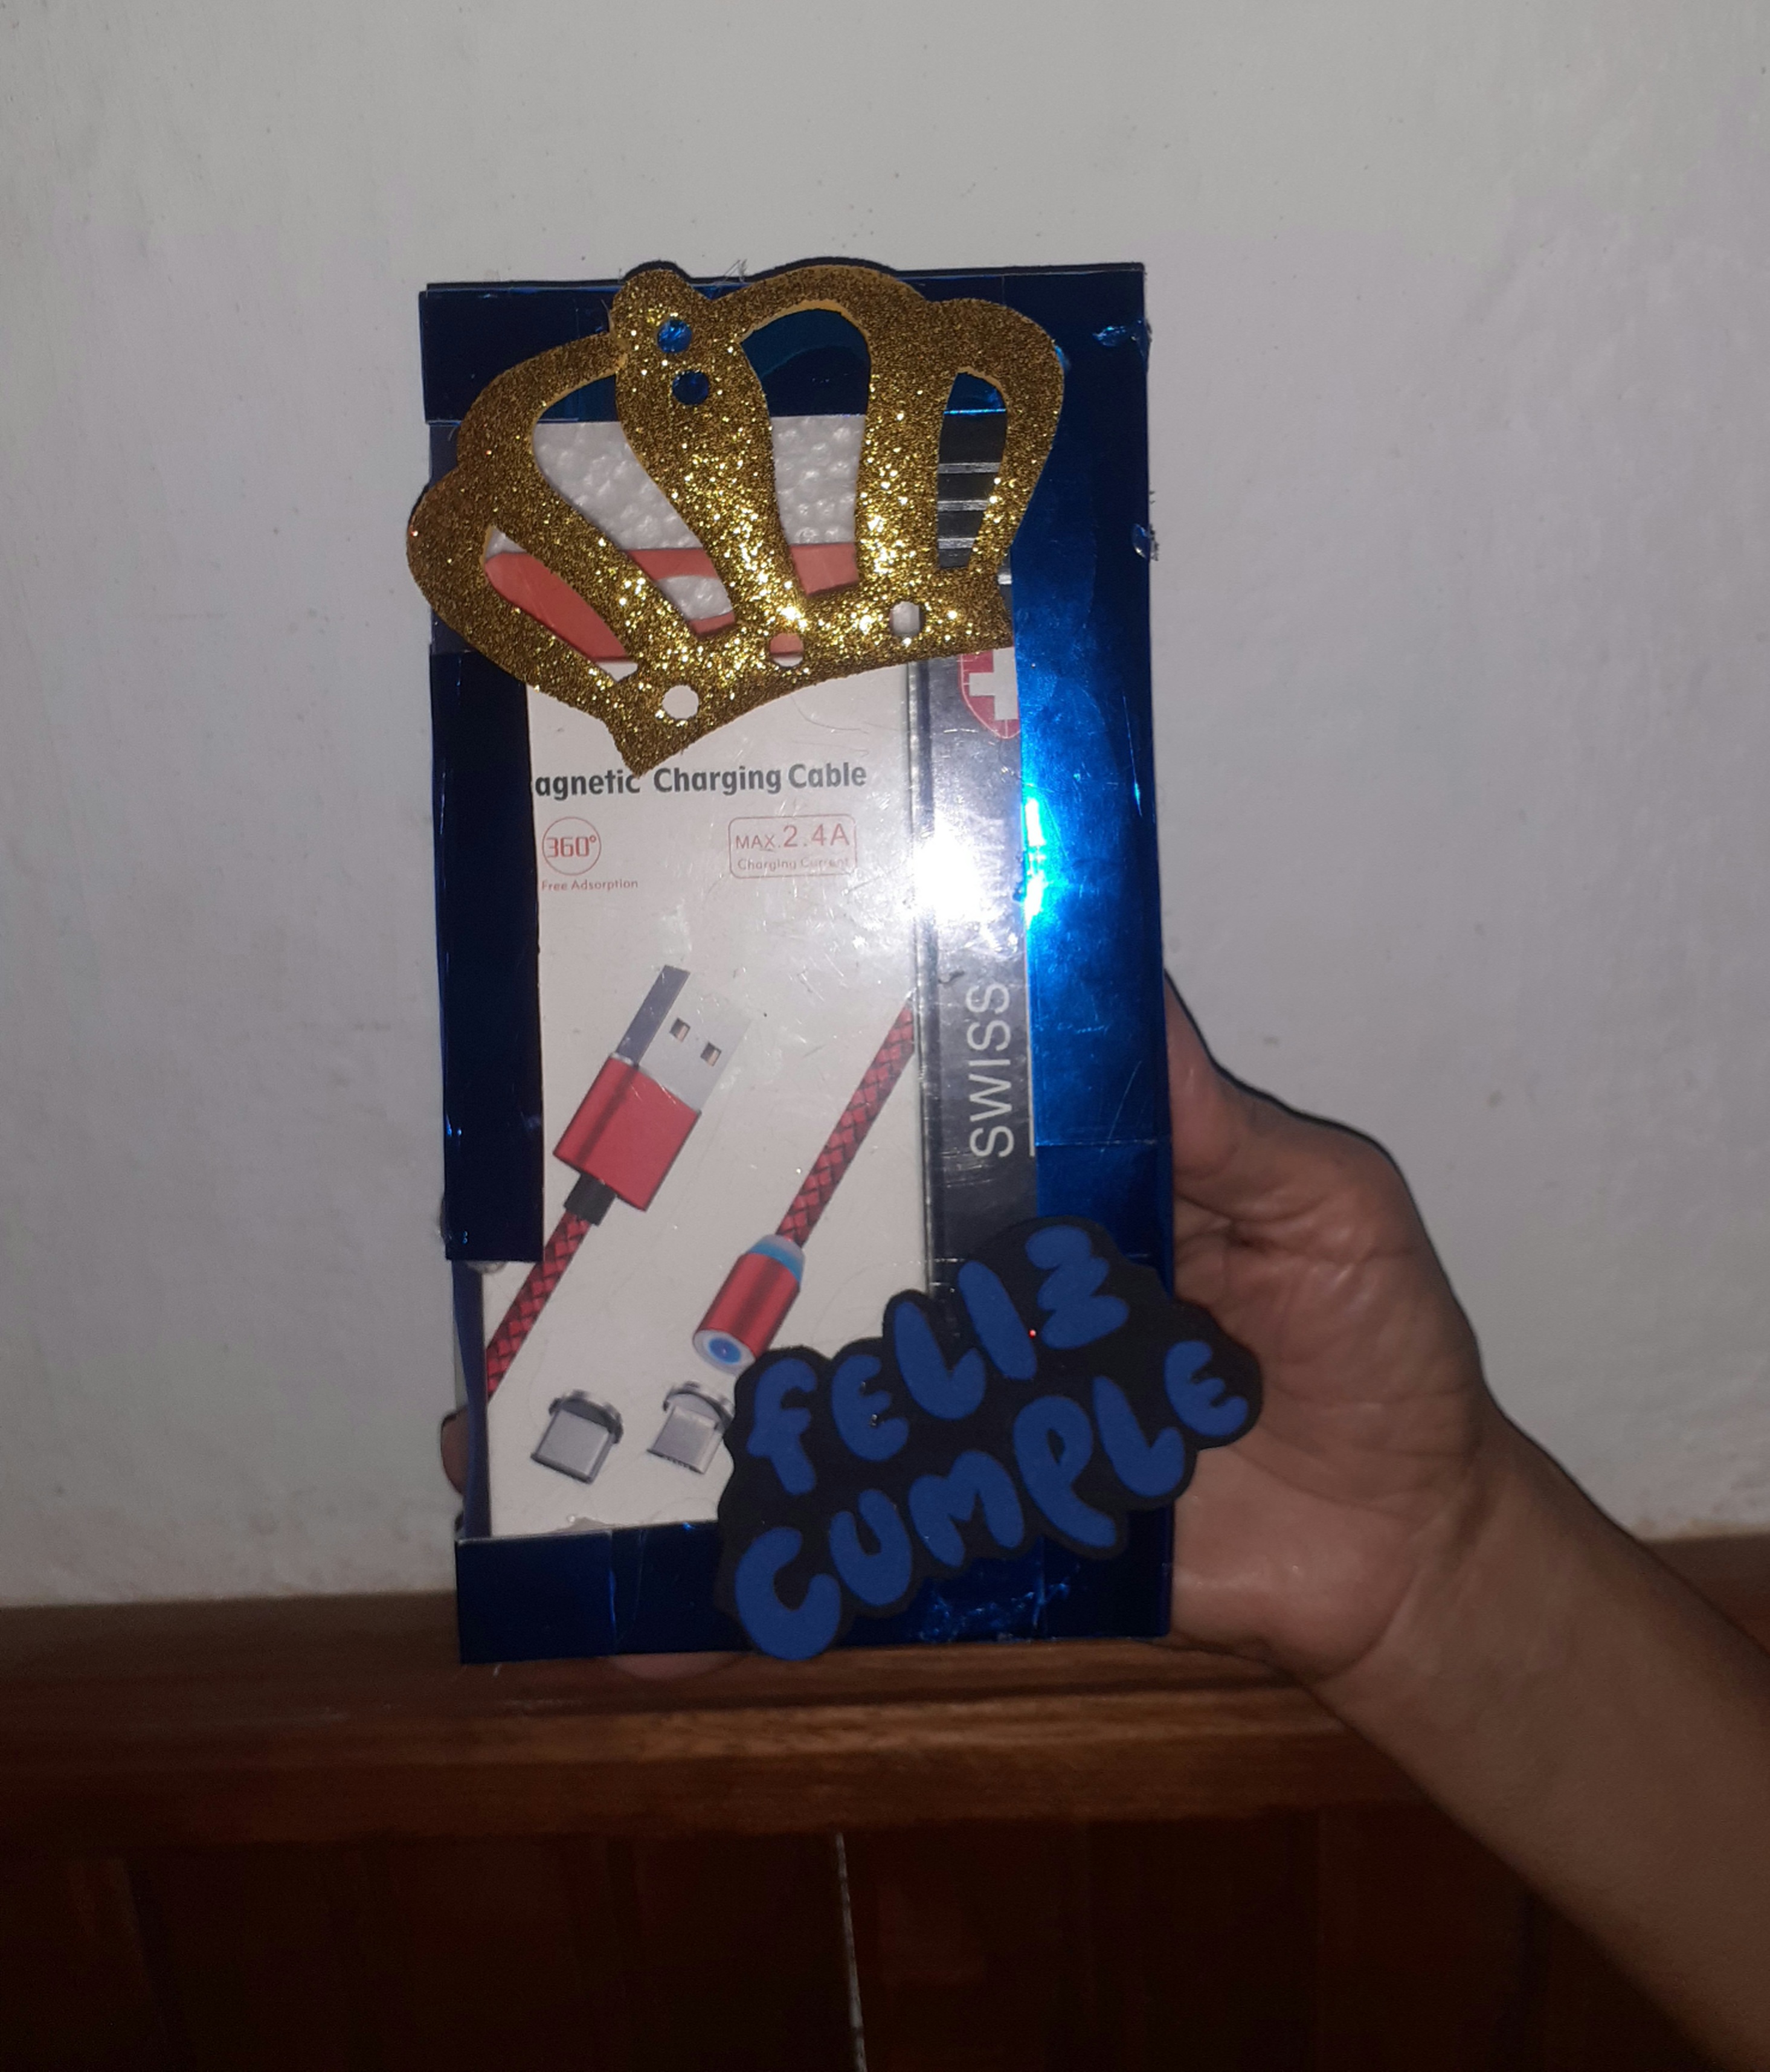
step 12 Now that our box is finished, we are going to decorate it with the most special detail for my favorite person. In this case, take a crown 👑 with gold glitter foam and some happy birthday letters, with the little things that I'm going to place inside the box.
paso 12
Ahora ya finalizada nuestra caja, vamos a decorarla con el detalle mas especial para mi persona favorita. En este caso tome una corona 👑 con foami dorado de escarcha y unas letras de feliz cumpleaños, con las cositas que voy a colocar dentro de la caja.
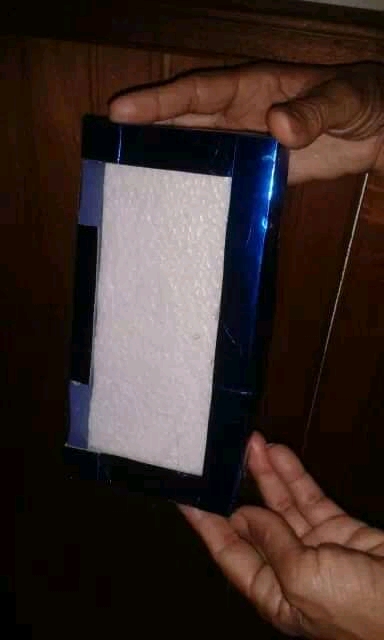
step 13 To conclude, we are going to glue the crown on the top side and the happy birthday on the bottom side with the silicone. And it would look this beautiful on us 💚. I love it 💖 😍. And so it would look ready.
paso 13
Para concluir, vamoa a pegar con el silicon ña corona del lado de arriba y el feliz cumpleaños del lado abajo. Y nos quedaria asi de hermoso 💚. Me encanto 💖 😍. Y asi se veria ya listo .
Bello trabajo.... Saludos!