Como ustedes saben estoy activa en casa creando cositas para personalizar mis espacios, y justo hoy vengo a eso, a compartir una transformación súper sencilla que realicé hace unos días a un dispensador de detergente para lavar los platos, y es que antes de él, yo mantenía en la cocina el mismo envase en que compraba el detergente y hace tiempo quería un dispensador para que todo se viese más bonito, pero ya ustedes me conocen, no encontré nada que se ajustara a lo que yo quería, y después de buscar y buscar en mi última visita a Mango Bajito, decidí que conpraría uno que pudiese modificar, y hoy les muestro qué tal me fue.
As you know I am active at home creating little things to customize my spaces, and just today I come to that, to share a super simple transformation that I made a few days ago to a dishwashing detergent dispenser, and is that before it, I used to keep in the kitchen the same container in which I bought the detergent and some time ago I wanted a dispenser to make everything look nicer, but you know me, I did not find anything that fit what I wanted, and after searching and searching in my last visit to Mango Bajito, I decided to buy one that I could modify, and today I show you how it went.
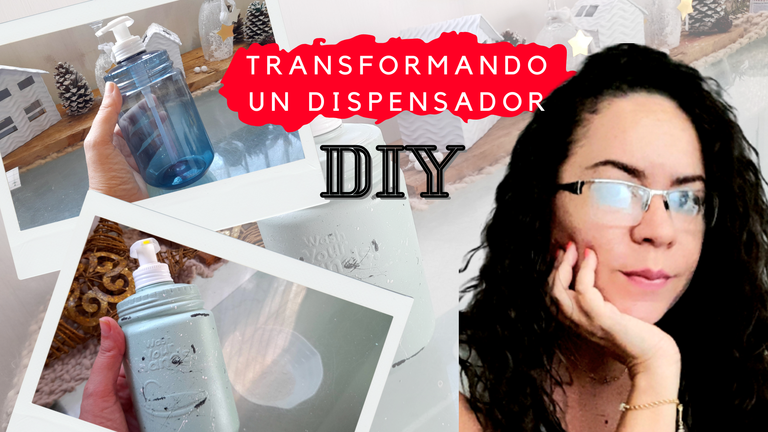
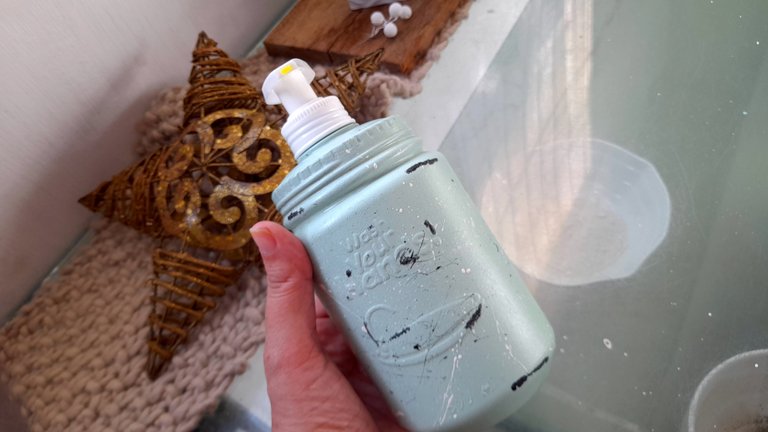
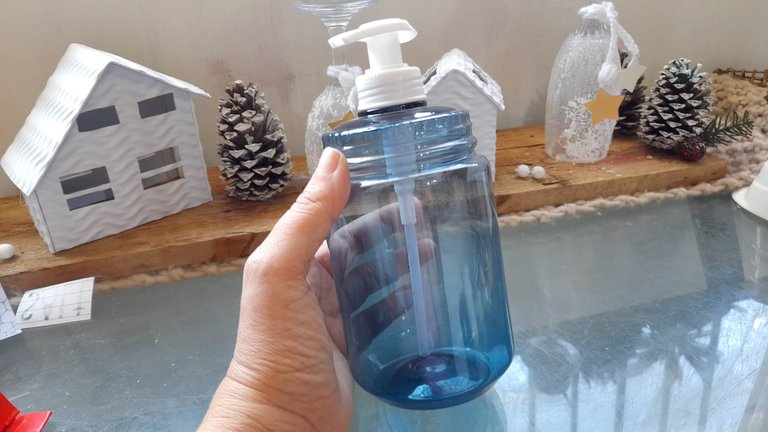
Como les digo, estuve buscando un dispensador hace bastante tiempo, pero necesitaba que tuviese ciertas características, y es que en primer lugar necesitaba que fuese de un material que soportara caídas sin dañarse, ya que mis hijos hace un tiempo son los encargados de lavar los platos en casa, y la mayoría de los dispensadores bonitos, eran de cerámica, por lo que no eran una opción, además estaba buscando de un color específico y tampoco lo encontraba, así que decidí hacerlo yo, y para eso compré un dispensador bastante sencillo, de un plástico que a mí parecer es súper resistente y me fui a casa con él, pensando en el camino cómo modificarlo. Y por aquí les comparto el resultado, los materiales y cómo lo hice.
As I say, I was looking for a dispenser for quite some time, but I needed it to have certain characteristics, and first of all I needed it to be made of a material that could withstand falls without being damaged, since my children have been in charge of washing the dishes at home for some time, and most of the nice dispensers were made of ceramic, so they were not an option, I was looking for a specific color and I couldn't find it either, so I decided to do it myself, and for that I bought a very simple dispenser, made of a plastic that I think is super resistant and I went home with it, thinking on the way how to modify it. And here I share with you the result, the materials and how I did it.
Materiales
Dispensador de plástico
Pintura a la tiza color menta
Pintura al frío negra
Pintura al frío blanca
Cepillo de dientes viejo
Pincel fino
Esponja
Finish color acrílico
Materials
Plastic dispenser
Mint colored chalk paint
Black cold paint
White cold paint
Old toothbrush
Thin brush
Sponge
Finish acrylic color
Paso a paso
La transformación de este dispensador es bastante sencilla pero encantadora. Es una técnica que vi por pinterest aplicada a macetas y que me encantó porque les da como un toque desgastado o vintage si se quiere, y hace tiempo que quería probar qué tal me quedaba, así que esta fue la oportunidad perfecta.
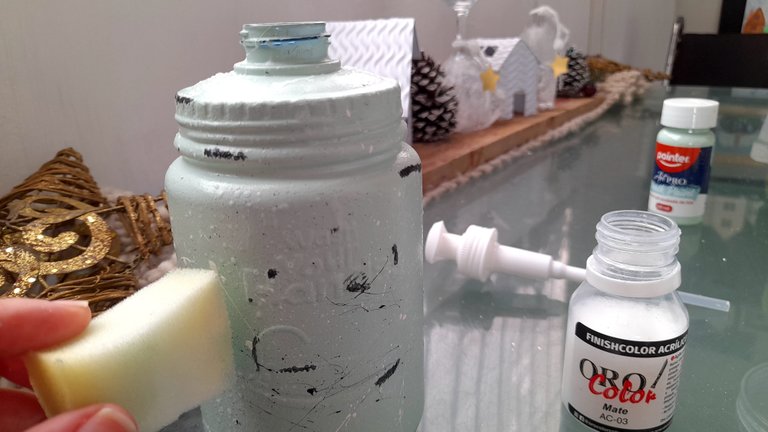
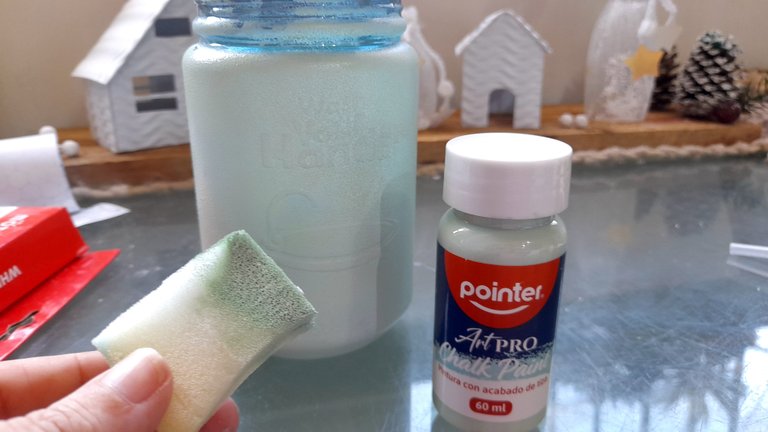
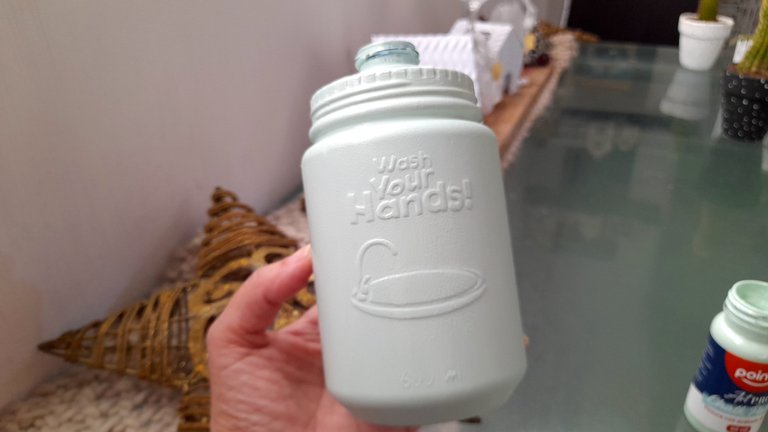
Y para iniciar con el proceso lo primero que hice fue lavar y secar muy bien el envase, retirar el dispensador, y con ayuda de la esponja di varias capas de pintura, esperando por supuesto que se secara por completo antes de aplicar una nueva capa.
En total apliqué tres capas de pintura y quedó perfectamente cubierto.
Step by step
The transformation of this dispenser is quite simple but charming. It's a technique that I saw on pinterest applied to pots and I loved it because it gives them a worn or vintage touch, and I wanted to try it for a long time, so this was the perfect opportunity.
And to start with the process the first thing I did was to wash and dry the container very well, remove the dispenser, and with the help of the sponge I applied several coats of paint, waiting of course for it to dry completely before applying a new coat.
In total I applied three coats of paint and it was perfectly covered.
El siguiente paso consistió en realizar pequeñas salpicaduras en color negro y blanco en toda la superficie del envase, sin saturarlo, y para ello utilicé el cepillo de dientes, al cual sumergí la punta de sus cerdas en pintura y luego con el dedo las froté para que la pintura saliera disparada y creara las salpicaduras que ven, y esto lo hice con ambos colores (negro y blanco).
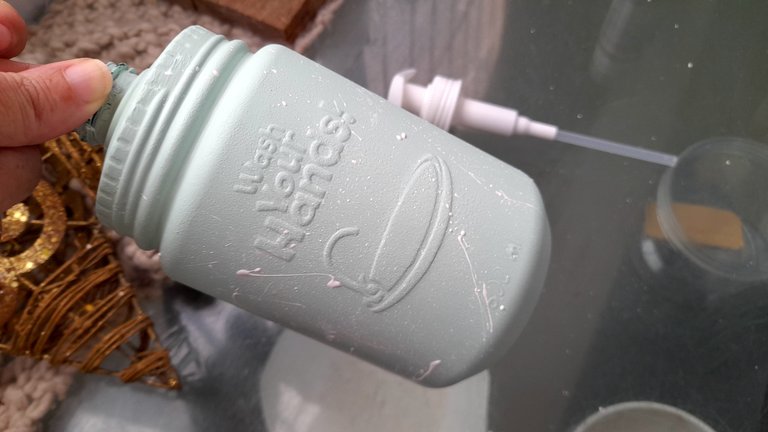
The next step was to make small splashes in black and white on the entire surface of the container, without saturating it, and for this I used the toothbrush, to which I dipped the tip of its bristles in paint and then with my finger I rubbed them so that the paint would come out and create the splashes you see, and I did this with both colors (black and white).
Nuevamente dejé secar muy bien para continuar con el siguiente paso que era aplicar toques de negro para simular que el envase estaba desgastado. Particularmente a mi me parece que da la ilusión de ser peltre o algo por el estilo.
En fin, para esto tomé el pincel fino, y con la pintura negra, dí pequeños toques por algunas zonas del envase, específicamente los bordes, para crear ese efecto de que ha perdido la pintura en esas zonas, y en cuanto hice el primer trazo quedé realmente feliz porque se veía tal cual el tutorial, así que lo repetí en distintas zonas, incluyendo la frase en relieve que traía el envase y en la imagen del lavamanos, imagen que fue determinante a la hora de escoger el envase porque me pareció un súper toque.
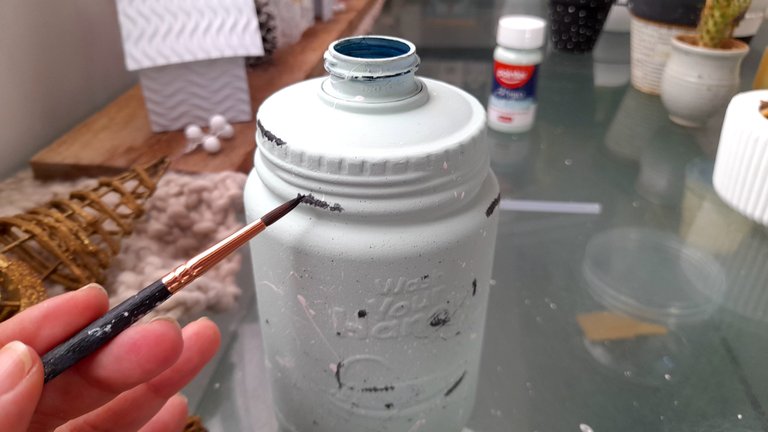
Again I let it dry very well to continue with the next step which was to apply touches of black to simulate that the container was worn. Particularly to me it seems to give the illusion of being pewter or something like that.
Anyway, for this I took the fine brush, and with the black paint, I gave small touches in some areas of the container, specifically the edges, to create that effect that has lost the paint in those areas, and as soon as I made the first stroke I was really happy because it looked just like the tutorial, so I repeated it in different areas, including the phrase in relief that brought the container and in the image of the sink, image that was decisive when choosing the container because I thought it was a super touch.
Una vez que terminé de dar los toques de negro y que estuvo seco, con ayuda de la esponja apliqué el protector, y como este envase va a estar en contacto directo con el agua decidí aplicar tres capas, y en este caso, toca esperar como mínimo media hora entre cada capa para volver a aplicar, y una vez lista la última capa, agregué el lavaplatos líquido, coloqué el dispensador, y listo, tenía un nuevo dispensador completamente a mi gusto y absolutamente hermoso.
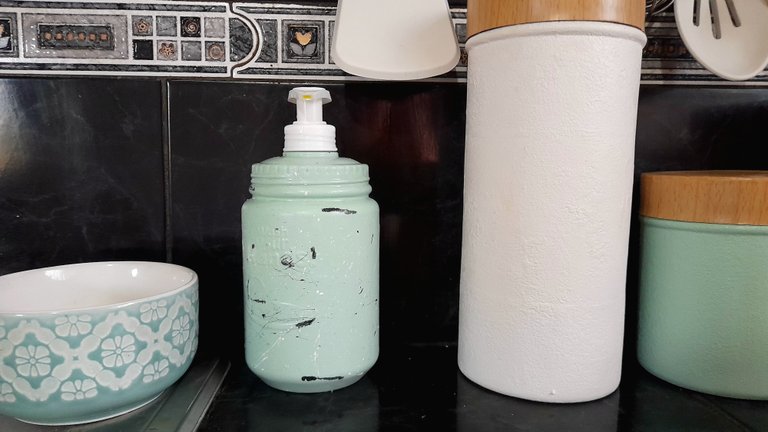

Once I finished the touches of black and it was dry, with the help of the sponge I applied the protector, and as this container will be in direct contact with water I decided to apply three coats, and in this case, it is necessary to wait at least half an hour between each coat to reapply, and once the last coat was ready, I added the liquid dishwasher, placed the dispenser, and ready, I had a new dispenser completely to my taste and absolutely beautiful.
Como ven es un trabajo bastante sencillo pero con un resultado precioso, muy al estilo vintage y eso me encantó, y espero que a ustedes también les haya gustado esta transformación tanto como a mí.
As you can see it's a pretty simple job but with a beautiful result, very vintage style and I loved it, and I hope you also liked this transformation as much as I did.

Posted Using INLEO
Amiga me encanta esta transformación, es algo no tan difícil y económico, algo muy importante: personalizado a tu gusto...
Un abrazo amiga..
Felicidades
Así es ami, de verdad es sencilla y lo puedes lavar sin problemas y hace que se vea más lindo el lugar.
Abrazos
Quedó bien chevere Ami, ese estilo está muy de moda, lo he visto en diferentes artículos, tengo una taza para café de vidrio que tiene esa simulación a desgastado, parece peltre. Y hace juego como querías con el resto de las cosas que vienes haciendo para tu cocina, más personalizado imposible 🤗🤗🤗
Siiii esta de moda y de verdad qie es bien bonito, a mí me gustó bastante y encaja con todo jaja
Muy buena idea amiga..! Saludos..!
Gracias amiga, un abrazo
Está muy chévere y me gusta la idea, porque es fácil y práctica. En casa usamos el mismo pote donde viene el detergente, voy a intentar hacer algo jaja jajaja no te prometo nada pero lo intentaré. Gracias por compartir amiga saludos
Vamos que tu si puedes jeje. Yo hace añales hice uno con servilletas y pega y luego lo pinté, eso también es fácil y no necesitas el protector, puede ser un proyecto para hacer con Gaby!
Saludos amiga
Te puedo hermoso Ami ! Siempre poniendo tu toque de creatividad en cada rincón 💕
Gracias mi bella, viste que es súper fácil? Y hace que el lavaplatos se vea bonito jaja
Ame en su totalidad... Necesito acrílico de ese me encanta como deja todo prolijo!🩷
Gracias ami, yo encontré ese en una librería, seguro allá lo encuentras, esta en 2$ y rinde bastante además que de verdad protege, puedes limpiar y todo el envase.
Wow, lo necesito! Lo buscaré Ami bella, gracias por la recomendación ✨
Me gusto mucho el nuevo aspecto, se ve genial amiga, es una gran idea ❤️
Muchas gracias amiga, yo ahora quiero hacerlo a unas macetas jajaja
Amiga seguramente te va a quedar tan precioso como este. Estaré pendiente para verlo y copiar ideas para mis macetas también. ❤️