Cada pedido y cada cliente son completamente diferentes, y como emprendedores toca estar preparados para lidiar con todo, pero hay algunas cosas que definitivamente me vuelven loca, y esta es la historia de este pequeño arreglo que comenzó siendo una cosa y terminó en otra, y aunque igual quedó lindo no es para nada lo que como debía ser y tuve que resolver.
De hecho estaba indecisa si compartirlo o no, porque no me encanta, pero luego pensé que podía dejarles algunos tips por si pasan por situaciones similares.
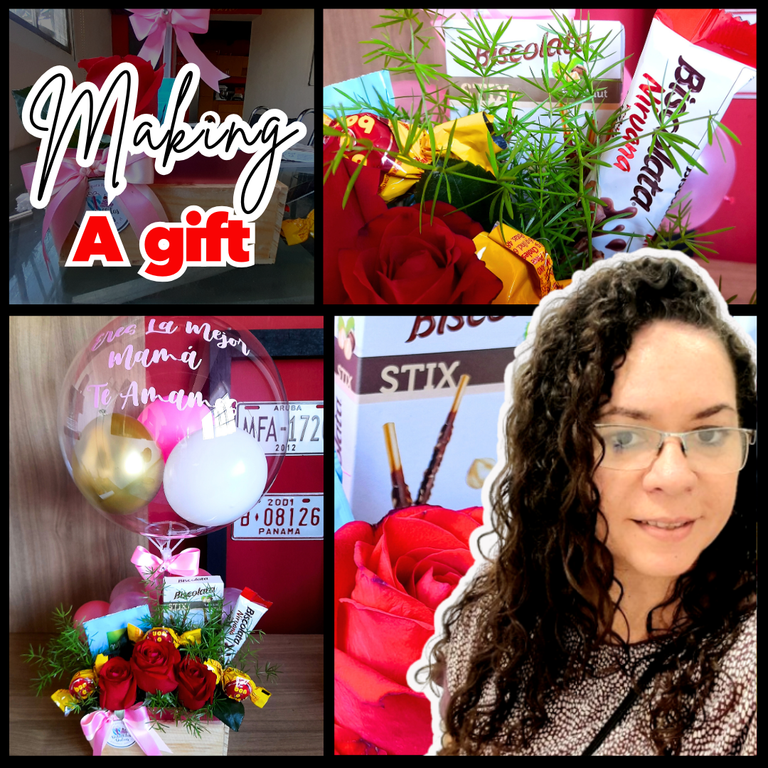
Este arreglo en sus inicios sería un arreglo de flores, con chuches y globo personalizado, además habían pedido una baby cake, pero a medida que pasaban los días la clienta tuvo algunos problemas con el dinero y un día antes de la entrega solo había podido cancelar una parte y no podía cancelar el resto.
En vista de esto tuve que trabajar con un presupuesto súper ajustado y tratar de ahorrar en todo para poder hacer la entrega y no salir perdiendo yo, ya que había comprado algunas cosas y básicamente nuestra ganancia era el dinero que quedaba pendiente, y en este punto les dejo el Tip #1 para evitar este tipo de situaciones: si trabajan con emprendimientos, lo ideal es que les cancelen por adelantado la totalidad del monto, y se evitan este tipo de situaciones cargadas de estrés, así que aquí les dejo el paso a paso y algunos tips para realizar un arreglo y no morir en el intento.
Vamos a necesitar
Cajita de pino
Oasis
Anime
Rosas
Dulces
Globo personalizado
Palitos de altura
Pistola de silicón
Cinta de raso
Paso a paso
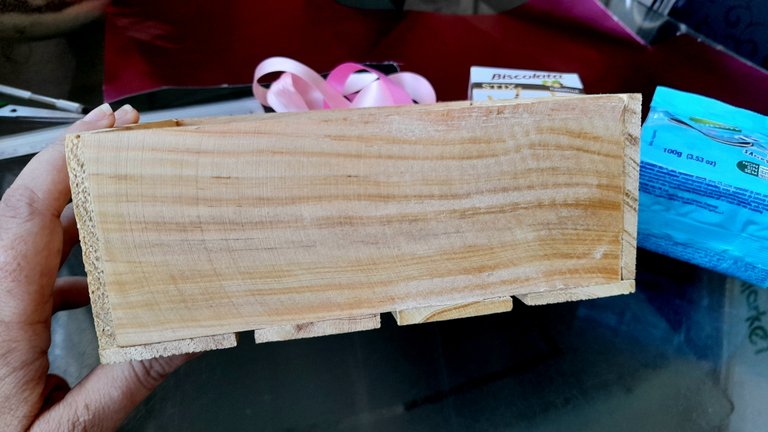
Como siempre, lo primero es decorar la cajita de madera, en este caso, ya había comprado la cajita según el plan inicial y después del cambio ya no me servía, pues era muy baja, pero como estábamos con presupuesto limitado, decidí no hacer más gastos hasta ajustarla, por lo que se me ocurrió utilizar cartulina metalizada para darle un poco más de altura.
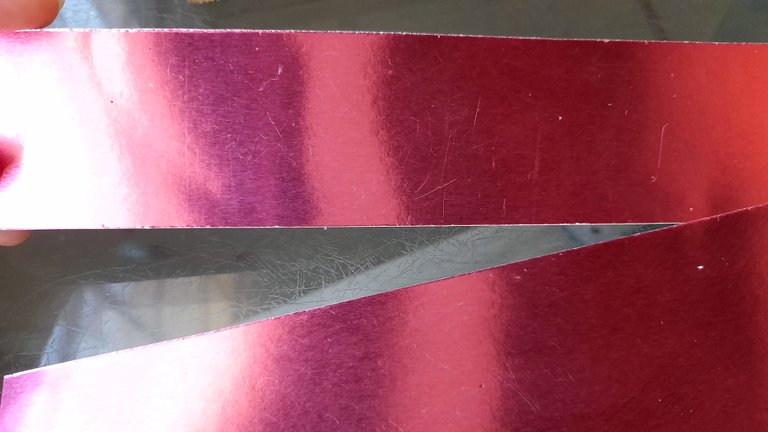
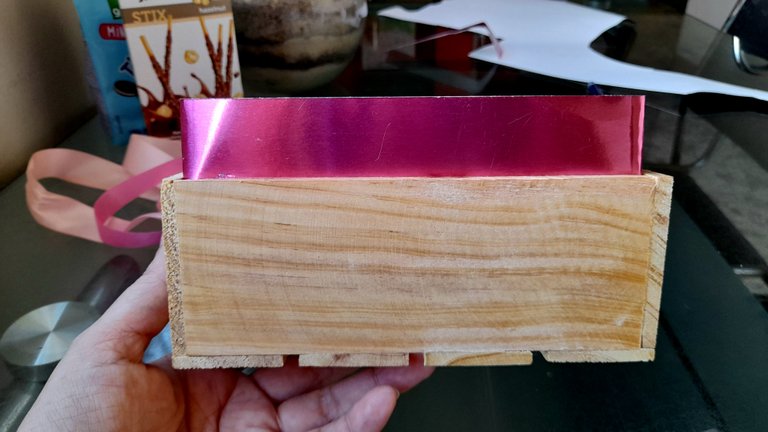
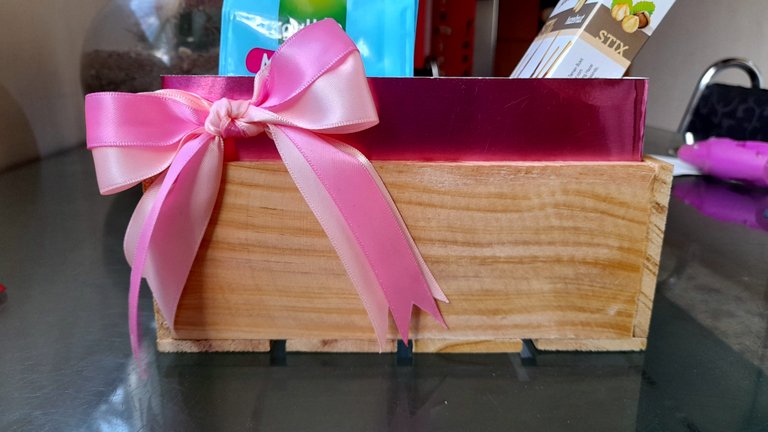
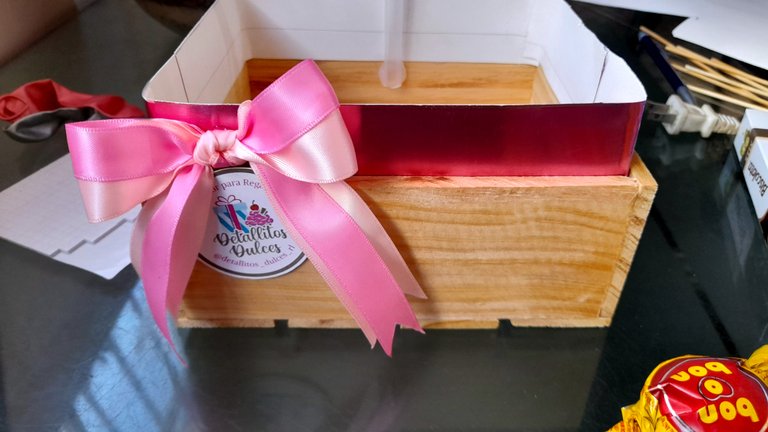
Para ello recorté un listón de 7 cms de cartulina metalizada rosada y con la ayuda de la pistola de silicón la pegué por todo el contorno de la cajita, por la parte interna, y de esta forma logré elevar la altura, además de darle un toque especial a la cajita.
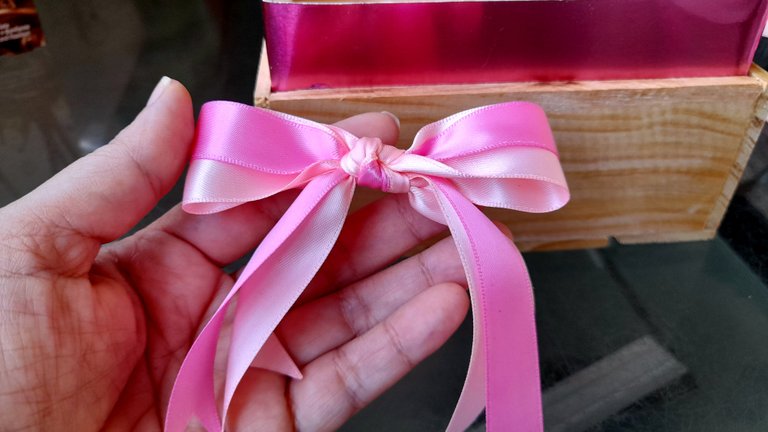
El siguiente paso fue colocar un moño, el cual hice con cintas en dos tonos de rosa diferentes y lo pegué en un lado de la cajita junto con el logo de nuestro emprendimiento.

F
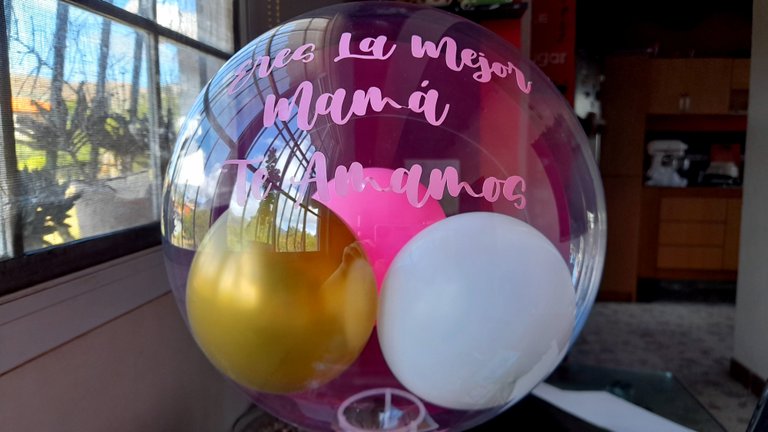
Listo este paso, lo siguiente fue pegar el globo a la cajita y ubicar las rosas y los dulces que llevaría el arreglo, y en esta oportunidad, decidí escoger empaques grandes para los dulces, y así no se verían espacios vacíos, ya que la cajita fue comprada para un arreglo con muchísimas más flores, pero tocaba ajustarse y tratar de organizar todo de la mejor manera posible.
El otro tema fueron las flores, y en circunstancias normales hubiese puesto oasis en toda la cajita, pero en vista del ajuste, solo trabajaríamos con tres flores y algo de follaje que tomaría de las plantas de mi casa, así que decidí ahorrar en eso y utilizar algunos cortes de oasis que tenía en casa y ubicarlo solo donde estarían las flores, y para el resto de la cajita utilizaría anime.
Así que lo que hice fue recortar una porción pequeña de oasis, humedecerlo y colocarlo en una bolsita para evitar derrames y en la parte restante de la cajita introduje anime para que no se moviera el oasis.
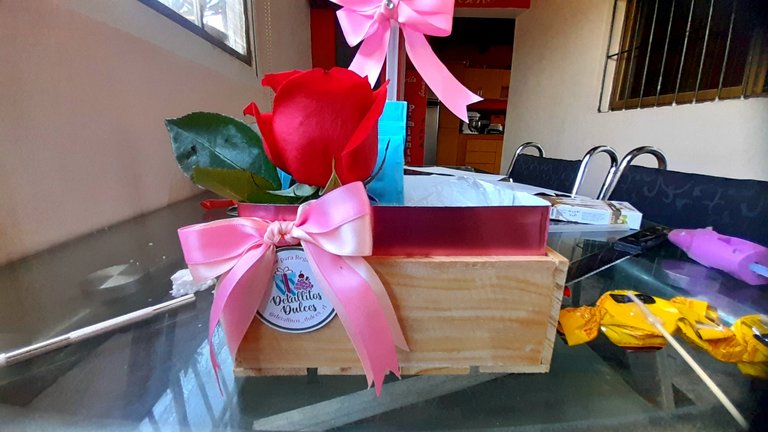
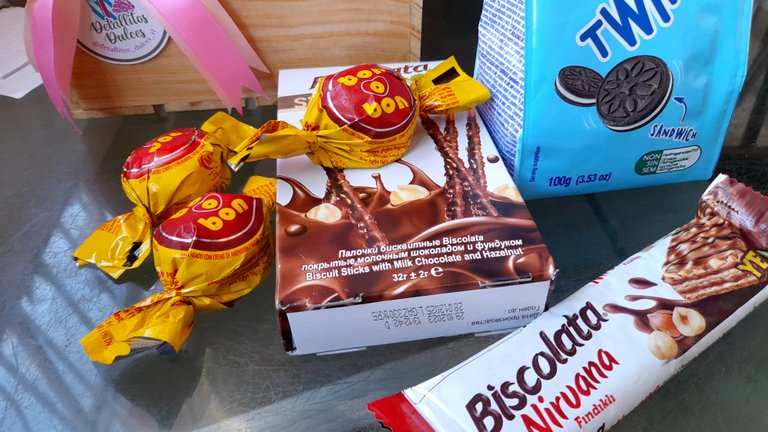
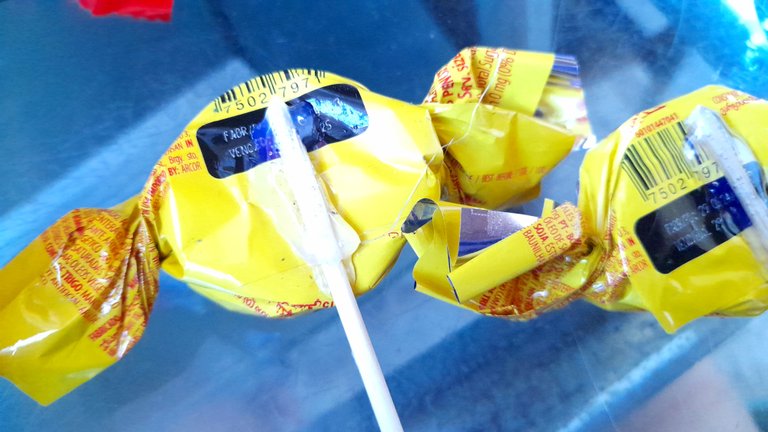
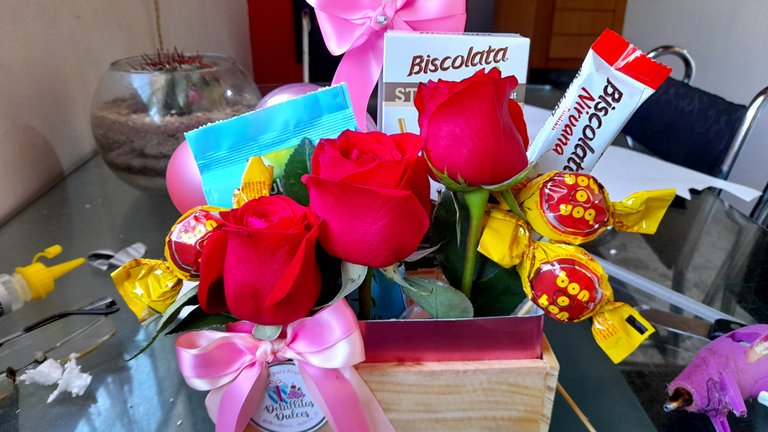
A pesar de tratar de organizar lo mejor posible, seguían quedando espacios vacíos, sobre todo en la parte trasera, así que con globos de látex que tenía en casa llené esos espacios, y finalmente el resto con algunas plantitas que tenía mi mamá en casa.
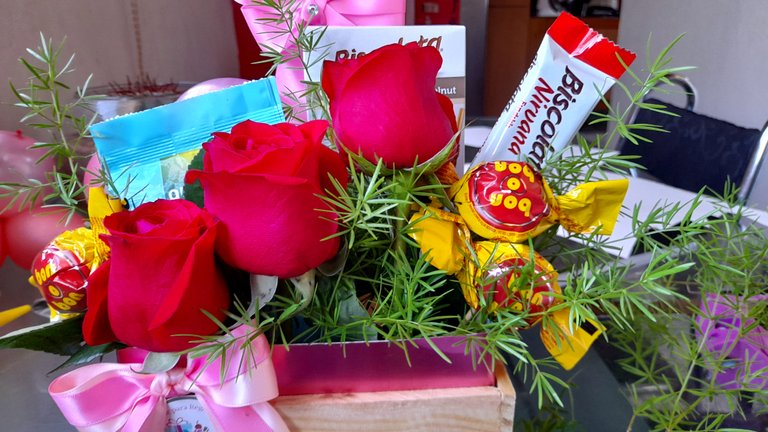
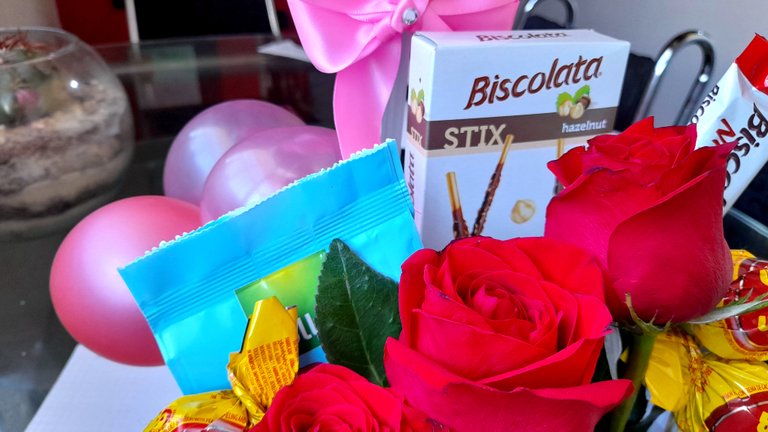
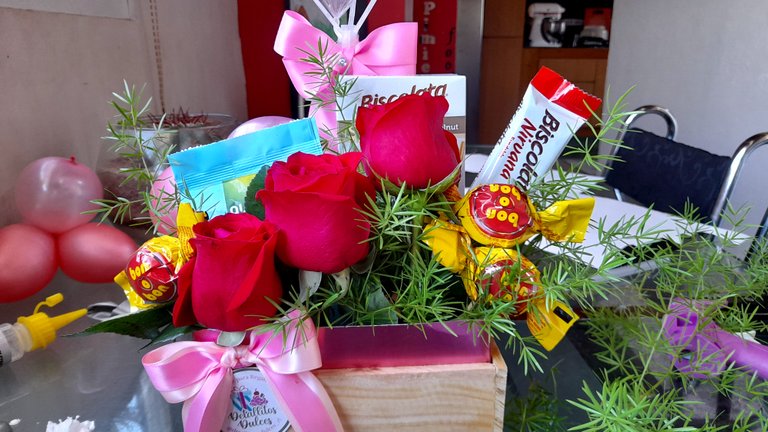
Después de mover las cosas de lugar muchas veces logré acomodarlas lo mejor que pude pero aun así quedaba mucho espacio vacío en la parte de atrás, así que decidí usar globos de látex y hacer pequeñas bolitas para colocar detrás, luego busqué entre las plantas de mi mamá alguna que me pudiese servir como follaje para el lugar donde estaban las rosas y estuvo listo.
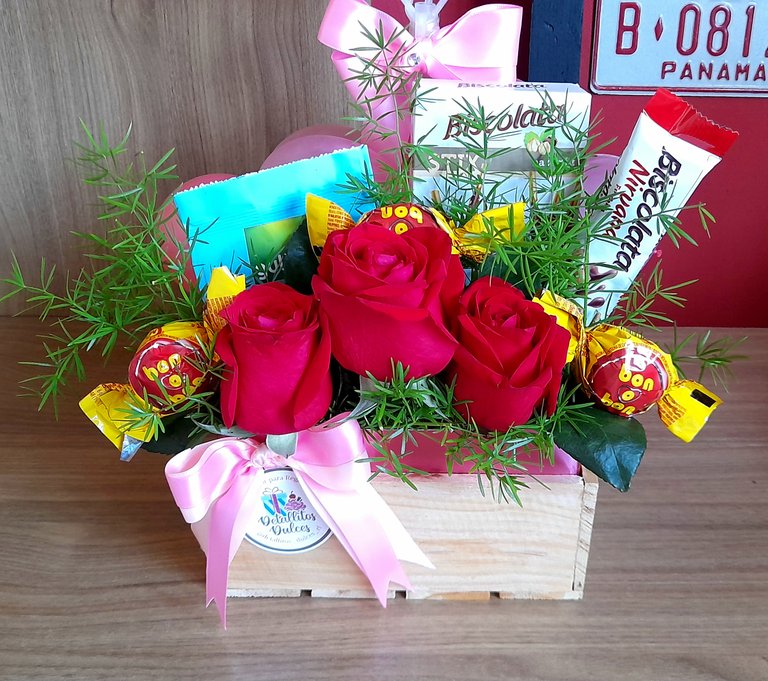
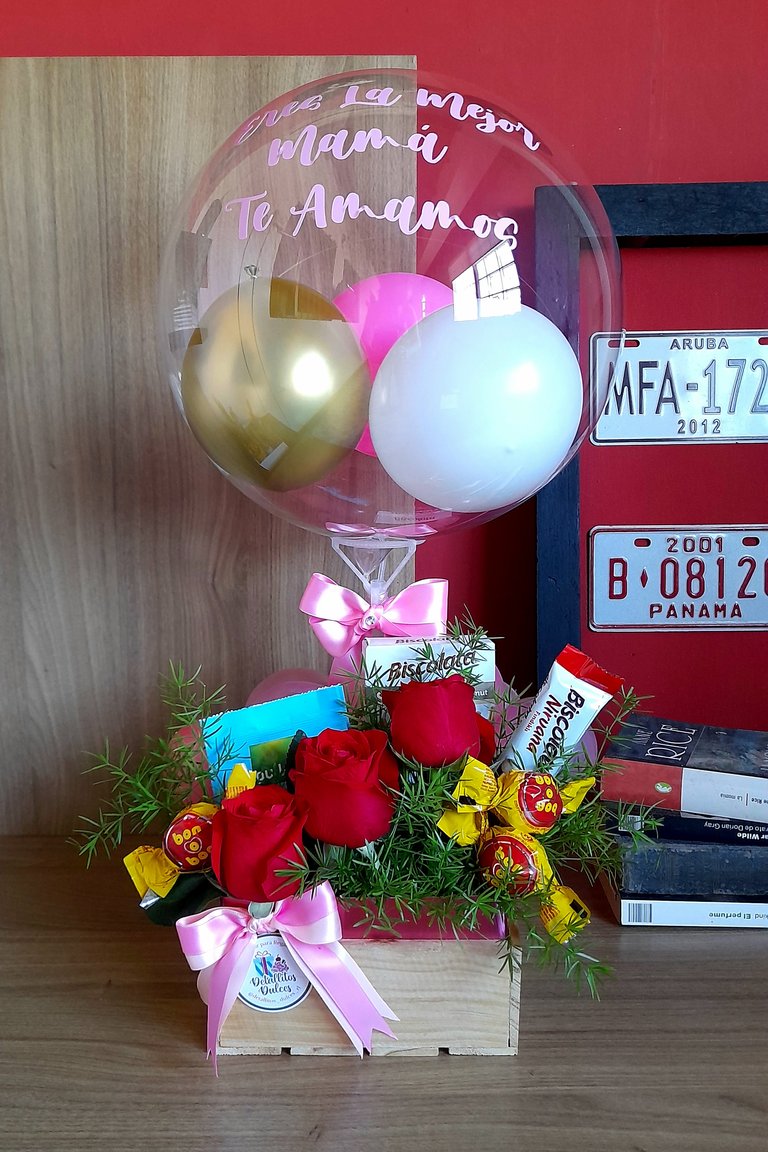
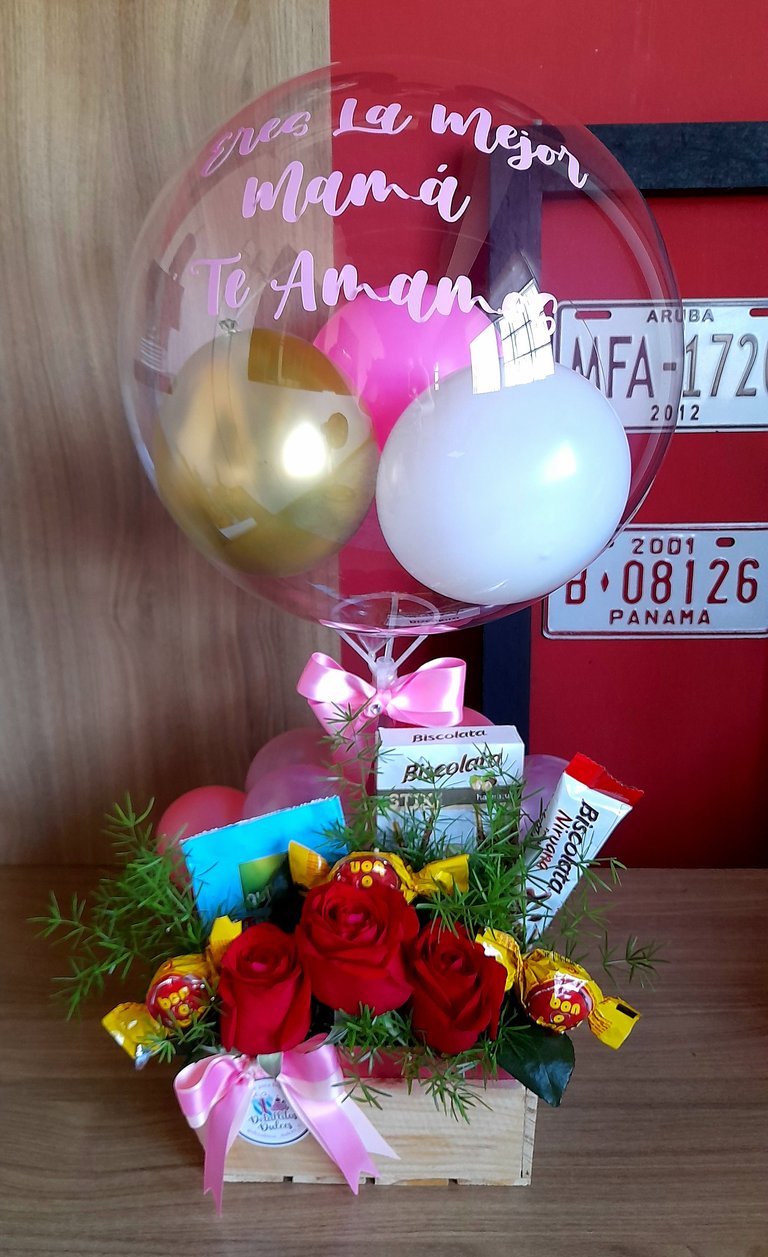
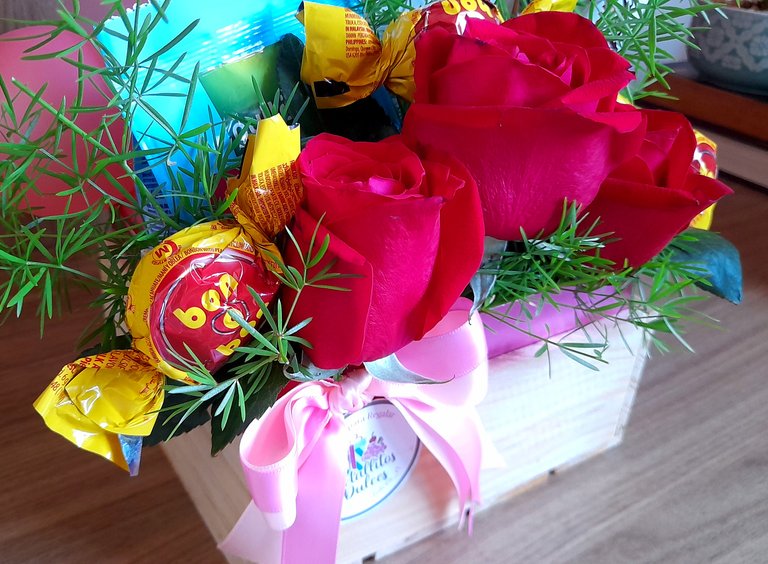
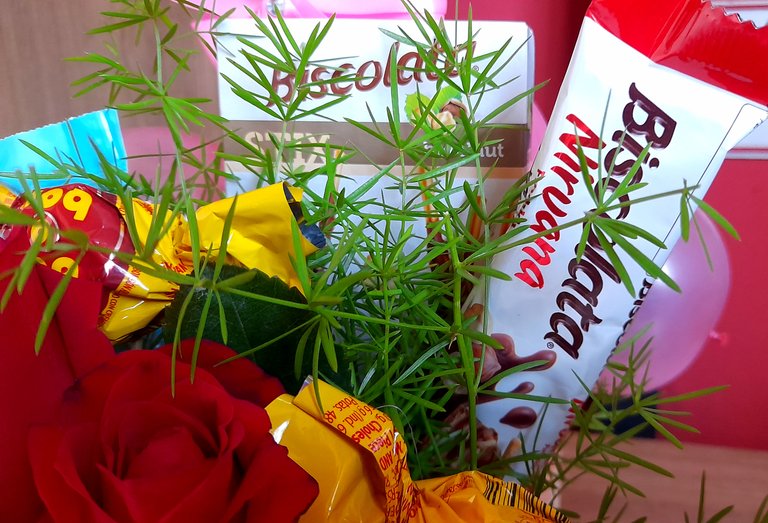
Fue un trabajo estresante, pero después de reacomodar las cosas unas 20 veces finalmente estuve satisfecha con el resultado final, además de quedarme con un nuevo aprendizaje para casos futuros.

Every order and every client are completely different, and as entrepreneurs we have to be prepared to deal with everything, but there are some things that definitely drive me crazy, and this is the story of this little arrangement that started out as one thing and ended in another, and although it still looked nice it is not at all what it was supposed to be and I had to solve.
In fact I was undecided whether to share it or not, because I don't love it, but then I thought I could leave some tips in case you go through similar situations.

This arrangement in its beginnings would be an arrangement of flowers, with candy and personalized balloon, plus they had ordered a baby cake, but as the days passed the client had some problems with the money and a day before delivery had only been able to cancel a part and could not cancel the rest.
In view of this I had to work with a super tight budget and try to save on everything to be able to make the delivery and not lose out, since I had bought some things and basically our profit was the money that was pending, and at this point I leave the Tip #1 to avoid this kind of situations: if you work with businesses, the ideal is that you cancel in advance the entire amount, and avoid this kind of stressful situations, so here I leave you the step by step and some tips to make an arrangement and not die trying.
We will need
Pine box
Oasis
Anime
Roses
Candy
Personalized balloon
Height sticks
Silicone gun
Satin ribbon
Step by step
As always, the first thing to do is to decorate the wooden box, in this case, I had already bought the box according to the initial plan and after the change it was too low, but as we were on a limited budget, I decided not to make more expenses until adjusting it, so I thought of using metallic cardboard to give it a little more height.
To do this I cut a 7 cm ribbon of pink metallic cardboard and with the help of the silicone gun I glued it all around the inside of the box, and in this way I managed to raise the height, in addition to giving a special touch to the box.


The next step was to place a bow, which I made with ribbons in two different shades of pink and glued it on one side of the box along with the logo of our project.


Once this step was done, the next step was to glue the balloon to the box and place the roses and candies in the arrangement, and this time, I decided to choose large packages for the candies, so that there would be no empty spaces, since the box was bought for an arrangement with many more flowers, but it was time to adjust and try to organize everything in the best possible way.
The other issue was the flowers, and under normal circumstances I would have put oasis in the whole box, but in view of the adjustment, we would only work with three flowers and some foliage that I would take from my house plants, so I decided to save on that and use some oasis cuttings that I had at home and place it only where the flowers would be, and for the rest of the box I would use anime.
So what I did was to cut a small portion of oasis, moisten it and place it in a bag to avoid spills and in the remaining part of the box I introduced anime so that the oasis would not move.


Despite trying to organize as best as possible, there were still empty spaces, especially in the back, so with latex balloons that I had at home I filled those spaces, and finally the rest with some little plants that my mom had at home.


After moving things around many times I managed to arrange them as best I could but there was still a lot of empty space in the back, so I decided to use latex balloons and make little balls to put behind them, then I looked among my mom's plants for some that I could use as foliage for the place where the roses were and it was ready.


It was a stressful job, but after rearranging things about 20 times I was finally satisfied with the final result, as well as learning something new for future cases.

Posted Using InLeo Alpha
Guaooooo amiga, cada día perfeccionando, te quedó muy lindo..! Abrazos
Gracias amiga
Me encanto esta idea para emprender. Es fabulosa. Quedo muy lindo. Le felicito.
Gracias amiga, definitivamente es un emprendimiento genial.
Esa señora fue una pesadilla, menos mal que siempre inventas algo y resuelves
Es que quiero hasta bloquearla jaja. Creo que nunca habíamos tenido a alguien así
Este arreglo te quedó espectacular amiga, me encanta el toque de las rosas le da una vista hermosa 💖
Muchas gracias amiga, las rosas le dan un toque especial a todo
Me encanta! Quiero recibir algo así, dile a Pawel jajaja
Jajajaja pasa número
Me encantan tus arreglos mi Rosita!! Yo quiero que me regalen uno así de bello 💕✨
Gracias ami, este arreglo fue un estrés pero gracias a Dios me gustó cómo quedó
Amiga me imagino el estrés. Pero al final quedó muy lindo. Se nota lo responsable que eres con tu trabajo.
Otro hace una mamarrachada con lo poco que te dieron.
Amiga, yo estaba que me daba un ataque, al final no le gané lo que debía porque use cosas que tenía en casa, pero no quería quedar mal aunque no era mi culpa, pero tu sabes como soy yo jaja
Menos mal me gustó
Dios mío, me imagino el estrés. Yo creo que primero hubiese llorado un ratico y luego ya hubiese resulto JAJA. Gracias por compartirnos los tips Ami, te quedó super lindo 😍❤️
Estuve a punto!! Cuando lo estaba haciendo porque tuve que tomar de mis materiales para que se viera decente porque en serio que súper corto el presupuesto y la señora impertinente, pero aprendí la lección!!
Abracitos