Estamos de concurso navideño en la comunidad, y como hace rato estoy activada con mis decoraciones navideñas, aquí está mi primera participación. Se trata de un pesebre en un vaso, una manualidad bastante sencilla con un resultado realmente hermoso, y lo mejor de todo es que lo puedes realizar con cosas que tienes en casa, solo necesitas echar a volar tu imaginación. Y aprovecho la oportunidad de invitar a participar a mis amigas creativas @yagelybri, @valenpba y @alizmarpaola.
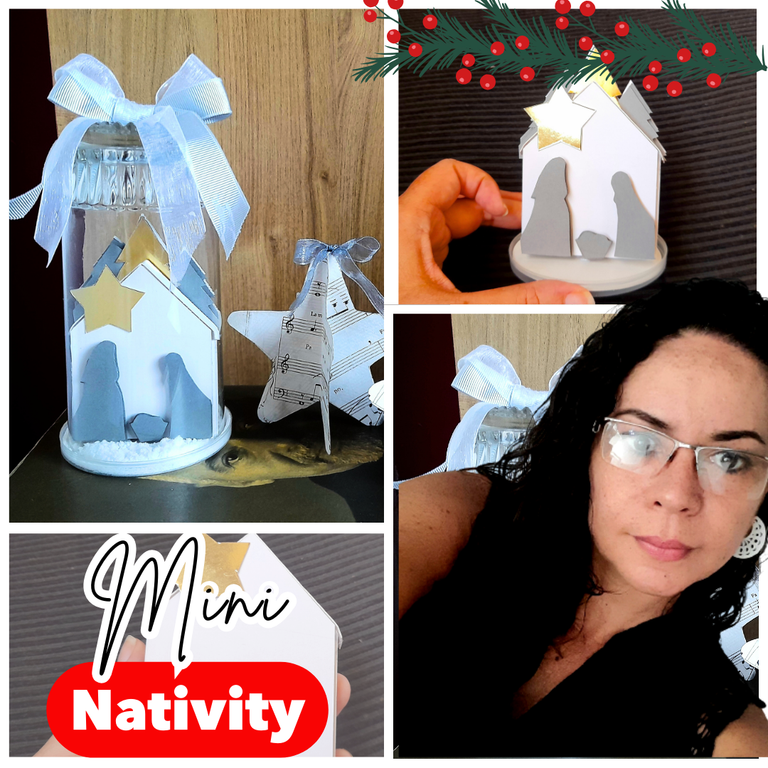
Este proyecto fue uno de los tantos que vi en mi búsqueda de ideas para decorar mi casa esta navidad, ya que como saben, este año decidí seguir el estilo nórdico, que para mí se ve súper cálido, además de hermoso y elegante, básicamente por los colores que se usan (blanco y gris) y las fibras naturales que crean un contraste muy lindo.
Los diferentes nacimientos que vi de este estilo, estaban en bols de vidrio sobre una base de madera, pero en casa no tenía ninguna de las dos cosas, y tampoco podía salir a comprarlas de momento, así que gracias a mi yo ansioso, busqué la manera de realizar el proyecto con cosas que tuviese en casa, y de ahí nació la idea de hacer este mini nacimiento en un vaso, y terminé amando con locura el resultado, por eso quise compartirlo con ustedes.
Materiales
Vaso de vidrio
Cartulina gris
Cartulina sulfatada blanca
Cartulina metalizada dorada
Adhesivo doble faz
Pistola de silicón
Silicón líquido
Lápiz
Regla
Cutter
Tijera
Cintas de tela en color gris
Tapa plástica
Sal
Paso a paso
Lo primero que hice fue escoger el vaso con el que trabajaría, para luego realizar el diseño del pequeño pesebre, el cual hice en una pieza de cartón, asegurándome que entrara sin problema en el vaso.
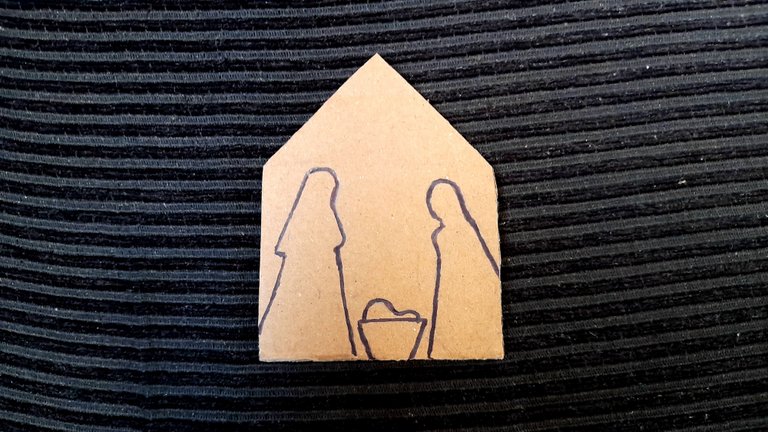
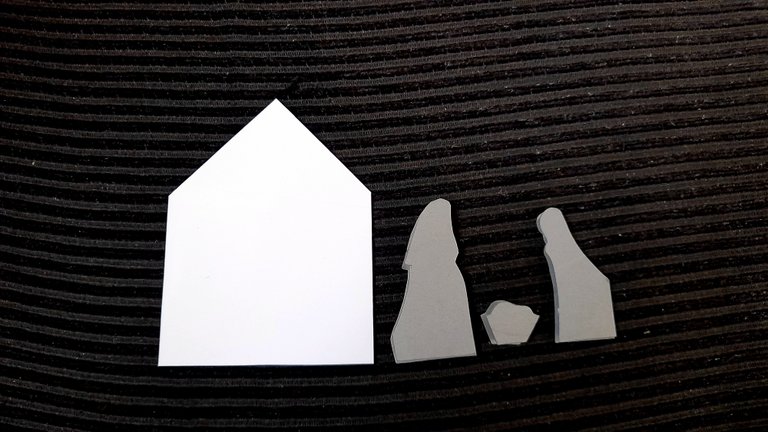
El siguiente paso fue realizar los moldes de cada pieza por separado, que en este caso serían, María, José, el niño Jesús y el establo, bastante básico y sencillo, así que el establo lo corté con ayuda del cutter en la cartulina sulfatada blanca de la cual recorté cuatro piezas, ya que la realizaría por capas como generalmente trabajo los toppers.
Para José, María, y el niño Jesús utilicé cartulina gris, y de estas piezas solo realicé dos.
Como ven, la cantidad de cartulina que utilicé es mínima, de hecho trabajé con recortes que me han quedado de otros trabajos que he hecho en casa, pero tú puedes realizarlo con lo que tengas a la mano, tela, fieltro, cartón pintado, foami, etc. Las posibilidades son muchas.
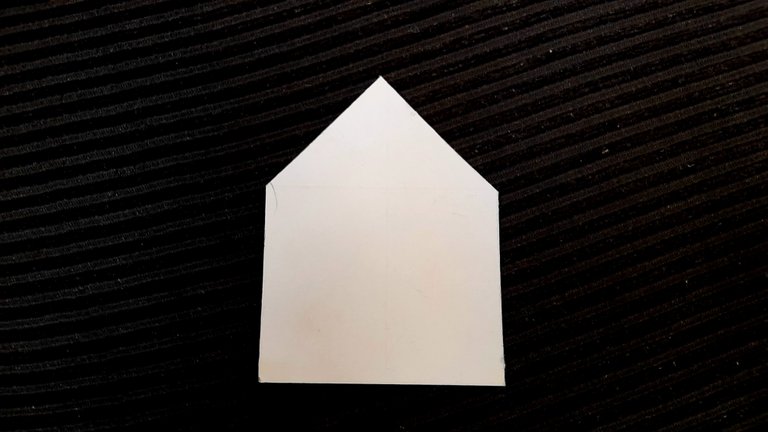
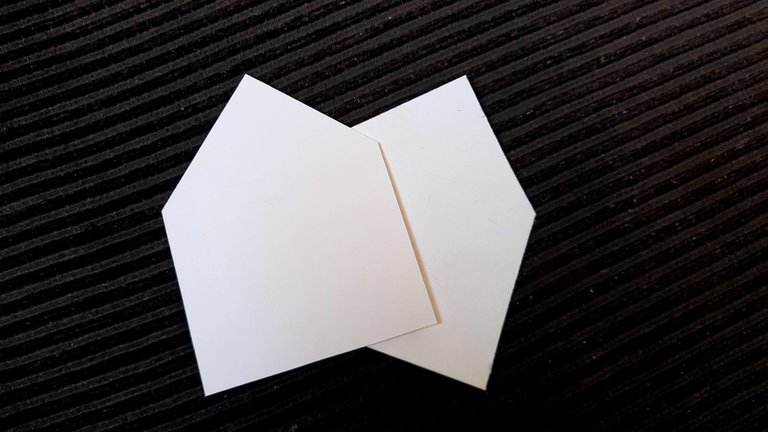
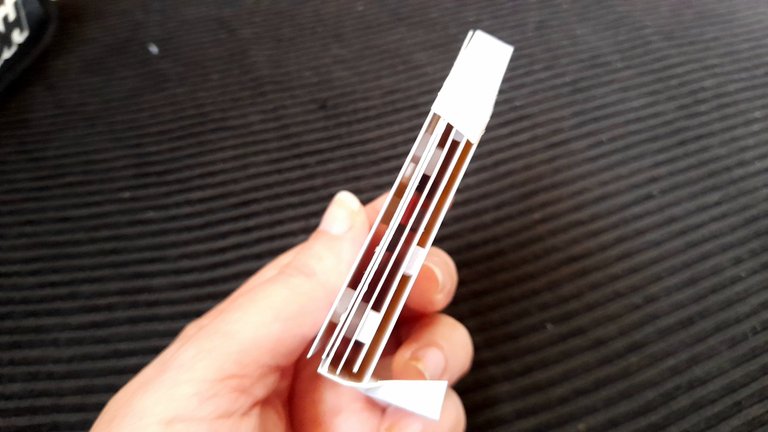
Una vez tuve listas las piezas, lo siguiente que debía hacer era armar cada una de ellas, y para esto utilicé el adhesivo doble faz, y lo que hice fue pegar adhesivo en una de las piezas, y luego enfrentarla con la siguiente.
Si en casa no cuentan con adhesivo doble faz, no se preocupen, pueden utilizar foami, e incluso trocitos de cartón, ya que lo que necesitamos es crear una pequeña separación entre cada recorte para dar dimensión a nuestro establo.
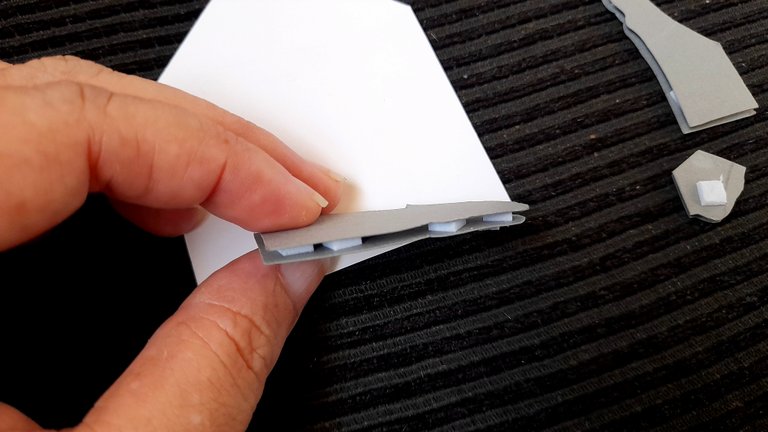

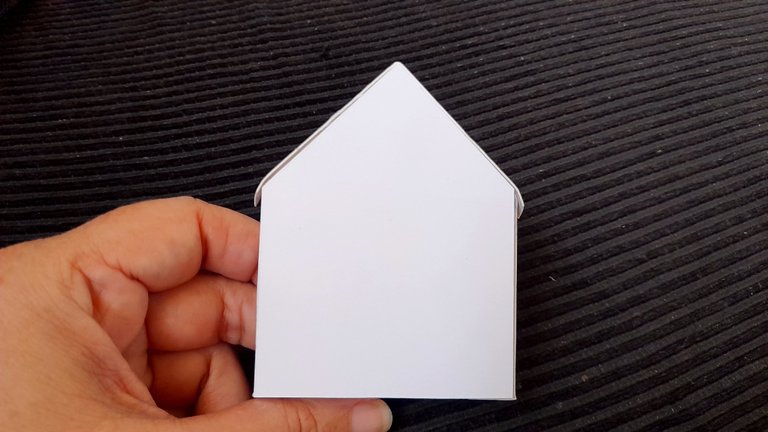
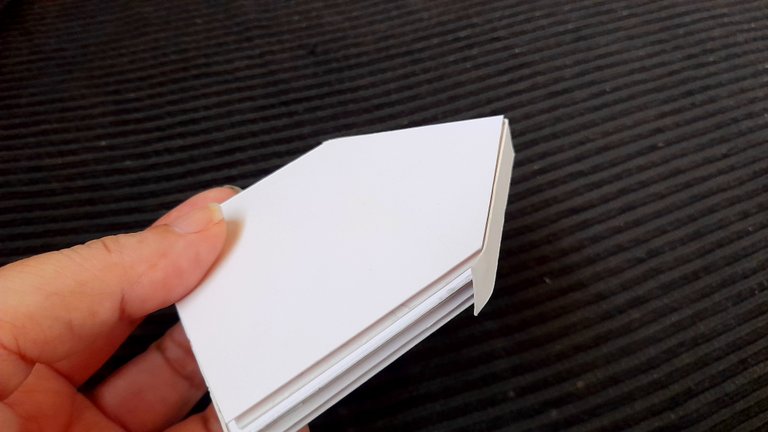
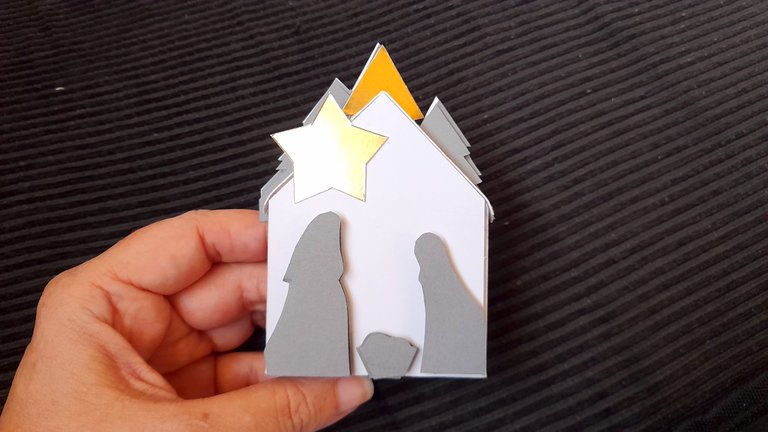
Como pueden ver en las siguientes imágenes, al establo le hice un pequeño techo con un listón de cartulina blanca, y además agregué una base en la misma cartulina para fijarlo luego con mayor facilidad.
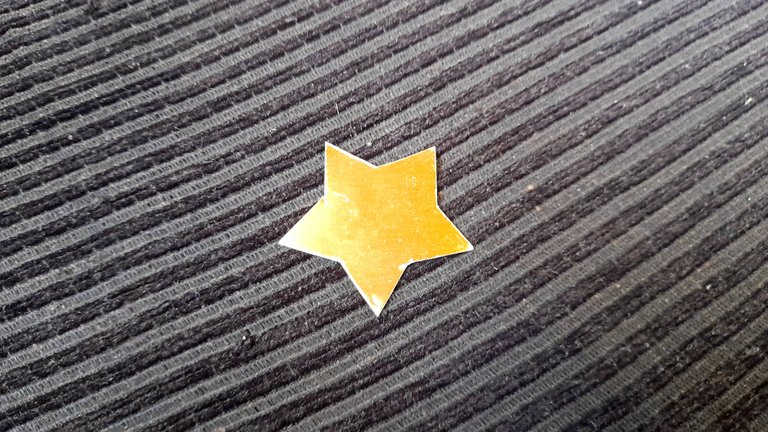
Seguidamente recorté una estrella en cartulina metalizada color dorado y la pegué en un ladito del techo del establo.

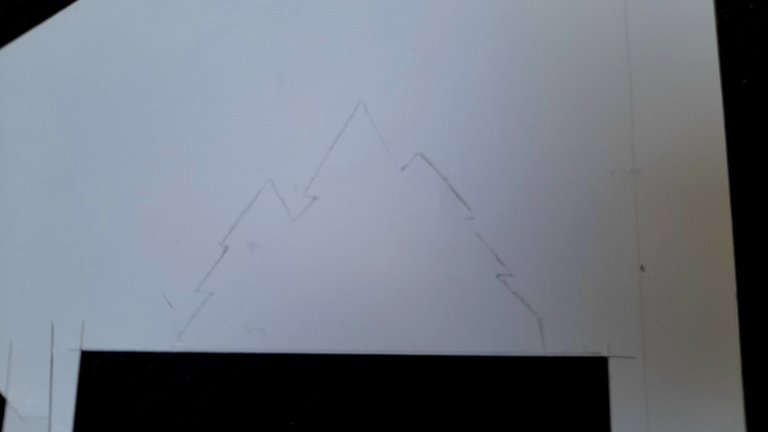
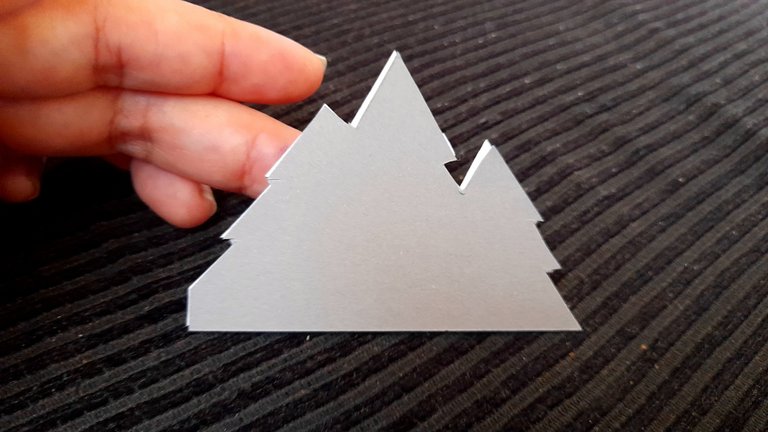
Y para completar esta pequeña escena navideña, quise poner de fondo algunos pinos, así que realicé un molde en papel, y luego los repliqué en cartulina, blanca,gris y dorada, para hacer una composición muy linda.
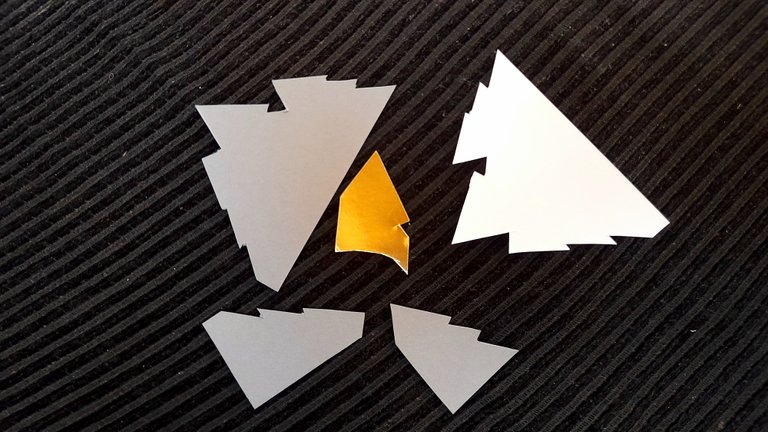
Finalmente viene la parte del armado de nuestro nacimiento en miniatura y para ello utilicé nuevamente el adhesivo doble faz para pegar a los protagonistas del pesebre, y por último los pinos, y de esta manera nuestra pieza principal estaba lista.
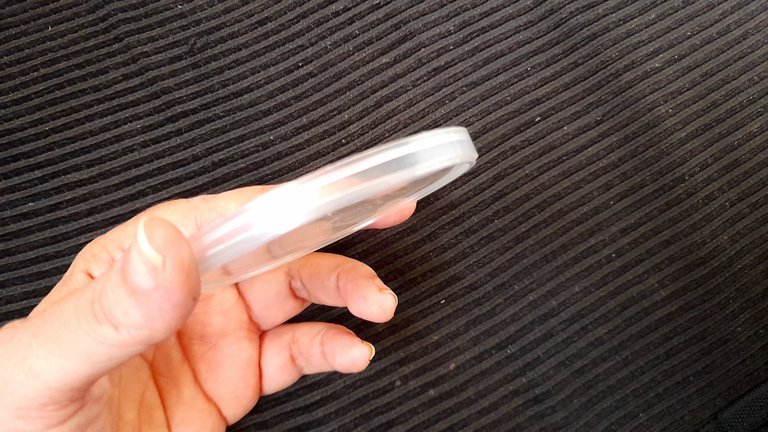
El siguiente paso era crear la base donde pagaríamos el pequeño nacimiento, y aunque pudiese simplemente colocar el vaso encima de él, yo quería simular algo de nieve, lo que haría con sal, así que para evitar desastres usé una tapa plástica de un envase de papas fritas, le hice un fondo con la cartulina blanca, la pegué con silicón frío, y luego sobre ella fijé el mini nacimiento.
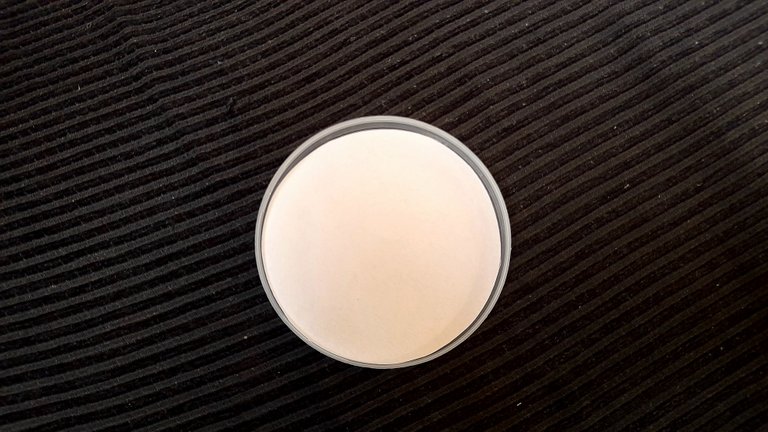

Lo siguiente fue agregar sal sobre la tapa en los pequeños espacios vacíos, y aunque el azúcar hubiese estado mejor, las hormiguitas se hubiesen acercado, así que tocó utilizar la sal, y luego de agregar la cantidad necesaria coloqué el vaso en su lugar, y finalicé este mini nacimiento con un moño muy delicado con dos tipos de cinta, una en gris sólido y la otra es una cinta de tul blanco que le dieron un toque hermoso a todo el trabajo.
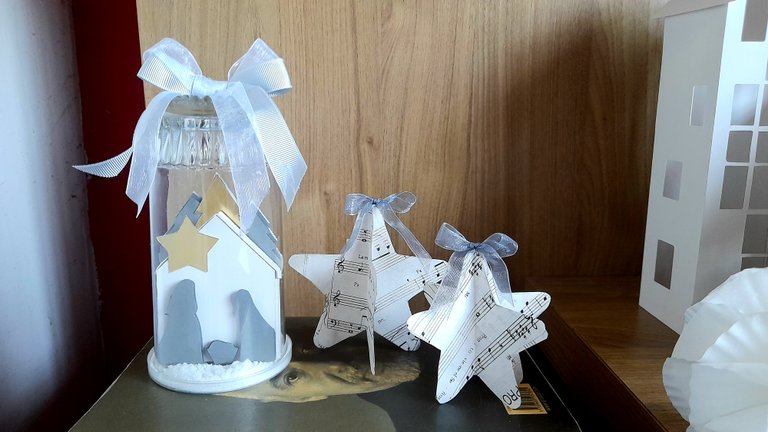
Yo definitivamente amé el resultado, y sé que cuando finalmente instale las luces a todo se verá realmente lindo. Así que te invito a realizar en casa tu mini nacimiento ajustado a tu decoración navideña.

We are having a Christmas contest in the community, and as I have been active with my Christmas decorations for a while now, here is my first participation. It's about a crying manger in a glass, a very simple craft with a really beautiful result, and the best of all is that you can make it with things you have at home, you just need to let your imagination run wild. And I take the opportunity to invite my creative friends @yagelybri, @valenpba and @alizmarpaola to participate.

This project was one of the many that I saw in my search for ideas to decorate my house this Christmas, because as you know, this year I decided to follow the Nordic style, which to me looks super warm, as well as beautiful and elegant, basically because of the colors used (white and gray) and natural fibers that create a very nice contrast.
The different nativities I saw in this style, were in glass bowls on a wooden base, but at home I didn't have either of the two things, and I couldn't go out to buy them at the moment, so thanks to my eager self, I looked for a way to make the project with things I had at home, and from there the idea of making this mini nativity in a glass was born, and I ended up loving the result madly, that's why I wanted to share it with you.
Materials
Glass beaker
Gray cardboard
White sulfated cardboard
Gold metallic cardboard
Double-sided adhesive
Silicone gun
Liquid silicone
Pencil
Ruler
Cutter
Scissors
Gray cloth tape
Plastic cover
Salt
Step by step
The first thing I did was to choose the glass with which I would work, and then make the design of the little nativity scene, which I did on a piece of cardboard, making sure that it would fit without any problem in the glass.

The next step was to make the molds of each piece separately, which in this case would be Mary, Joseph, the baby Jesus and the stable, quite basic and simple, so I cut the stable with the help of the cutter in the white cardboard from which I cut four pieces, since I would make it in layers as I usually work the toppers.
For Joseph, Mary, and the baby Jesus I used gray cardboard, and of these pieces I only made two.
As you can see, the amount of cardboard I used is minimal, in fact I worked with cuttings that I have left over from other works I have done at home, but you can do it with whatever you have at hand, fabric, felt, painted cardboard, foami, etc. The possibilities are many.


Once I had the pieces ready, the next thing I had to do was to assemble each one of them, and for this I used the double-sided adhesive, and what I did was to glue adhesive on one of the pieces, and then face it with the next one.
If you don't have double-sided adhesive at home, don't worry, you can use foami, or even pieces of cardboard, since what we need is to create a small separation between each cutout to give dimension to our stable.


As you can see in the following images, I made a small roof for the stable with a white cardboard ribbon, and I also added a base in the same cardboard to fix it more easily.


Then I cut out a star in gold metallic cardboard and glued it on one side of the stable roof.


And to complete this little Christmas scene, I wanted to put some pine trees in the background, so I made a mold on paper, and then replicated them on cardboard, white, gray and gold, to make a very nice composition.


Finally comes the part of the assembly of our miniature nativity scene and for this I used again the double-sided adhesive to glue the main characters of the nativity scene, and finally the pine trees, and in this way our main piece was ready.

The next step was to create the base where we would pay the little nativity, and although I could simply place the glass on top of it, I wanted to simulate some snow, which I would do with salt, so to avoid disasters I used a plastic lid of a potato chip container, I made a background with the white cardboard, glued it with cold silicone, and then I fixed the mini nativity on it.


The next thing was to add salt on the lid in the small empty spaces, and although sugar would have been better, the little ants would have come closer, so I had to use the salt, and after adding the necessary amount I put the glass in place, and finished this mini nativity with a very delicate bow with two types of ribbon, one in solid gray and the other is a white tulle ribbon that gave a beautiful touch to the whole work.

I definitely loved the result, and I know that when I finally install the lights on everything it will look really nice. So I invite you to make at home your mini nativity set to match your Christmas decor.

Posted Using InLeo Alpha
Mucha creatividad de la mano. Aparte es una idea diferente. Me gusta.
Muchas gracias amiga un abrazo
Una decoración bien bonita y facil de realizar. Con poco podemos realizar lindos adornos navideños para nuestro hogar. Saludos
Esa es la idea amiga, ahorrar y hacer cosas lindas para nuestro hogar.
Gracias por pasar
Hermoso como todo lo que haces ami, por eso digo que las ideas están solo hay que ponerse creativo para darles vida, y hasta nuestro toque personal 🤗🤗
Gracias amiga bella, así es, todo es ponerse, encontrar una idea y adaptarla a nosotras y listo!
Es muy creativo y se ve lindo, gracias por compartir 😊
Muchas gracias amiga
Que espectáculo!!! Te quedó increíble amiga y es que todo lo que haces se nota que es con amor. Que belleza 😍😍
Que bonita mi Vane, muchísimas gracias ami, es que amo la navidad y las manualidades jeje
Te mando abrazos amiga
Oye!!! Que precioso está esto amiga. Me encantó. 🥰 Tengo que hacer uno para mi.
Me gusta mucho lo sencillo que nos haces ver el proceso creativo. Todo muy bien explicado. Para ser honesta me encantó este trabajo.
Espero tengas unas bellas decoraciones para este año. Gracias por compartir.
!discovery 45
!PIZZA 🍕
Aww qué bonita!
Muchas gracias amiga, yo amo las manualidades, me vieras ahorita, rodeada de recortes lápices pinceles jaja mi esposo anda loco.
La verdad es que es bastante sencillo este trabajo y se ve hermoso.
Gracias por tu lindo mensaje
$PIZZA slices delivered:
(2/5) @chacald.dcymt tipped @rlathulerie
This post was shared and voted inside the discord by the curators team of discovery-it
Join our Community and follow our Curation Trail
Discovery-it is also a Witness, vote for us here
Delegate to us for passive income. Check our 80% fee-back Program
Thank you so much
Ay no amiii que BELLOOO y delicado 😍😍 lo amé, la parte de la "nieve" Se puede hacer con bolitas de anime tambien verdad?
Gracias ami!! Sí podrías usar anime amiga, yo los que vi no sabía qué era jaja me parecía azúcar porque era como un polvo o algo así y como no tenia anime usé sal jaja, tu sabes,hay que resolver
Jajaja asi me gusta, una mujer que resuelve carajo jaja
Que cuchitura Rosita 😍
Gracias flaquita
A todo le pones tu toque especial, ese amorcito por crear cositas lindas y deliciosas para tu hogar Ami. Eres la mejor 💕. Gracias por la invitación mi Rosita 💕
Gracias mi corazón bello, eres demasiado dulce. Sabes que amo las manualidades y hacer cositas para mi casa me hace feliz.
Te mando abrazos
Que lindo amiga. ! Gracias por compartir tus ideas. ! 🤗🤗🤗
Gracias a ti por leer, me alegra que te gustara
Me encantó Ami. Una buena manera de tener un pesebre sin comprarlo
Exacto, y es súper sencillo
Qué bello amiga!!1 Gracias por participar en la iniciativa. Amé toda la decoracion del espacio, las estrellitas, todo, es una gran idea que voy a tomar <3
Yeahhh me alegra que te gustara. Ayer compré unas velitas falsas y las puse en las casitas y las amé más jeje
El pesebre es bien sencillo, y queda muy bonito
Que lindo, super original. Gracias por compartir tu proceso @rlathulerie!
Me alegra te haya gustado. Es súper sencillo!
que hermoso felicidades , muy facil,,,,me provocó
No te quedes con las ganas y hazlo jeje, qued bello y de verdad es súper fácil.
Eres muy creativa y los pasos sencillos de realizar,con materiales fáciles de conseguir. Un pesebre al alcance de uno, hermoso bella, éxito.
Muchas gracias corazón. Tal cual, es súper accesible y me parece muy lindo, además lo adaptas a tu gusto y a lo que tengas en casa.
Abrazos amiga, gracias por leer
Que bonita idea, no se me habría ocurrido hacer un pesebre de esa forma. Te felicito 👏
Muchas gracias Irene, es una idea muy linda y fácil de hacer.
Abrazos