Después de buscar ideas y revisar Pinterest por semanas al fin terminé de decidir el estilo que quiero para la Navidad este año en casa, y definitivamente será el estilo nórdico, y según todas mis investigaciones los colores cálidos, neutros y texturas naturales son los principales componentes de este estilo, así que por aquí les comparto mis primeras creaciones para la Navidad del 2024.
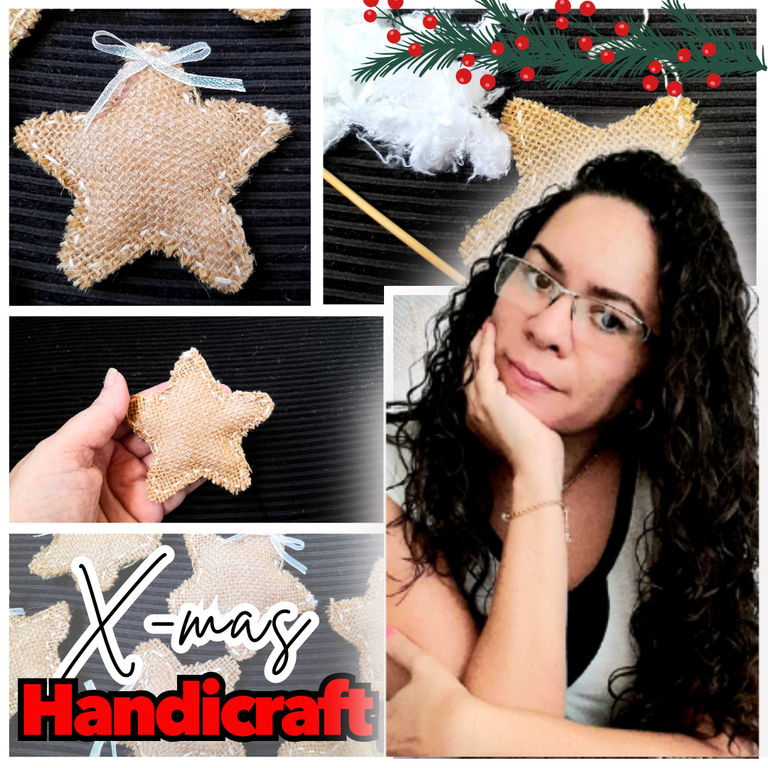
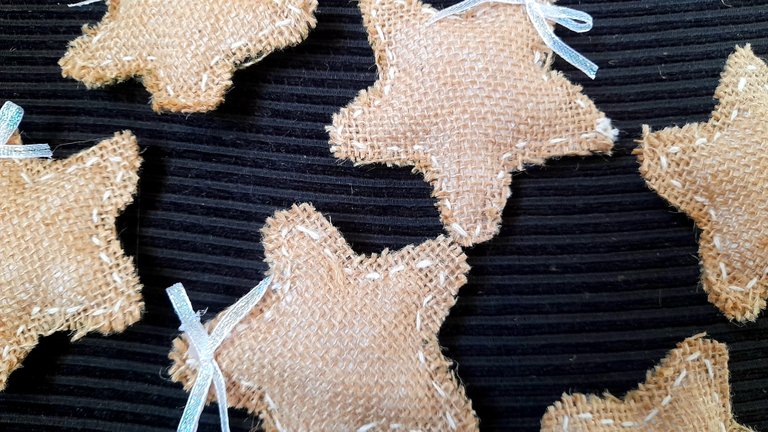
Se trata de unas estrellas en yute o tela de saco, y lo mejor de todo es que ya tenía la tela en casa, así que no tuve que gastar absolutamente nada, y en solo un día pude terminar una docena de ellas, así que como ven son bastante sencillas de realizar y quedan realmente lindas.
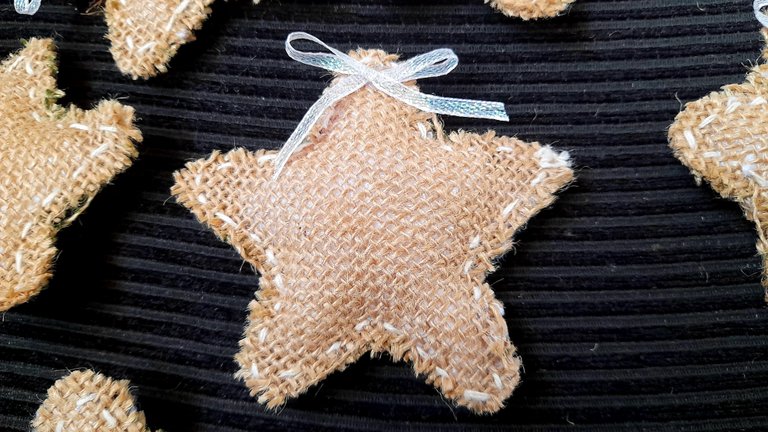
Aún no sé si las usaré para el árbol de Navidad o para las guirnaldas de las ventanas, por lo que no les puse colgante todavía, mientras decido en qué las usaré, pero mientras tanto por aquí les comparto los materiales y el paso a paso de estas lindas estrellitas.
Materiales
Yute
Hilo beige
Relleno
Cinta plateada
Marcador
Tijera
Aguja
Paso a paso
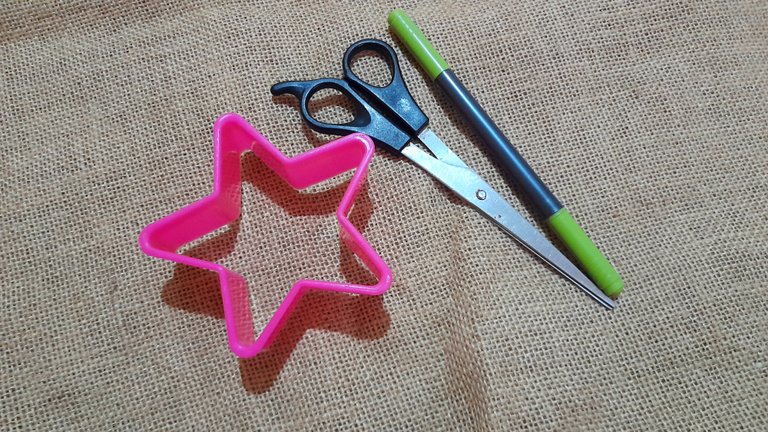
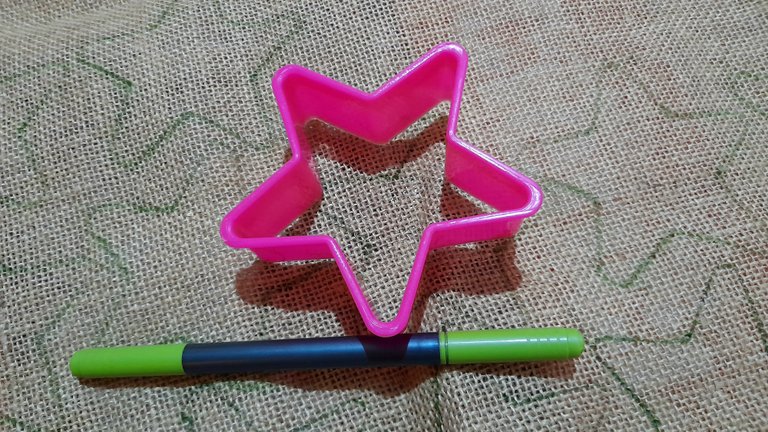
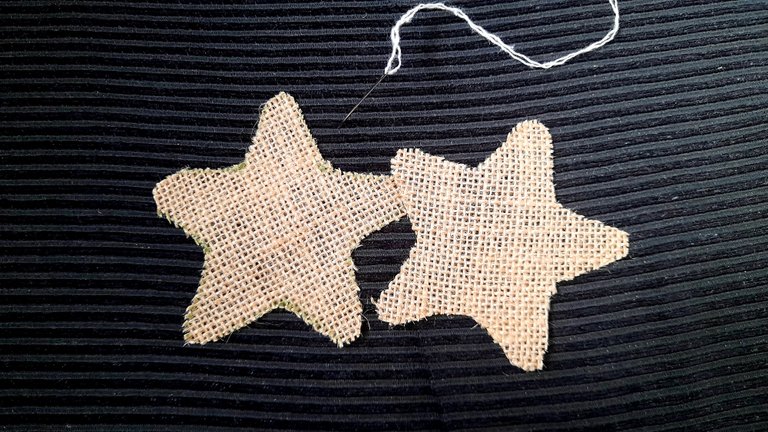
Lo primero que haremos es marcar en la tela la cantidad de estrellas que vamos a realizar, y para eso yo utilicé un cortador de galletas, pero ustedes en casa pueden realizar un molde en cartulina del tamaño que deseen y listo. En mi caso marqué un total de 24 estrellas, ya que realizaría 12, y como irán rellenas necesitamos 2 piezas para cada una.
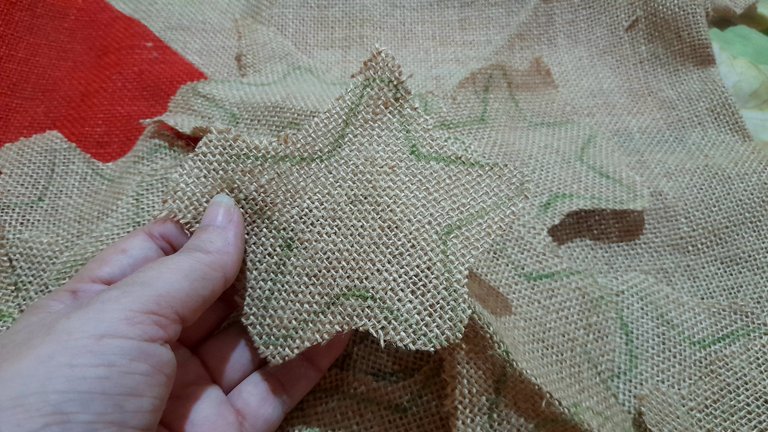
Una vez tengamos todas las estrellitas marcadas, el siguiente paso es recortarlas, y para este paso debemos trabajar con cuidado, ya que el yute es una tela que se deshilacha con mucha facilidad.
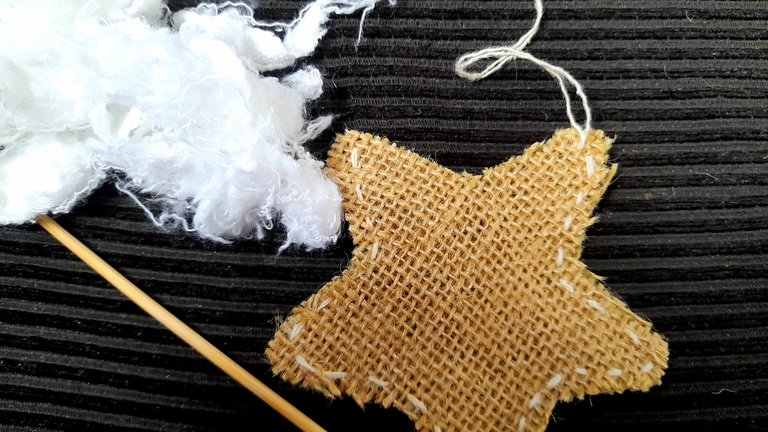
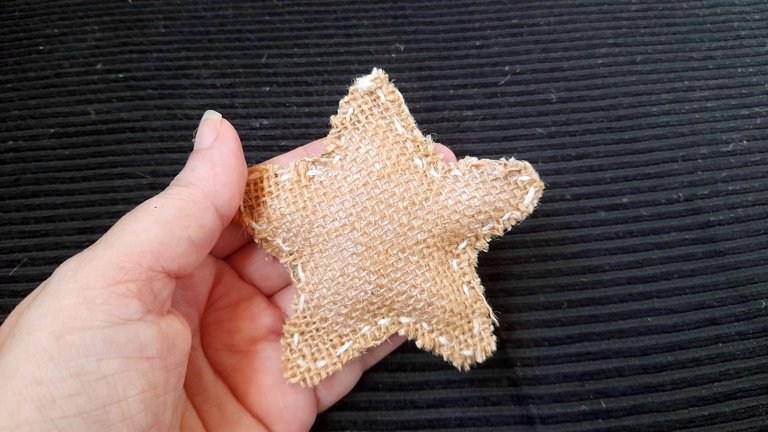
Listas las piezas llegó la hora de coser nuestra estrella, y esto lo haremos dejando un pequeño borde, y con puntadas separadas para crear un efecto más orgánico y natural, "rústico", si se quiere. Recordemos que debemos dejar una abertura para rellenarla, lo que haremos con ayuda de un palito de altura para llevar el relleno a las puntas de las estrellas, y una vez estén rellenas, terminamos de coser.
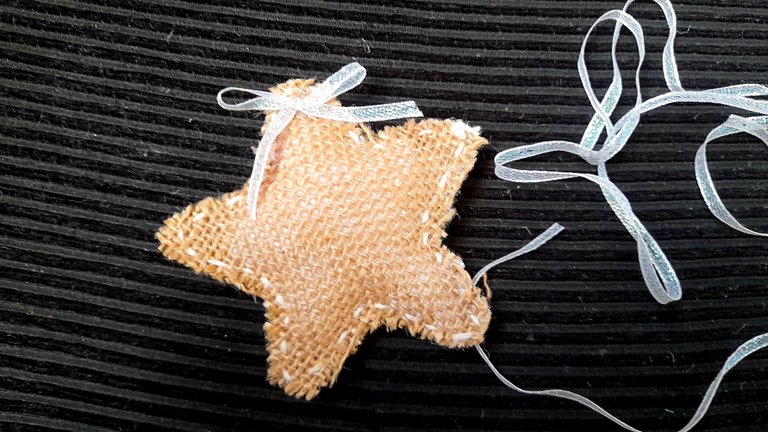
El siguiente paso es colocar alguna decoración a nuestra estrella, y en mi caso, como la idea es seguir el estilo nórdico, y este por naturaleza es minimalista, lo único que hice fue agregar un pequeño lazo con una cinta blanca perlada y estuvo listo.
La verdad que yo amé el resultado, estas estrellitas se ven hermosas, y ya estoy súper ansiosa de ver cómo quedará todo con este estilo. Espero se vea tan acogedor y cálido como lo imagino. Por lo pronto sigo trabajando en más manualidades, pues es mucho lo que hay por hacer. Los leo en los comentarios, y que comience el spam navideño 🤣🎄

After searching for ideas and checking Pinterest for weeks I finally finished deciding the style I want for Christmas this year at home, and it will definitely be the Nordic style, and according to all my research warm colors, neutrals and natural textures are the main components of this style, so over here I share with you my first creations for Christmas 2024.
These are some stars in jute or sackcloth, and the best of all is that I already had the fabric at home, so I didn't have to spend absolutely nothing, and in just one day I could finish a dozen of them, so as you can see they are quite simple to make and they look really nice.
I still don't know if I will use them for the Christmas tree or for the garlands on the windows, so I haven't put them hanging yet, while I decide what I will use them for, but in the meantime here I share with you the materials and the step by step of these cute little stars.
Materials
Jute
Beige thread
Stuffing
Silver ribbon
Marker
Scissors
Needle
Step by step
The first thing to do is to mark on the fabric the number of stars we are going to make, and for that I used a cookie cutter, but you can make a cardboard mold of the size you want at home and that's it. In my case I marked a total of 24 stars, since I would make 12, and as they will be filled we need 2 pieces for each one.
Once we have all the stars marked, the next step is to cut them out, and for this step we must work carefully, since jute is a fabric that frays very easily.
Now it's time to sew our star, and we will do this by leaving a small border, and with separate stitches to create a more organic and natural effect, "rustic ", if you will. Remember that we must leave an opening to fill it, which we will do with the help of a stick to bring the filling to the tips of the stars, and once they are filled, we finish sewing.
The next step is to place some decoration to our star, and in my case, as the idea is to follow the Nordic style, and this by nature is minimalist, the only thing I did was to add a small bow with a pearly white ribbon and it was ready.
The truth is that I loved the result, these little stars look beautiful, and I can't wait to see how everything will look with this style. I hope it looks as cozy and warm as I imagine. In the meantime, I'm still working on more crafts, because there is so much to do. I'll read you in the comments, and let the Christmas spam begin 🤣🎄

Muy buena idea y quedan muy lindas amiga.. Abarzos
Gracias amiga, me gustaron mucho
Bastante sencillo y quedan muy bonitas. Muchas gracias por compartir la idea.
Muchas gracias, eso es lo que más me gustó que es súper sencillo de hacer y lindas
Amiga que súper idea, están bellísimas.
Gracias ami, ya dejaré de ver pinterest porque ayer vi muchas cosas más jajaja
Quedaron super lindas amiga, ya iba a sacar los patrones para esa estrella, pero mejor hago otra cosita que también ví..Me encanta esa estrella en tela de yute, es super chick para el árbol de navidad, el color es tan bonito, estoy en tu onda, Jejeje 🤗
Puedes hacerlas amiga, así somos gemelas de decoración jajaja a mi me encantaron, las amo
Thank you so much
Yo también lo amé 🥰🥰🥰 que hermosas. Oli quiere muchas para su arbolito
Ay Dios, yo le mandara muchas!!
Están bien bonitas mami
Si hija, deberías coser conmigo jeje
Que bellas Rosita. Gracias ias por esa idea 💡 ❤️
Gracias flaquita
You made such a beautiful and unique star, you’ve done well. Thanks for sharing.
Thank you so much
Te quedaron espectaculares mi Rosita! Me encanta que utilizarás un cortador de galletas para la forma. Yo pienso que quedaría muy bonito en la guirnalda Ami porque merecen ser protagonistas estas bellas estrellitas.💕
Gracias amiga bella, yo las amé, y voy a seguir tu consejo de usarlas para las guirnaldas de las ventanas, seguro se verán muy lindas!
Que lindas amiga. Bendiciones 😘.
Gracias amiga
Gracias amiga 🤗
Qué bellas estas estrellas @rlathulerie con la tela de yute le da algún rasgo de hogar o amable, ya que es un género natural.
Como dices, podemos utilizar los moldes para galletas y también otro recurso como pudiera ser una plantilla o nuestro propio diseño.
Amiga es justo eso lo que estoy buscando para esta Navidad, que todo se vea cálido, como muy confortable y eso se logra con esos materiales naturales.
Vamos a ver cómo resulta todo.
Abrazos amiga
Amiga, te quedaron demasiado hermosas y cuchis esas estrellitas, me encanta el material con que las hiciste siento que es algo diferente. Ya quiero ver toda la decoración como tal, te quedará hermoso sin duda 😍
Ami gracias, a mi también me parecen cuchi jeje estoy muy lenta con las decoraciones y el tiempo esta volando.