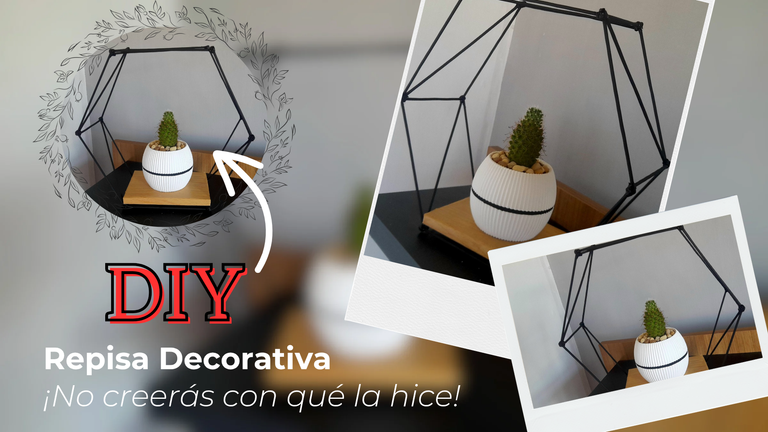

¡Paredes, paredes y más paredes! Estamos rodeados de ellas, y no sé si les pasa como a mí que no me gusta voltear y encontrarme con una pared sin absolutamente nada, así que siempre he buscado alternativas para decorarlas sin saturar el espacio, y los murales o paredes focales me han ayudado bastante para las paredes más grandes, aunque en casa realmente cualquier pared se ve grande porque los techos son muy altos y eso hace que la ausencia de decoración se note muchísimo más, aún en espacios angostos, por lo que recurrí a mi amiga pinterest en busca de ideas, y me encontré con una gran variedad de repisas hexagonales preciosas, y me decidí por estas que les comparto el día de hoy.
Walls, walls and more walls! We are surrounded by them, and I don't know if it happens to you as it does to me that I don't like to turn around and find a wall with absolutely nothing, so I have always looked for alternatives to decorate them without saturating the space, and the murals or focal walls have helped me a lot for the biggest walls, although at home really any wall looks big because the ceilings are very high and that makes the absence of decoration is much more noticeable, even in narrow spaces, so I turned to my friend pinterest for ideas, and I found a variety of beautiful hexagonal shelves, and I decided on these that I share with you today.

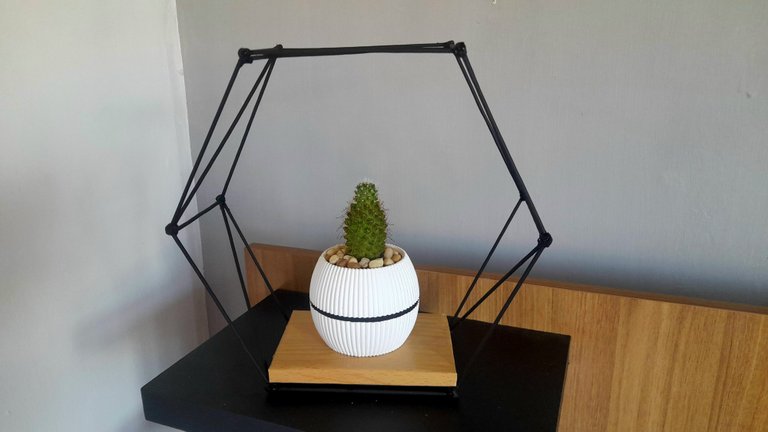

La verdad yo quedé enamorada de este proyecto porque además de verse hermosas, visualmente dan la impresión de no ocupar espacio, y eso me gusta un montón, además se alejan de las repisas tradicionales y esa es una de las cosas que siempre busco en casa, tener algo diferente y que por supuesto me guste.
En el caso de estas repisas, están hechas con palitos de brocheta, aunque a simple vista parecen ser de varillas de metal, y es que de hecho simulan hasta el punto de soldadura gracias al silicón, y eso me gustó mucho, así que sigue leyendo si quieres saber cómo se hacen.
The truth is that I fell in love with this project because besides looking beautiful, visually they give the impression of not taking up space, and I like that a lot, plus they move away from the traditional shelves and that is one of the things I always look for at home, to have something different and that of course I like.
In the case of these shelves, they are made with skewer sticks, although at first glance they seem to be made of metal rods, and in fact they even simulate the welding point thanks to the silicone, and I really liked that, so keep reading if you want to know how they are made.


Lo primero que hice fue cortar los palitos de altura, 12 palitos de 13,7 cm y 6 de 9 cm. Esto lo hice con una tenaza para que el corte fuese más prolijo.
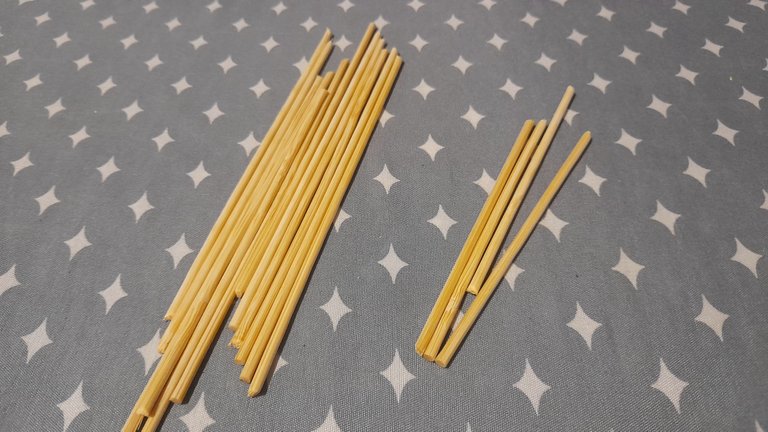
The first thing I did was to cut the sticks in height, 12 sticks of 13.7 cm and 6 of 9 cm. I did this with a pair of pliers so that the cut would be neater.

El siguiente paso consistió en realizar uno de los lados del hexágono para lo que necesitamos 6 de las piezas de 13,7 cm y las ubiqué de la forma en que van a ser pegadas. Si ustedes lo desean pueden realizar un hexágono en una hoja blanca y colocar los palitos encima para asegurarse que quede derecho.
En mi caso lo que hice fue fijar con cinta adhesiva uno de los palitos a la superficie en la que estaba trabajando y luego ubicar a cada extremo, dos más, y de esta forma me fue mucho más sencillo pegarlos.
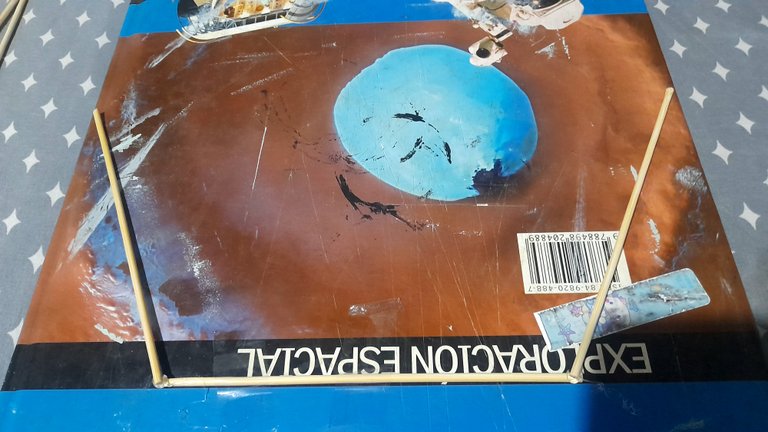
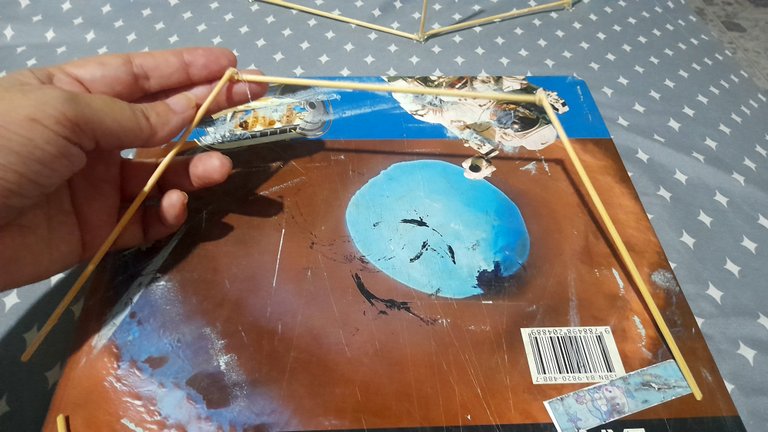
The next step was to make one of the sides of the hexagon for which we needed 6 of the 13.7 cm pieces and I placed them the way they are going to be glued. If you wish, you can make a hexagon on a white sheet of paper and place the sticks on top to make sure it is straight.
In my case what I did was to tape one of the sticks to the surface I was working on and then place two more at each end, and this way it was much easier to glue them.

Una vez lista esta primera parte, hice lo mismo con los palitos restantes y luego uní las dos piezas y de esa forma tenía listo el primer hexágono y repetí el procedimiento para tener las dos caras de la repisa, y una vez listas las dos piezas, en cada unión pegué de forma vertical los palitos de 9 cm. Asegúrate de utilizar suficiente silicón y sujetarlos hasta que esté completamente frío.


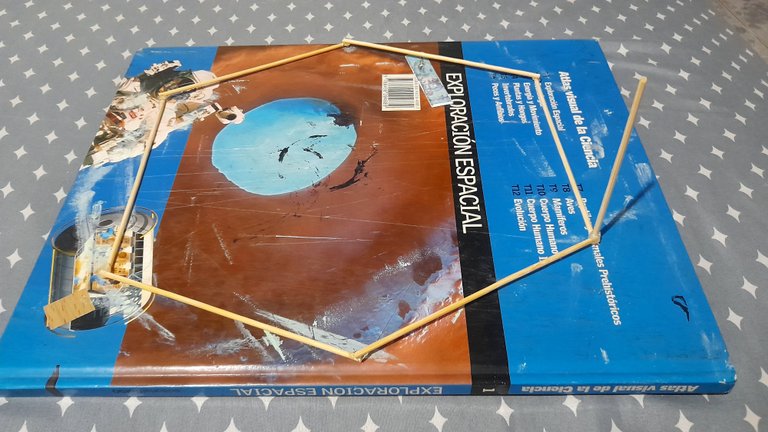
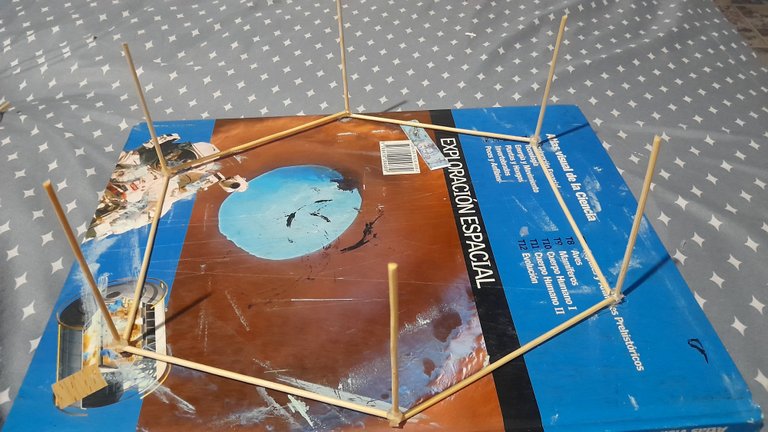
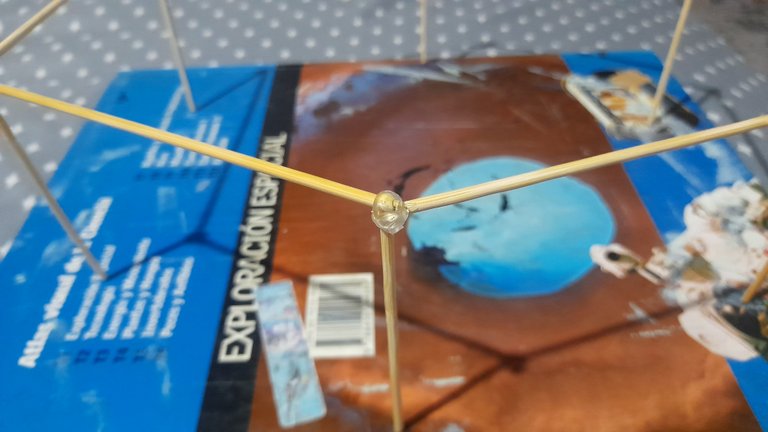
Once this first part was ready, I did the same with the remaining sticks and then I joined the two pieces and that way I had the first hexagon ready and I repeated the procedure to have the two sides of the shelf, and once the two pieces were ready, in each joint I glued the 9 cm sticks vertically. Make sure to use enough silicone and hold them until it is completely cold.

Lista esta parte, lo siguiente es pegar un hexágono sobre el otro, colocando cada esquina justo sobre los palitos verticales y pegarlos muy bien para después pintar con pintura al frio toda la estructura, en mi caso utilicé el color negro, pero ustedes pueden usar el de su preferencia.
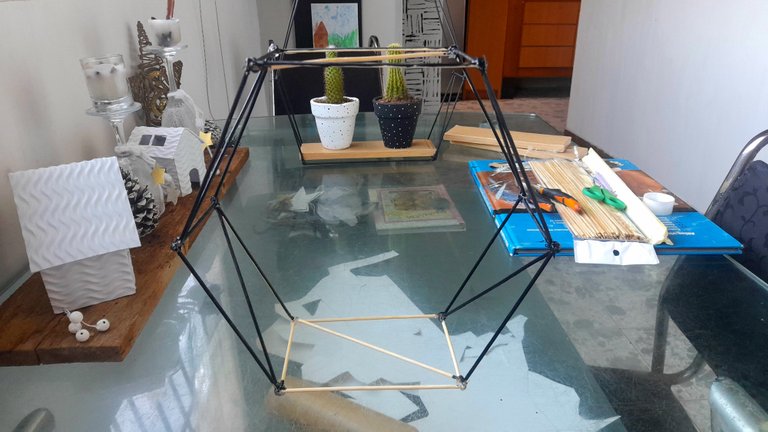
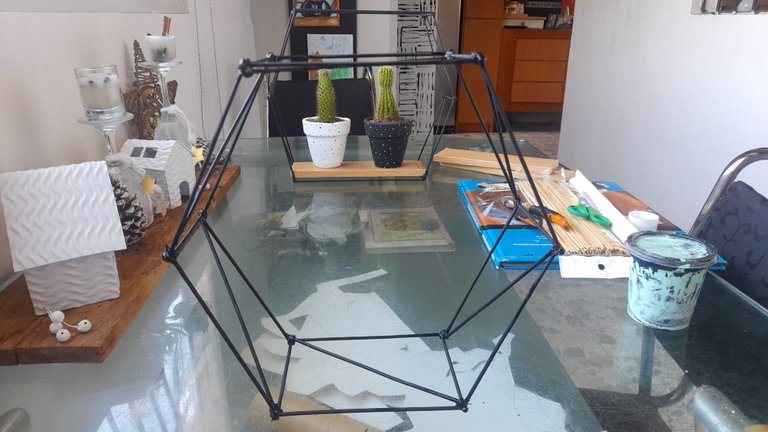
Once this part is ready, the next step is to glue one hexagon on top of the other, placing each corner just above the vertical sticks and gluing them very well. The next step is to paint with cold paint the whole structure, in my case I used black, but you can use the color of your preference.

Mientras secaba la pintura realicé la base de la repisa, para lo que medí la parte inferior del hexágono, recorté dos cartones del mismo tamaño y luego los uní con silicón caliente.
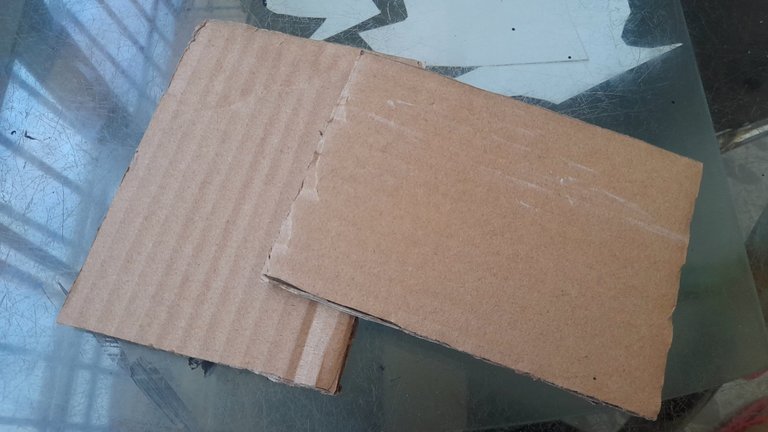
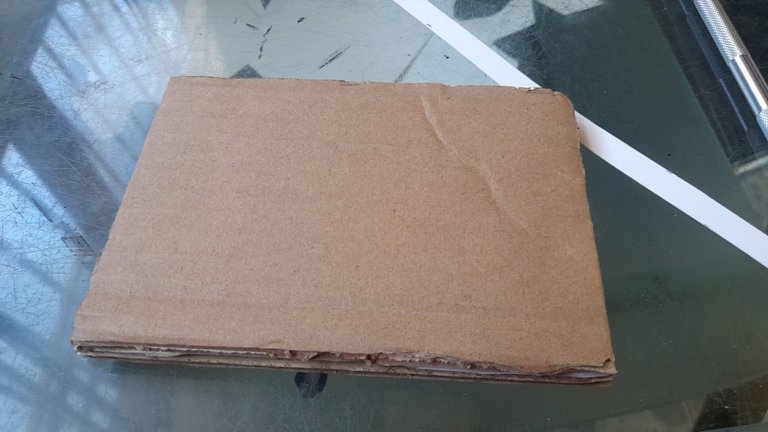
While the paint was drying, I made the base of the shelf, for which I measured the bottom of the hexagon, cut out two pieces of cardboard of the same size and then joined them together with hot silicone.

Lo siguiente fue cubrir con cartulina los cuatro lados del cartón para que quede bien prolijo y luego lo forré con el papel contact, que en este caso es el que he usado últimamente, y que tiene apariencia de madera, pero ustedes pueden usarlo del color que deseen o también pueden pintarlo, tratando siempre de dejarlo lo más prolijo posible.
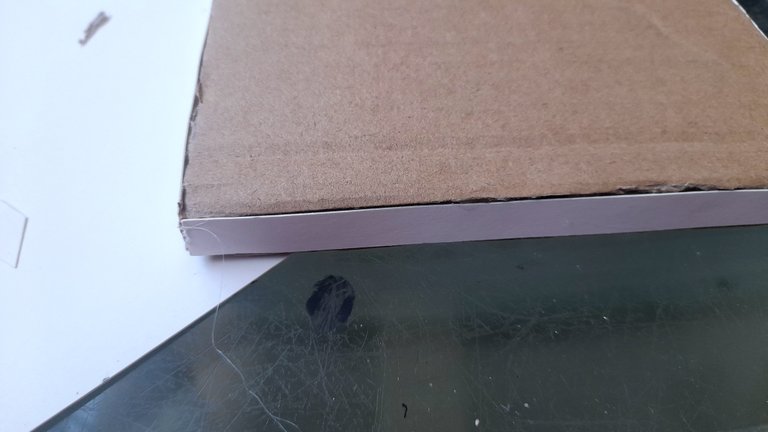
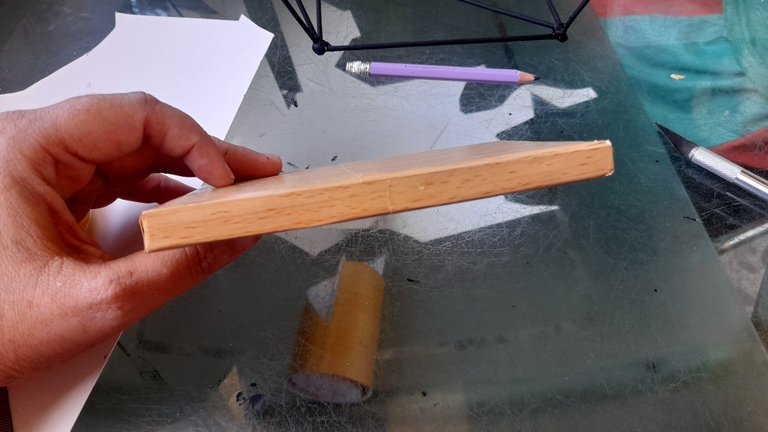
The next step was to cover the four sides of the cardboard with cardboard so that it would be very neat and then I lined it with the contact paper, which in this case is the one I have been using lately, and which looks like wood, but you can use any color you want or you can also paint it, always trying to leave it as neat as possible.

En este punto, y por ahora, el último paso fue fijar la base a la estructura y aunque aún no la fijé a la pared porque debo comprar los pie de amigo, incluso sobre el mueble donde la puse para tomar las fotos se ve preciosa, así que decidí mostrarselas de una vez, y me gustó tanto que dejaré la otra que hice sobre el mueble de la sala para colocar algunas de mis macetas, pero definitivamente haré una más para completar un dúo de repisas para mi pared, y por supuesto les dejaré fotos en mi blog para que vean qué tal quedan. Y cuéntenme, ¿qué les pareció este proyecto?
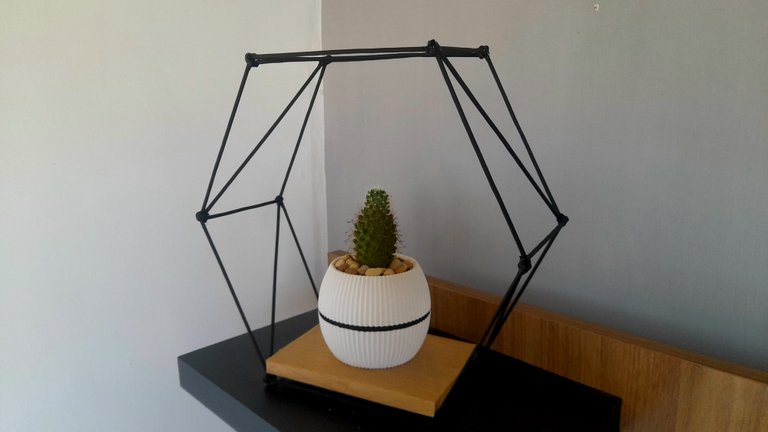
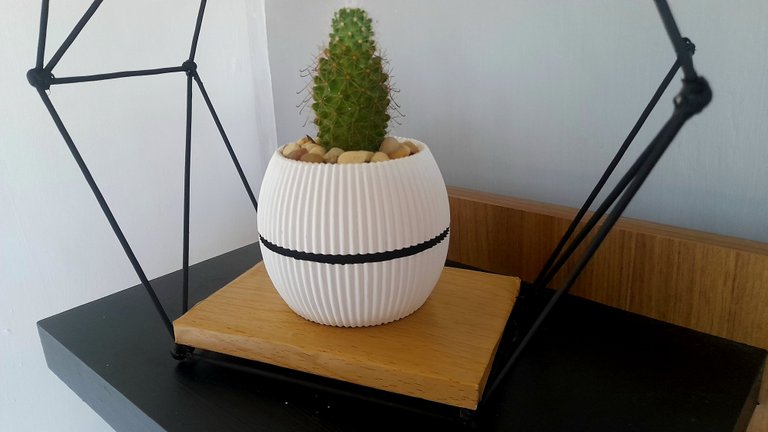
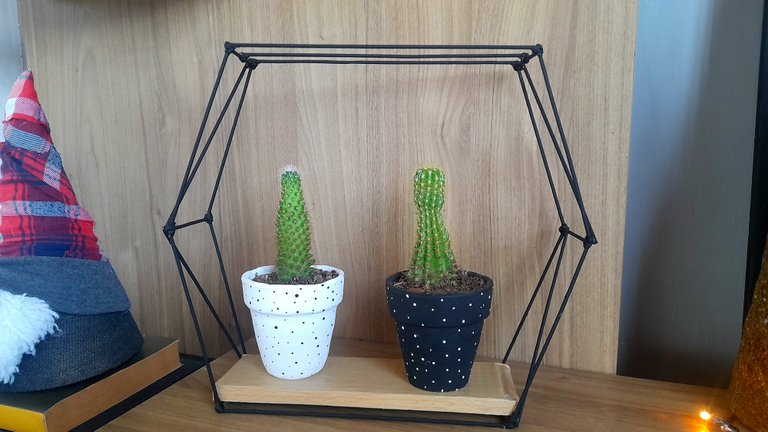
At this point, and for now, the last step was to fix the base to the structure and although I haven't fixed it to the wall yet because I have to buy the feet, even on the furniture where I put it to take the pictures it looks beautiful, so I decided to show them to you at once, and I liked it so much that I will leave the other one I made on the living room furniture to place some of my pots, but I will definitely make one more to complete a duo of shelves for my wall, and of course I will leave pictures on my blog so you can see how they look like. And tell me, what did you think of this project?

Posted Using INLEO
The rewards earned on this comment will go directly to the people( @tsnaks ) sharing the post on Reddit as long as they are registered with @poshtoken. Sign up at https://hiveposh.com. Otherwise, rewards go to the author of the blog post.
Realmente parecen varillas de metal. Quedó muy hermoso inclusive sin estar fijo en la pared.
Gracias Marlu! Eso fue lo que me gustó, que de verdad parece otro material.
Dioooos que Hermoso. Me encantó esa repisa hexagonal, ni por mi mente que esta hecha con palillos de brochetas. Parecen metálicas. ¡Hermoso!
Gracias flaquita! A mi me encantó, es que de verdad parece de metal. Super linda, y en la pared debe verse mucho mejor
Cuando vi la primera foto pensé que la base era de madera, también me gustó como simulaste la soldadura con el silicón, buen trabajo ✌️
Toda ella es fake jajaj. De verdad que todo parece lo que no es.
Quisiera probar con otro material para las uniones para darle mayor firmeza, quizá masa flexible funcione!
Me encantó😍😍,te quedó demasiado bella ami sin duda un gran toque para decorar
Gracias amiga bella, yo ando enamorada jeje
Un abrazo
holis mi dulce señora, tenía rato que no veía un post tuyo porque no entraba a la plataforma y lo chistoso fue que pasando los de mi feeds vi la foto del cactus y la maceta y algo me dijo, ese post es de rosa, jajajaja y cuando vi el usuario di en el clavo, yo soy es una v...
Un abrazo en de tierra firme 😘
Niño!! Hace rato que no te veía por estos lados!! Estas activo otra vez por aquí?
O sea que soy la señora de los cactus jaja
Gracias por pasarte! Saluditos desde la isla en el cielo
Ando en eso, dandole actividad a mi blog, a ver qlq.
eres la loca de los captus mejor dicho jajajajajaj
Si solo veo las fotos del resultado final, por el acabado no parece ser palitos de brochetas amiga tienes un talento hermoso en tus manos.
!discovery 50
Que linda, gracias mi bella. Todo hecho con amorcito jeje
This post was shared and voted inside the discord by the curators team of discovery-it
Join our Community and follow our Curation Trail
Discovery-it is also a Witness, vote for us here
Delegate to us for passive income. Check our 80% fee-back Program
Esto esta preciosa amiga , es tal el nivel de detalle que de verdad parecen metales . Una excelente idea para decorar un espacio junto a unas planticas como las tuyas 🪴
Quedó súper lindo amiga..! Me encantan sus creaciones ..! ,🤗🤗🤗
¡Amiga, me encantó! Es un hermoso detalle decorativo para tu hogar, Dios bendiga tus manos y tu creatividad. Un abrazo.
Bendecida tarde. Me encanta tu idea para embellecer el hogar.
Saludos desde la distancia.
Paz y bien!
I love this so much, the modern classical vibe just resonates with me. Thank you for sharing , i would definitely try it out. @rlathulerie