Estas semanas he estado súper activada con la decoración de mi casa, creando cuanta cosita linda veo para que todo esté más bonito y por supuesto ajustado a los nuevos tonos de las paredes, es por eso que están viendo mucho gris, negro y blanco en mis decoraciones, y el día de hoy les comparto una decoración que hice para una de mis paredes con la palabra "Home", y que yo realmente amé, no solo por lo bello que es, sino por su diseño minimalista.
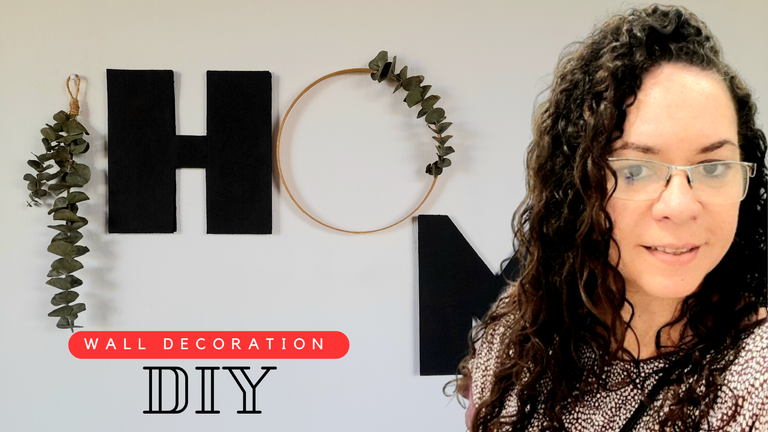
Esta es otra idea tomada de pinterest, aunque no tal cual, pues no contaba con todos los materiales, pero lo ajusté según lo que tenía a la mano y por supuesto le di mi toque para que se adaptara al resto de las decoraciones. Y sin más, vamos con los materiales y el paso a paso.
Materiales
Cartón
Pintura al frío negra
Tambor de bordado
Ramita de eucalipto
Adhesivo doble faz
Pistola de silicón
Regla
Cutter
Paso a paso
Lo primero que hice fue marcar las letras "H, M y E" sobre el cartón, ya que la letra "O" la haría con el tambor de bordar.
En mi caso utilicé el cartón de una caja de pizza ya que es bastante liso y quería en la medida de lo posible que las letras parecieran de madera que es el material en el que estaba hecho el colgante del cual tomé la idea, y en cuanto al tambor de bordado, es uno que encontré en casa y que estaba dañado y me pareció que sería perfecto para la letra "O".
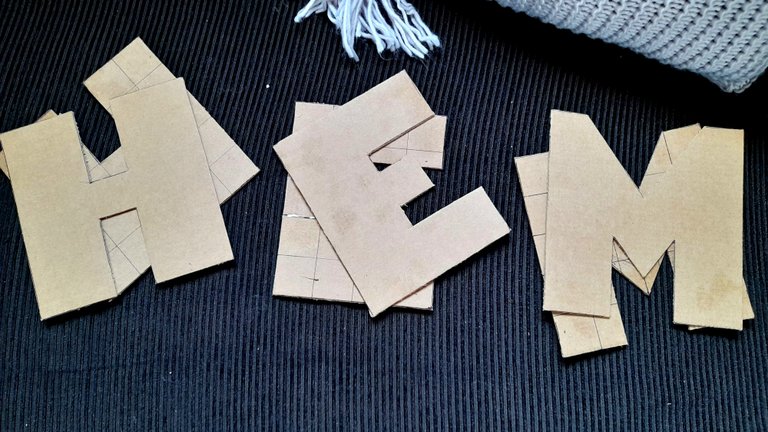
Para marcar las letras tomé como referencia la letra "O" y con ayuda de una cuadrícula que dibujé sobre la caja de pizza marqué todas las piezas, y seguidamente con la ayuda de la regla y el cutter corté las tres letras, de las cuales hice dos de cada una para dar firmeza y volumen.
Una vez tenía todas las letras recortadas el siguiente paso fue pintarlas con pintura al frío negra, con dos capas en cada pieza bastó para que tuviesen un tono parejo.
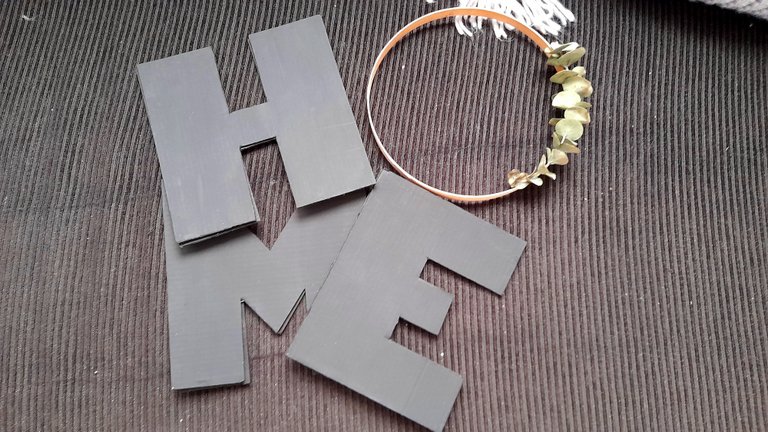
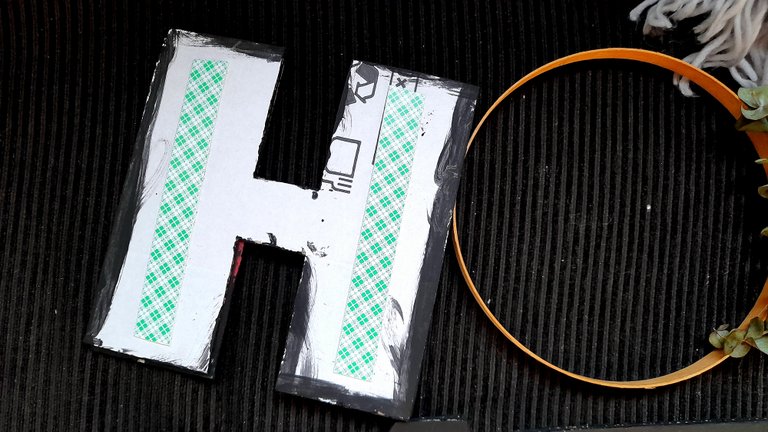
El siguiente paso consistió en unir las dos piezas de cada letra, pero como les dije, no solo quería firmeza, sino algo de volumen, por lo que utilicé mis taquitos de adhesivo doble faz, y lo que hice fue colocarlos en una de las capas y luego la fijé a la otra.
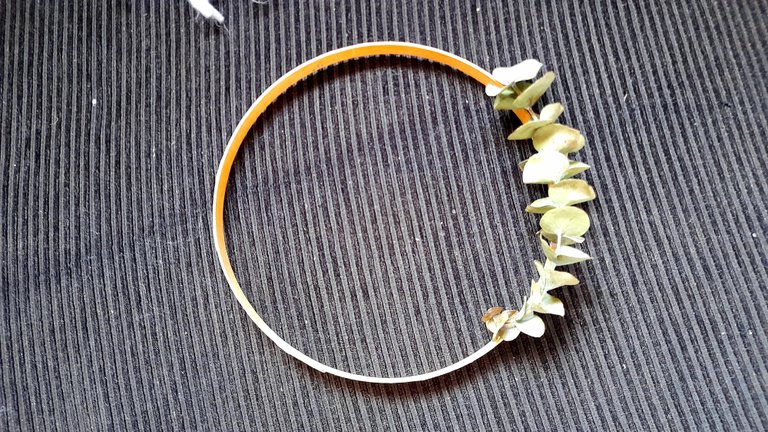
Repetí este proceso con las 3 letras, y en cuanto a la letra "O" solo le pegué una ramita de eucalipto con ayuda de la pistola de silicón.
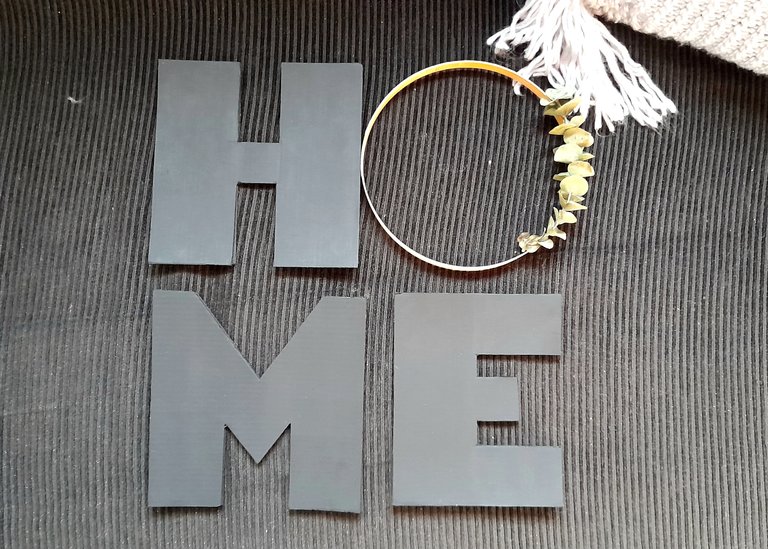
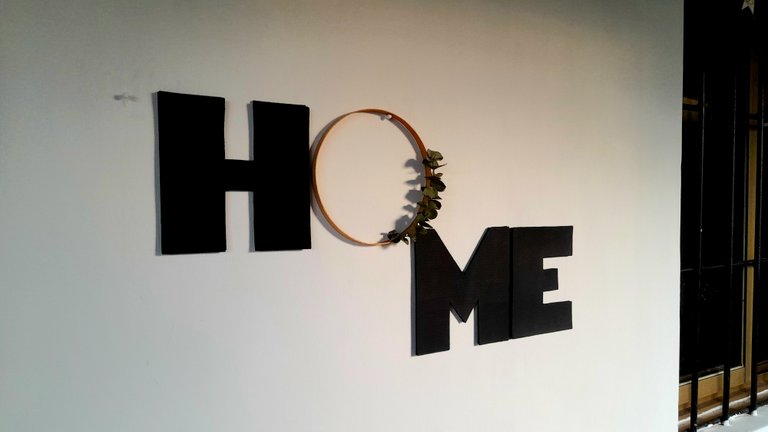
Y ya con todo listo, era el turno de fijarlo en la pared, para lo que utilicé también adhesivo doble faz, pero uno más grande, el cual coloqué en la parte trasera de las letras, y con esto hecho, ya solo debía decidir de qué manera colocaría las letras en la pared, y me decidí por colocar la segunda sílaba debajo de la primera, iniciando en la esquina del lado derecho de la letra "O".
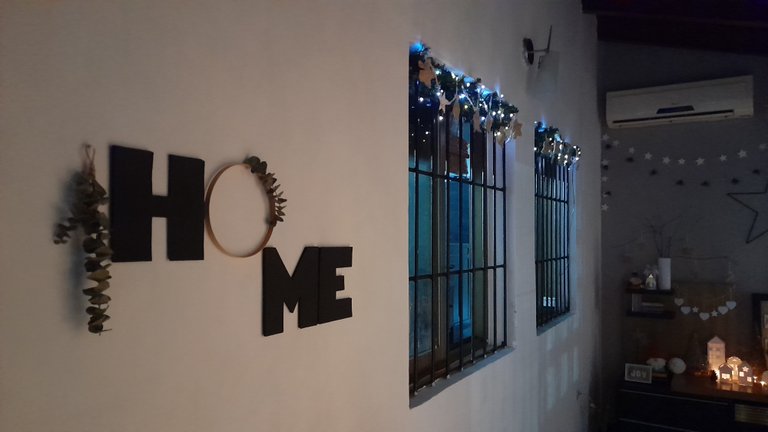
Lo siguiente fue tomar otra ramita de eucalipto, y con un trocito de mecatillo le hice una pequeña lazada para colgarla, y de esa manera estaba lista esta hermosa decoración para una de mis paredes.
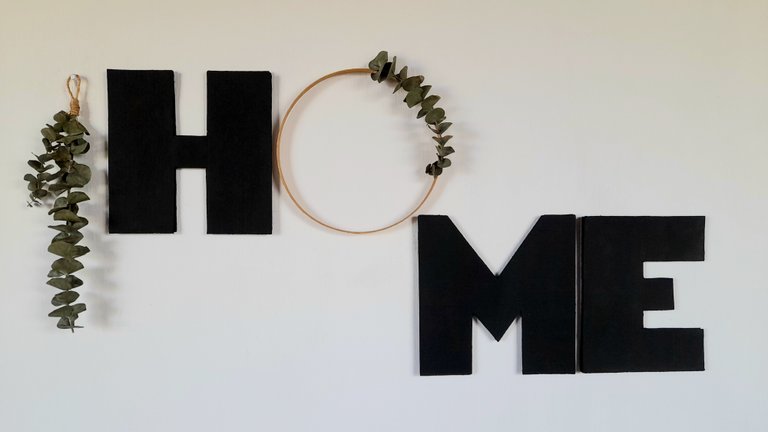
Bastante sencilla, súper linda, y en casa todos amamos el resultado. A ustedes, ¿qué les parece?

These weeks I have been super active with the decoration of my house, creating every cute little thing I see to make everything more beautiful and of course adjusted to the new tones of the walls, that's why you are seeing a lot of gray, black and white in my decorations, and today I share with you a decoration I made for one of my walls with the word "Home ", and that I really loved, not only for how beautiful it is, but for its minimalist design.

This is another idea taken from pinterest, although not as is, because I didn't have all the materials, but I adjusted it according to what I had on hand and of course I gave it my touch so it would fit in with the rest of the decorations. And without further ado, let's go with the materials and the step by step.
Materials
Cardboard
Black cold paint
Embroidery drum
Eucalyptus branch
Double-sided adhesive
Silicone gun
Ruler
Cutter
Step by step
The first thing I did was to mark the letters "H, M and E" on the cardboard, since the letter "O" would be made with the embroidery drum.
In my case I used the cardboard of a pizza box since it is quite smooth and I wanted as much as possible that the letters looked like wood which is the material in which the pendant was made from which I took the idea, and as for the embroidery drum, it is one that I found at home and was damaged and I thought it would be perfect for the letter "O".
To mark the letters I took the letter "O" as a reference and with the help of a grid that I drew on the pizza box I marked all the pieces.
Then with the help of the ruler and the cutter I cut out the three letters, of which I made two of each to give firmness and volume.

Once I had all the letters cut out, the next step was to paint them with black cold paint, two coats on each piece was enough to give them an even tone.

The next step was to join the two pieces of each letter, but as I said, I wanted not only firmness, but also some volume, so I used my double-sided adhesive blocks, and what I did was to place them on one of the layers and then I fixed it to the other.
I repeated this process with the 3 letters, and as for the letter "O" I only glued a eucalyptus twig with the help of the silicone gun.


With everything ready, it was time to fix it on the wall, for which I also used double-sided adhesive, but a larger one, which I placed on the back of the letters, and with this done, I only had to decide how I would place the letters on the wall, and I decided to place the second syllable below the first, starting in the corner of the right side of the letter "O".


The next thing was to take another eucalyptus twig, and with a small piece of mecatillo I made a small loop to hang it, and that's how this beautiful decoration for one of my walls was ready.


Pretty simple, super cute, and we all love the result at home. What do you think?

Estaba buscando una idea para decorar mi cuarto con letras y me acabas de dar una. Muchas gracias!!
Qué bueno que te sirvió de inspiración
Esta decoración es de las que sin duda haría en mi casa, queda espectacular.
Gracias amiga, yo quedé enamorada 😍
Una belleza amiga.💜
Detalles que dan calidez al hogar, causando alegría a todos! Gracias por compartir!
Gracias amiga, así es
Mami quedó bien bonito
Gracias hija, a mi me encantó
Amiga tu casa está quedando muy bonita se nota el amor con que estás haciendo los adornos y decorando la casa. 😸❤️
Gracias mi bella, estoy disfrutando mucho este proceso.
Mujer no puedo con tu creatividad 😍😍😍 te quedó hermosisiiiimo
Jaja gracias ami! Pinterest me lleva loca
Hola que bonito quedó, el cartón se ve muy bien recortado y con la pintura negra da un resultado espectacular!!
Muchas gracias amiga. Recortar con el cutter ayuda a que se vean los cortes más limpios
Últimamente estás haciendo cosas espectaculares o bueno más espectaculares que siempre. Este me encantó amiga
Qué bella! Gracias mi Eve. Un abrazote
Mega bello amiga, me encantaaa😍😍😍
Gracias Yage, yo lo amo
This is so beautiful, walking into your house and seeing this sitting pretty on the wall would be such a delight. You did a fantastic job friend, well done and thanks for sharing.
Thank you so much
Te quedó precioso Ami! Precioso para decorar nuestras casitas. 💕
Gracias mi amor bello
muy bonito siempre es buena idea 😉 poner cárteles en forma de letras en la pared.Me ENCANTOO!! De echo para mí próxima publicación en mi diseño de Homestyle voy a poner un cartel de letra semiliar. Bendiciones
What a cute idea. I love how you made the O, it looks very cute.
Thank so much