Hoolaa mi estimada familia creativa! 🤗
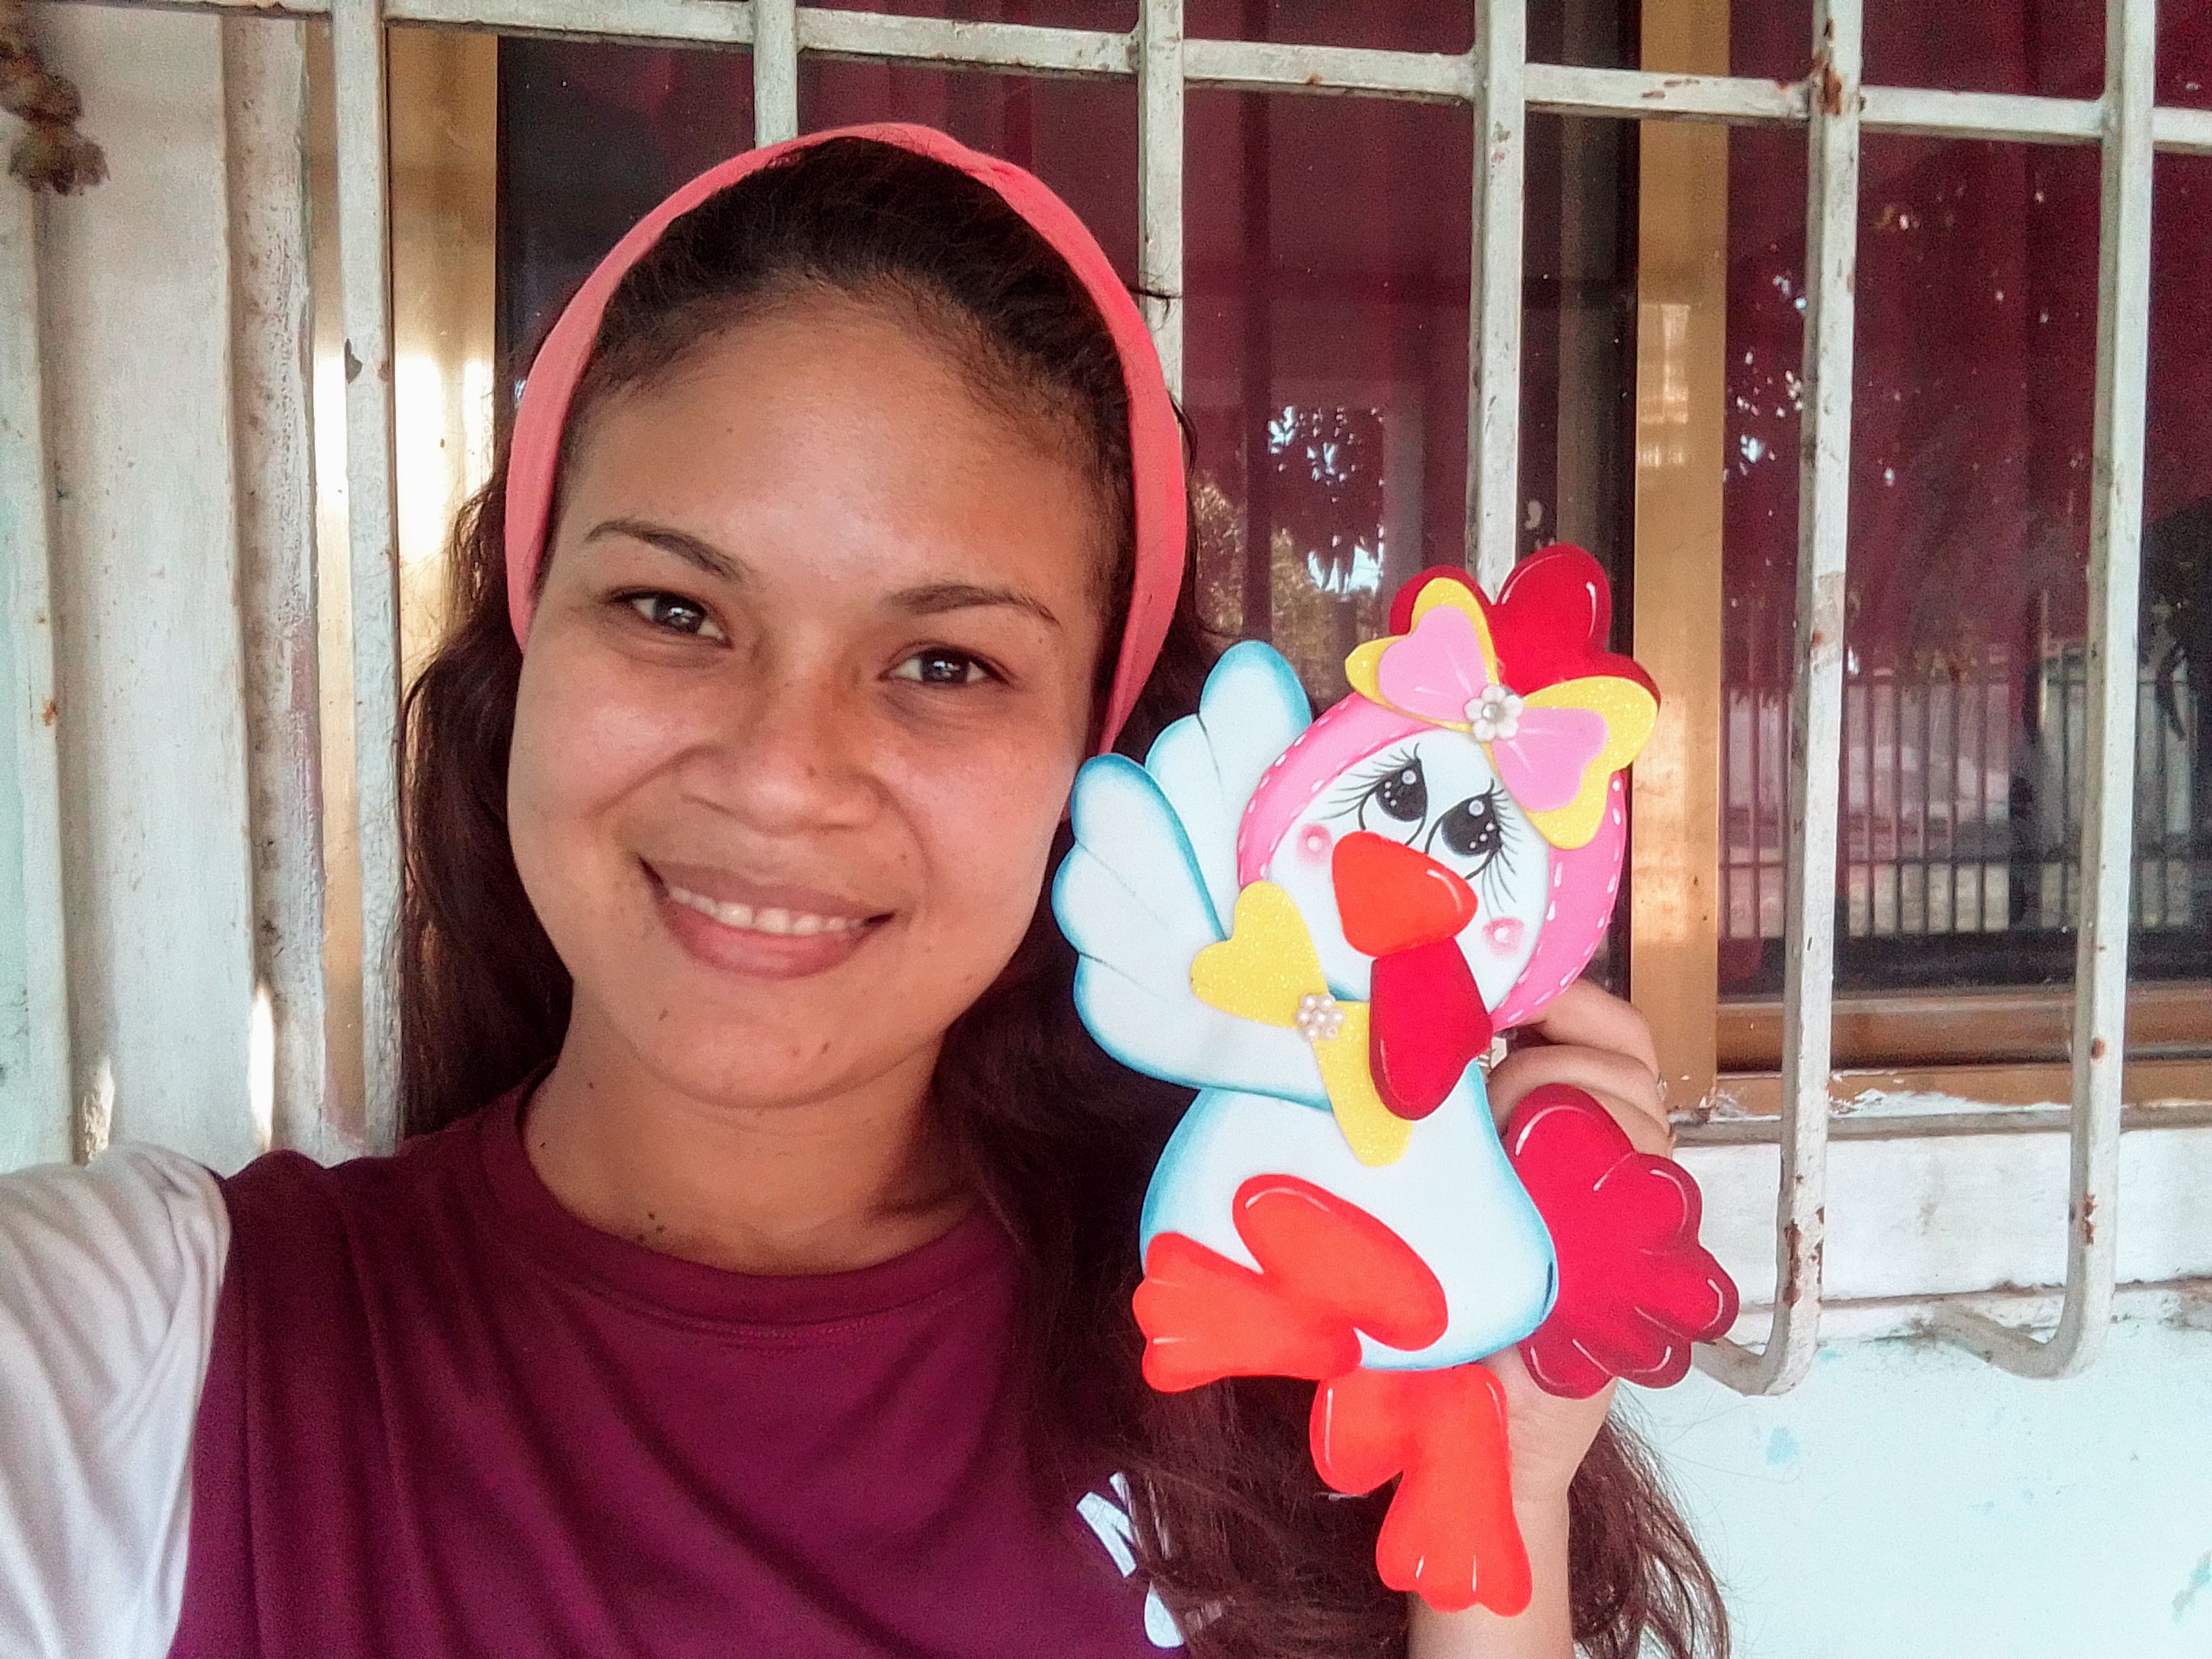
Feliz inicio de semana, bendiciones de Dios para ustedes! Espero que todos se encuentren muy bien llenos de mucha energía para empezar un nuevo dia!! La cocina al igual que otras partes del hogar, necesita tener una buena presencia ante los invitados por eso hoy me gustaría enseñarte cómo hacer una hermosa y coqueta gallinita para decorar las cortinas de tu cocina en pocos pasos, claro que también los puedes aplicar en las cortinas de los cuartos o cualquier otra cosa que desees sujetar. No dejes de ver, a continuación los pasos que debes seguir para decorar la cortina de tu cocina con esta gallinita y si te gusta el foami, no lo dudes en hacer.
Te invito a leer hasta el final! Vamos!
Happy start to the week, God's blessings to you! I hope everyone is very well full of energy to start a new day!! The kitchen, like other parts of the home, needs to have a good presence before the guests, so today I would like to teach you how to make a beautiful and flirty little chicken to decorate the curtains of your kitchen in a few steps, of course you can also apply them in the room curtains or anything else you want to attach. Be sure to see below the steps you must follow to decorate your kitchen curtain with this little hen and if you like foami, do not hesitate to do so. I invite you to read until the end! Come on!
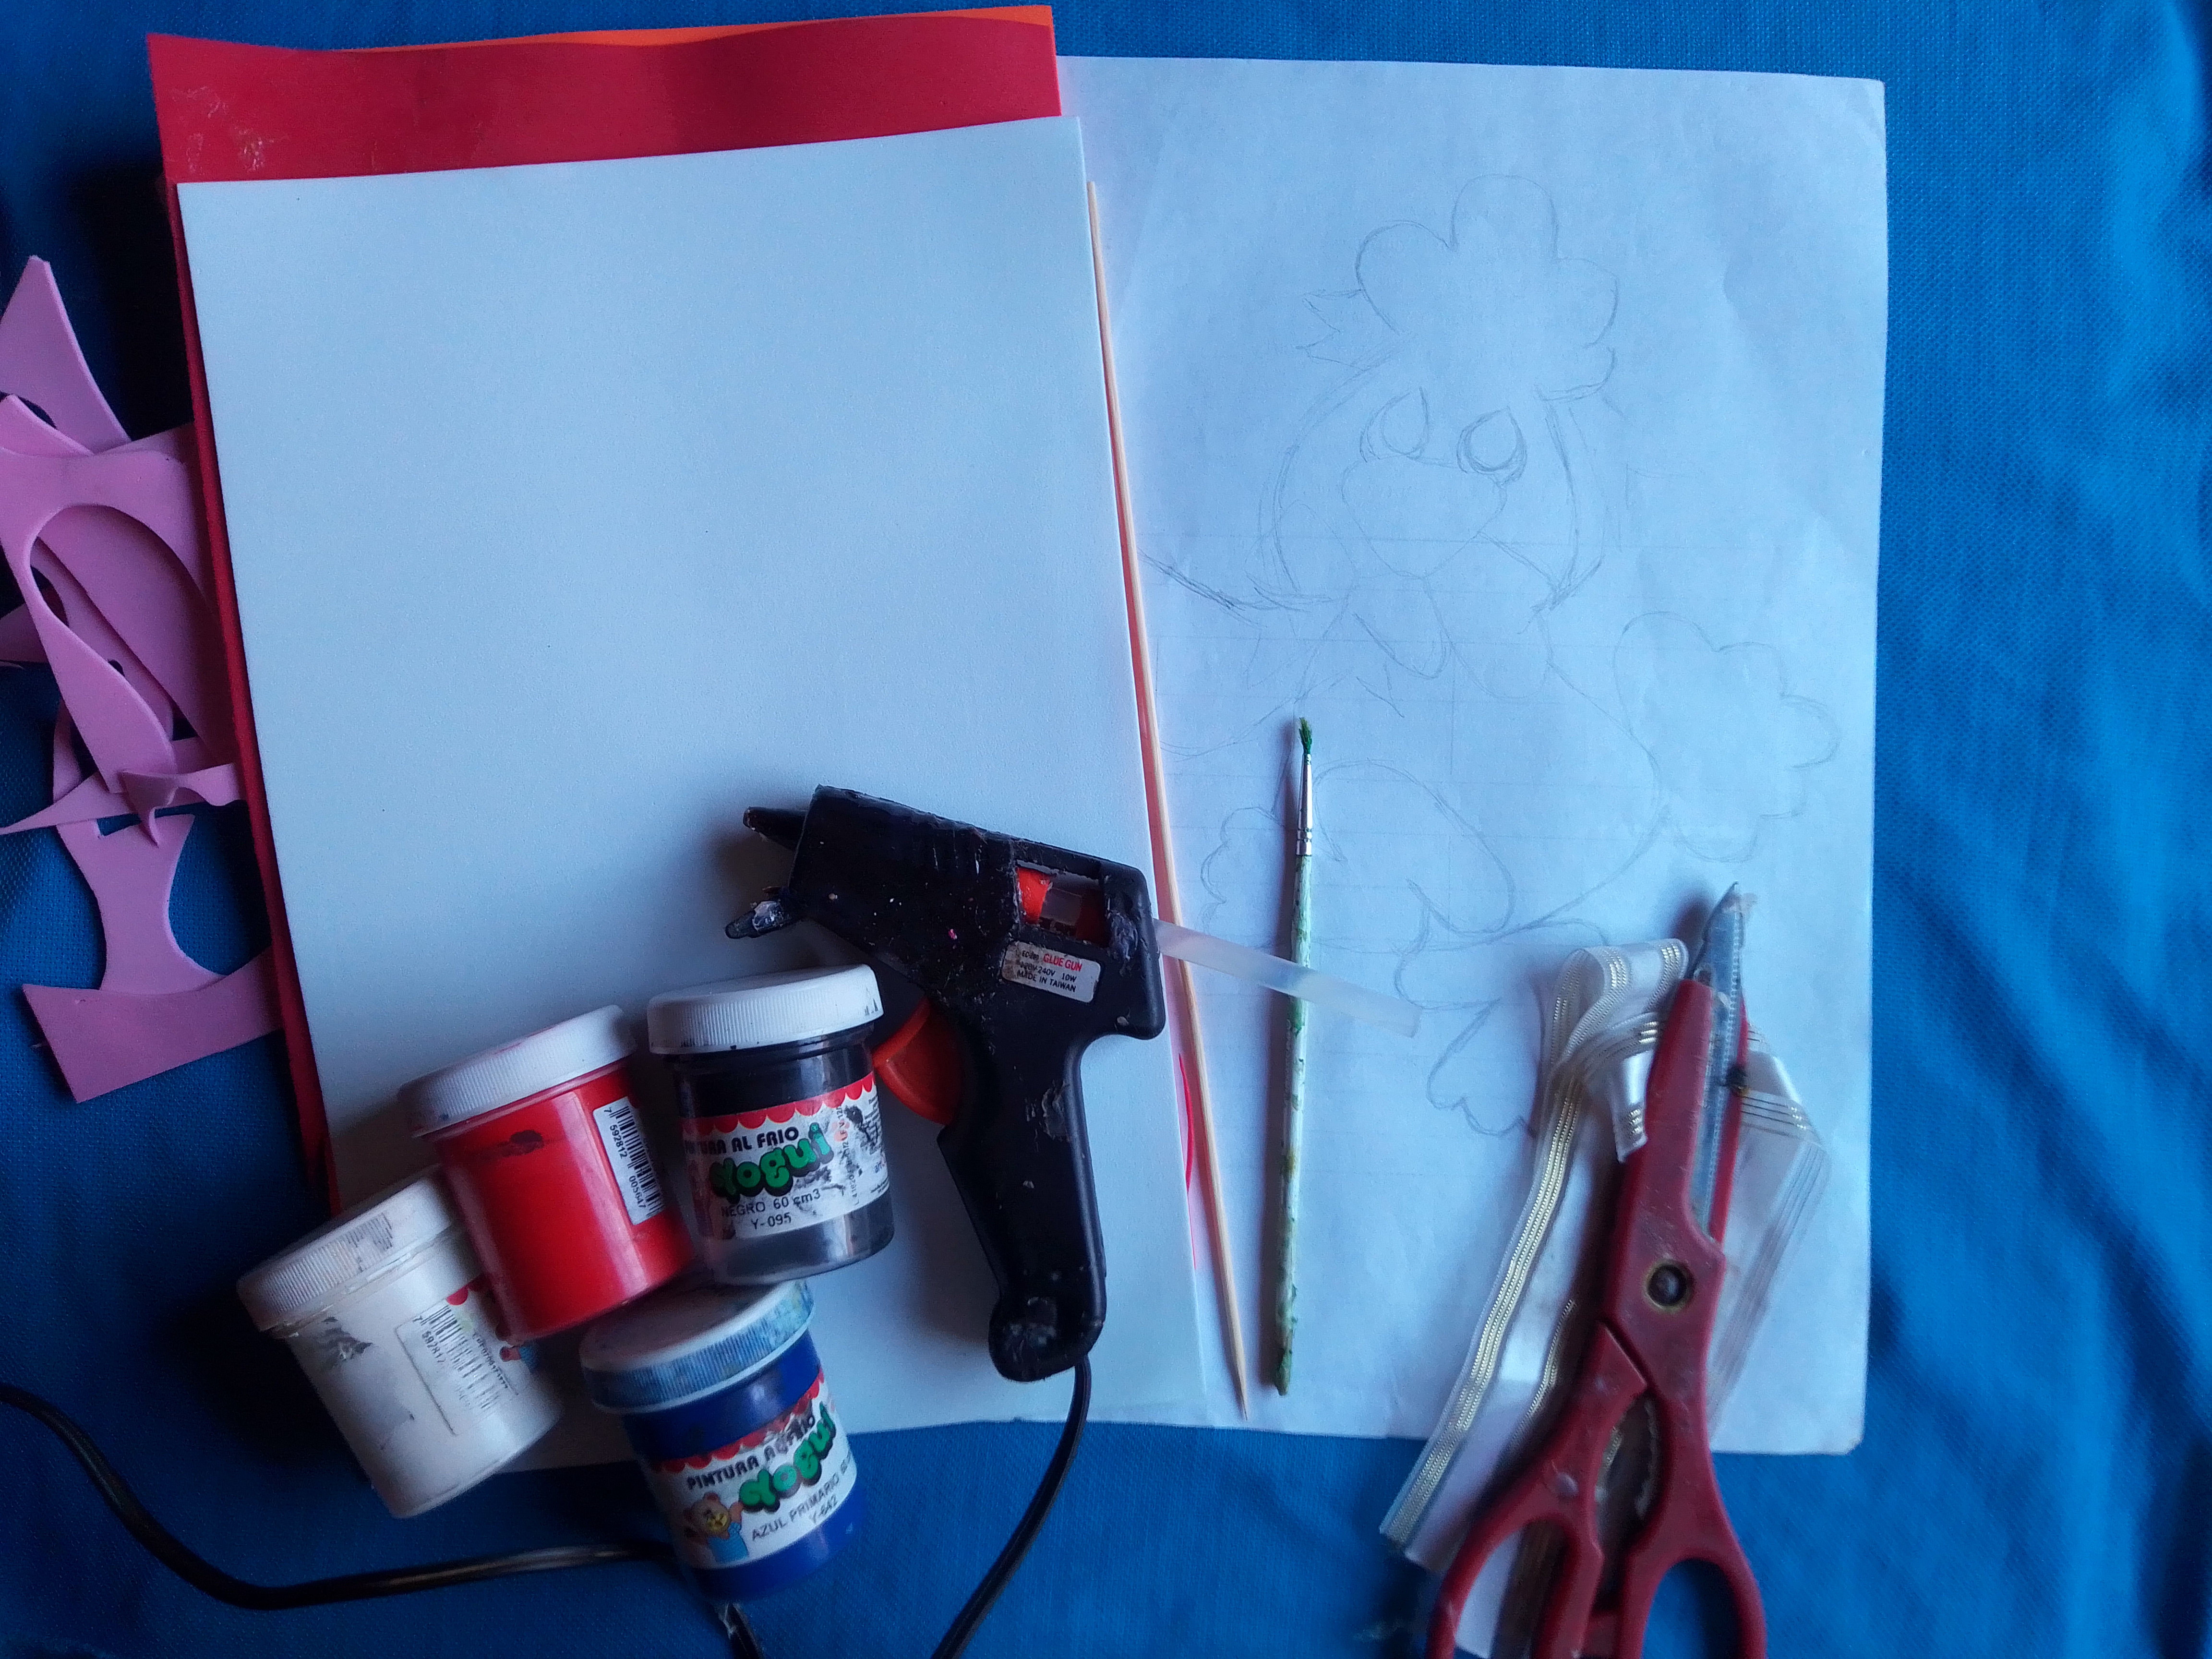
Materiales que necesitas:
- Foami blanco , rosado, anaranjado,amarillo brillante y rojo.
- Pintura blanca, negra, azul y roja.
- Pincel.
- Tijera.
- Palillos de altura.
- Cinta
- Silicón.
Materials you need:
- White, pink, orange, bright yellow and red foami.
- White, black, blue and red paint.
- Brush.
- Scissors.
- Height sticks.
- Ribbon.
- Silicone.
(Paso a paso.)
Paso 01.
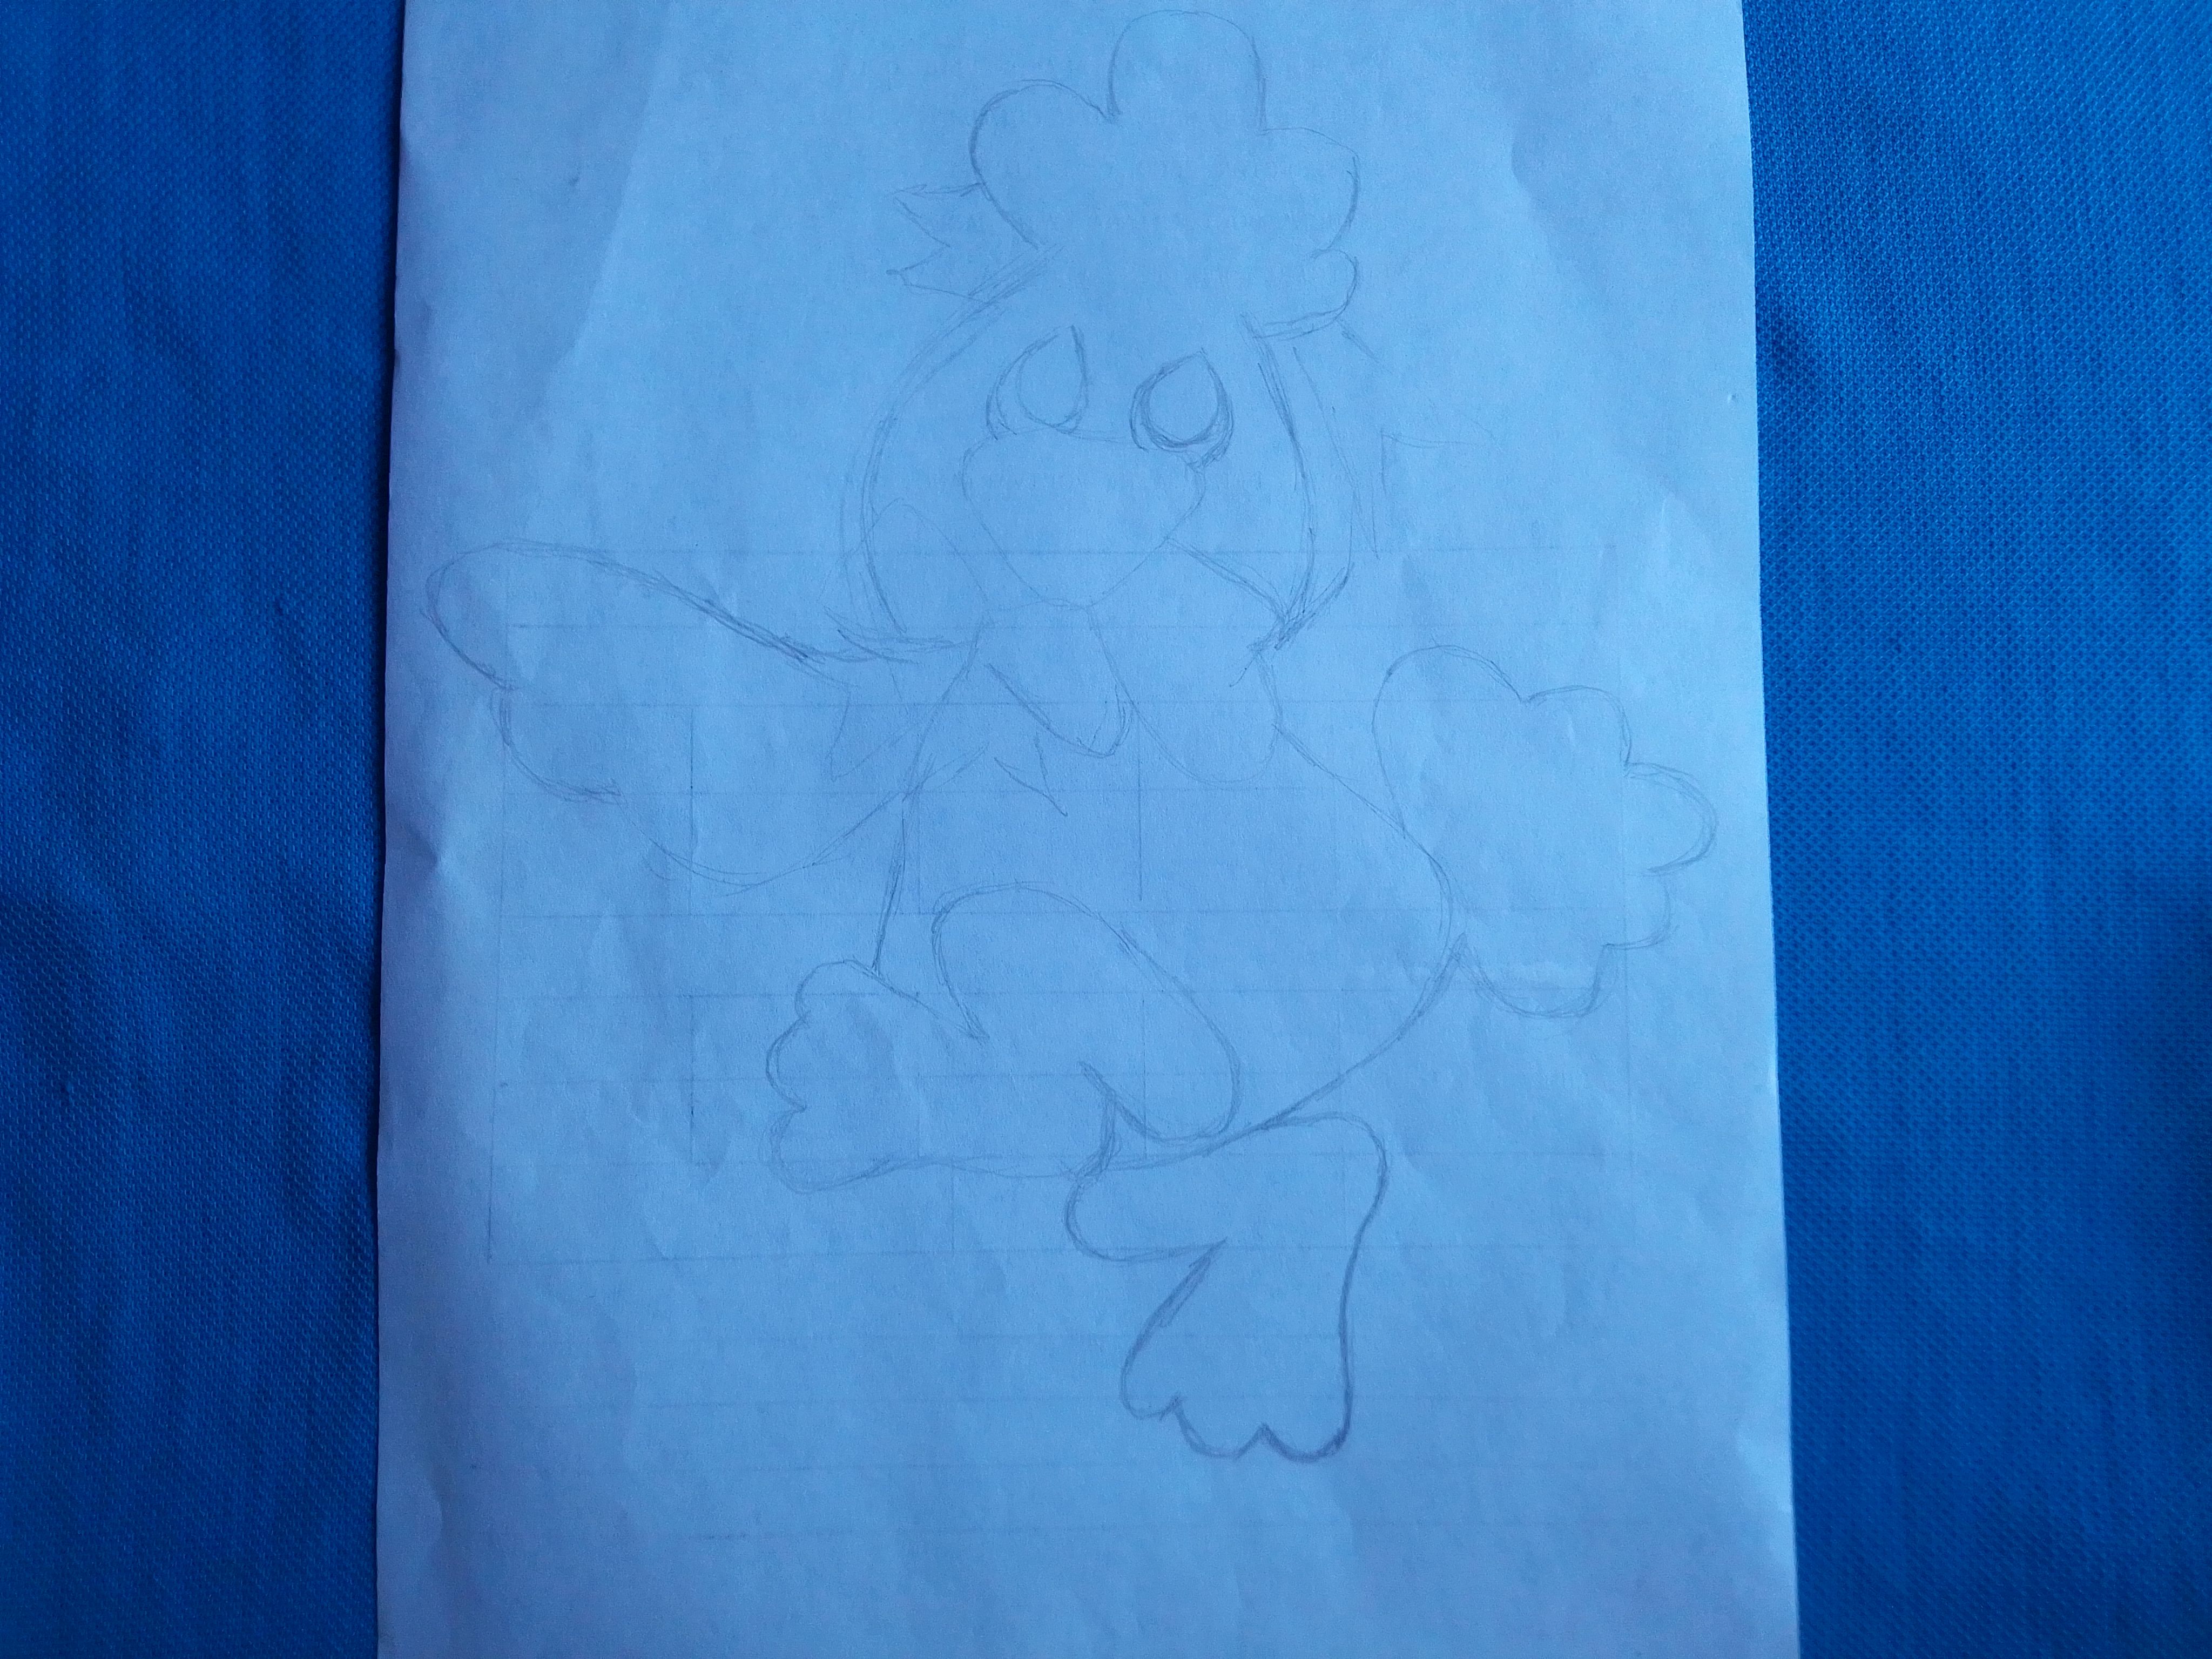
Bien amigos para comenzar nuestro proyecto manual de hoy, iniciamos trazando el diseño de la gallinita en una hoja de papel, la dibujamos muy coqueta haciendo la ilusión de que sus alas verdaderamente
sostienen algo. Dibujamos sus plumas de colita, sus patas, su pico y una diadema alrededor de su cabeza, podrás ver el diseño del que te hablo en la siguiente imagen.
Step 01.
Well friends, to begin our manual project today, we begin by tracing the design of the little hen on a sheet of paper, we draw it very coquettishly, making the illusion that its wings really They hold something. We draw its tail feathers, its legs, its beak and a headband around its head, you can see the design I'm talking about in the following image.
Paso 02.
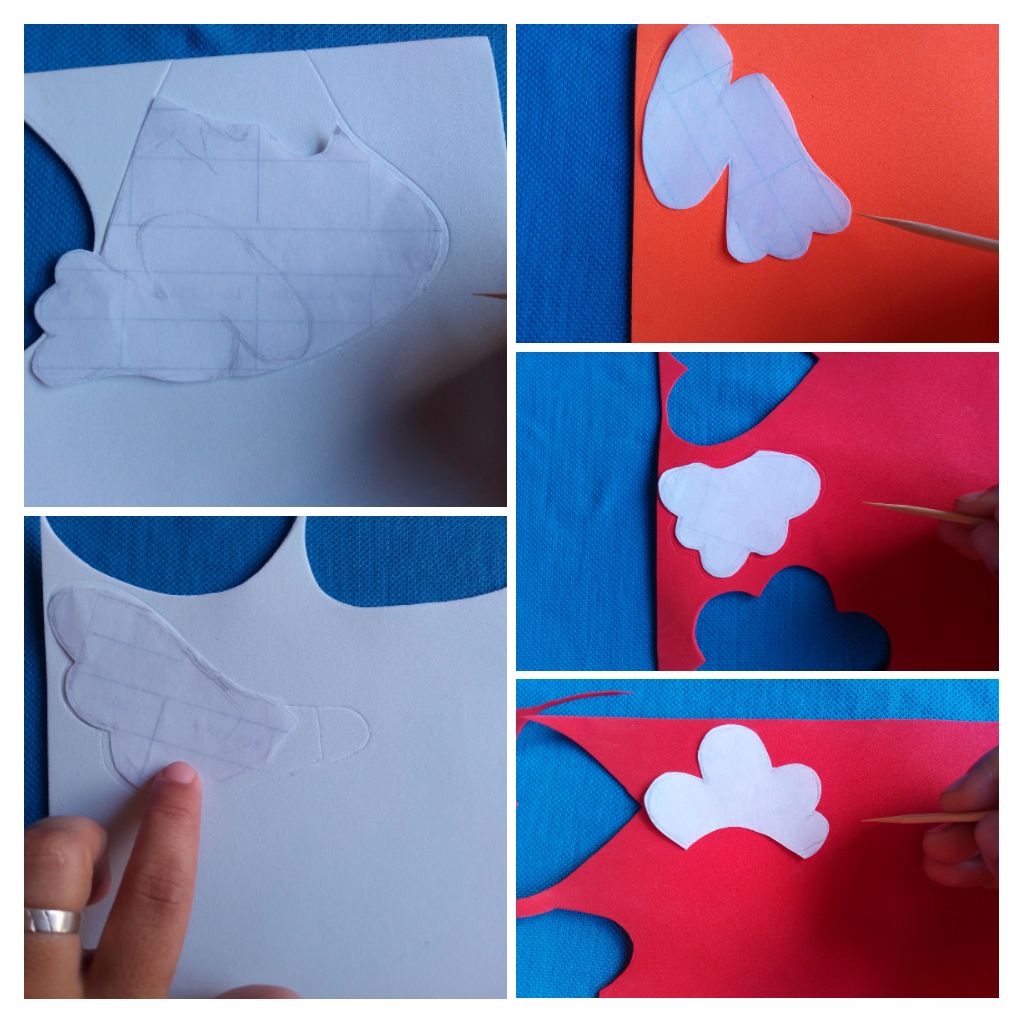
Continuamos y es momento de transferir cada parte de la gallina al foami, para esto separamos las piezas del diseño y las marcamos sobre el foami con el palito de altura. Trazamos el cuerpo, la cabeza y las alas en el foami blanco, las patas y el pico en foami anaranjado, la cola y la cresta en el foami rojo y el diadema en foami rosado.
Step 02.
We continue and it is time to transfer each part of the chicken to the foami, for this we separate the pieces of the design and mark them on the foami with the height stick. We traced the body, the head and the wings in the white foami, the legs and the beak in orange foami, the tail and the crest in the red foami and the headband in pink foami.
Paso 03.
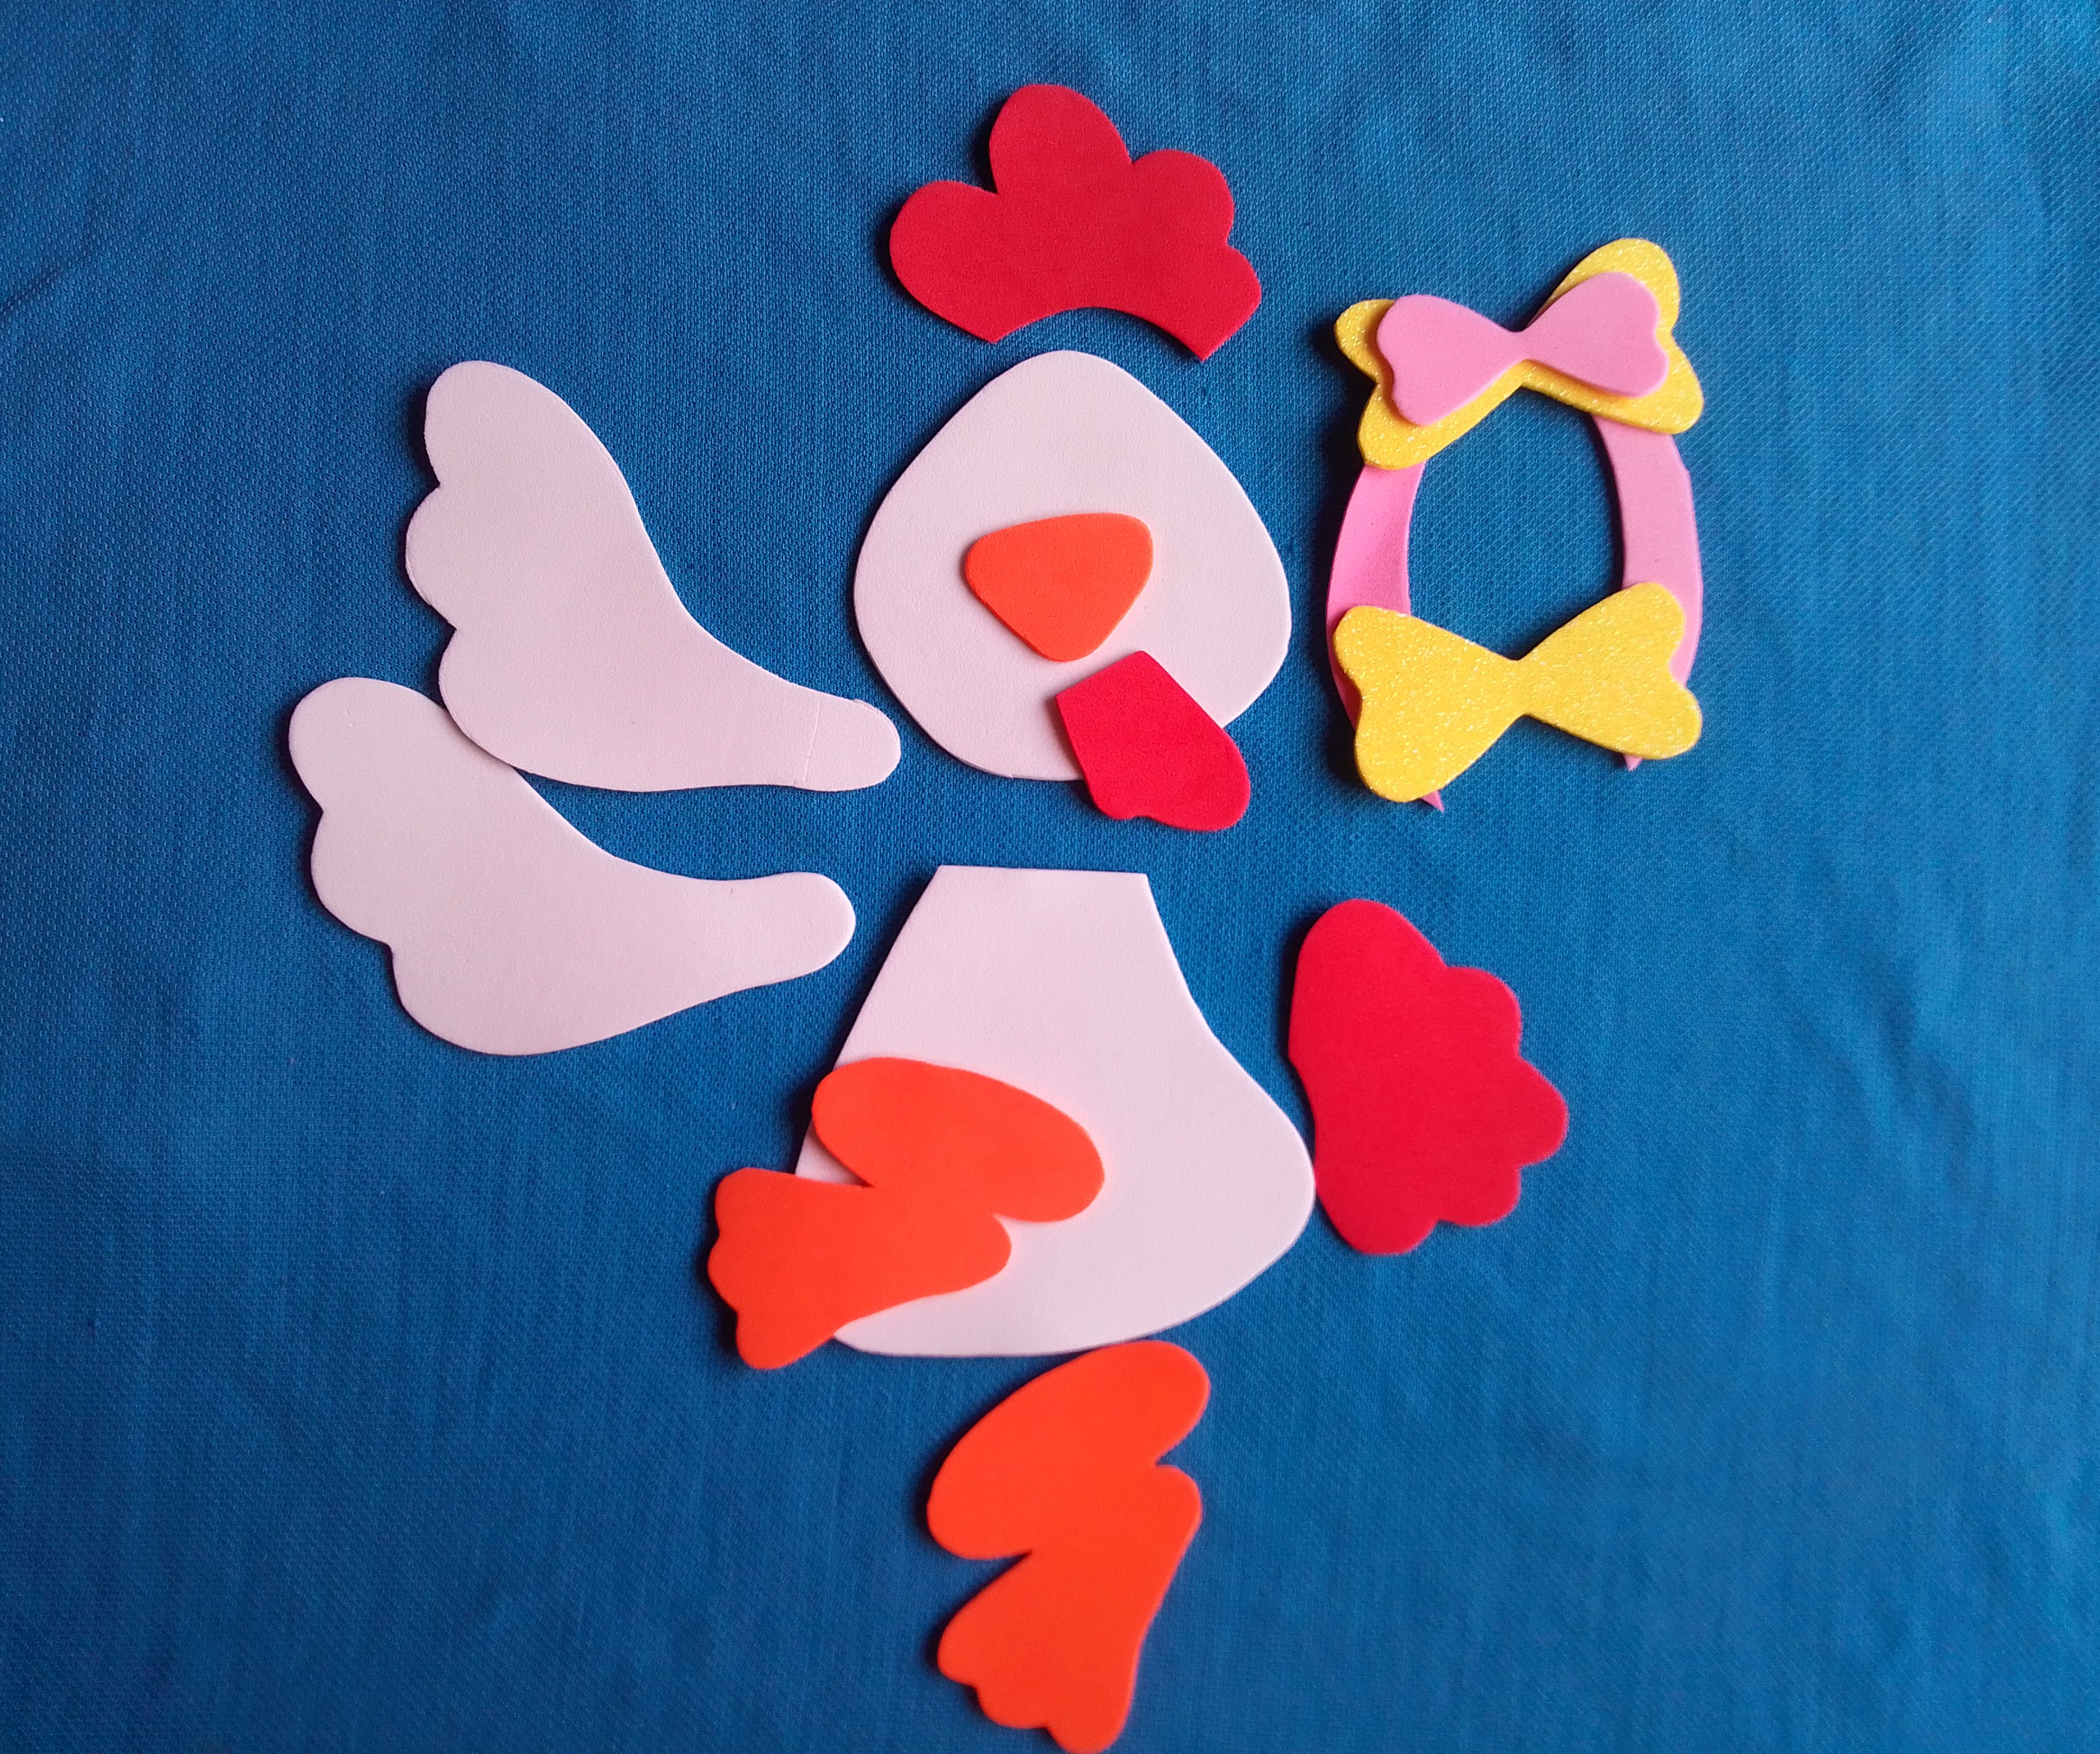
Luego con mucho cuidado cortamos cada pieza siguiendo las líneas que trazamos, incluyendo dos lazos de foami amarillo brillante. Debemos hacerlo con toda la paciencia posible para que nos queden bien cortadas.
Step 03.
Then very carefully we cut each piece following the lines we drew, including two bright yellow foami bows. We must do it with all the patience possible so that they are well cut.
Paso 04.
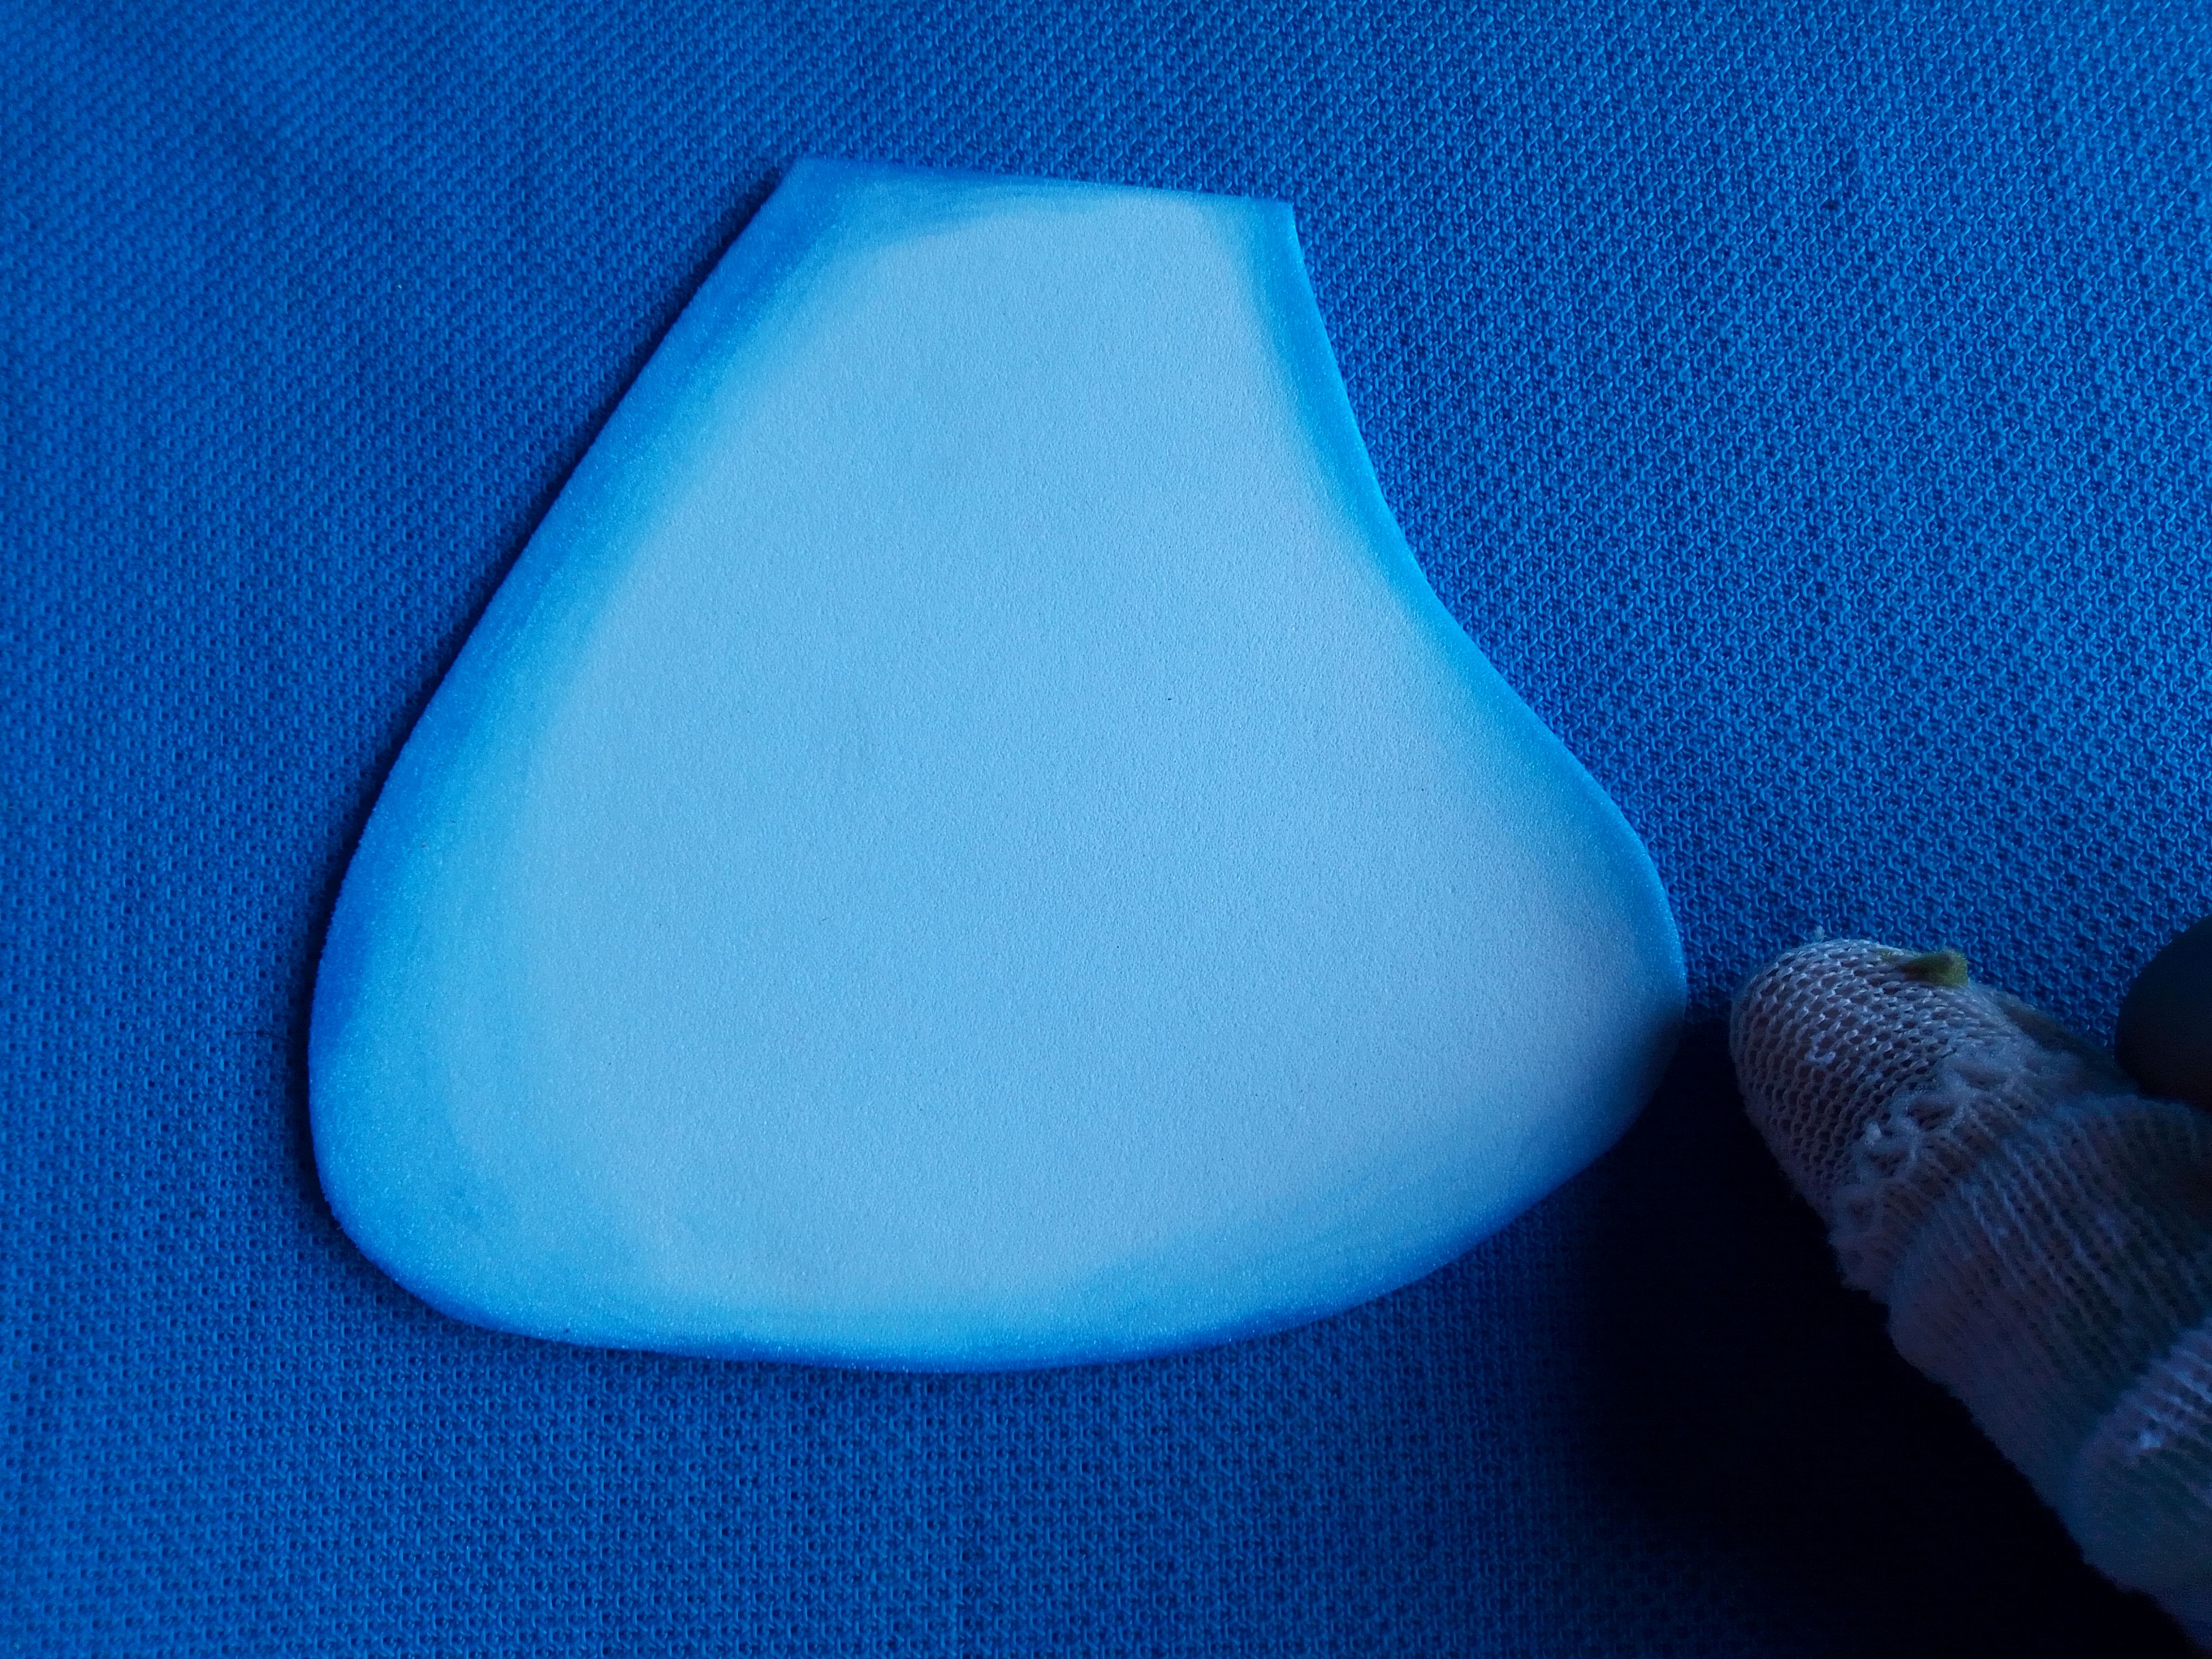
Difuminamos cada pieza para darle color y luz, si no tenemos un pincel especial para esto, una técnica muy práctica para hacerlo es con un trozo de tela. La colocas en la punta de tu dedo índice con un poco de pintura y la pasas por el borde del foami. Utiliza pintura azul para el foami blanco, rojo para el anaranjado y negro para el foami rojo.
Step 04.
We blur each piece to give it color and light, if we don't have a special brush for this, a very practical technique to do it is with a piece of fabric. You place it on the tip of your index finger with a little paint and pass it through the edge of the foami. Use blue paint for the white foami, red for the orange, and black for the red foami.
Paso 05.
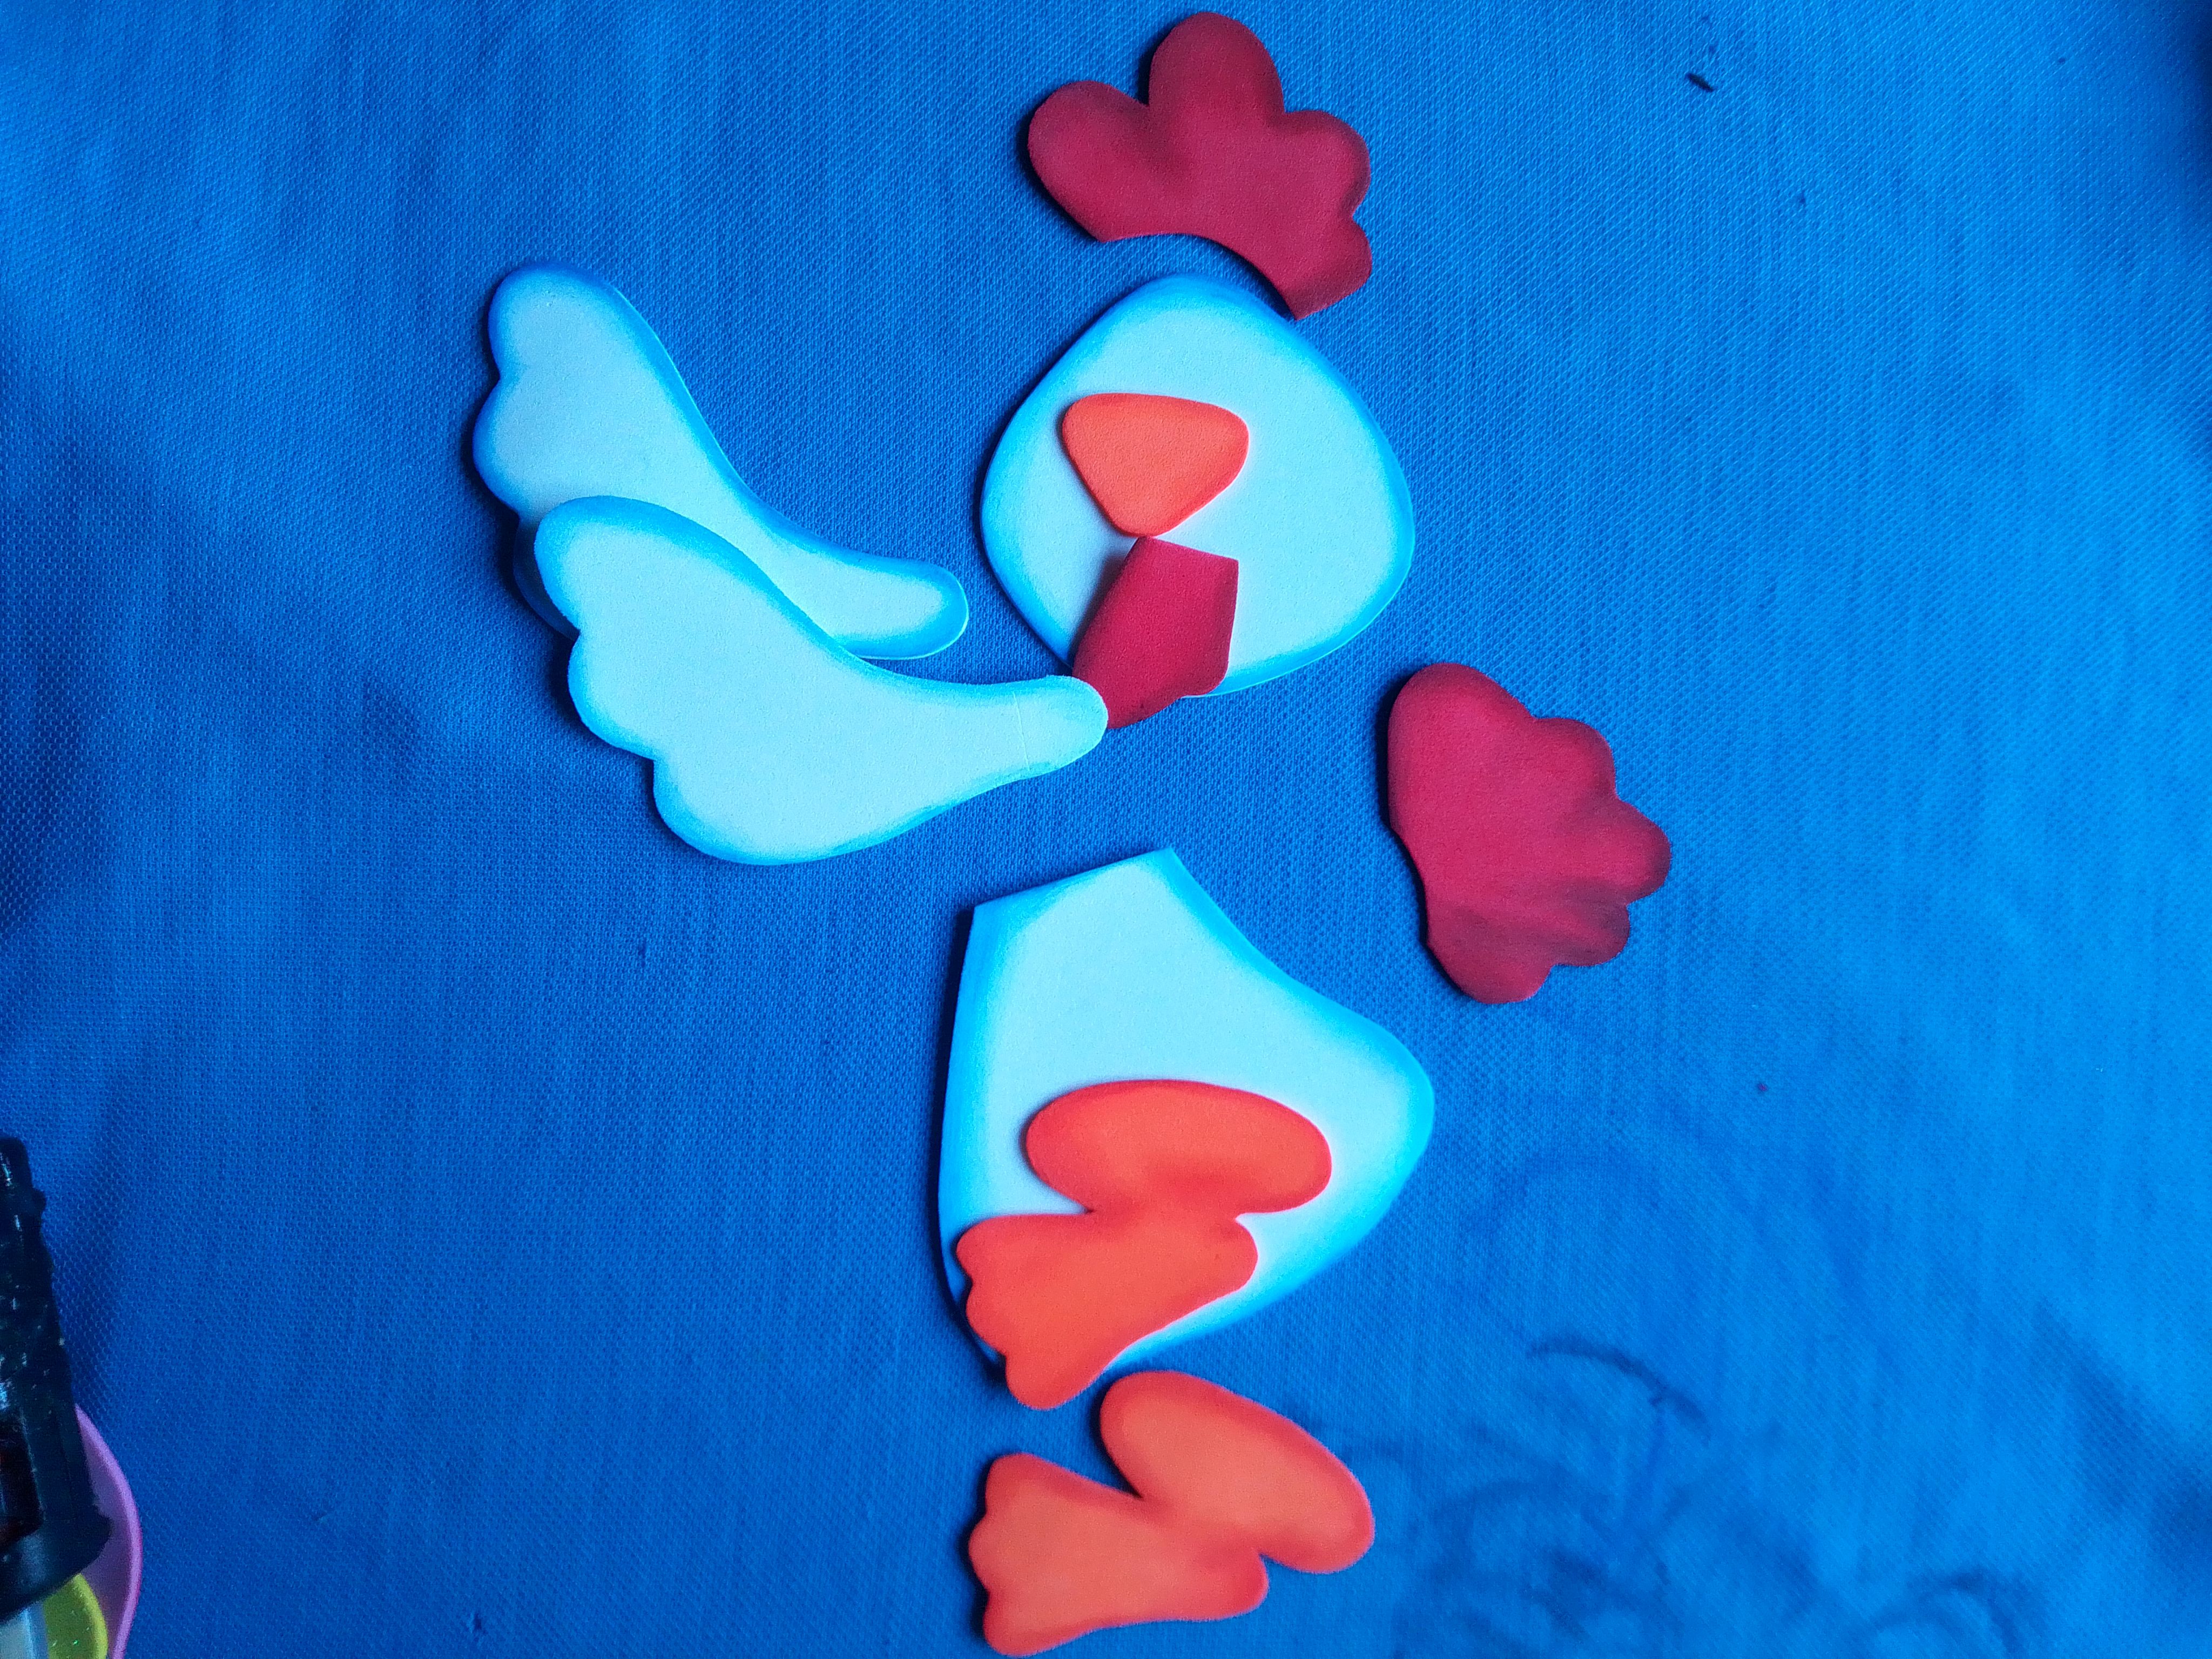
Cómo lo notan, se verá igual de hermoso que si lo hubieras hecho con el pincel.
Step 05.
As you notice, it will look just as beautiful as if you had done it with the brush.
Paso 06.
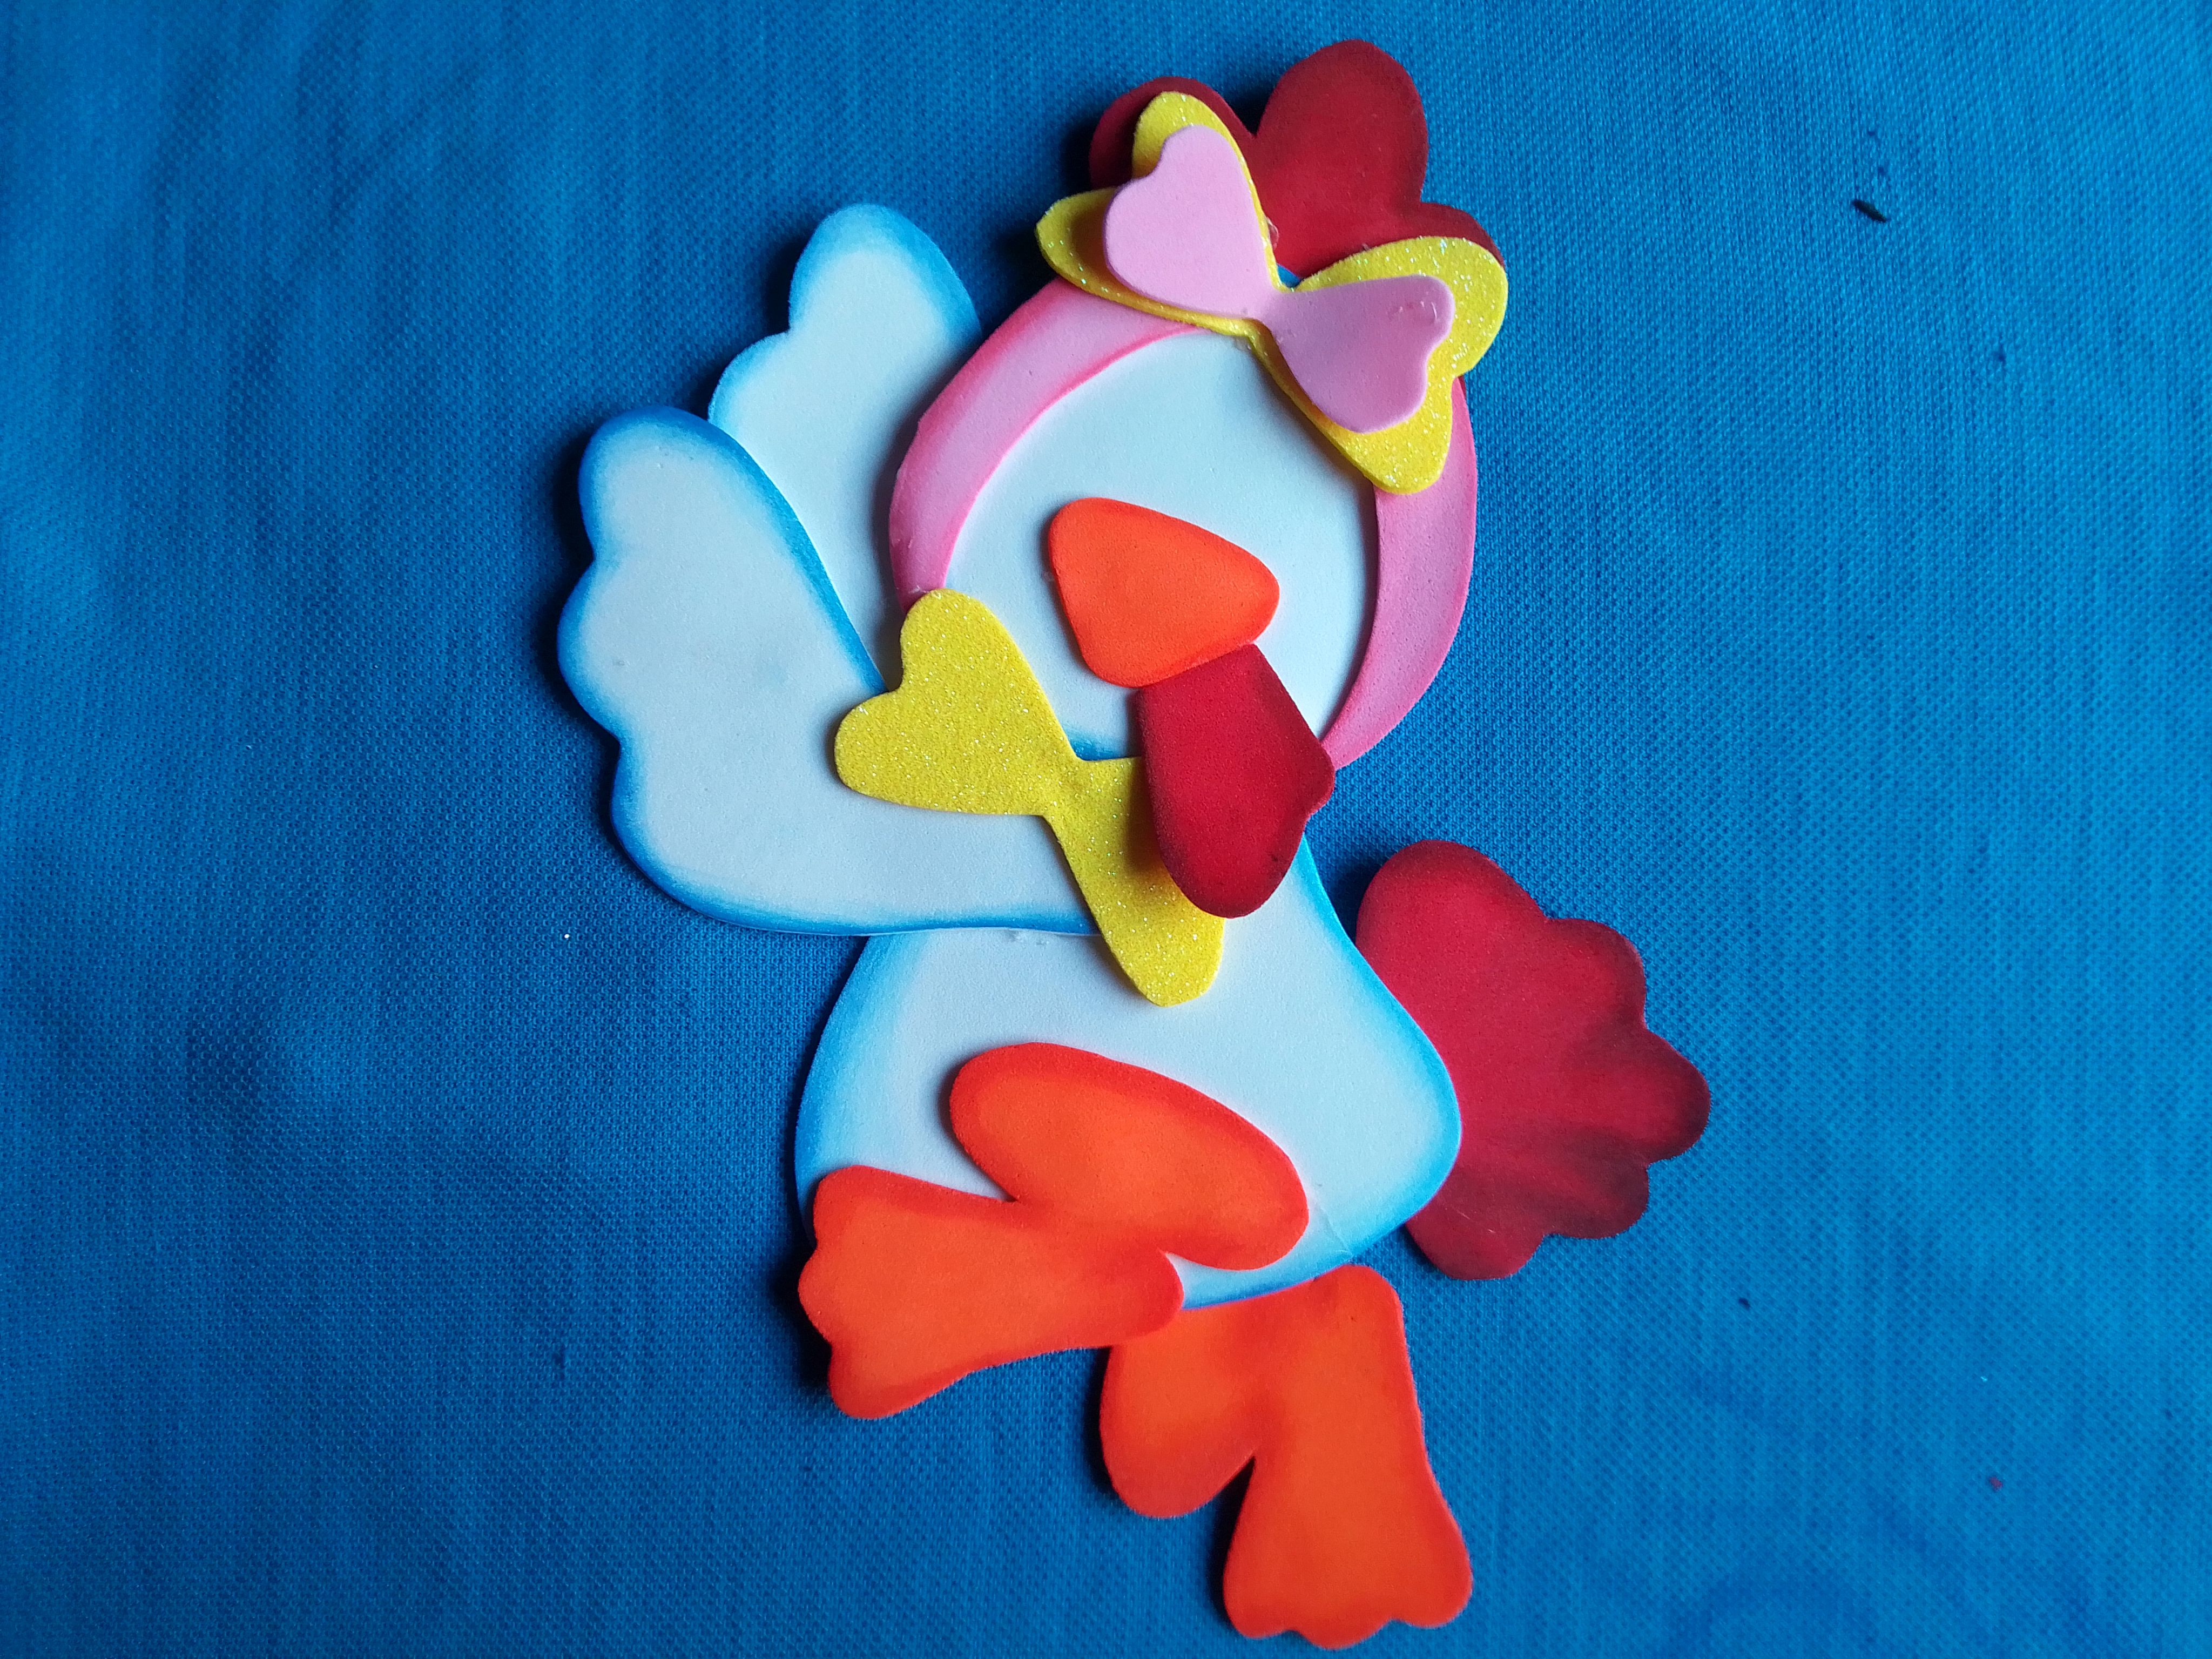
Seguidamente pegamos cada pieza con silicón caliente según el lugar que corresponde del diseño que hicimos al principio.
Step 06.
Then we glue each piece with hot silicone according to the place that corresponds to the design we made at the beginning.
Paso 07.
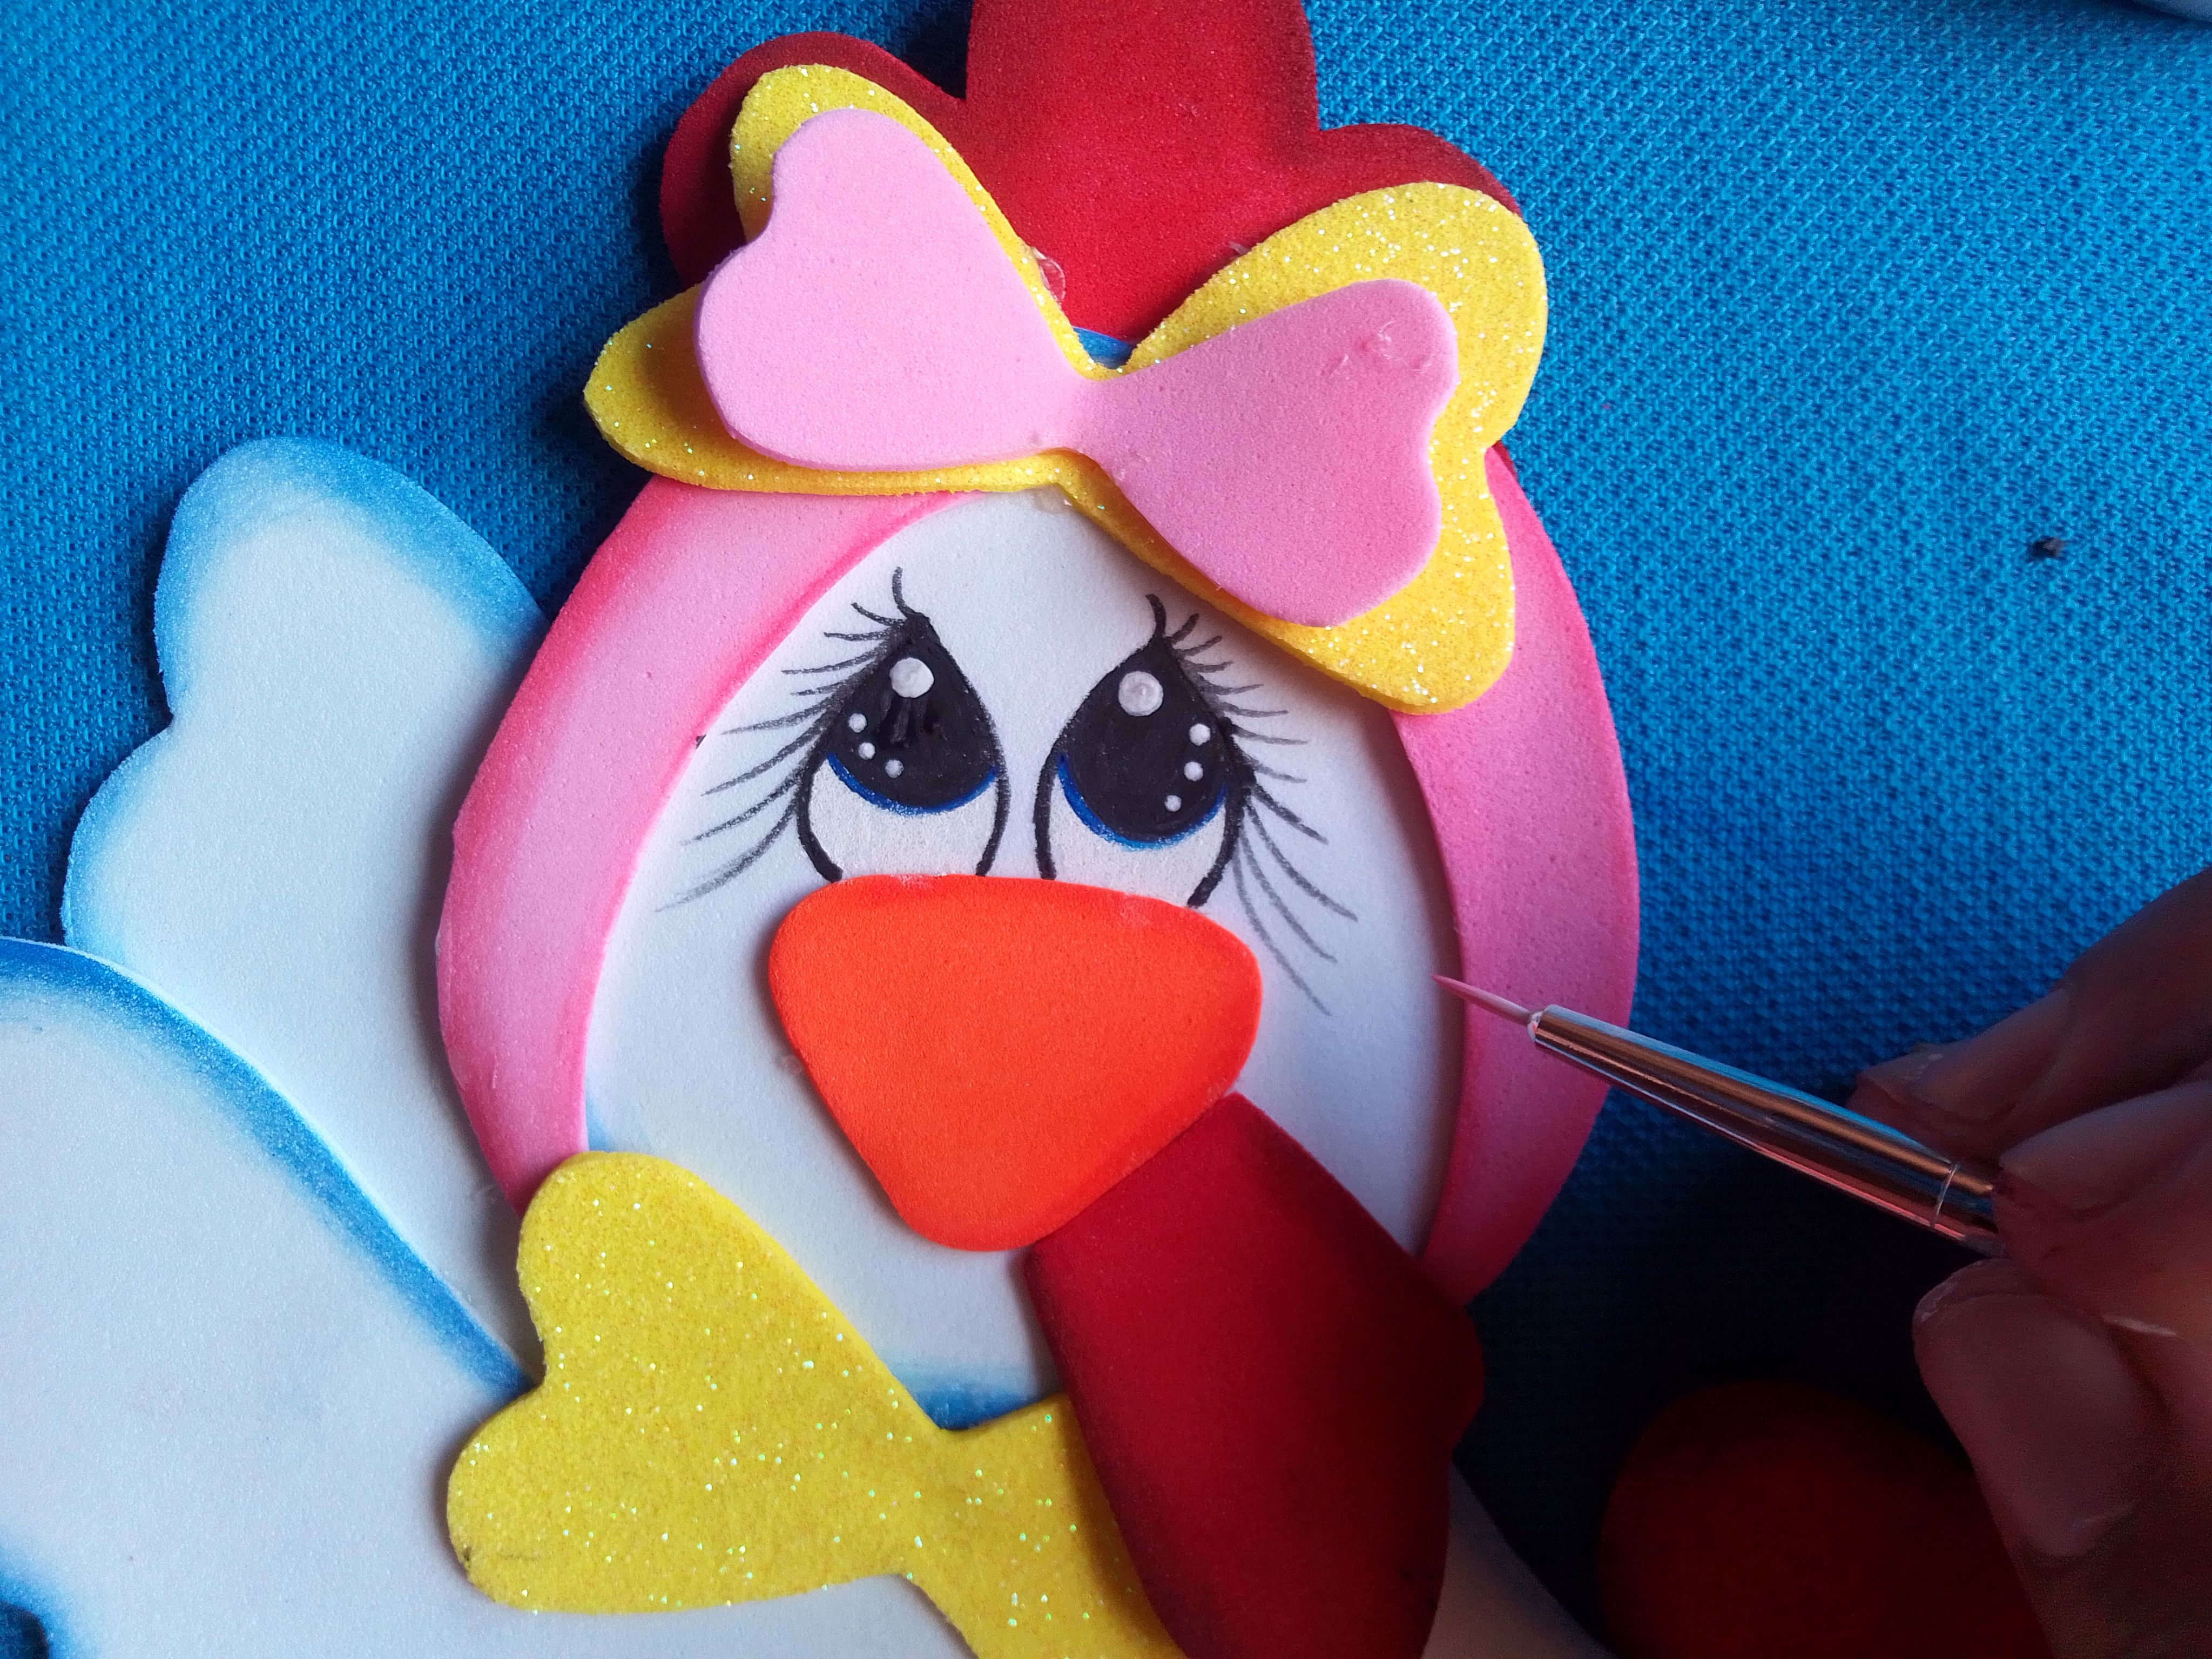
Una vez tengamos nuestra gallinita ya armadas, hacemos los ojos, primero los marcamos sobre el pico de la gallina y con un pincel fino y pintura negra haremos el centro de estos, utilizamos el mismo pincel para pintar sus largas pestañas y colocamos puntos bancos para el brillo de la mirada.
Step 07.
Once we have our little hen already armed, we make the eyes, first we mark them on the hen's beak and with a fine brush and black paint we will make the center of these, we use the same brush to paint its long eyelashes and we place white dots for the brightness of the look.

Paso 08.
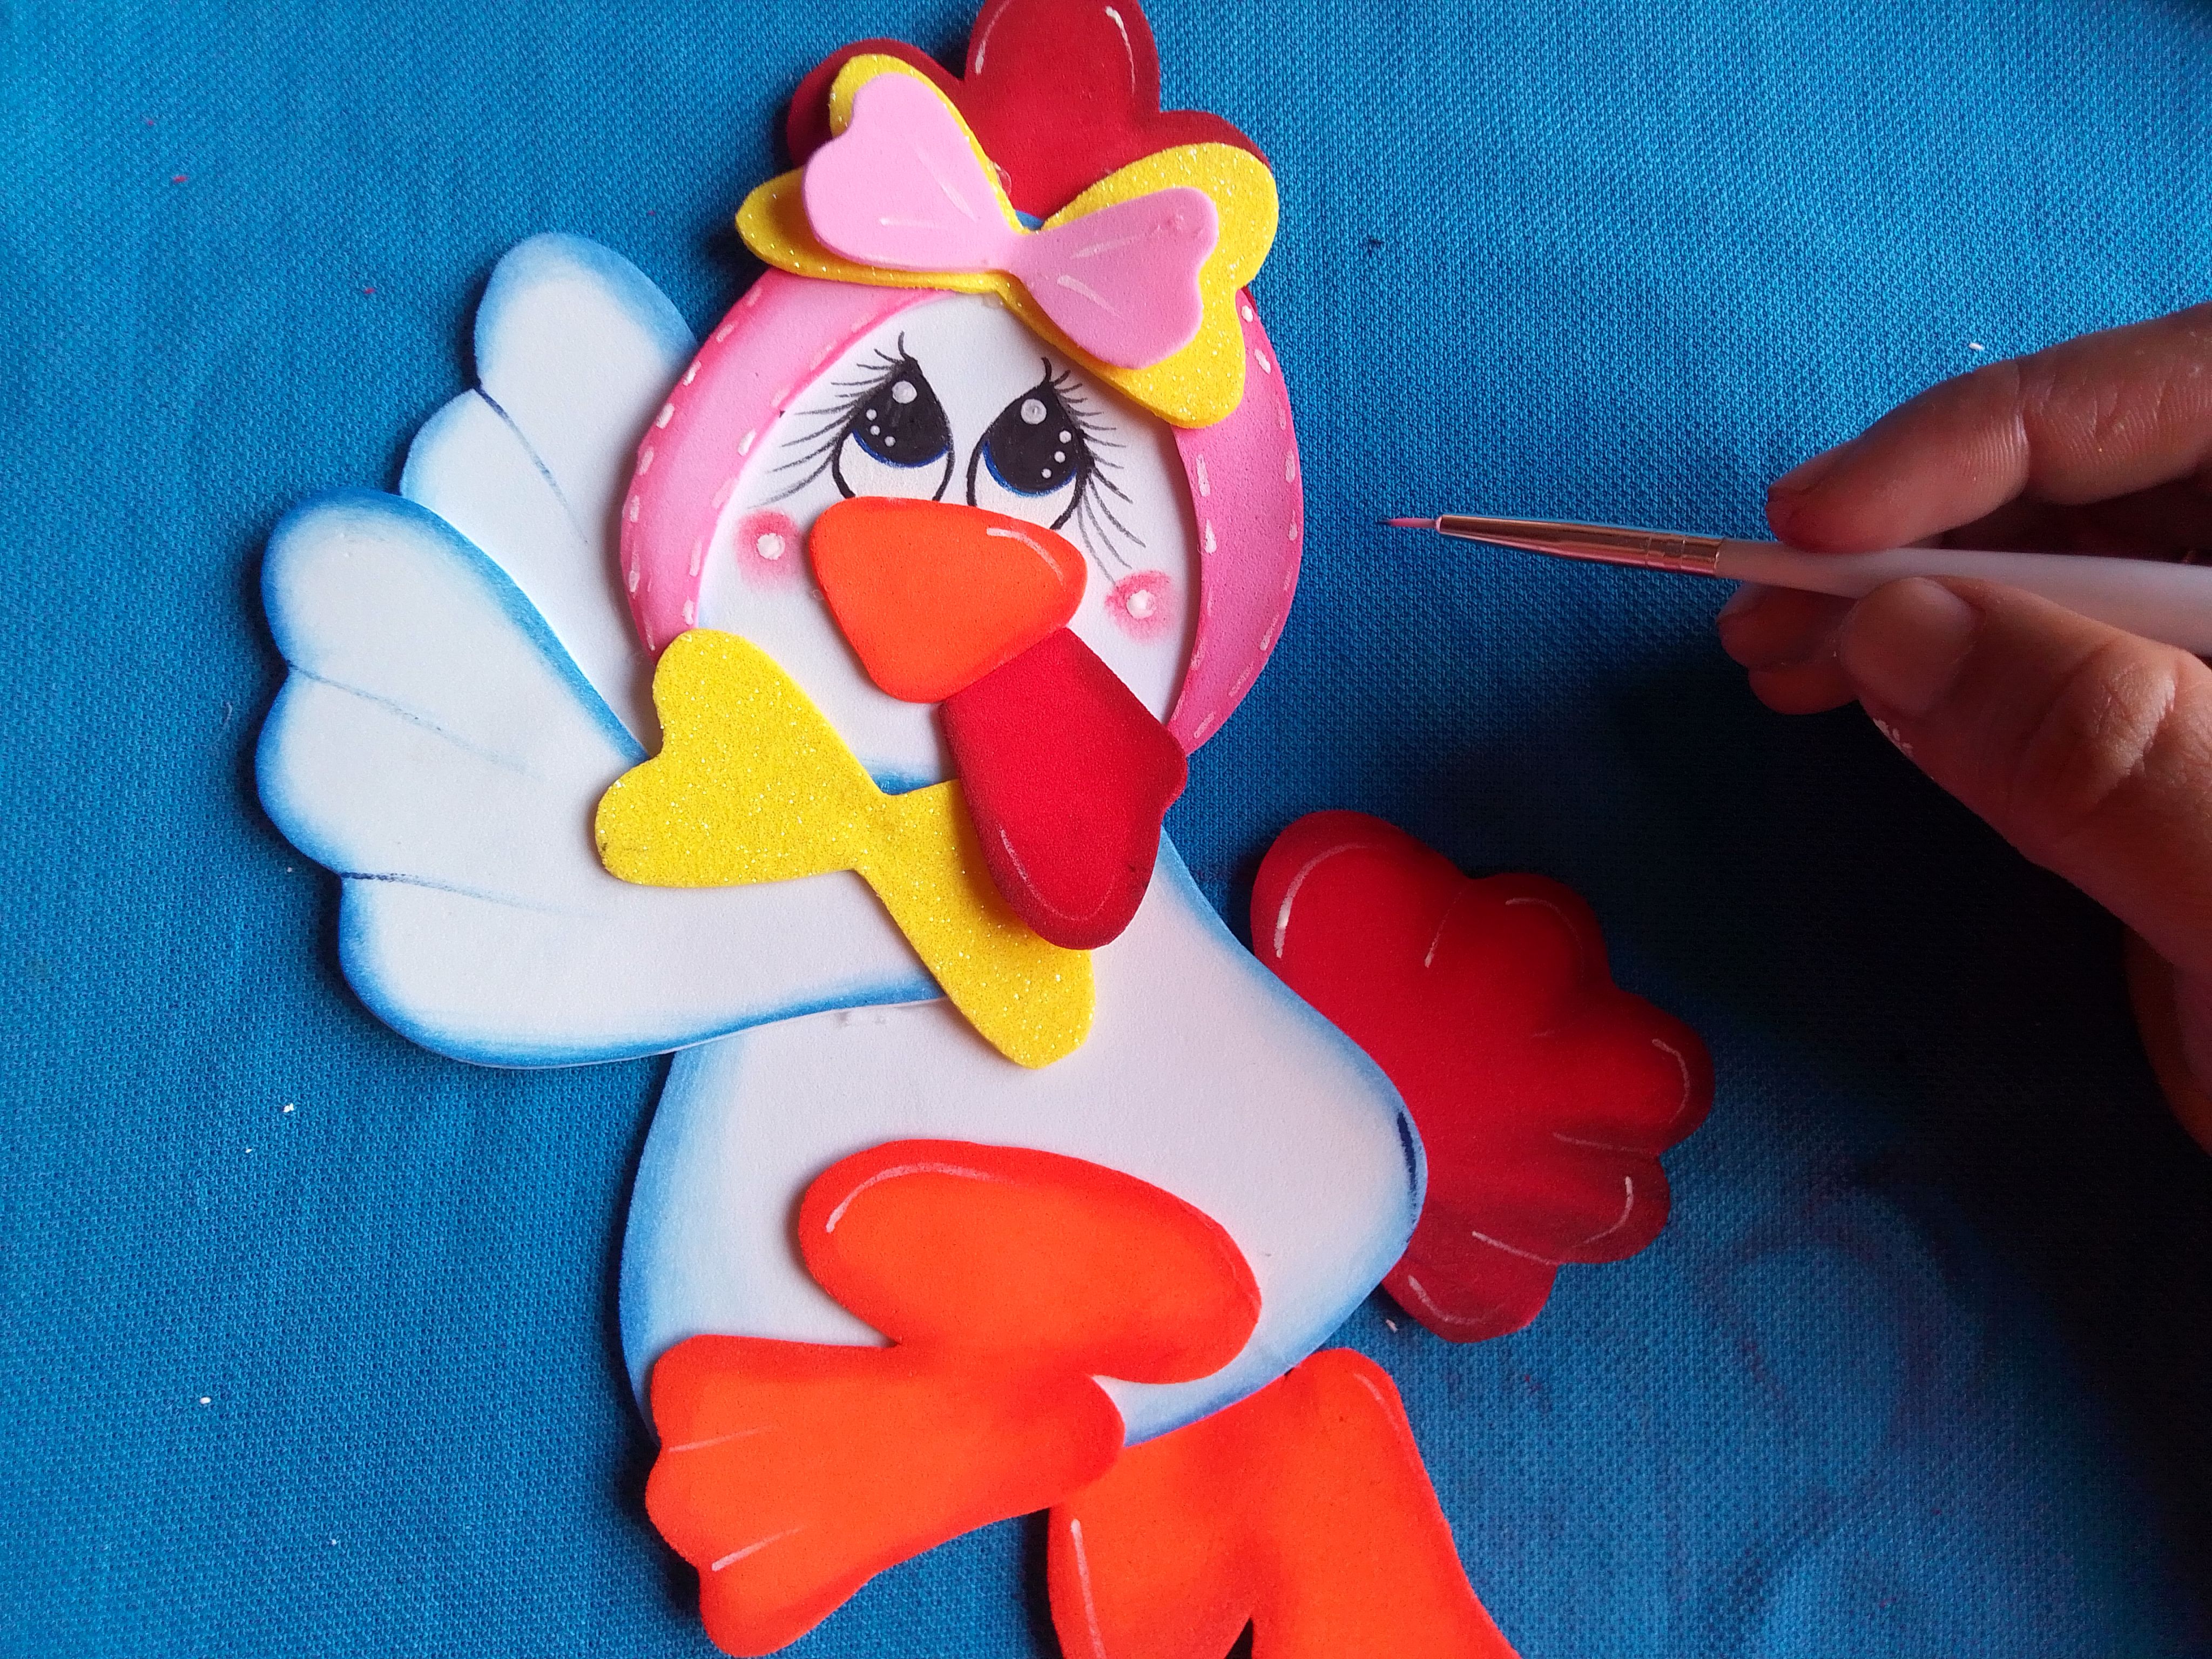
Hacemos detalles en el diadema de la gallina, sus alas y mejillas.
Step 08.
We make details on the headband of the chicken, its wings and cheeks.
Paso 09.
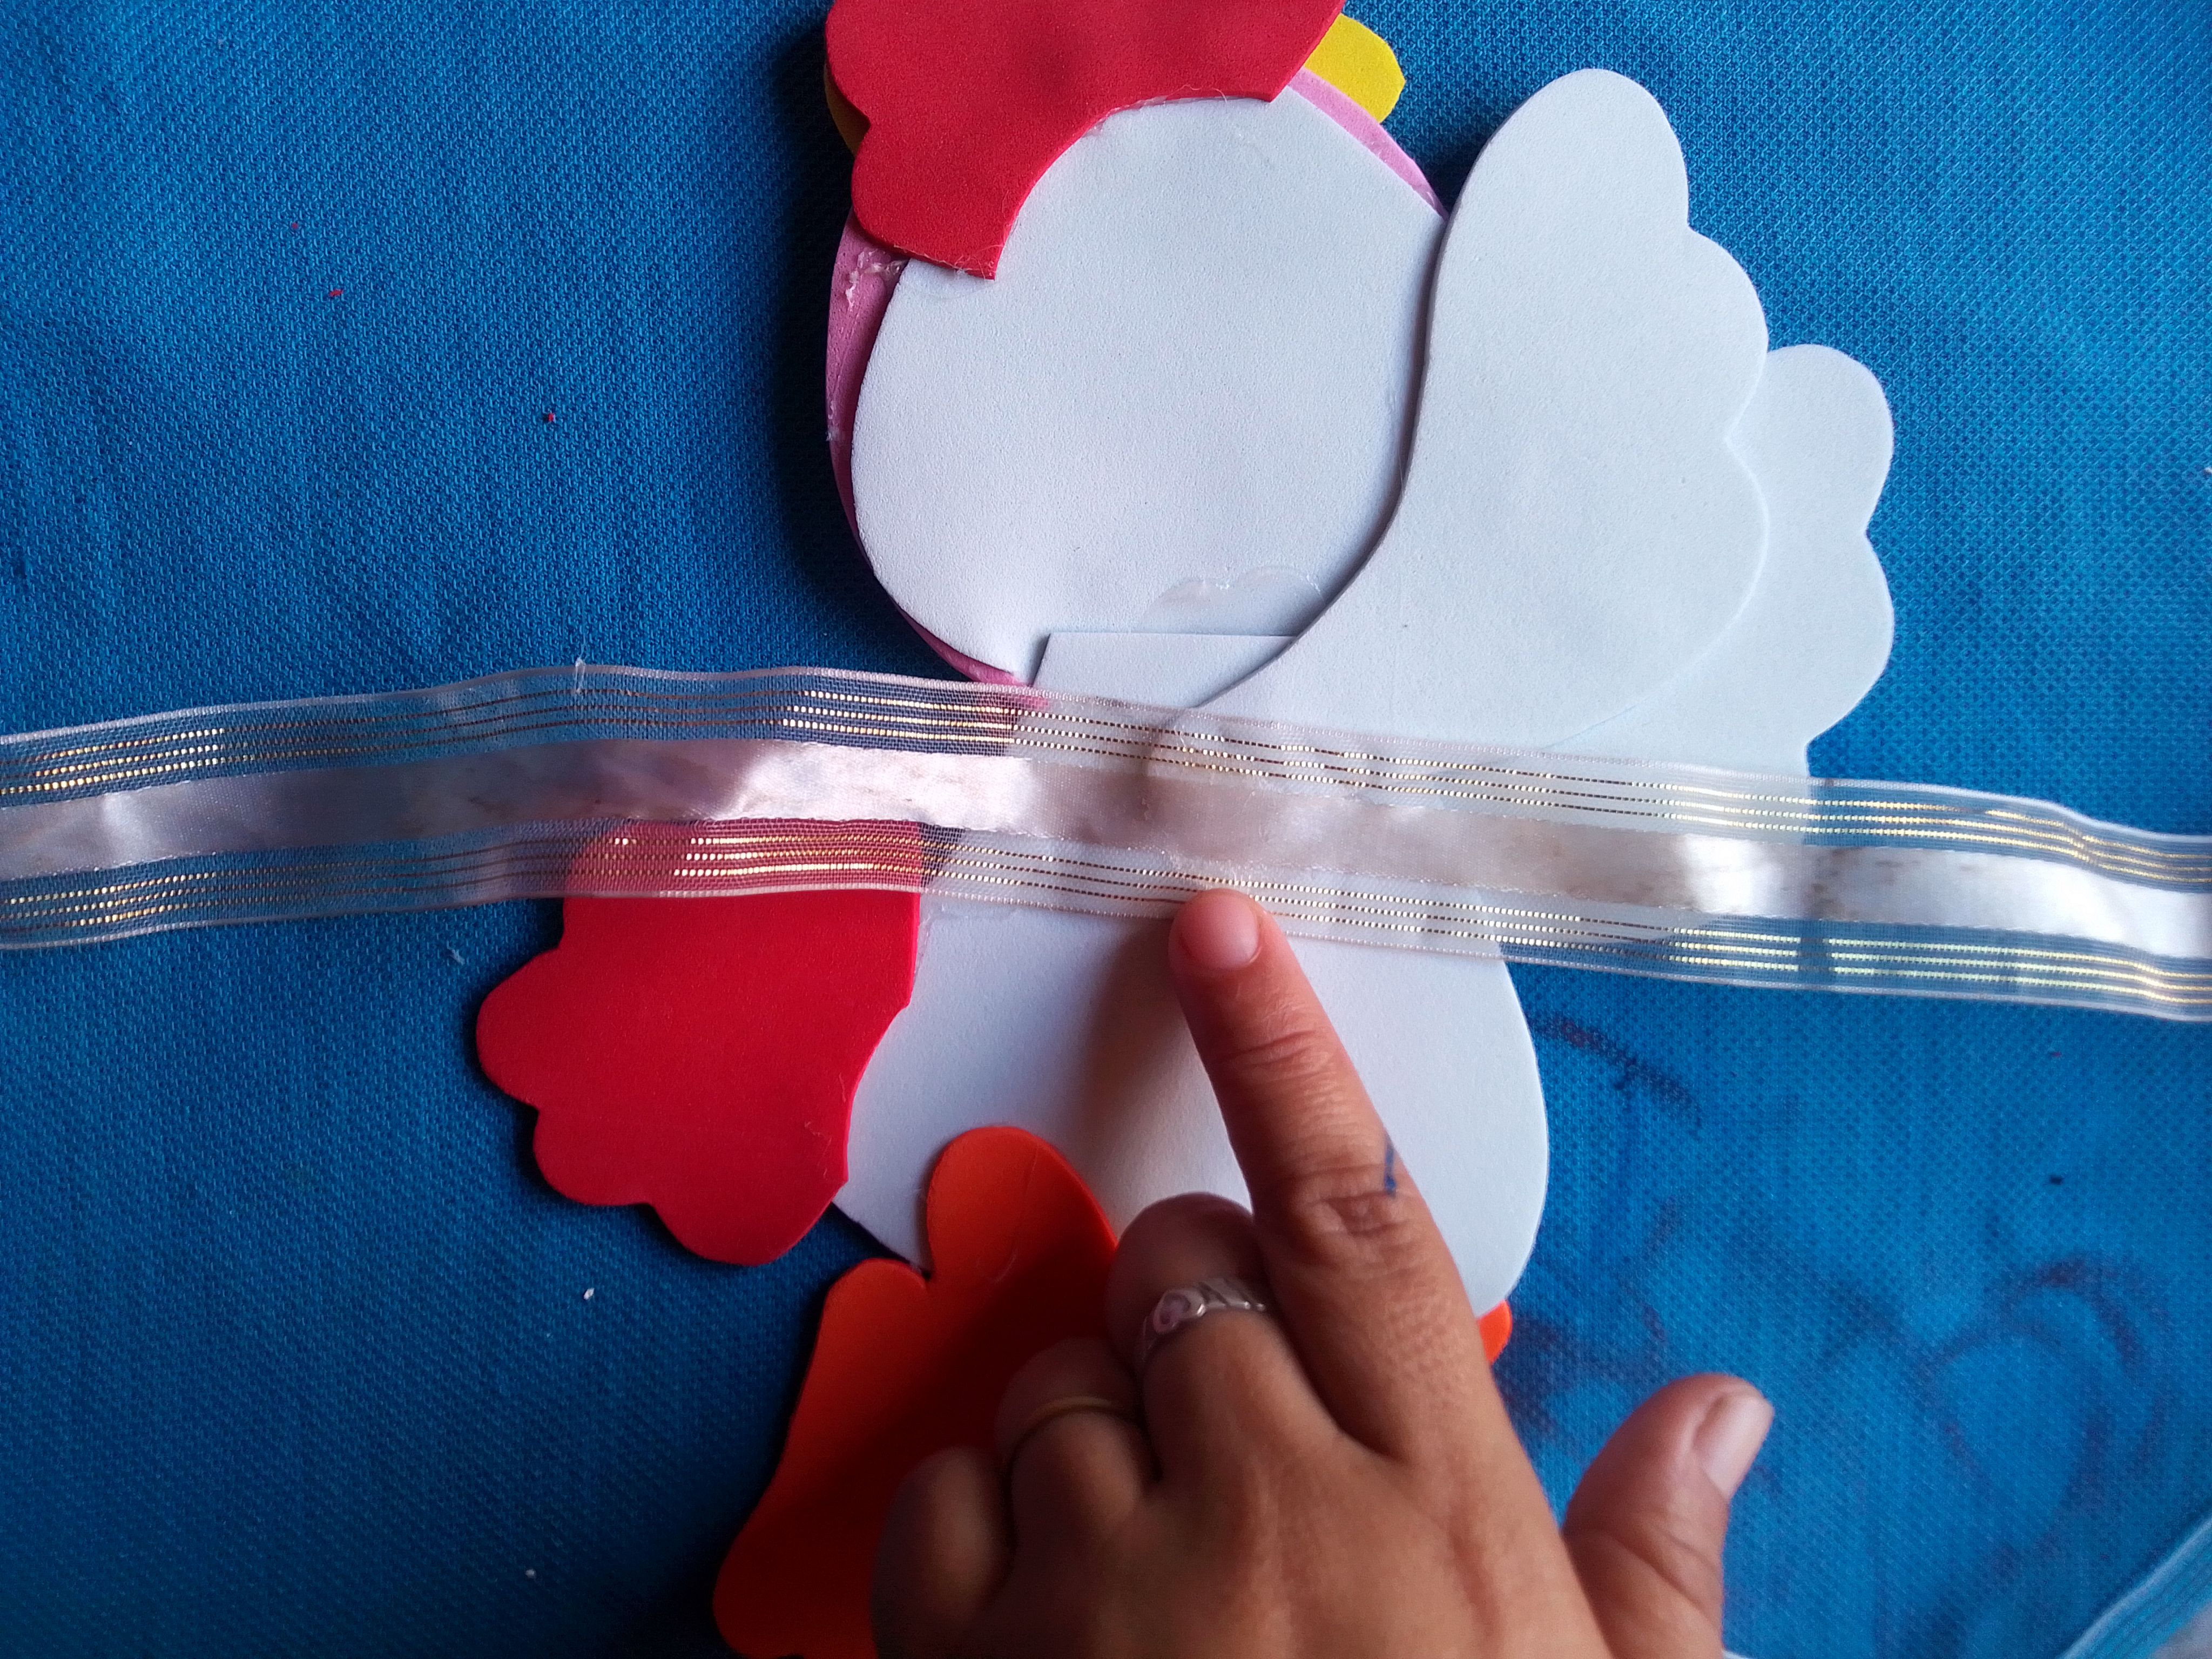
Finalmente pegamos la cinta en forma horizontal en la pante de atrás y fijamos con un trozo de foami. Dejamos secar y hemos terminado!
Step 09.
Finally we stick the tape horizontally on the back panel and fix it with a piece of foami. Let dry and we're done!
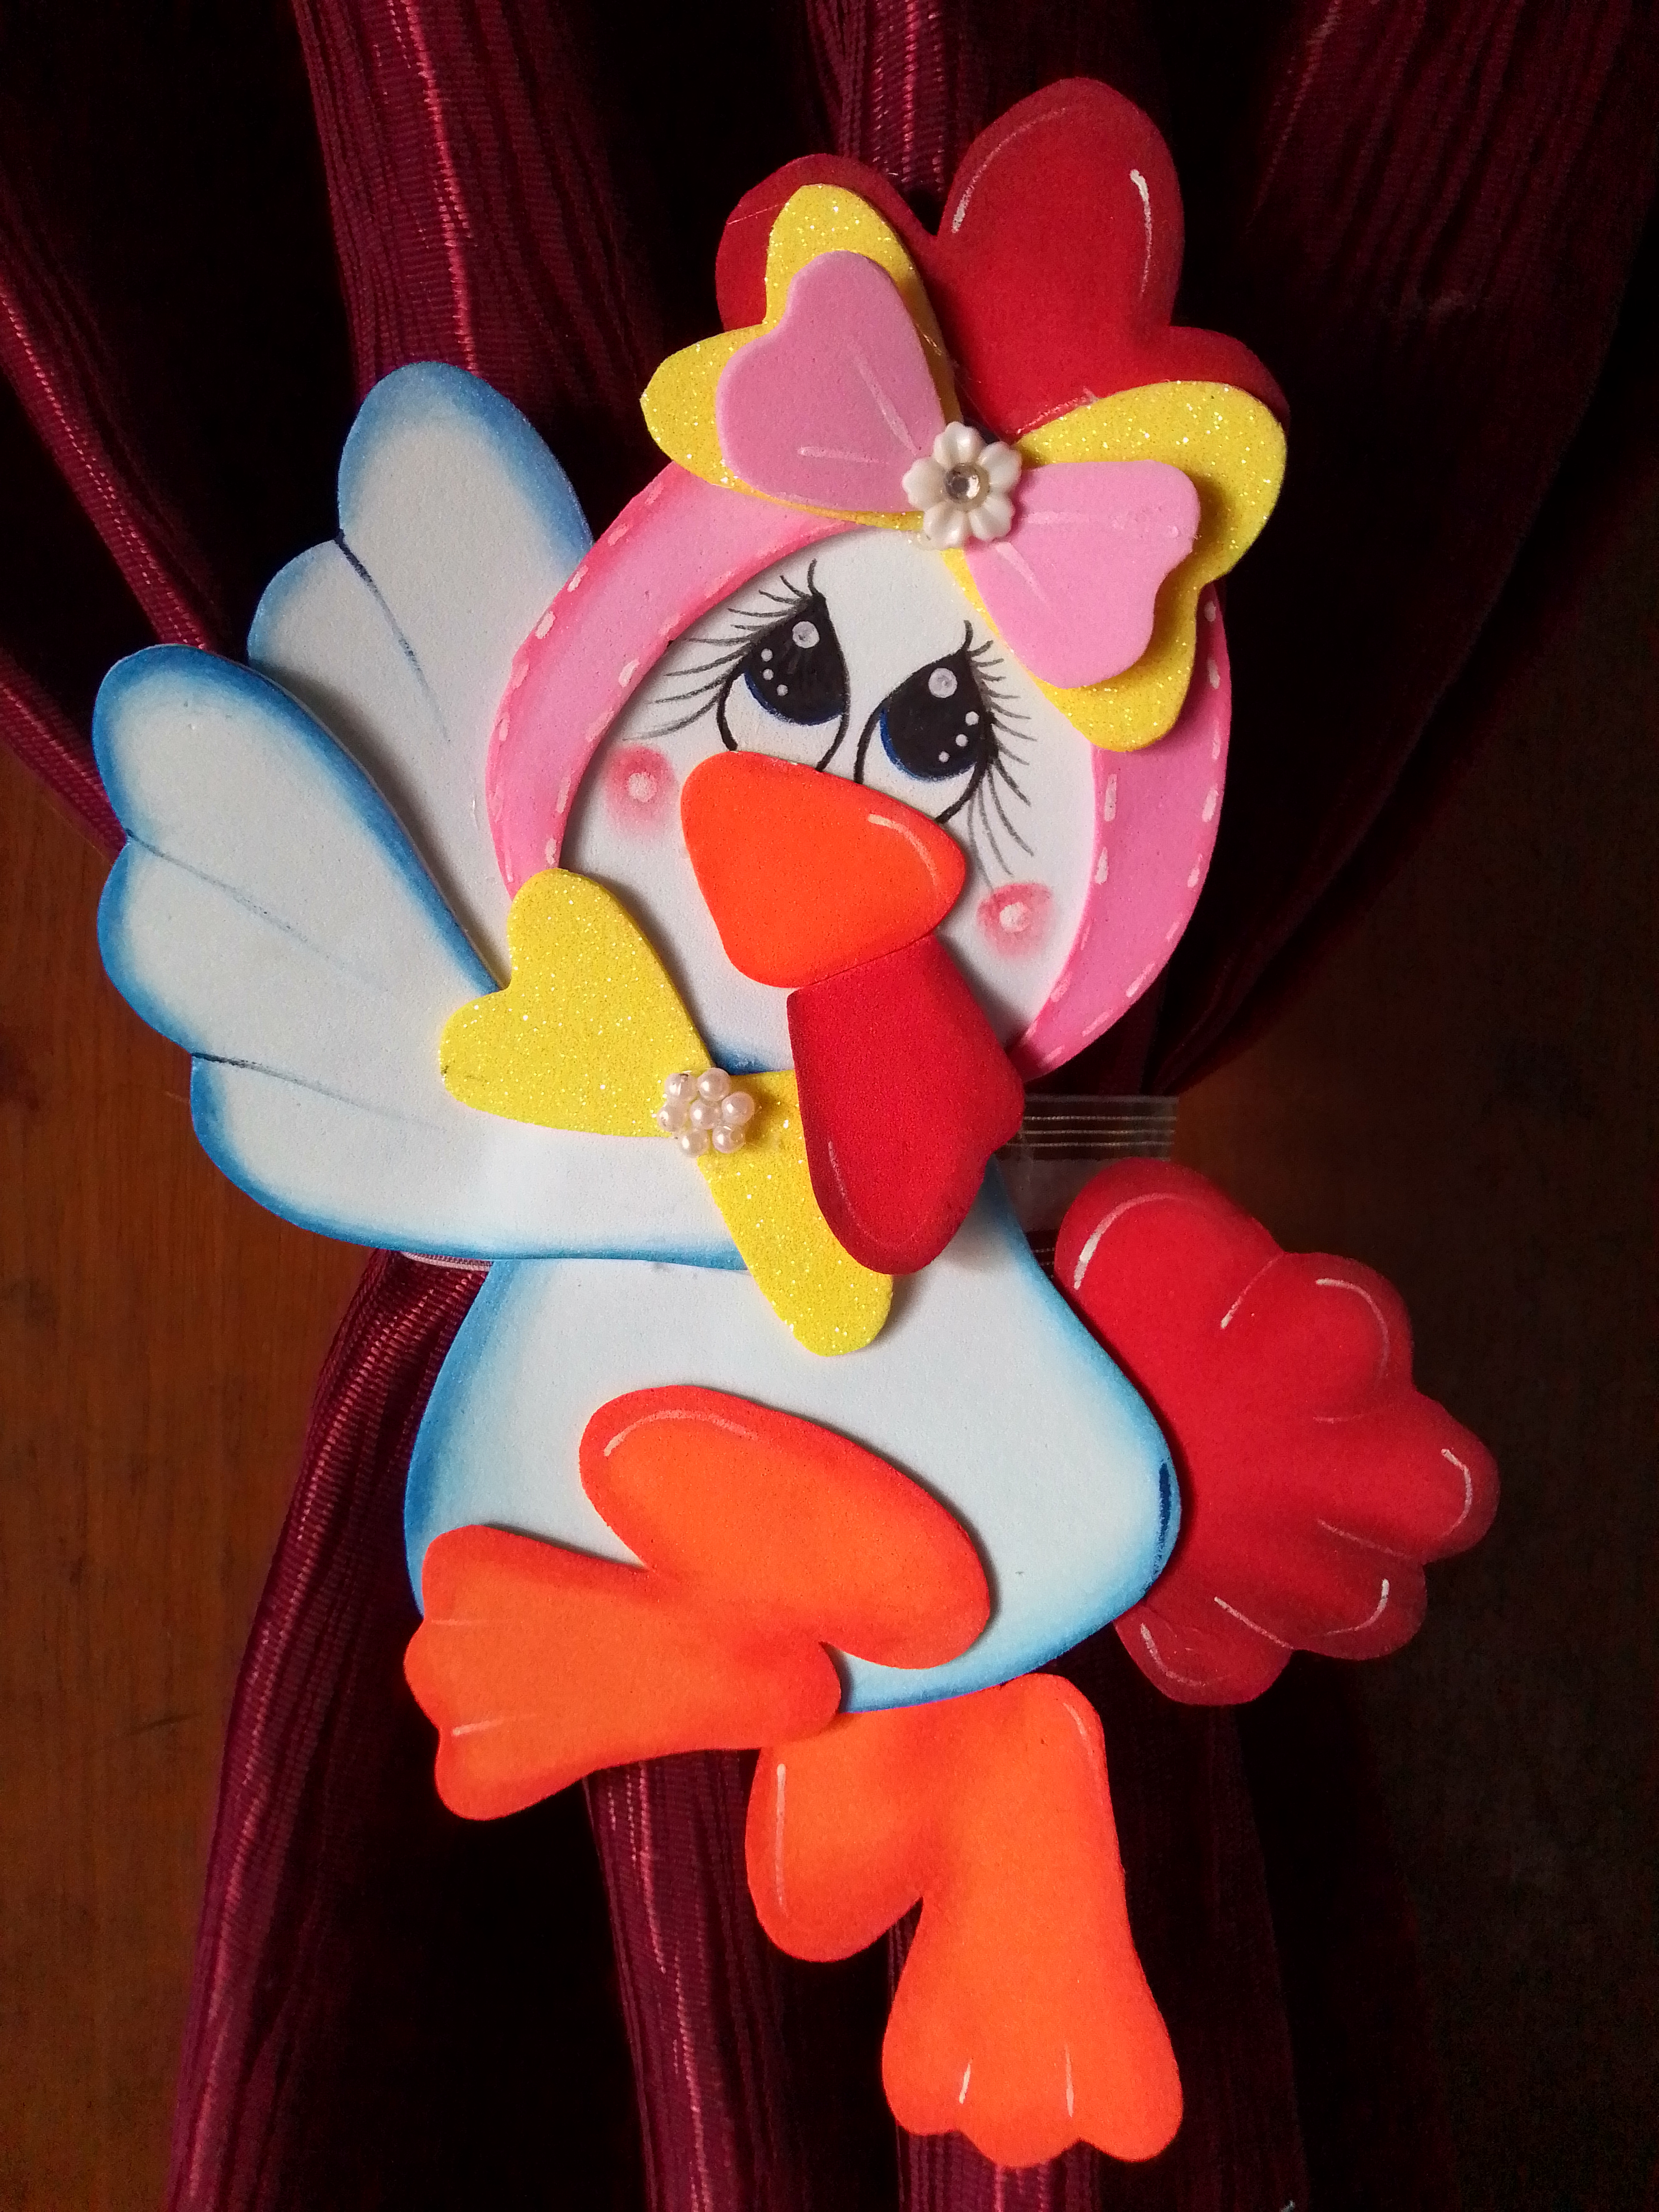
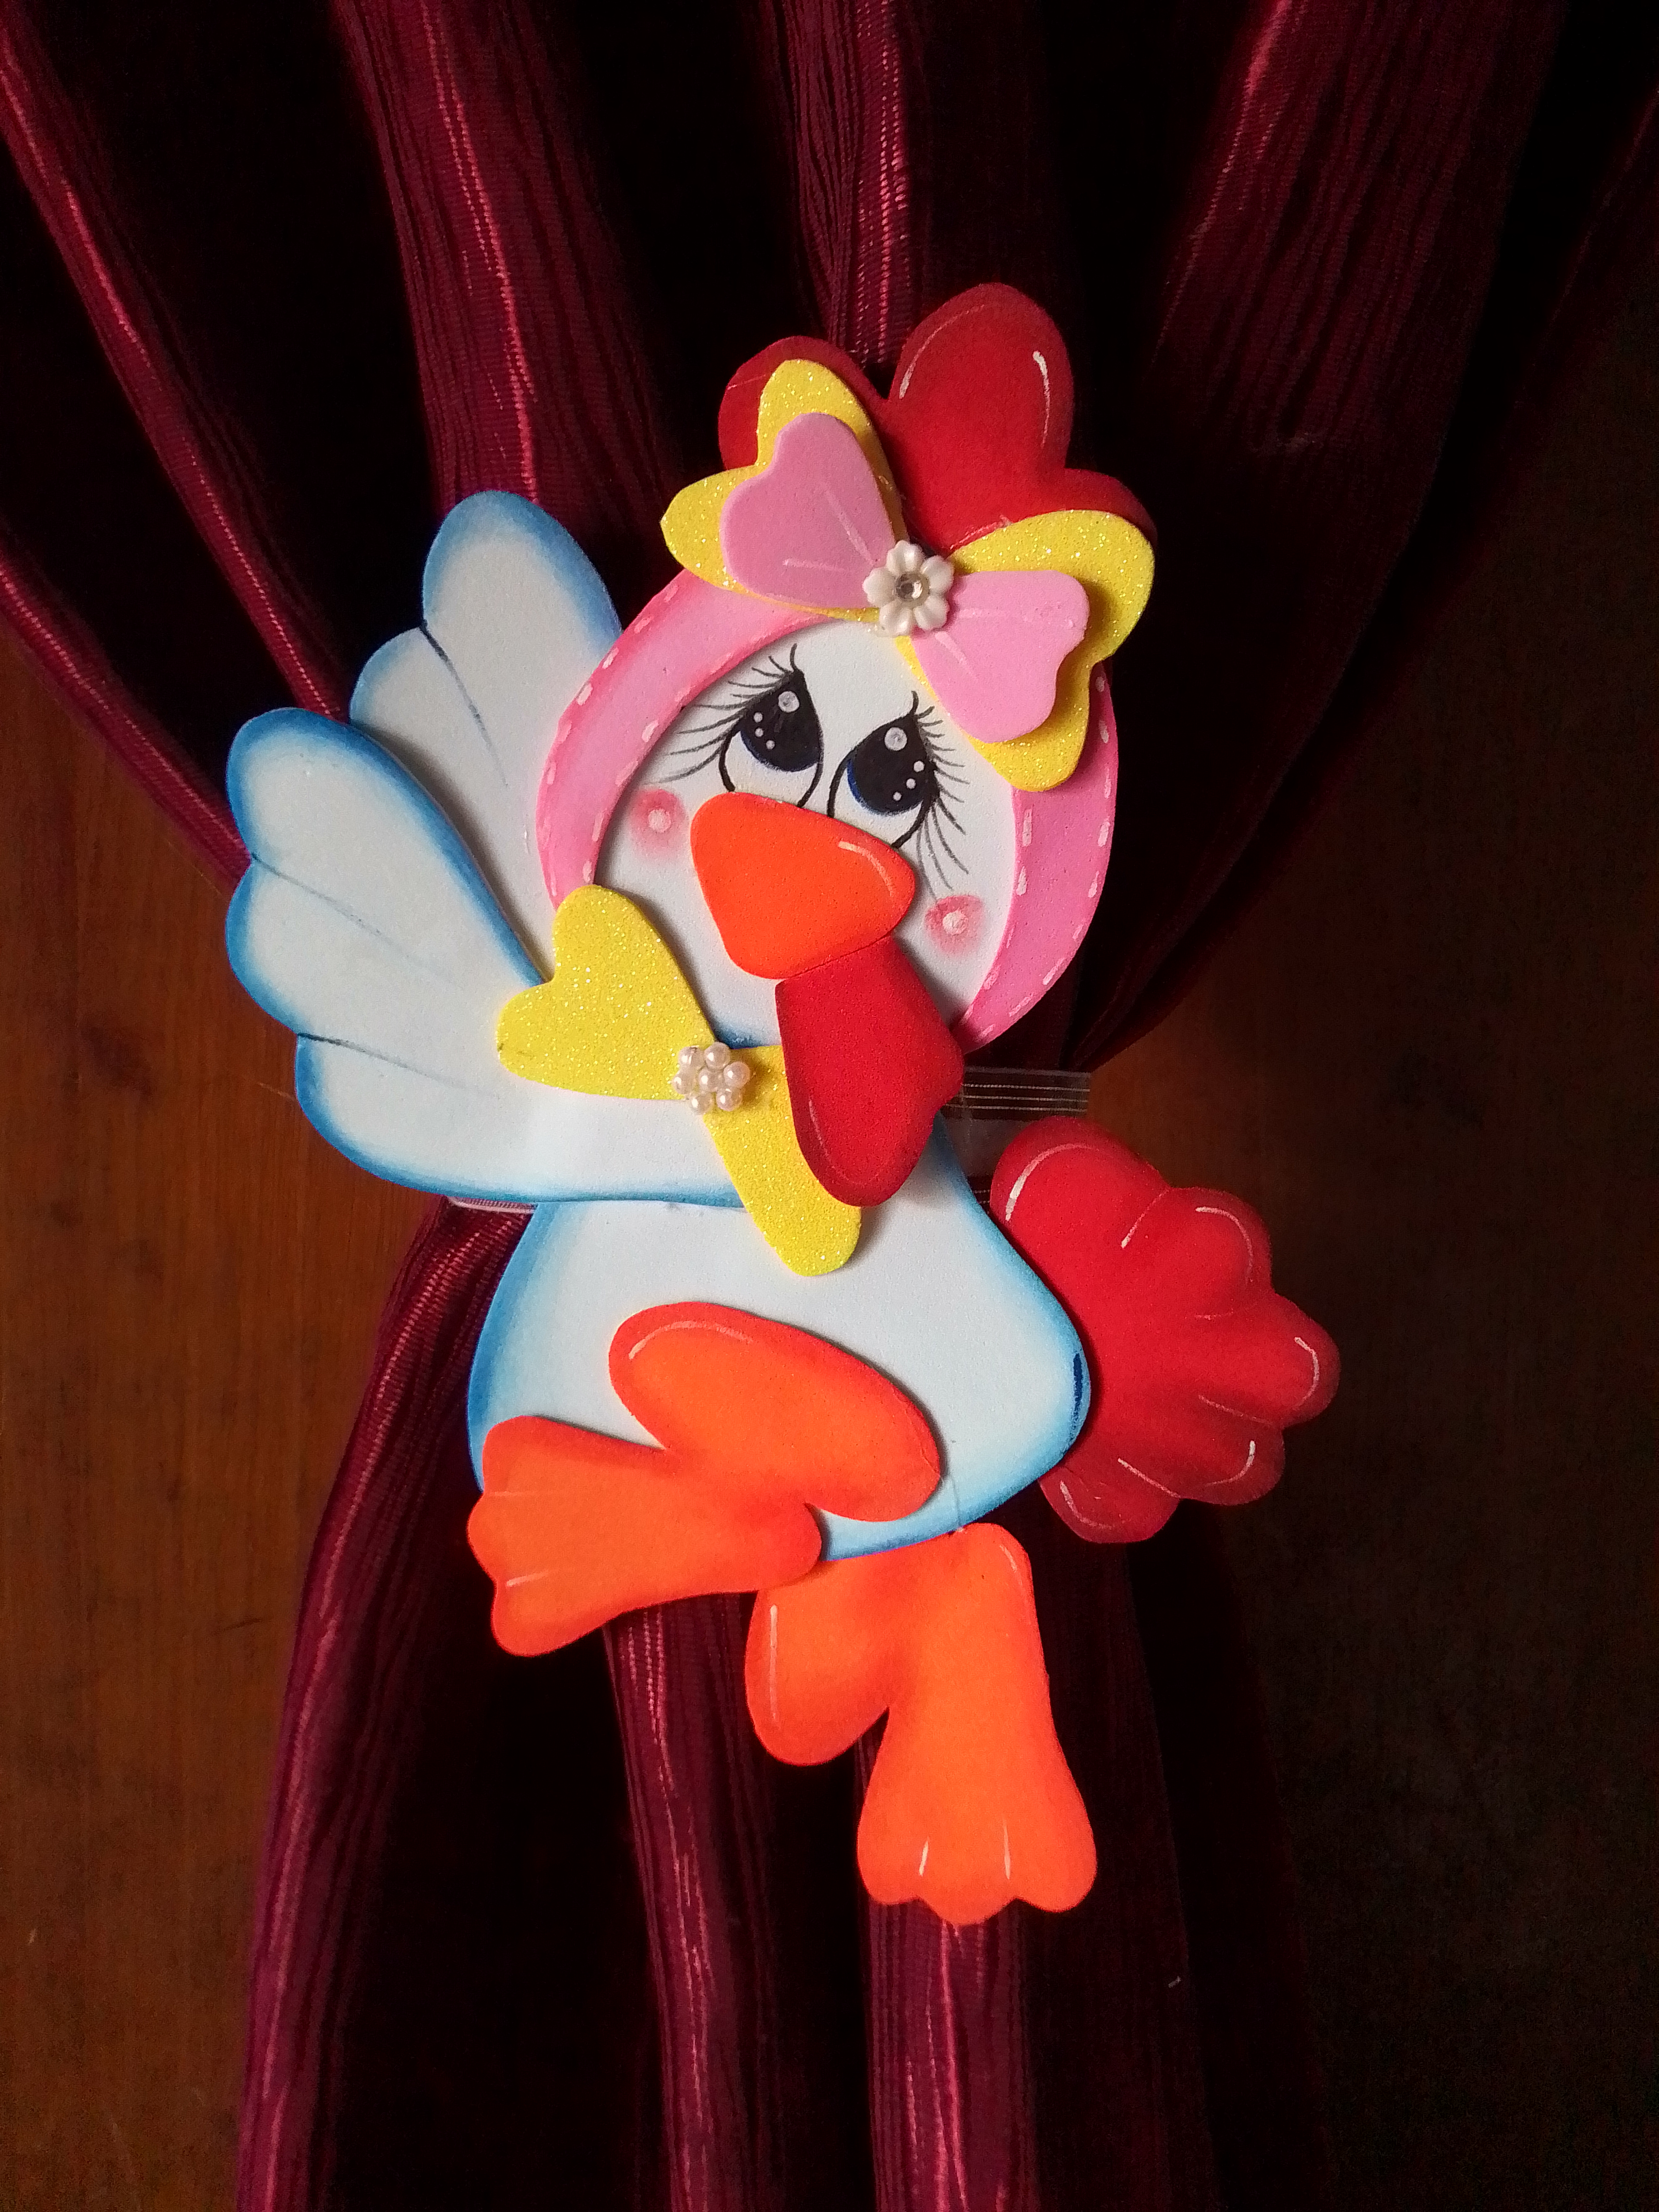
Resultado! ♥️
Listo mis bellos amigos! Aquí les muestro este hermoso resultado. Espero te haya gustado mi trabajo el día de hoy, tanto como me gustó a mi! La verdad es que se muy preciosa!.
Ready my beautiful friends! Here I show you this beautiful result. I hope you liked my work today, as much as I liked it! The truth is that it is very precious!.

☺ Gracias por tu linda visita a mi post! ☺
Dios te bendiga y Dios te guarde! Cuídate mucho! Te mando un fuerte abrazo virtual, me encantaría saber que opinas de esta idea así que no olvides comentar que estaré encantada de leer que te parece. Hasta la próxima idea!
God bless you and God keep you! Take care! I send you a big virtual hug, I would love to know what you think of this idea so do not forget to comment that I will be happy to read what you think. Until the next idea!
Ainssss pero que hermoso te quedo esa gallina amiga 😍😍😍😍 me encanto
Hola mi linda! Muchas gracias! Me alegra que te guste! A mí también me gustó mucho! Espero esta idea te sea de beneficio en algún momento! Saludos y un abrazo. Dios te bendiga!
Hola bella te quedo muy linda esta gallina... Me encanto, que tengas un feliz dia.
Holaaa! Gracias mi bella, saludos y bendiciones para usted!
Está bello amiga
Grácias amiga!! 🤗
Que linda.!