Eng
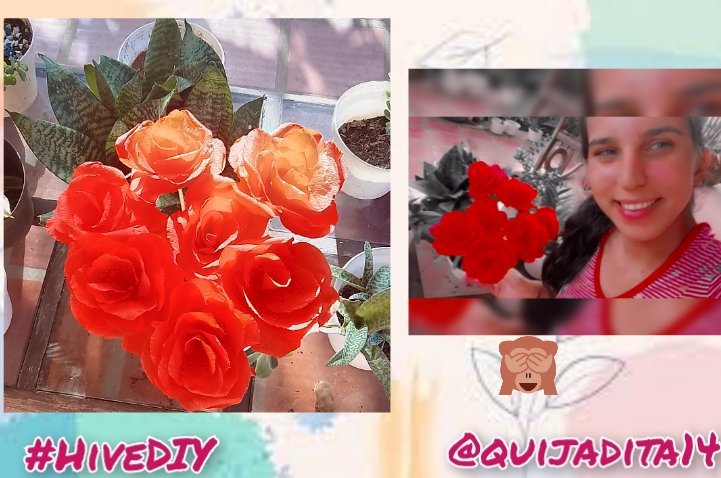
Greetings beautiful Hive DIY community, I hope you are very well on this beautiful and blessed day, April is almost gone and May is coming, where on the second Sunday we celebrate Mother's Day! That is why I want to share with you this simple DIY on how to make crepe paper roses, so that they can be decorative reasons for the gifts you plan to give your mom.
Esp
Saludos hermosa comunidad Hive DIY, espero se encuentren muy bien en este lindo y bendecido día, ya casi se va el mes de abril y entra el mes de mayo, dónde el segundo domingo celebramos el día de la madre! Es por ello que quiero compartir con ustedes este sencillo DIY de como hacer rosas de papel crepé, para que puedan ser motivos de decoración en los regalos que planean darle a su mamá.
•°•°•°•°•°•°•°•°•°•°•°•°•°•°•°•°•°•°•°•°•°•°•°•°•°•°•°•°•
Eng
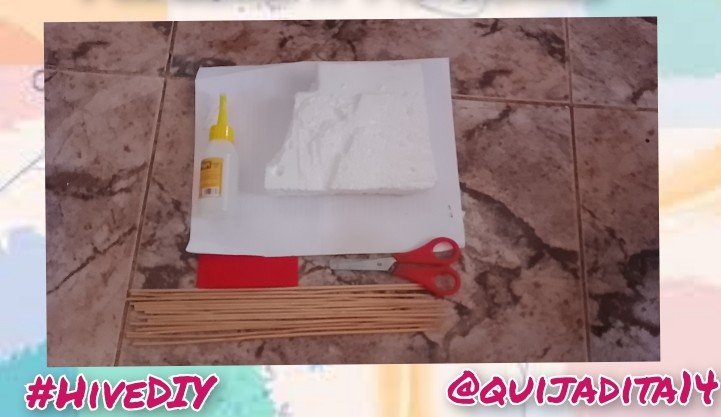
The materials you use can be found in any bookstore, which are:
🌹 Crepe paper
🌹 Height Chopsticks
🌹 Cold silicone
🌹Sheets of paper
🌹Pencil
🌹 Scissor
🌹Ruler
🌹Anime
Esp
Los materiales que utilice los podemos encontrar en cualquier librería, los cuales son:
🌹 Papel crepé
🌹Palillos de altura
🌹Silicona fría
🌹Hojas de papel
🌹Lápiz
🌹Tijera
🌹Regla
🌹Anime
•°•°•°•°•°•°•°•°•°•°•°•°•°•°•°•°•°•°•°•°•°•°•°•°•°•°•°•°•
Eng
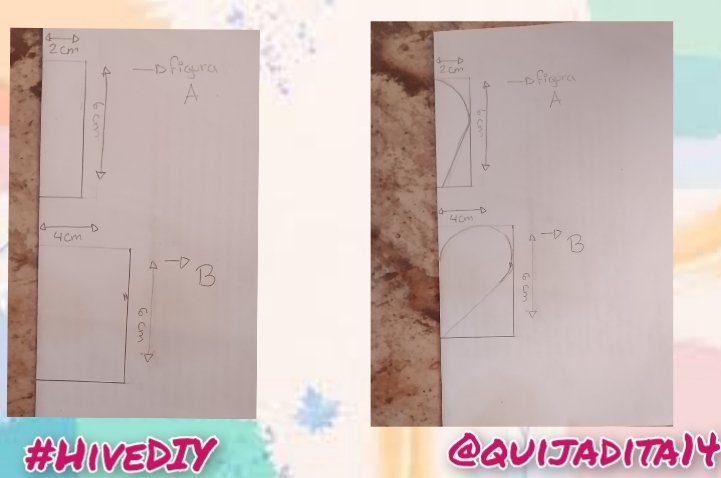
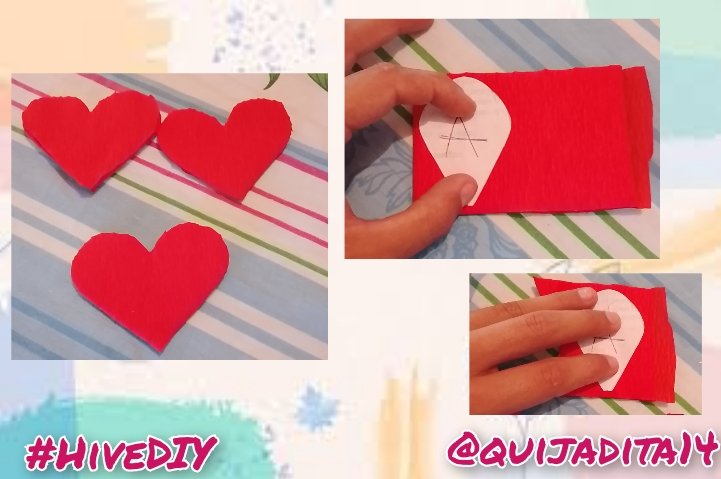
To begin we take the white sheet of paper, the pencil and the ruler, we fold the sheet in half to make two squares that start from that double, the first square will be for figure A and will have the measurements: 2 centimeters wide X 6 centimeters long, and figure B will count: 4 centimeters wide X 6 centimeters long, now we will make half of a petal in box A and half of a heart in box B.
Esp
Para comenzar tomamos la hoja de papel blanca, el lápiz y la regla, doblamos la hoja a la mitad para realizar dos cuadros que partan de ese dobles, el primer cuadro será para la figura A y contara con las medidas de: 2 centímetros de ancho X 6 centímetros de largo, y la figura B contara de: 4 centímetros de ancho X 6 centímetros de largo, ahora bien realizaremos en el cuadro A la mitad de un pétalo y en el cuadro B la mitad de un corazón.
•°•°•°•°•°•°•°•°•°•°•°•°•°•°•°•°•°•°•°•°•°•°•°•°•°•°•°•°•
Eng
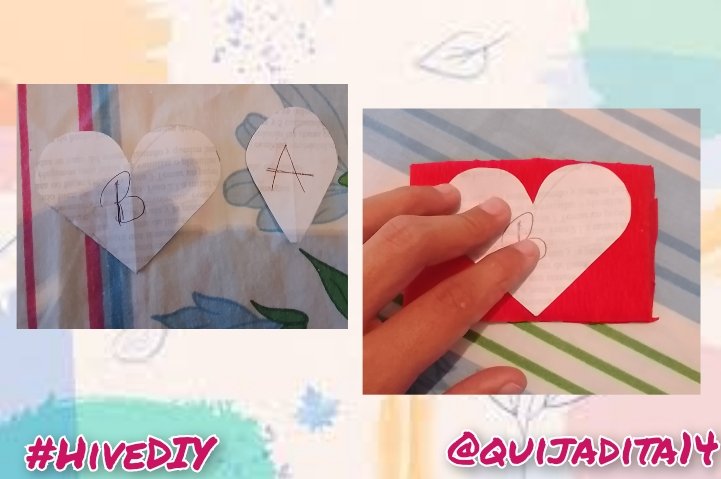
When cutting them, two molds should be left in this way.
Once the molds are ready, we will take the crepe hair by cutting squares without unfolding 6.5 centimeters long! Then we place our molds on top of the crepe paper to cut them out, from figure A two come out of a crepe paper square, it is very important to remind them that they cannot mark the mold on the crepe paper since it is very delicate and the ink penetrates the paper, so we must be careful when cutting the molds.
Esp
Al cortarlos nos deben quedar dos moldes de esta manera.
Una vez listos los moldes, tomaremos el pelo crepé recortando cuadros sin desdoblar de 6, 5 centímetros de largo! Luego colocamos nuestros moldes en cima del papel crepé para recortarlos, de la figura A salen dos de un cuadro de papel crepé, es muy importante recordarles que no pueden marcar el molde en el papel crepé ya que este es muy delicado y la tinta traspasa el papel, por eso debemos ser cuidadosos a la hora de recortar los moldes.
•°•°•°•°•°•°•°•°•°•°•°•°•°•°•°•°•°•°•°•°•°•°•°•°•°•°•°•°•
Eng
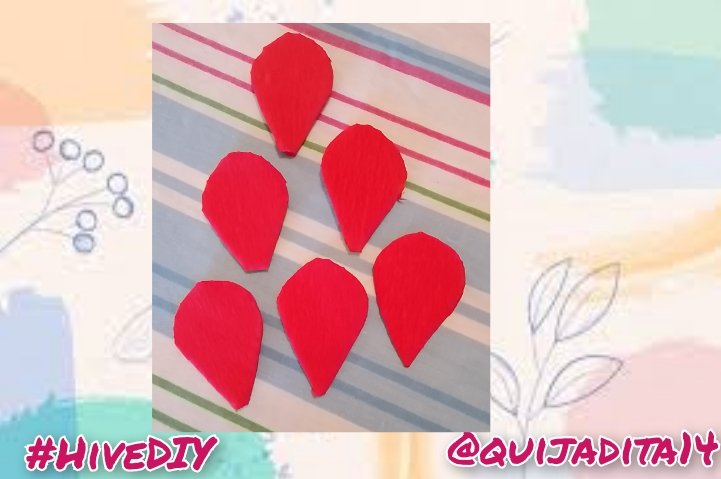
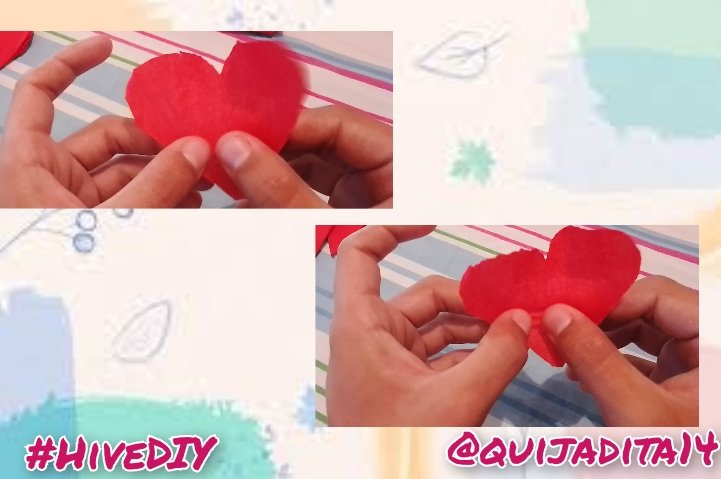
This is how our beautiful petals should look
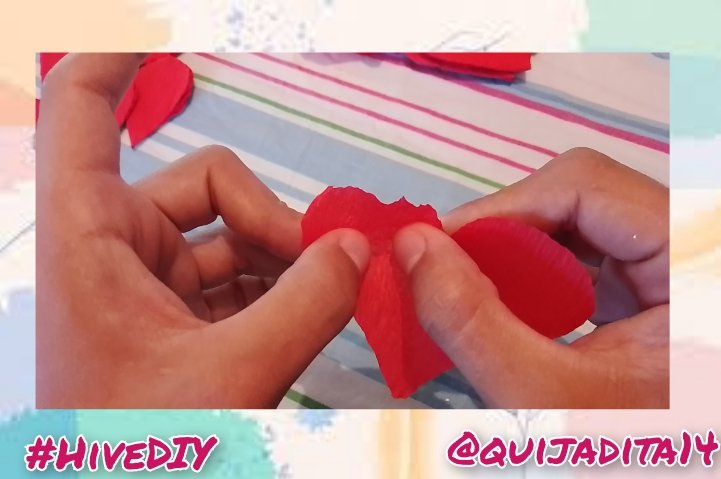
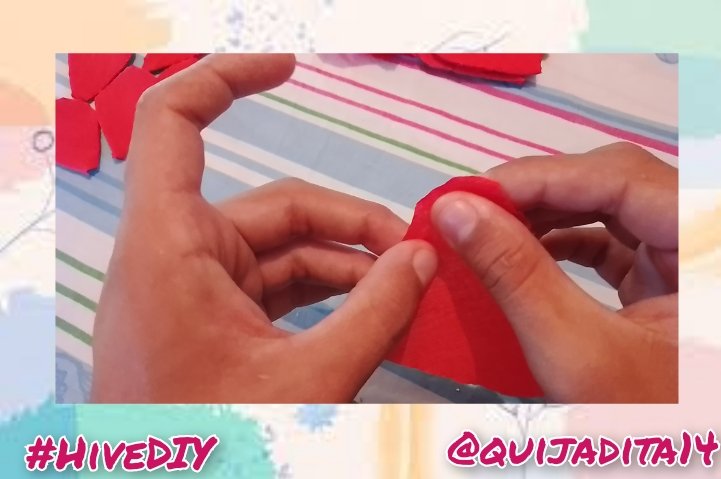
Once finished cutting we begin to take off layer by layer and shape the petals, in the case of figure B you have to half stretch the left and right cheek of the heart as well as the part that remains in the middle of it, For figure A, only the top and bottom of the petal should be stretched.
Esp
Así deben de quedar nuestros hermosos pétalos
Una vez terminado de recortar comenzamos a despegar capa por capa y a darle la forma a lo pétalos, en el caso de la figura B se tienen que medio estirar el cachete izquierdo y derecho del corazón al igual que la parte que queda en medio del mismo, para la figura A solo se debe estirar la parte de arriba y la parte de abajo del pétalo.
•°•°•°•°•°•°•°•°•°•°•°•°•°•°•°•°•°•°•°•°•°•°•°•°•°•°•°•°•
Eng
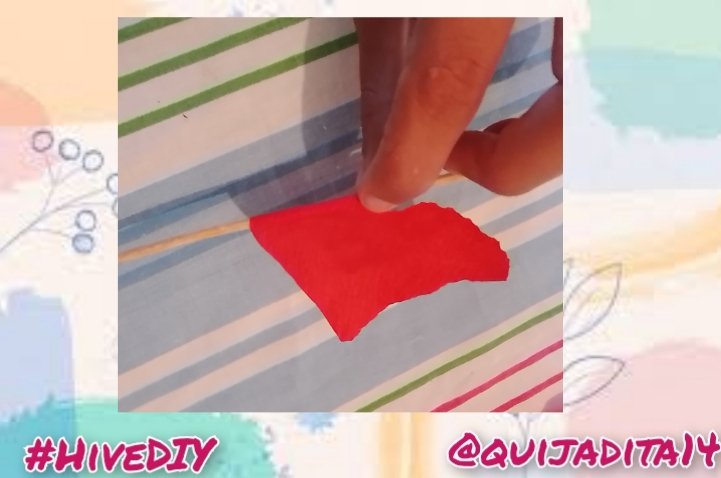
Now, to give our petals more realism, we take a height toothpick and the upper part of the petals we half-roll it on the toothpick, we do this with both figures.
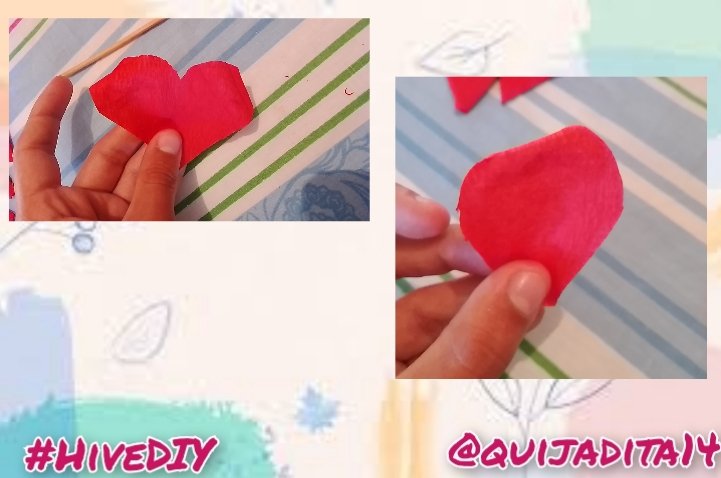
This way we should have our petals.
Esp
Ahora bien, para darle más realismo a nuestros pétalos tomamos un palillo de altura y la parte superior de los pétalos la medio enrrollamos en el palillo, esto lo hacemos con ambas figuras.
De esta manera nos deben quedar nuestros pétalos.
•°•°•°•°•°•°•°•°•°•°•°•°•°•°•°•°•°•°•°•°•°•°•°•°•°•°•°•°•
Eng
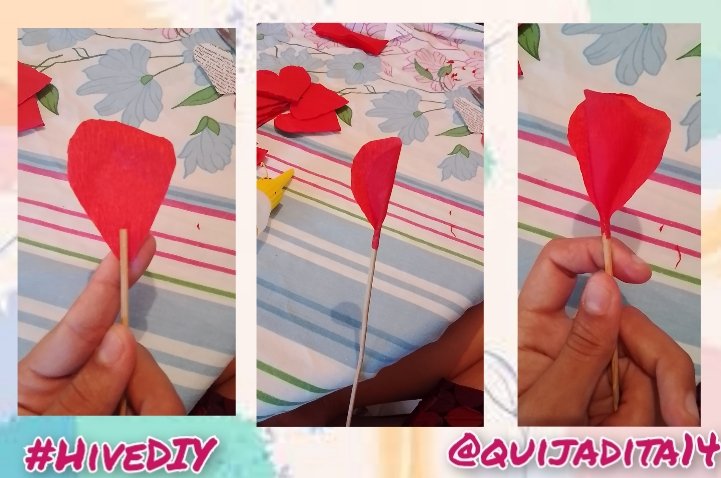
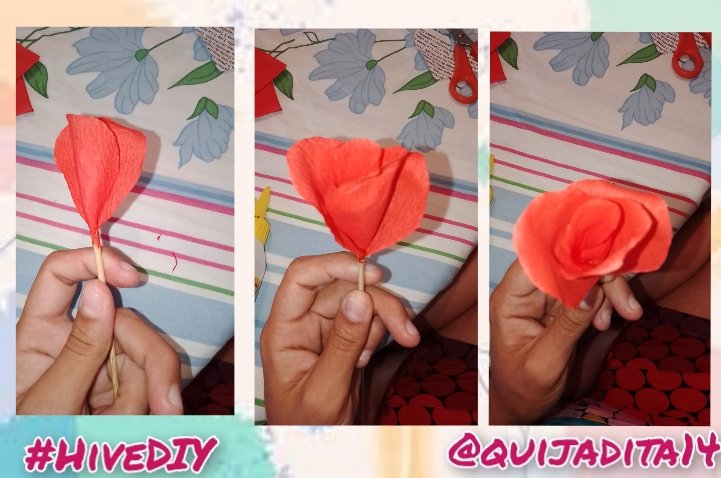
Now that we have our petals ready we can start assembling our rose, for this we start by gluing 7 petals from figure A to a height toothpick and then 6 from figure B, following the way shown in the photos, for more convenience take the animate and fix the height stick there.
Esp
Ya que tenemos nuestros pétalos listo podemos comenzar armar nuestra rosa, para esto comenzamos pegando 7 pétalos de la figura A a un palillo de altura y luego 6 de la figura B, siguiendo la manera que se muestra en las fotos, para más comodidad toman el anime y fijan el palillo de altura ahí.
•°•°•°•°•°•°•°•°•°•°•°•°•°•°•°•°•°•°•°•°•°•°•°•°•°•°•°•°•
Eng
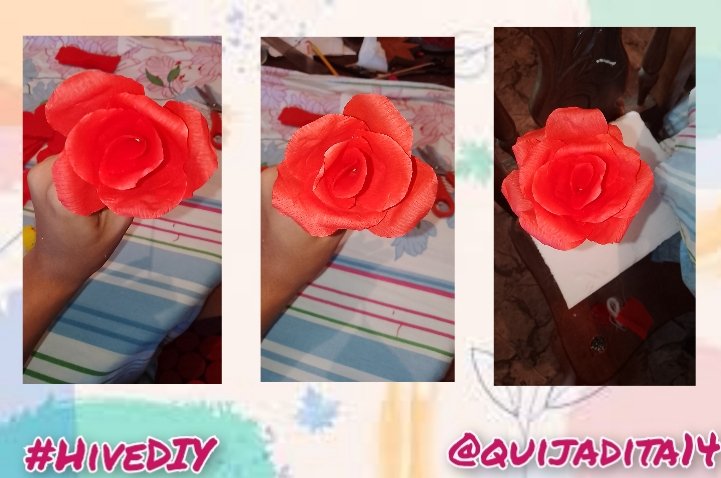
Once we have finished gluing the petals very carefully, we can fix our rose so that it looks more real.
Esp
Una vez terminado de pegar los pétalos con mucho cuidado podemos ir arreglando nuestra rosa para que se vea más real.
•°•°•°•°•°•°•°•°•°•°•°•°•°•°•°•°•°•°•°•°•°•°•°•°•°•°•°•°•
Eng
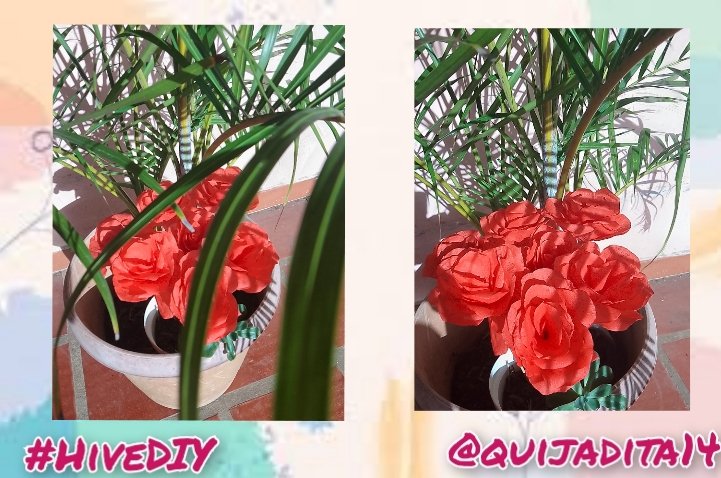
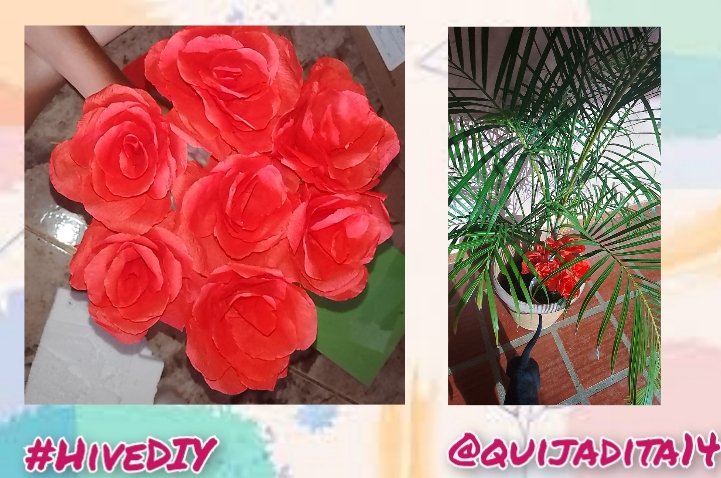
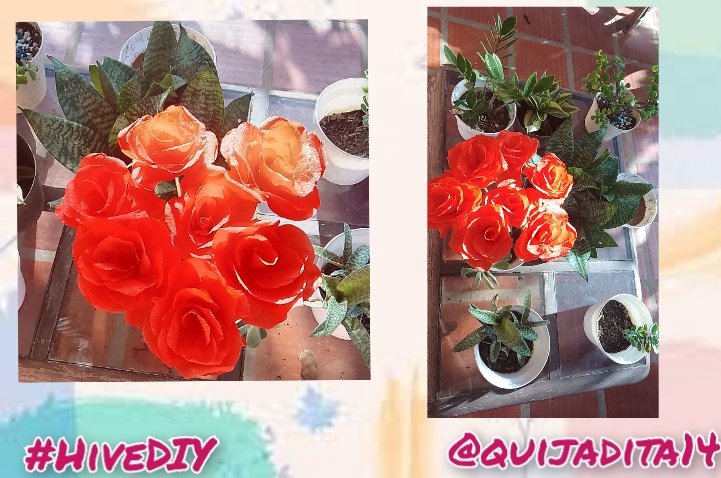
And ready friends we have finished our beautiful roses, here I will leave you some images so you can appreciate how they look and how outstanding they are ❤️🌹
Esp
Y listo amigos hemos terminado nuestras hermosas rosas, acá les dejaré unas imágenes para que puedan apreciar como se ven y lo resaltante que son ❤️🌹
•°•°•°•°•°•°•°•°•°•°•°•°•°•°•°•°•°•°•°•°•°•°•°•°•°•°•°•°•
Eng
The photos were taken with a Realme C21Y, edited in inCollage and the text was translated into English through Google translator
Esp
Las fotos fueron tomadas con un Realme C21Y, editadas en inCollage y el texto fue traducido al ingles a través de Google translator
Te quedaron muy lindas, suerte.
Muchas gracias, amén 🙏❣️
Quedó muy bonito suerte siga así amiga
Muchas gracias amiga 😊
Thank you for sharing this amazing post on HIVE!
non-profit curation initiative!Your content got selected by our fellow curator @rezoanulvibes & you just received a little thank you via an upvote from our
You will be featured in one of our recurring curation compilations and on our pinterest boards! Both are aiming to offer you a stage to widen your audience within and outside of the DIY scene of hive.
Join the official DIYHub community on HIVE and show us more of your amazing work and feel free to connect with us and other DIYers via our discord server: https://discord.gg/mY5uCfQ !
If you want to support our goal to motivate other DIY/art/music/homesteading/... creators just delegate to us and earn 100% of your curation rewards!
Stay creative & hive on!
Awesome job! <3A very creative @quijadita14 has taken the DYI standards to another level, and has gone to make some almost real looking red roses. We can't wait to see more of you creativity girl...
You have been manually curated by Brotherhood Community for sharing this awesome work.
Brotherhood community will support 5 bloggers on daily basis.
For more information about how to get curated by Brotherhood Community, check this Hive Blog.
Delegate your Hive Power to @brotherhood for supporting more such blogs and also receive curation rewards.