Hola grandiosa comunidad de Hive Diy, el día de hoy quiero compartirles esta sencilla pero muy linda caja que he realizado con cartón, ya que muchas veces hemos visto arreglos tan hermosos pero, ¿Cómo realizan esas cajas? Yo quiero mostrarte en este post paso a paso de como realizar una caja a tu gusto y del tamaño que gustes. Espero que te sirva de mucha ayuda este post, gracias y bendiciones para todos.
Hello great community of Hive Diy, today I want to share with you this simple but very nice box that I have made with cardboard, since many times we have seen such beautiful arrangements, but how do you make those boxes? I want to show you in this post step by step how to make a box to your liking and the size you like. I hope this post will be of great help to you, thanks and blessings to all.

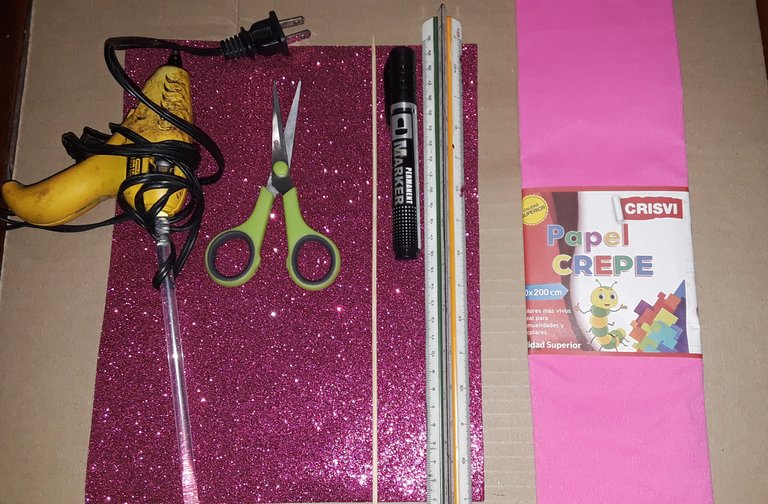
| Materiales |
|---|
| Papel crepe rosado |
| Cartón |
| Foami escarchado |
| Tijera |
| Pistola de silicón |
| Barra fina de silicón |
| Palo de altura |
| Regla |
| Materials |
|---|
| Pink crepe paper |
| Cardboard |
| Frosty foami |
| scissors |
| Silicone gun |
| Thin silicone bar |
| tall stick |
| rule |

Para nuestro primer paso, lo primero que haremos será medir nuestro cartón con ayuda de nuestra regla, mediré de largo 20 cm por 12 cm de ancho. Esa medida que escogí es del tamaño que quiero que sea mi caja y para las paredes de mi caja serán 7 cm de ancho por 20 cm de largo.
For our first step, the first thing we will do is measure our cardboard with the help of our ruler, I will measure 20 cm long by 12 cm wide. That measurement that I chose is the size that I want my box to be and for the walls of my box it will be 7 cm wide by 20 cm long.

Una vez que ya tenga toda mi caja con mis medidas, yo empezare cortando encima de mis rayas y en estas marcar negra que realice con ayuda de mi marcado para luego comenzar a formar la caja.
Once I have all my box with my measurements, I will start cutting on top of my stripes and in these black marks that I make with the help of my marking to then begin to form the box.
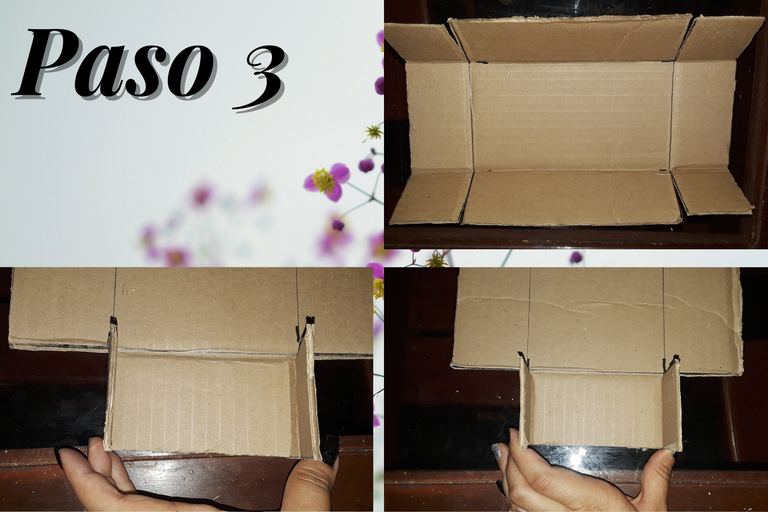
Ya he terminado de cortar todo el cartón, ahora doblare el cartón de esta manera para ir dándole forma a nuestra caja y así saber donde vamos a ubicar y pegar el cartón.
I have already finished cutting all the cardboard, now I will fold the cardboard in this way to shape our box and thus know where we are going to locate and glue the cardboard.

Este paso es muy importante, ya que de nosotros depende de como recortamos el cartón para que a la hora de colocarle el silicón, la caja quede cuadrada. Con mi pistola de silicón le colocare poco a poco silicón caliente a las esquinas del cartón para terminar de formar nuestra caja.
This step is very important, since it depends on us how we cut the cardboard so that when placing the silicone, the box is square. With my silicone gun I will gradually apply hot silicone to the corners of the cardboard to finish forming our box.
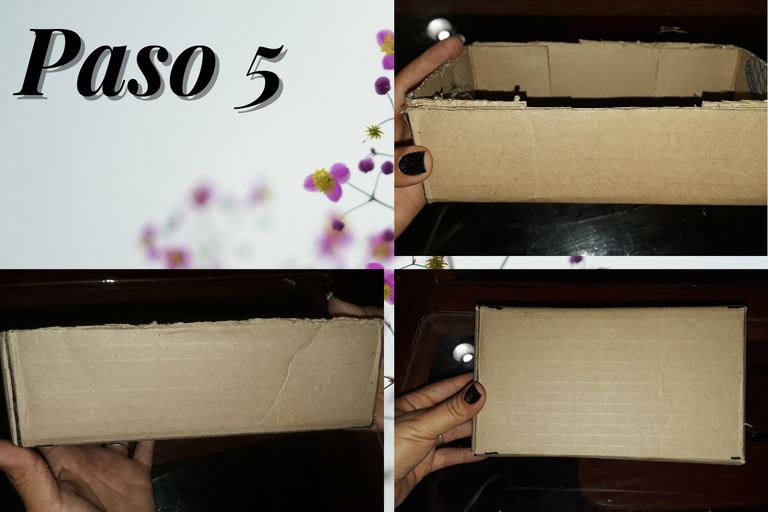
De esta manera luce nuestra caja, pueda que te haya quedado sobrando un poco de caja en la parte de las esquinas, ¡no hay problema! con ayuda de nuestra tijeras lo podemos resolver y por eso es muy importante medir y cortar muy bien para no tener estos defectos.
This is how our box looks, you may have left a little box left over in the corners, no problem! With the help of our scissors we can solve it and that is why it is very important to measure and cut very well so as not to have these defects.
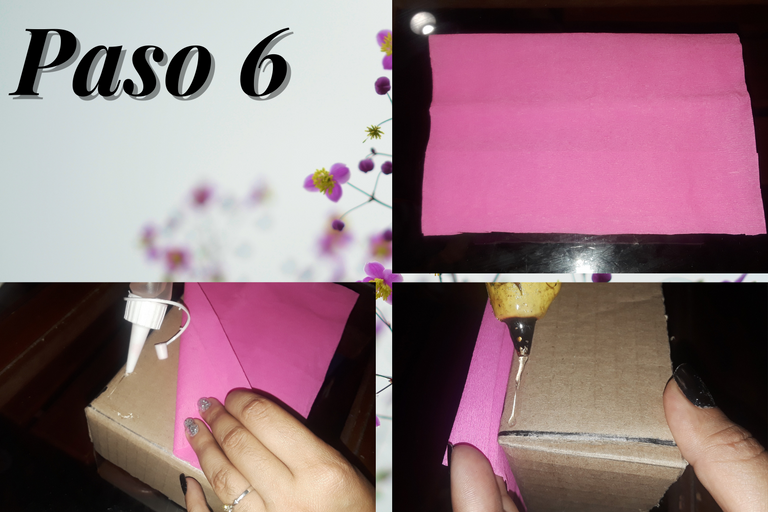
Yo estaré recortando con ayuda de mi tijera el papel crepe, corte 20cm de largo por 12 cm de ancho, esto es para la parte de abajo de mi caja, ya que con mi foami rosado no me alcanzara.
I will be cutting the crepe paper with the help of my scissors, cut 20 cm long by 12 cm wide, this is for the bottom of my box, since with my pink foami it will not reach me.
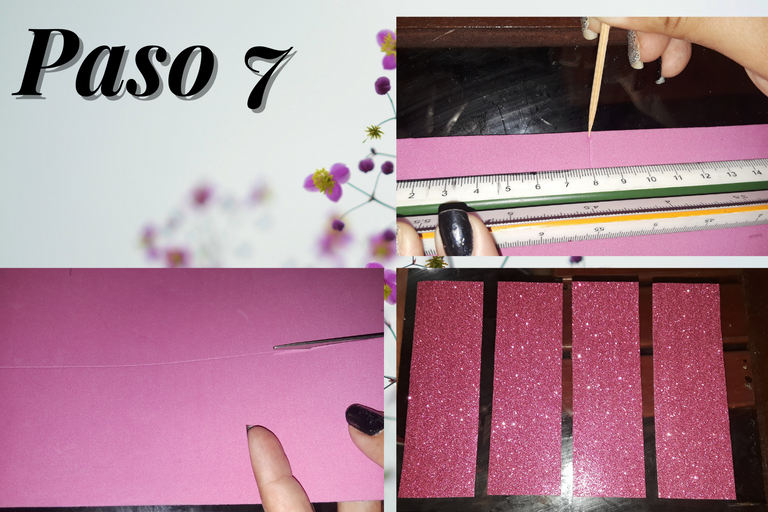
Cortare de mi foami rosado 8 cm de ancho por 23 cm de largo que es la medida de nuestro foami, estos recortes serán para forrar nuestra caja.
I will cut from my pink foami 8 cm wide by 23 cm long, which is the measure of our foami, these cuts will be used to line our box.
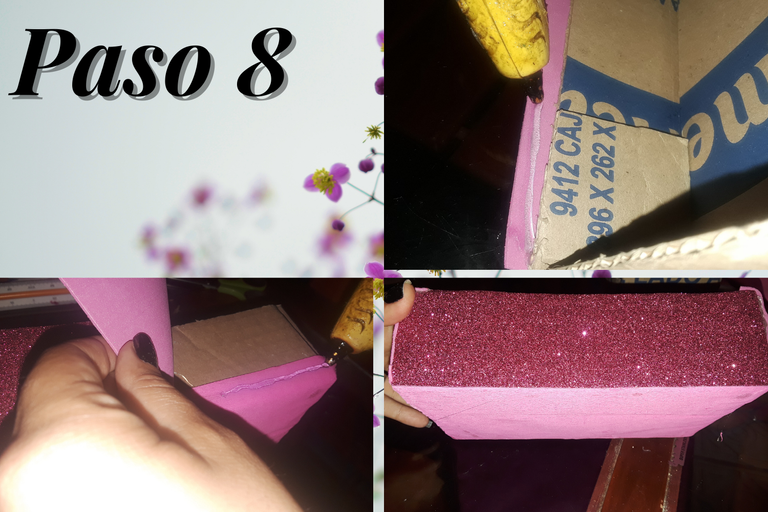
Forrare poco a poco mi caja con ayuda de mi pistola de silicón para ir adornando nuestra caja de esta manera.
I will line my box little by little with the help of my silicone gun to decorate our box in this way.
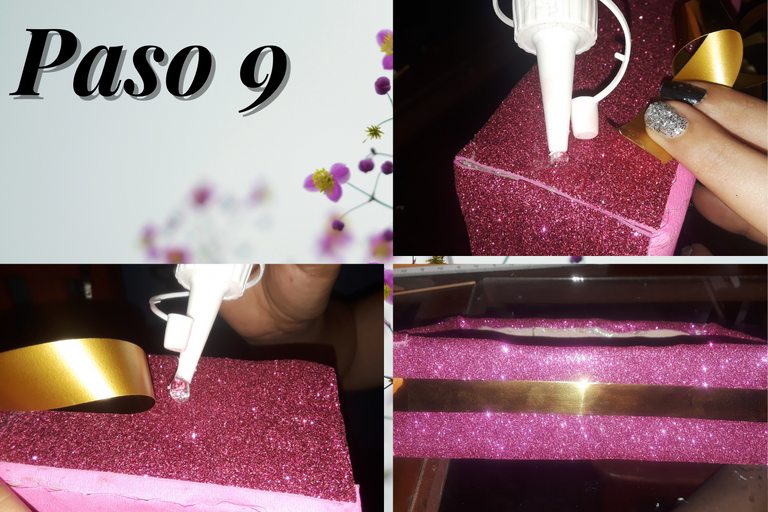
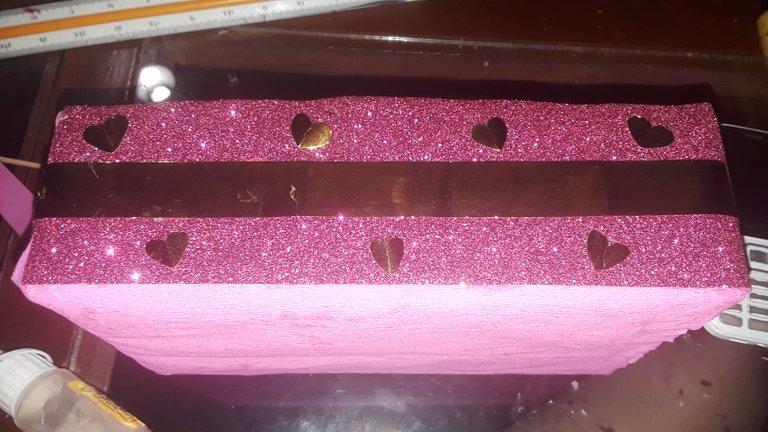
Acá yo tengo una cinta dorada extra y con ayuda de mi silicón frio lo pegare en medio de mi caja donde hemos colocado nuestro foami para que no se vea tan simple nuestra caja.
Here I have an extra gold ribbon and with the help of my cold silicone I will paste it in the middle of my box where we have placed our foami so that our box does not look so simple.
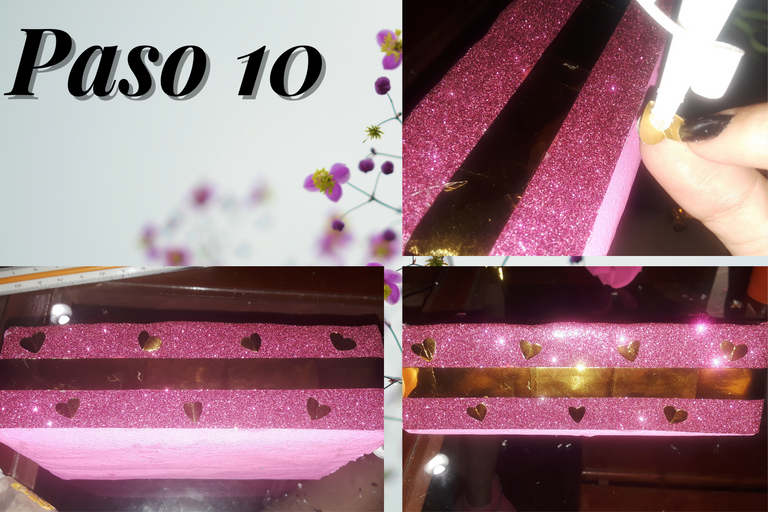
He realizado unos corazones como adorno de nuestra caja y las he pegado con una gota de silicón frio.
I have made some hearts as an ornament for our box and I have glued them with a drop of cold silicone.
RESULTS
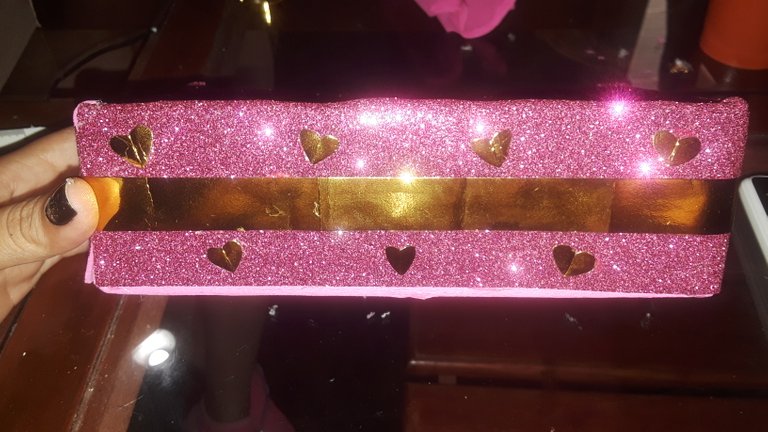
Me encantaría que me dejaras en los comentarios que tal te pareció esta linda caja, espero te animes a realizarla y mas en estos días que ya estamos cerca del 14 de febrero el día del amor y de la amistad y se que te servirá de mucha ayuda esta caja. Te invito a visitarme para mi próximo post para compartir el arreglo que realizare con esta caja. Espero te haya gustado mi post, bendiciones para todos.
I would love it if you would leave me in the comments how you liked this beautiful box, I hope you will be encouraged to make it and more in these days that we are already close to February 14, the day of love and friendship and I know that it will be of great help to you this box. I invite you to visit me for my next post to share the arrangement that I will make with this box. I hope you liked my post, blessings to all.
Fotos tomadas desde mi celular: Sansung J7 Prime
Fotos editadas por mi desde: Canva
Traducido con www.DeepL.com/Translator (versión gratuita)
Nos vemos en mi próxima publicación.
¡Tengan una feliz semana!
Photos taken from my Sansung J7 Prime.
Photos edited by me from Canva
Translated with www.DeepL.com/Translator (free version).
¡have a happy week!
Congratulations @orianasalas! You have completed the following achievement on the Hive blockchain and have been rewarded with new badge(s):
Your next target is to reach 5000 upvotes.
You can view your badges on your board and compare yourself to others in the Ranking
If you no longer want to receive notifications, reply to this comment with the word
STOPCheck out the last post from @hivebuzz:
Support the HiveBuzz project. Vote for our proposal!