Hola familia de artesanos, comparto con ustedes otra creación para esta comunidad #hivediy, deseando que su día sea cada vez mas productivo y muchos éxito en su camino a todo el equipo que es capaz de trabajar sin parar, tomando su tiempo para apreciar cada trabajo que se publica.
Hello artisan family, I share with you another creation for this #hivediy community, wishing your day to be more and more productive and many success on your way to all the team that is able to work non-stop, taking their time to appreciate each work that is published.
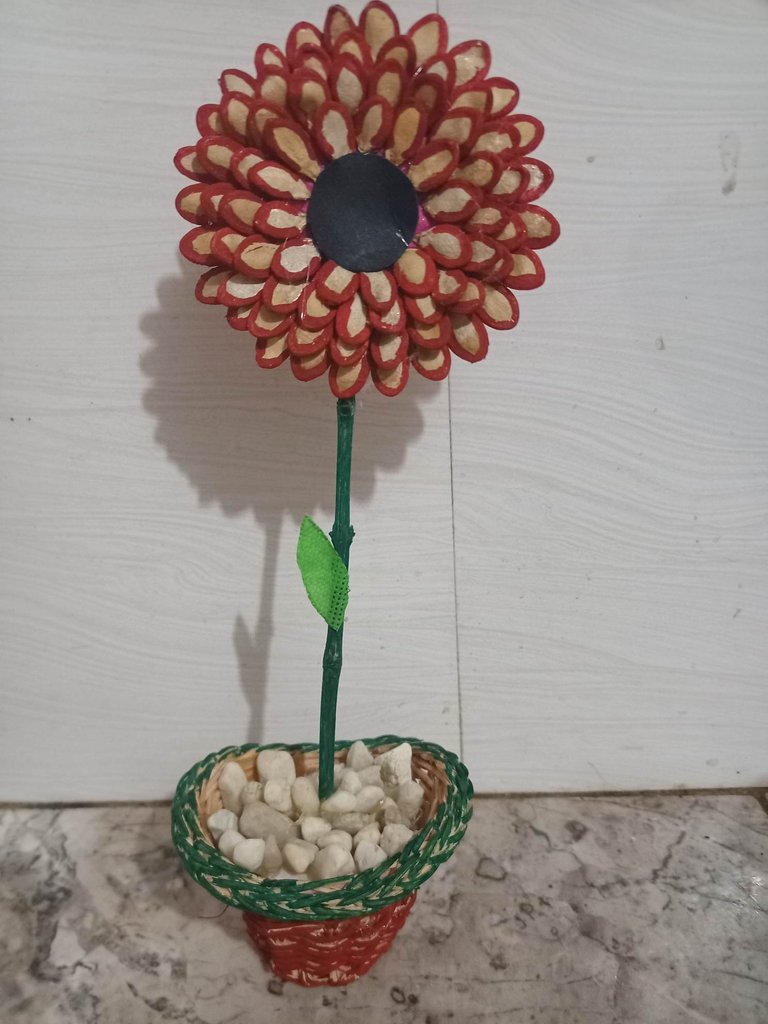

Aquí les dejo los paso para realizar esta linda flor, hecha con semilla de auyama, pintada y colocada sobre una cesta de mimbre pequeña, con mi niña al lado le enseñe como lograr algo diferente para el grupo de manualidades del liceo, ella quedo fascinada.
Here are the steps to make this beautiful flower, made with pumpkin seeds, painted and placed on a small wicker basket, with my little girl next to me I showed her how to achieve something different for the high school crafts group, she was fascinated.
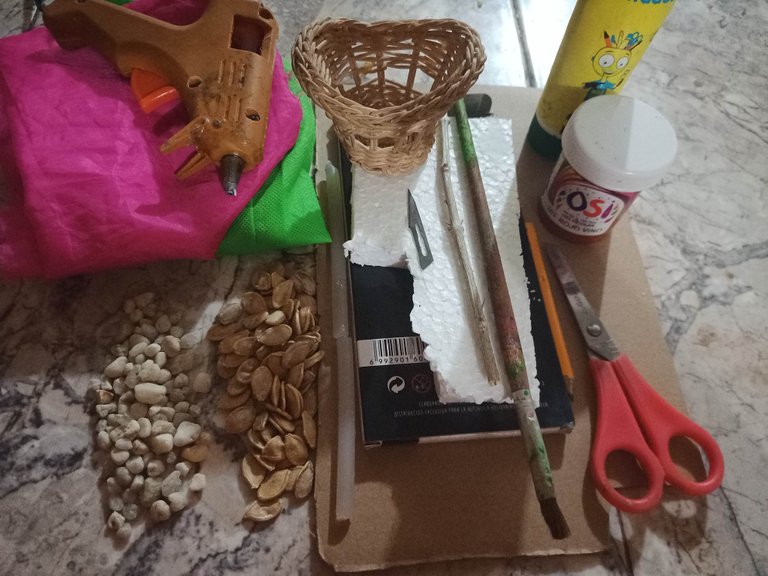

- 77 Semillas de auyama
- Piedras blancas de granito
- 1 cesta pequeña de mimbre
- 1 Tijera
- 1 Lápiz grafito
- 1 Pistola de silicon
- 1 Barra de silicon pequeña
- 1 Pincel
- 1 Rama seca natural
- 1 Bisturí # 11
- 1 Recorte de anime
- 1 Pintura al frió (Roja vino)
- 1 Pinta dedos color verde
- 1 Recorte de tela Fucsia reciclada
- 1 Tela verde reciclada
- 1 Recorte pequeño de cartón
- 1 Caja de colores vacía
- 77 Pumpkin seeds
- White granite stones
- 1 small wicker basket
- 1 scissors
- 1 graphite pencil
- 1 Silicone gun
- 1 Small silicone stick
- 1 Paintbrush
- 1 Natural dry branch
- 1 Scalpel # 11
- 1 Anime cutout
- 1 Cold paint (Wine red) 1 Green finger paint
- 1 Green finger paint
- 1 Fuchsia recycled fabric cut out
- 1 Recycled green fabric
- 1 small cardboard cutout
- 1 Empty colored box


Con el pincel pintas el borde circular de cada semilla de auyama con pintura al frió rojo vino, después espera que seque muy bien para poder pasar al siguiente paso.
With the brush you paint the circular edge of each pumpkin seed with wine red cold paint, then wait for it to dry very well to be able to move on to the next step.


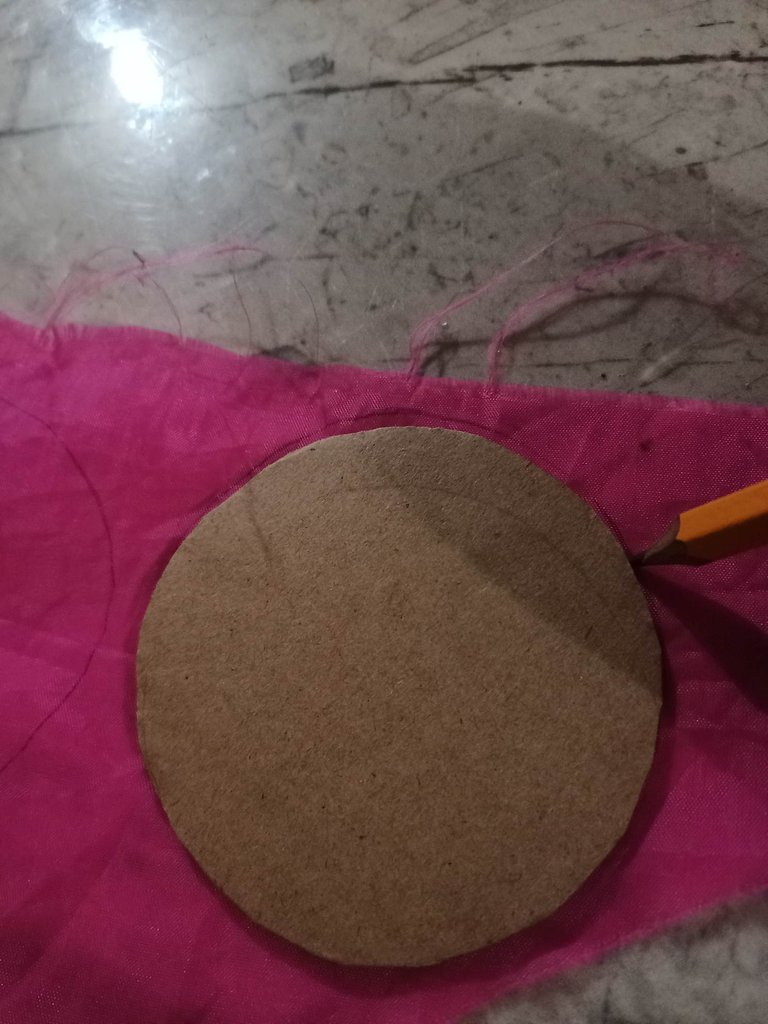
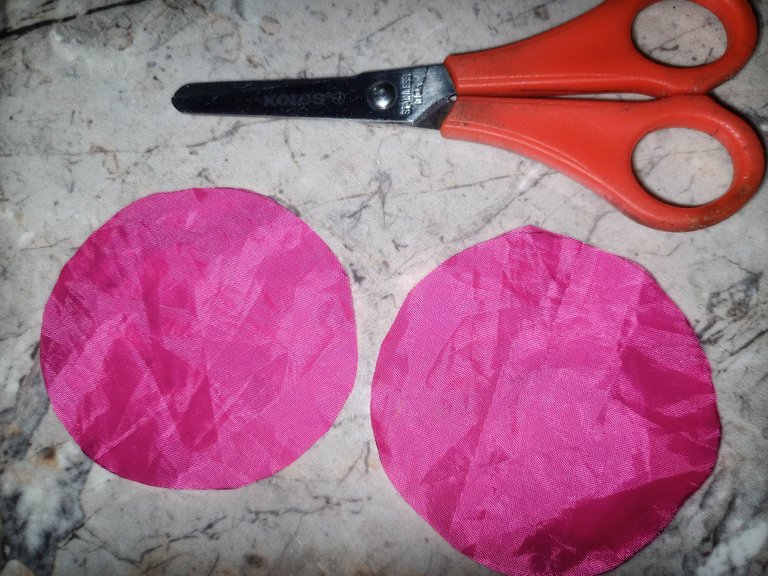
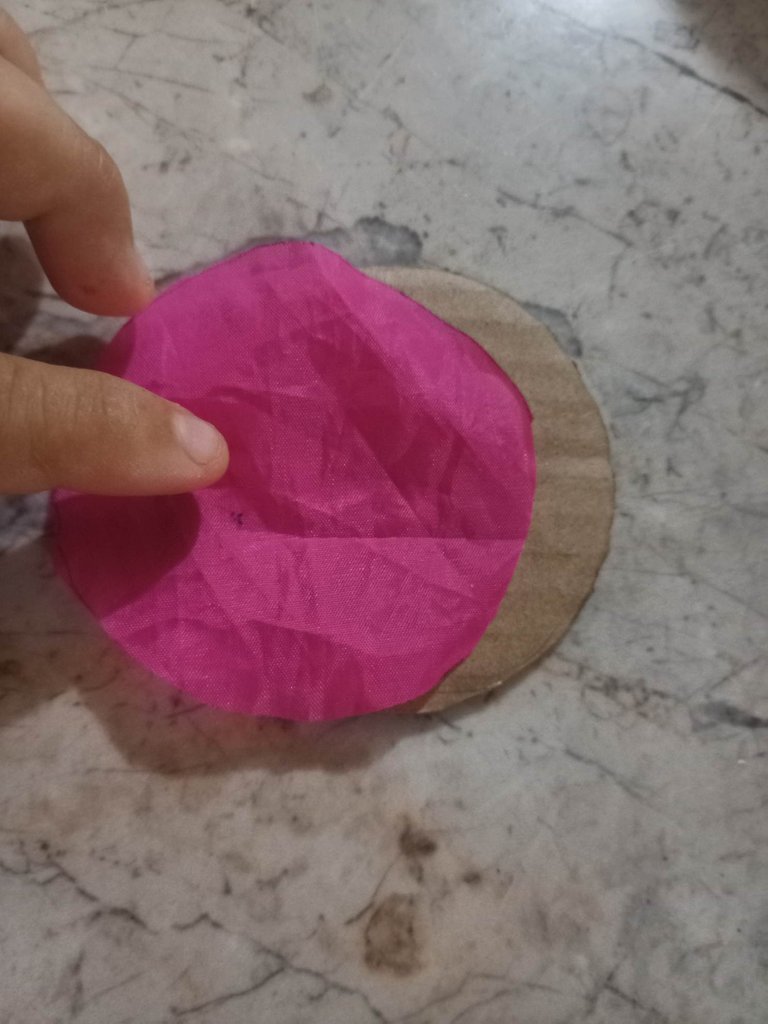
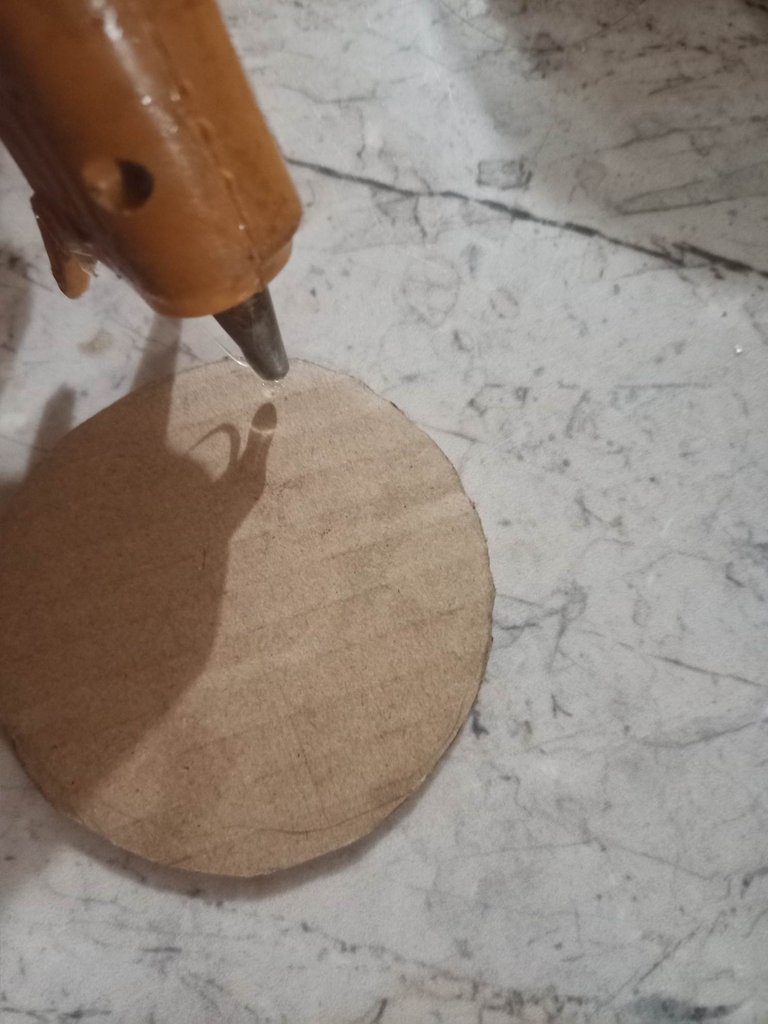
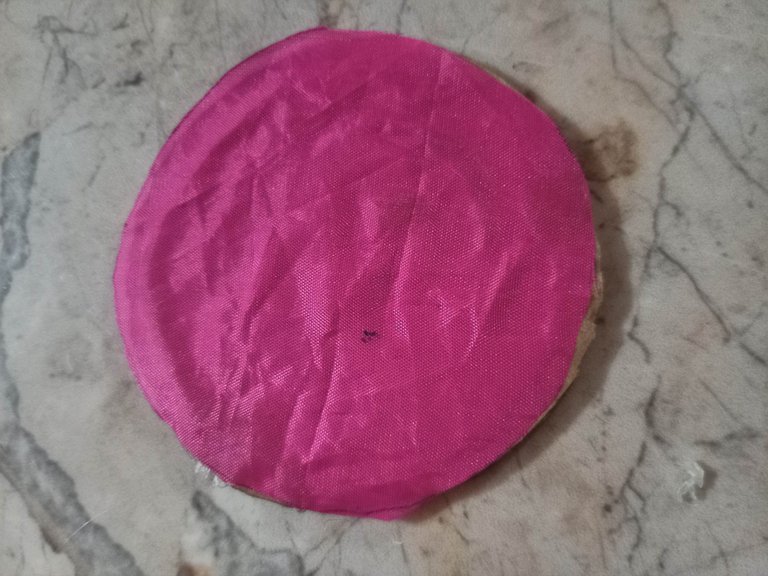
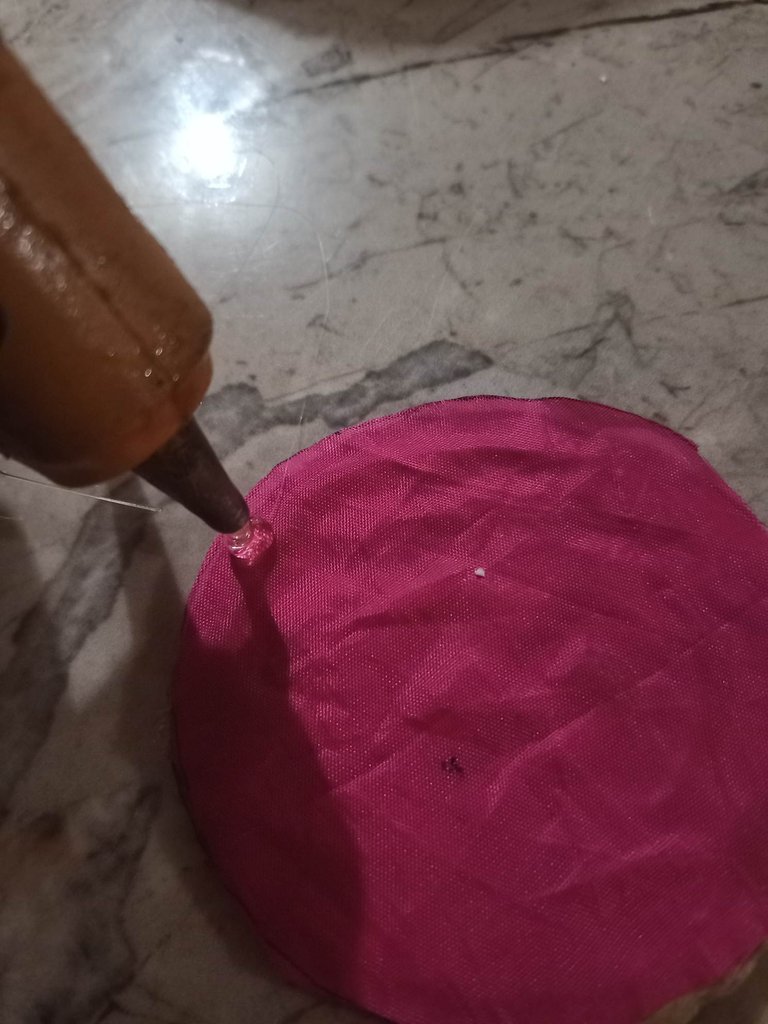

Con el lápiz grafito dibujas un circulo con un diámetro de 8 cm en el cartón, luego cortas con la tijera y de igual manera colocas la medida encima de la tela para recortar dos patrones circulares, después con el silicon caliente pegas la tela de un lado del cartón recortado.
With the graphite pencil draw a circle with a diameter of 8 cm on the cardboard, then cut with the scissors and in the same way place the measure on top of the fabric to cut out two circular patterns, then with the hot silicone glue the fabric on one side of the cardboard cut out.
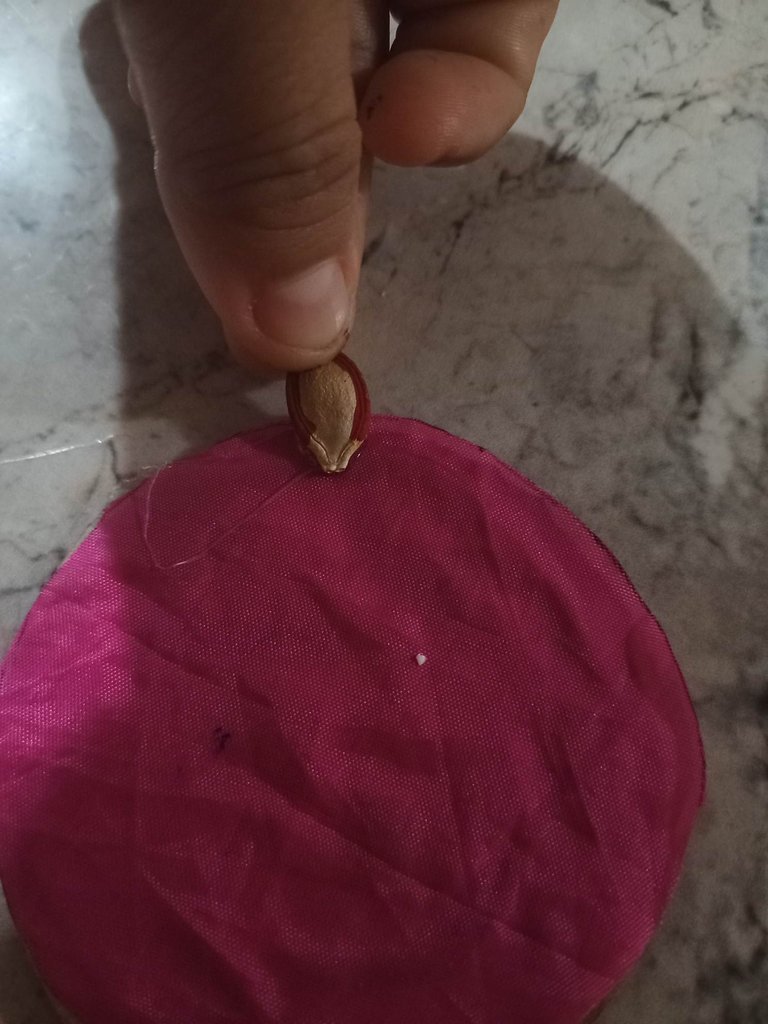
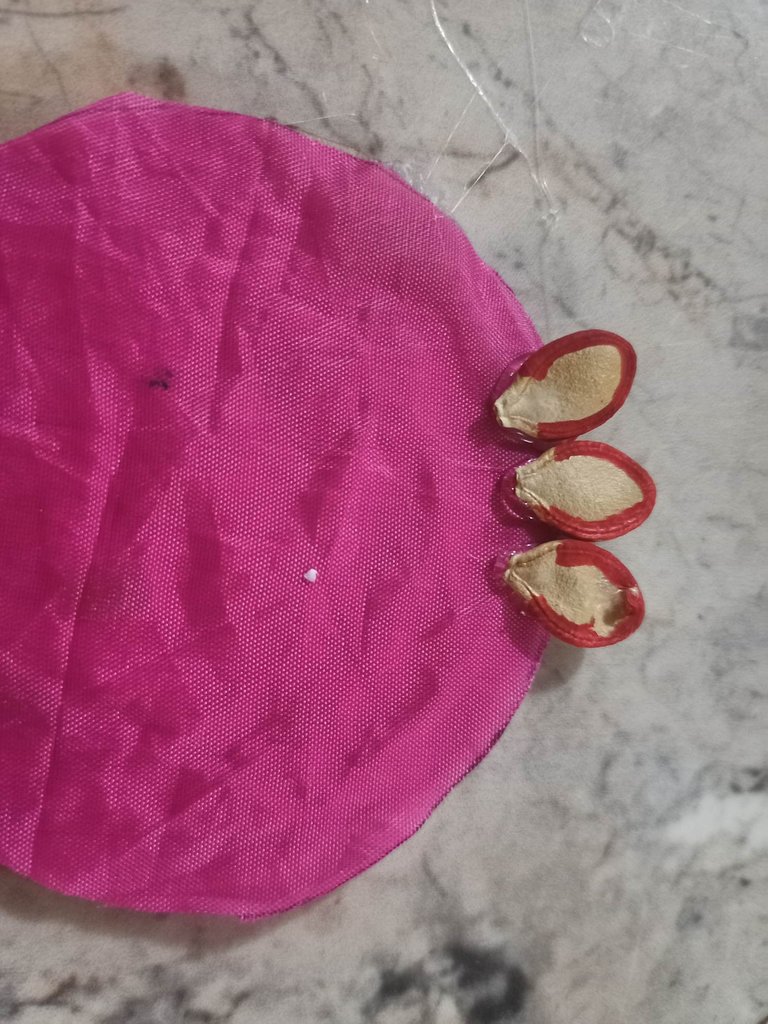
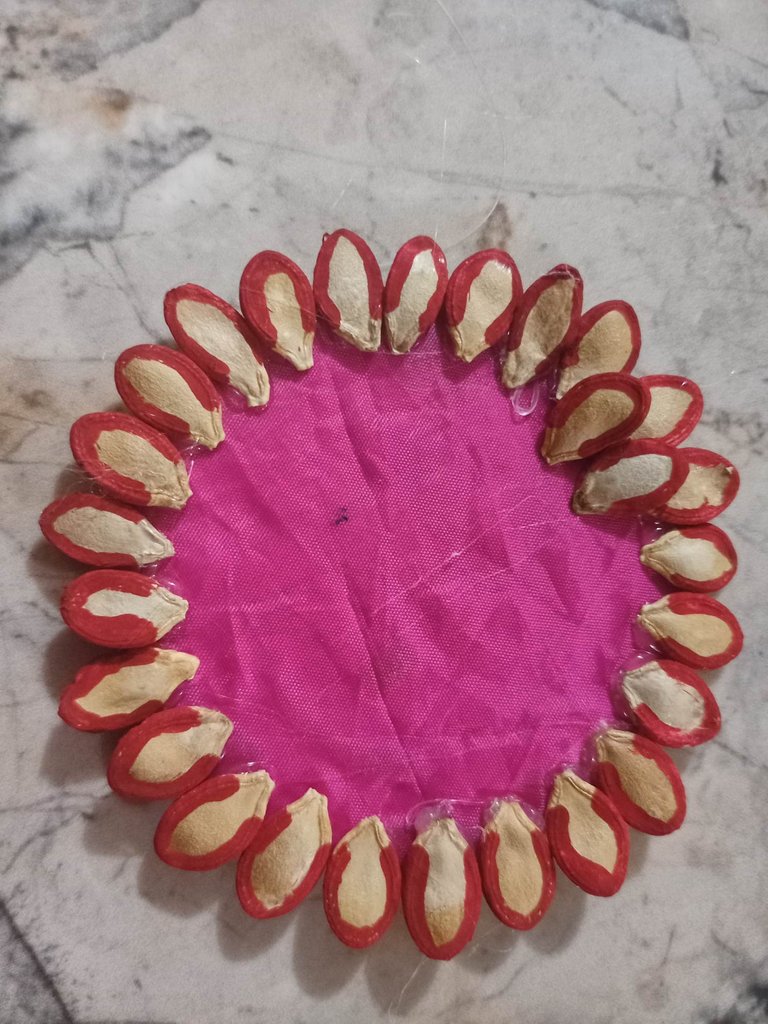
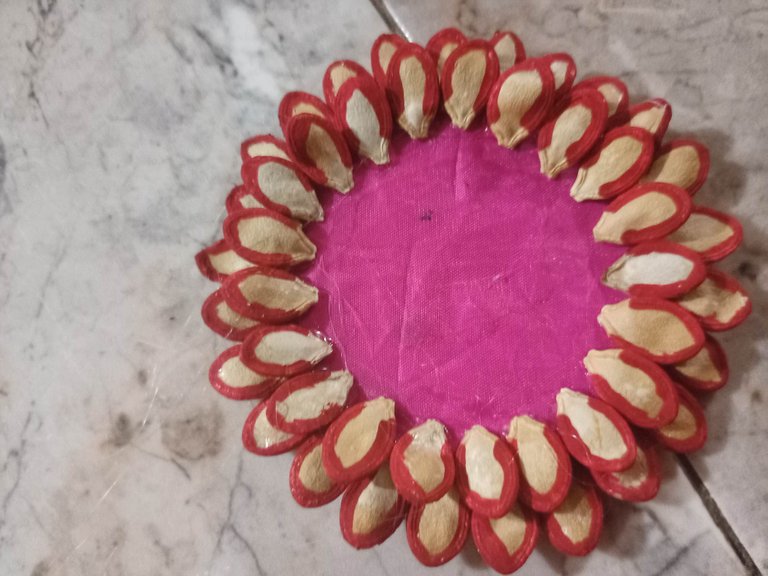
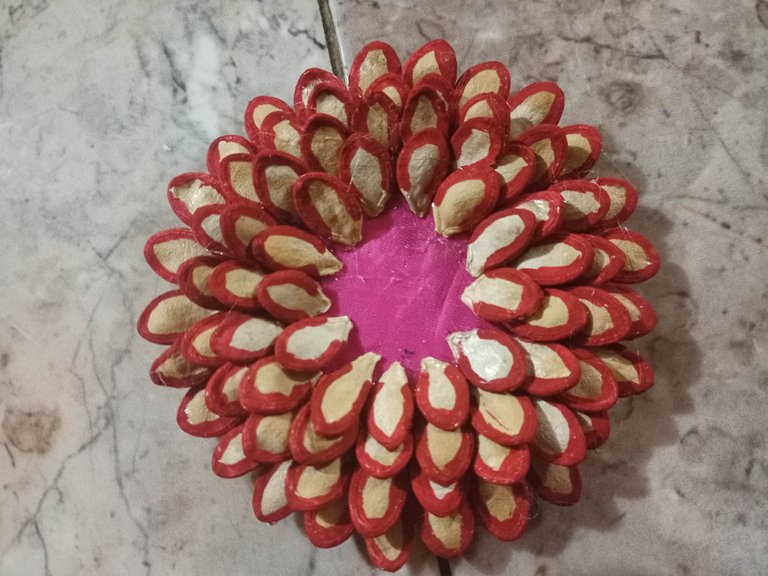

Con mucha paciencia colocas silicon caliente en cada una de las semillas de auyama, pegando uno por uno alrededor del cartón con tela, hasta que completes el circulo; luego realizas otra ronda encima y así colocas 4 rondas como se puede apreciar en las imágenes.
With a lot of patience you place hot silicone on each of the pumpkin seeds, sticking one by one around the cardboard with fabric, until you complete the circle; then you make another round on top and so you place 4 rounds as you can see in the images.
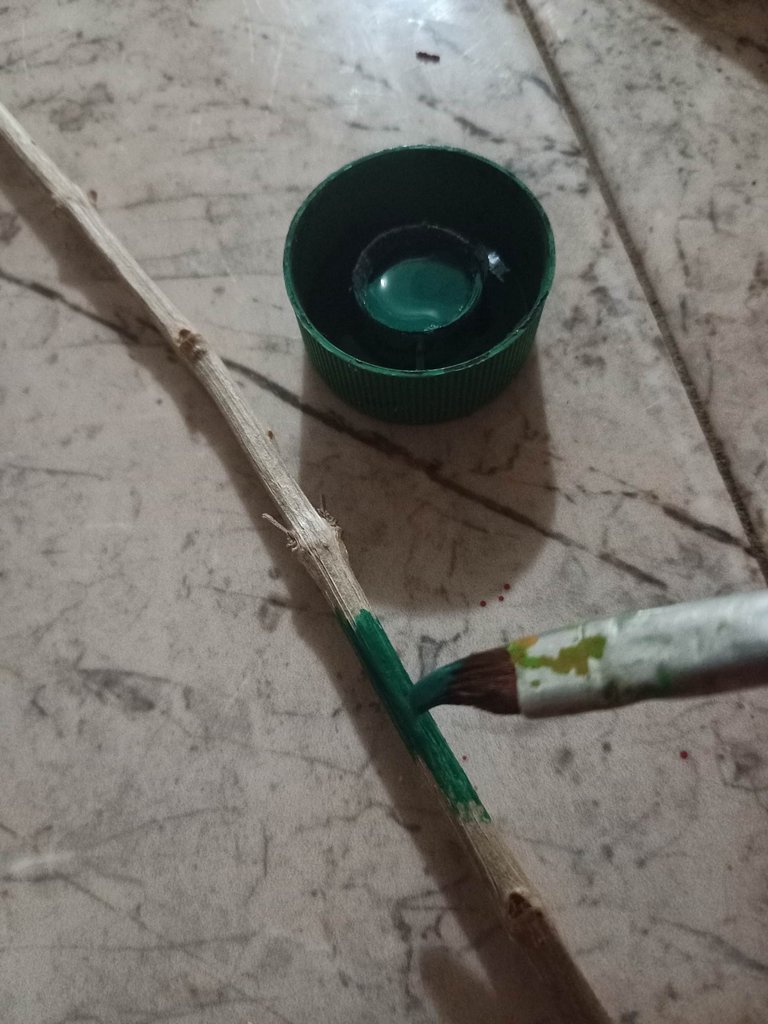
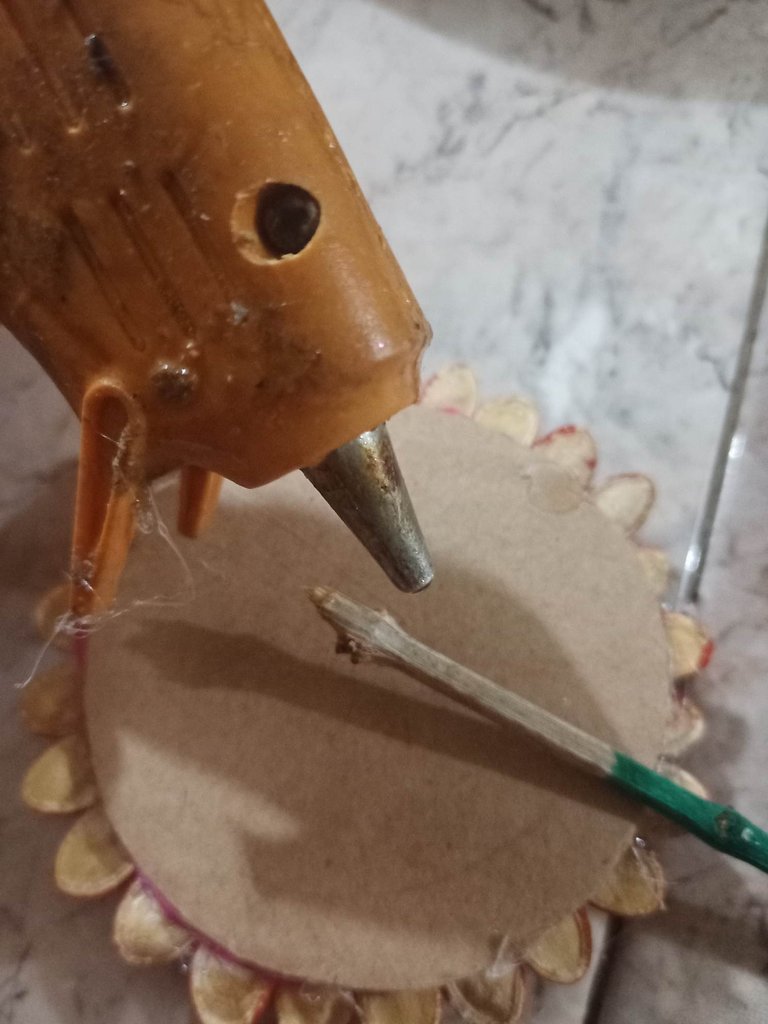
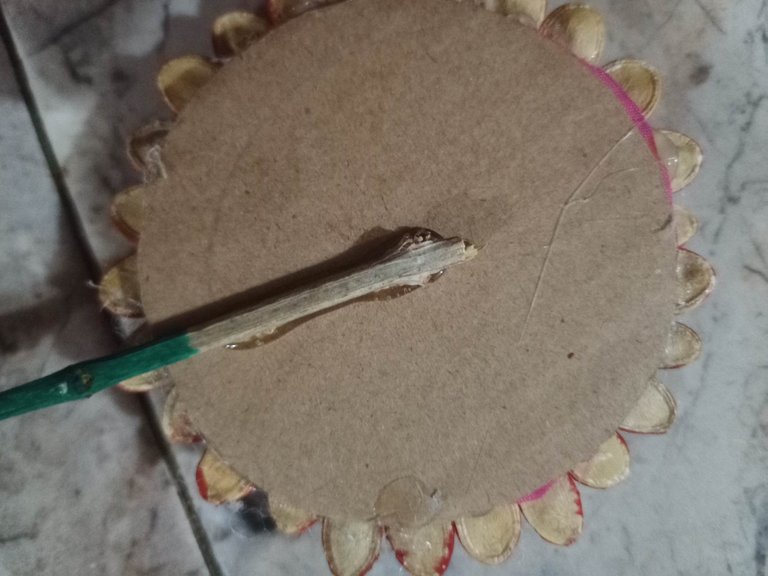
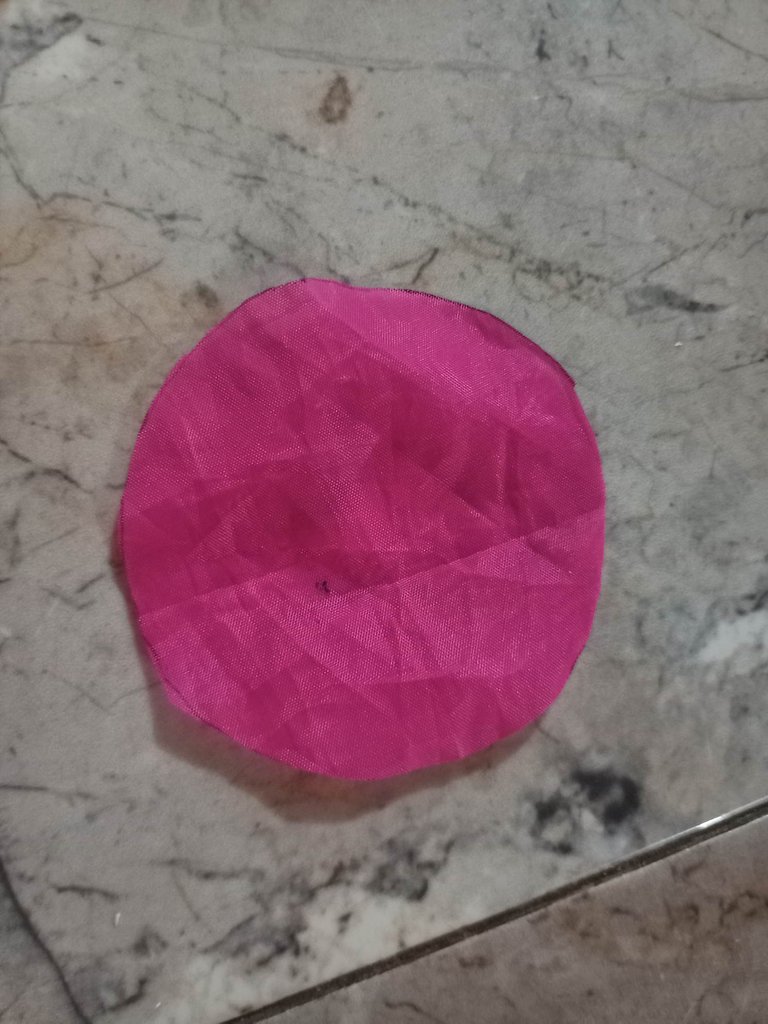
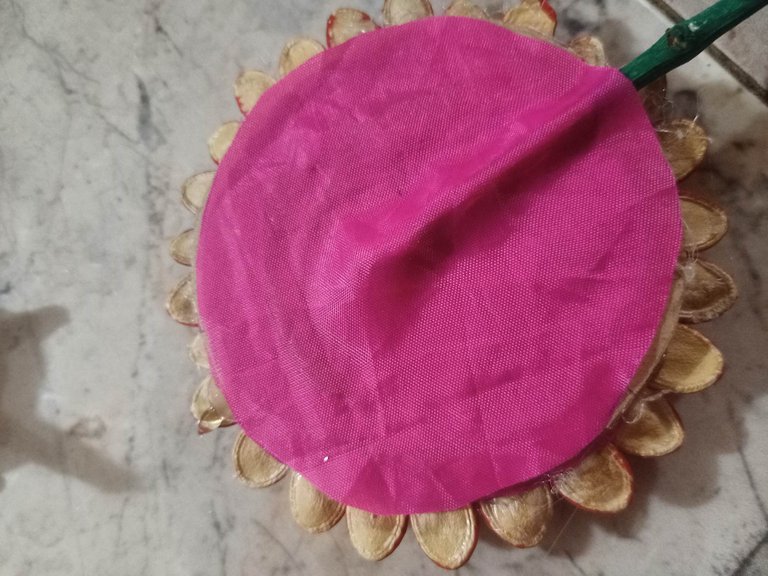

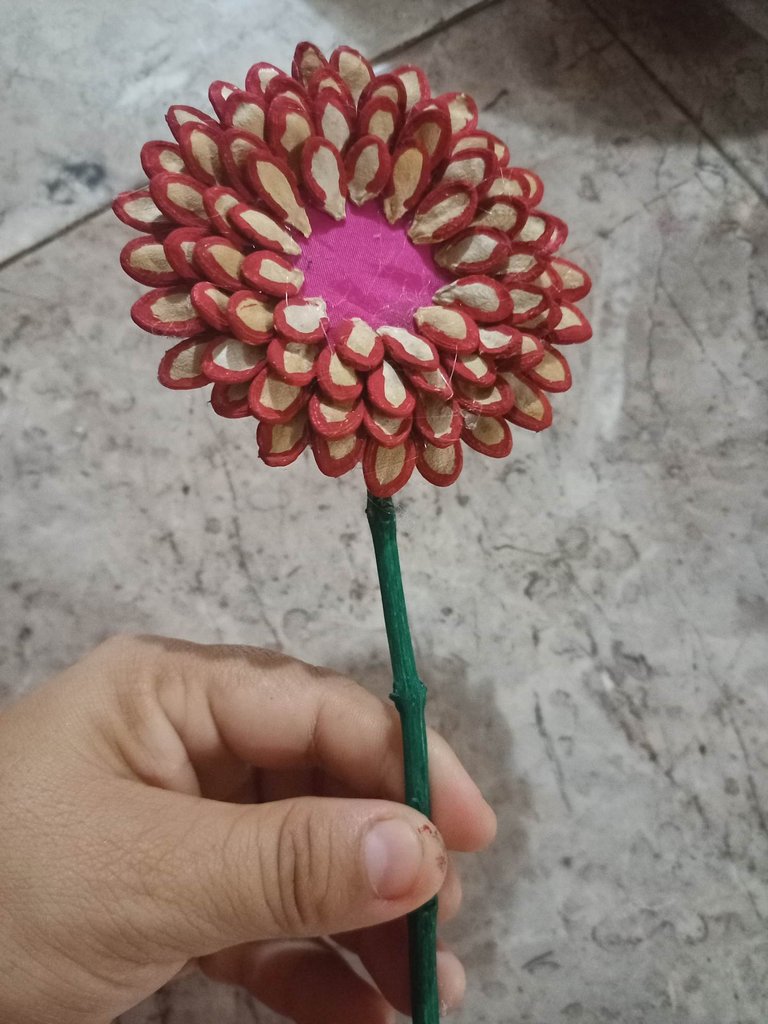
Con el color verde pintas la rama seca natural dejando que se seque, luego colocas con silicon caliente detrás de la flor que estabas armando, la aseguras bien para después poner el circulo de tela fucsia pegado con silicon.
With the green color you paint the natural dry branch and let it dry, then place it with hot silicon behind the flower you were making, secure it well and then put the fuchsia fabric circle glued with silicon.
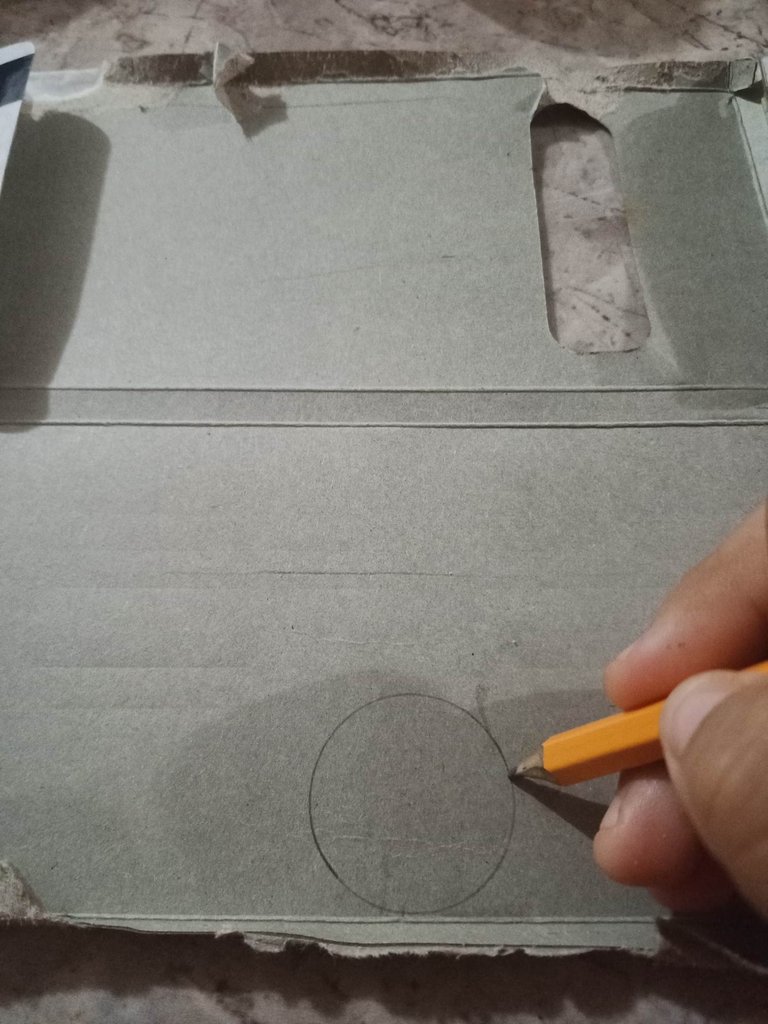
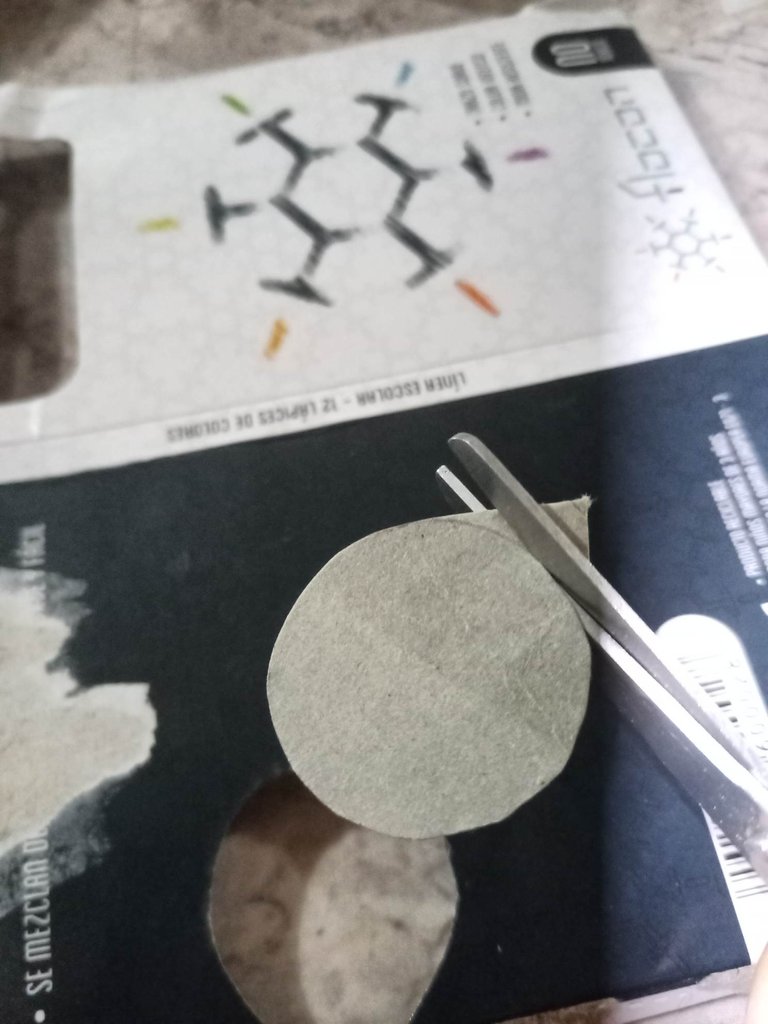
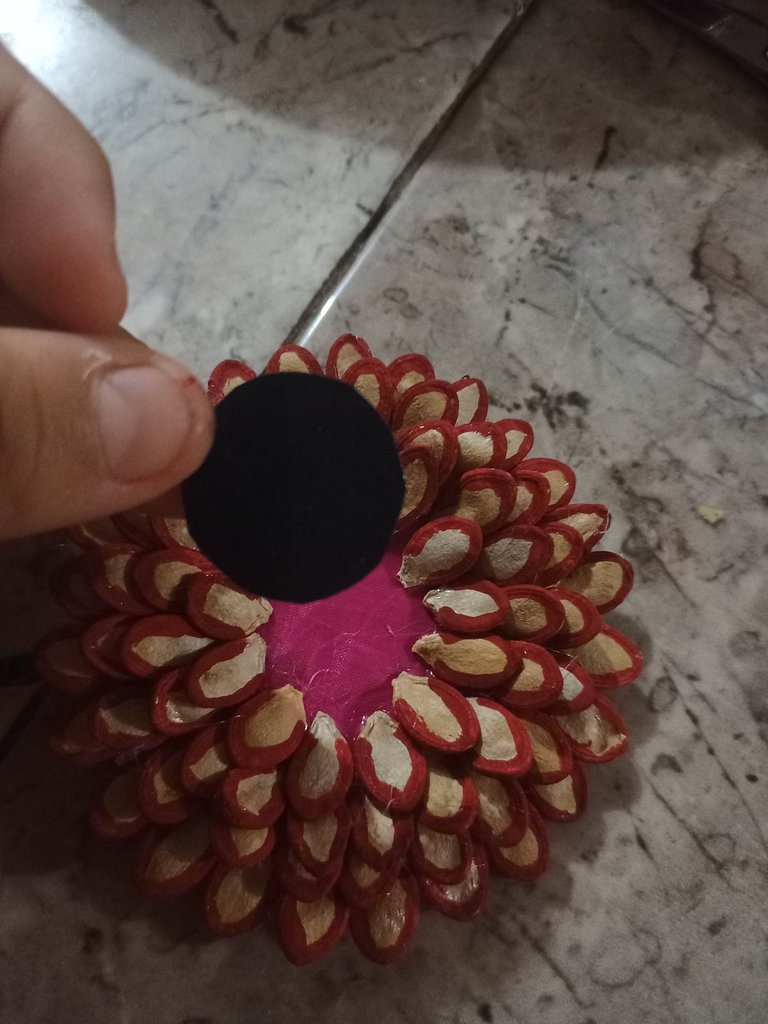
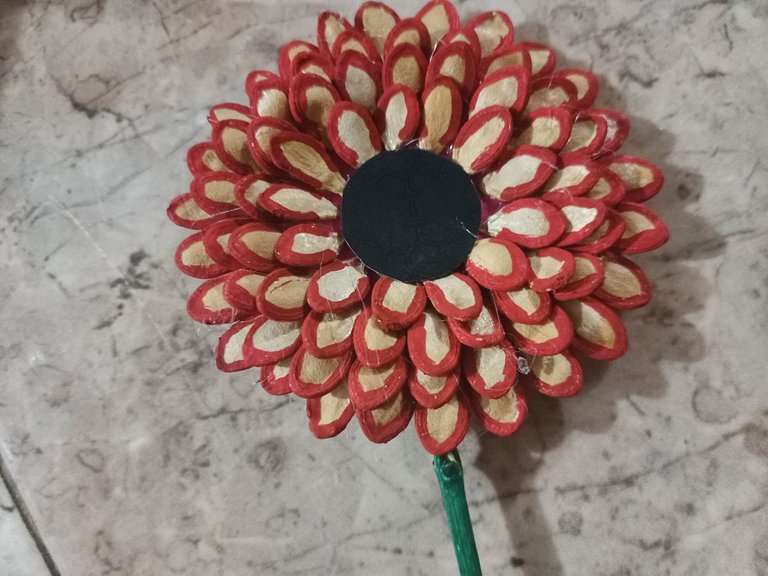

Con la caja de color vacía que se reciclo dibujas con el lápiz grafito un circulo de 3 cm de diámetro, para recortarlo y pegarlo con silicon caliente en el centro de la flor.
With the empty colored box that was recycled, draw with the graphite pencil a circle of 3 cm in diameter, cut it out and glue it with hot glue in the center of the flower.
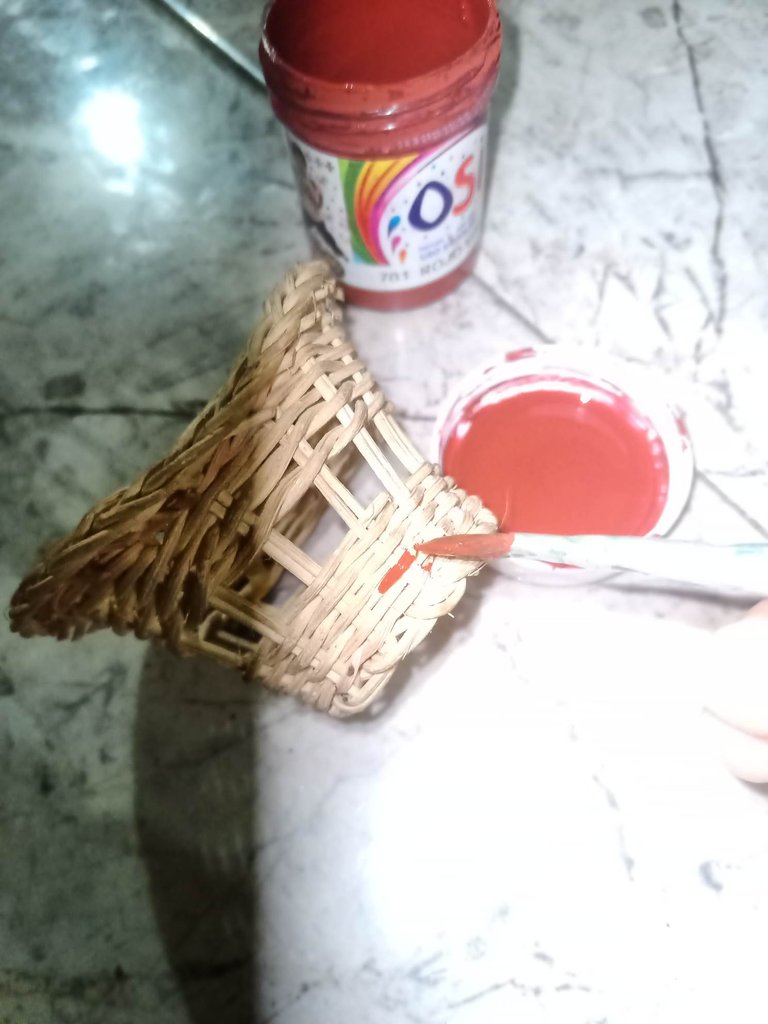
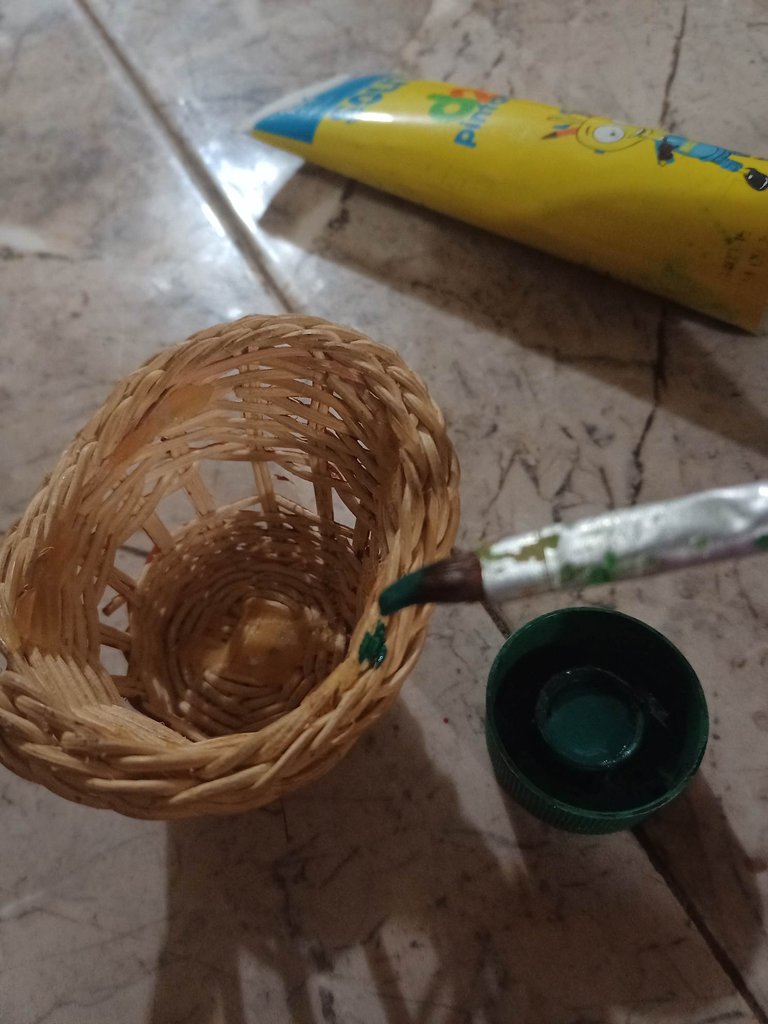
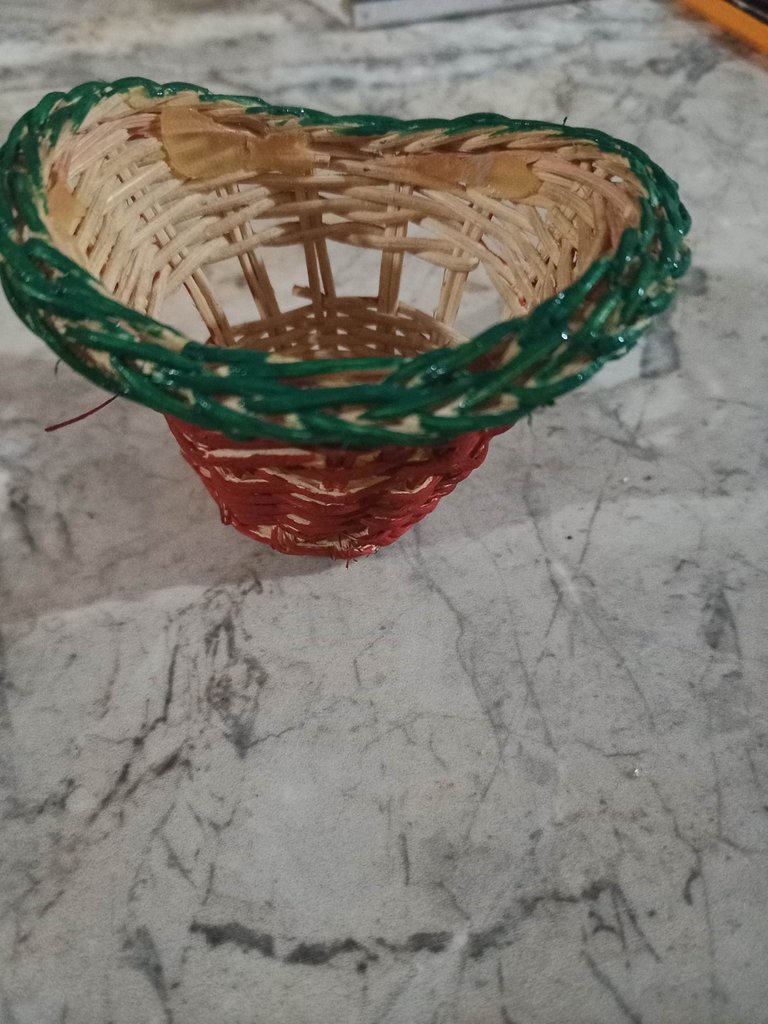
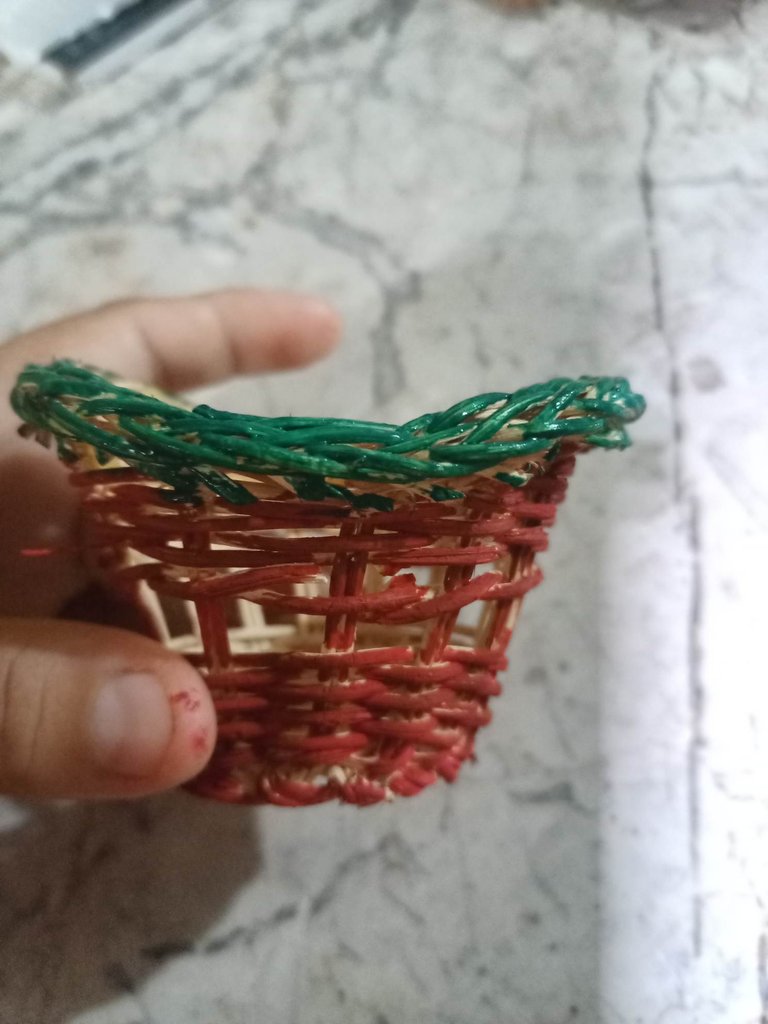

En este paso le damos color a la cesta de mimbre, con el pincel pintas la parte de arriba con el color verde y la parte de abajo de color rojo vino, dejando secar.
In this step we give color to the wicker basket, with the brush you paint the top part with green color and the bottom part with wine red color, letting it dry.
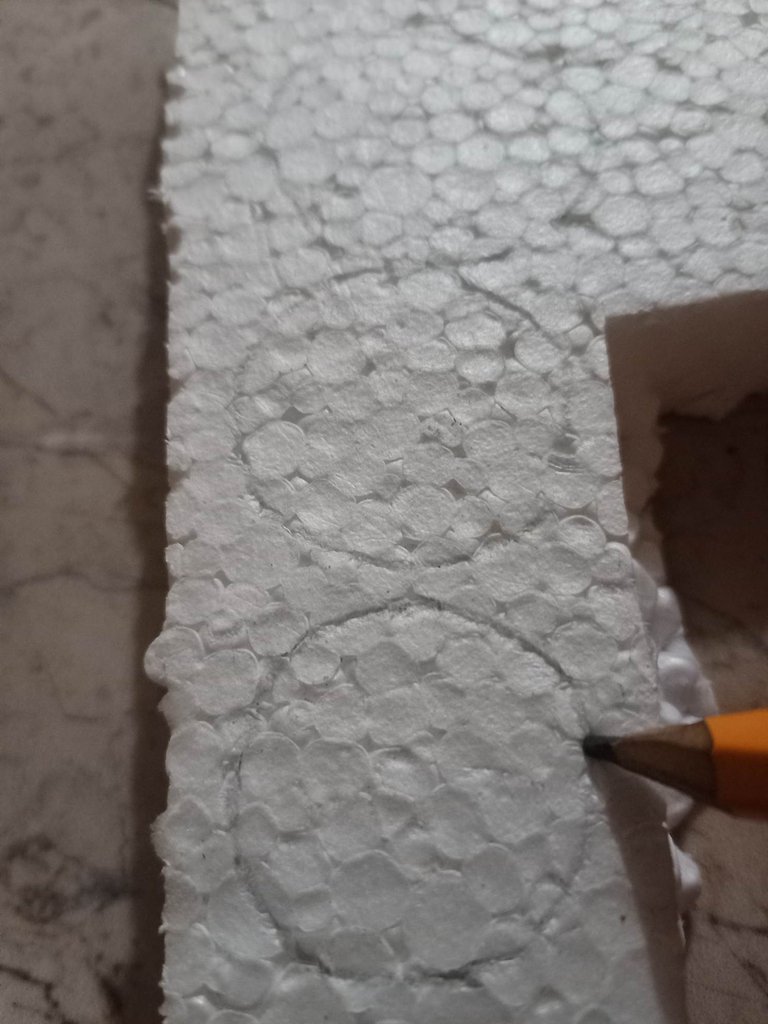
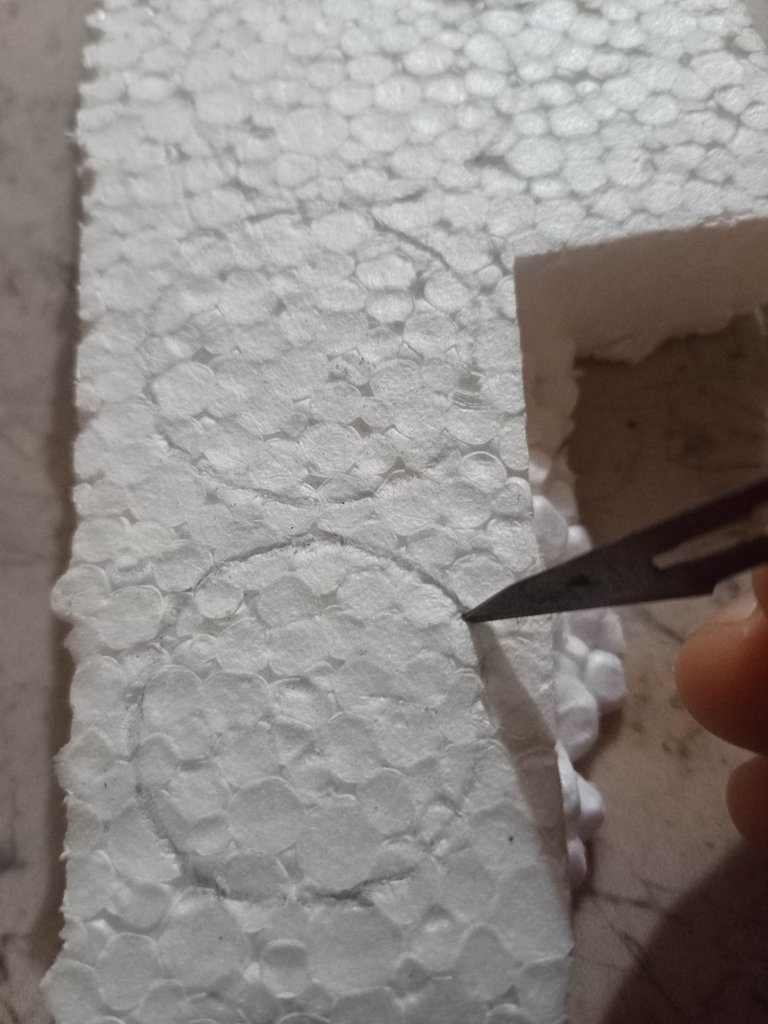
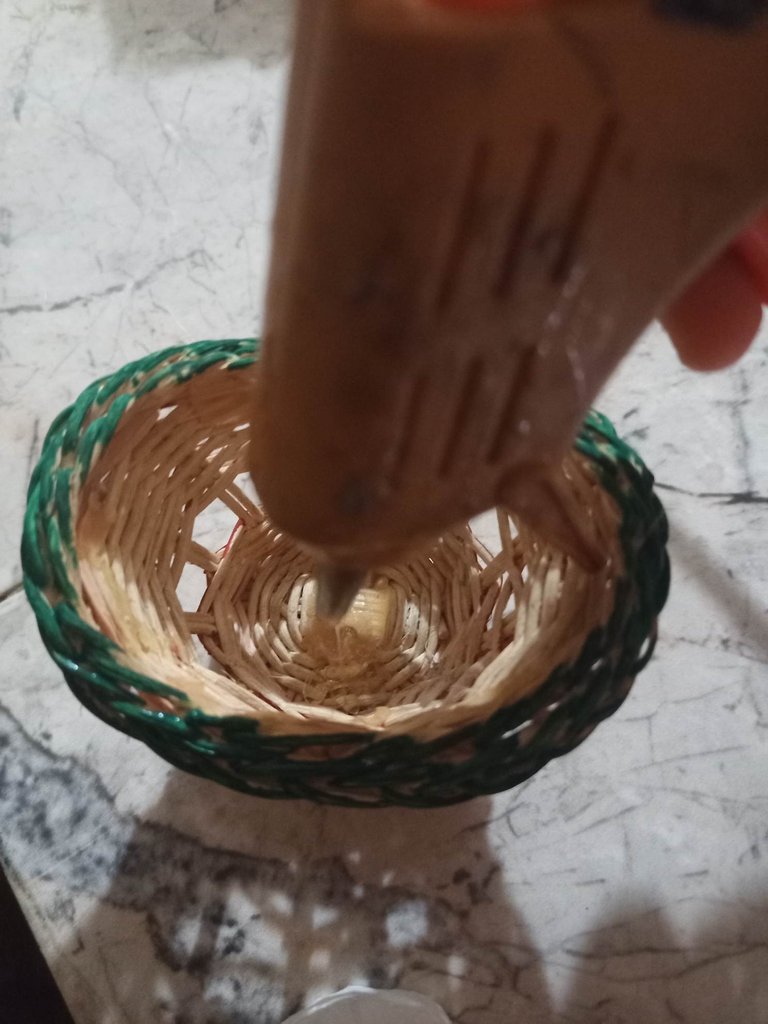
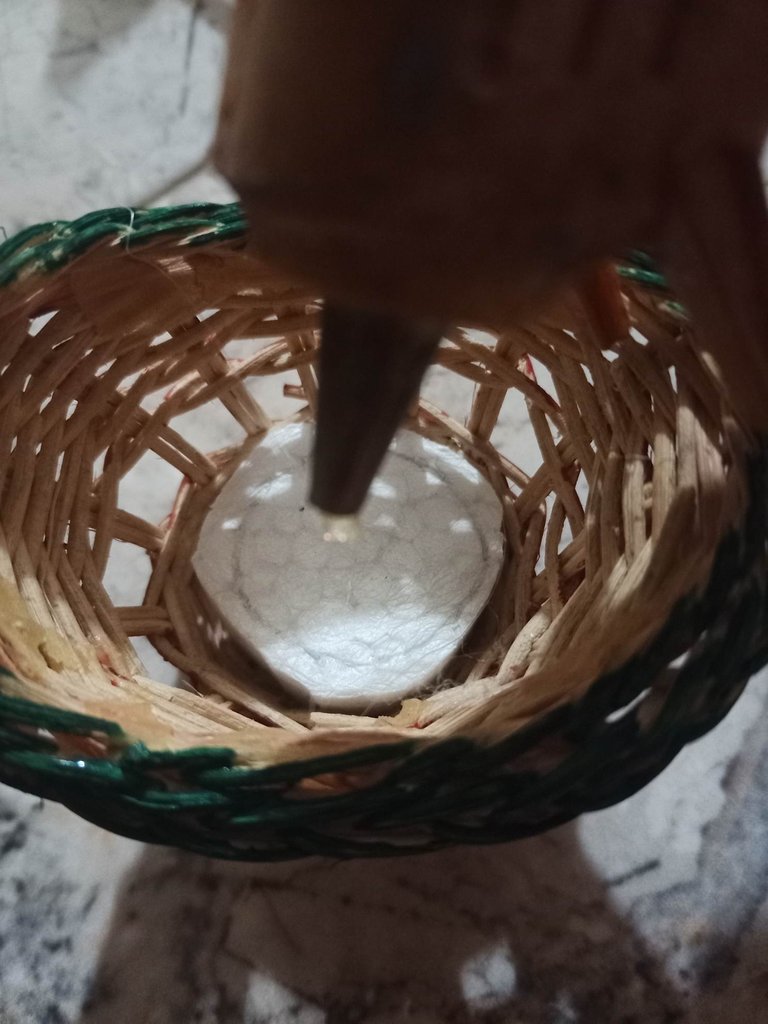
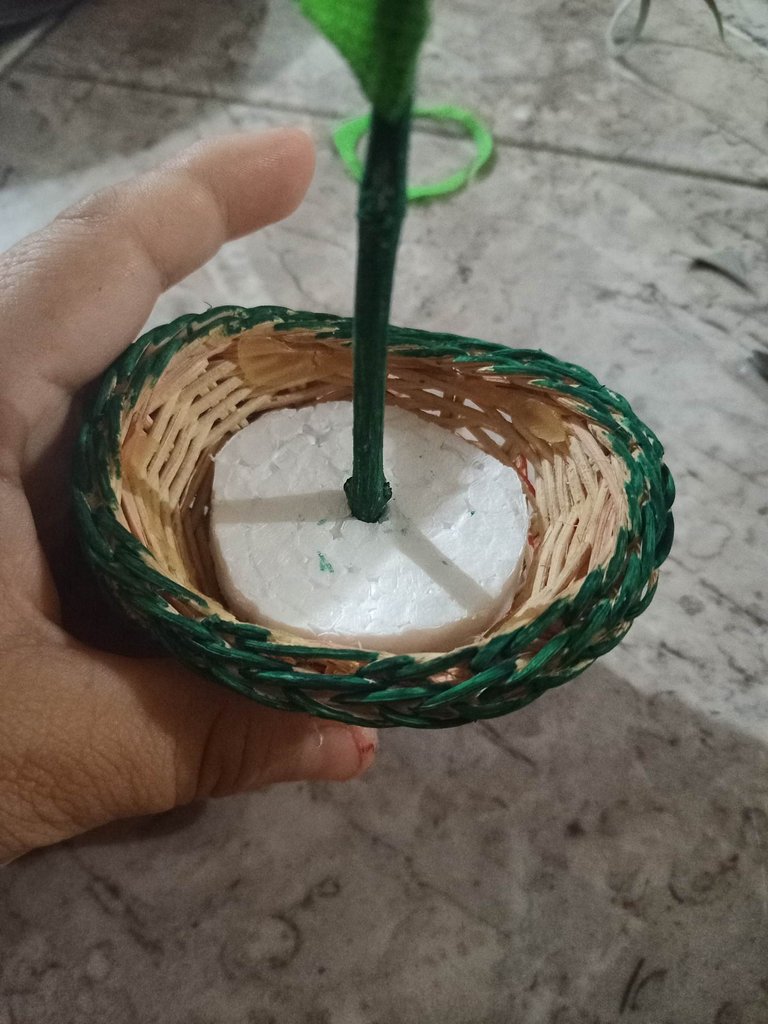

Sobre el anime dibujas un circulo aumentando un poco el tamaño, para que encaje en la cesta luego picar con el bisturí, colocas un poco de silicon y vas colocando todo el anime hasta la altura que deseas, buscas el centro para fijar el palo seco natural con silicon.
On the anime you draw a circle increasing a little the size, so that it fits in the basket then chop with the scalpel, put a little silicone and go placing all the anime up to the height you want, look for the center to fix the natural dry stick with silicone.
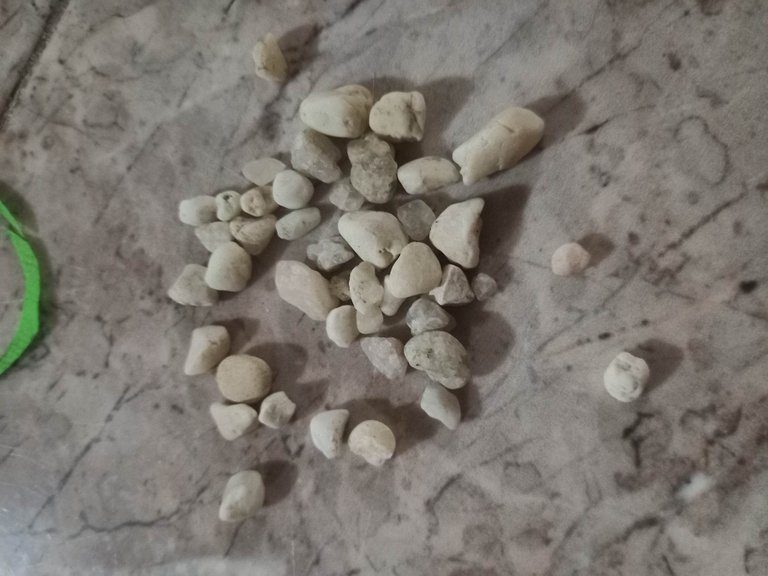
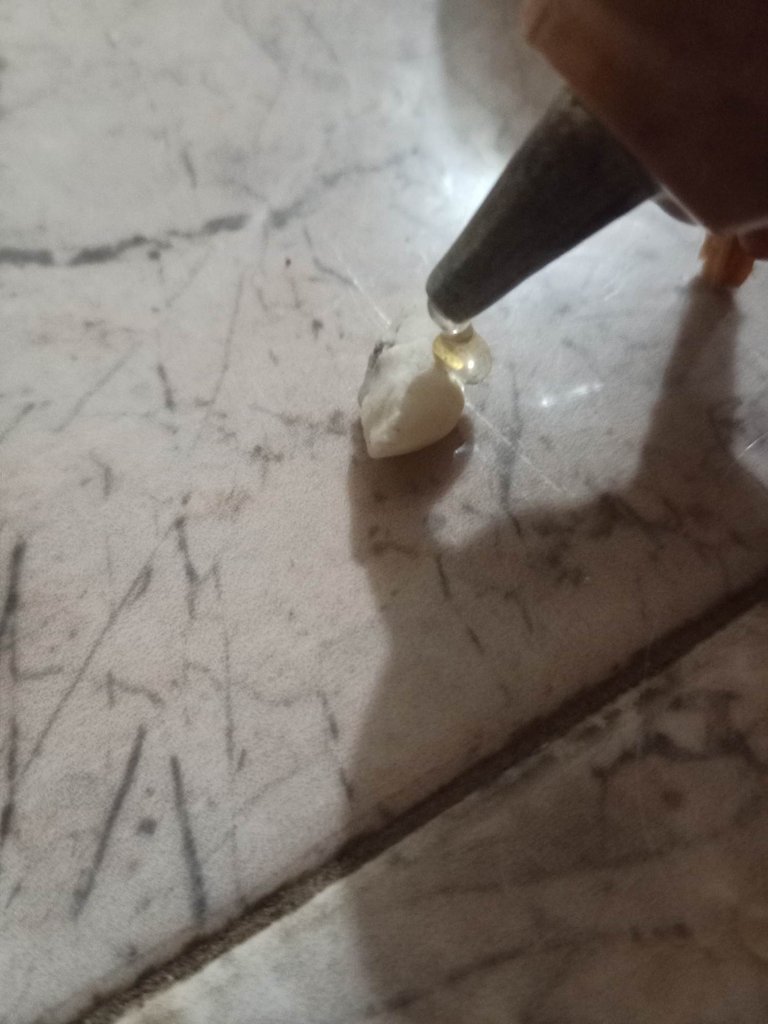
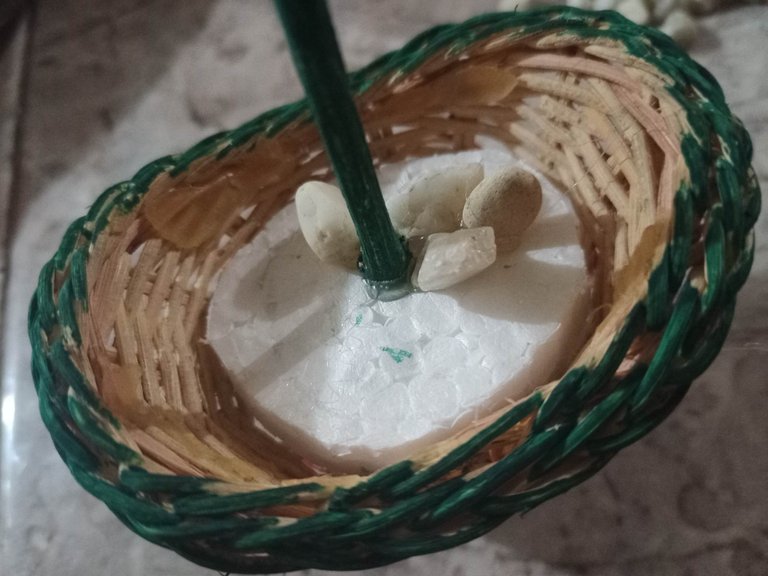
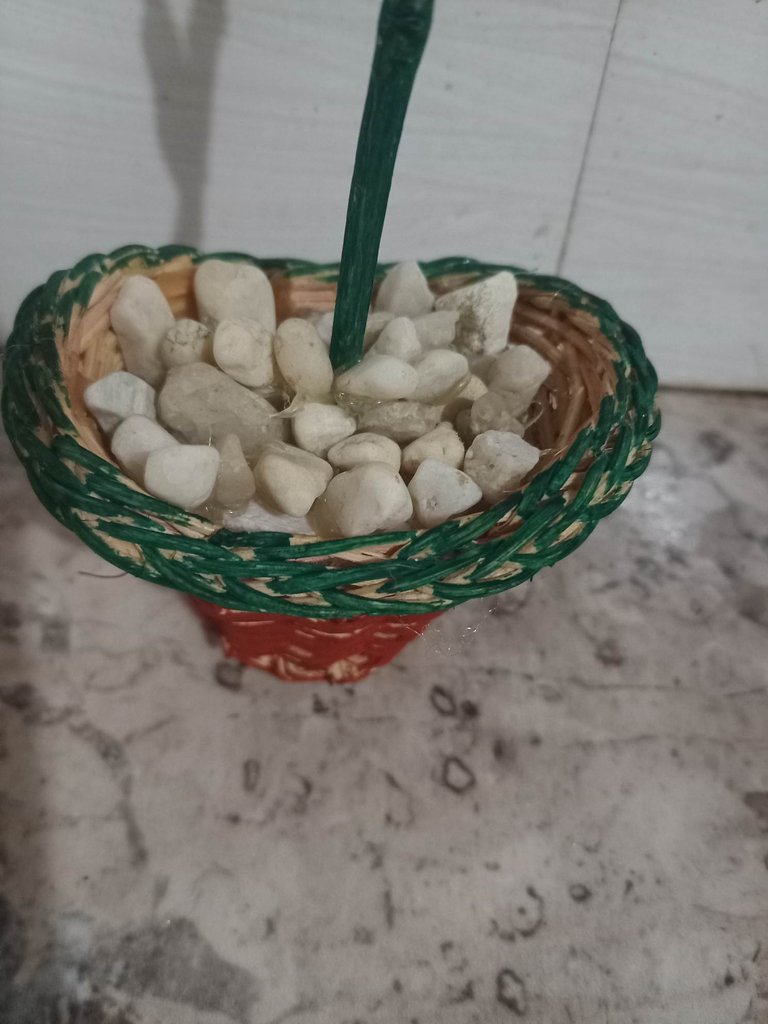

Procedes a poner cada una de las piedras blanca de granito, con unas gotas de silicon caliente en la base para cubrir el todo el anime.
Proceed to place each of the white granite stones, with a few drops of hot silicone on the base to cover the entire anime.
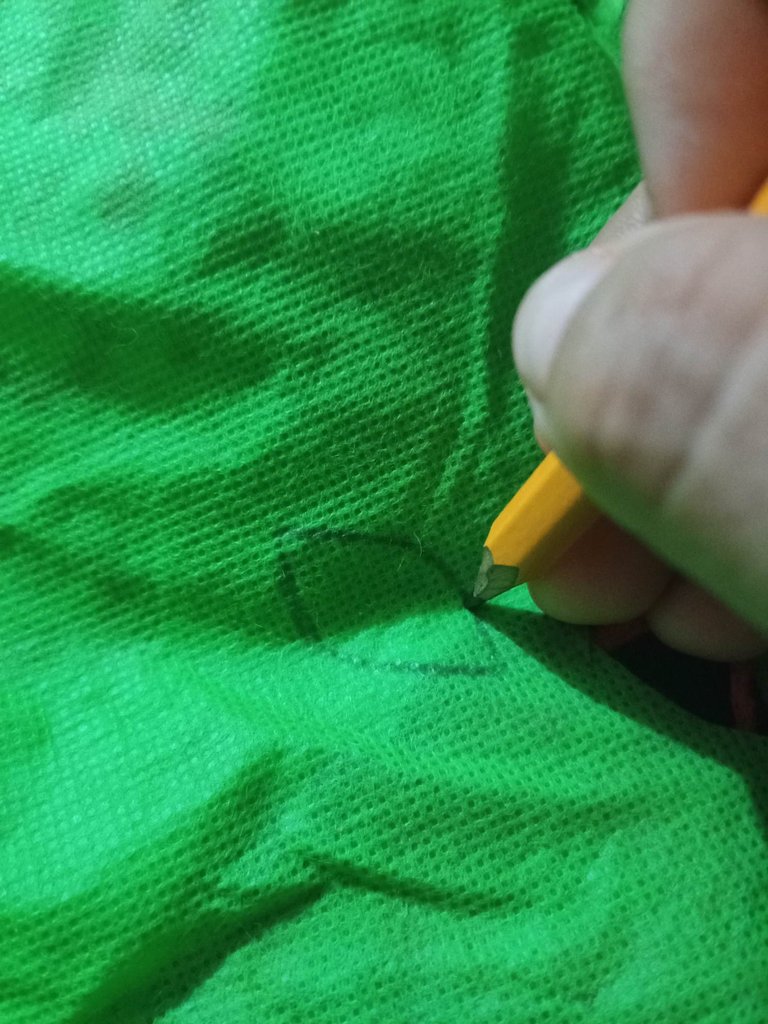
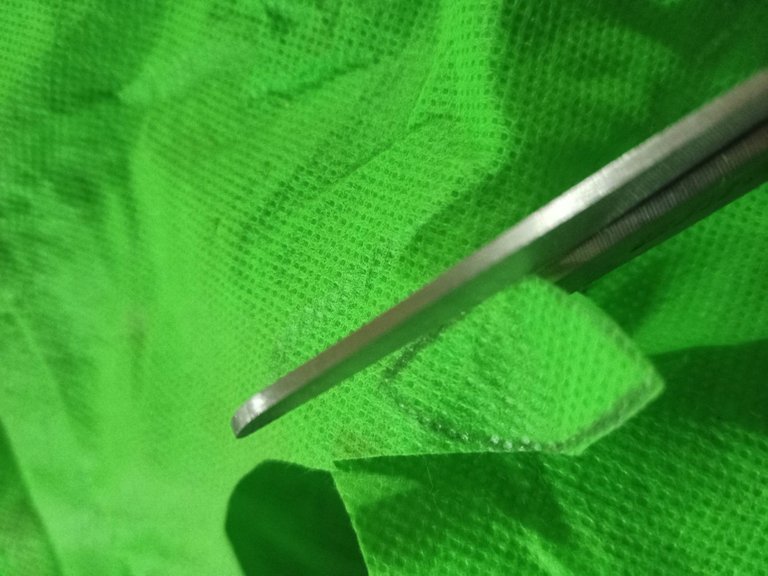

Por ultimo en la tela verde dibujas una hoja para luego proceder a recortarla y colocarla con silicon a un lado de la rama seca como se puede ver en la imagen.
Finally on the green fabric you draw a leaf and then proceed to cut it out and place it with silicone on one side of the dry branch as you can see in the image.


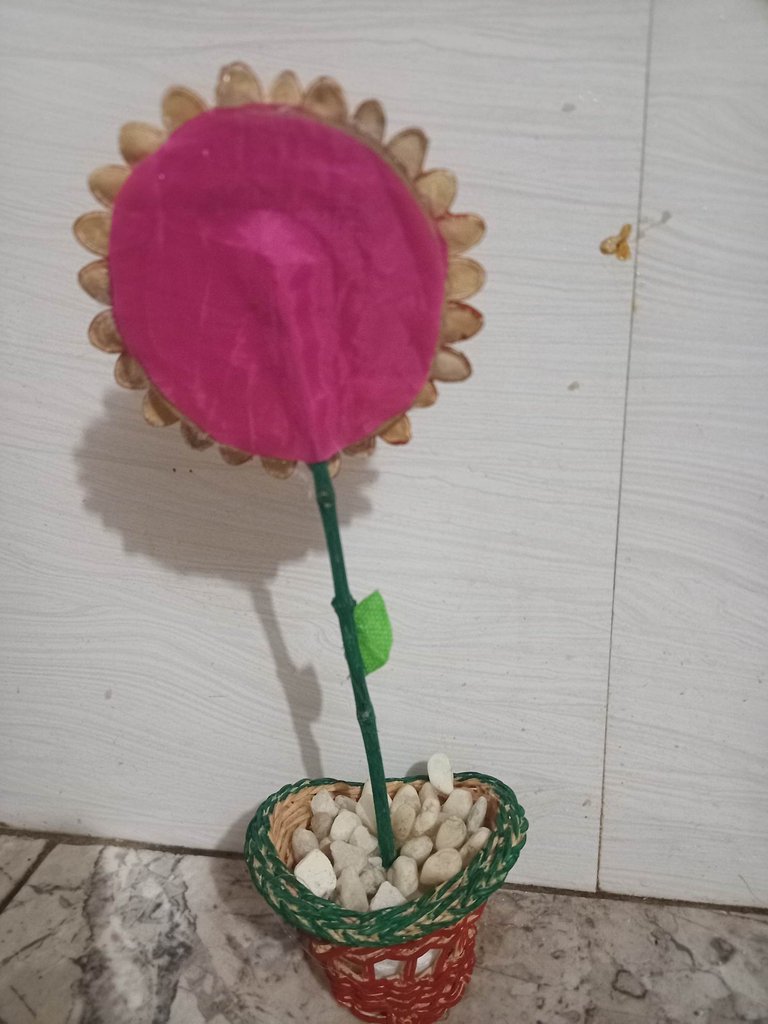
Podemos apreciar esta linda flor hecha con mucho cariño y color para mi niñas bella, una manualidad hecha para su colegio, espero les guste y lo puedan recrear para adornar cualquier rincón de su hogar.
We can see this beautiful flower made with love and color for my beautiful girls, a craft made for her school, I hope you like it and you can recreate it to decorate any corner of your home.

All photos are my property

Hola, hemos elegido este post para ser comisariado por la comunidad MIDI Cuida(Hive). Te invitamos a unirte a nuestra comunidad que estudia las palabras de Dios y también ganar alguna recompensa haciendo nuestras reacciones a ella. Podemos consultar este enlace https://peakd.com/c/hive-182074/trending
Que bueno que te agradara mi post, lo aprecio mucho.
The rewards earned on this comment will go directly to the person sharing the post on Twitter as long as they are registered with @poshtoken. Sign up at https://hiveposh.com.
Manual selection by @cliffagreen.
Gracias por el apoyo.
Congratulations @omaira74! You have completed the following achievement on the Hive blockchain and have been rewarded with new badge(s):
Your next target is to reach 500 comments.
You can view your badges on your board and compare yourself to others in the Ranking
If you no longer want to receive notifications, reply to this comment with the word
STOPTo support your work, I also upvoted your post!
Check out the last post from @hivebuzz:
excelente trabajo Dios te bendiga
Gracias @katiuscarub, exitos en tu dia.
QUE BELLEZA @omaira74
Gracias por pasar por mi post @gaspaljose, que Dios te bendiga grandemente.
Bastante creatividad @omaira74 😃
Saludos @jesusal, gracias por ver mi publicación, si hay que ingeniarselas cuando se trata de manualidades.
Congratulations, your post has been upvoted by @dsc-r2cornell, which is the curating account for @R2cornell's Discord Community.
Enhorabuena, su "post" ha sido "up-voted" por @dsc-r2cornell, que es la "cuenta curating" de la Comunidad de la Discordia de @R2cornell.