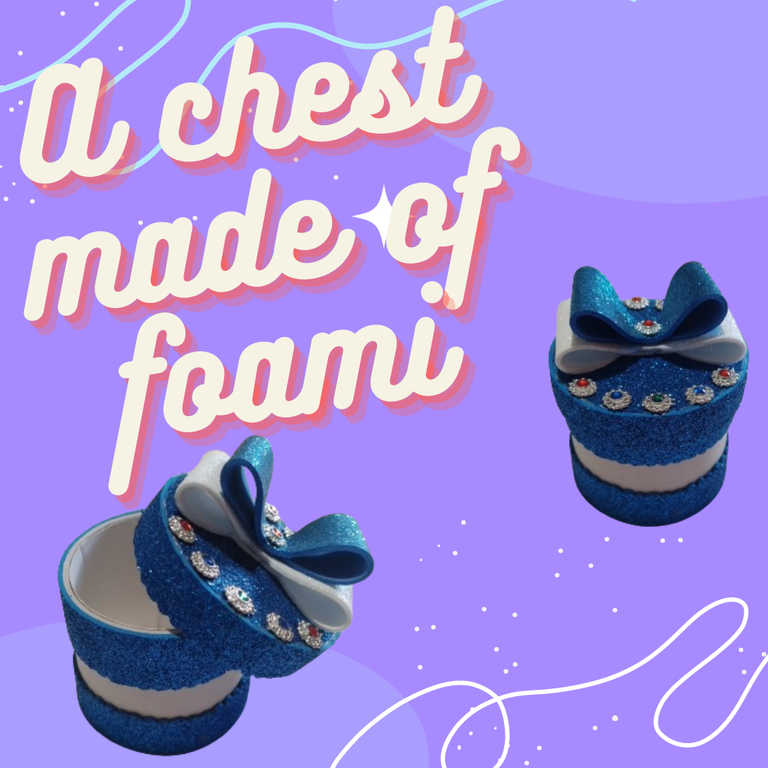
Hello creative friends, a few days ago I was approached by a friend who wanted to give a gift to her mother who was celebrating her birthday and did not know what to give her and asked me to make her a detail, after so much thinking I told her to make a small chest where she could keep some of her clothes and she loved my idea.
Hola amigos creativos, ase unos días se me acerco una amista la cual queria hacerle un regalo a su mamá que cumplia año y no sabia que regalarle y me pidió que le hiciera un detalle, después de tanto pensar le comente de hacerle un cofre pequeño donde pudiera guardar algunas de sus prendas y a ella le encanto mi idea.
Here I will show you how I made it step by step.
A continuación les voy a mostrar como lo elabore con el paso a paso.
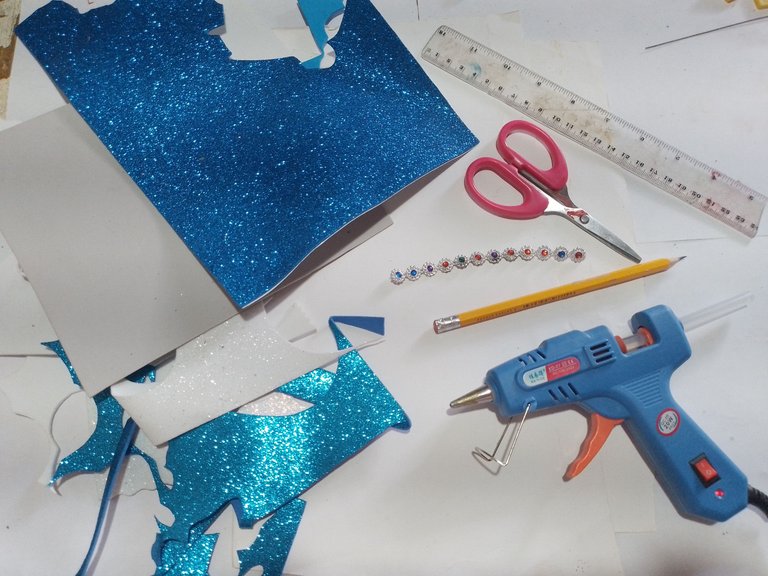
Materials
- Silicone gun
- Silicone bars
- Scissors
- Pencil
- Ruler
- Continuous beads
- Smooth and glossy Foami
- Cardboard
Materiales
- Pistola de silicona
- Barras de silicona
- Tijera
- Lápiz
- Regla
- Perlas continuas
- Foami de brillo y liso
- Cartulina
Paso a paso,Step by step
|
|
|
|
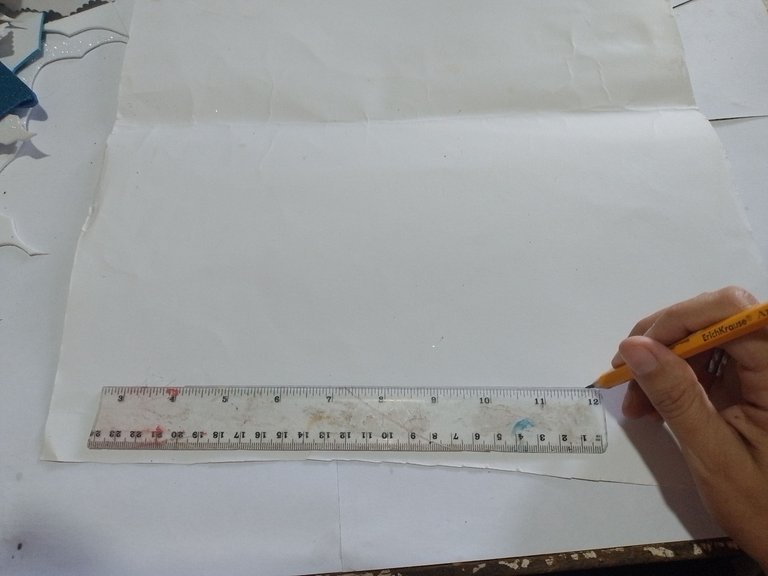
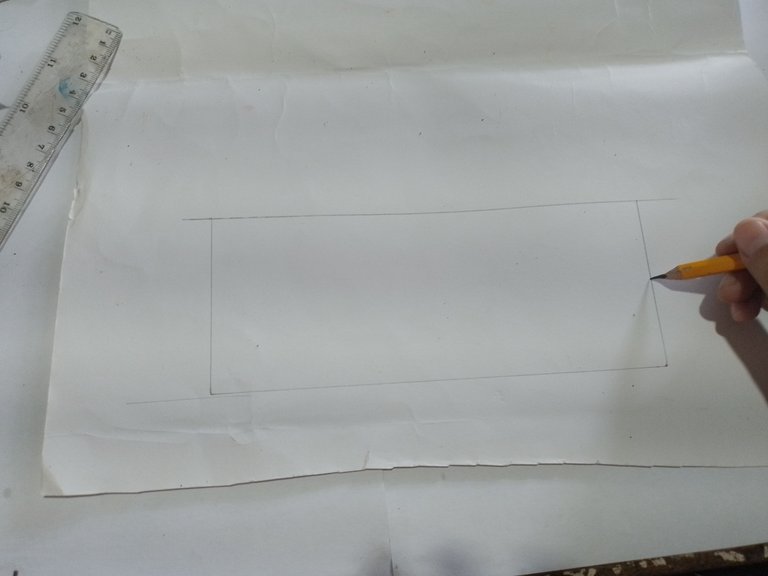
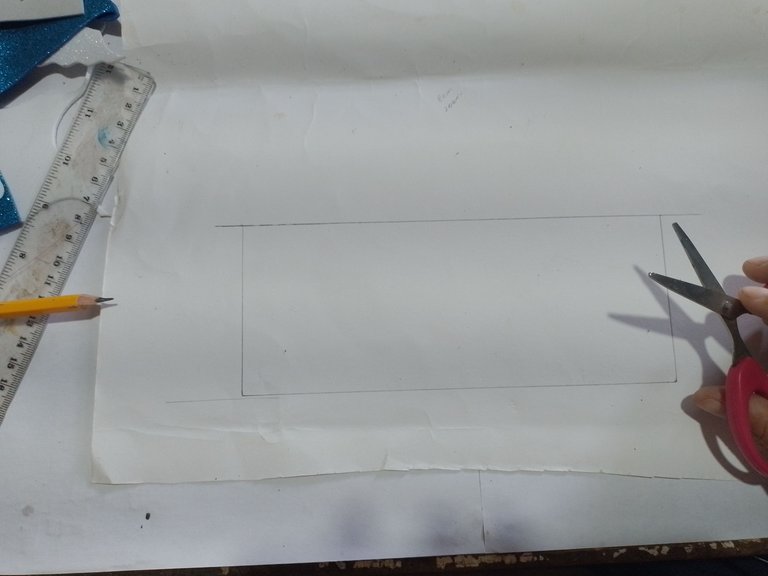
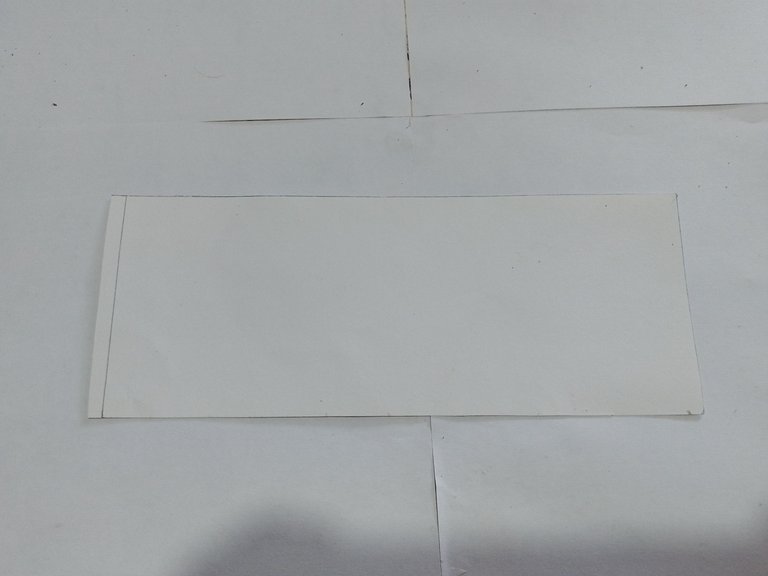
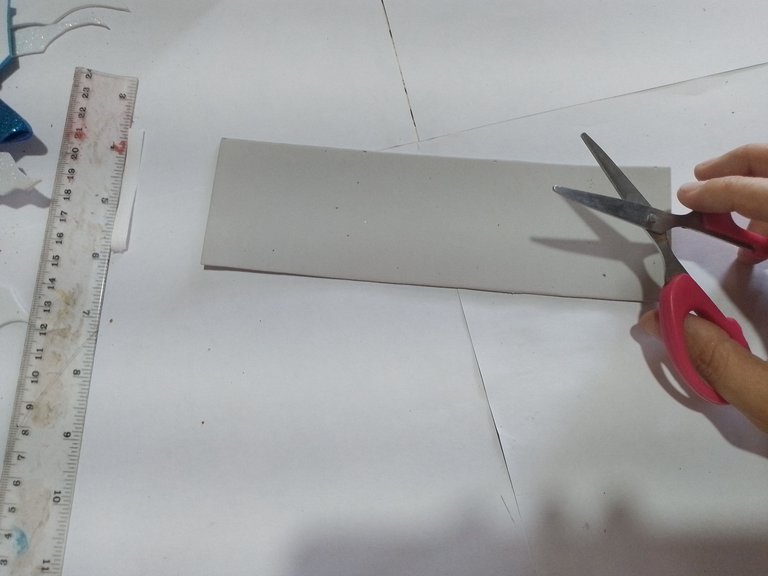
Step 1 - First mark a rectangle 20 cm long by 6 cm wide on a piece of cardboard, and cut it out.
Paso 1- Primeramente en una cartulina marcamos un rectangulo de 20 cm de largo por 6 cm de ancho, y lo recortamos.
|
|
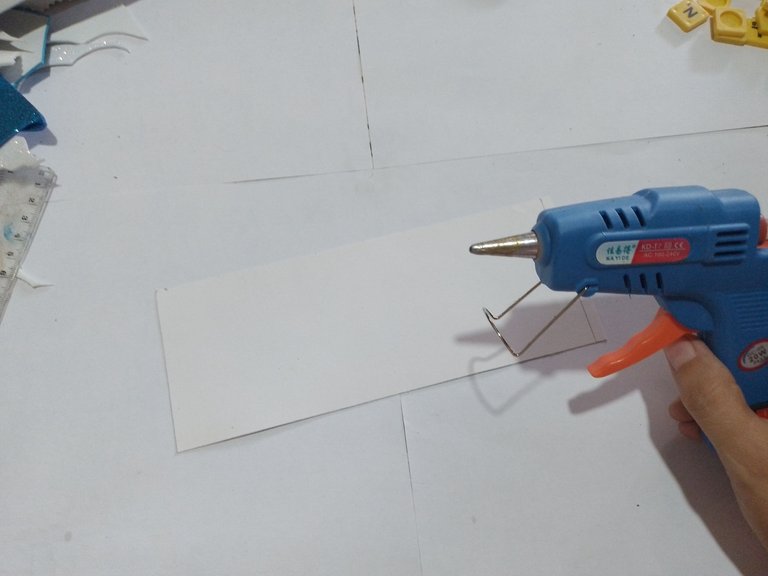
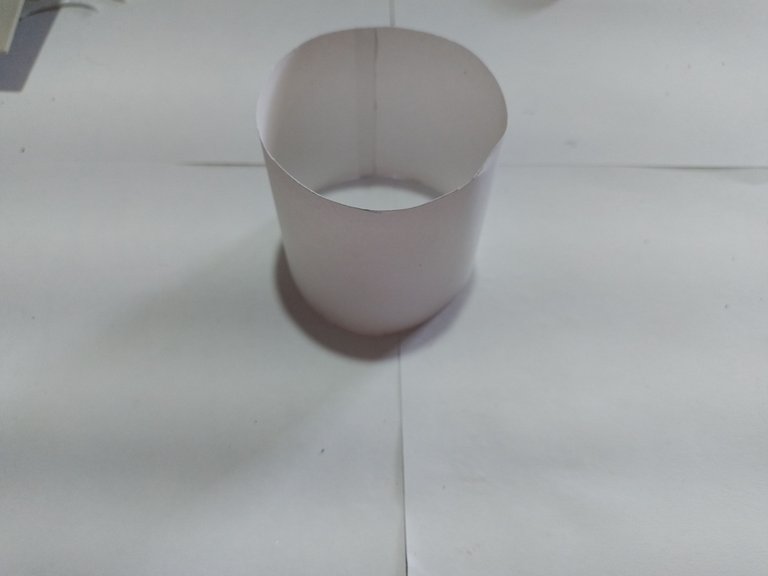
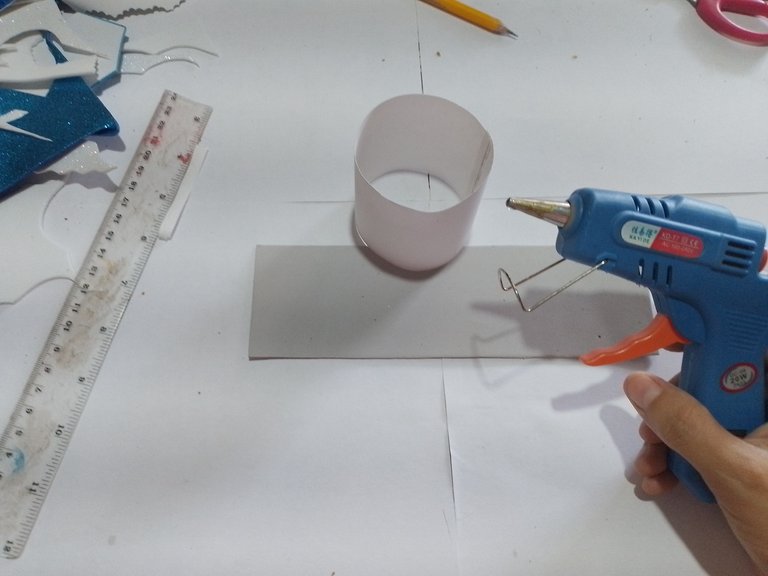
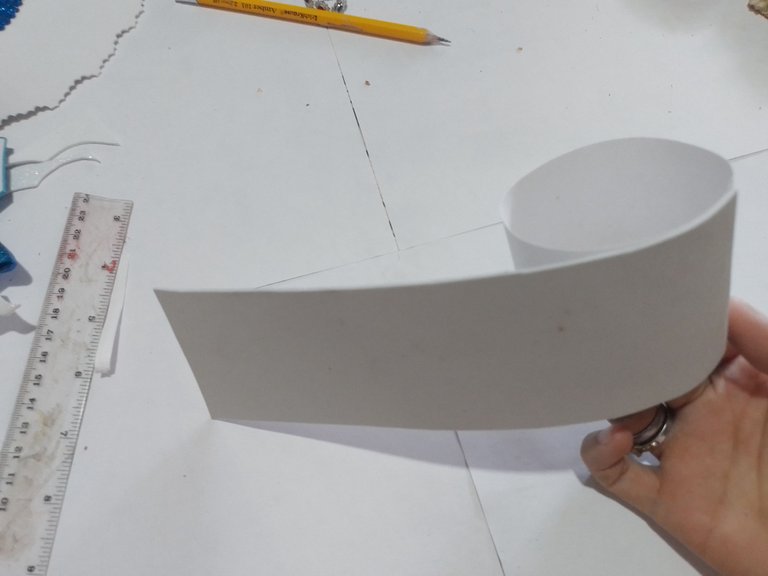
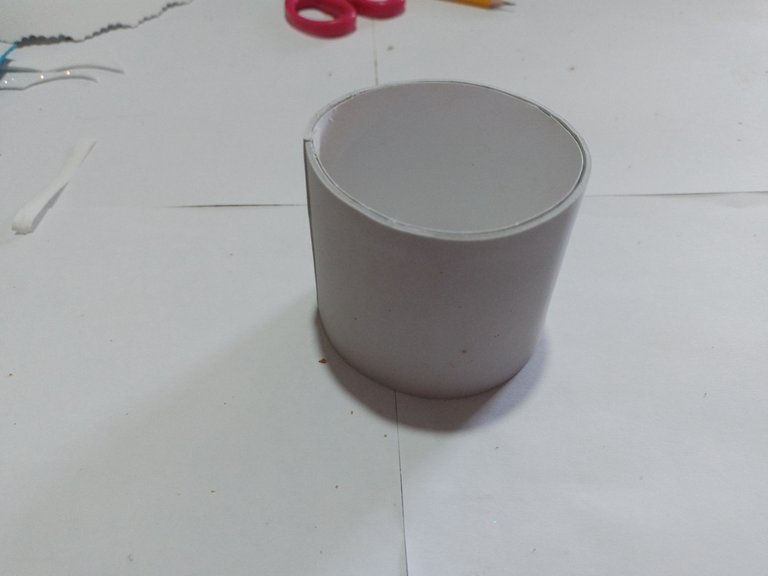
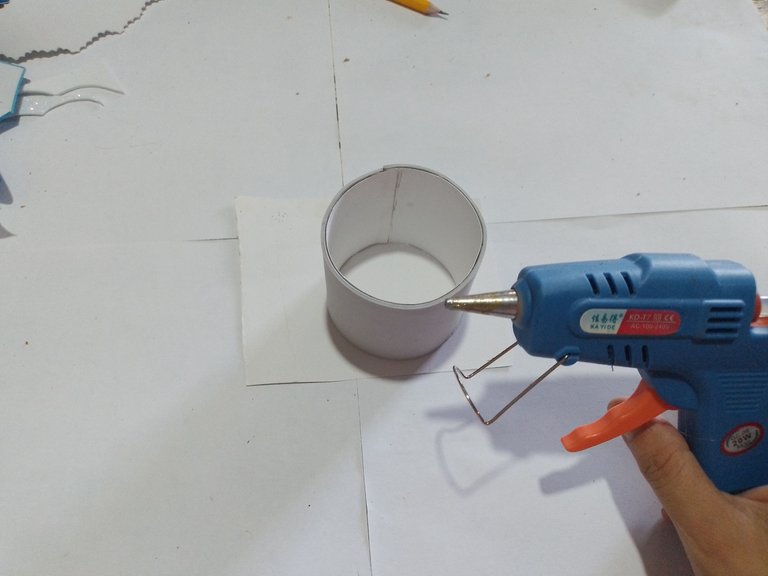
Step 2- Glue the ends of the rectangle forming a cylinder.
Paso 2- Pegamos los estremos del rectangulo formando un cilindro.
|
|
|
|
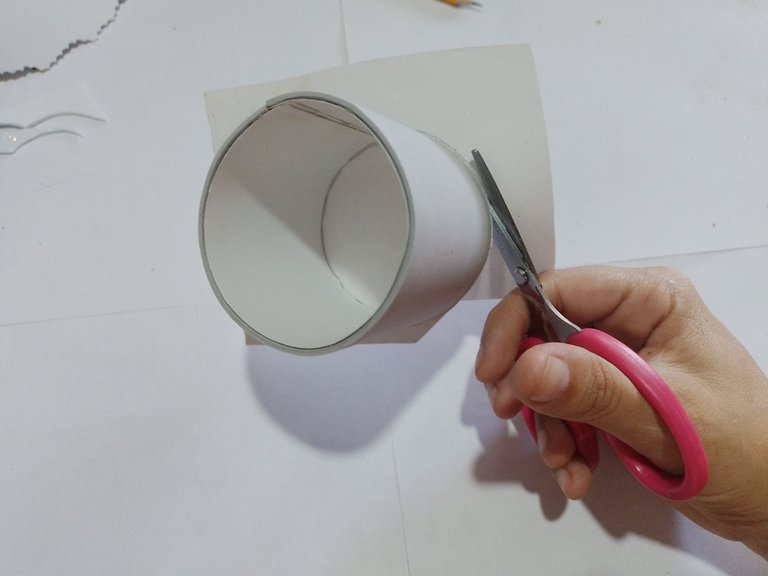
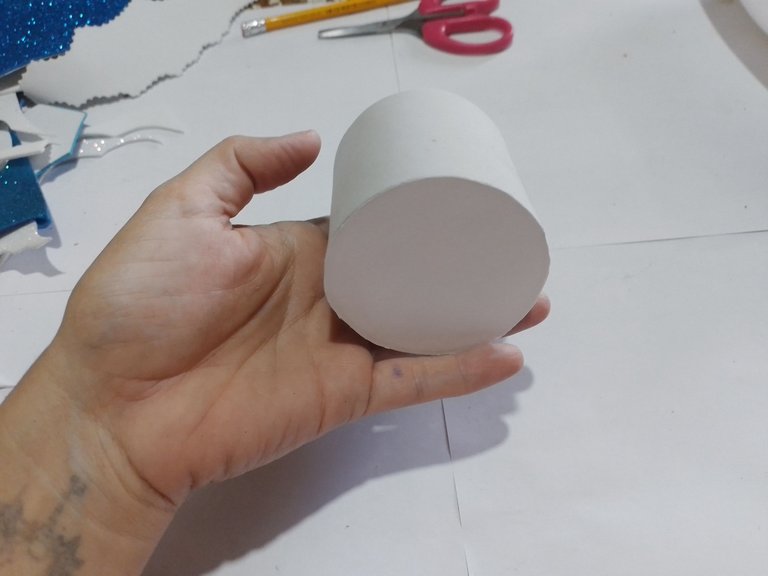
Step 3- Then we mark a rectangle on a plain gray foami to line the outside of the cylinder.
Paso 3- Luego en un foami liso de color gris marcamos un rectangulo para forrar el cilindro por fuera.
|
|
|
Step 4- On another piece of cardboard we glue one end of the cylinder and then cut it out.
Paso 4- En otro trozo de cartulina pegamos un extremo del cilindro y luego lo recortamos.
|

|
|
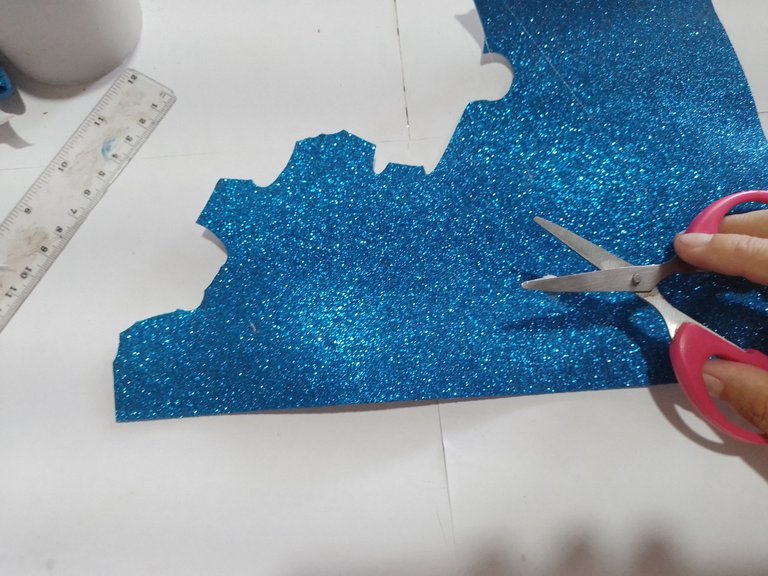
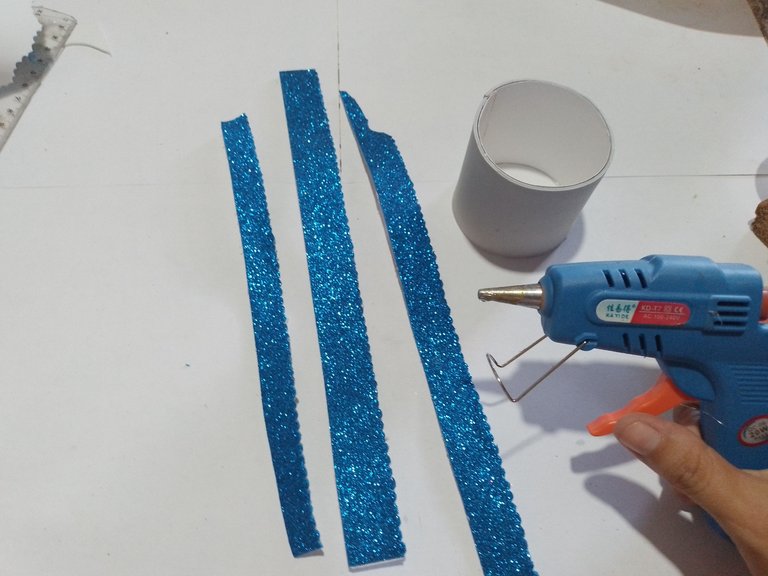
Step 5- In a blue glitter foami we cut three strips with the scissors.
Paso 5- En un foami de brillo de color azul recortamos con la tijera de forma tres tiras.

|
|
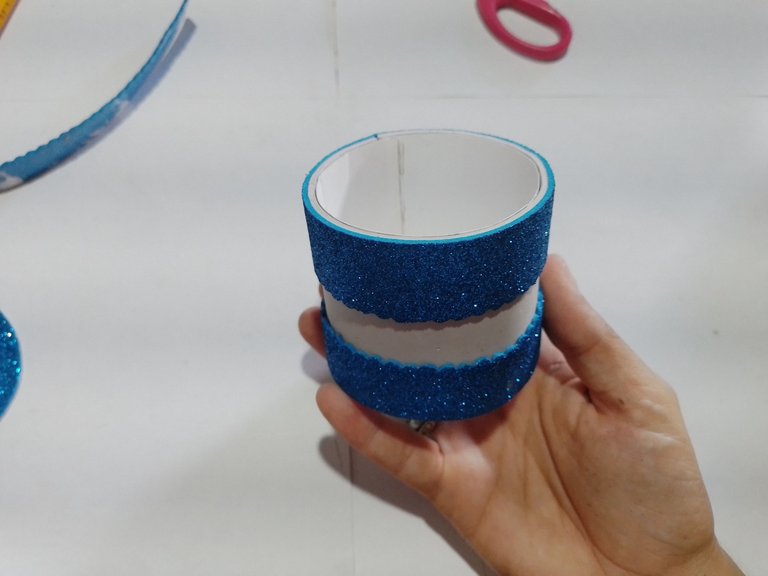
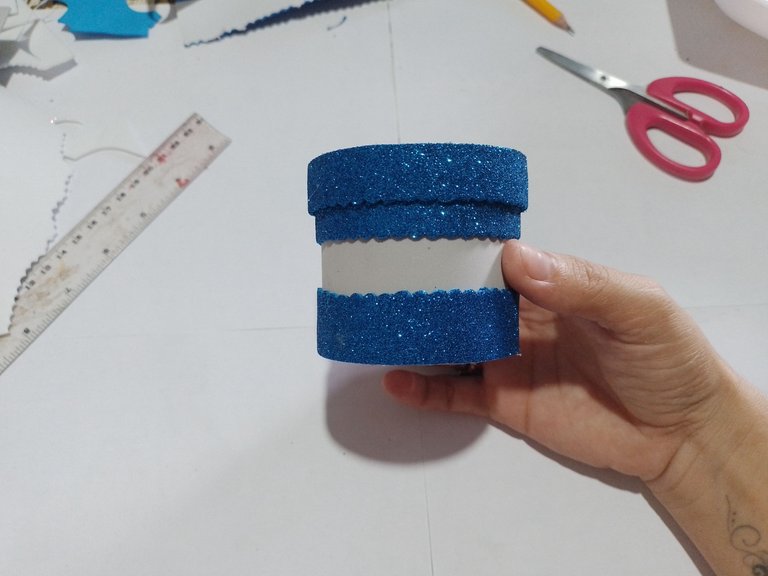
Step 6- Glue a strip of foami on the bottom of the cylinder and another on the top.
Paso 6- Pegamos una tira de foami en la parte de abajo del cilindro y otra en la parte de ariba.
 | 
|
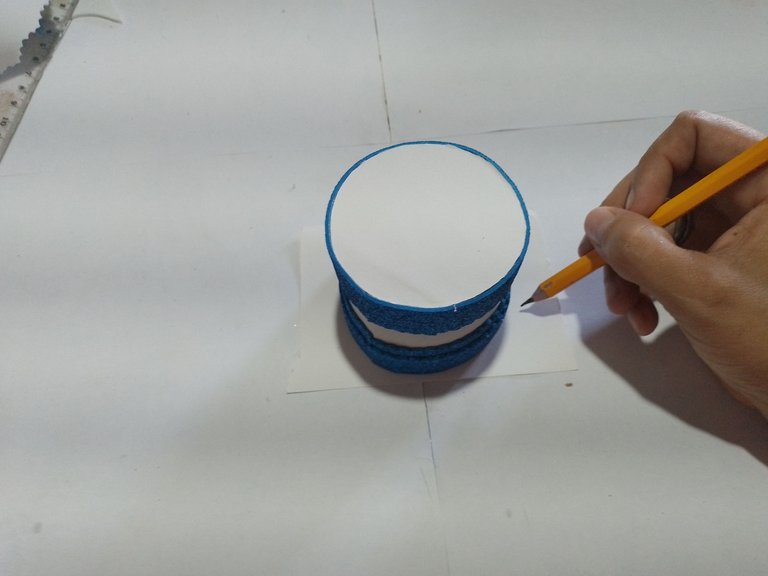
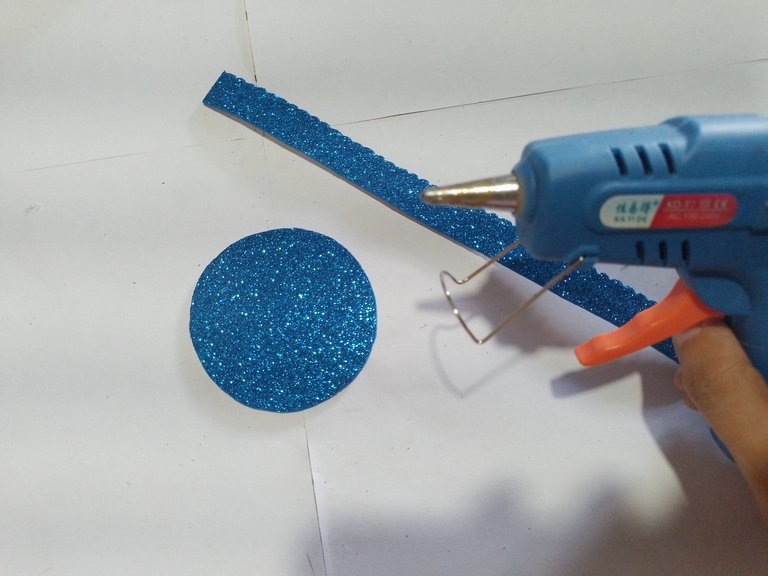
Step 7- On another piece of cardboard we mark a circle with the top of the cylinder and line it with the blue foami.
Paso 7- En otro pedazo de cartulina marcamos un circulo con la parte de ariba del cilindro y lo foramos con el foami azul.
| 
|
|
|
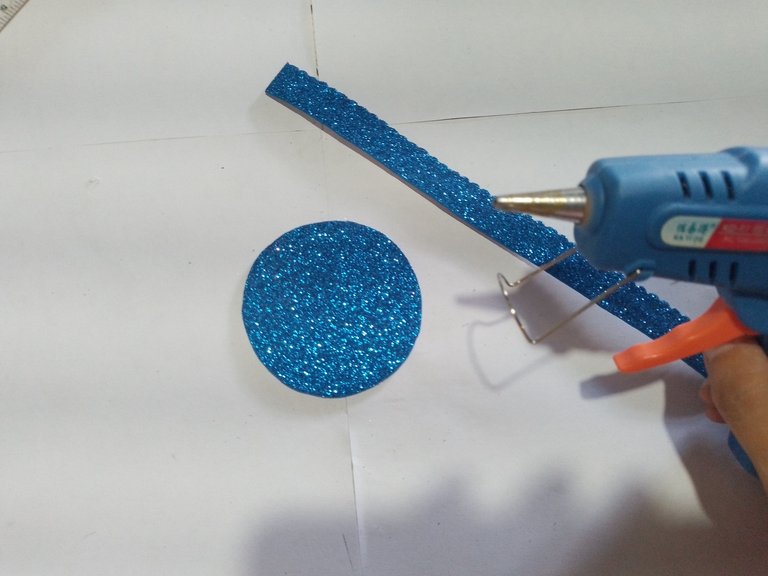
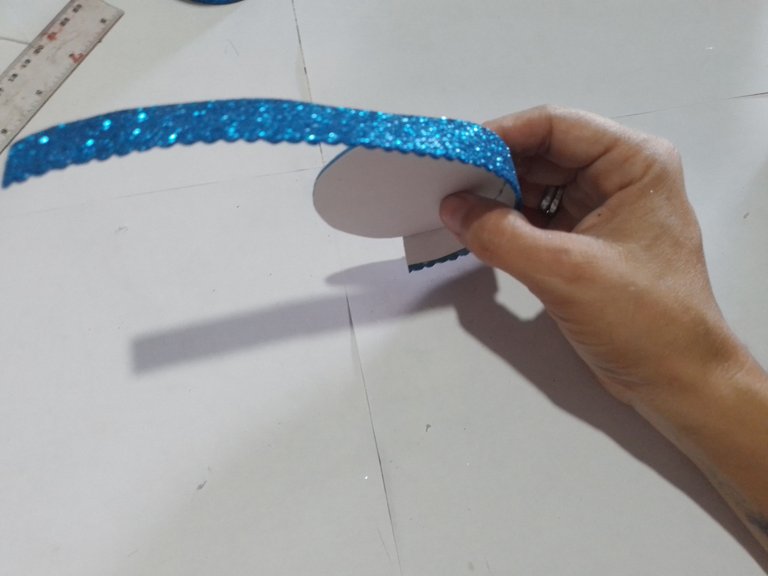
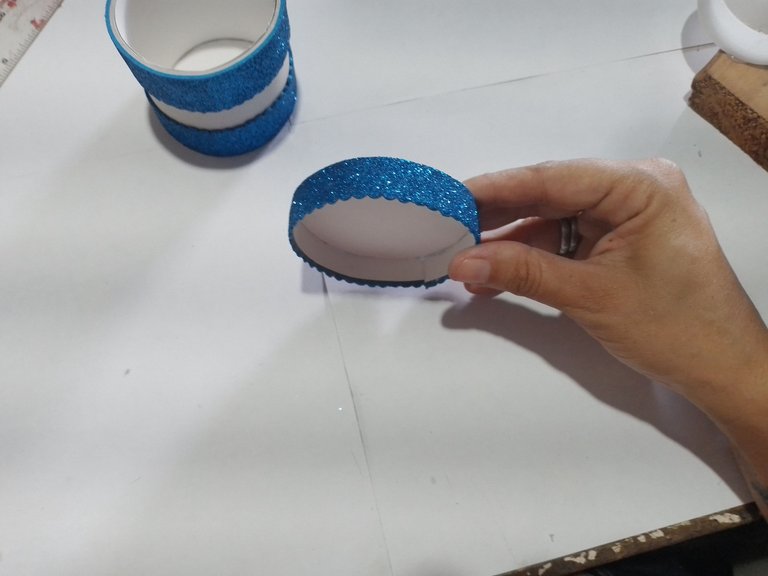
Step 8- The other strip of blue foami that we had cut out, we glue it all around the circle to form the lid of the chest.
Paso 8- La otra tira de foami azul que habíamos recortado la pegamos por todo el contorno del circulo para así formar la tapa del cofre.
|
|
|
|
|
|
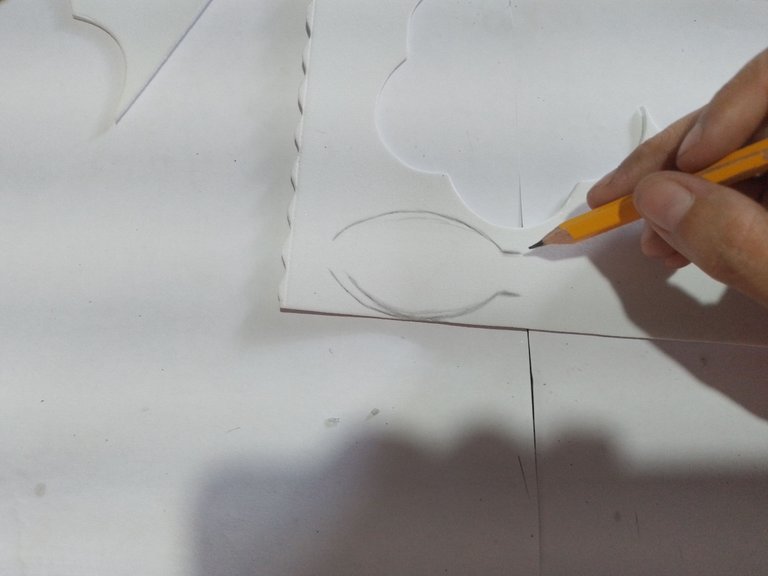
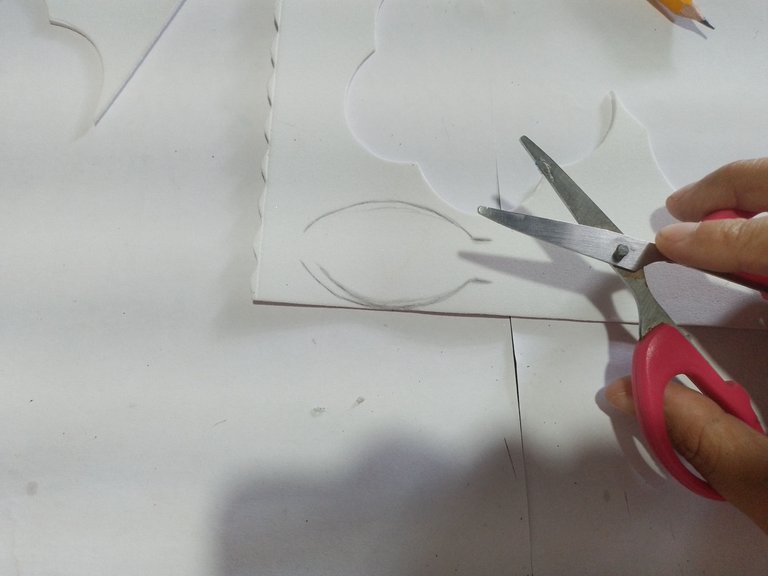
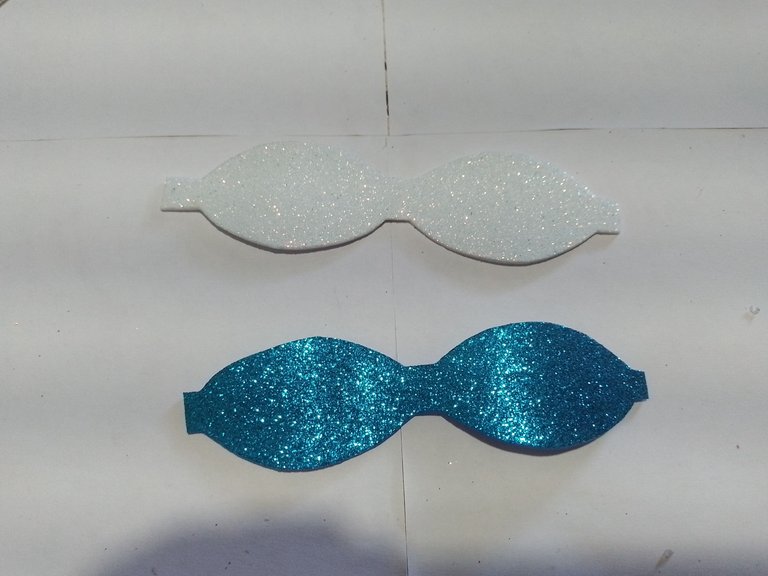
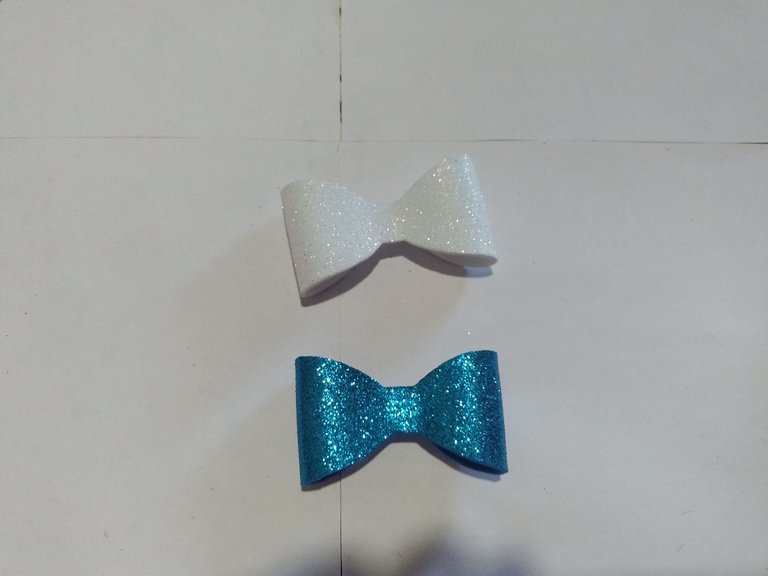
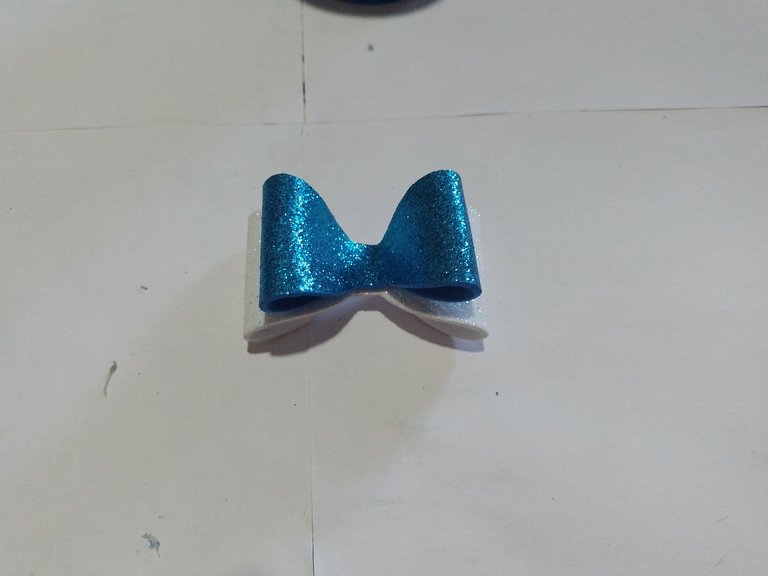
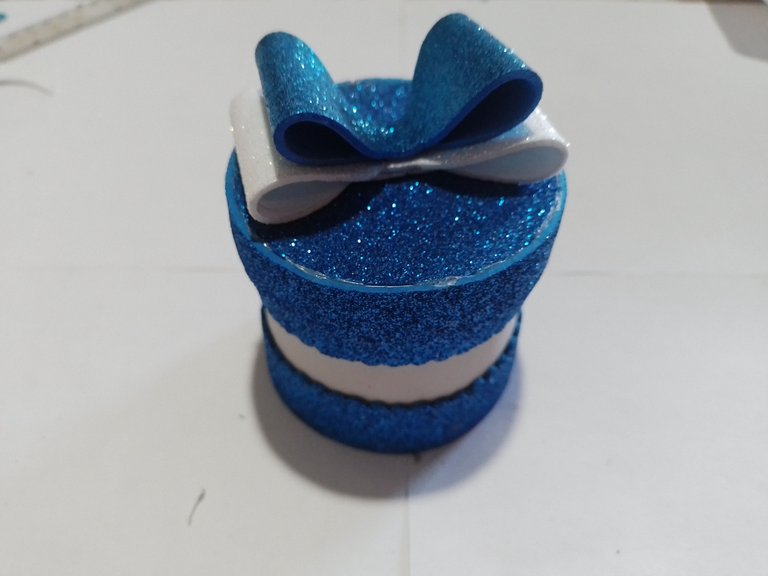
Step 9- On a piece of blue and white foami we mark a ribbon and glue the two little pieces together, and then we glue it on top of the lid.
Paso 9- En un pedazo de foami asul y blanco marcamos un lazo y lo pegamos los dos lasitos juntos, y luego este lo pegamos encima de la tapa.
|

|
|
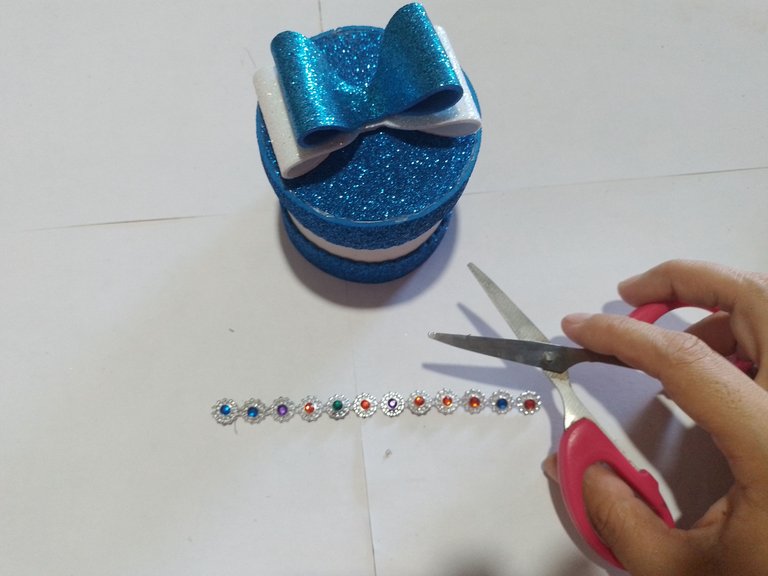
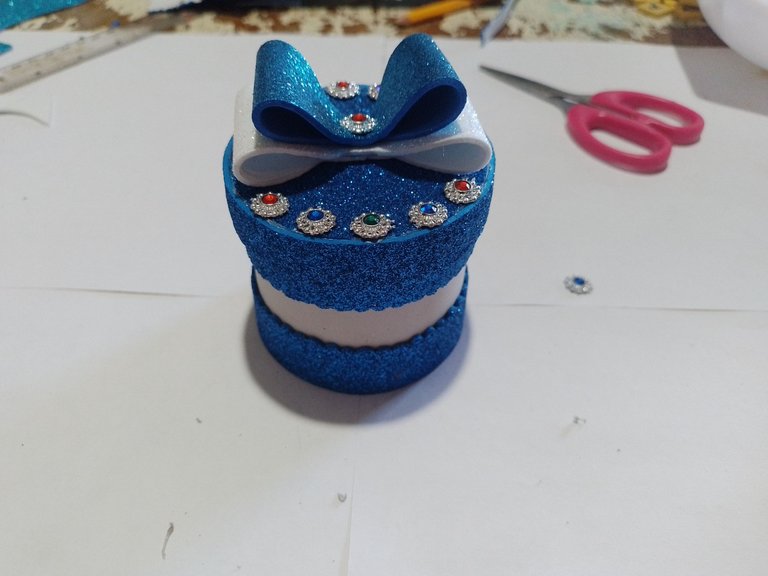
Step 10- Cut out the pearls to separate them and glue them on the lid to decorate it.
Paso 10- Recortamos las perlas para separarlas y las pegamos en la tapa para así adornarla.
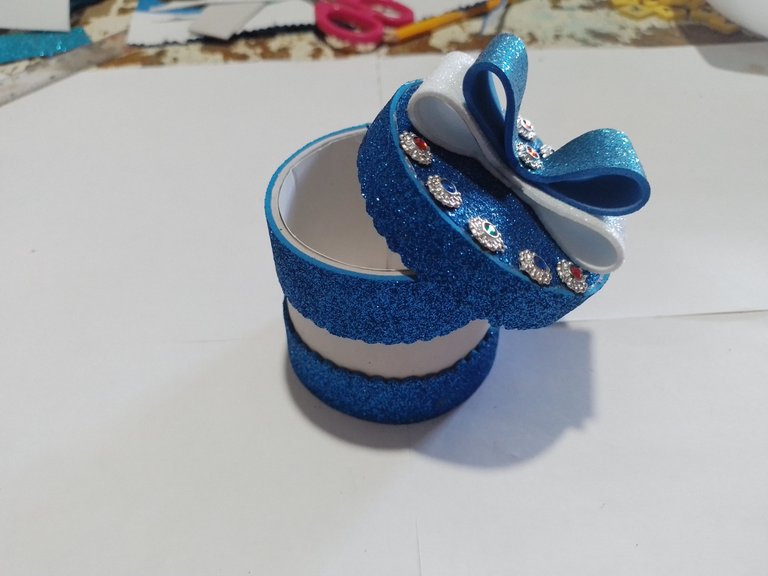
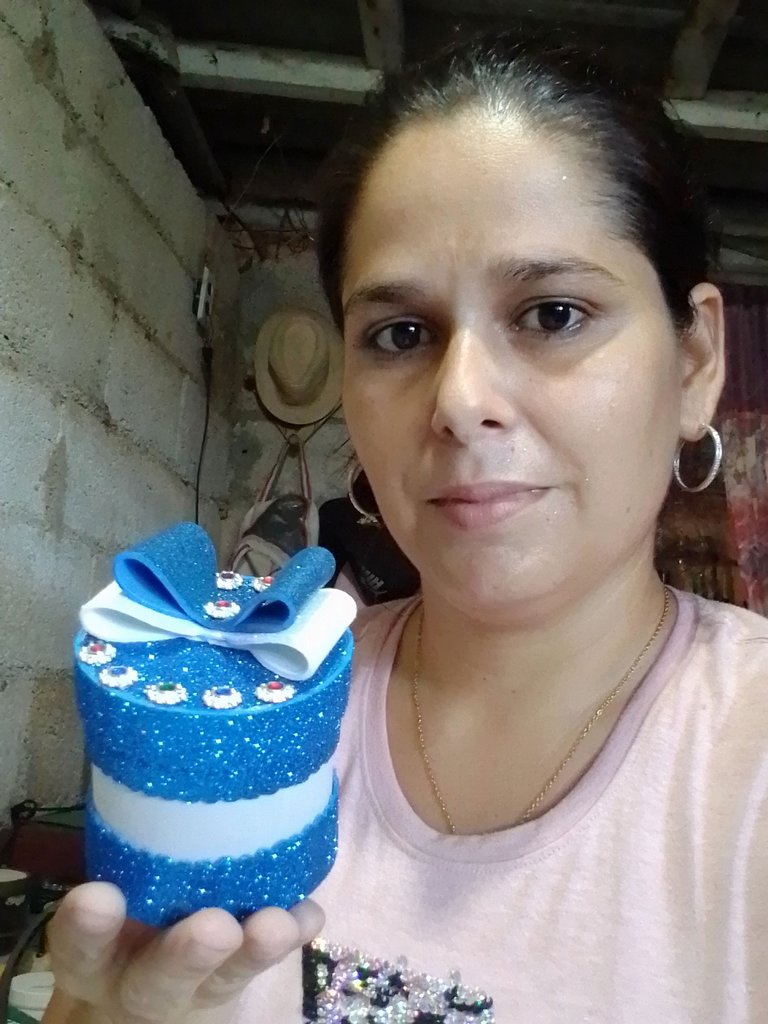

And so we got the foami chest made for a special gift I hope you liked the tutorial.
Y así nos quedo el cofre hecho de foami para un regalo especial espero les aya gustado el tutorial.
Cover made in Canva
Translated by DeepL
Que bello para guardar joyas 😍
Gracias
I must say this is beautiful and classic as well, it can serve as all purpose box.
I should try one out soon as well.
Well done over there ma'am
!diy
Gracias
Congratulations @norychacon! You have completed the following achievement on the Hive blockchain And have been rewarded with New badge(s)
Your next target is to reach 20 posts.
You can view your badges on your board and compare yourself to others in the Ranking
If you no longer want to receive notifications, reply to this comment with the word
STOPGracias
¡Esto es impresionante @norychacon! ¡Ya has hecho 10 publicaciones en Hive! ¡Muy bien!
Notamos que extrañamos su apoyo a nuestra propuesta. Ayúdenos a continuar brindando gamificación, entretenimiento y diversión a la cadena de bloques de Hive. ¡Consulte nuestra propuesta de financiamiento y considere apoyarnos!
Todo lo que necesita hacer es hacer clic en el botón "soporte" en esta página: https://peakd.com/proposals/248.
Gracias!
Gracias
¡Excelente @norychacon! Ver tus primeros 10 posts en Hive es emocionante. ¡No te detengas!
Notamos que extrañamos su apoyo a nuestra propuesta. Ayúdenos a continuar brindando gamificación, entretenimiento y diversión a la cadena de bloques de Hive. ¡Consulte nuestra propuesta de financiamiento y considere apoyarnos!
Todo lo que necesita hacer es hacer clic en el botón "soporte" en esta página: https://peakd.com/proposals/248.
Gracias!
You can query your personal balance by
!DIYSTATSGracias
!discovery 45
This post was shared and voted inside the discord by the curators team of discovery-it
Join our Community and follow our Curation Trail
Discovery-it is also a Witness, vote for us here
Delegate to us for passive income. Check our 80% fee-back Program
Gracias
wow that looks beautiful,you are amazing keep up the good work, have a great day and week ahead.
Gracias
Wow! This is so beautiful.
Gracias
Es muy lindo y un bonito detalle para la mama de tu amistad, estoy segura que le fascinara 😍 alli podra guardar muchas cositas y asi evitar que se pierdan, como suele sucederme jaja