English version
Hey people! Hope you are having a nice week. Here a new post.😄
Some time ago I commented that I was making some paintings with which I intended to decorate a wall in my room (minimalist-paintings), well, that project is still going on. After seeing some ideas on Pinterest I was inspired to paint with a technique I hadn't previously put into practice and thus add another piece of art for this wall.
The technique I'm talking about is painting on acetate, that is, those transparent sheets that come in some school product packaging or that you can get in stationery stores. In my case, I refused a sheet of this material from a pack of paints that I bought some time ago.
The trick of this technique is painting on layers. Well yes, when we paint on a normal surface like paper, cardboard or other, we usually give a couple of layers of paint so that it covers the surface very well, but when it comes to paint on acetate or any other transparent surface, we must paint upside down (I will explain about it) and if you are not used to it can be a bit complicated.
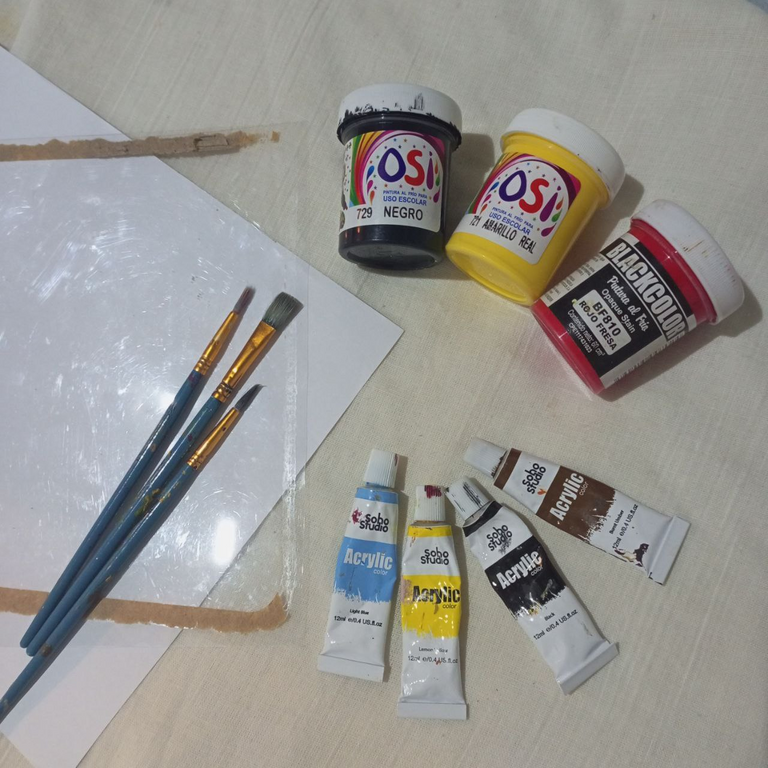
Materials:
-Reusable acetate sheet.
-Acrylic paints
-Brushes
Process:
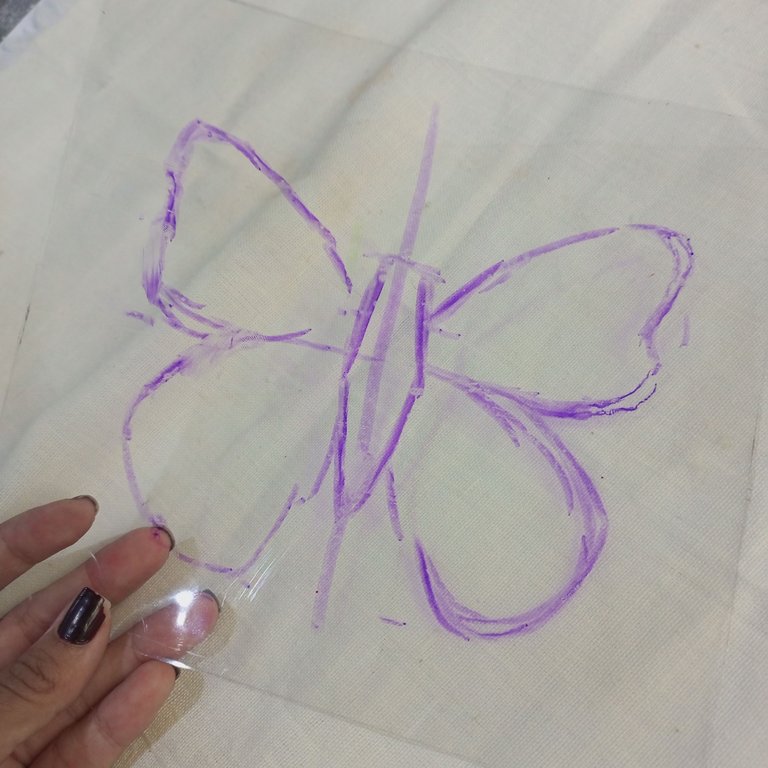
The first thing I did was to clean the acetate sheet very well, taking care that it had no fingerprint stains or dirt of any other kind. Since it is a transparent surface, ideally it should be as clean as possible before starting to paint. Once I did that I took a water-based marker and more or less traced the shape of the object I wanted to paint, in this case, a butterfly. As you can see, I made some lines to try to make its structure symmetrical.
A better tip than what I did**, is to draw on a white sheet the figure and then put this sheet under the acetate, it will be easier and you won't have to clean the ink afterwards.
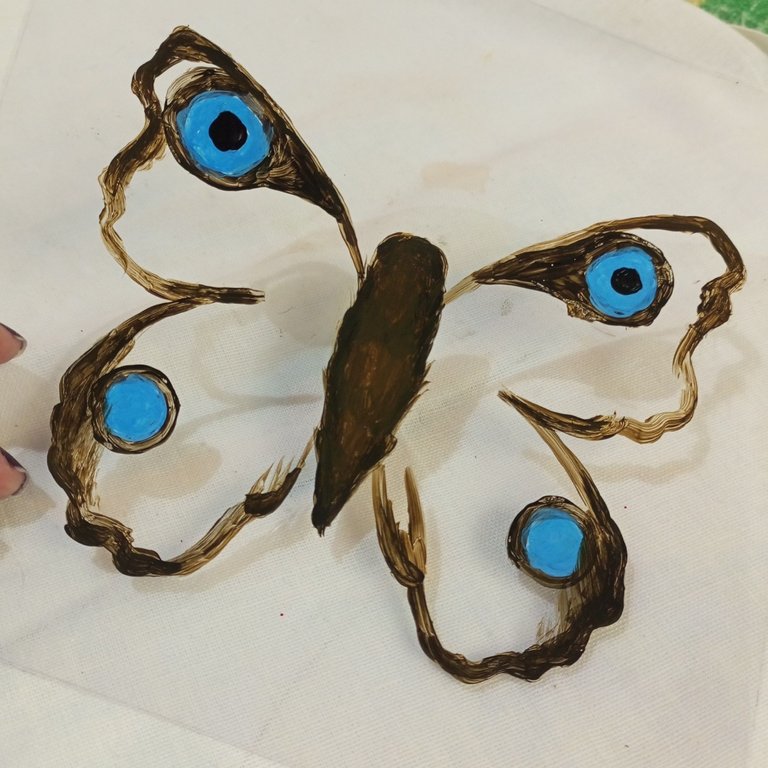
I forgot to take a picture of it before but, after marking the guide lines, I flipped the acetate over and outlined with brown acrylic paint the entire outline of the drawing. Outlining the contours is something we would do as a last step, but since we are painting upside down, that and the details in front (like the blue dots) are the first things to paint. I advise you to place a sheet of paper over the acetate or paint on a light surface so you can see better what you are doing.
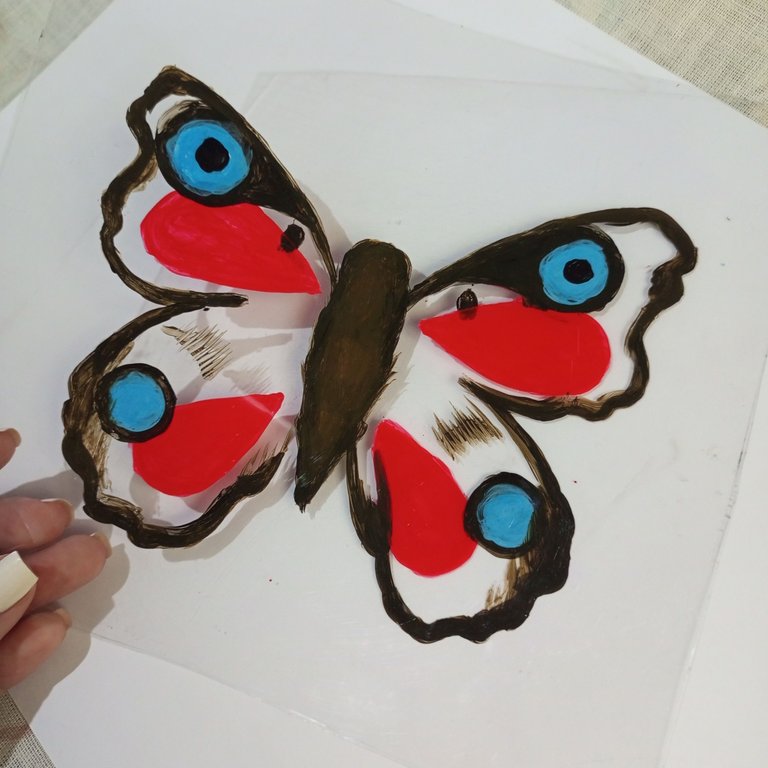
Little by little the drawing is taking shape... I won't lie to you, it was strange to paint something that I would normally do as a last step, but it's fun at the same time.
Acrylic paint on this material leaves gaps so in order for them not to show I had to paint twice, with a interval of 10 minutes for the first coat to dry well.
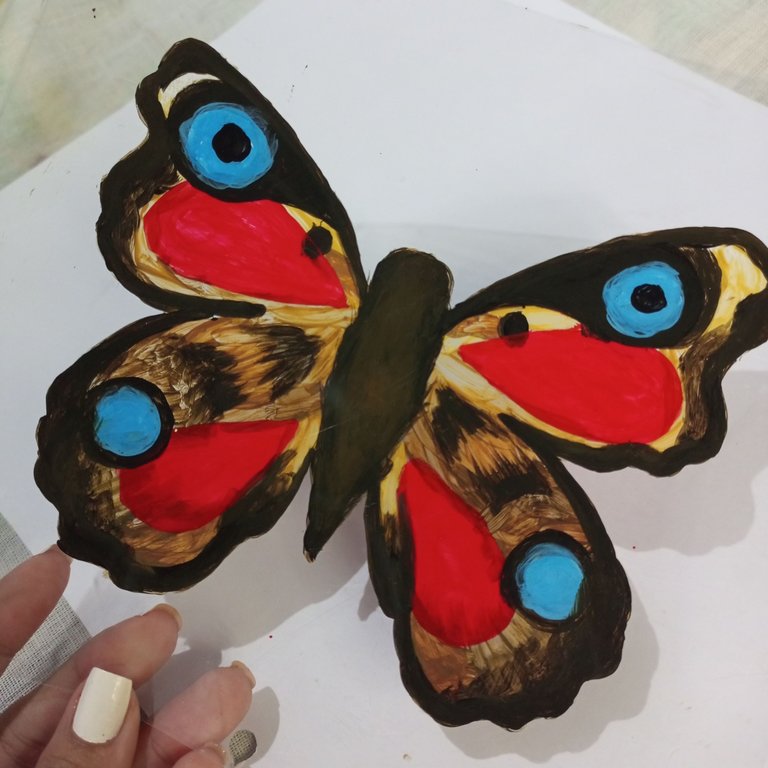
As the paint dried I could see the colors become more vivid and I felt as if my butterfly was coming to life. It was a little tricky to paint some areas as I wasn't really seeing where I was painting, so I had to flip the sheet over to see which space to paint and which didn't need any more coats of paint.
A couple of coats of yellow paint for the background and add the antennae and this would be more than done....
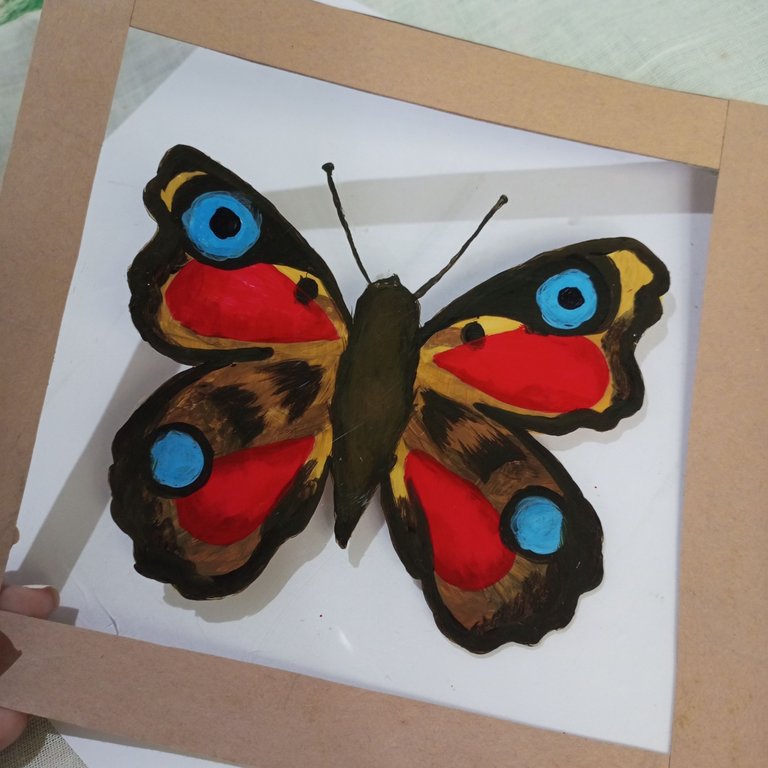
It occurred to me that adding a frame to the sheet would make this piece look more presentable, plus, it worked to mask the masking tape I added to each corner of the acetate to stick it to the wall.
Final result:
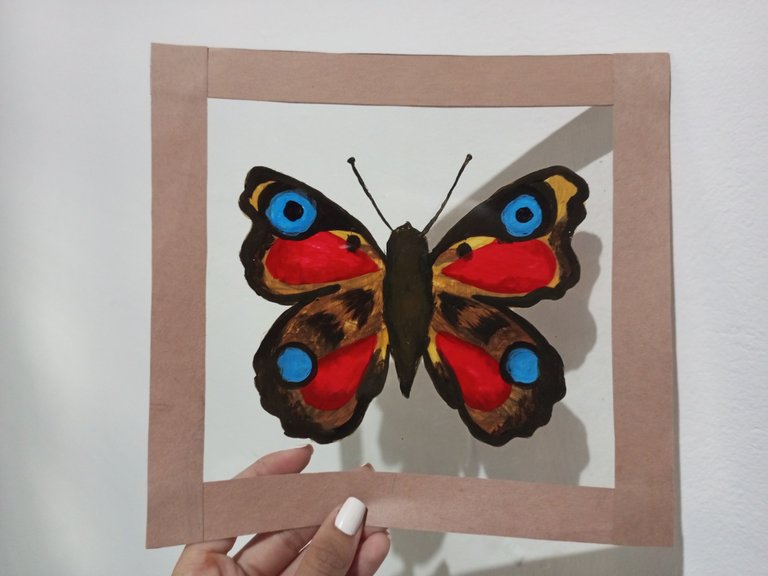
And this is what it finally looks like. What I love is that since it is a transparent surface, there is an illusion that the drawing floats. Isn't it interesting?
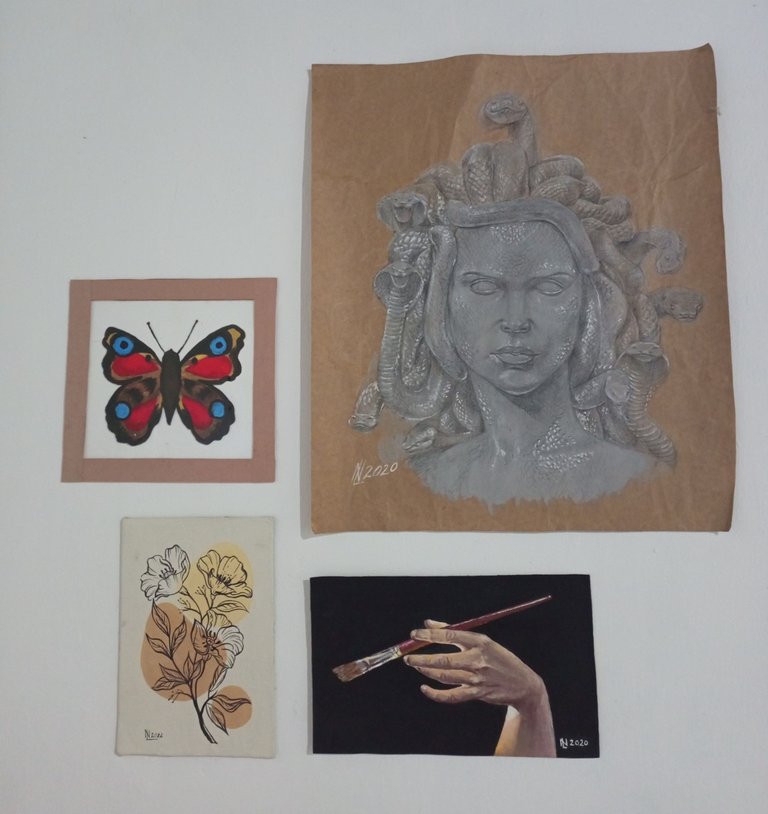
This is what my wall is looking like. I want to add at least three or four more drawings and paintings with that same neutral color palette.
That's all for today, I hope you enjoyed my post and liked this little painting.
See you with more projects very soon.🌟
Source of inspiration:
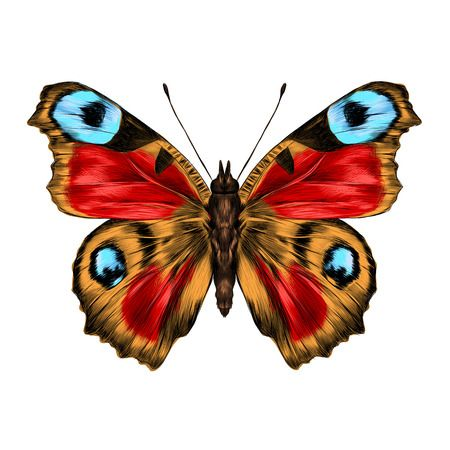

Versión en Español
¡Hey gente! Espero que tengan una linda semana. Aquí un nuevo post.😄
Hace algún tiempo comenté que estaba haciendo algunas pinturas con las que tenía la intención de decorar una pared de mi habitación (pinturas minimalistas), pues bien, ese proyecto sigue vigente. Después de haber visto algunas ideas en Pinterest me inspiré para pintar con una técnica que anteriormente no había puesto en práctica y así añadir otra pieza de arte para esta pared.
La técnica de la que les hablo es la de pintar sobre acetato, es decir, esas láminas transparentes que vienen en algunos empaques de productos escolares o que puedes conseguir en papelerías. En mi caso, rehusé una láminas de este material de un paquete de pinturas que compré hace tiempo.
El truco de esta técnica es pintar sobre capas. Pues sí, cuando pintamos en una superficie normal como papel, cartón u otro, generalmente damos un par de capas de pinturas para que esta cubra la superficie muy bien, pero cuando se trata de pintar sobre acetato o cualquier otra superficie transparente, debemos pintar al revés (ya les explicaré sobre ello) y si no estás acostumbrado a ello puede ser un poco complicado.

Materiales:
-Lámina de acetato rehusable
-Pinturas acrílicas
-Pinceles
Proceso:

Lo primero que hice fue limpiar muy bien la lámina de acetato, cuidando que no tuviera manchas de huellas dactilares o suciedad de cualquier otro tipo. Al tratarse de una superficie transparente, lo ideal es que esté lo más limpia posible antes de empezar a pintar. Una vez hice eso tomé un marcador de base de agua y tracé más o menos la figura del objeto que quería pintar, en este caso, una mariposa. Como ven, hice algunas líneas para tratar que su estructura fuera simétrica.
Un tip mejor que lo que yo hice, es dibujar en una hoja blanca la figura y luego poner esta hoja bajo el acetato, será más fácil y no tendrán que limpiar la tinta después.

Olvidé tomarle foto antes pero, después de marcar las líneas guía, volteé el acetato y delineé con pintura acrílica marrón todo el contorno del dibujo. Delinear los contornos es algo que haríamos como último paso, pero ya que pintamos al revés, eso y los detalles que están al frente (como los puntos azules) son lo primero que debemos pintar. Yo les aconsejo colocar una hoja de papel sobre el acetato o pintar sobre alguna superficie clara para poder ver mejor qué están haciendo.

Poco a poco el dibujo va a tomando forma... No les mentiré, fue extraño pintar algo que normalmente haría como último paso, pero resulta divertido a la vez.
La pintura acrílica sobre este material deja huecos así que para que no se notaran tuve que pintar dos veces, con un intervalo de 10 minutos para que la primera capa se secara bien.

Conforme se secaba la pintura podía ver como los colores se volvían más vivos y sentía como si mi mariposa cobraba vida. Fue un poco complicado pintar algunas zonas ya que no estaba viendo realmente dónde pintaba, por lo que debía voltear la lámina para saber qué espacio pintar y cuál ya no requería de más capas de pintura.
Un par de capas de pintura amarilla para el fondo y agregar las antenas y esto estaría más que listo...

Se me ocurrió que añadir un marco a la lámina haría que esta pieza se viera más presentable, además, funcionó para enmascarar la cinta adhesiva que añadí en cada esquina del acetato para pegarlo a la pared.
Resultado final:

Y es así como finalmente se ve. Lo que me encanta es que al ser una superficie transparente, hay una ilusión de que el dibujo flota ¿No resulta interesante?

Así es como está quedando mi pared. Deseo añadir al menos tres o cuatro dibujos y pinturas más con esa misma paleta de colores neutros.
Es todo por hoy, espero que hayan disfrutado mi post y les haya gustado esta pequeña pintura.
Nos vemos con más proyectos muy pronto.🌟
Fuente de inspiración:

Genial, te quedó muy bella.
¡Muchas gracias!
me gusta ver cosas nuevas en la pintura y esta es una de ellas. Gracias por compartir.
Siempre es bueno salir un poco de tu zona de confort y explorar nuevas maneras de hacer arte.☺️
Thank you for sharing this amazing post on HIVE!
Your content got selected by our fellow curator @rezoanulvibes & you just received a little thank you via an upvote from our non-profit curation initiative!
You will be featured in one of our recurring curation compilations and on our pinterest boards! Both are aiming to offer you a stage to widen your audience within and outside of the DIY scene of hive.
Join the official DIYHub community on HIVE and show us more of your amazing work and feel free to connect with us and other DIYers via our discord server: https://discord.gg/mY5uCfQ !
If you want to support our goal to motivate other DIY/art/music/homesteading/... creators just delegate to us and earn 100% of your curation rewards!
Stay creative & hive on!