Hola, holaaa! Saludos como se encuentran todos iniciando el fin de semana? Por aquí volvimos a vivir las fallas del internet, ya dejó de ser novedad para convertirse en una cotidianidad pero bueno hay que aprender a convivir con todas las incomodidades que nos encontramos ya sea de la naturaleza,de la humanidad sin dejarnos achicopalar pues por aquí dicen pa'lante es pa'lla.
Cómo siempre les comento la efemérides del día y es que hoy celebramos El Día Internacional De La Juventud y por supuesto en lo que me toca no lo puedo dejar pasar por alto.
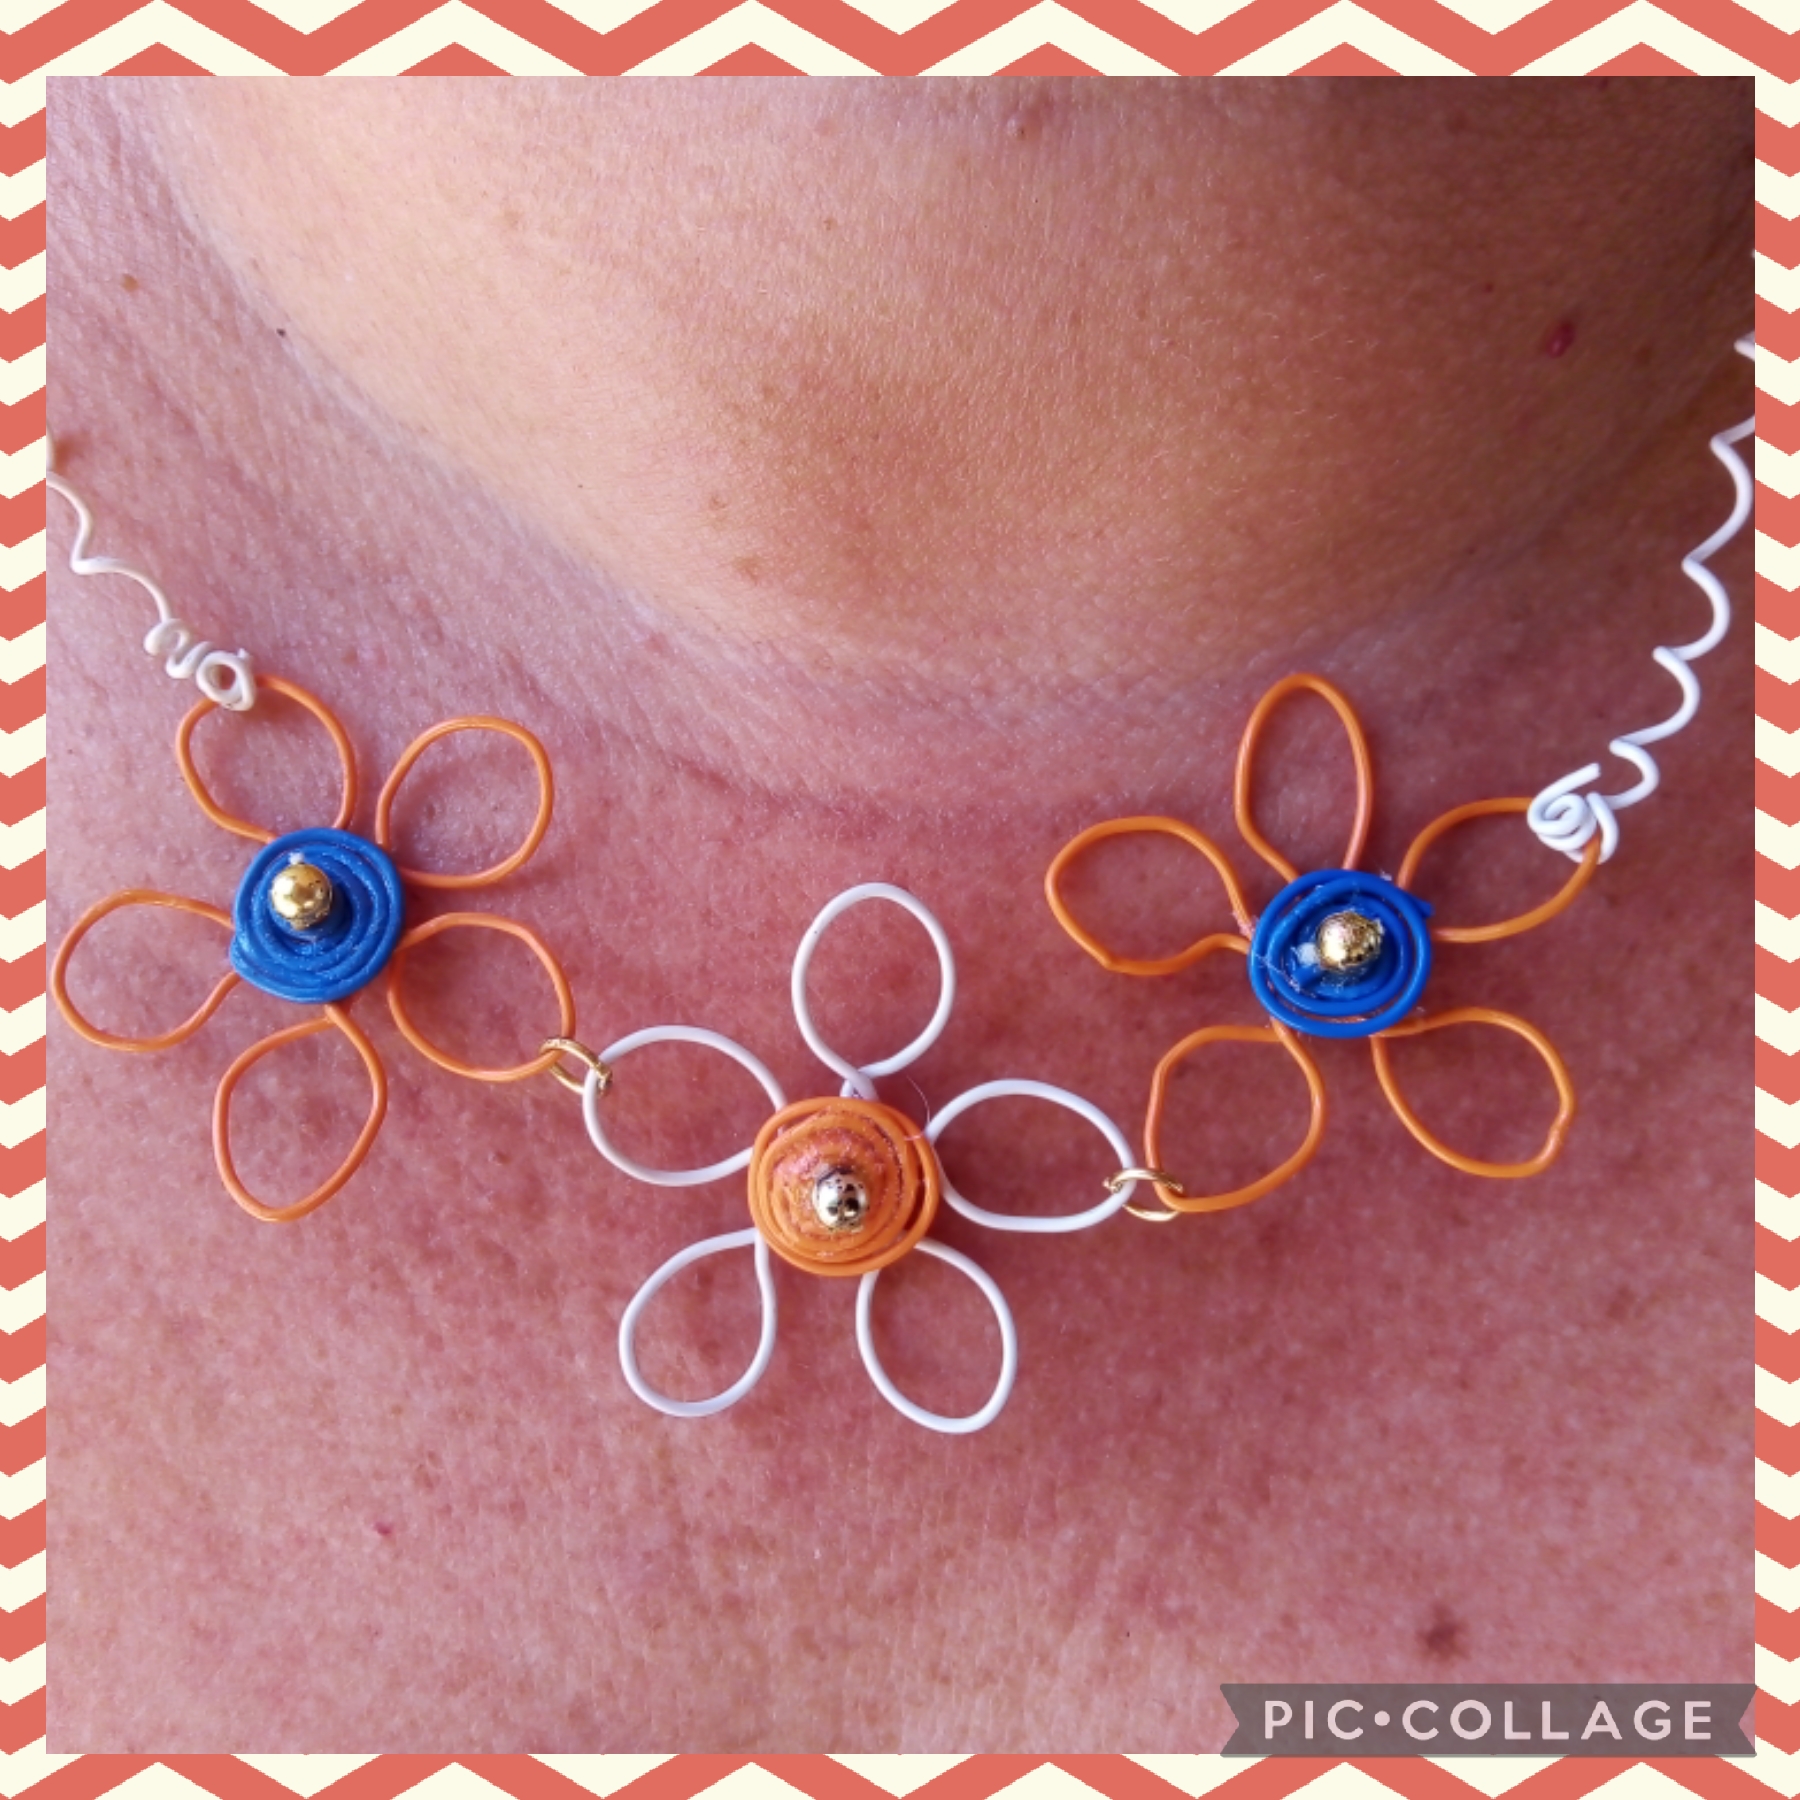
Les cuento que mi hija va por mis mismos pasos y quiere festejar este dia al aire libre, me pidió que le hiciera un collar que ella llamo primaveral para su paseo vespertino; así que ni corta ni perezosa puse manos a la obra y sigan leyendo para que se enteren como le hice una sencilla pero muy bonita pieza de bisutería trabajada con la técnica de alambrismo en forma de gargantilla, aquí les dejo el paso a paso de mi manualidad creativa de hoy:
Hello, hello! Greetings, how are you all starting the weekend? Around here we relived the failures of the internet, it is no longer a novelty to become a daily life but well we have to learn to live with all the discomforts that we find either from nature, from humanity without letting ourselves be small palated because here they say pa'lante is pa'lla.
How I always tell you about the ephemeris of the day and that is that today we celebrate International Youth Day and of course in what concerns me I cannot let it go unnoticed.
I tell you that my daughter is following my steps and she wants to celebrate this day in the open air, she asked me to make her a necklace that she called spring for her evening walk; so neither short nor lazy I got to work and keep reading so you can find out how I made a simple but very beautiful piece of jewelry worked with the wire technique in the form of a necklace, here I leave the step by step of my craft today's creative:
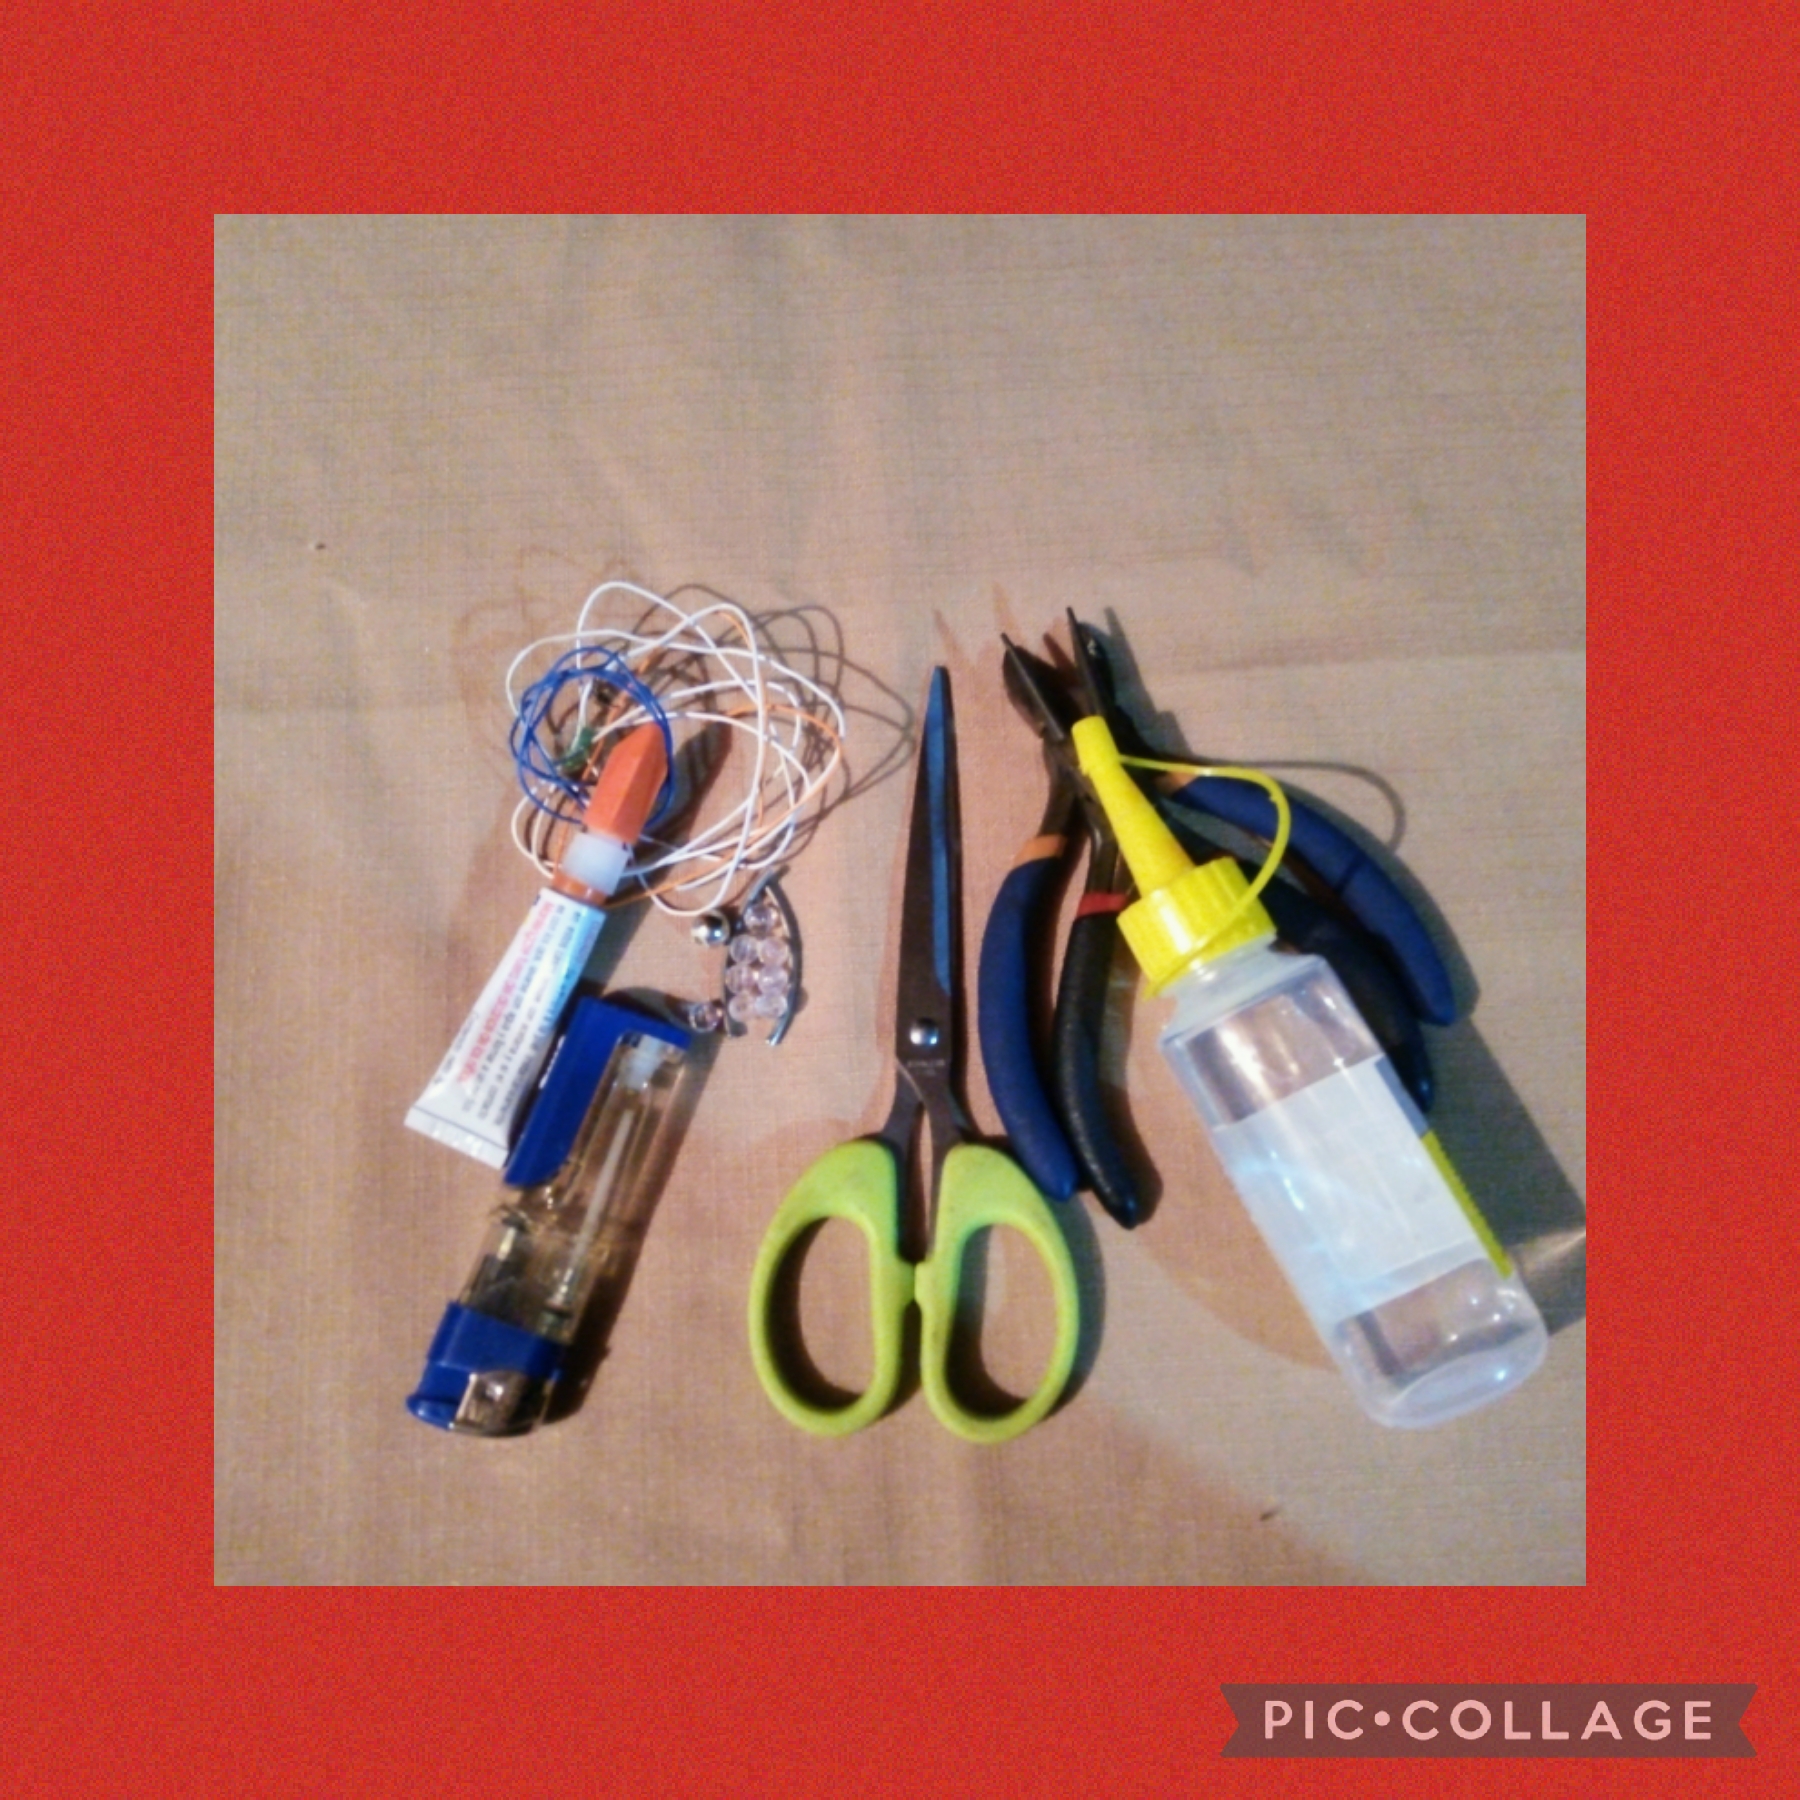
Utilicé estos materiales,
para su elaboración
-Alambre fino de bisutería blanco.
-Alambre de bisutería fino naranja.
-Alambre de bisutería fino azul.
-Pega instantánea.
-Silicon líquido.
-Perlas doradas.
-Tijeras.
-Pinza redonda.
-Pinza cuadrada.
-Palito de altura.
I used these materials,
for its elaboration
-Fine white jewelry wire.
-Fine orange jewelry wire.
-Fine blue jewelry wire.
-Instant paste.
-Liquid silicone.
-Golden pearls.
-Scissors.
-Round clamp.
-Square clamp.
-Height stick.
Para su elaboración
realice los pasos
siguientes
PRIMER PASO
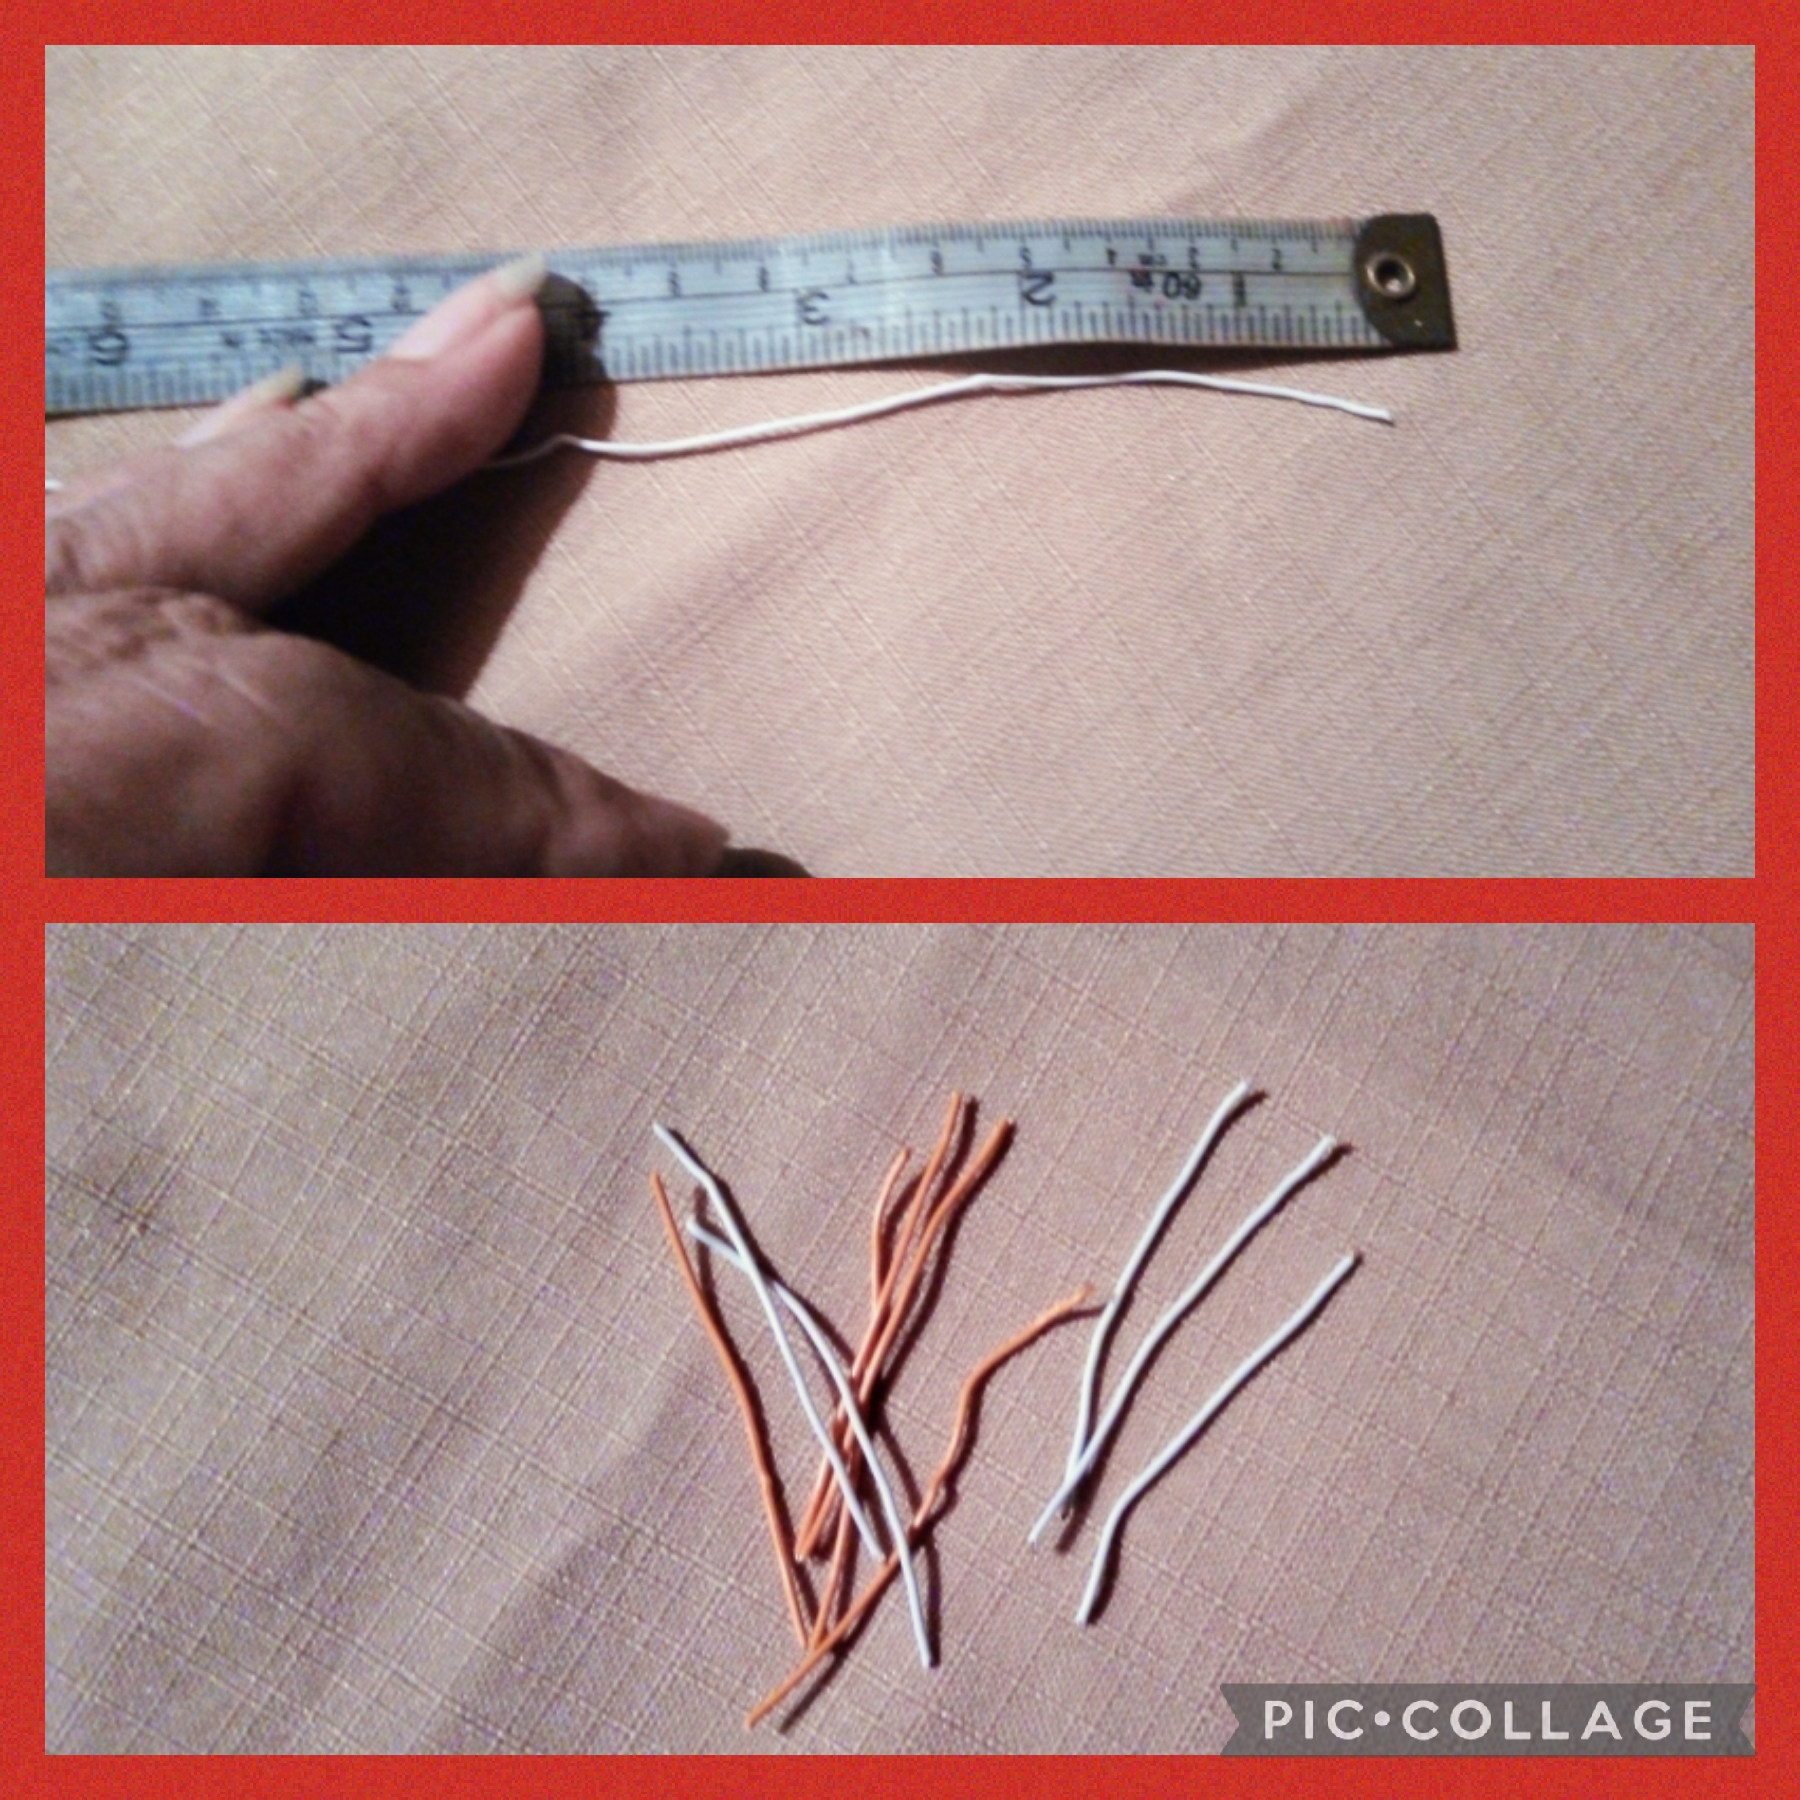
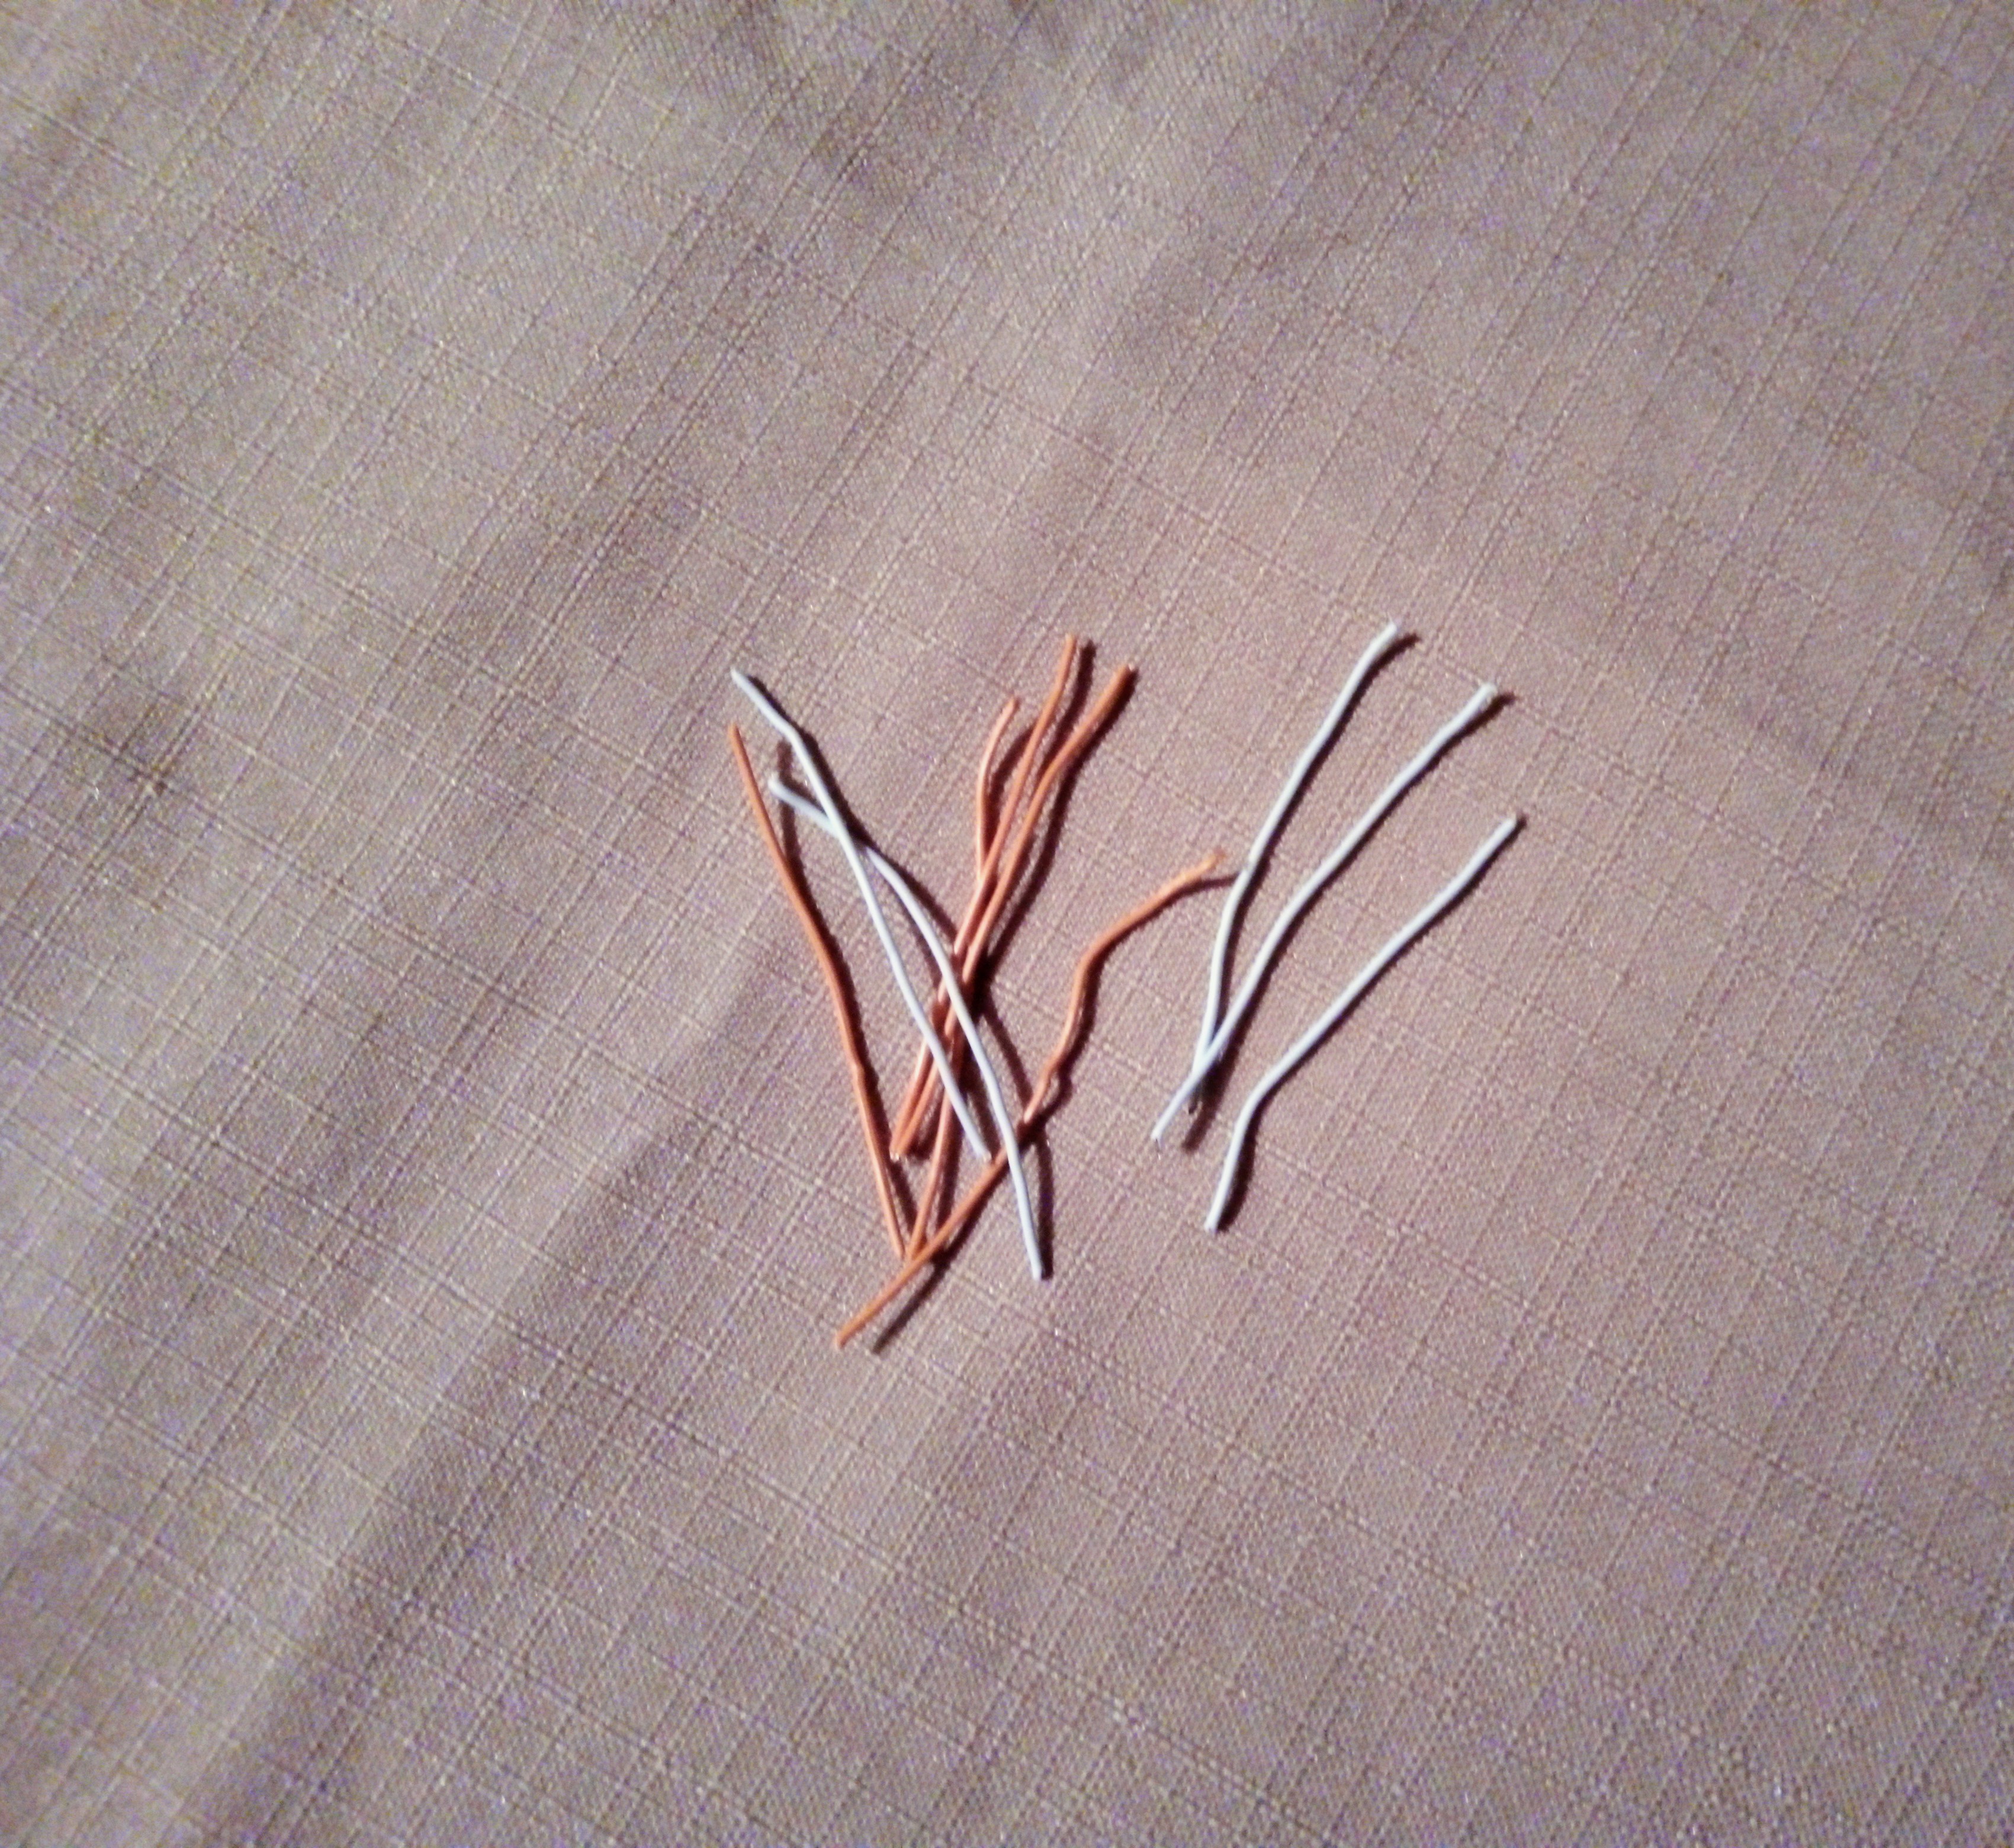
Comenzamos usando el metro para medir dos centímetros del alambre naranja y del alambre blanco y con las tijeras los recorto hasta tener cinco trozos de cada uno para formar los pétalos con los que formaré las flores para armar mi gargantilla que serán tres en total (ver fotos).
For your elaboration
do the steps
following
FIRST STEP
We start by using the meter to measure two centimeters of the orange wire and the white wire and with the scissors I cut them until I have five pieces of each one to form the petals with which I will form the flowers to assemble my necklace that will be three in total (see photos ).
SEGUNDO PASO
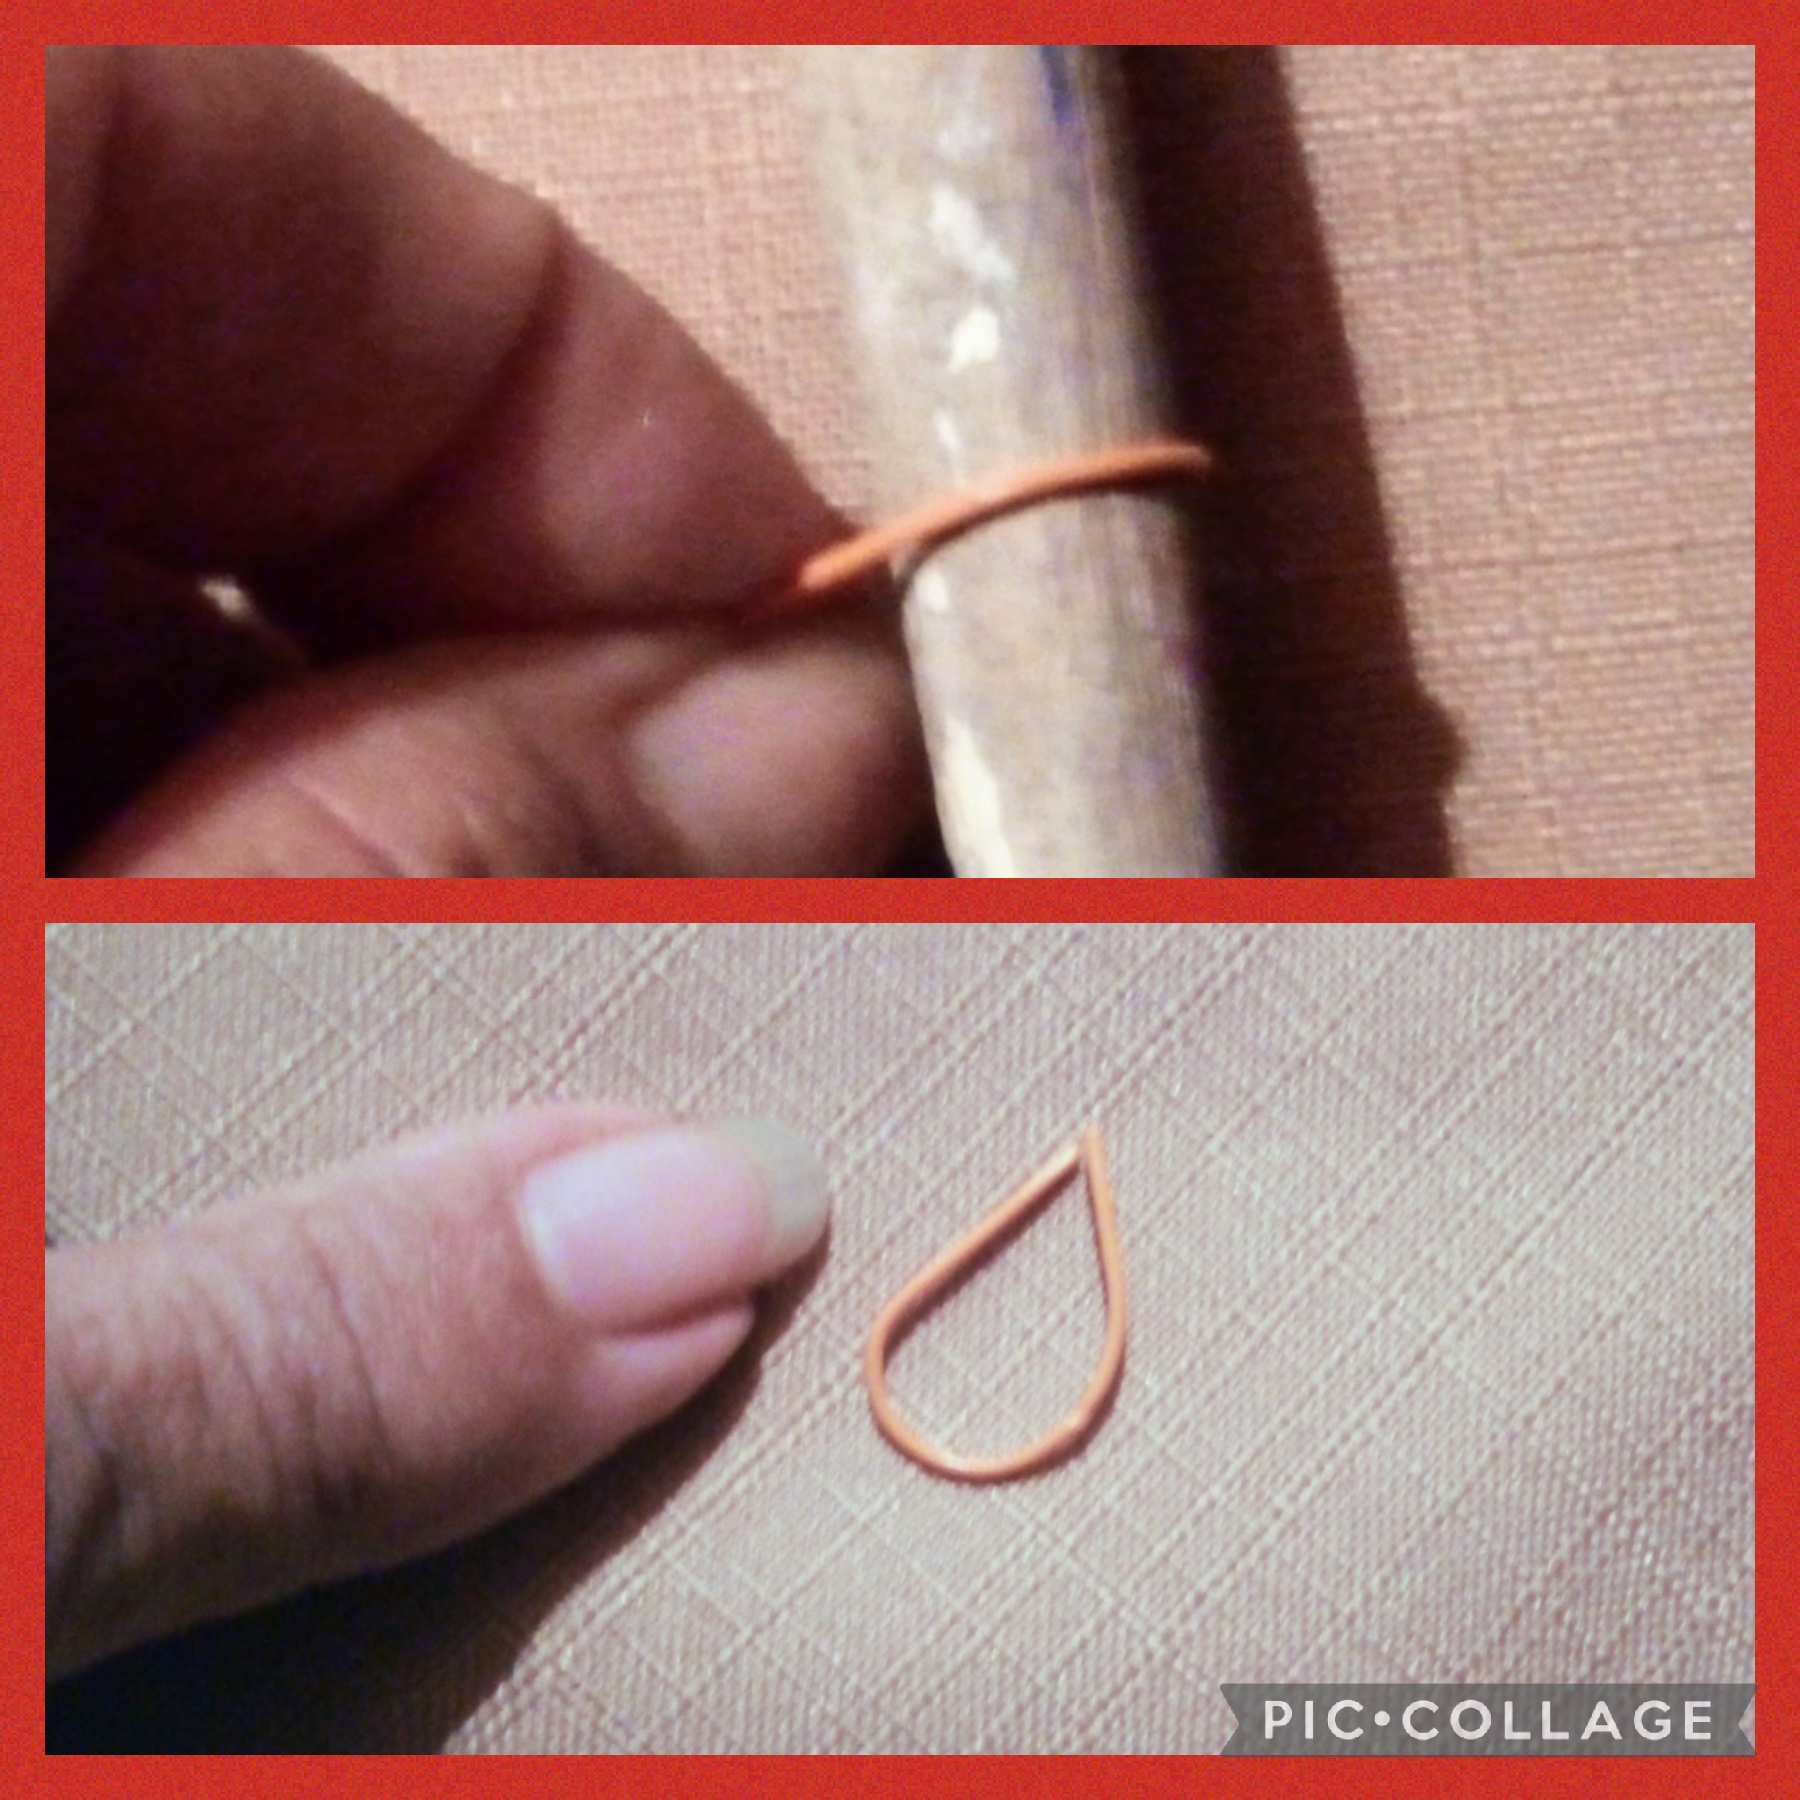
Ahora en este paso, tomo como molde para que mis pétalos queden de un solo tamaño la punta de un pincel y le doy forma, como muestro en las fotos.
**SECOND STEP:
Now in this step, I take the tip of a brush as a mold so that my petals remain of a single size and I shape it, as I show in the photos.
TERCER PASO
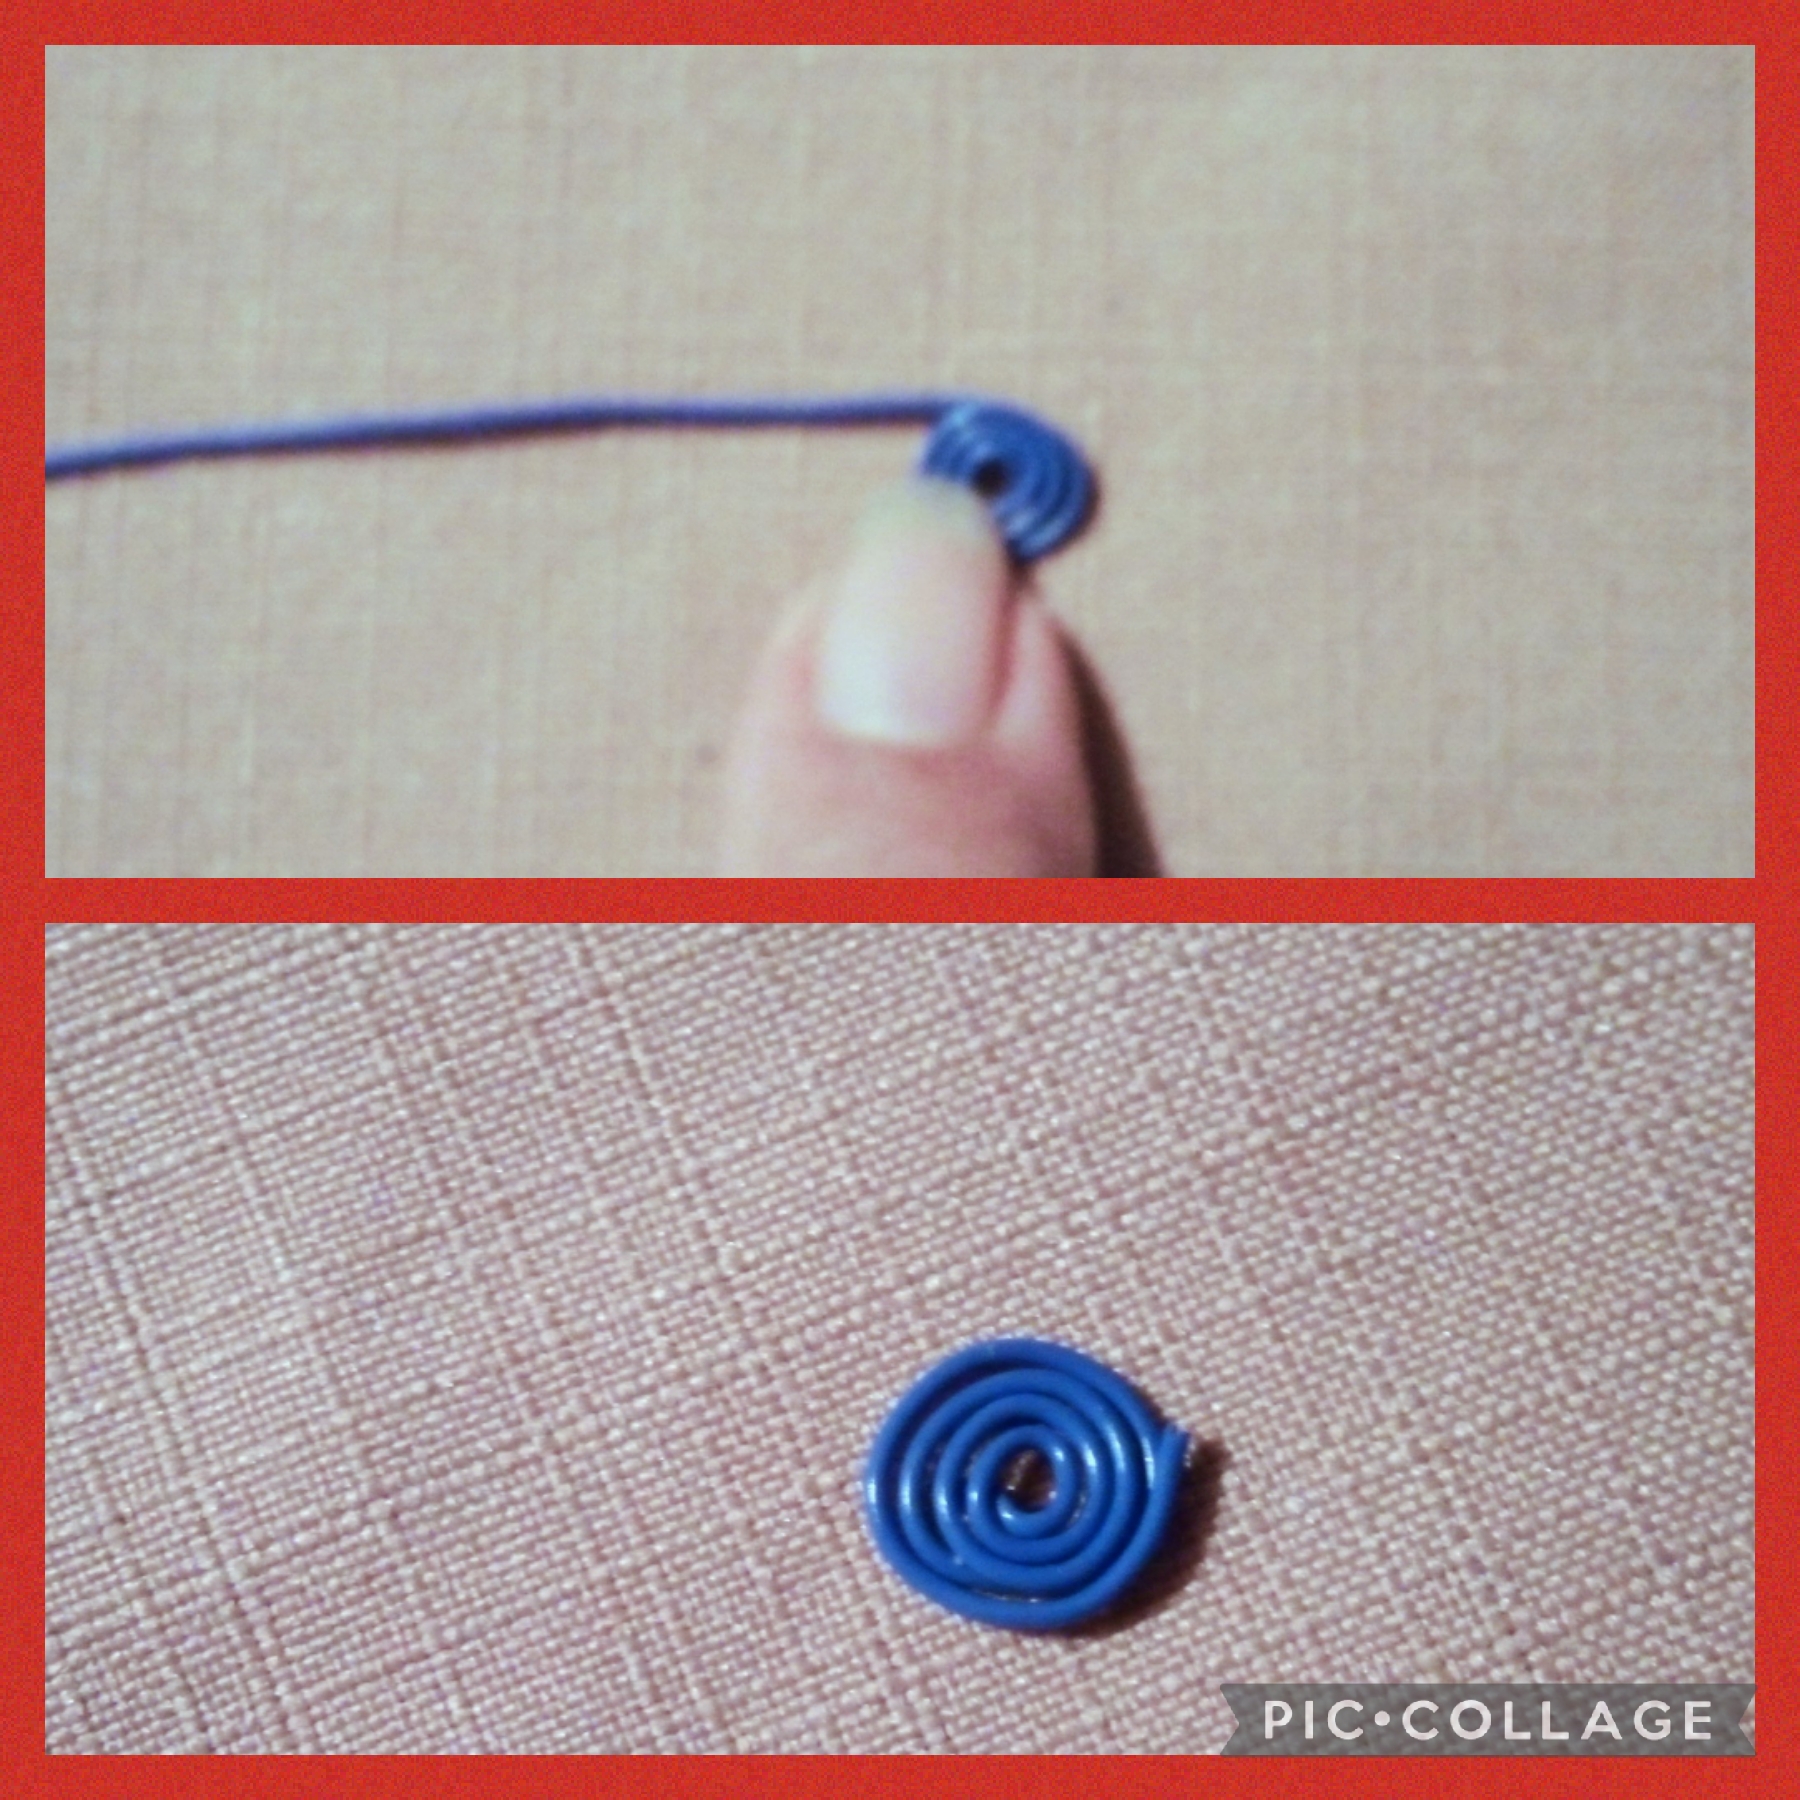
Para éste tercer paso con la pinza redonda y el alambre azul formo el centro de la que será mi flor en forma de un espiral (ver la foto)
THIRD STEP
For this third step with the round clamp and the blue wire I form the center of what will be my flower in the shape of a spiral (see the photo)
CUARTO PASO
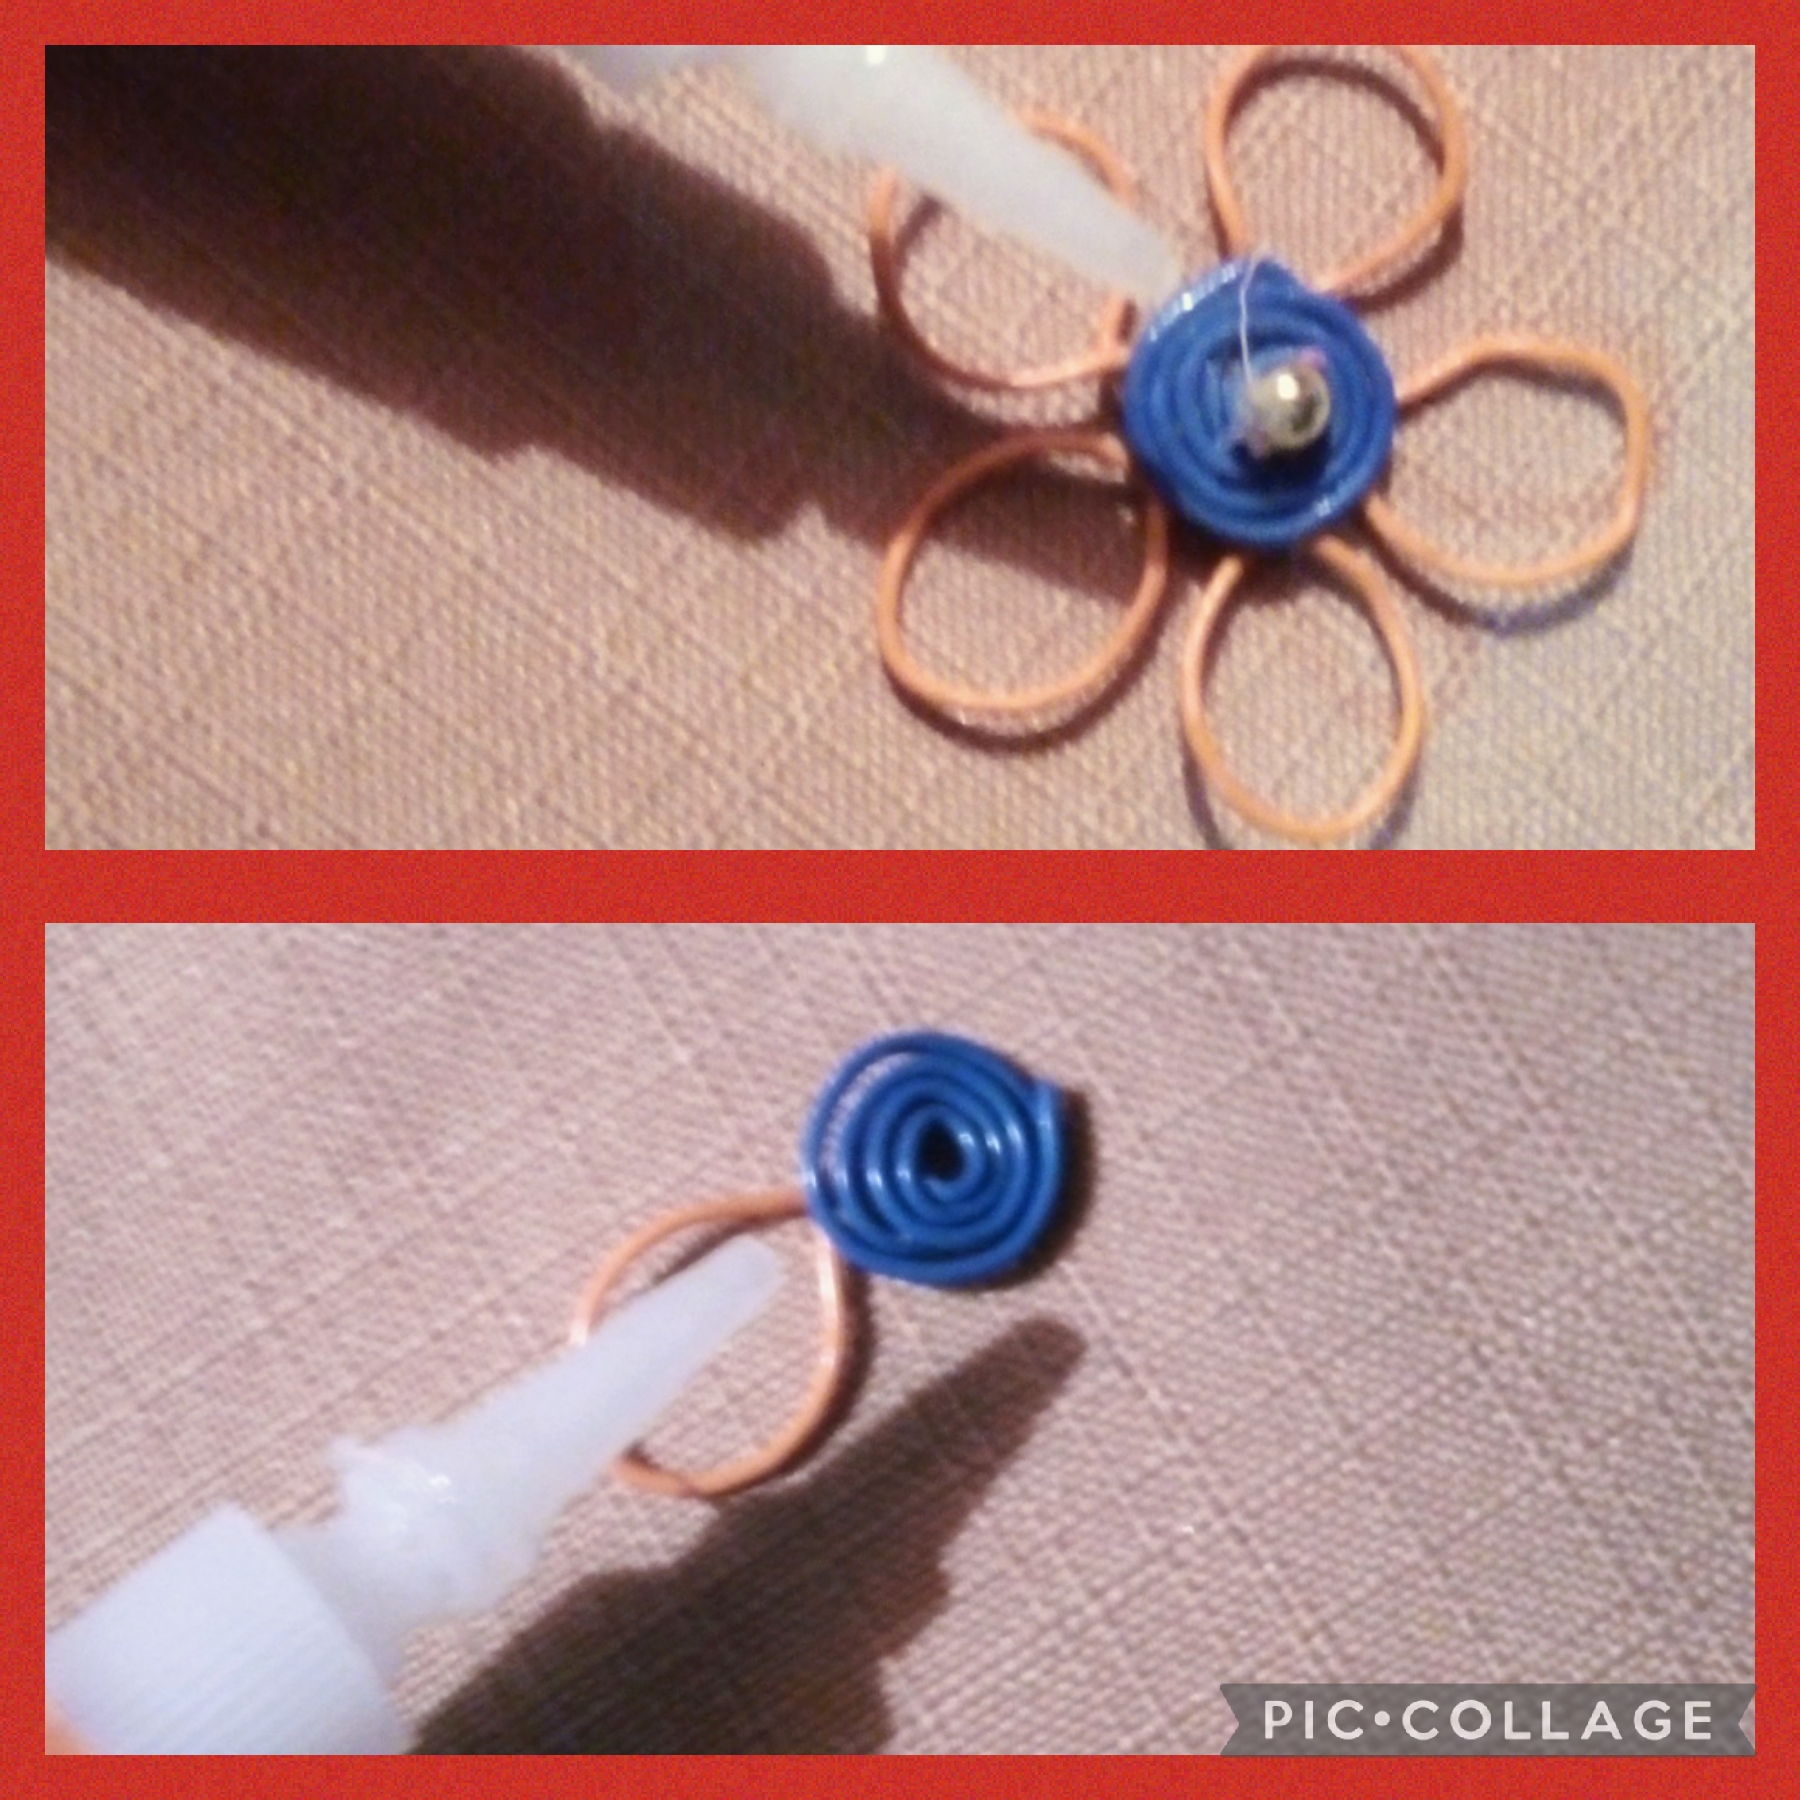
Una vez formado el centro de la flor; usando pegamento instantáneo comienzo a pegar los pétalos esta vez de color naranja como se puede ver en la imagen.
FOURTH STEP
Once the center of the flower is formed; using instant glue I start to glue the petals this time orange as you can see in the picture.
QUINTO PASO
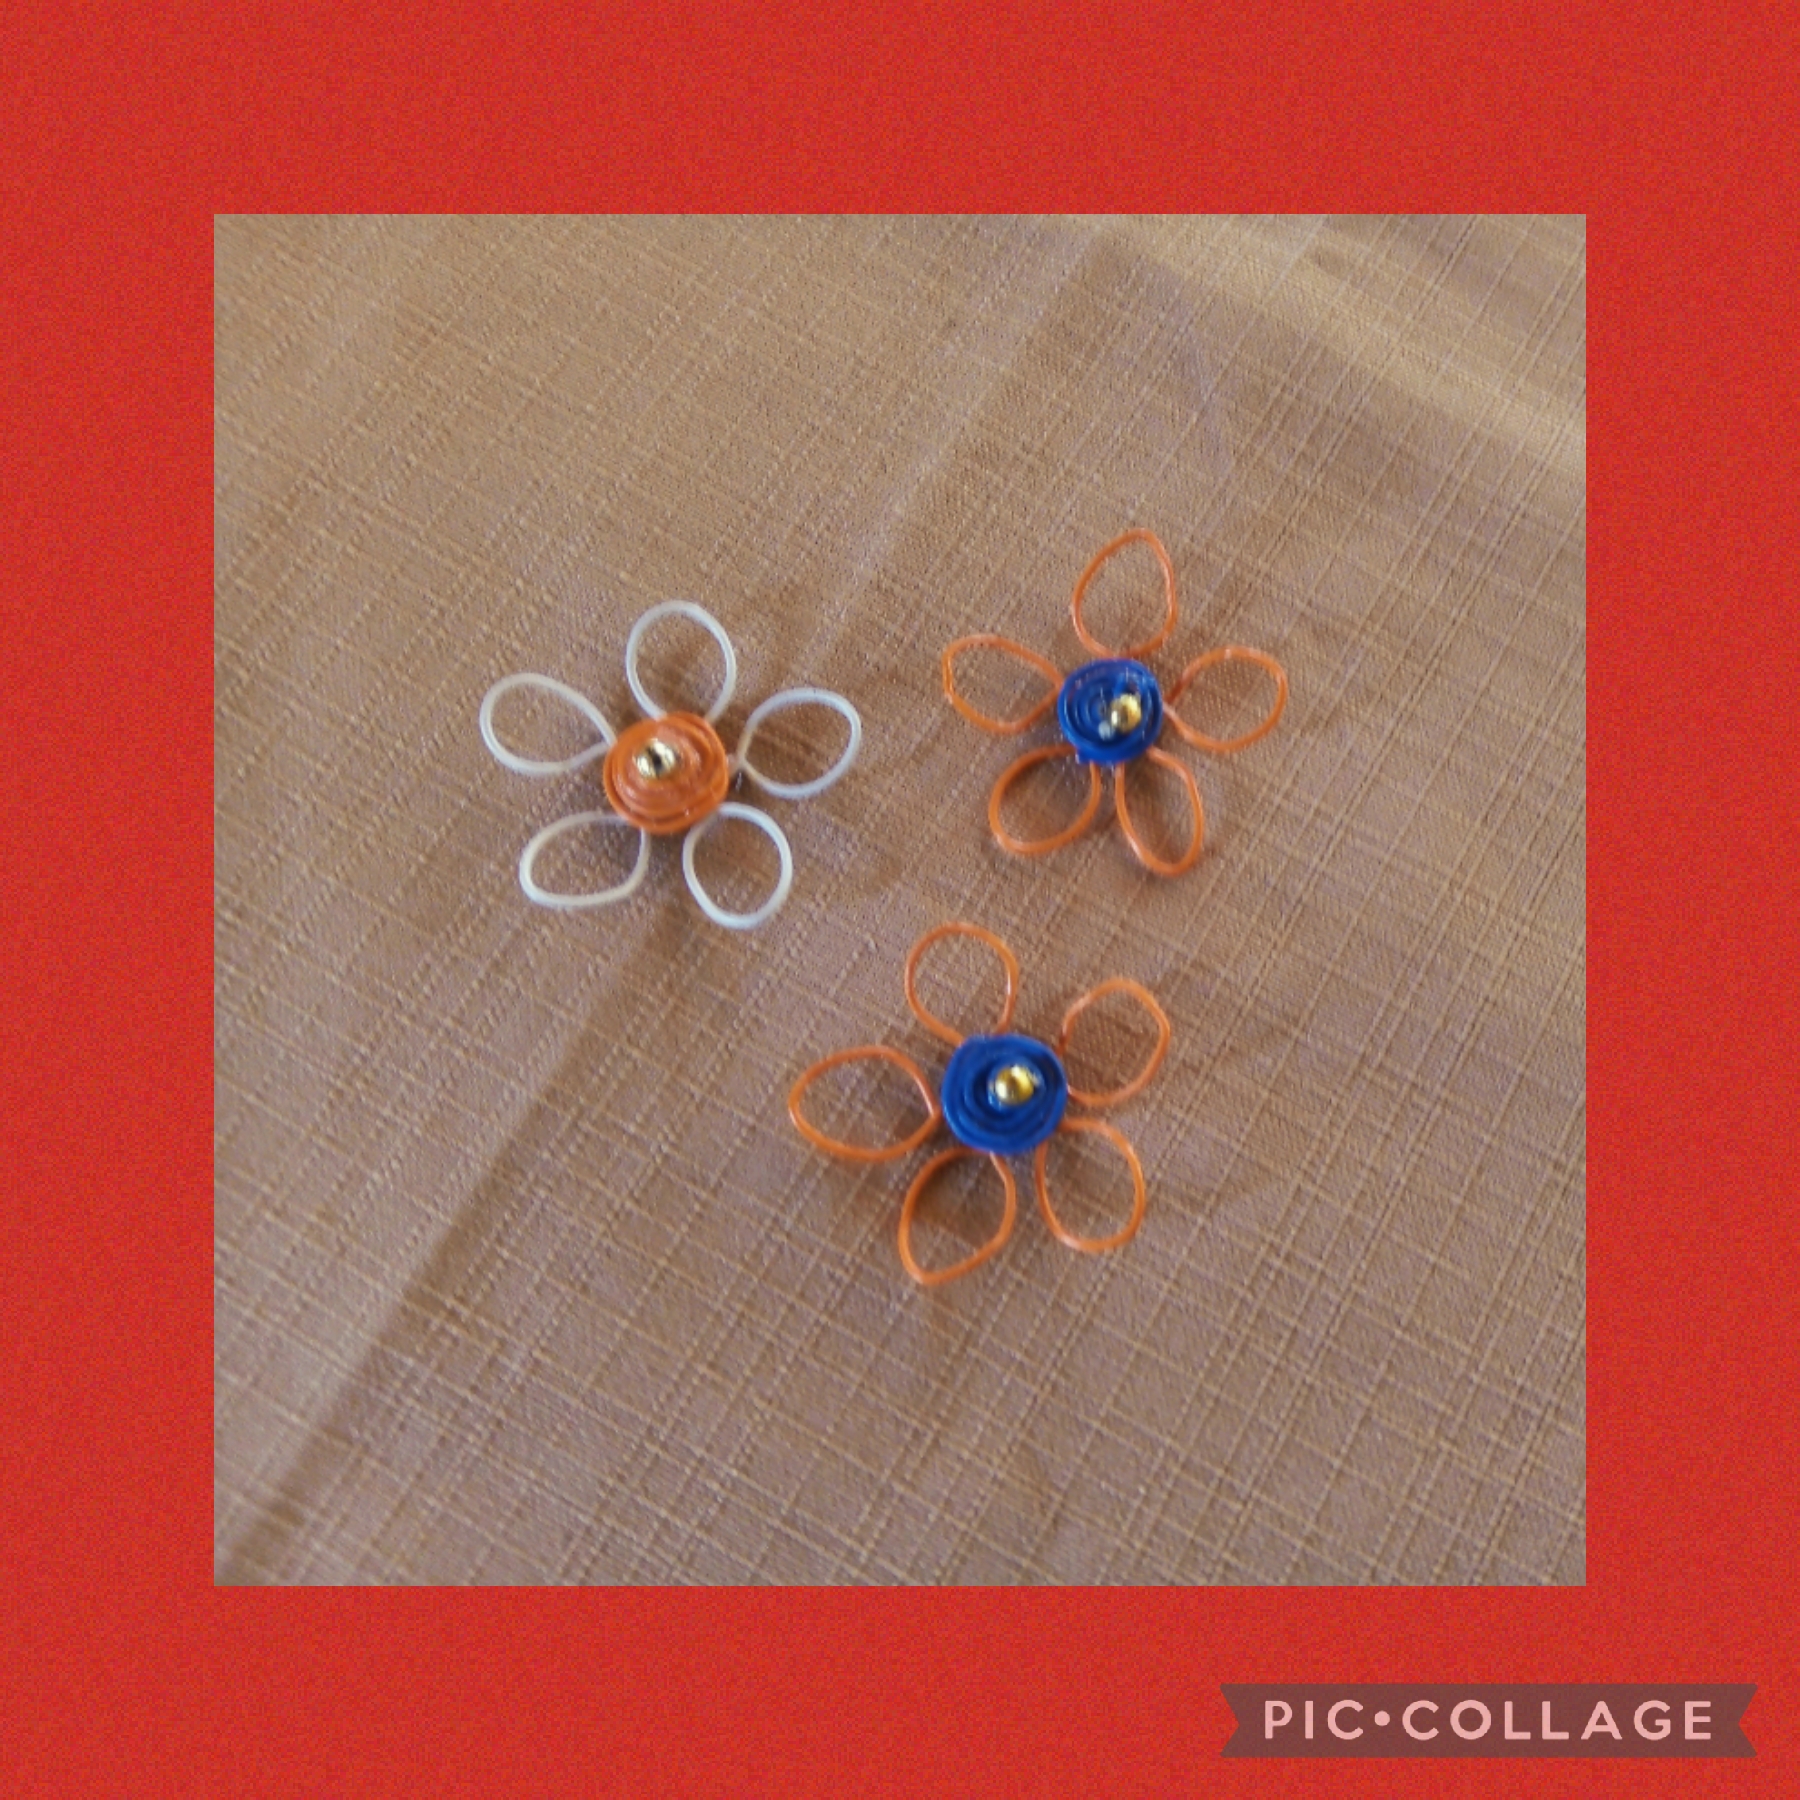
Una vez formada la primera flor color naranja hice dos iguales y una tercera de color blanco; aquí se las muestro
FIFTH STEP
Once the first orange flower was formed, I made two of the same and a third white; here I show them
SEXTO PASO
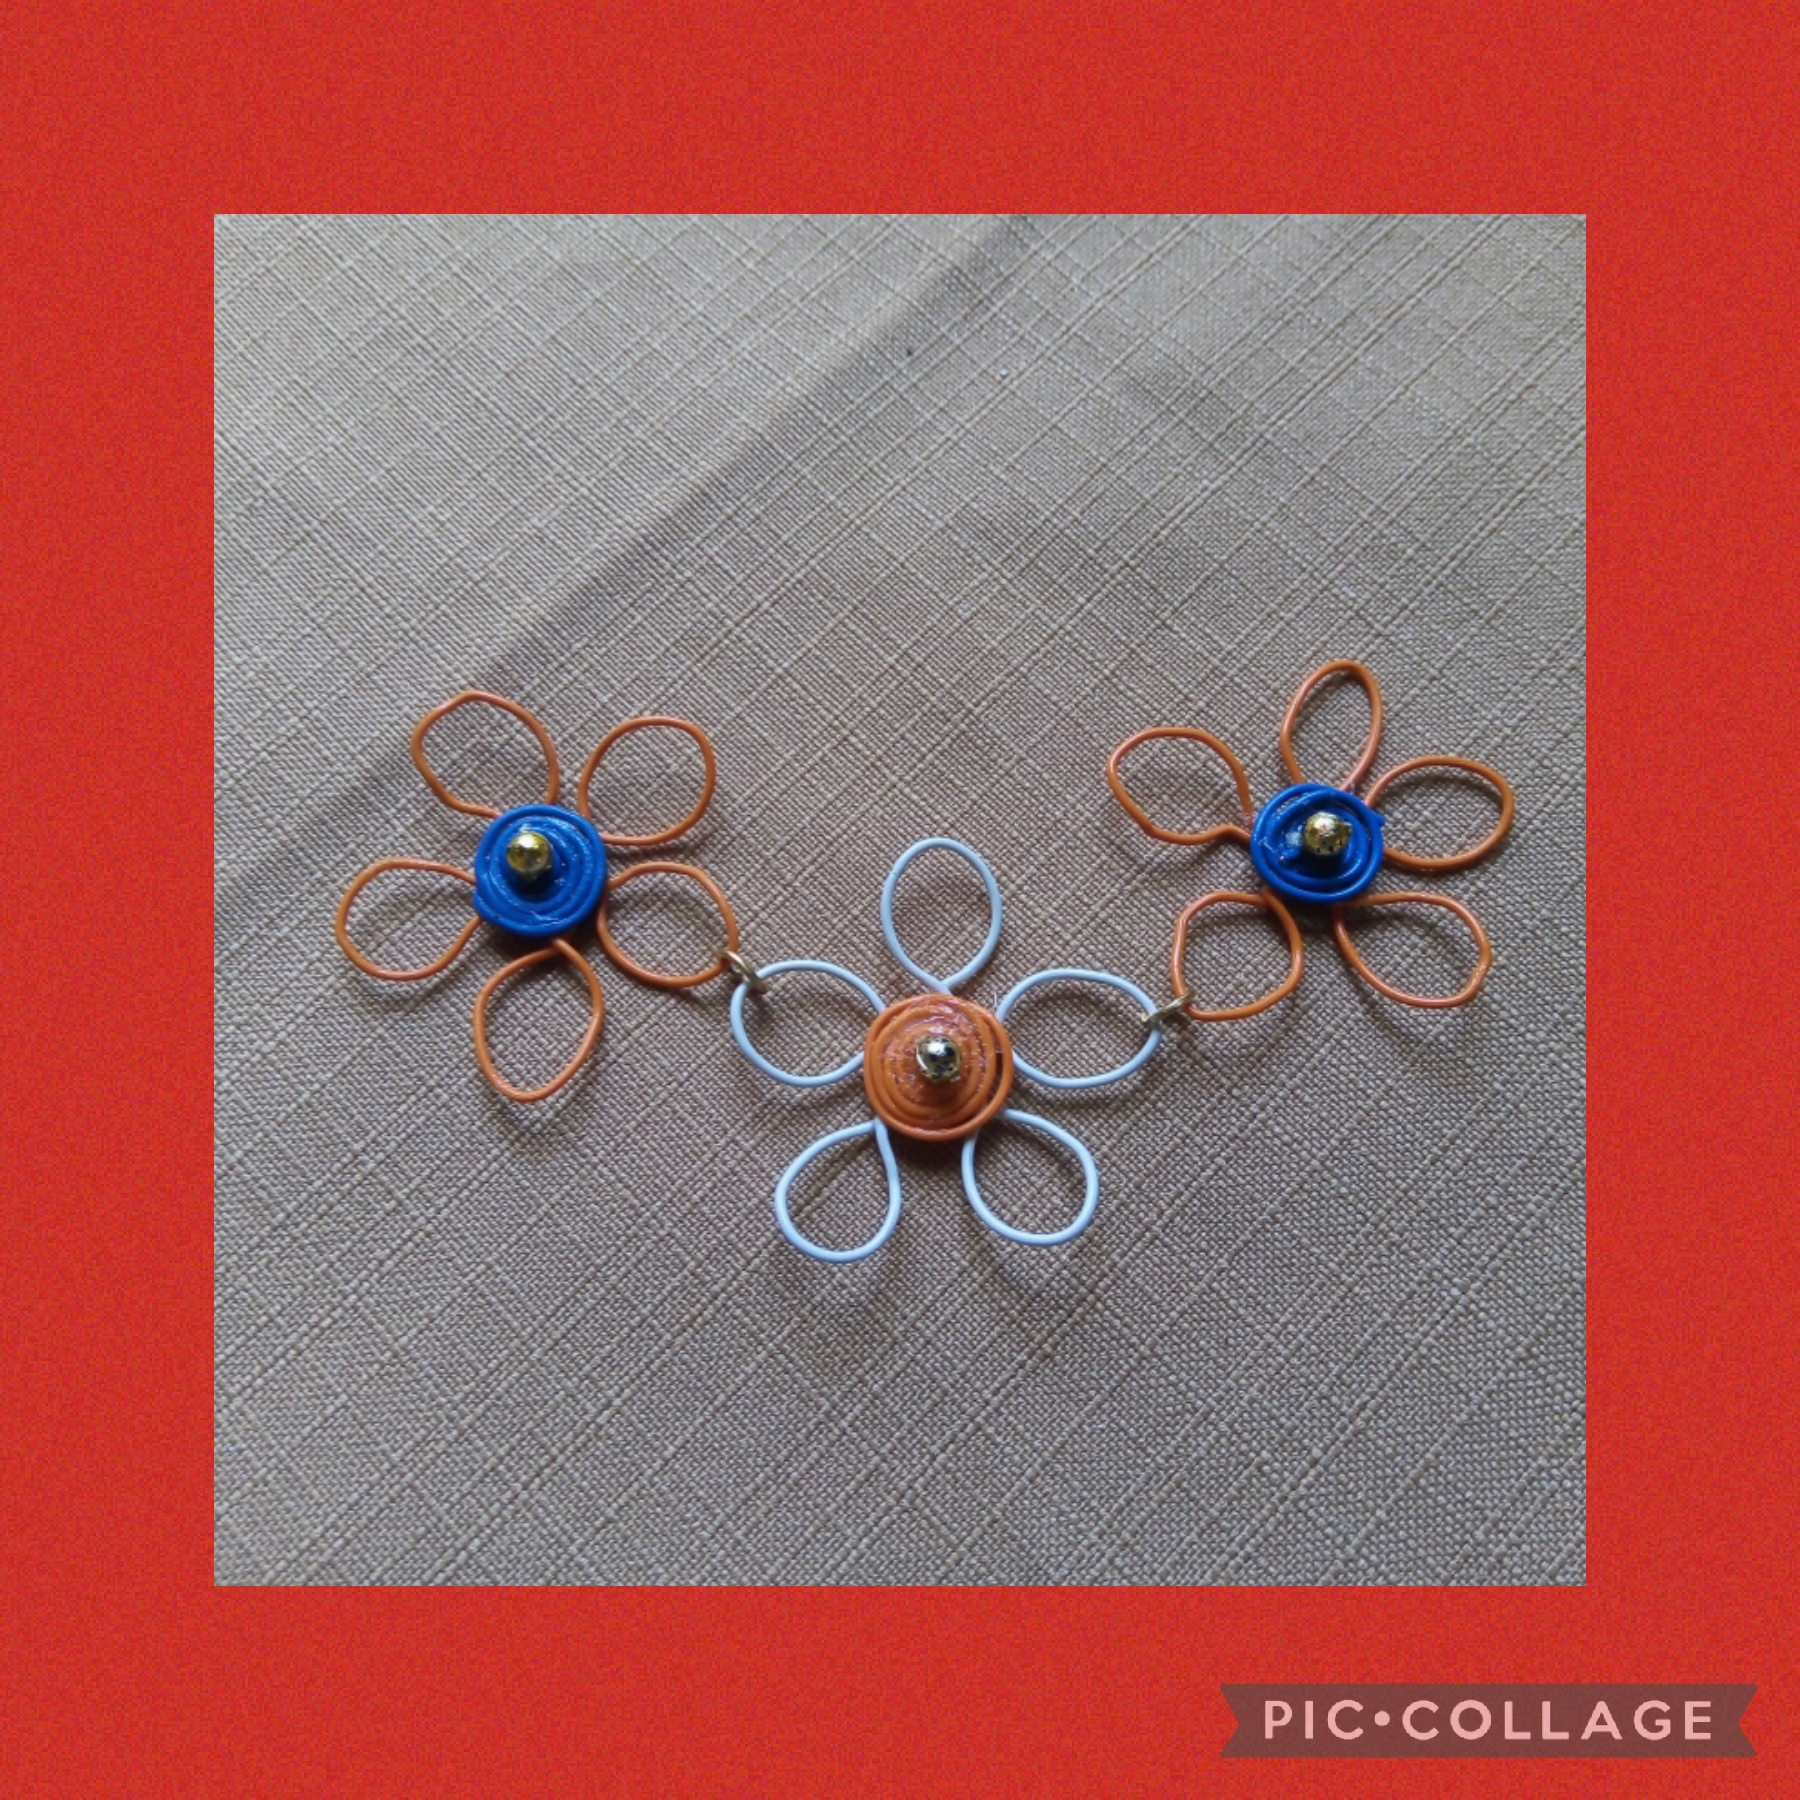
Una vez elaborada las tres flores las uno como se ve en las fotos con una argolla de cada lado dejando la blanca en el centro.
SIXTH STEP
Once the three flowers are made, I join them as seen in the photos with a ring on each side, leaving the white one in the center.

SÉPTIMO PASO
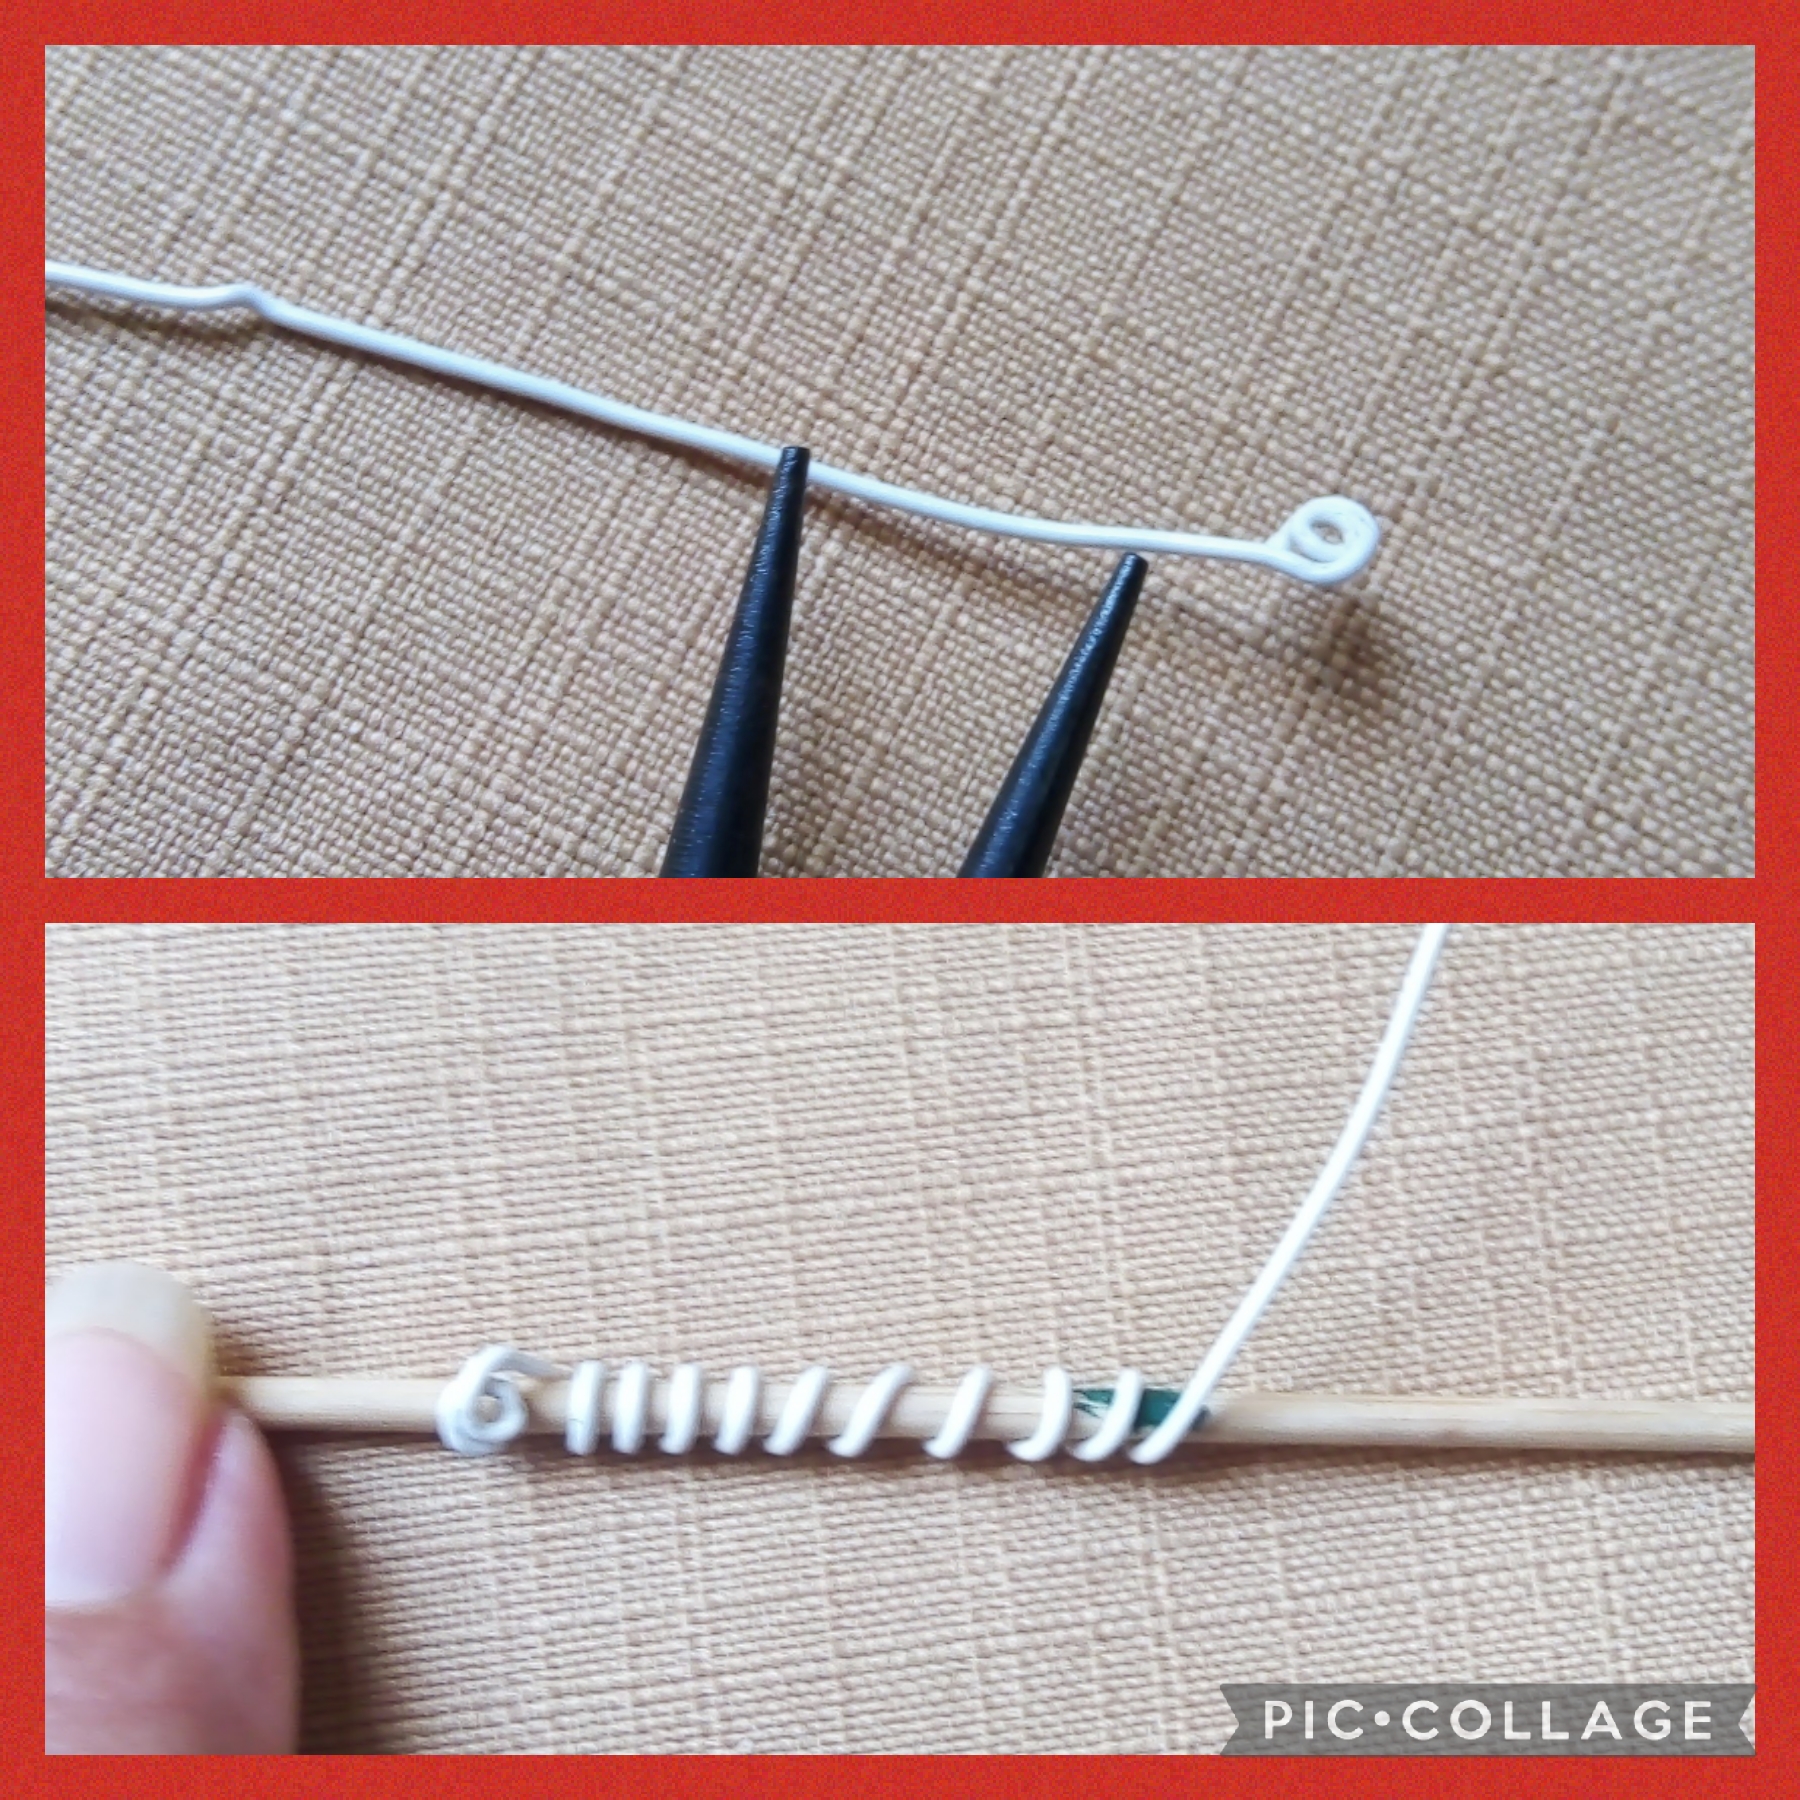
Ahora vamos a elaborar la guaya para colgar las flores; tomamos alambre fino blanco y con un palito de altura enrrollo en forma de espiral, como muestro en las imágenes y así queda.
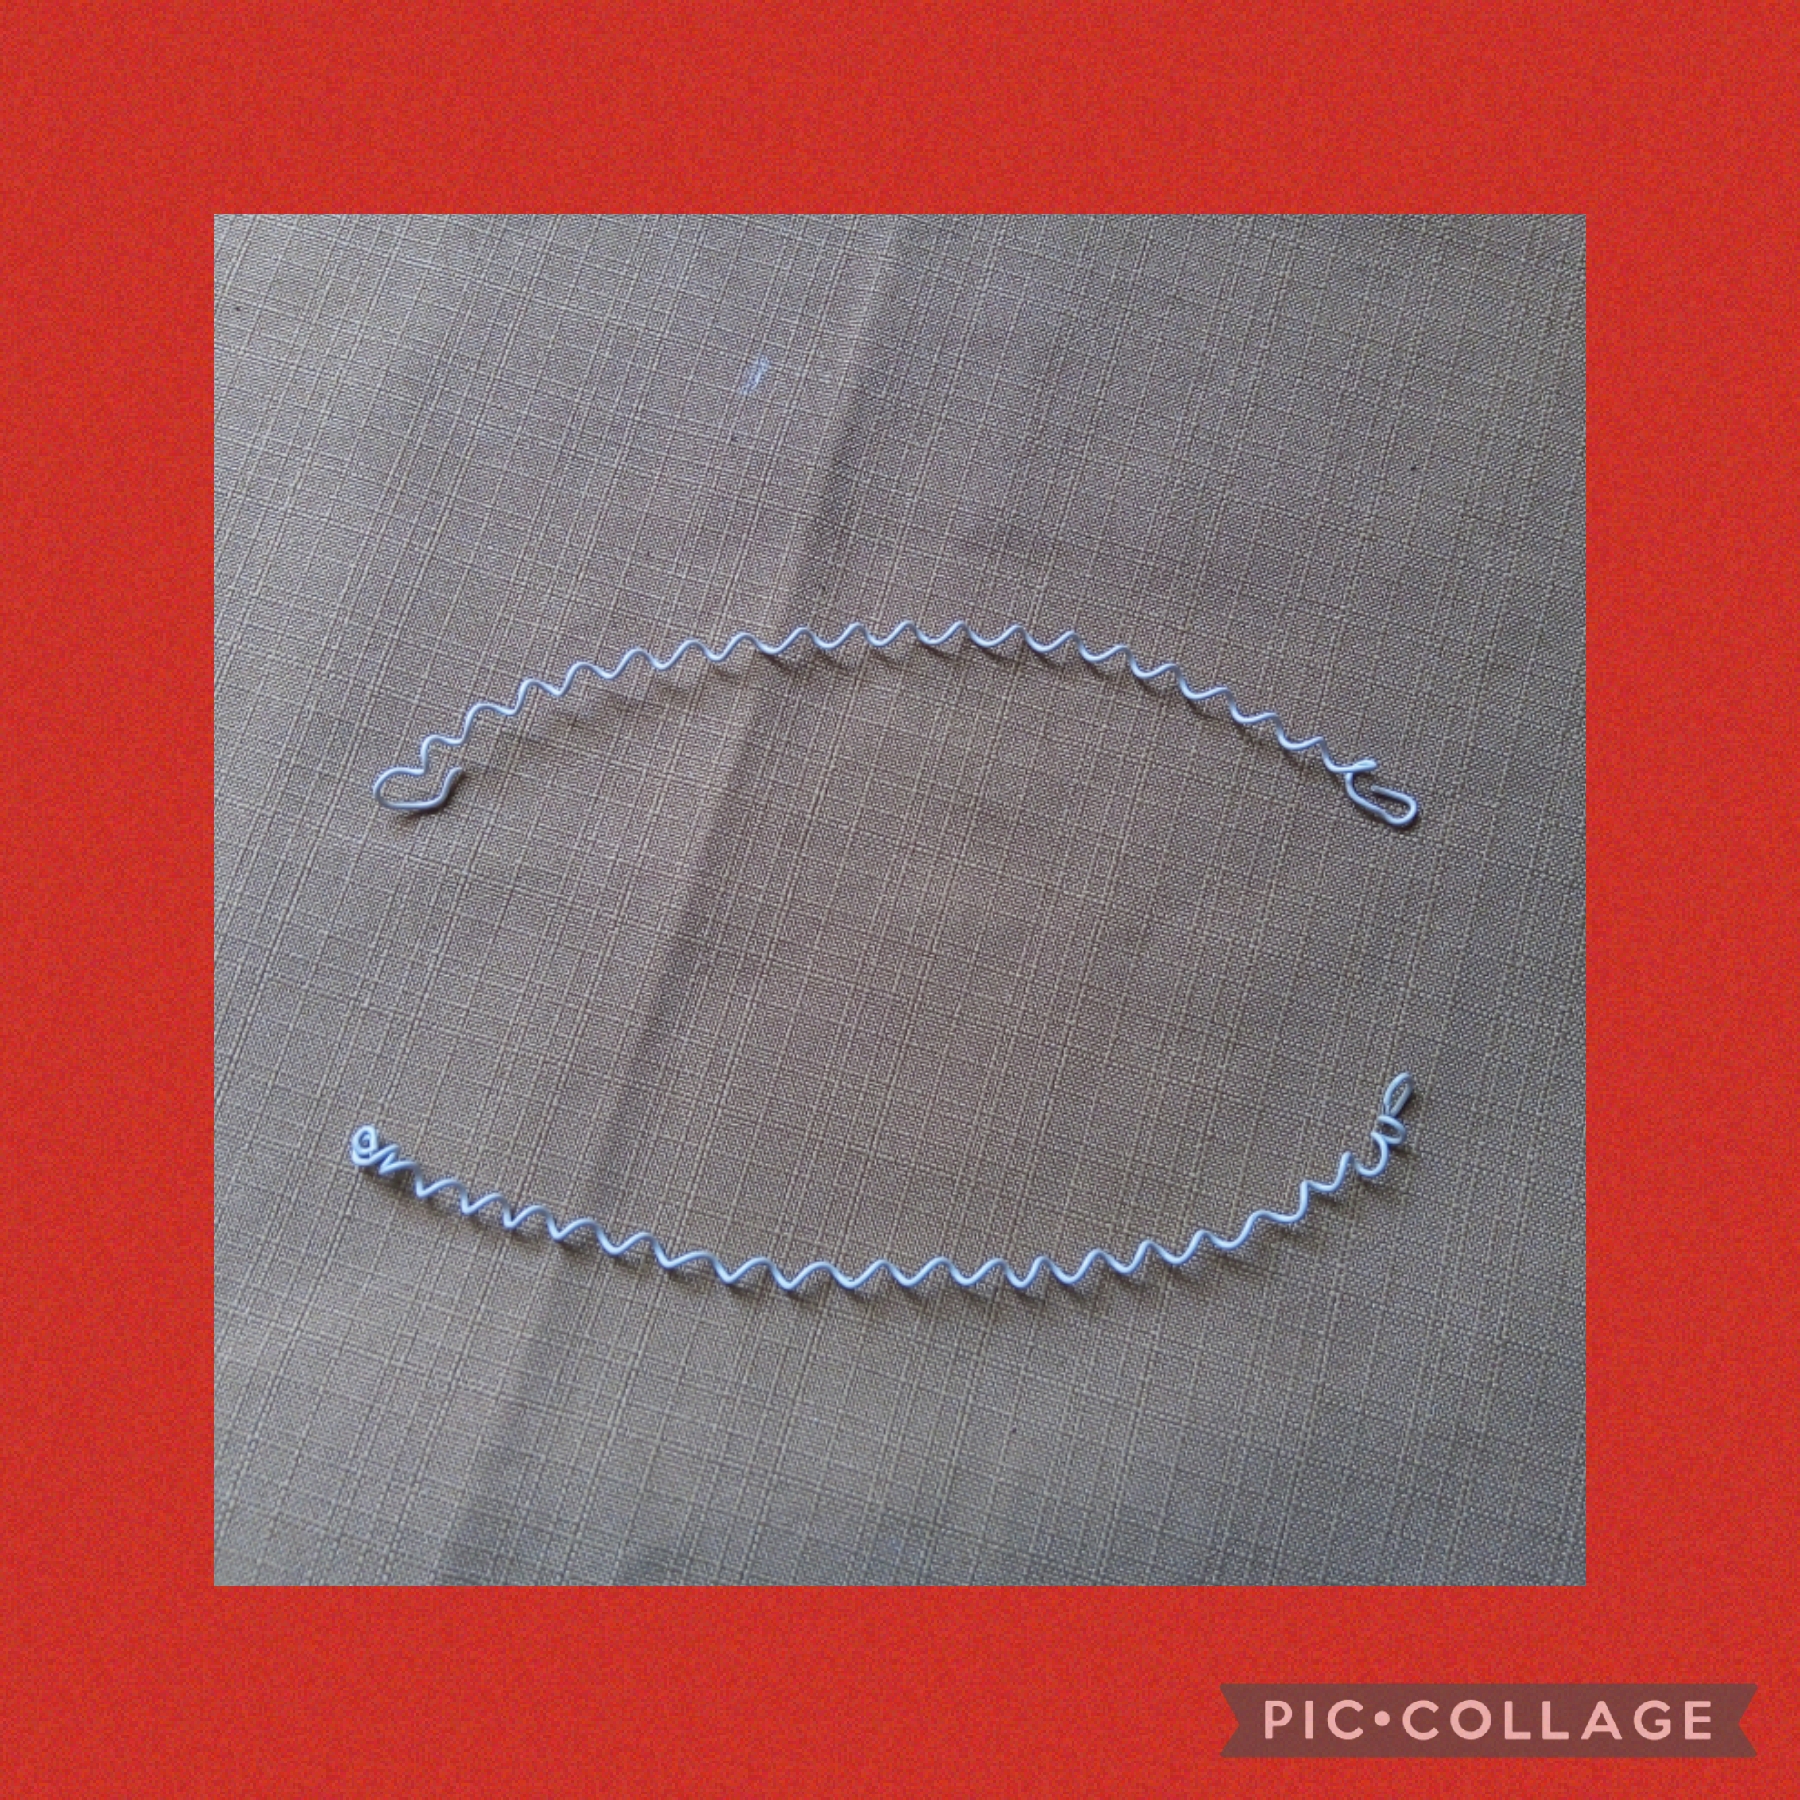
Después con la pinza redonda fijo de cada lado de las flores y hago una argolla y un gancho para cerrar así mi gargantilla.
**SEVENTH STEP:
Now we are going to make the guaya to hang the flowers; We take thin white wire and with a tall stick we wrap it in a spiral shape, as I show in the images and that's how it looks.
Then with the round clip I fix on each side of the flowers and I make a ring and a hook to close my choker like this.
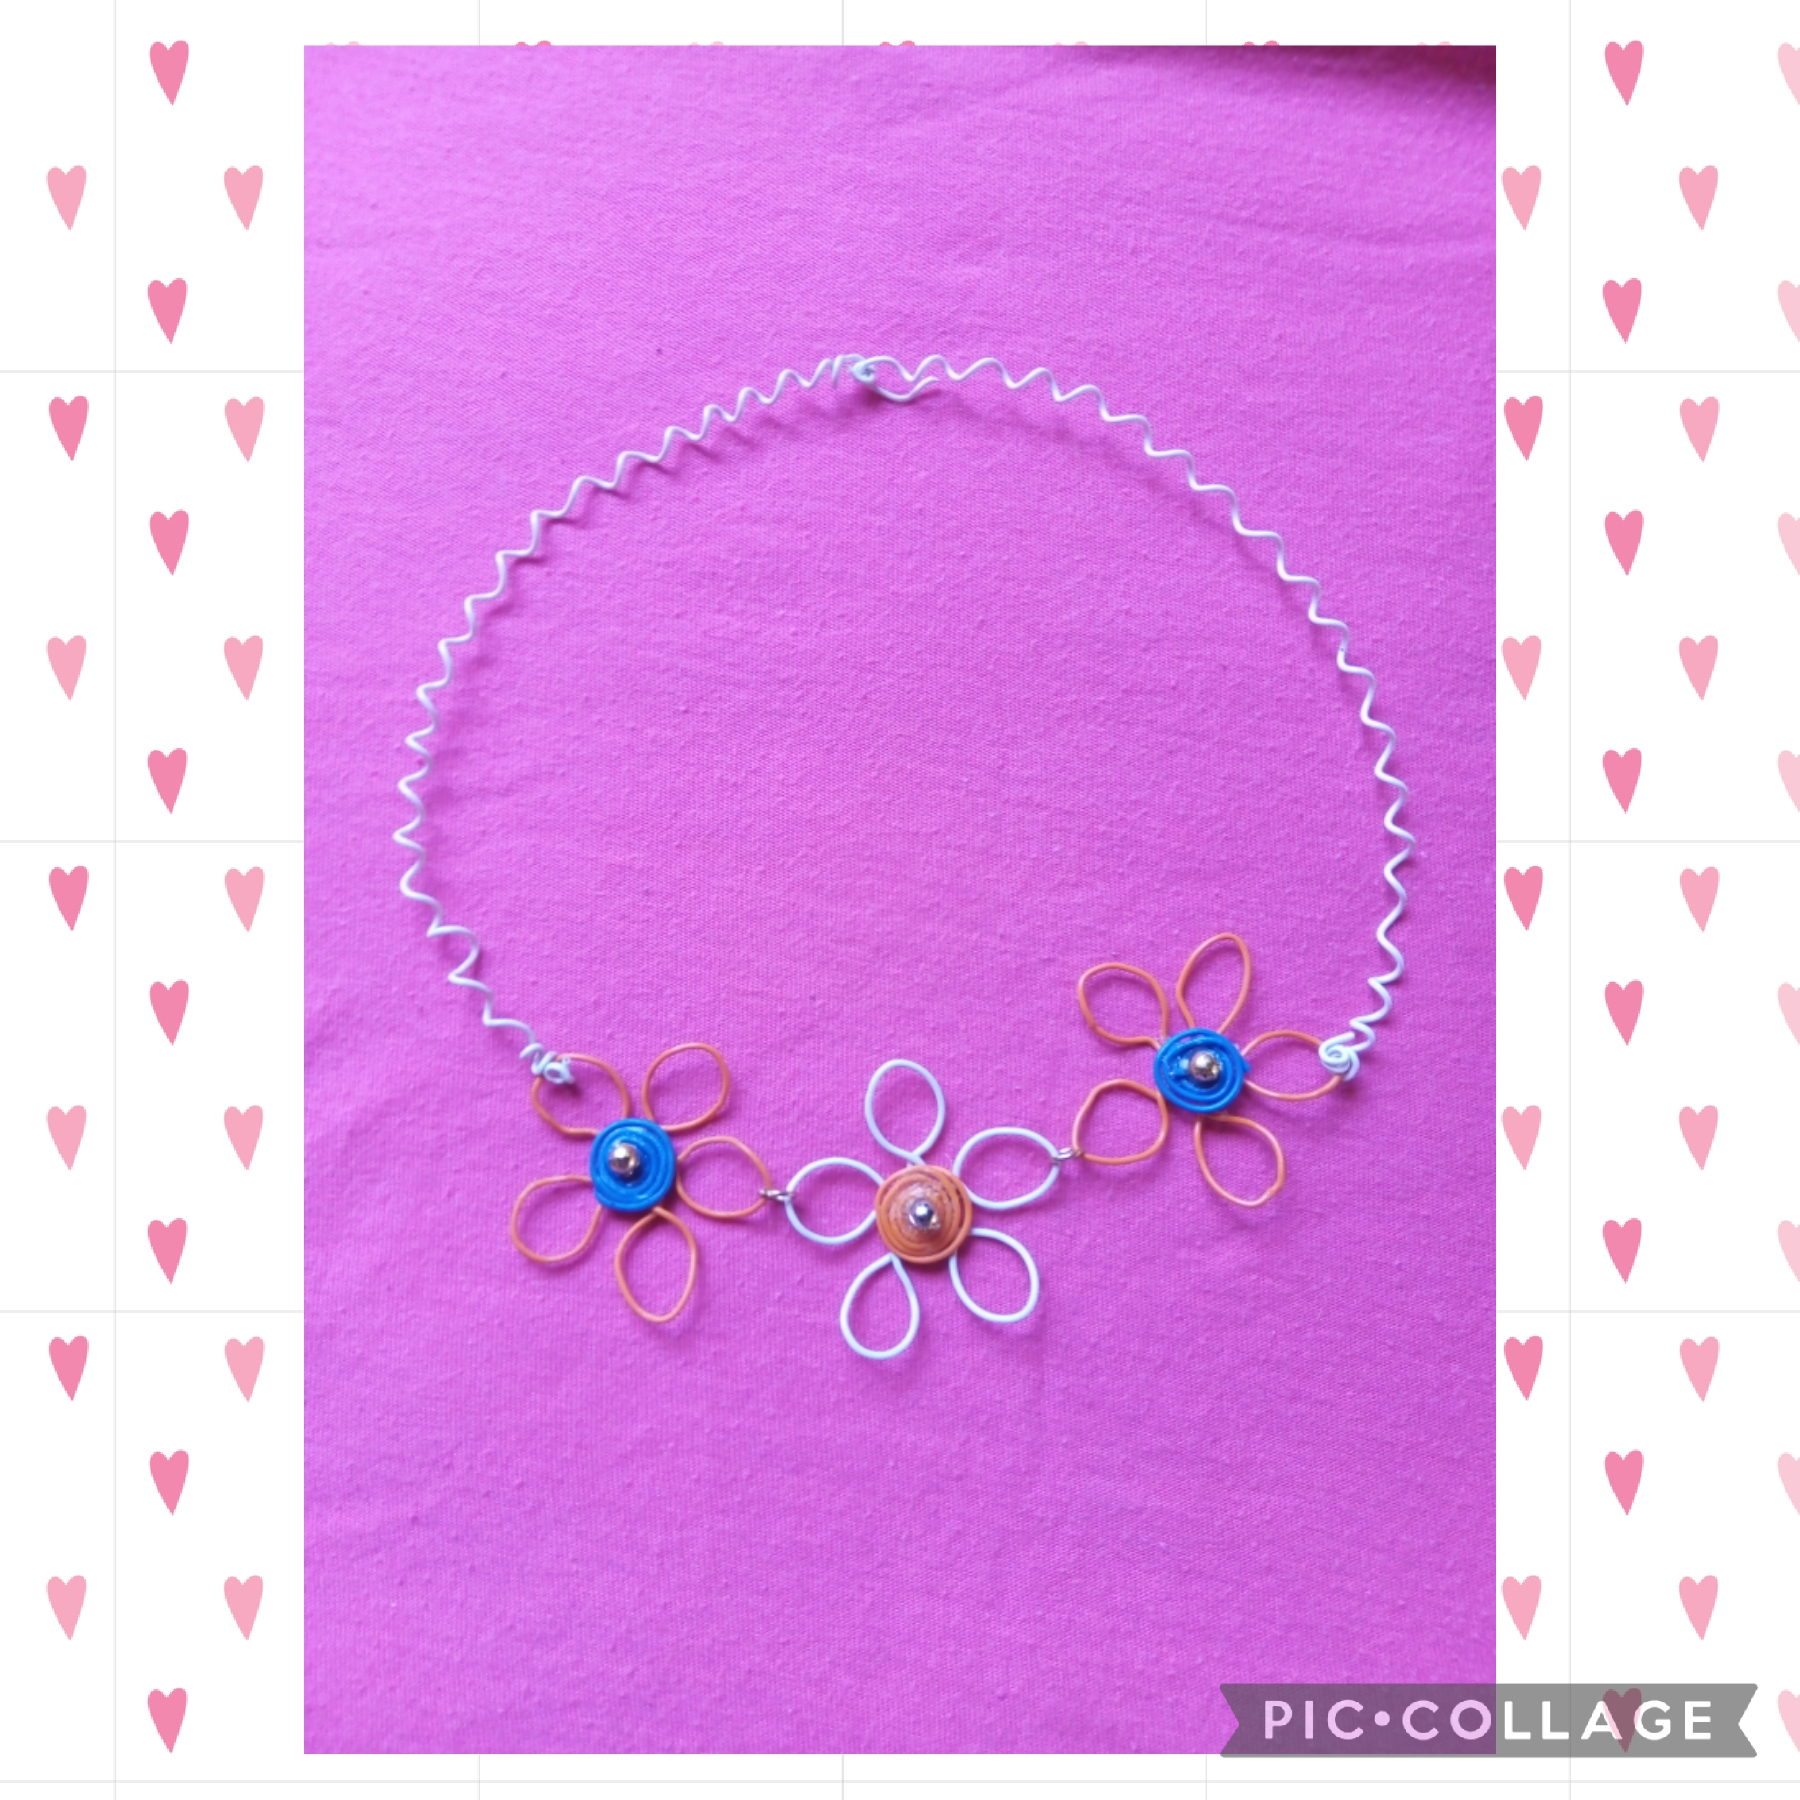
Mis queridos creativos este es el resultado final de mi manualidad de hoy, la realice con mucho amor para mi hija y así complacerla como siempre que quiere resaltar su belleza natural con mis creaciones; espero que les guste y gracias a todos por ver y apoyar mis publicaciones; nos vemos en la próxima manualidad.
My dear creatives, this is the final result of my craft today, I made it with a lot of love for my daughter and thus please her as always when she wants to highlight her natural beauty with my creations; I hope you like it and thank you all for viewing and supporting my posts; See you in the next craft.
Las imágenes de este tutorial son de mi propiedad las fotos fueron tomadas con mi celular Motorola E6 y las edite con una aplicación gratis del mismo.
Para traducir texto usé geogle traduuctor
The images in this tutorial are my property, the photos were taken with my Motorola E6 cell phone and I edited them with a free application of the same.
To translate text I used geogle translator

Thank you for sharing this amazing post on HIVE!
Your content got selected by our fellow curator @rezoanulvibes & you just received a little thank you via an upvote from our non-profit curation initiative!
You will be featured in one of our recurring curation compilations and on our pinterest boards! Both are aiming to offer you a stage to widen your audience within and outside of the DIY scene of hive.
Join the official DIYHub community on HIVE and show us more of your amazing work and feel free to connect with us and other DIYers via our discord server: https://discord.gg/mY5uCfQ !
If you want to support our goal to motivate other DIY/art/music/homesteading/... creators just delegate to us and earn 100% of your curation rewards!
Stay creative & hive on!
Thanks You!!