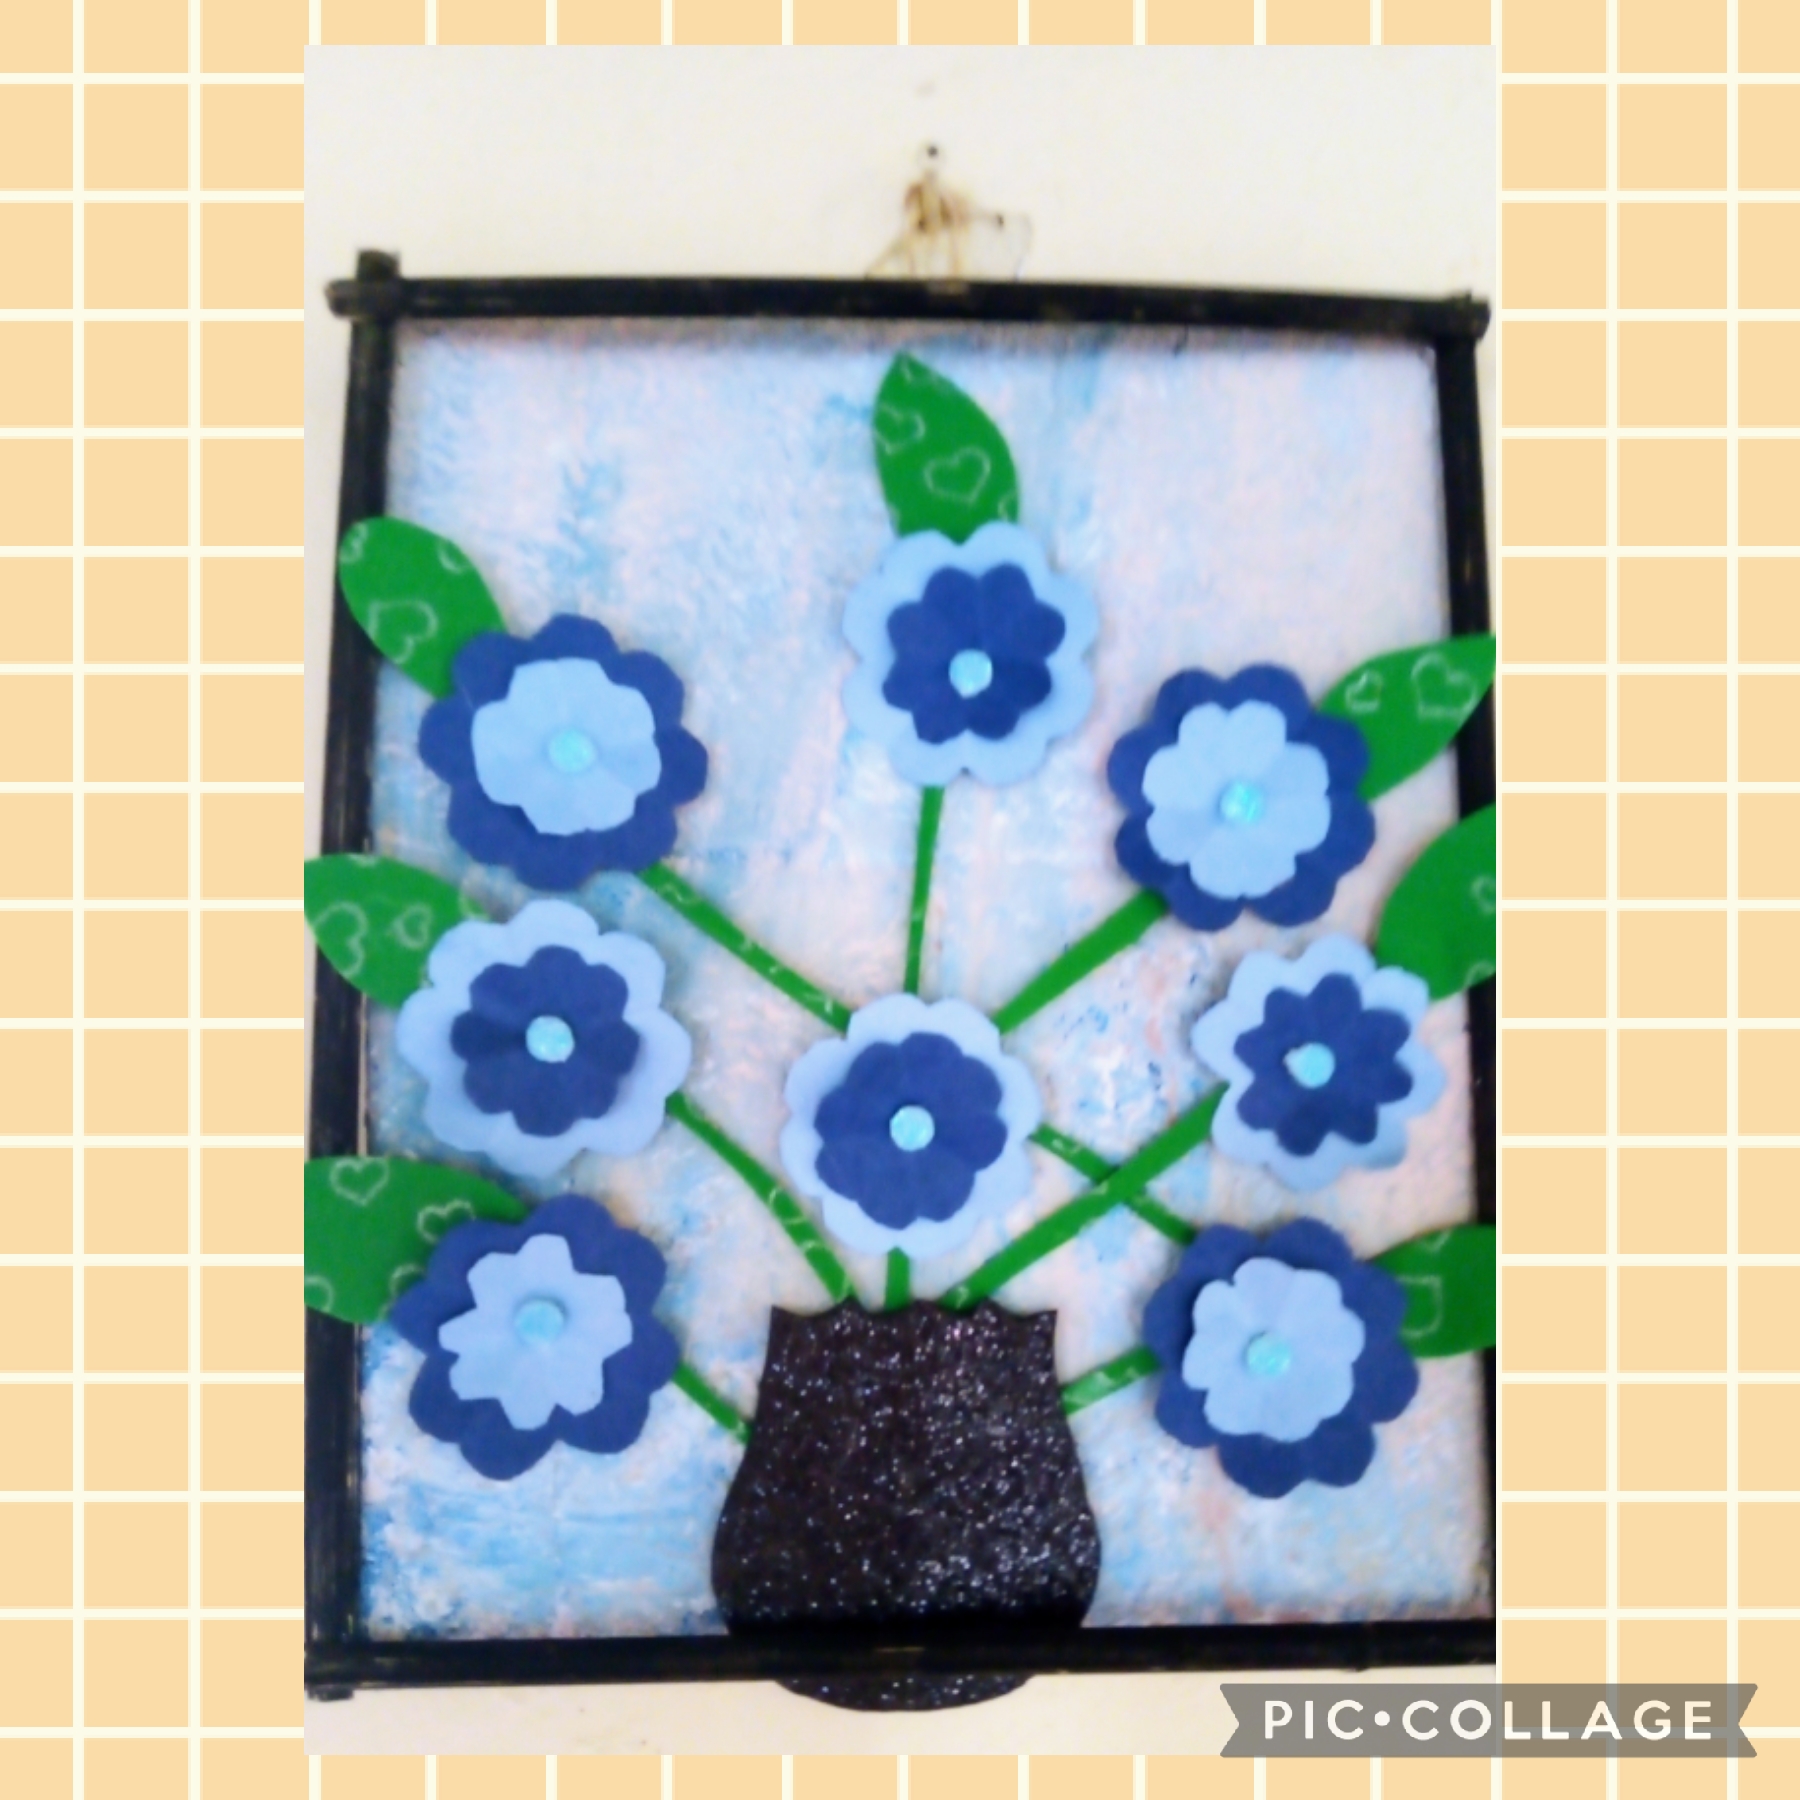
Hola! Saludos gente de la comunidad hivediy, como están pasando este caluroso fin de semana? Maravilloso, espectacular, no puede ser de otra manera así lo deseo par ustedes. Yo, por aquí sigo elaborando arreglos para la celebración de la feria de las flores; hoy les comparto uno de los bouquet en cuadro que hice para ambientar esos espacios dónde se realizará la misma.
Sigan leyendo que aquí les dejo el paso a paso de cómo lo hice:
Hello! Greetings people from the hivediy community, how are you spending this hot weekend? Wonderful, spectacular, it cannot be otherwise, so I wish it for you. Here I am still making arrangements for the celebration of the flower fair; Today I share with you one of the bouquets in a frame that I made to set those spaces where it will be held.
Keep reading that here I leave the step by step of how I did it:
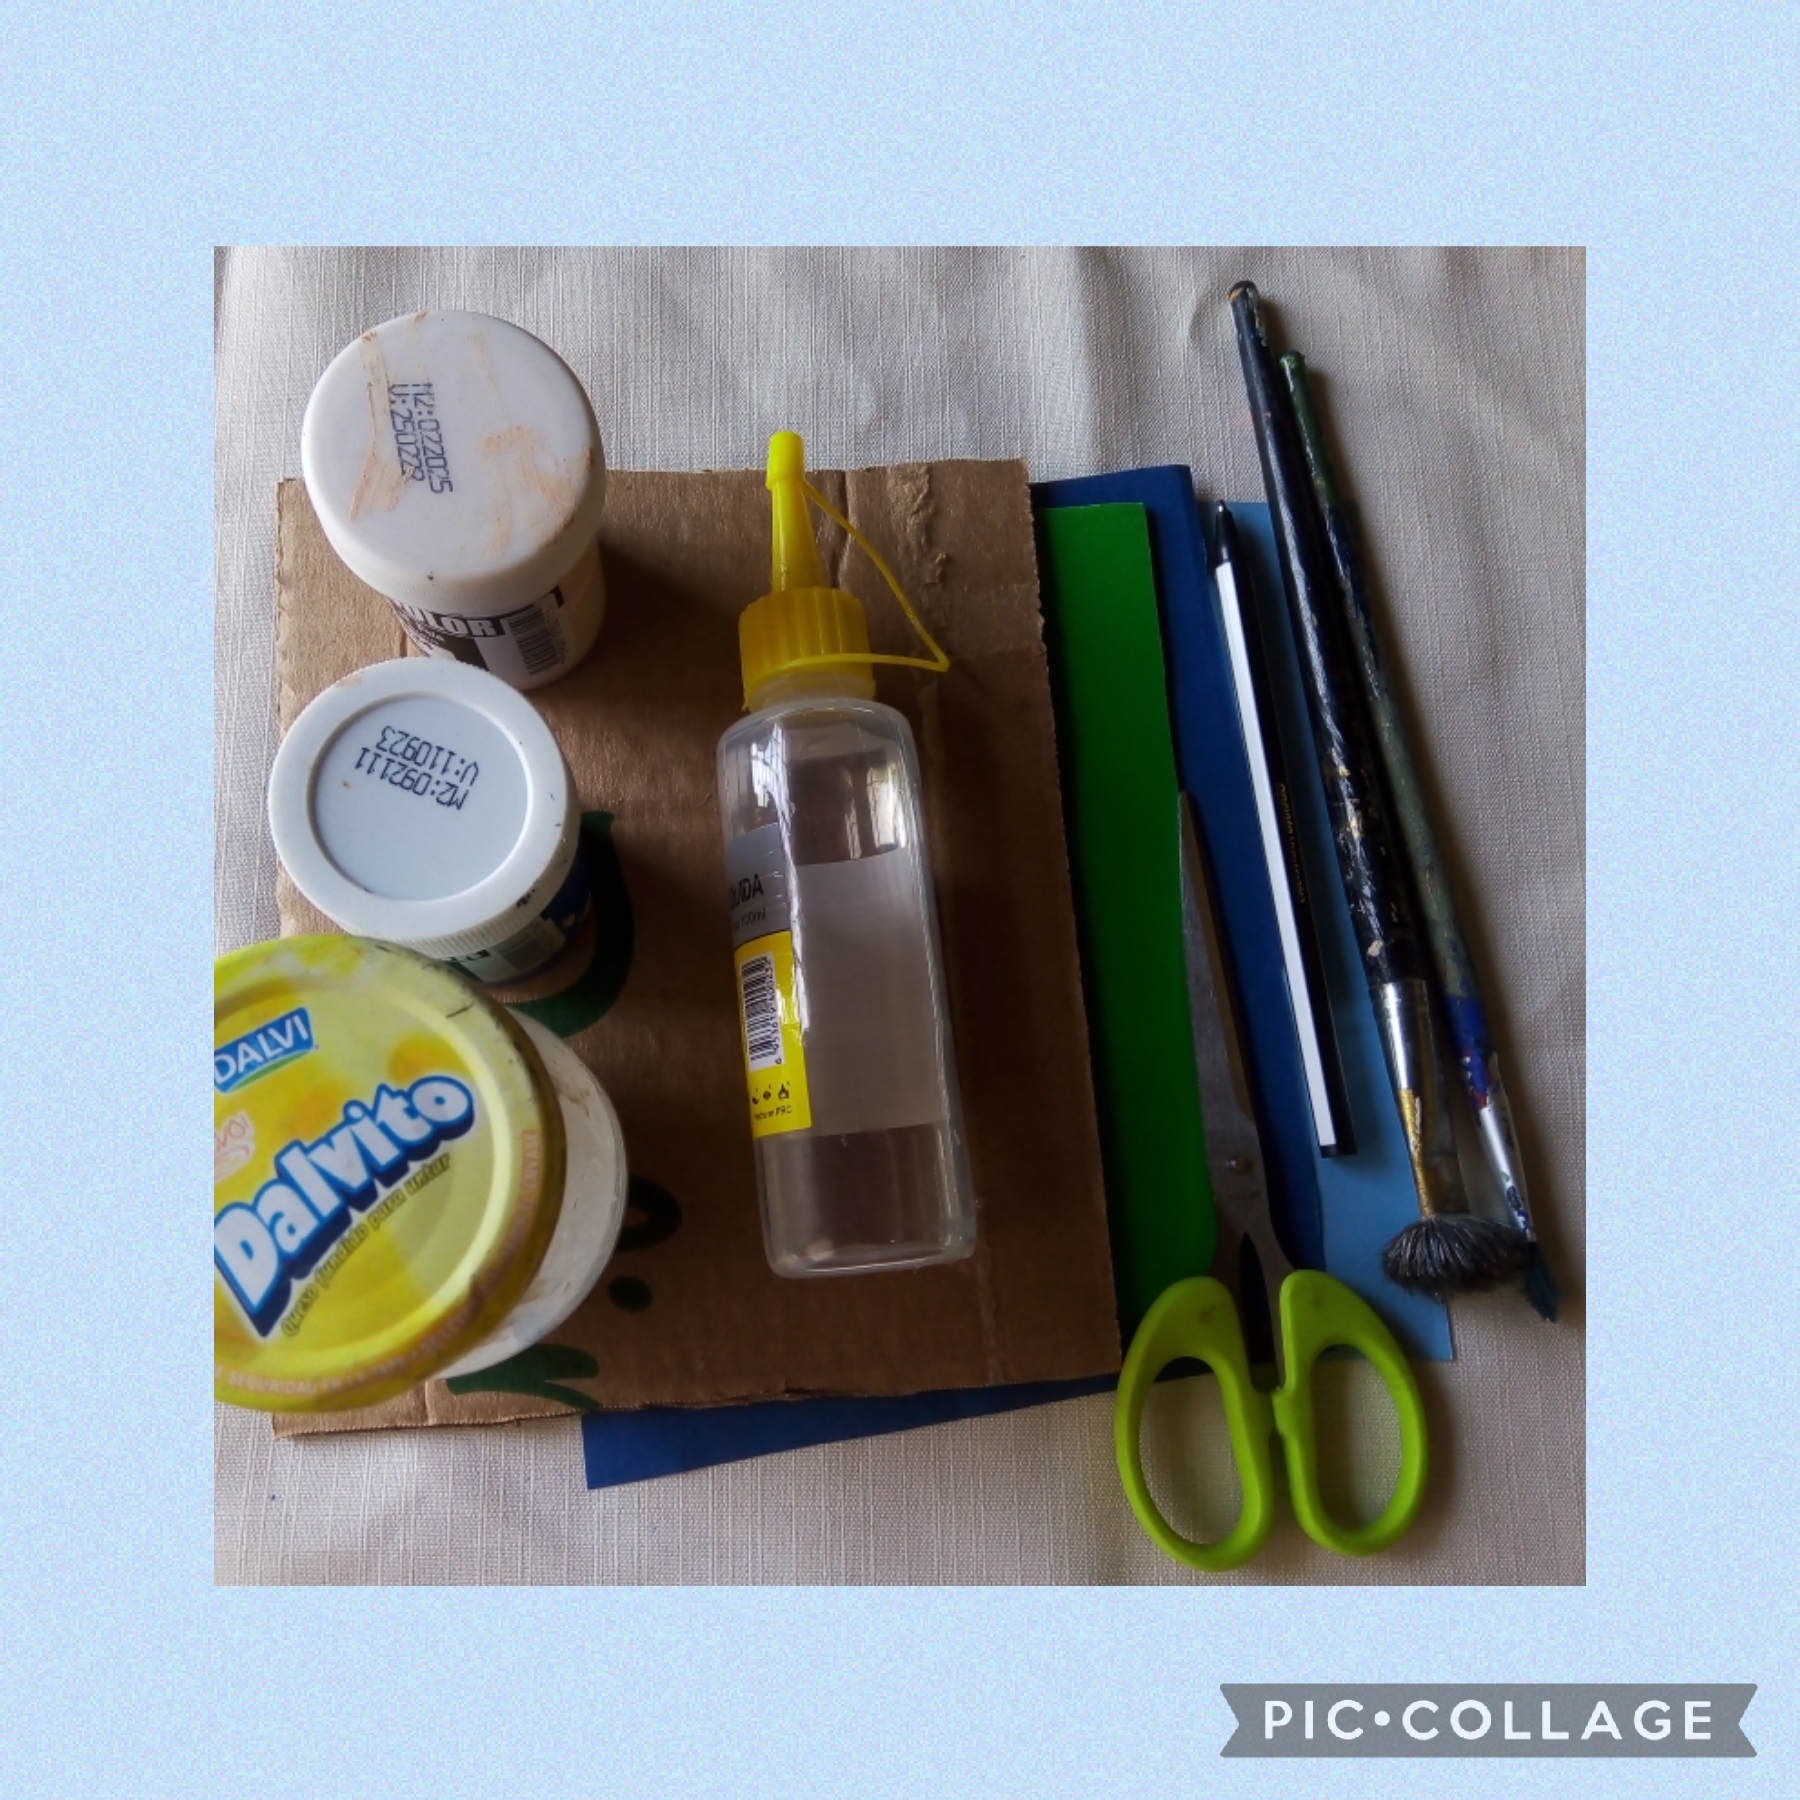
Los Materiales Que Usé En Su Elaboración:
Cartón.
Cartulina azul celeste.
Cartulina azul oscuro.
Foamis negro.
Pintura al frío azúl.
Gueso.
Pincel.
Foamis verde.
Tijeras.
Silicón al frío.
Palitos de palma.
Pintura al frío negra.
The materials I used in its elaboration:
Paperboard.
Light blue cardboard.
Dark blue cardstock.
Black foam.
Blue cold paint.
Guess.
Brush.
Green foam.
Pair of scissors.
Cold silicone.
Palm sticks.
Black cold paint.
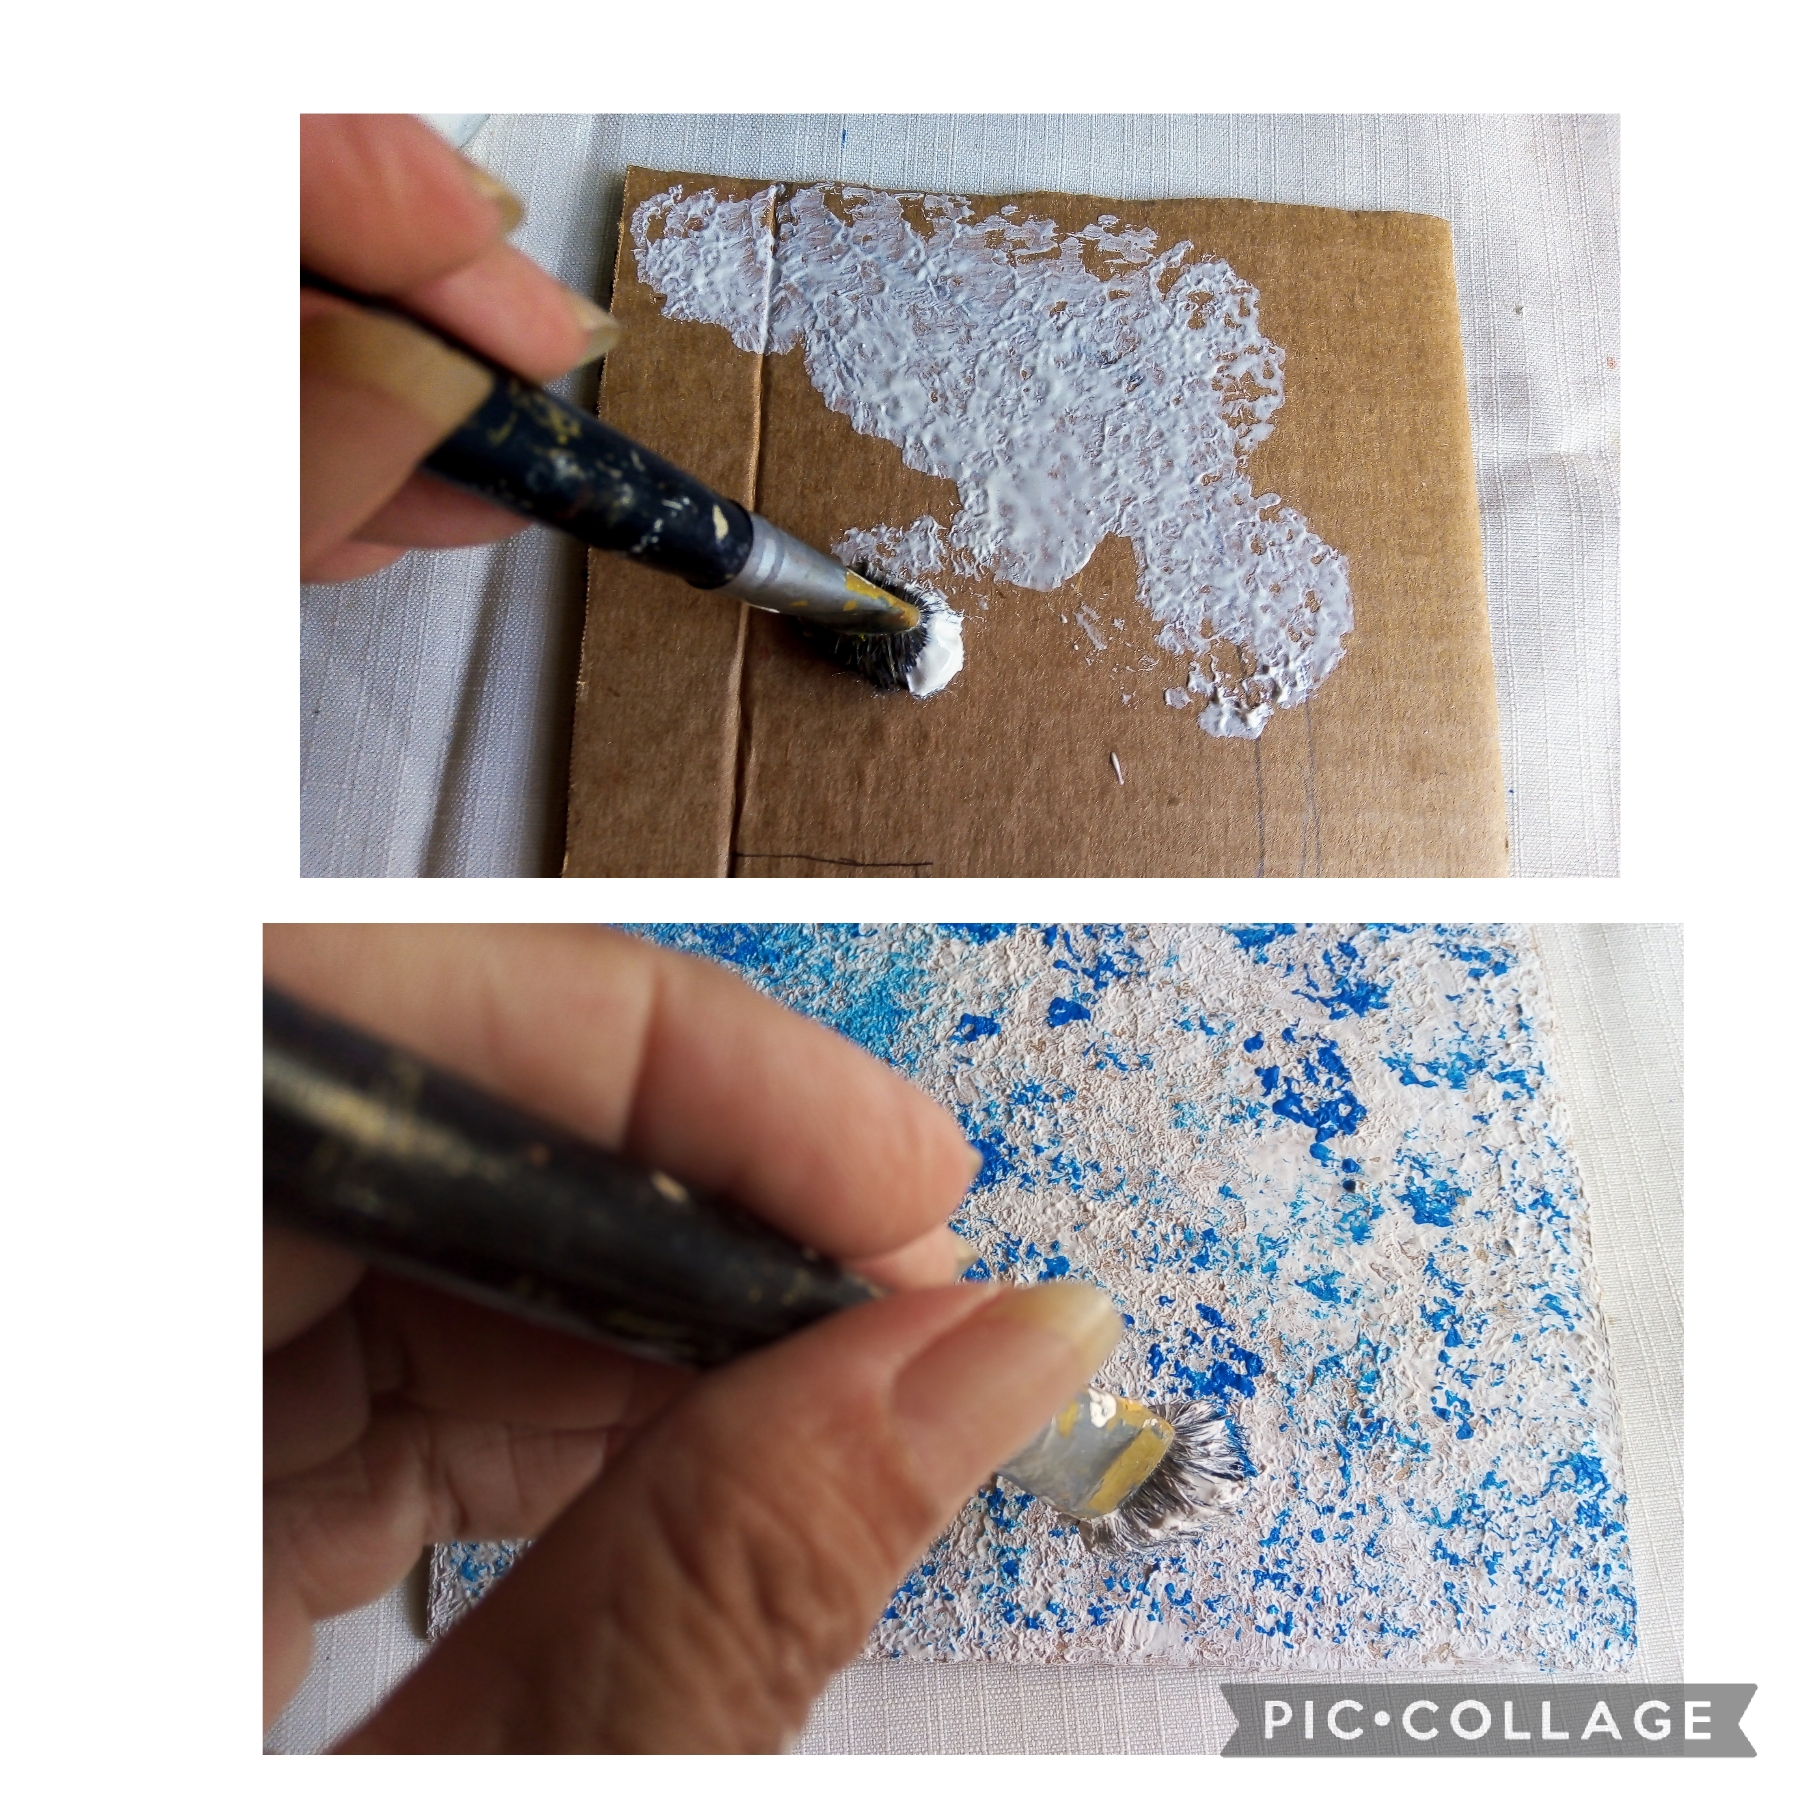
Su Elaboración:
PRIMER PASO: corto un cuadro de cartón de 15 x 12 Cms., Y usando geso cubro toda la superficie, luego uso pintura al frío azúl y doy toquecitos con el pincel para lograr un efecto azul suave dejo secar.
Its Elaboration:
FIRST STEP: I cut a 15 x 12 cm cardboard square, and using geso I cover the entire surface, then I use blue cold paint and dab with the brush to achieve a soft blue effect and let it dry.
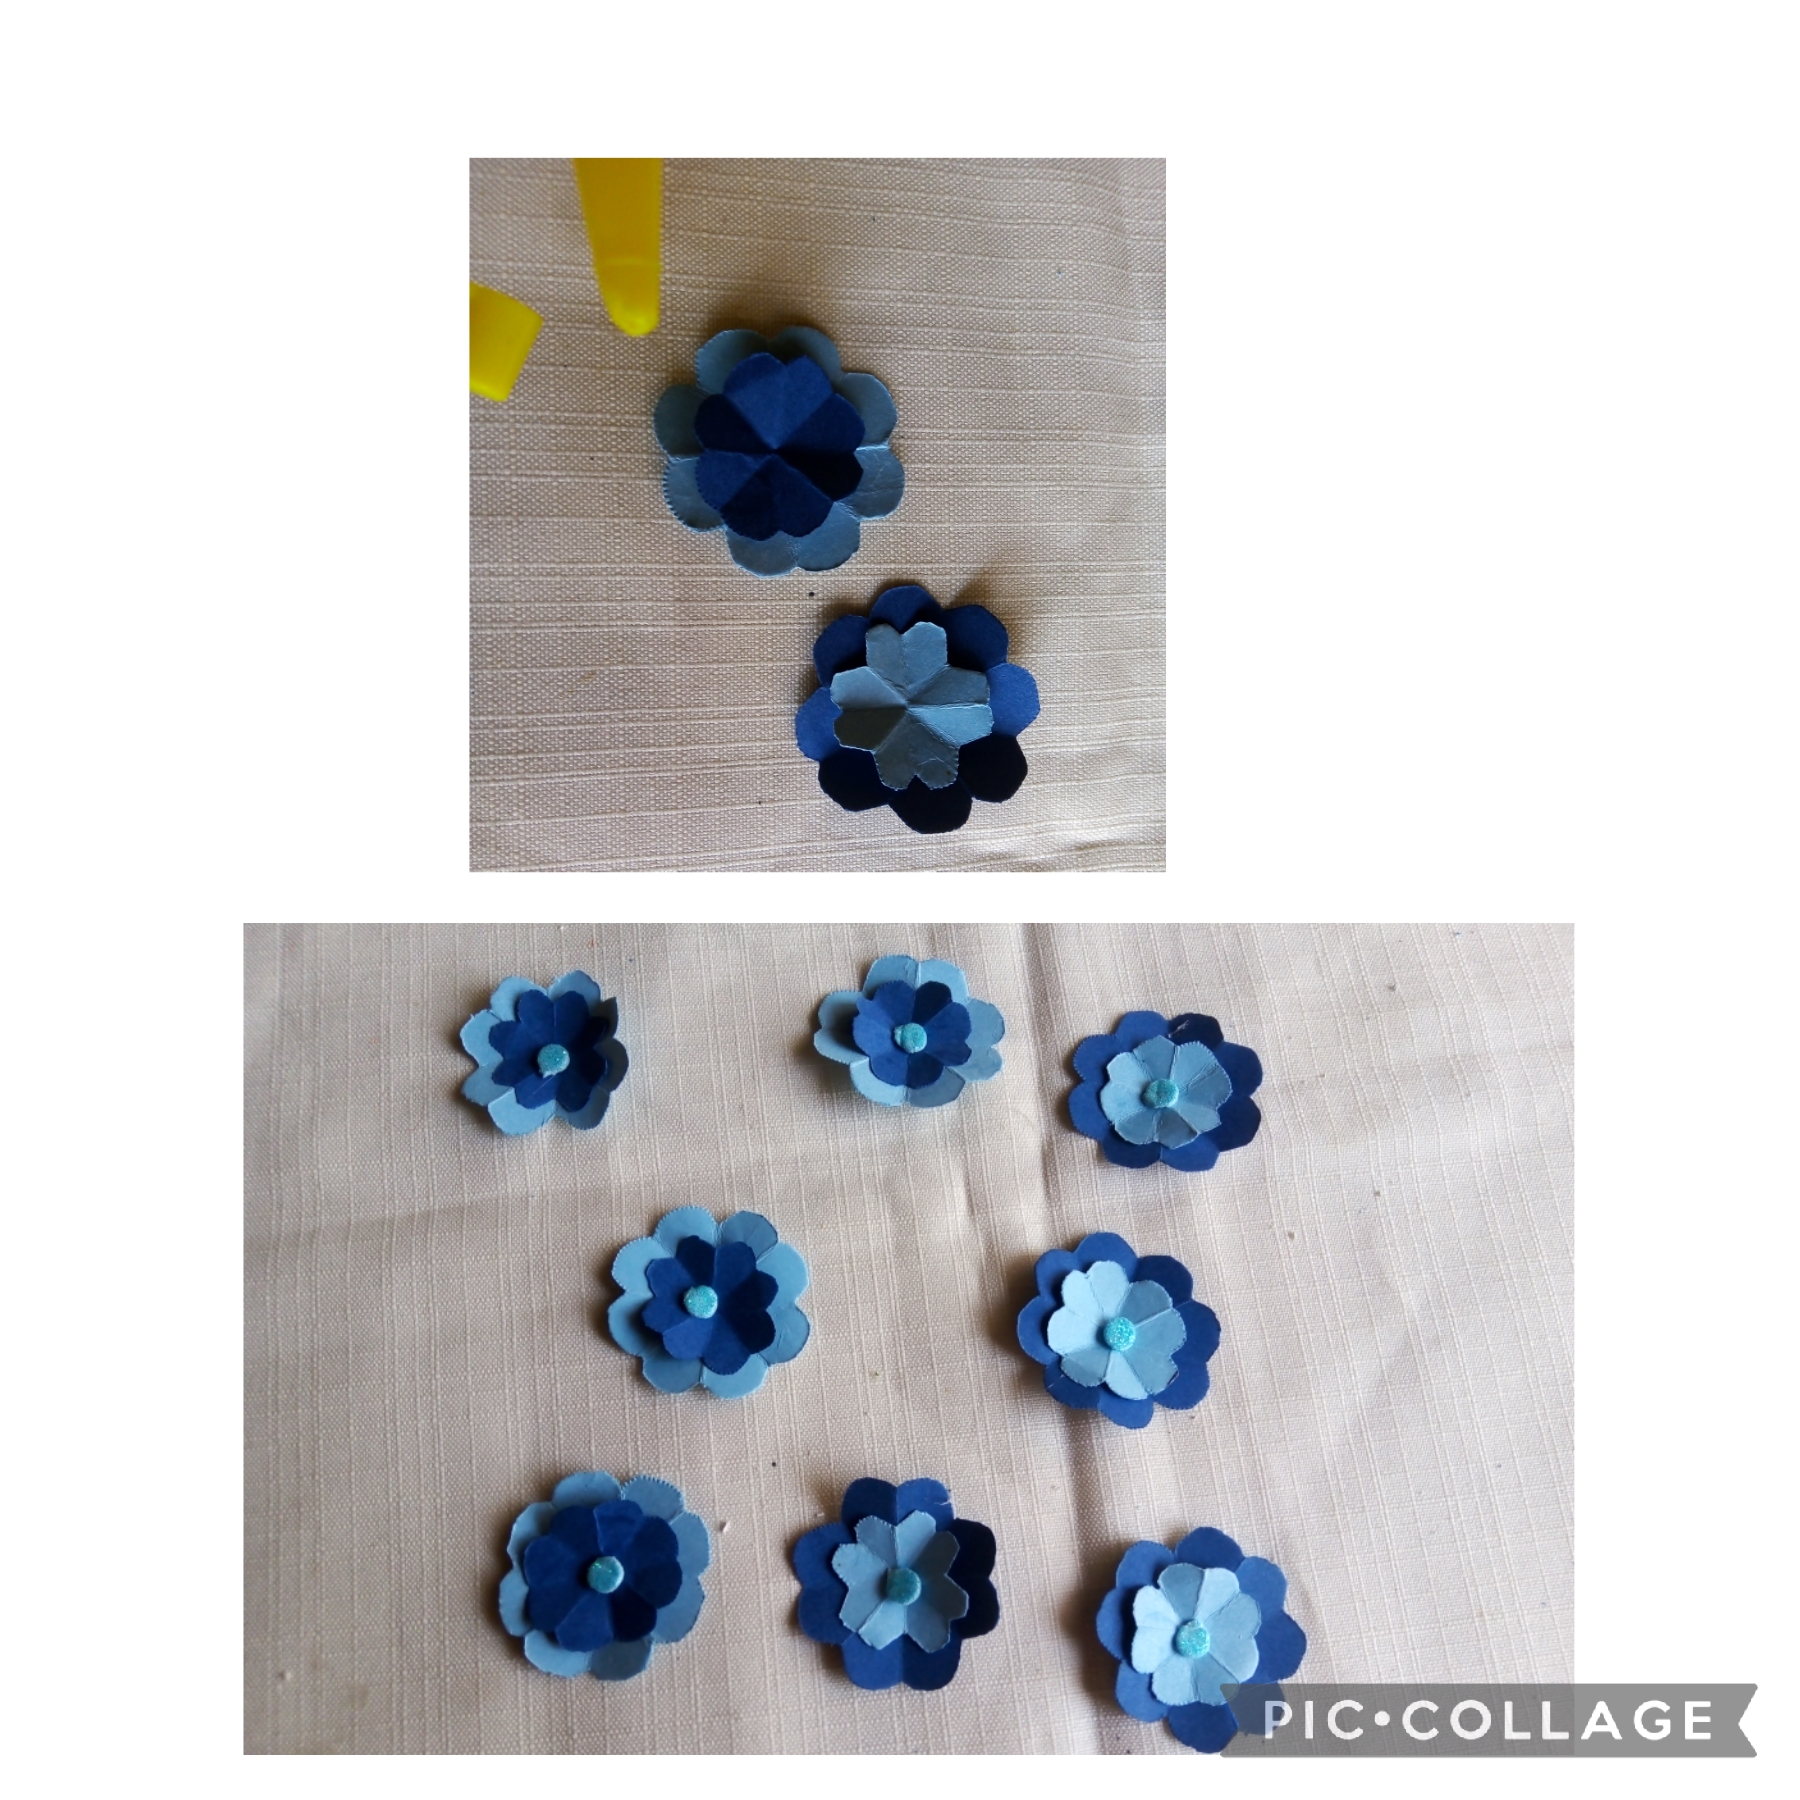
SEGUNDO PASO: para este paso utilizo la cartulina azul celeste y usando un frasco como molde corto con la parte más ancha ocho circulos; cuatro grandes y cuatro más pequeños, lo mismo hago con la cartulina azul oscuro
o sea dieciséis círculos en total ocho grandes y ocho pequeños. Ahora doblo como se ve en las fotos y usando las tijeras corto para dar forma de flor.
SECOND STEP: for this step I use light blue cardboard and using a bottle as a short mold with the widest part eight circles; four big ones and four smaller ones, I do the same with the dark blue cardstock
that is, sixteen circles in total, eight large and eight small. Now I fold as seen in the photos and using scissors I cut to shape a flower.
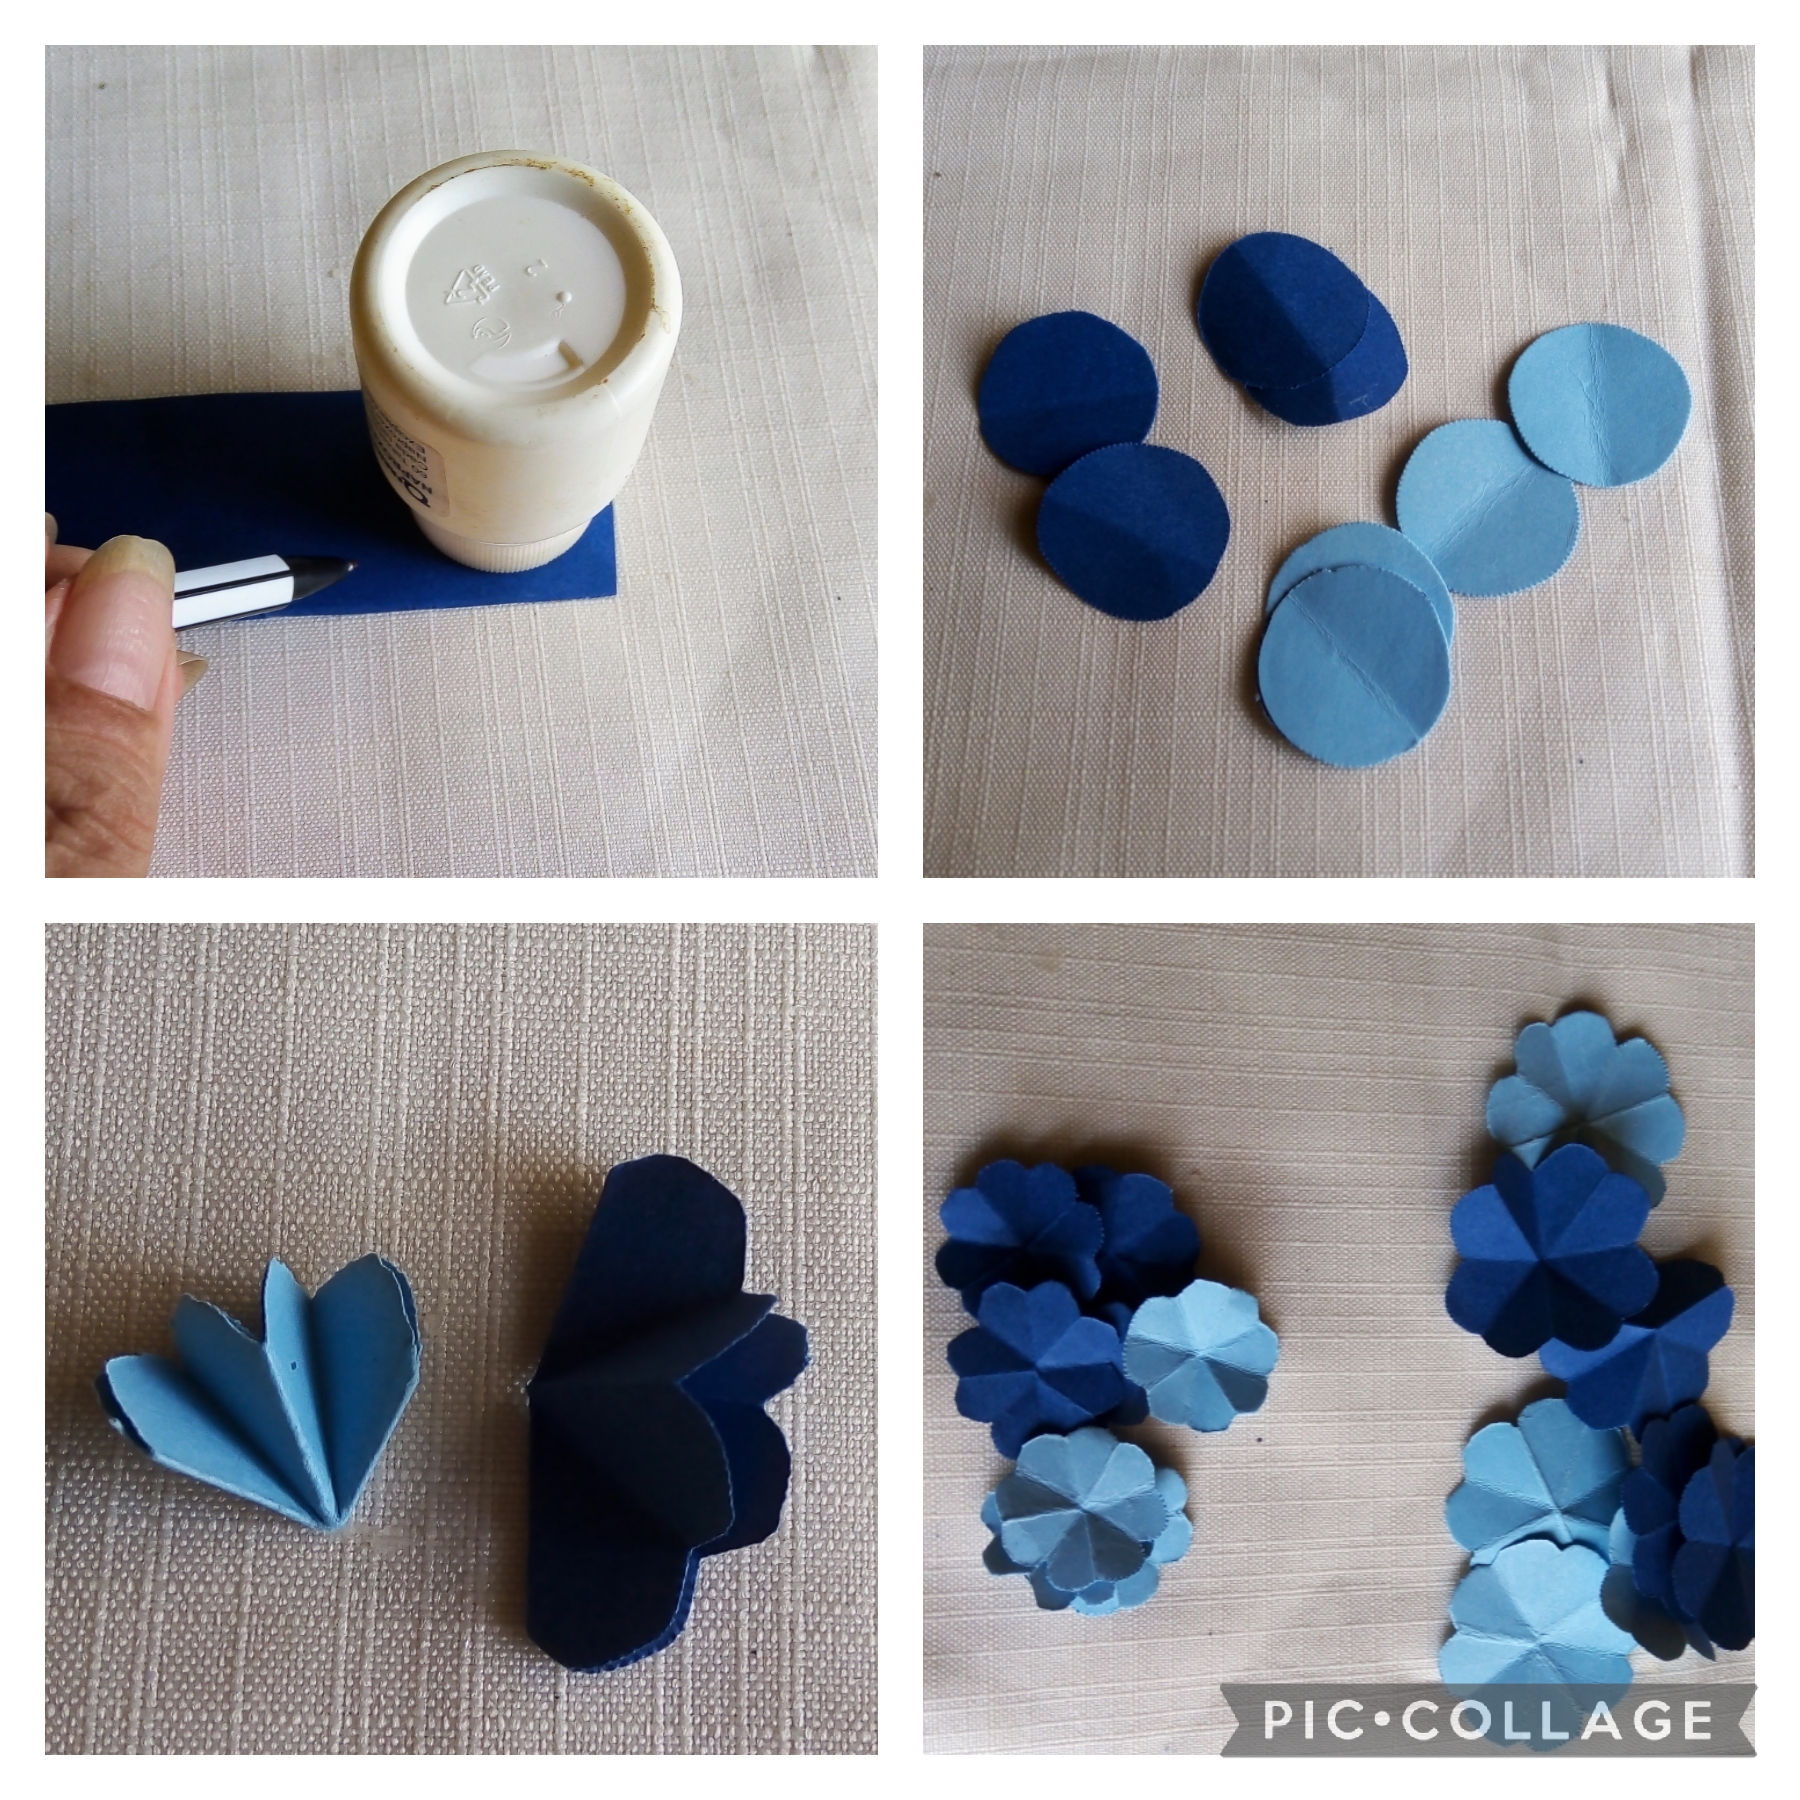
TERCER PASO: para realizar este paso tomo una forma de flor azul celeste y encima coloco una forma de flor más pequeña azul oscuro, un pequeño círculo de foamis azul brillante en el centro y así queda formada la flor. Este paso lo repito al contrario o sea la forma de flor azul oscuro debajo y encima la forma azul celeste y realizó en total cuatro flores de cada color ; como se ve en las fotos.
STEP THREE: to carry out this step I take a light blue flower shape and on top I place a smaller dark blue flower shape, a small circle of bright blue foamis in the center and thus the flower is formed. I repeat this step in reverse, that is, the dark blue flower shape below and the light blue shape above and I made a total of four flowers of each color; as seen in the photos.
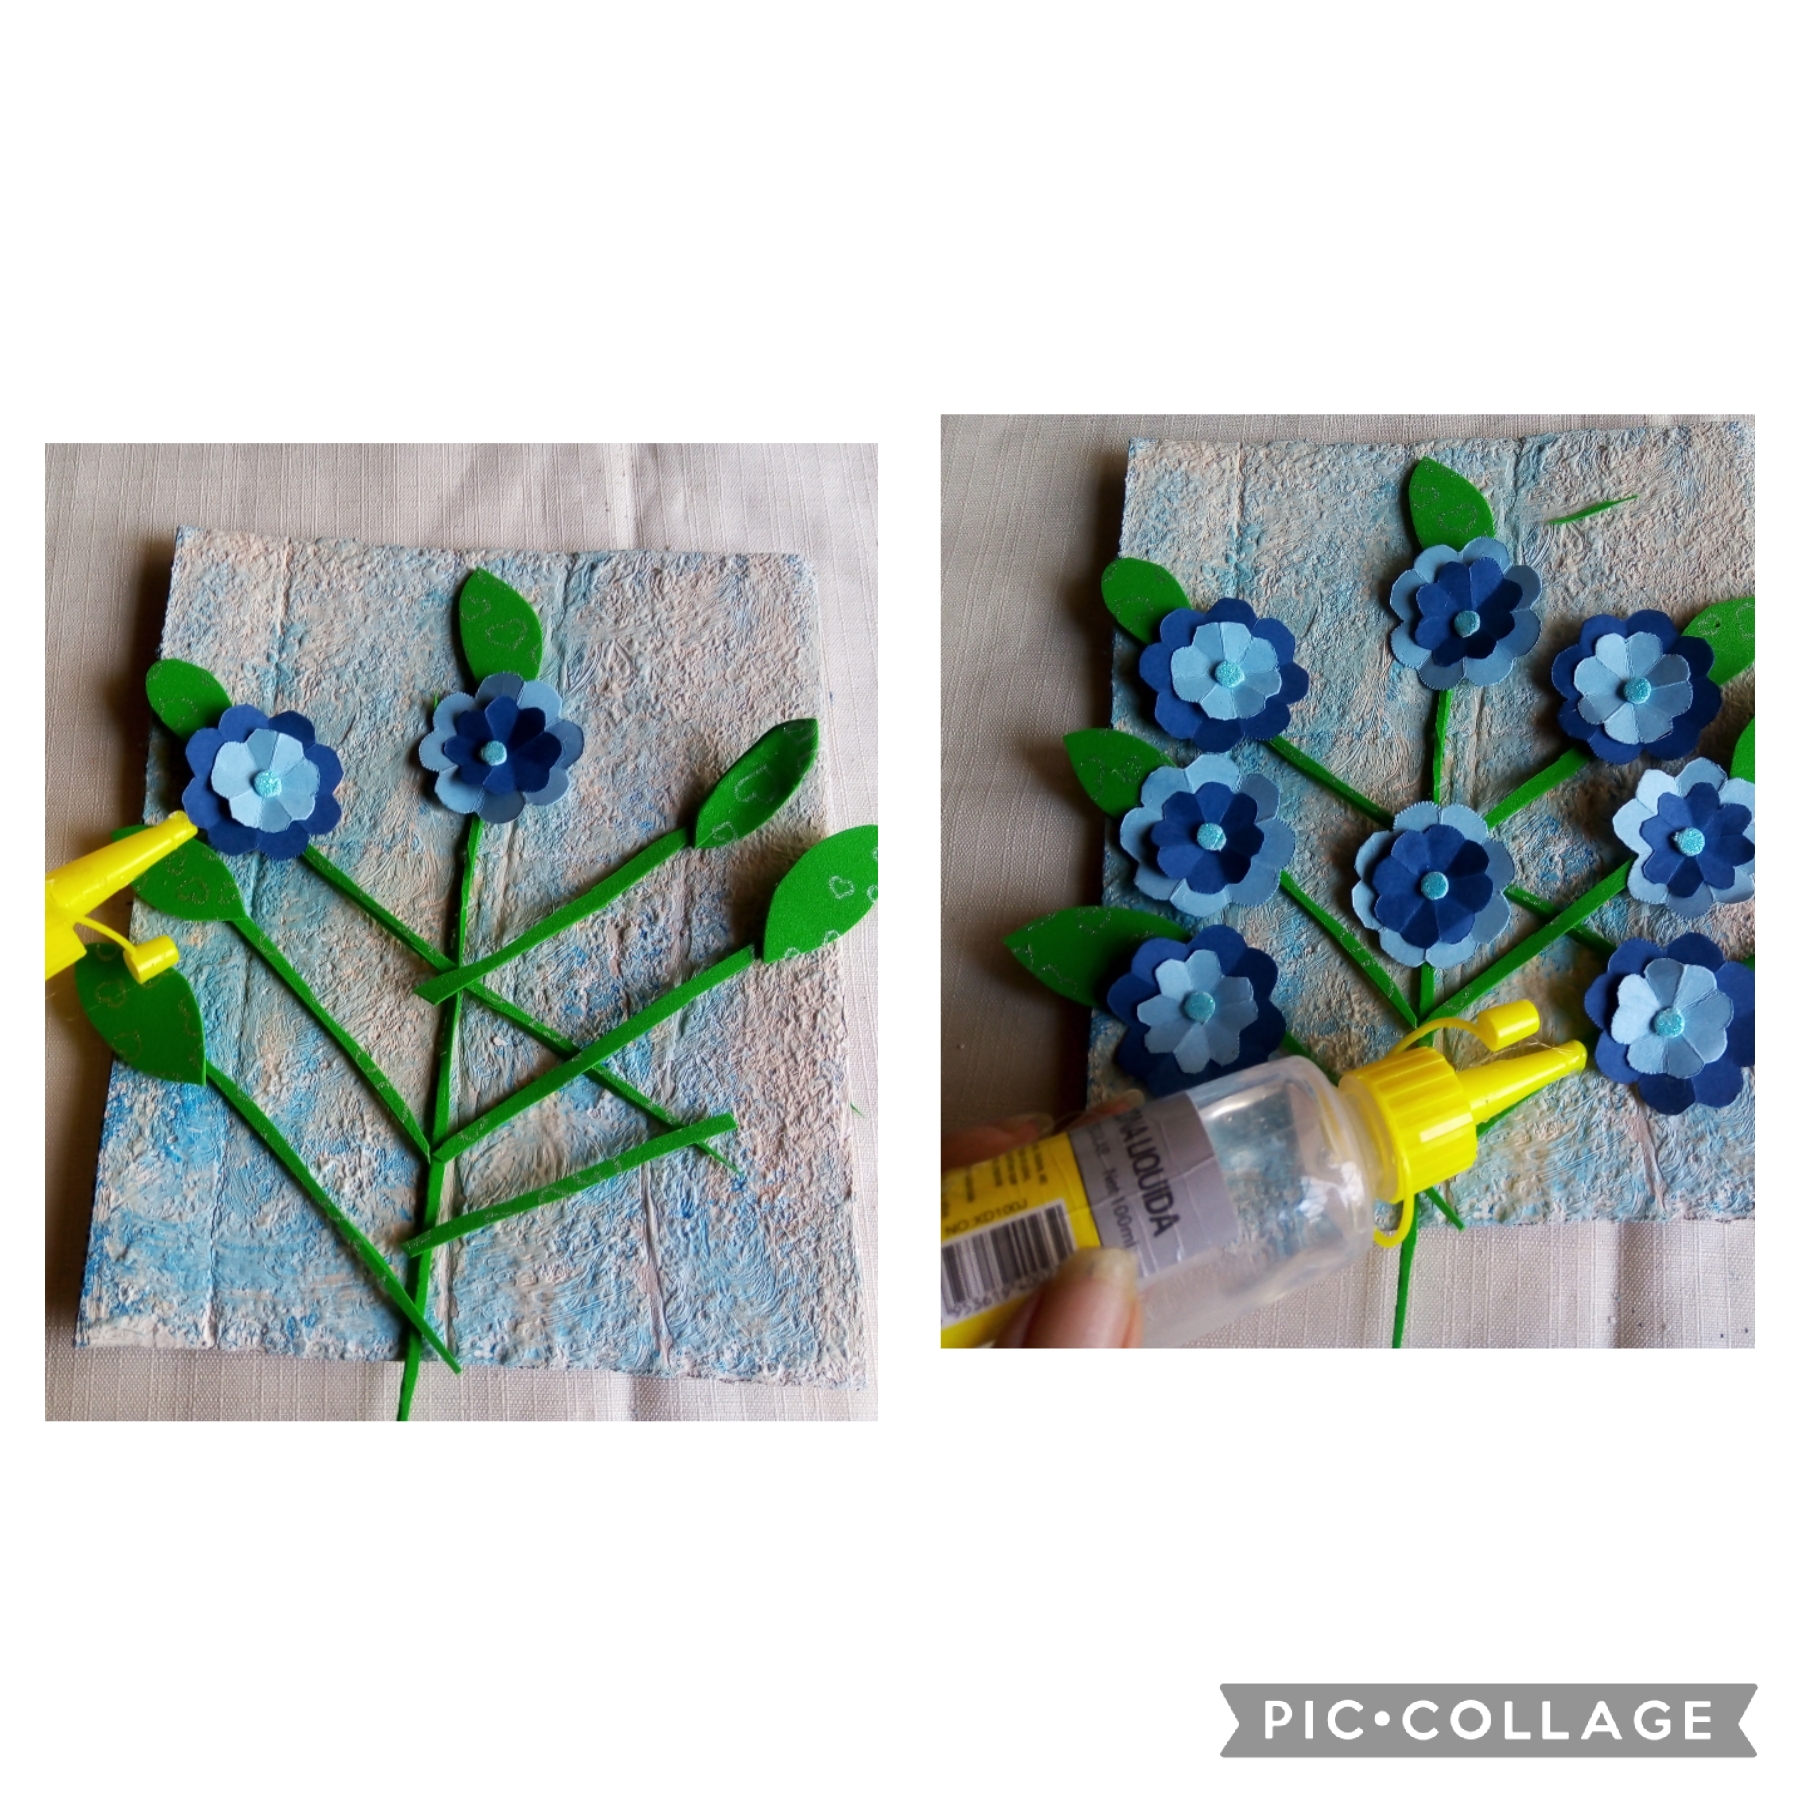
CUARTO PASO; ahora con foamis verde usando las tijeras corto siete listoncitos y siete hojas. Ahora usando el silicón al frío pego al cuadro dando forma de arco (ver las fotos).
FOURTH STEP; now with green foami using scissors I cut seven ribbons and seven leaves. Now, using the cold silicone, I glue the painting in the shape of an arch (see the photos).

QUINTO PASO: en este paso uso el silicón al frío y voy pegando las flores ; como muestra las fotos.
FIFTH STEP: in this step I use the cold silicone and I stick the flowers; as the photos show.
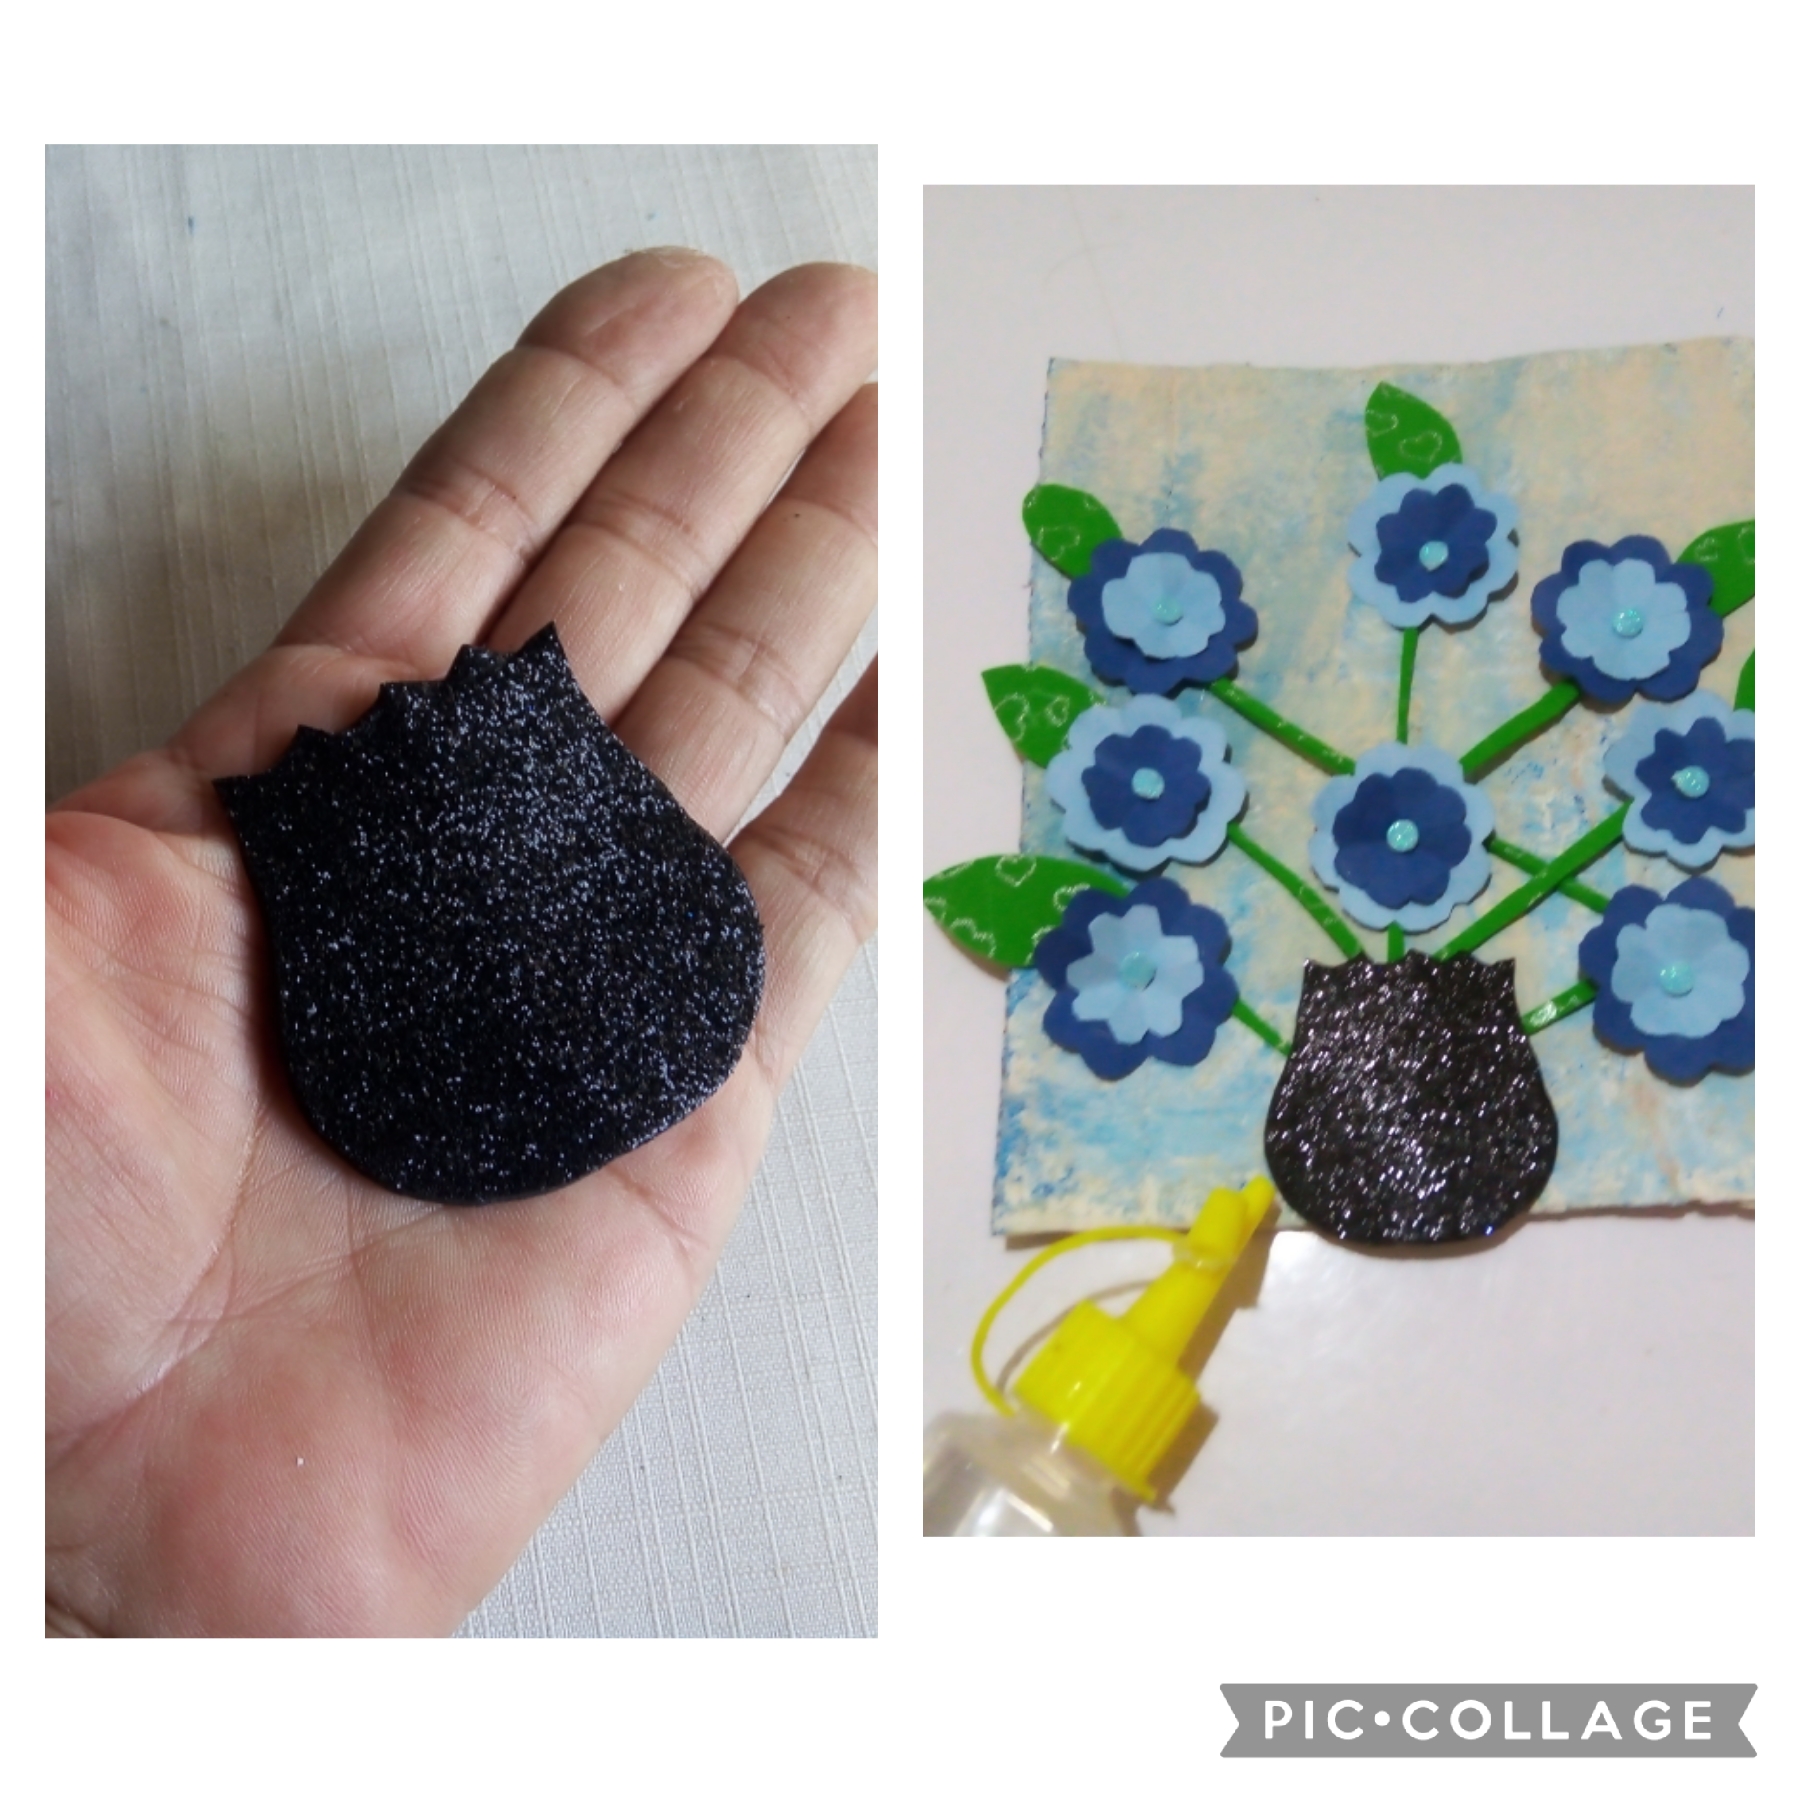
SEXTO PASO: usando las tijeras, con foamis negro escarchado corto la forma de un jarrón, y lo pongo encima del tallo de las flores y así va quedando.
STEP SIX: using the scissors, with frosted black foami I cut the shape of a vase, and I put it on top of the stem of the flowers and that's how it goes.
SÉPTIMO PASO: ahora usando palitos de palma corto cuatro de la medida del cuadro para formar un marco.
STEP SEVENTH: Now using palm sticks, cut four of the size of the painting to form a frame.
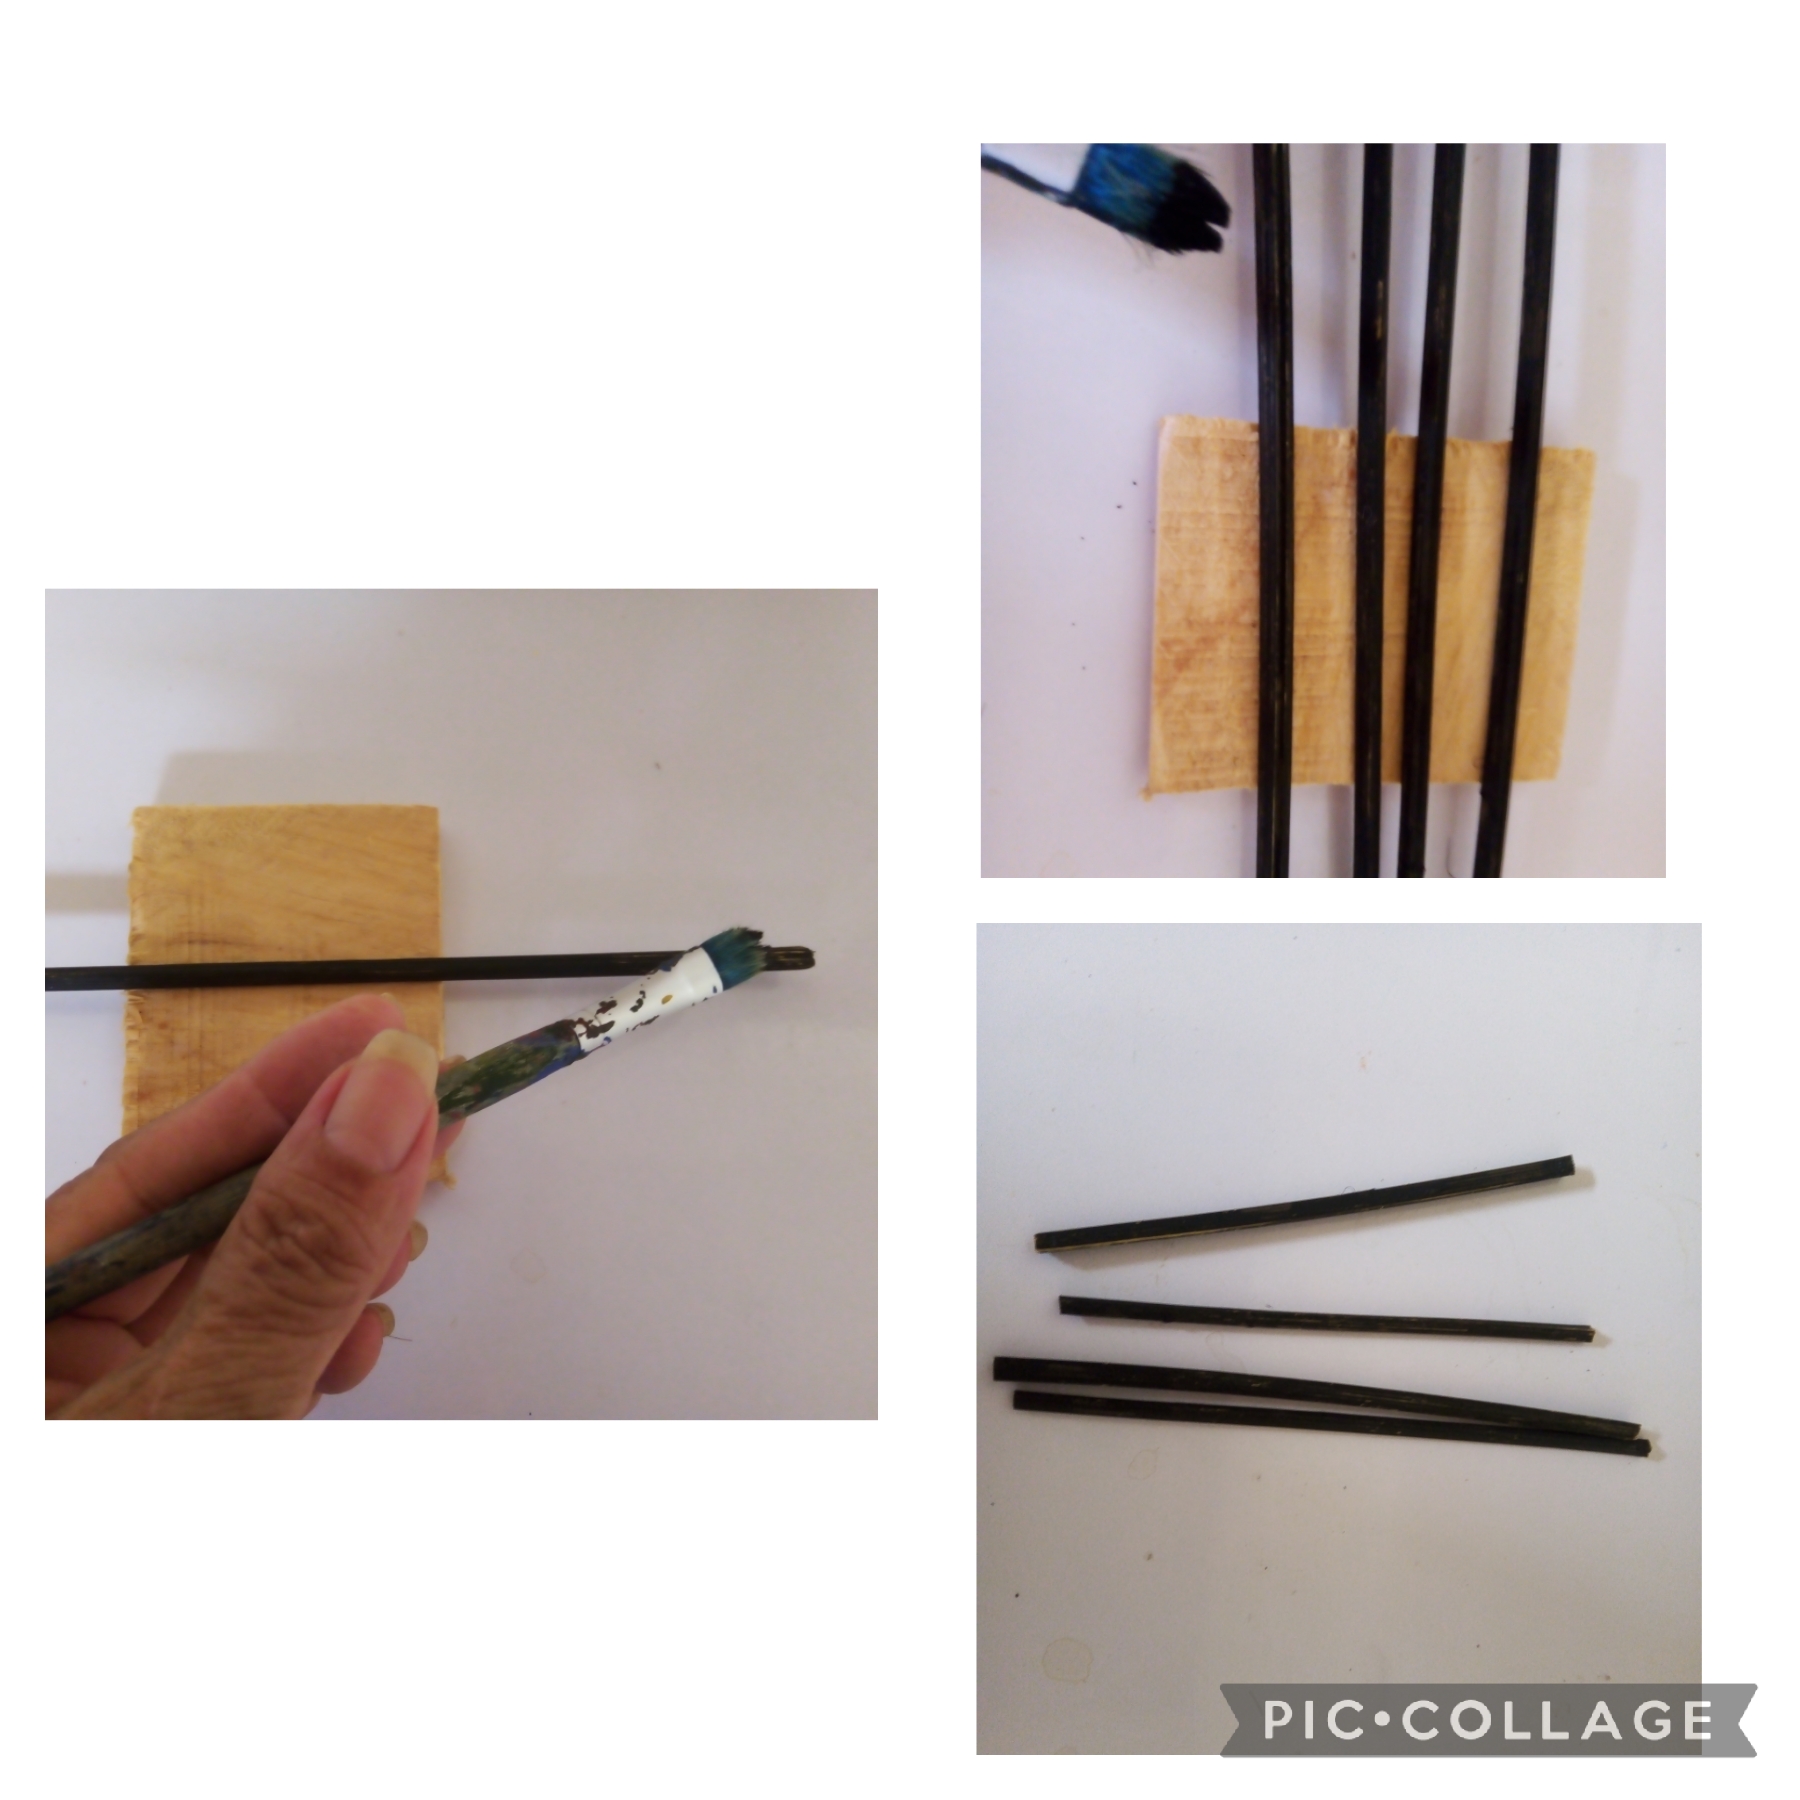
OCTAVO PASO: una vez pintados los palitos de palma con pintura al frío negra, cortados a la medida del cuadro, procedo a pegarlos con el silicón al frío y así terminé mi proyecto, como muestra las fotos.
EIGHTH STEP: once the palm sticks have been painted with black cold paint, cut to the size of the painting, I proceed to glue them with cold silicone and thus I finished my project, as shown in the photos.
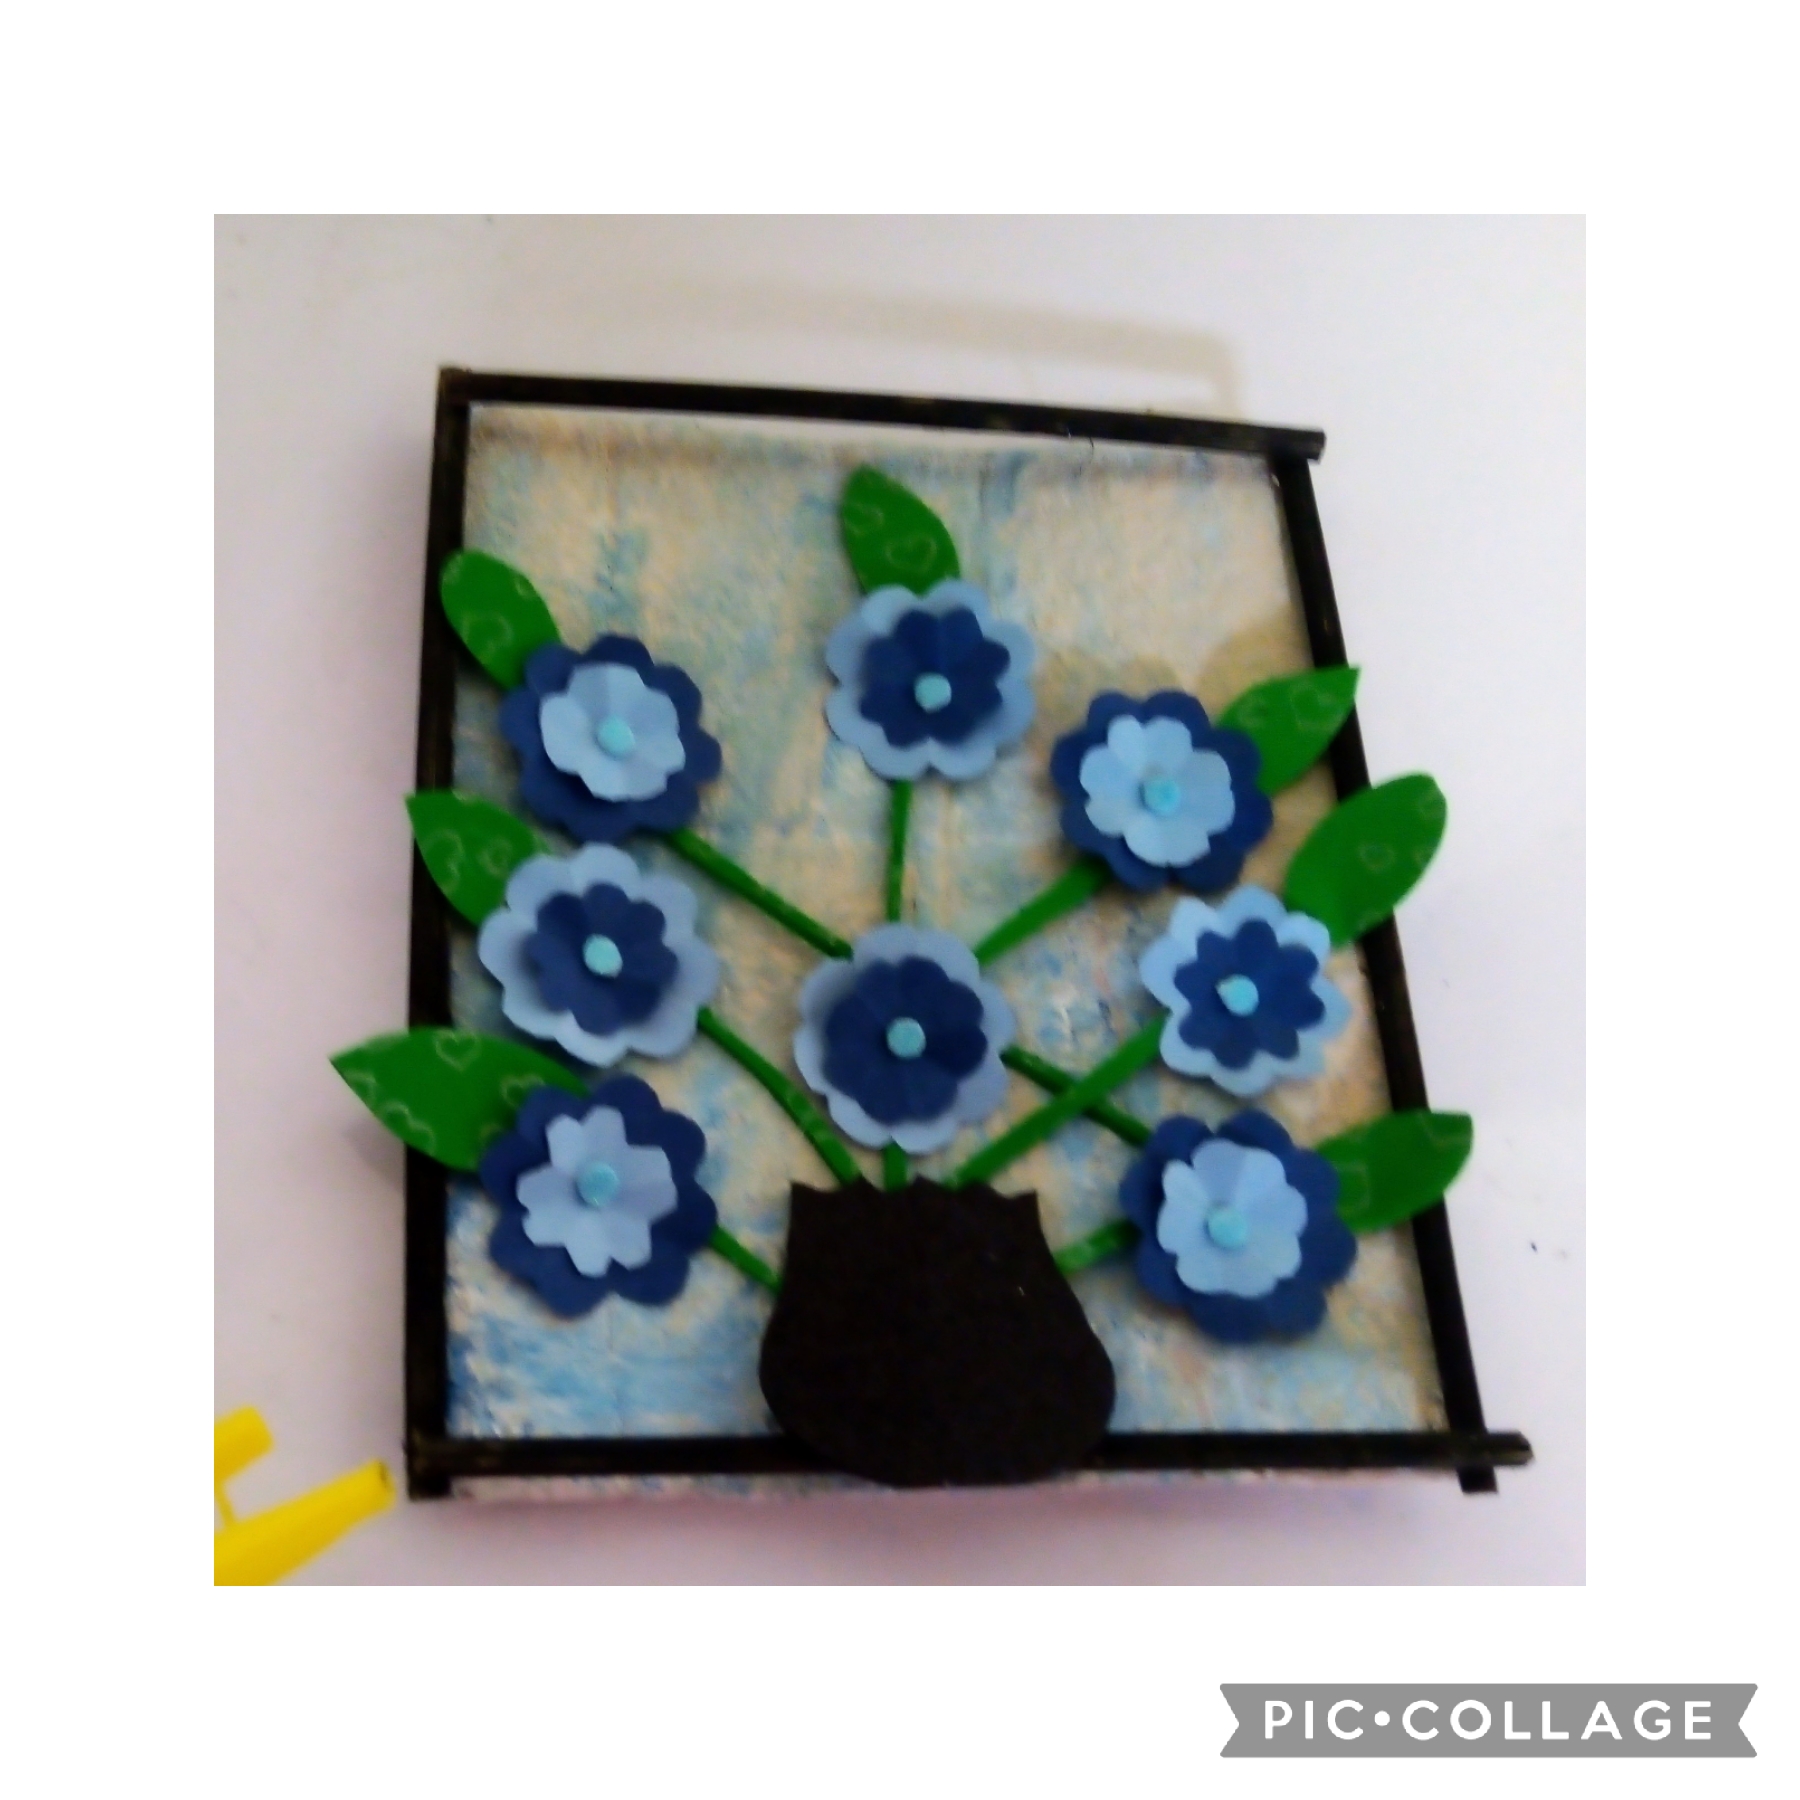
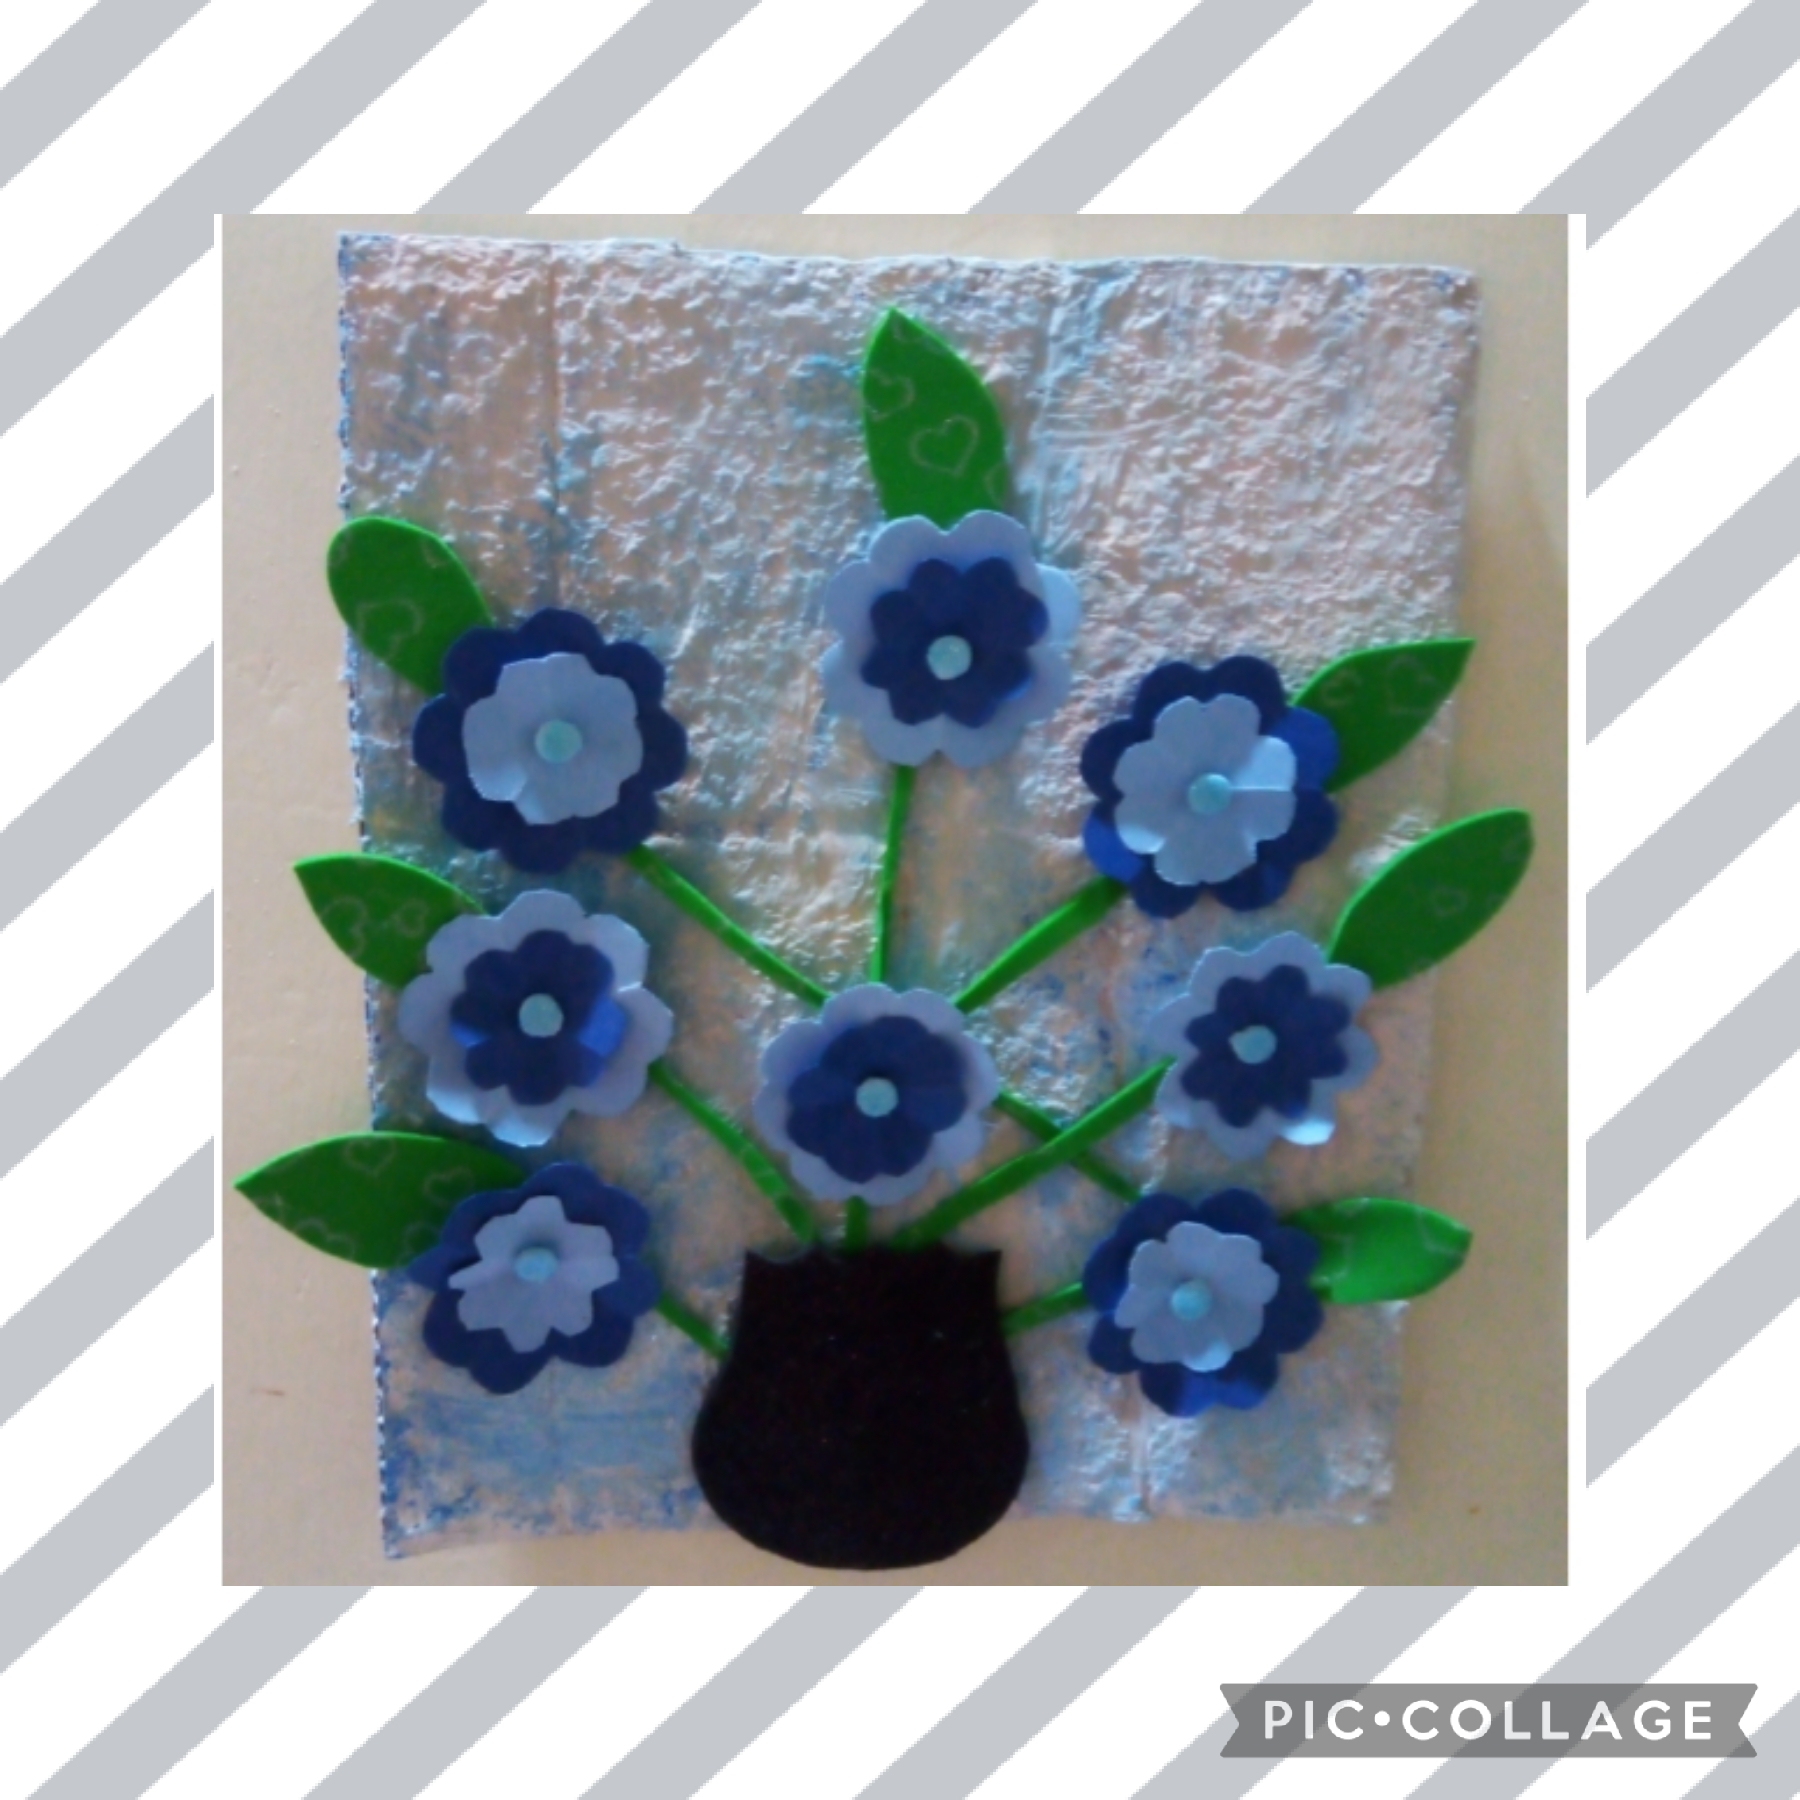
Artistas Creativos este es el resultado final de mi manualidad sencilla y decorativa, que usaré para ambientar pasillos y pilares de los espacios dónde se efectuará la feria de las flores; gracias a todos por leer y apoyar mis publicaciones y nos vemos en la próxima manualidad.
Creative Artists, this is the final result of my simple and decorative craft, which I will use to set the corridors and pillars of the spaces where the flower fair will take place; thank you all for reading and supporting my posts and see you in the next craft.
Las imágenes de este tutorial son de mi propiedad las fotos las tomé con mi celular Motorola E6 y las edite con una aplicación gratis del mismo.
Para traducir texto usé geogle traduuctor.
The images in this tutorial are my property, the photos were taken with my Motorola E6 cell phone and I edited them with a free application of the same.
To translate text I used geogle translator

Muy lindo tu proyecto... gracias por compartir el paso a paso. Saludos amiga.
🎆🎇🎉🎊🦋🌲🥰🌳🐞🐝🌴💐🌵🪴☺️😘🍀☘️🌹🥀🍃🌿🌺🌷🌻🌾🌼😊👍🏼🍄🍂🍁🌹🥀🌺🌷🌸💮🏵️🎊🎉🎇🎆
Gracias @chacald.dcymt, saludos que estés muy bien.,
Esta muy lindo y genial. FELICIDADES.
Gracias por tu visita a mi blog, @gavimaye12, y tú grato comentario, saludos.