Estamos en la recta final para la presentación de los proyectos escolares 🏫 del primer momento, por lo menos los que somos padres, tíos, representantes, en fin, todos los que tenemos niños en edad escolar estamos montados en eso.
We are in the final stretch for the presentation of the school projects 🏫 of the first moment, at least those of us who are parents, uncles, representatives, in short, all of us who have school-aged children are on it.
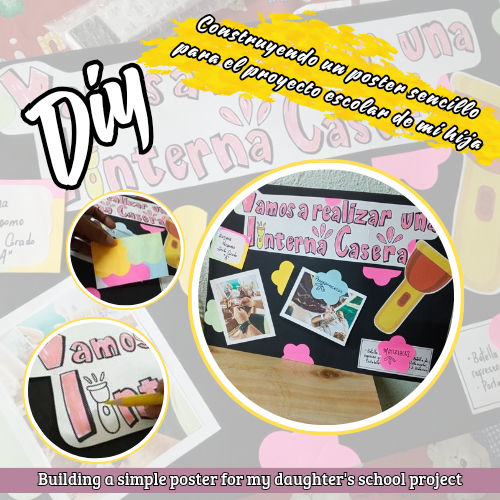
Para la presentación del proyecto escolar de mi hija Dariana, la maestra le pidió que complementará su exposición con un cartel sencillo sobre el experimento que realizó en casa con ayuda de su papá.
For the presentation of my daughter Dariana's school project, the teacher asked her to complement her presentation with a simple poster about the experiment she did at home with the help of her dad.
Por lo general, éste tipo de carteles los realiza mi niña y yo la voy orientando, sin embargo ésta vez lo elaboré sola, por tantas actividades que tenía mi hija en la escuela. Les muestro como realicé ésta herramienta de apoyo visual, quédense conmigo...👉
Usually, these types of posters are made by my daughter and I guide her, however this time I made it alone, because of so many activities my daughter had at school. I show you how I made this visual support tool, stay with me...👉
Materiales- Materials
🔅Cartulina escolar negra -
🔅Silicón en barra - Silicone bar.
🔅Pistola de silicón caliente - Hot silicone gun.
🔅Impresiones a color -
🔅Regla - Ruler.
🔅Exacto - Exact
🔅Tijera - Scissors.
🔅Marcador negro punta fina -vFine tip black marker.
🔅Hojas blancas - White sheets.
🔅Libreta tipo flor multicolor - Multicolor flower-shaped notebook.
🔅 Pegamento en barra - Glue stick.
🔅Cinta doble cara - Double-sided tape.
🔅Cartón reciclado - Recycled cardboard.
Procedimiento - Procedure
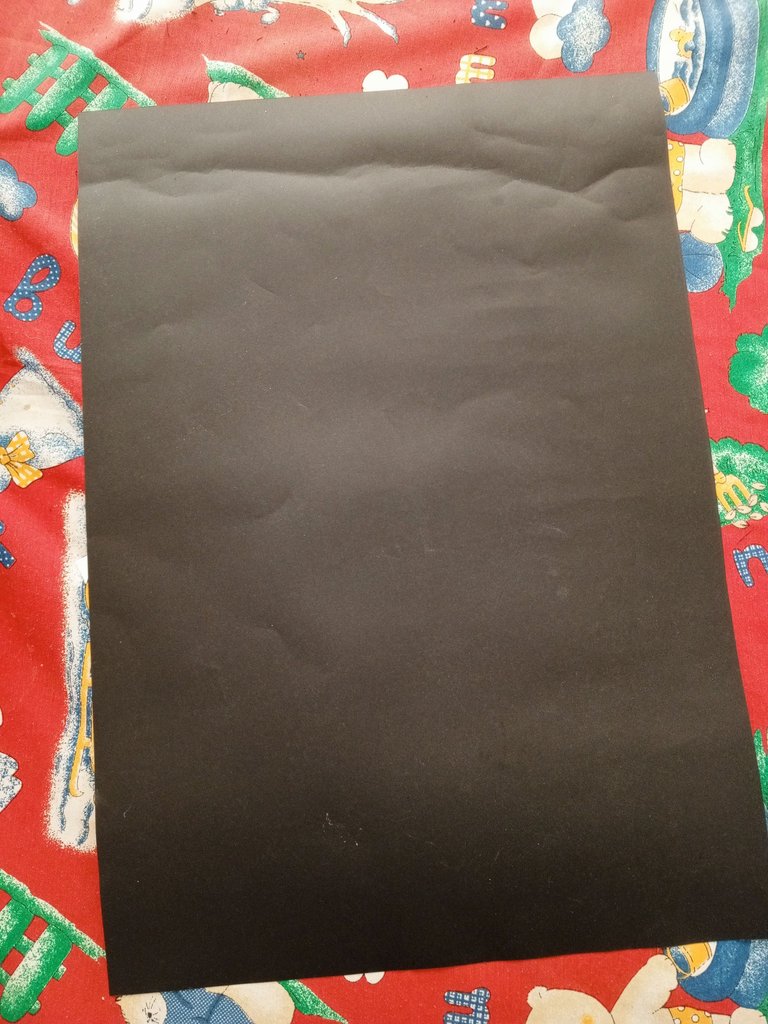
Lo primero será definir la base, en éste particular trabajé con una cartulina negra escolar con medidas de: 35 cm de alto por 50 cm de ancho. Una base pequeña dónde estará la información necesaria sobre la exposición.
The first thing will be to define the base, in this particular case I worked with a black school cardboard with measurements of: 35 cm high by 50 cm wide. A small base where the necessary information about the exhibition will be.
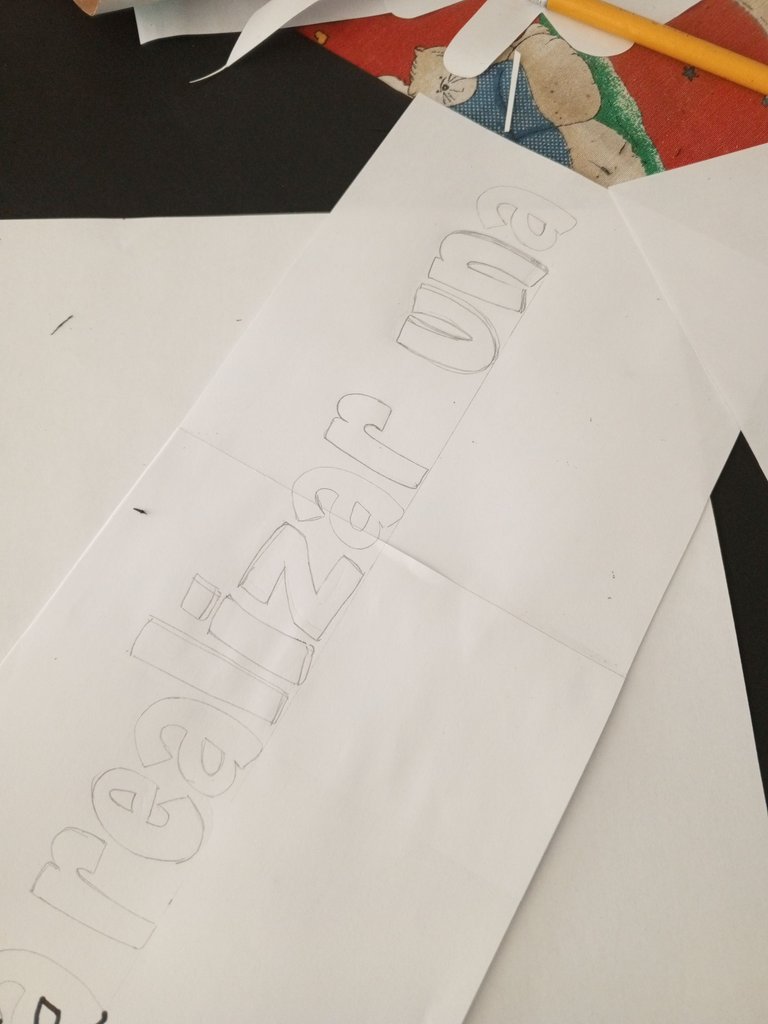
Lo siguiente es armar el título, en mi caso fue lo que más tiempo llevo. Lo hice en una letra más o menos en lettering en hoja blanca, sin embargo hechas a mano y sin mucha experiencia no se veían igual, Jejeje.
The next step is to put together the title, which in my case took the longest. I did it in a letter more or less in lettering on a white sheet of paper, however, handmade and without much experience, they didn't look the same, hehe.
Primero las dibujé sobre la hoja blanca, y les fui dando forma hasta que termine todo el título. Le agregué un dibujo de una linterna en una de las i, para que se viera más atractivo el título. Sobre la linterna 🔦 casera es la exposición.
First I drew them on the white sheet, and I kept giving them shape until I finished the whole title. I added a drawing of a flashlight on one of the i's, so that the title looked more attractive. The exhibition is on the homemade flashlight 🔦.
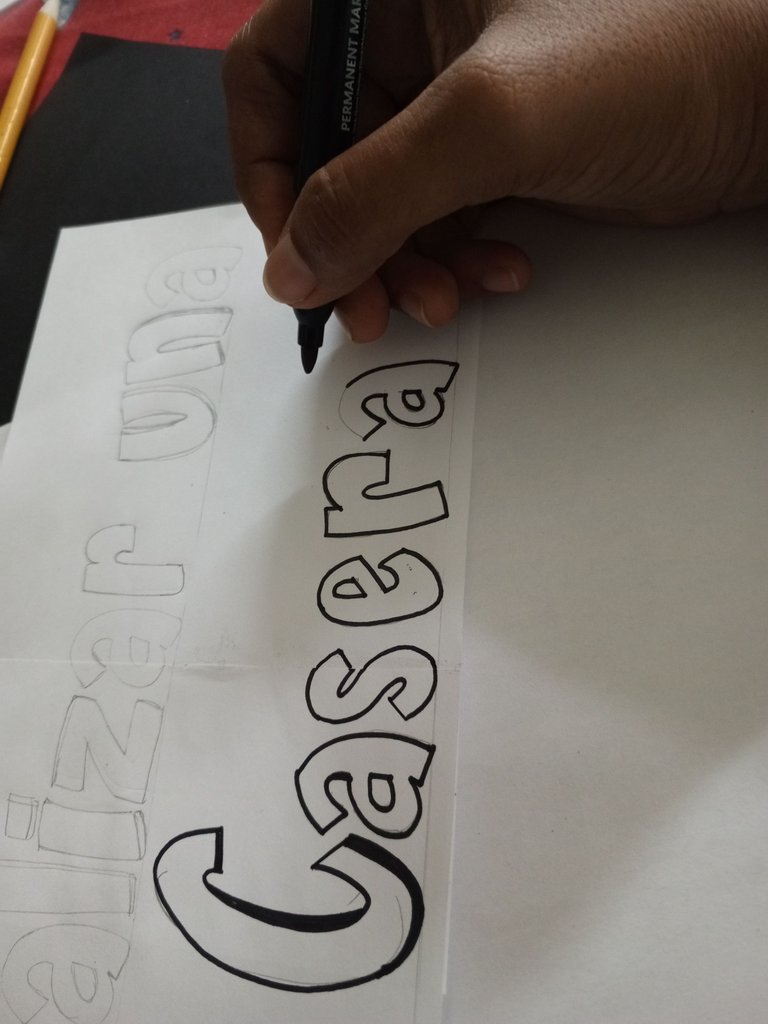
Luego las remarque con el marcador negro todas las letras, y le di un toque más de profundidad.
Then I outlined all the letters with the black marker, and gave it a touch more depth.
Al final las rellene un poco con resaltador color fucsia, y aunque no son igualitas a las lettering quedaron bien.
In the end I filled them in a bit with a fuchsia highlighter, and although they are not exactly the same as the lettering, they turned out well.
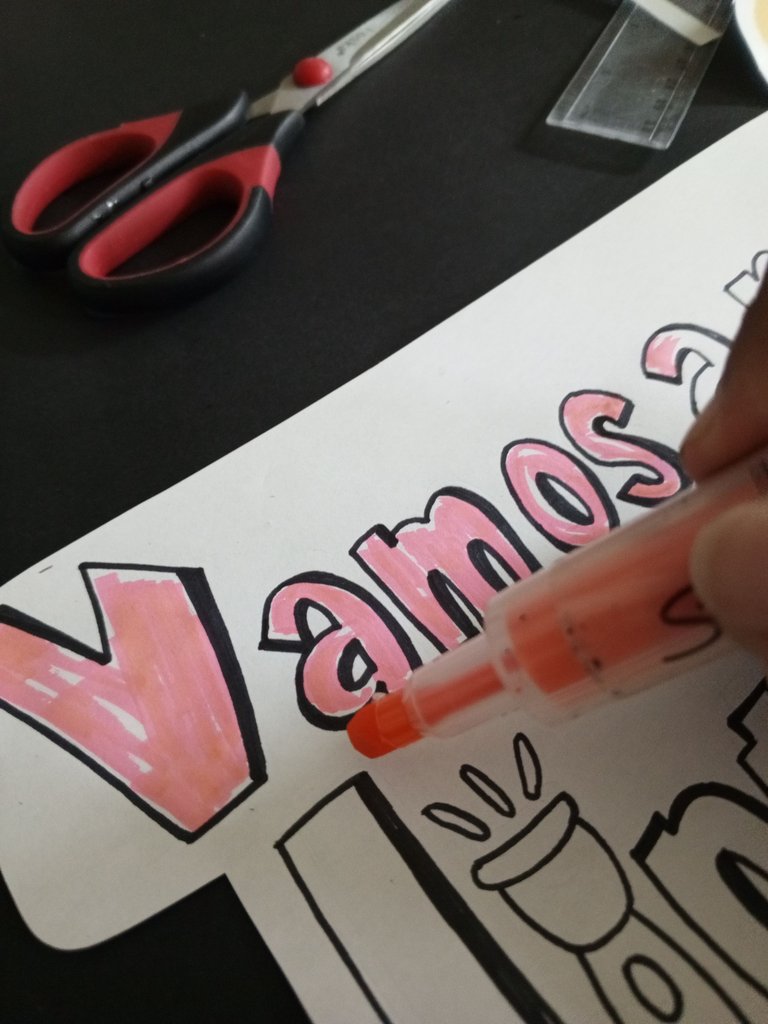
Ya tenemos el título listo, incluso lo recorte un poco dandole un toque de personalidad. Ahora vamos acomodando las impresiones.
We already have the title ready, I even cut it a little to give it a touch of personality. Now we are arranging the prints.
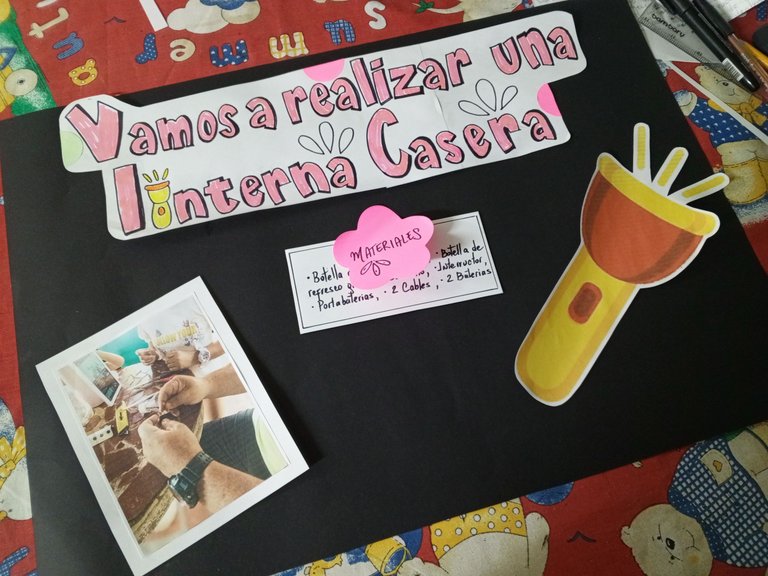
Para no recargar el cartel de cosas, incluí una especie de tarjeta con la información sobre el procedimiento que se realizó para construir la lámpara casera. Dispuesto de una forma que cualquiera de los presentes pudiese leer. Similar fue con los materiales.
In order not to overload the poster with things, I included a kind of card with information about the procedure that was followed to build the homemade lamp. Arranged in a way that anyone present could read. The same was true for the materials.
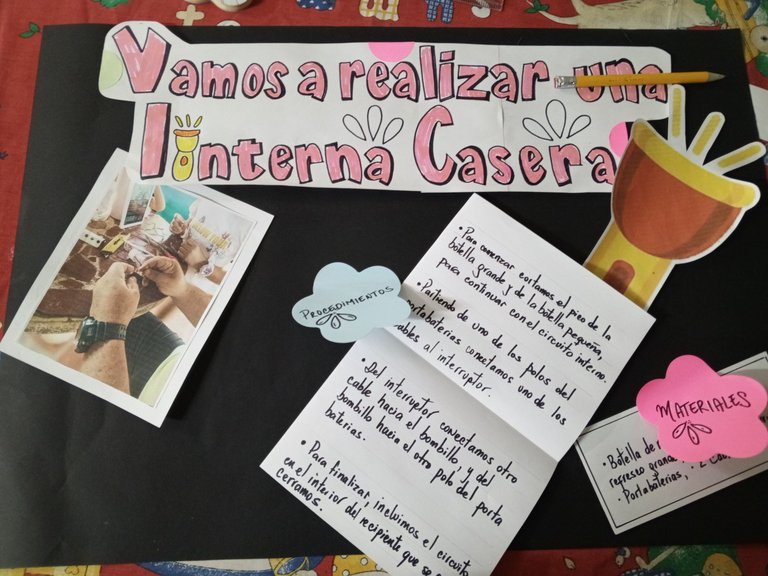
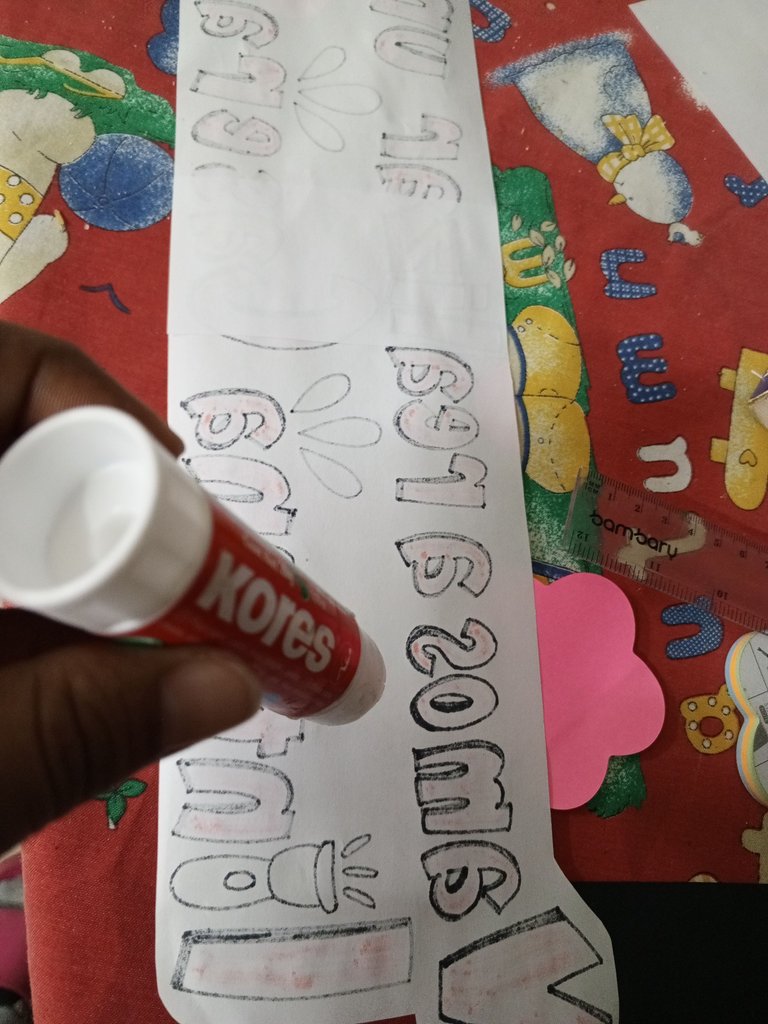
Con todo dispuesto para armar el cartel, utilicé pegamento en barra para asegurar todos los detalles, informaciones e impresiones.
With everything ready to put together the poster, I used a glue stick to secure all the details, information, and prints.
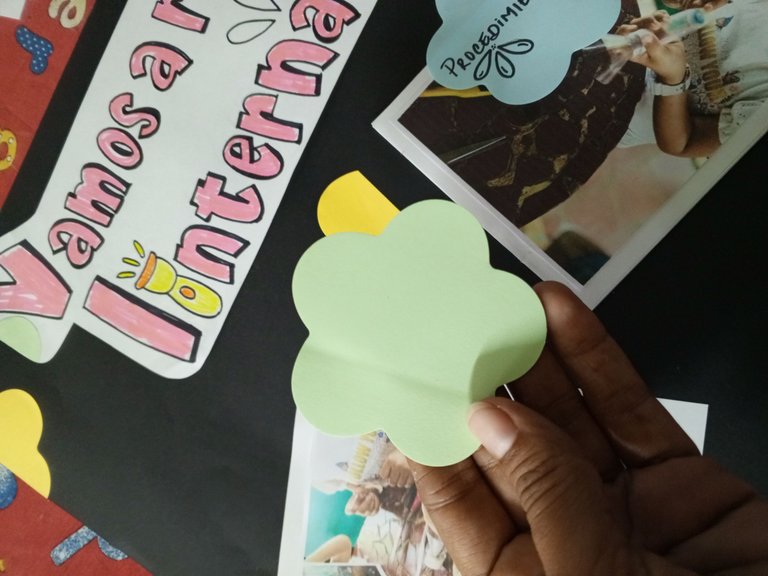
Para darle forma, utilicé hojas en forma de flor de la mini libreta multicolor. Recorte hojitas de diferentes colores y las coloque en varias partes de la cartulina negra, incluso algunas sirvieron para anunciar informaciones dentro del cartel.
To give it shape, I used flower-shaped leaves from the mini multicolor notebook. I cut out leaves of different colors and placed them in various parts of the black cardboard, some of which were even used to announce information within the poster.
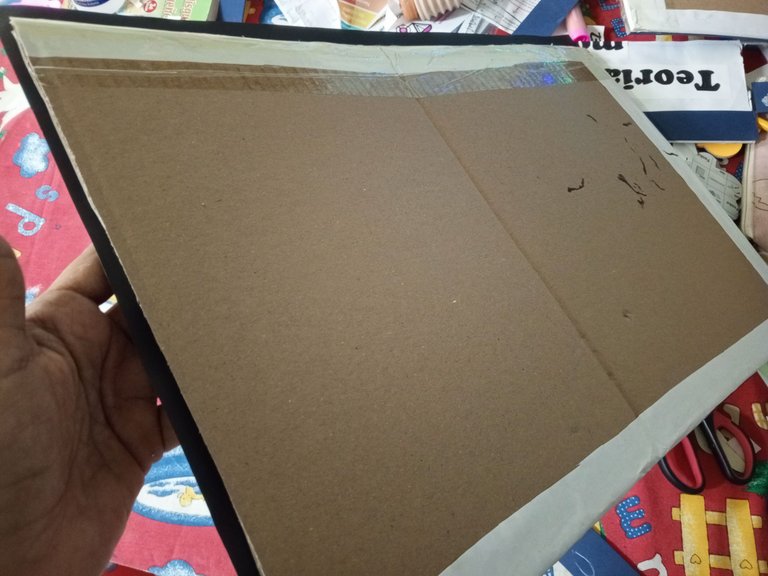
Para finalizar, asegure todo el trabajo montado en la cartulina negra sobre un cartón reciclado ♻️, con la intención de ofrecer mayor soporte y manejo a la hora de la exposición de mi hija. Utilicé cinta doble cara para éste procedimiento, lo que me permite en un futuro volver a utilizar éste material.
Finally, I secured all the work mounted on the black cardboard on a recycled cardboard ♻️, with the intention of offering greater support and handling when my daughter's exhibition was held. I used double-sided tape for this procedure, which allows me to use this material again in the future.
Finalmente el, cartel tiene lo necesario, es bastante práctico, es bien personalizado, no está cargado de información, lo que es importante porque es un recurso de apoyo visual. Para mi quedó mejor de lo esperado, porque siempre terminaba haciendo las cosas con todo el entusiasmo del mundo y al final parecía que lo hacía un niño de pre escolar, Jejeje.
Finally, the poster has what is necessary, it is quite practical, it is well personalized, it is not loaded with information, which is important because it is a visual support resource. For me it turned out better than expected, because I always ended up doing things with all the enthusiasm in the world and in the end it looked like a preschooler did it, hehehe.
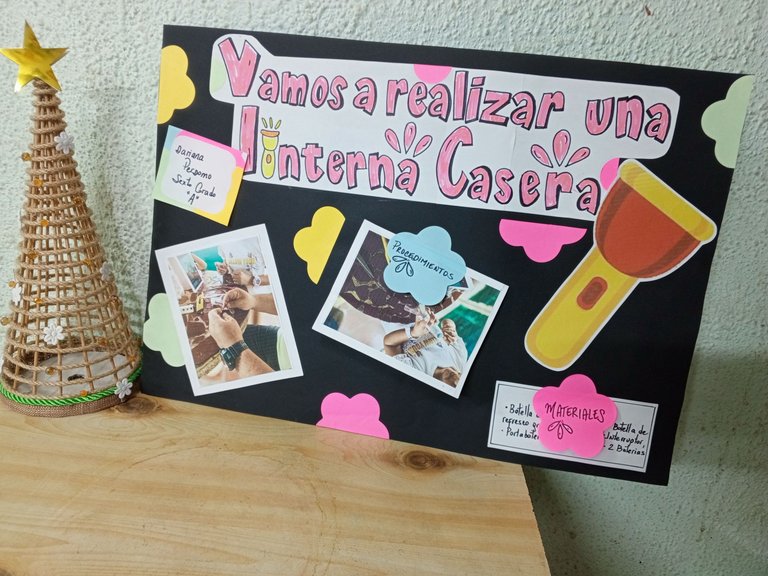
Ésta vez fue diferente, me gustó el producto final, como docente y estudiante de postgrado estos son recursos que siempre se deben utilizar y es importante que vaya mejorando cada vez más a la hora de realizar éste tipo de herramientas.
This time it was different, I liked the final product, as a teacher and graduate student these are resources that should always be used and it is important that I keep improving more and more when making these types of tools.
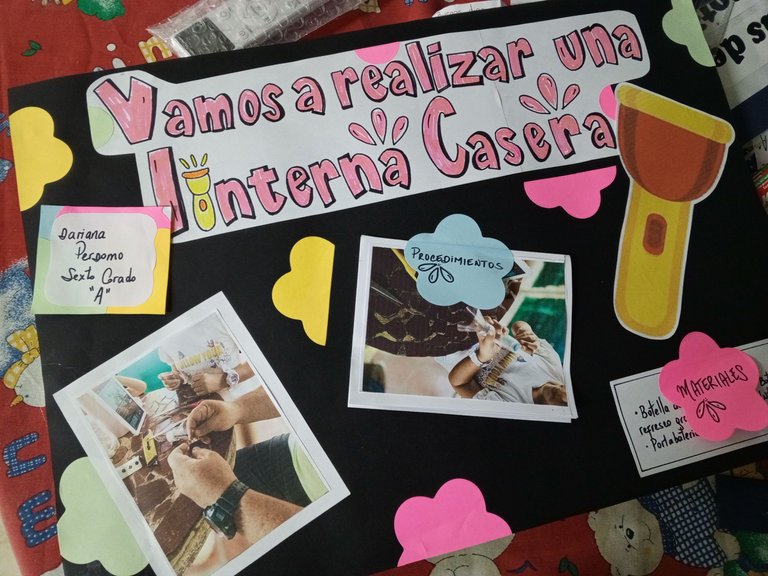
Mi hija estaba súper contenta con su cartel, para ella quedó hermoso, y aunque ésta vez lo hice sola, estoy segura que si no fuera por sus actividades lo hubiésemos hecho juntas 💙🩷.
My daughter was super happy with her poster, for her it looked beautiful, and although this time I did it alone, I am sure that if it weren't for her activities we would have done it together 💙🩷.
Es todo por éste post tutorial. Gracias por el cariño y por llegar hasta aquí 📝☝️🩷💙🏫...
That's all for this tutorial post. Thank you for the love and for coming here 📝☝️🩷💙🏫...
Creditos - Credits
Traductor English translator
Stickers realizado en Bitmoji | Stickers made in Bitmoji.
Fotografias capturadas con mi teléfono Tecno Spark 10 pro | Photos captured with my Tecno Spark 10 pro phone.

Le gustó a tu hija y a mí también, es que hiciste un excelente trabajo, ella irá orgullosa con su trabajo a la escuela.
Estaba contenta con su cartel, Jejeje, ésta vez se lo hice, pero ya ella hace los suyos, la verdad es que poquito a poco se va mejorando en estás cosas. Gracias por tu bonito comentario 🤗
The poster looks so well made and lovely. This would definitely help with her on overall presentation. Bravo