Feliz y bendecida noche para todas las personas de esta maravillosa comunidad
Happy and blessed evening to all the people of this wonderful Hive community.
Hoy fue sábado de crear, y que mejor que realizar tus propios zarcillos
Today was a Saturday to create, and what better than to make your own tendrils.
Aquí les traigo este modelo de zarcillos tipo topitos, super livianos y perfectos para usarlos a diarios
Here I bring you this model of earrings, super light and perfect for daily use.
• Alambre de bisutería #20
• Alambre de bisutería #28
• Mandril o marcador
• Mostacilla del color de tu preferencia
• Pinza plana o cónica
• Pinza de corte o cortaúñas
For this we will need
- #20 costume jewelry wire
- #28 costume jewelry wire
- Mandrel or marker
- Clay of the color of your choice
- Flat or conical tweezers
- Cutting tweezers or nail clippers
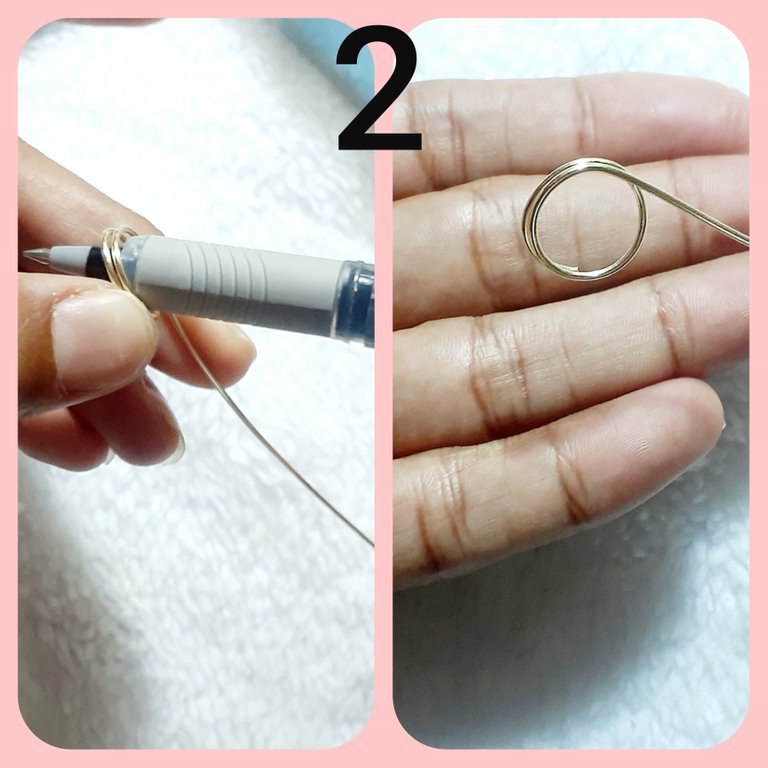
Con el alambre #20 realizamos 1½ vuelta alrededor del mandril o marcador
With the #20 wire we make 1½ turns around the mandrel or marker.
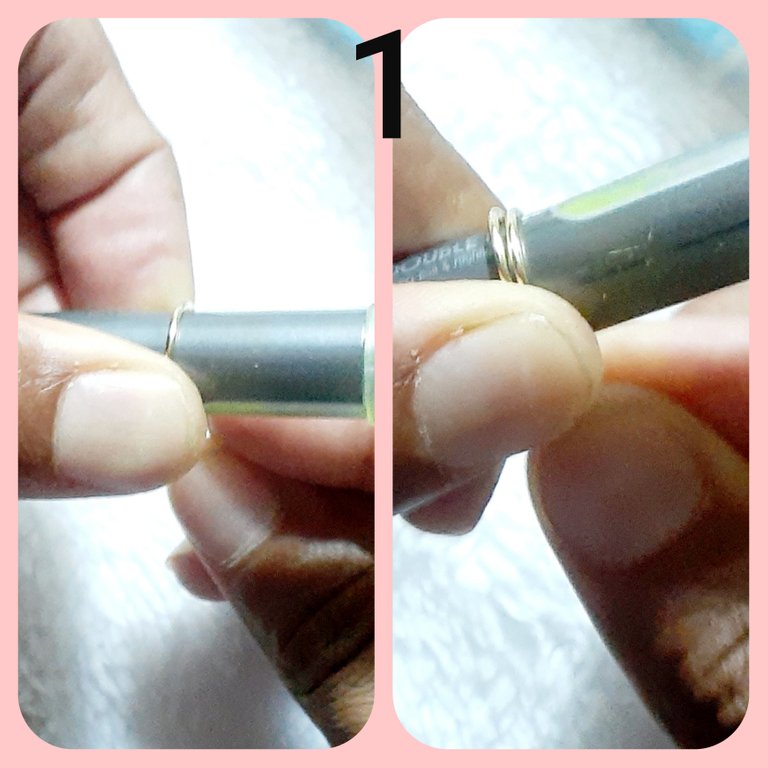
Una vez realizado nuestro aro lo sacamos del mandril.
Así nos queda
Once we have made our ring we remove it from the mandrel.
Here's how it looks like
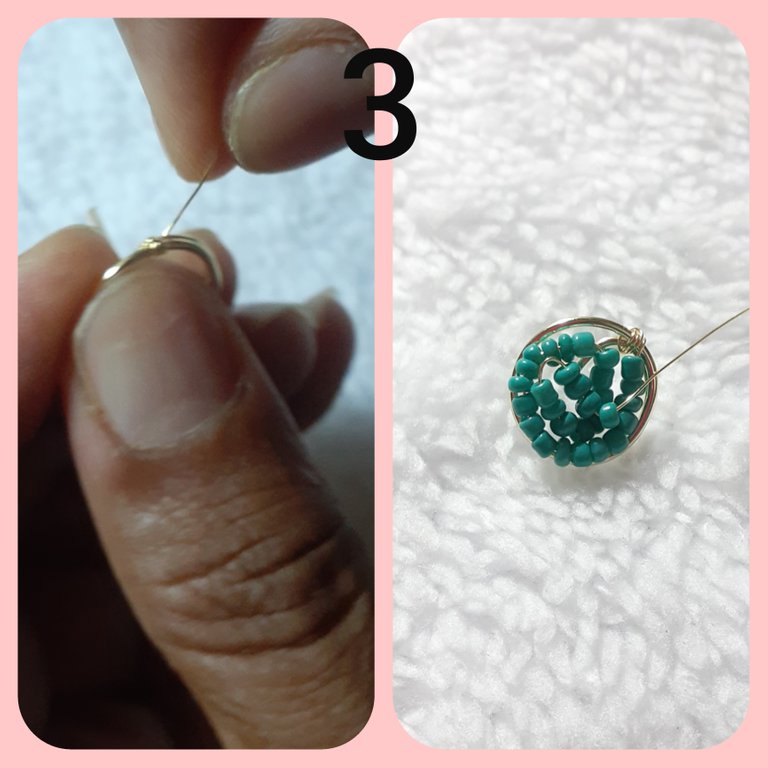
Tomamos el Alambre calibre #28 damos 3 vueltas en nuestra base, y fijamos con la pinza. Luego empezamos a colocar los canutillos en el alambre y vamos enrollando en el centro de nuestra base.
We take the #28 gauge wire and make 3 turns around our base, and fix it with the clamp. Then we begin to place the wire in the wire and we roll it in the center of our base in a spiral shape.
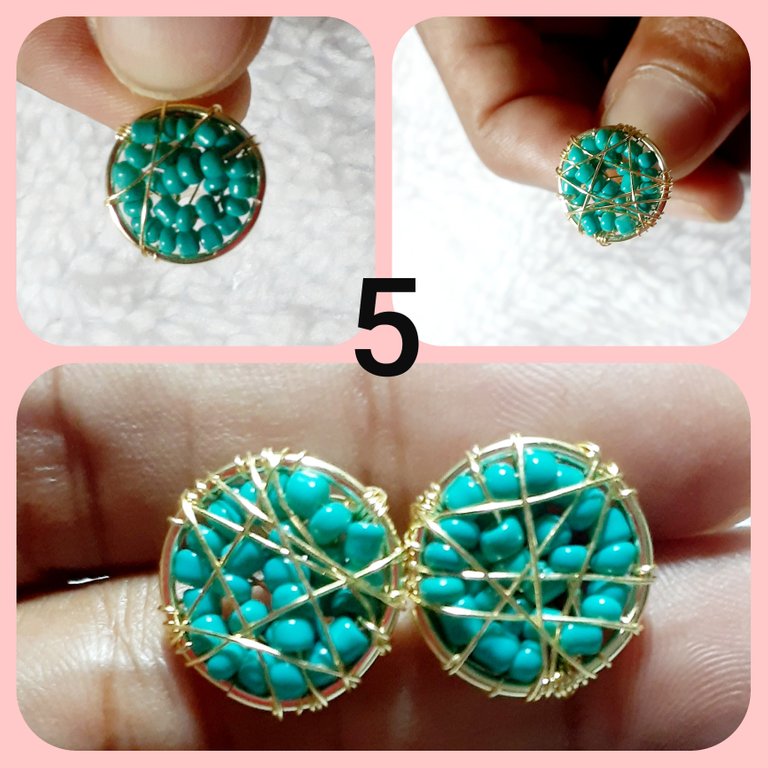
Ya teniendo nuestro centro listo, con el mismo alambre pasamos por la parte de atrás de la base y damos una vuelta en el pin del zarcillo y agarramos en el otro extremo.
Once we have our center ready, with the same wire we pass through the back of the base and make a turn on the pin of the tendril and grab the other end.
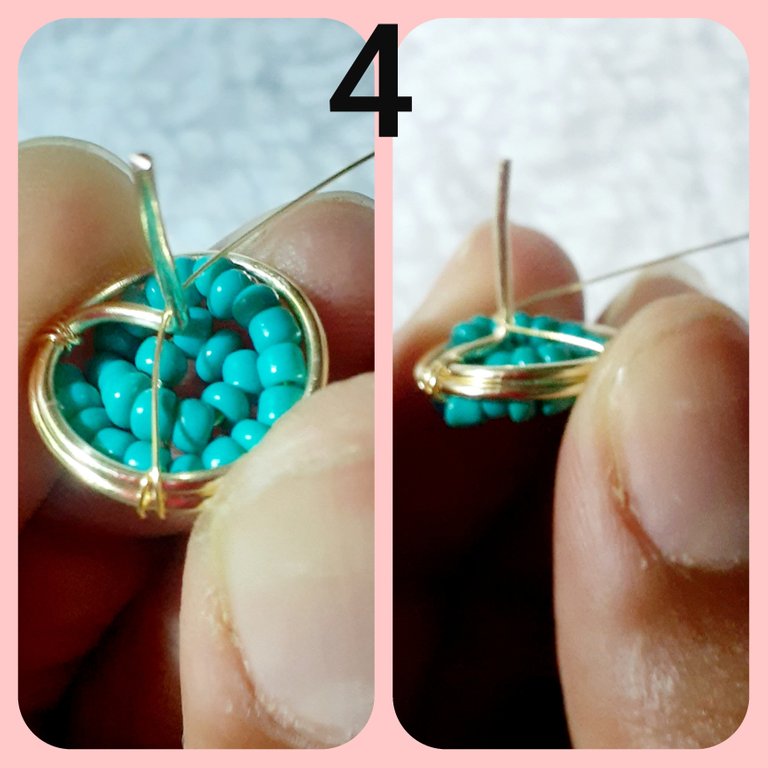
Ya lo que queda es continuar envolviendo nuestra base pero asegurando el alambre en cada vuelta para que no se suelte, terminar, cortar el excedente y fijar con la pinza.
Now what remains is to continue wrapping our base but securing the wire in each turn so that it does not come loose, finish, cut the excess and fix with the clamp.
Y así de fácil realizamos estos zarcillos que te harán lucir más hermosa
And this is how easy it is to make these earrings that will make you look more beautiful.

Las fotos fueron tomadas con un teléfono Samsung A20 y el texto traducido al Inglés con el traductor Deepl
The photos were taken with a Samsung A20 phone and the text translated into English with the Deepl translator
QUE LINDOS TE QUEDARON Y ESE COLOR ME ENCANTA
Graciasssss 🤗
Posted via D.Buzz
Que fácil se ve hacer ese modelo de zarcillo, todo es tener la herramienta necesaria, excelente publicación. Muchas felicidades.