Greetings guys and Happy New Week.
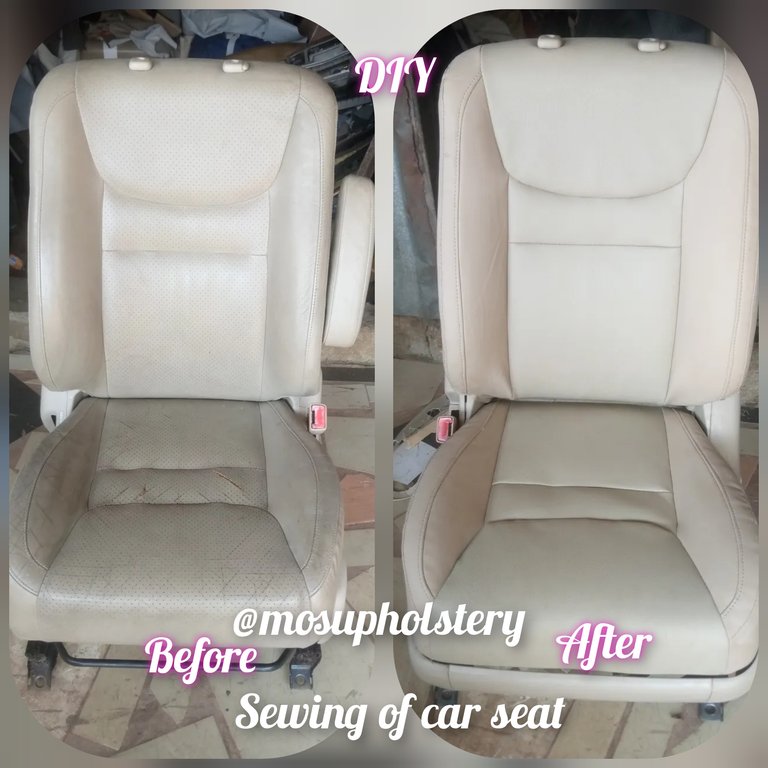
How are you all doing? I hope you all are doing pretty good. I am very happy to share this DIY post here in this community which is all about learning together how to cut and sew an old car seat to look new again. This is what I am learning to earn a living I have practiced this for more than 10 years and I am perfect at it.
When it comes to sharing my skills with others to learn from me I feel happy. Sewing car seats is something very simple but if you don't know how the do it it will be like how God created heaven and where He was before he created post is a very important DIY post and I promise at the end of it you should be able to learn something from it. Most people don't even know how they go about it because of how the seat looks sealed. I will make it simple for anyone to understand it.
I will be breaking down the process with the help of photos for simple understanding.
Let's get started
Firstly to sew any car seat you need to have the material and tools needed for the work to be done successfully.
- New leather
- sewing machine
- the difference in the size of the spanner.
- screwdriver
- roof fabric
- plier
- clips etc.
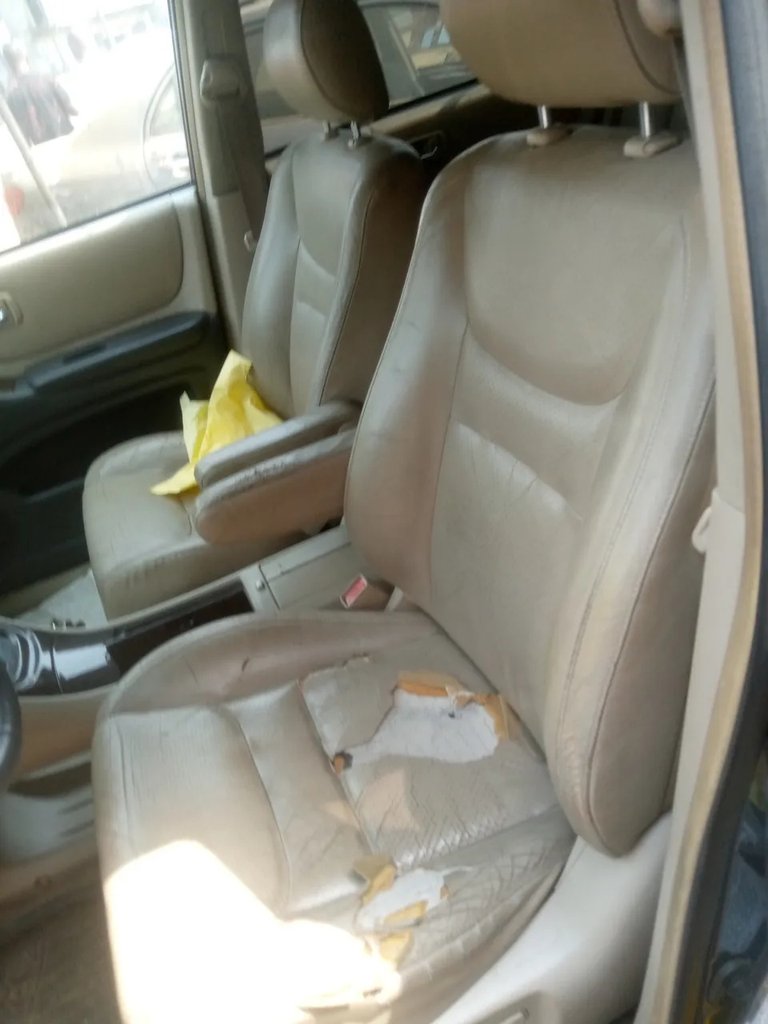
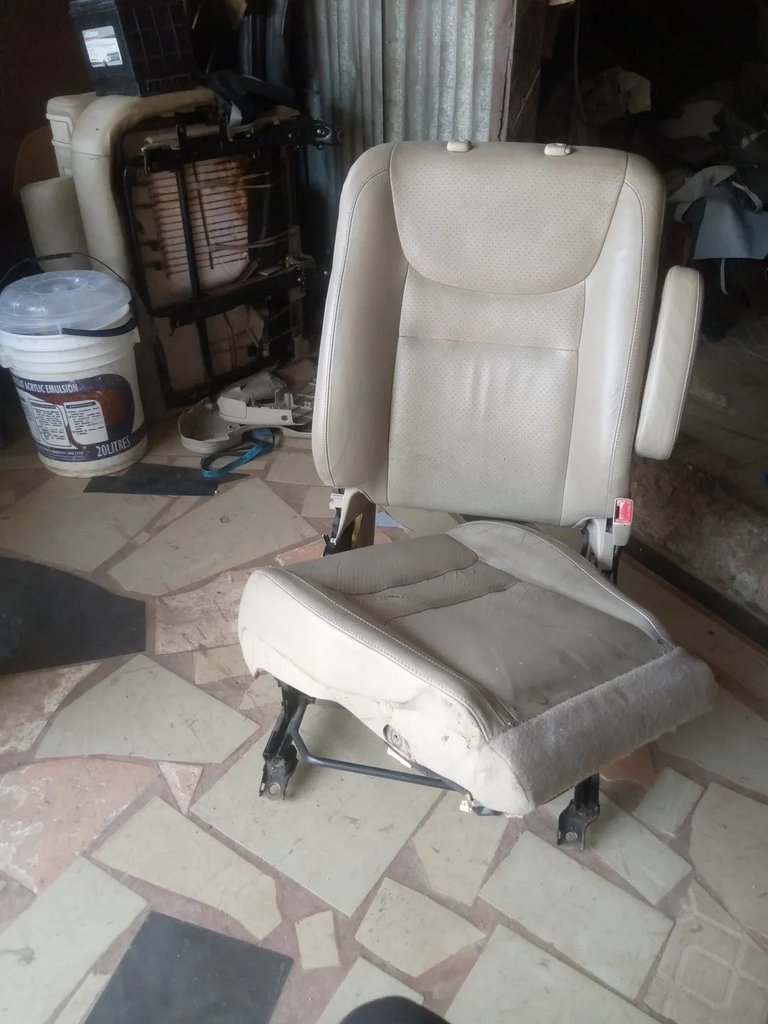
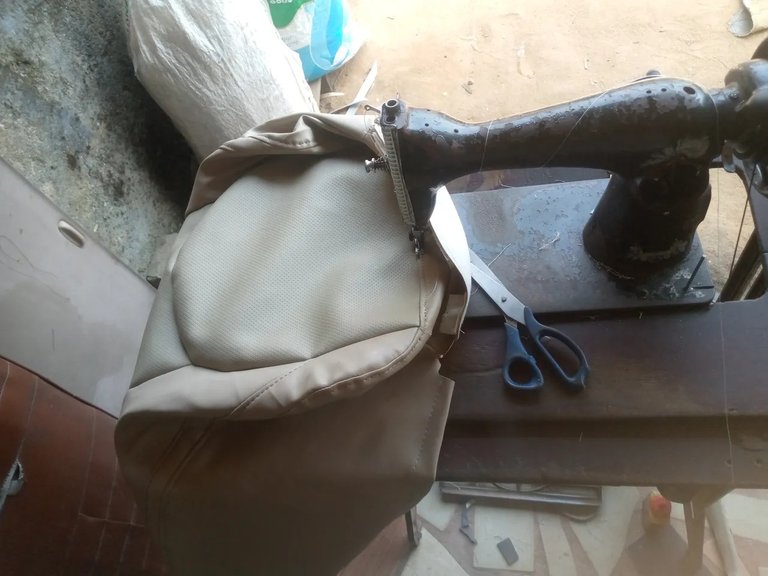
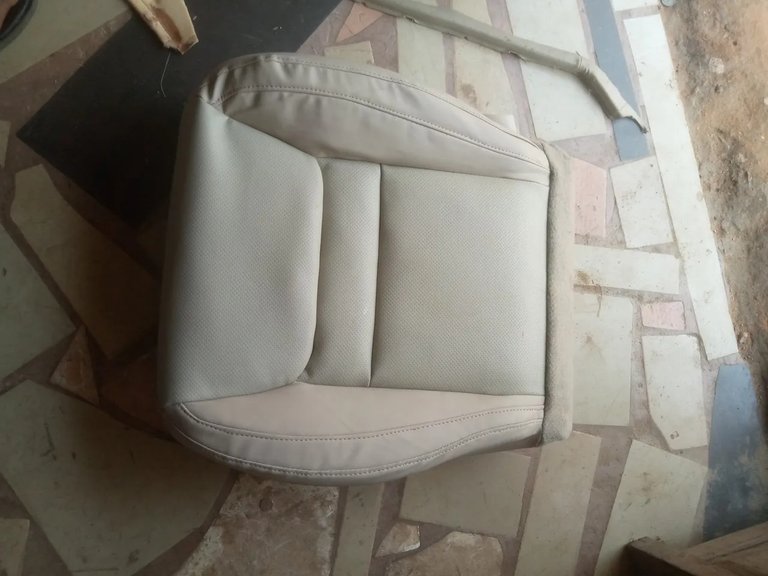
Here is the seat inside the car.
With the help of a spanner, Itotookokt in my shop.
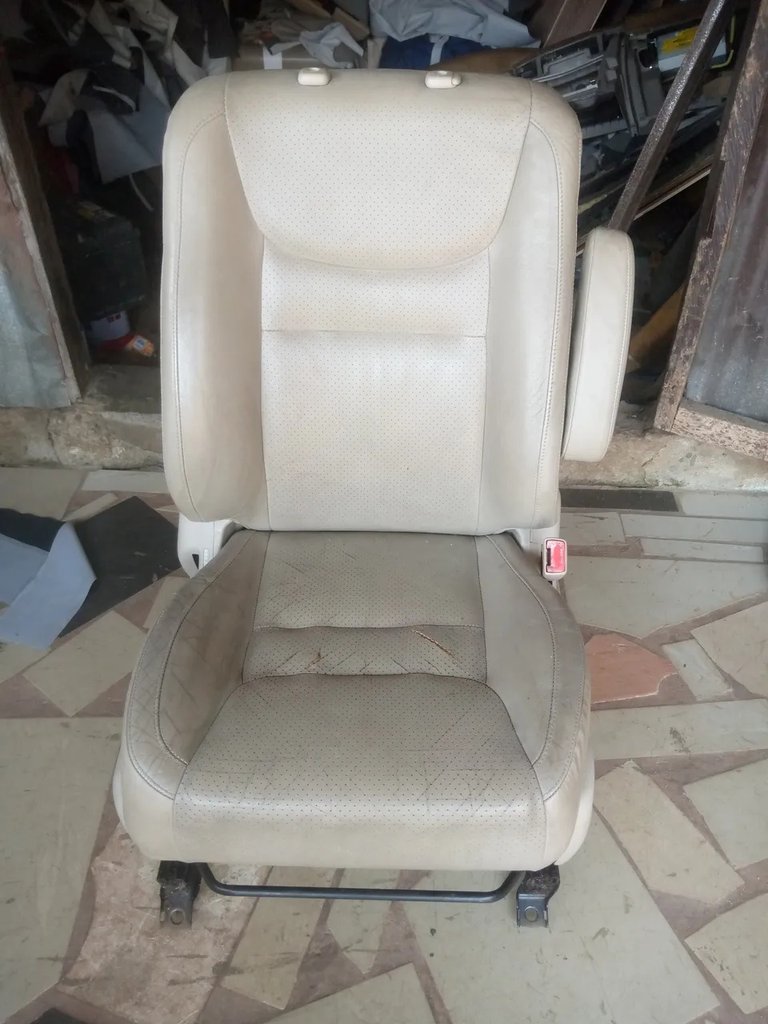
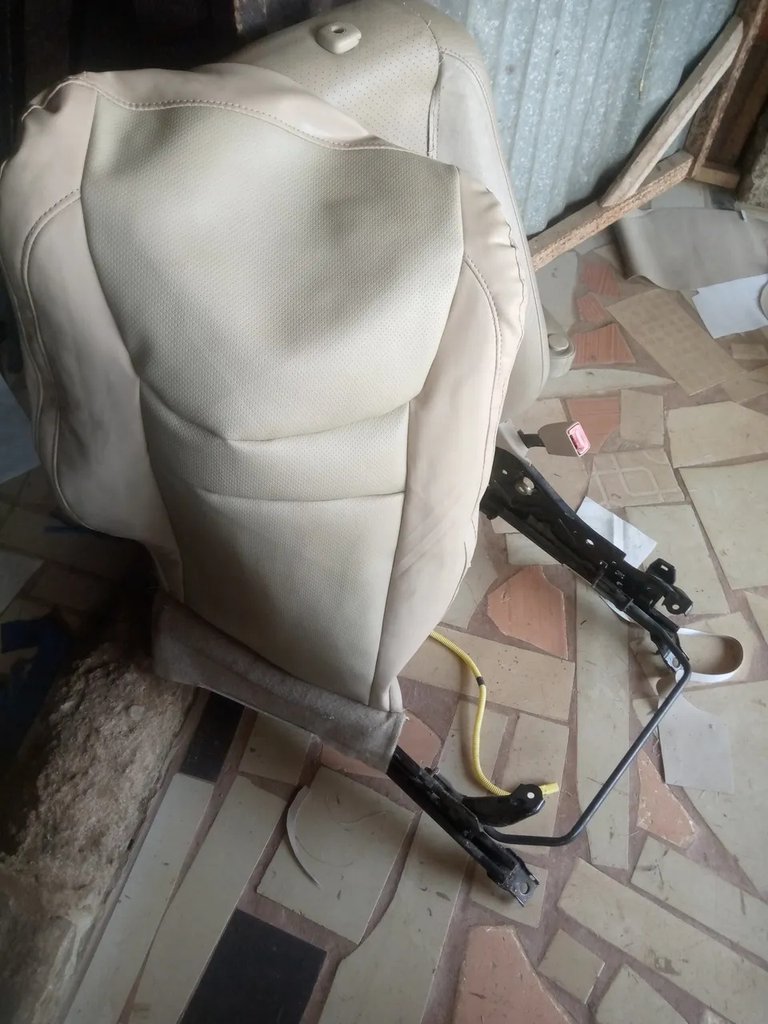
To get access to all the hidden parts of the seat, I lose the main seat from the back with the help of spanners.
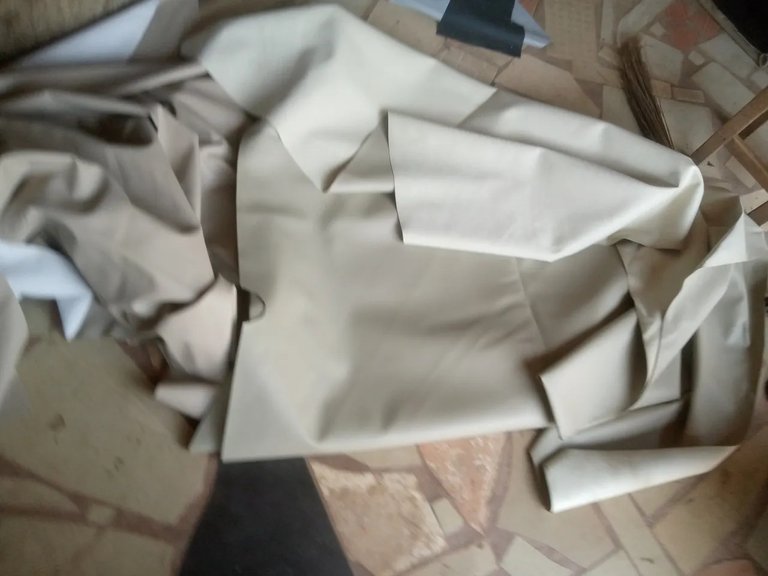
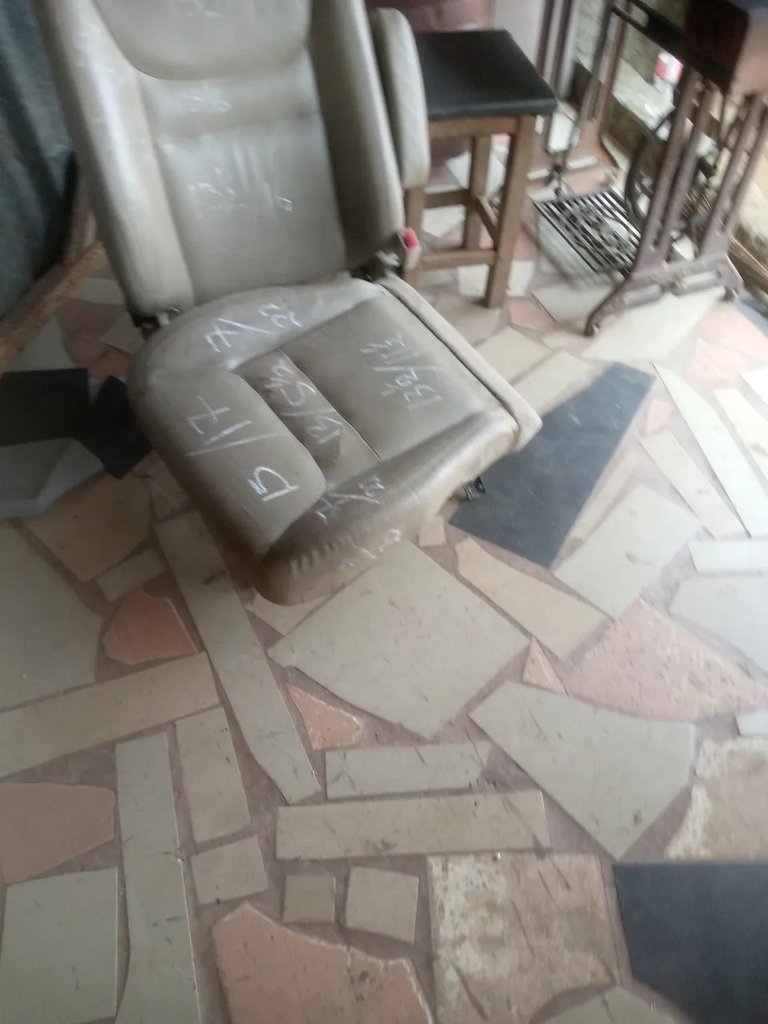
After losing the side, I used sewing tape to take the measurements of both the vertical and horizontal lengths of each pattern of the seat
I then transfer the measurements to the new leather and mark out the measurements.
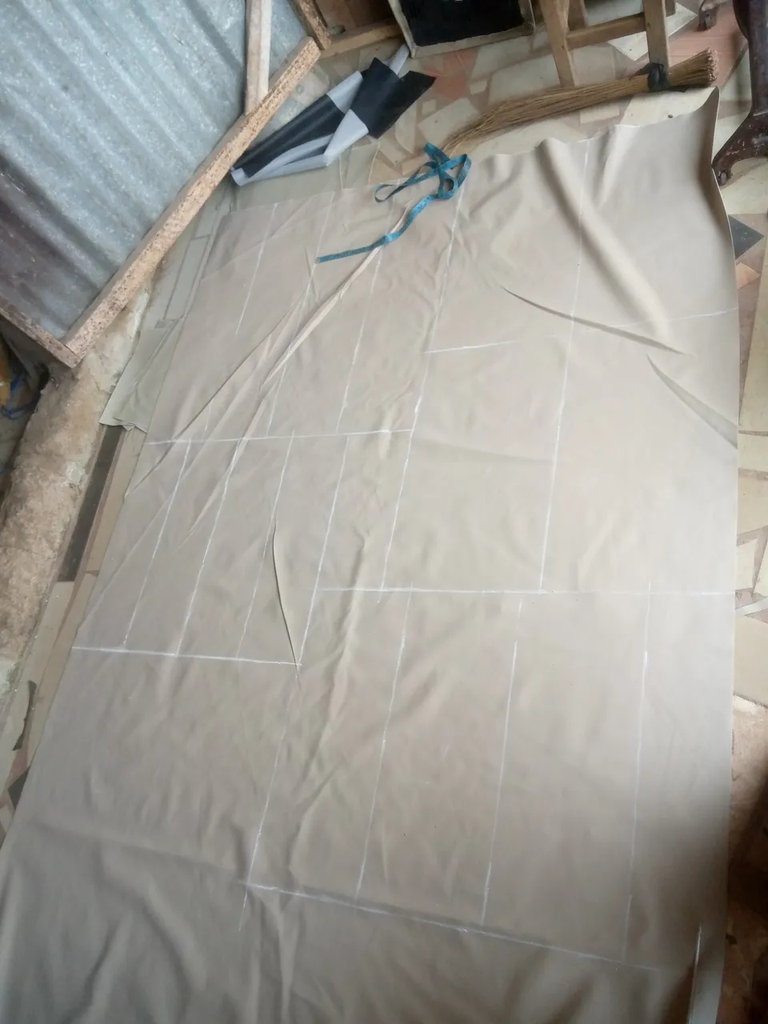
I then cut it out with the help of scissors
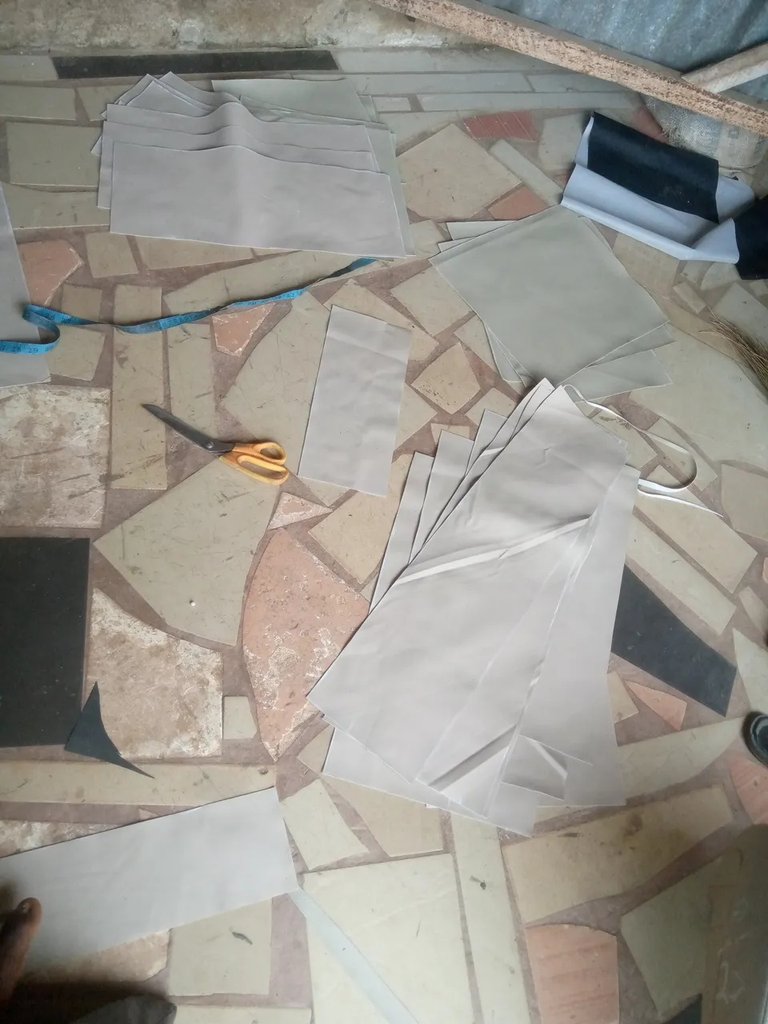
To form the working pattern, I place the cut material on its position, draw the shape then cut it out.
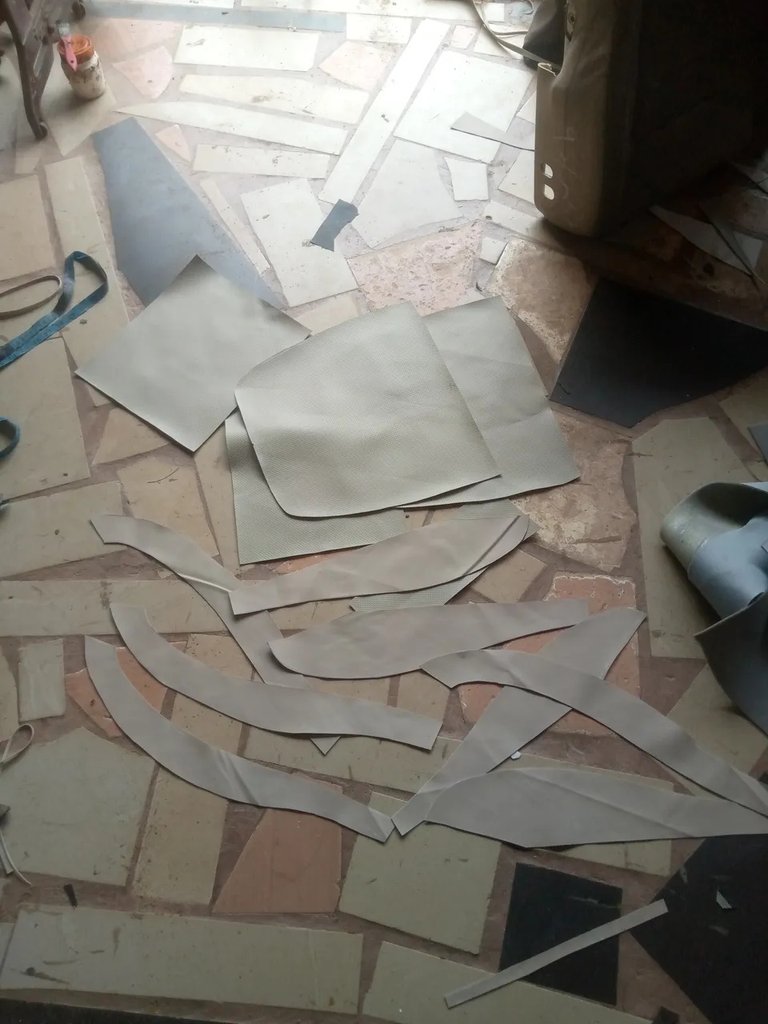
I then place the pattern on a roof material, then gum it together, just to make the pattern smooth.
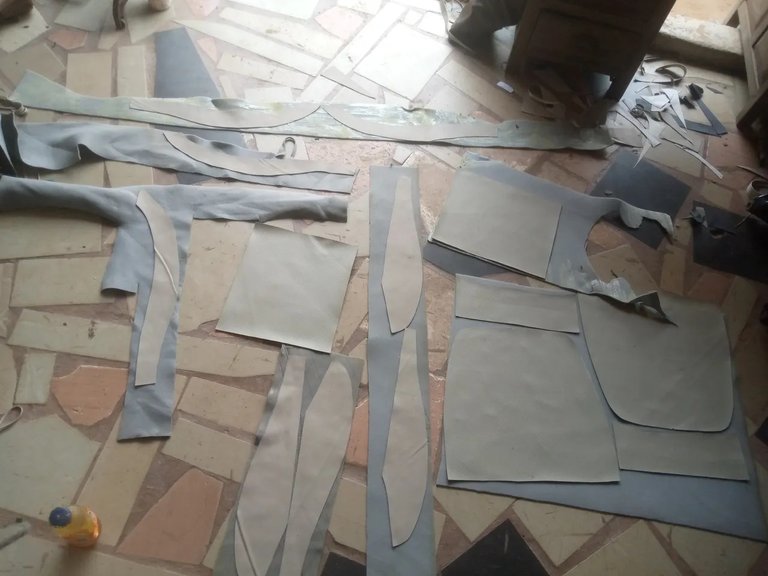
I then cut them out one after the other and arranged them well.
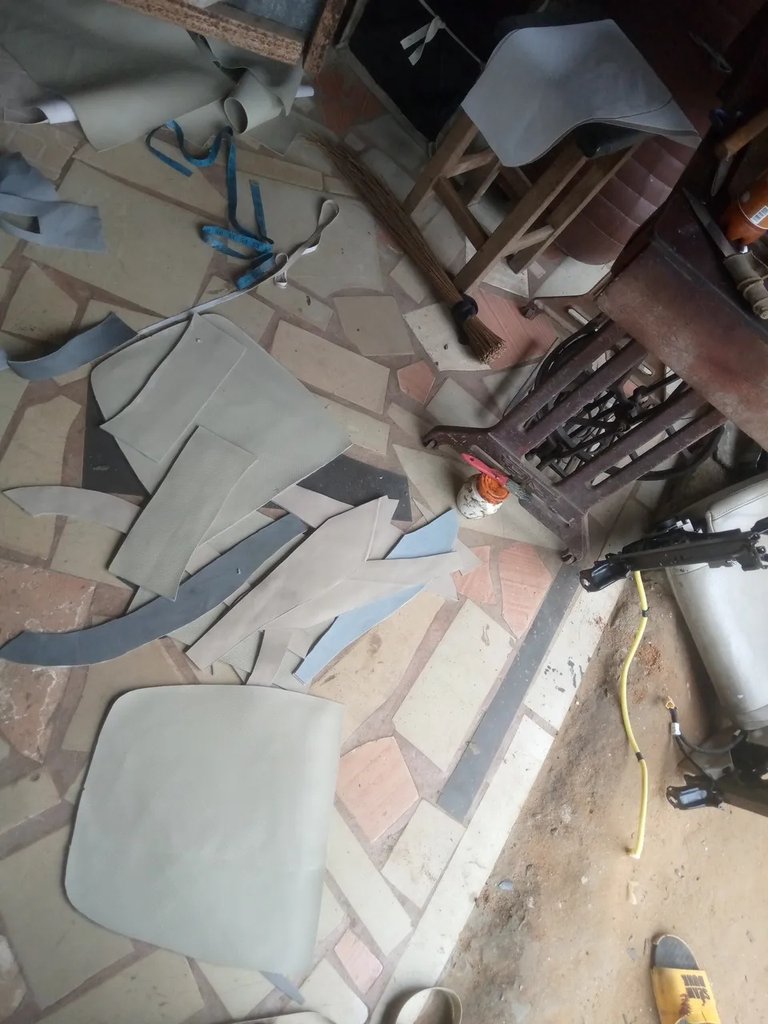
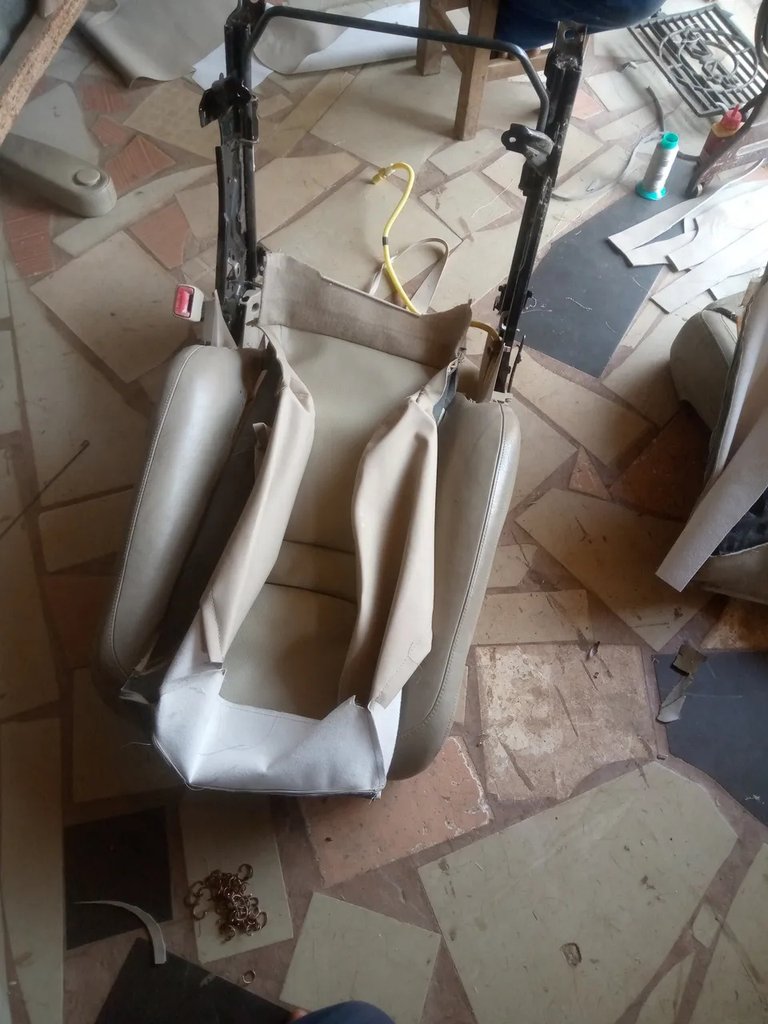
I then proceed to the sewing of the seat cover with the help of a sewing machine, using the old seat cover as a reference.
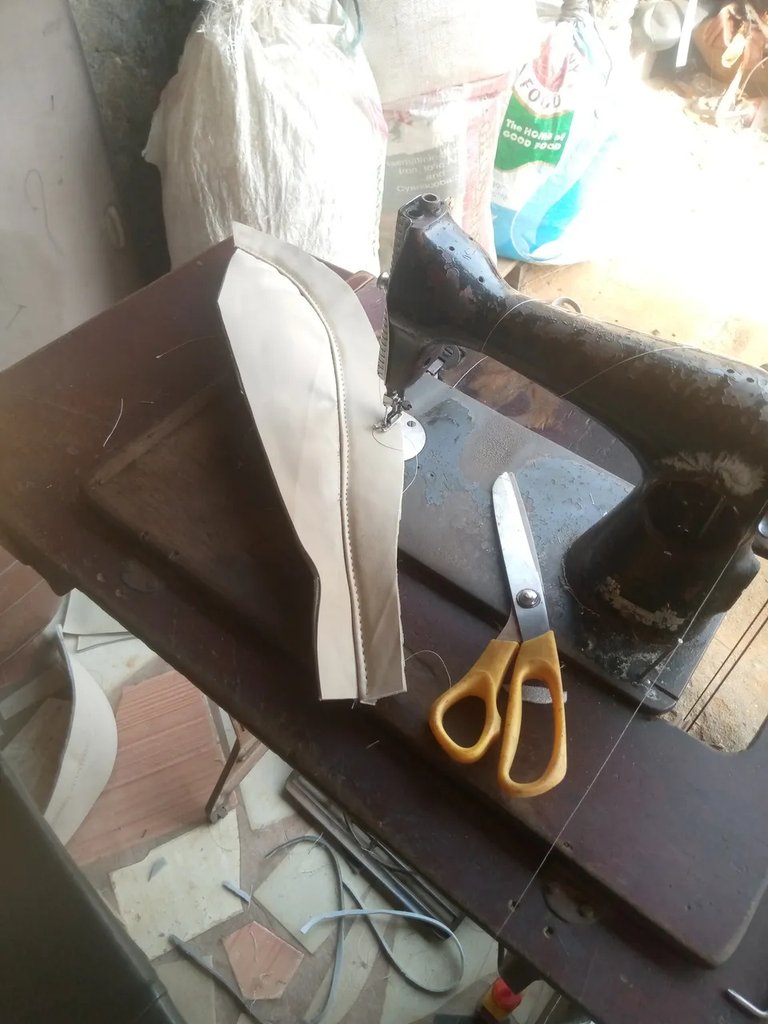
I continued the sewing till I was about to join all the patterns carefully and make sure I didn't make mistakes.
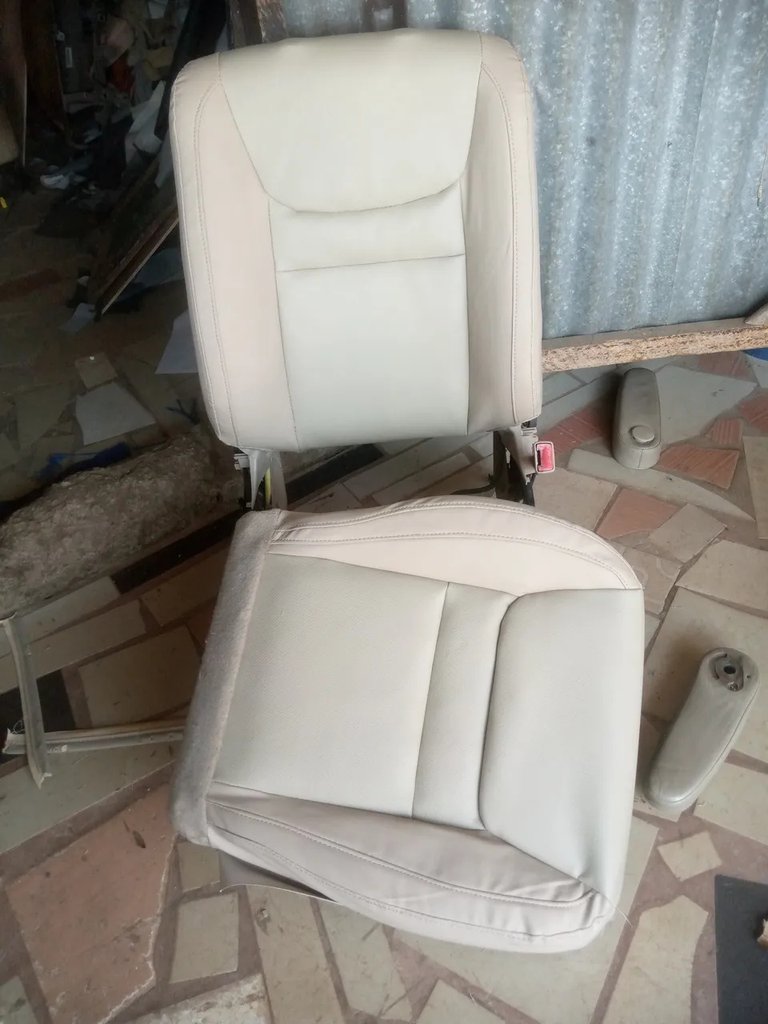
Done sewing the seat cover. See the photos below.
I then proceed to cover the new sew seat cover. I did this with the help of a plier and clips. This is done very simply because if you look at the seat. You will see the center is inside and that is where I clip to the seat.
Here is the back after clipping it.
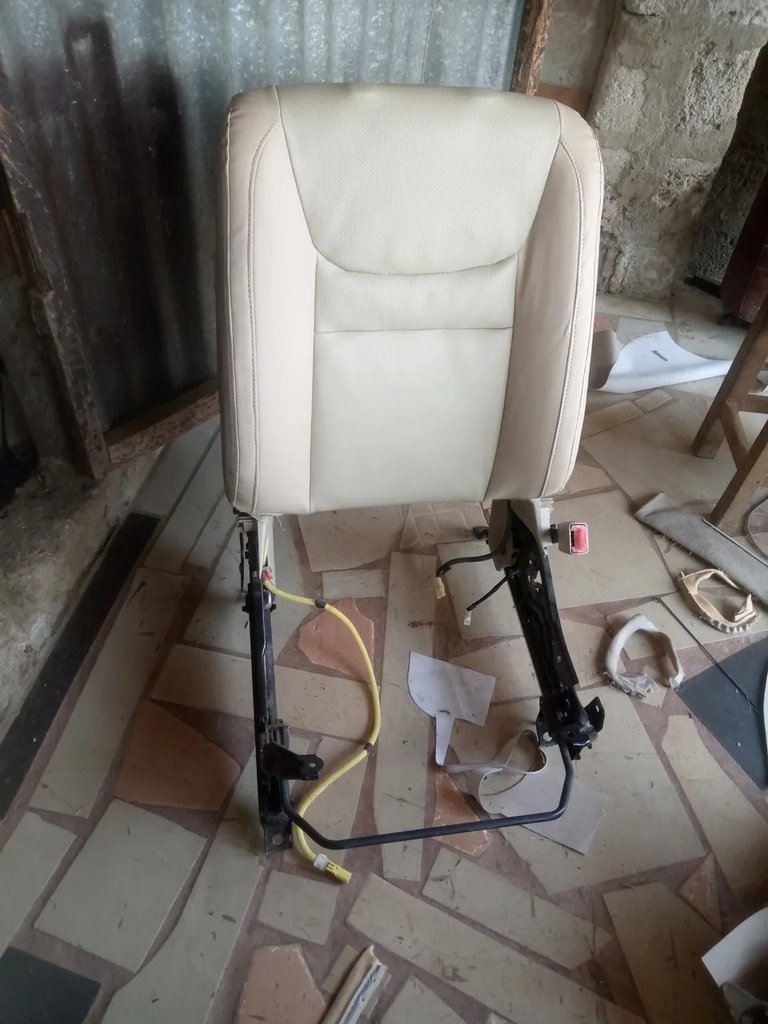
Here is the seat.
Here are both of them.
I then tighten both of them back as it was before. Here is the result.
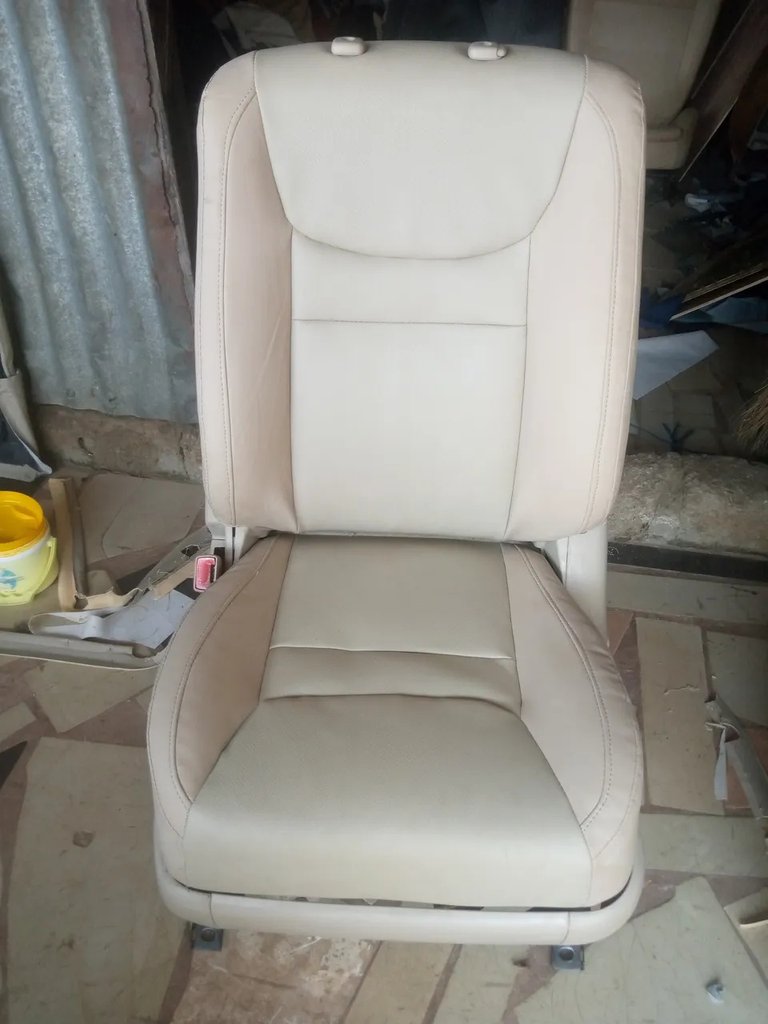
Wow hope this is amazing. The finished work looks supper, what can you say about it.
Thanks, guys for your time, hope you find the post helpful.
All photos here are mind.
Posted Using InLeo Alpha