
🩷✨💜✨🩷✨💜✨🩷✨💜✨🩷✨💜✨🩷
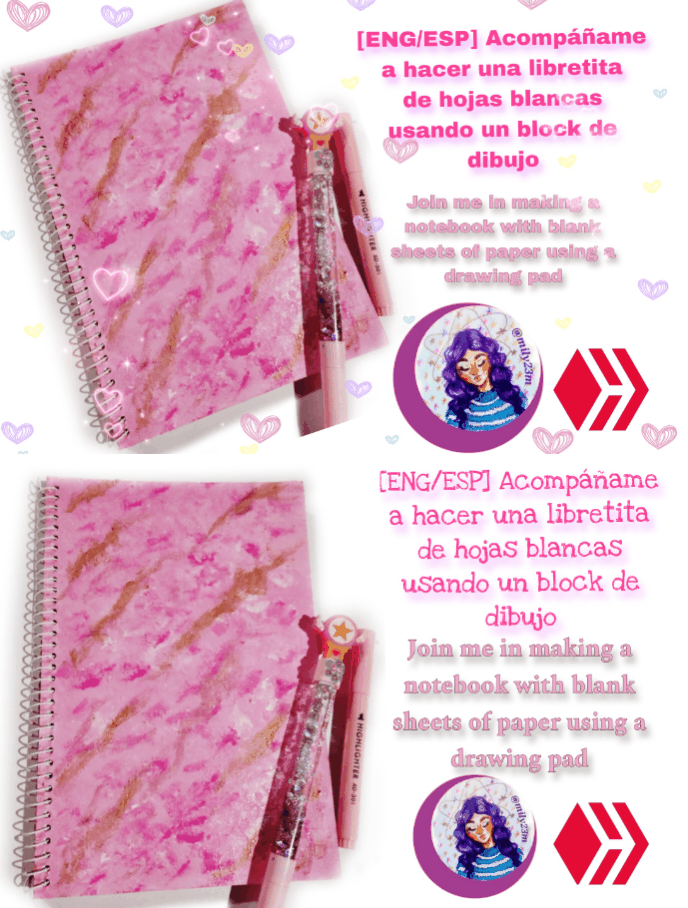
Hola comunidad de Hive DIY ,y comunidad artesana , el día de hoy les comparto un nuevo proyecto que me tuvo ocupada estos días,y es que como estamos en septiembre suele haber ofertas en las tiendas por la temporada escolar, y como a mi me encanta dibujar y todo lo que tenga que ver con materiales escolares o de oficina, queria aprovechar las ofertas y ver que encontraba por allí, en Venezuela tenemos muchas tiendas "traki" una tienda por departamento y en esta temporada suelen poner ofertas, aunque fue a ver que encontraba de bueno y no encontre mucho en esta departamento,lo que si encontre fue este block de dibujo a 1,5$ que estaba bastante económico y con bastantes hojas y las hojas de un material de muy buena Calidad, asi que me lo compre. Buscando ideas para usarlo pensé en que estaría genial cortarlo a la mitad y hacer una pequeña mini libreta ya que he querido una de hojas blancas y las he visto bastante caras ,y así podría usarla para hacer una especie de art journal o usarlo de una forma libre , pensando en adaptarlo para lo que necesitaba empecé a hacer este proyecto, les dejo el paso a paso aquí abajo ⬇️.
Materiales
🩷 block para dibujo
🩷 Tijeras
🩷 Bisturí para manualidades o exacto
🩷 Regla
🩷 Pinturas acrílicas
🩷 Pincel
🩷 Pega blanca
Manos a la obra.
English Version
🩷✨💜✨🩷✨💜✨🩷✨💜✨🩷✨💜✨🩷
Hello Hive DIY community and artisan community, today I am sharing with you a new project that has kept me busy these days, and it is that since we are in September there are usually offers in stores for the school season, and since I love to draw and everything that has to do with school or office supplies, I wanted to take advantage of the offers and see what I could find there, in Venezuela we have many "traki" stores, a department store and during this season they usually have offers, although I went to see what good I could find and I didn't find much in this department, what I did find was this drawing block for $ 1.5 which was quite cheap and with quite a few sheets and the sheets were made of very good quality material, so I bought it. Looking for ideas to use it I thought it would be great to cut it in half and make a small mini notebook since I wanted one with white sheets and I saw them quite expensive, and so I could use it to make a kind of art journal or use it in a free way, thinking about adapting it to what I needed I started to do this project, I leave the step by step here below ⬇️.
Materials
🩷 Drawing block
🩷 Scissors
🩷 Scalpel for crafts or exact
🩷 Ruler
🩷 Acrylic paints
🩷 Paintbrush
🩷 White glue
let's get to work
 )
)
English Version
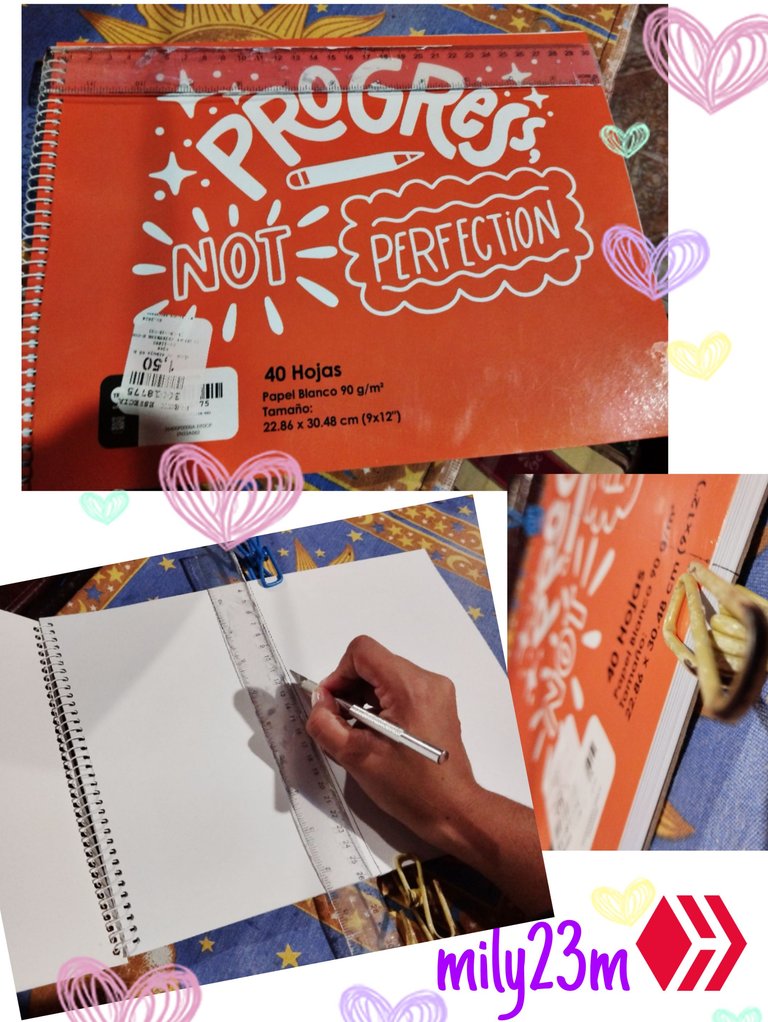
#1For the first step what I did was measure my Block, at least I imagined making a notebook that I could carry in a wallet and was small and with the size that the block already had in height it was enough, for the length I measured with a ruler, and it gave me 30.5cm, then I marked the first 15cm with the ringed part for the notebook, and the other 15.5cm to leave it to make another notebook. I made two upper and lower marks, and one in the middle to get the line where I would cut and, I marked the thickness of the sheets as well.
 )
)
English Version
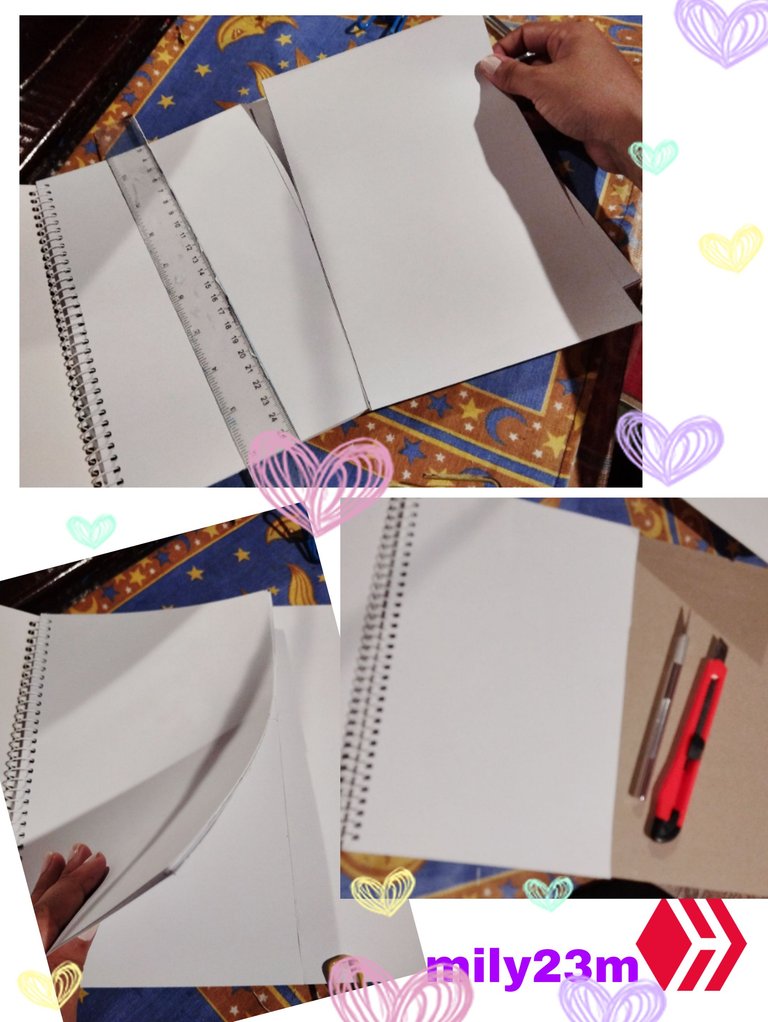
#2 Having the guide line that will divide the two halves marked on the first sheet, with the exacto or precautionary scalpel and supporting myself with the ruler I made the first cut, with the larger exacto many more leaves are cut quickly but the finish tends to leave small figures and is less neat so you have to take that into account, or you cut it sheet by sheet with the pressure scalpel or you use the larger one and cut 3 sheets for each pass. Once I cut the sheets I left the ones I cut on the sides, but always keeping them all in order with the cut towards the same side to use this material in another project. When I got to the cardboard cover, I cut it but trying not to follow the guide line but to leave about 0.3cm or a little so that the white internal sheets are well protected inside this cover, since if we cut it exactly the same as the guide lines of the cut sheets, that cover will be smaller than the white sheets inside and it will look more artisanal.
 )
)
English Version
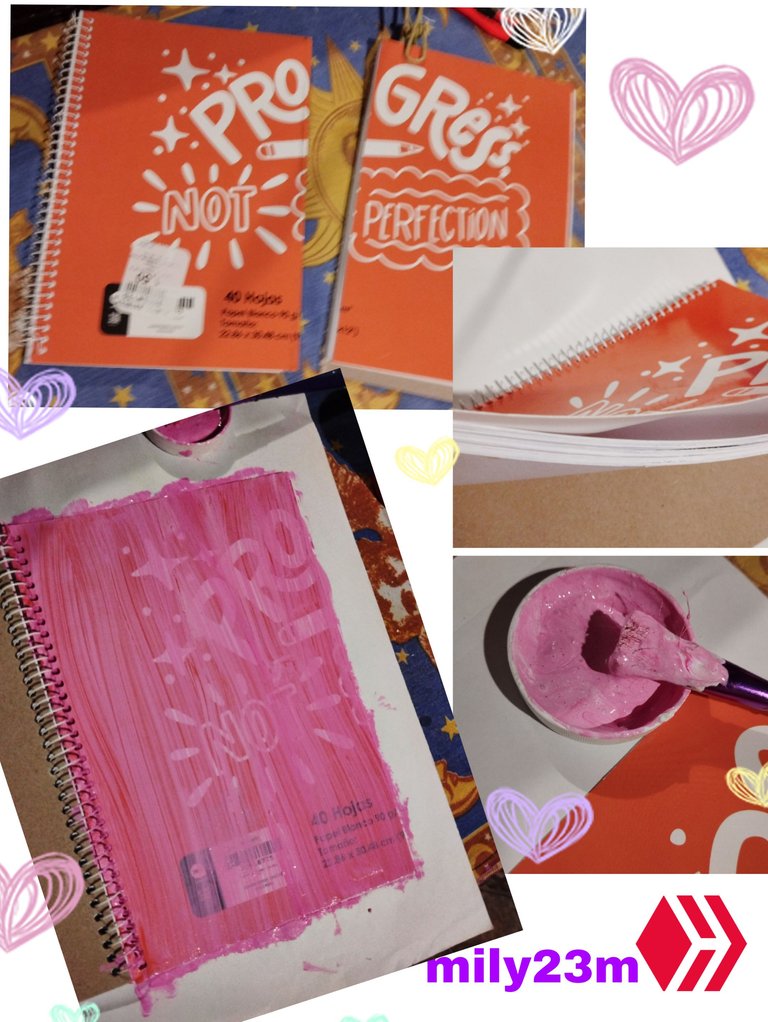
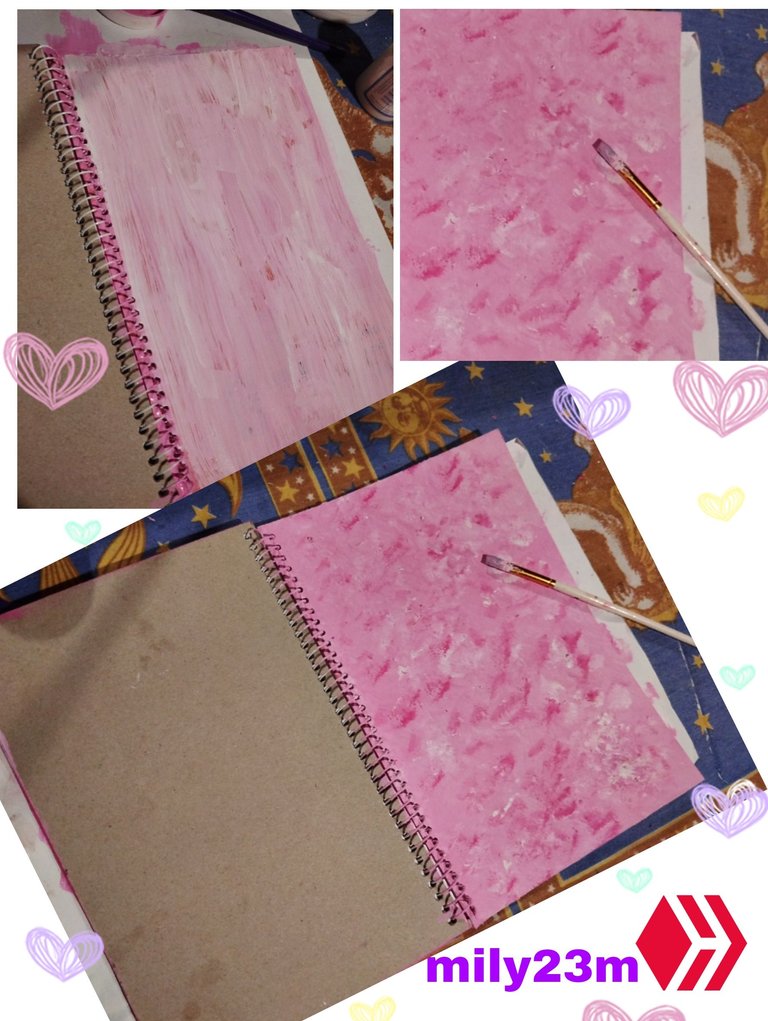
#3 When I finished cutting the cover, I put aside all the sheets and the two covers that I had left, I saved them for another project, the result that I had left was this small booklet, to give a better finish to the cuts of the sheet I cut out with scissors the small irregular details that were left on the sheets, making groups of 5 sheets and trimming the edges so that it looks as straight as possible and looks more like a purchased notebook. To paint it I used a mixture of white school glue, white acrylic paint and a little fuchsia paint, I stirred well so that the paint would stick well to the smooth cover and not come off and could cover the background of the cover well. I was giving it layers with a brush and the paint to the entire front cover.
 )
)
English Version
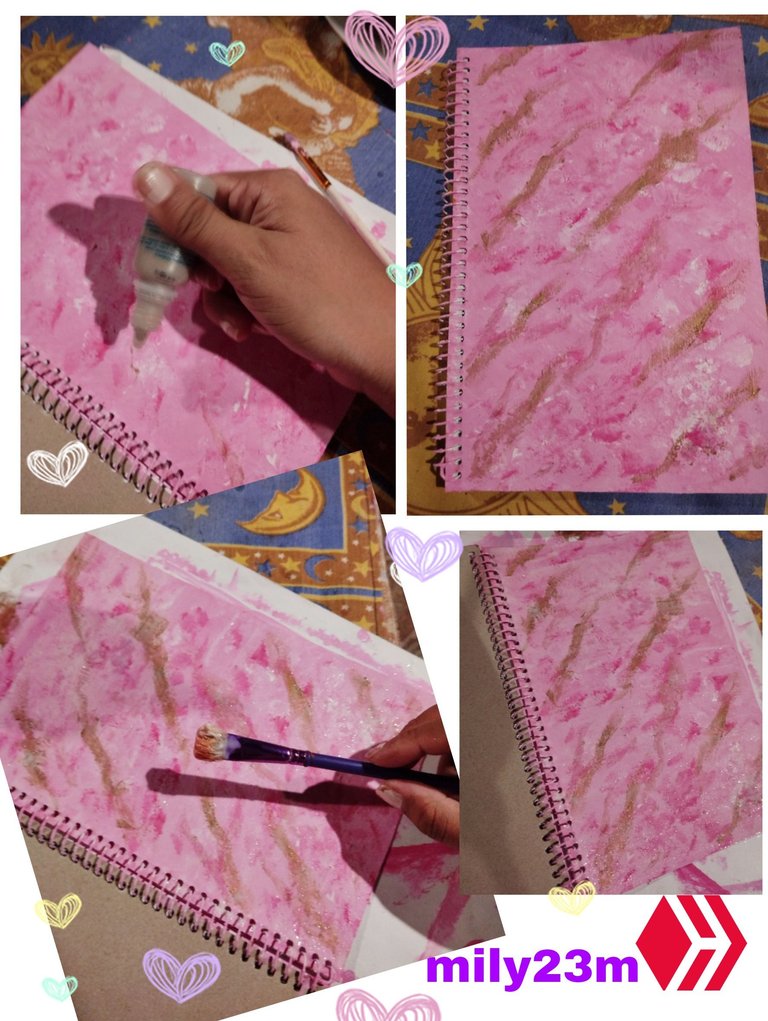
#4 To paint the cover, I opened it so that the pages inside wouldn't get dirty, and I painted only the front cover, with the mixture of paint and glue I gave it three layers first but the truth is that the orange background was still visible, so I kept giving it layers and mixing more white and fuchsia to make brush strokes with more textures and see if they would cover the background more and that worked! Then I gave it about 3 more layers of paint but giving it these types of speckled brush strokes so that it would cover the background more, I also made sure to cover the holes where the spring goes with paint so that the color of the cover couldn't be seen.
 )
)
English Version
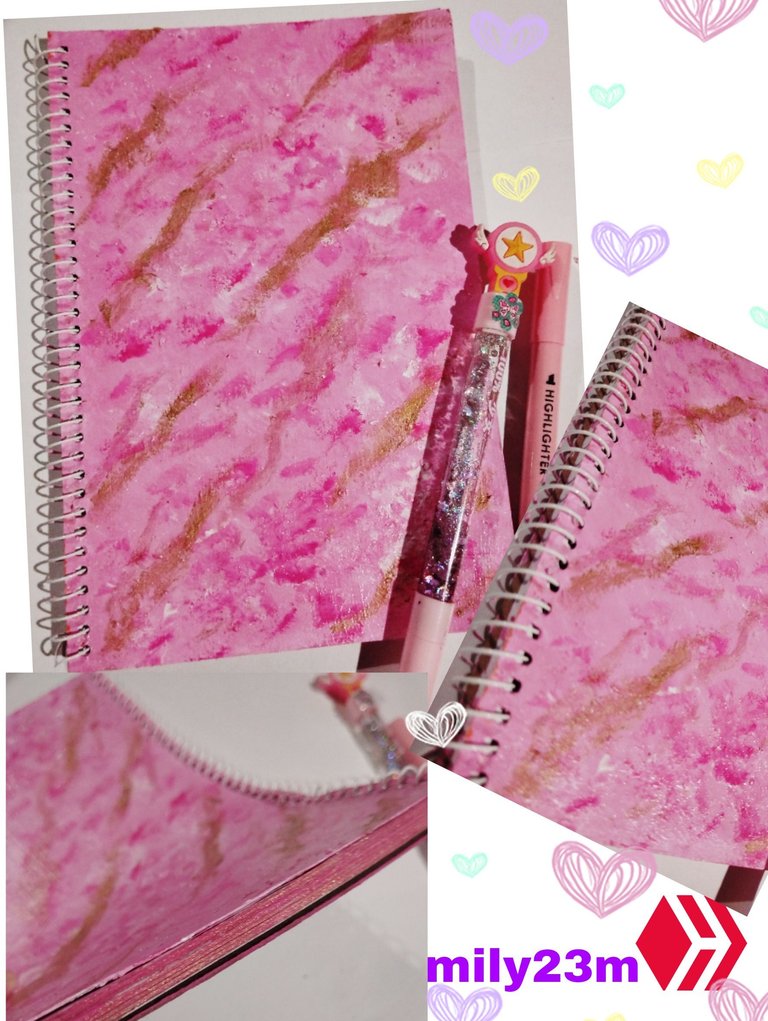
#5For this cover design I wanted it to have a kind of marbled look, with some gold brush strokes but I ran out of gold paint, so I used a mix of gold eyeshadow that I recycled, added a little water and white glue and put it in a clean eyeshadow bottle that I recycled, mixing the ingredients well, I'm still testing this to use it to paint but for this it was very useful, the result is a golden liquid that was not entirely homogeneous but that with the brush it dissolved and helped create that gold brush stroke to give the appearance of marble. I waited for the cover to be completely dry to finish it with white school glue for a better finish, I gave it a generous coat of glue with a brush, waited for it to dry and then I gave it another coat of white glue to seal it completely.
 )
)
( )
)
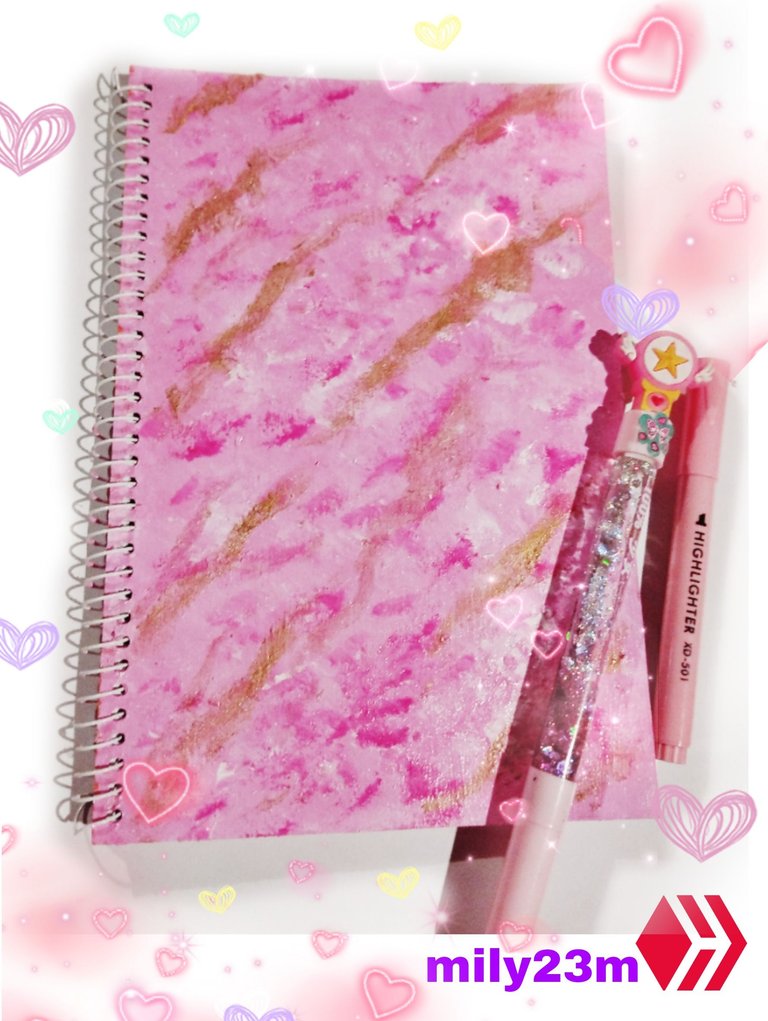
Por último con el pincel con los restos de pintura rosada muy seco, les pinte los cantos o el filo de las hojas a la libreta (tiene que estar bien seco el pincel para que no se peguen las hojas ni se humedezcan, con un trapo medio humedecido y con la uña fui quitando los restos de pintura seca del resorte de la libreta para que quedara limpio, les separé las páginas que pusieron quedar pegadas , y listo este es el resultado final! Me gustó mucho porque la verdad he estado buscando una libreta de hojas blancas y no encontraba , usualmente hay tipo agenditas pero a rayas y haciéndola así uno puede darle otro uso a un típico block de dibujo que es bastante económico, algo a considerar es que yo gaste bastante pintura pero está ya la tenía y también porque quería darle un buen acabado, forrandola con otro material te puedes ahorrar eso, también que me quedó la otra mitad del block y con eso haré otro proyecto que pronto les compartiré por acá , entonces salieron dos libretas de un block nada mal !💜
💜✨ Espero que te haya gustado artesano! , cuéntame tú también eres de comprarte libretas ,agendas o material escolar ? ✨ Yo siento que vuelvo a mi niñez cuando lo hago✨💜
Muchas gracias por leerme!Fotos tomadas por mí en mi equipo Redmi note 12 editadas en Pics art y gif realizado en app creador de GIFs, texto traducido en Google traductor.✨
English Version
Finally, with the brush with the remains of very dry pink paint, I painted the edges of the notebook (the brush has to be very dry so that the pages do not stick or get wet, with a half-wet cloth and my nail I removed the remains of dry paint from the spring of the notebook so that it would be clean, I separated the pages that could get stuck, and voila, this is the final result! I liked it a lot because the truth is that I have been looking for a notebook with white pages and I couldn't find them, usually there are some kind of planners but with lines and by making it like this you can give another use to a typical drawing block that is quite inexpensive, something to consider is that I spent a lot of paint but I already had this one and also because I wanted to give it a good finish, covering it with another material you can save that, also I had the other half of the block left and with that I will do another project that I will share with you soon here, so two notebooks came out of one block, not bad. !💜
💜✨ I hope you liked it, artisan! Tell me, do you also buy notebooks, diaries or school supplies? ✨ I feel like I'm going back to my childhood when I do it✨💜
Thank you very much for reading me! Photos taken by me on my Redmi note 12 device edited in Pics art and gif made in the GIF creator app, text translated in Google translator.✨


Congratulations @mily23m! You have completed the following achievement on the Hive blockchain And have been rewarded with New badge(s)
Your next payout target is 1000 HP.
The unit is Hive Power equivalent because post and comment rewards can be split into HP and HBD
You can view your badges on your board and compare yourself to others in the Ranking
If you no longer want to receive notifications, reply to this comment with the word
STOPHola @mily23m, que lindo te quedó, me encanta la degradación de colores y la combinación con marrón, es una de mis favoritas y las asocio con fresa y chocolate.
Saludos!