
✨🌝✨🌝✨🌝✨🌝✨🌝✨🌝✨🌝✨
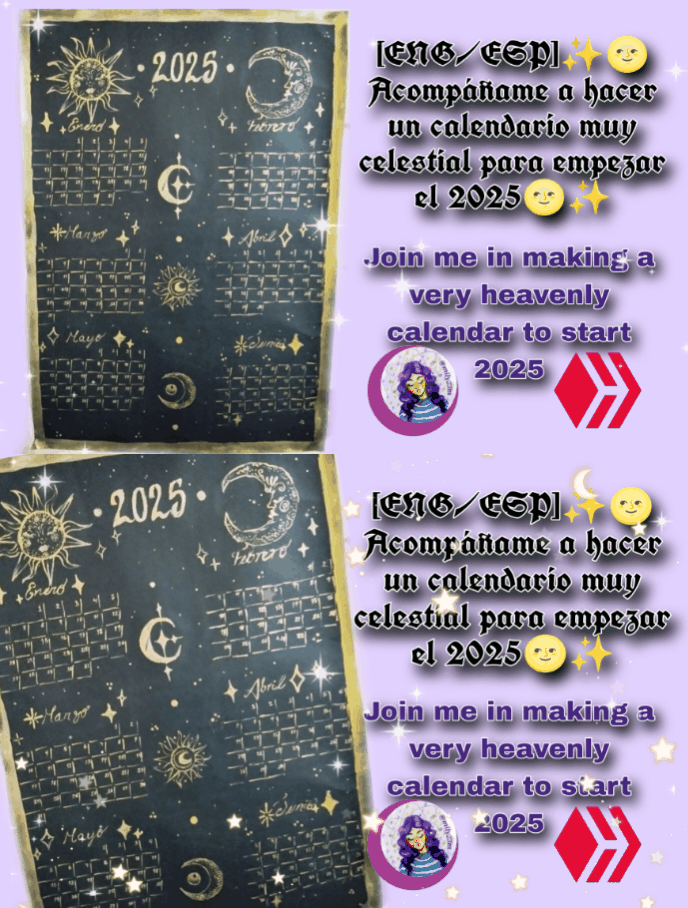
Hola comunidad artesana y crafters , cómo pasan estos días ? Ya tenemos el 24 encima, y la el fin de año a solo unos poco días por lo que ya he empezado a pensar en como me organizaré el próximo año, y es que muchos de los propósitos que tenía para este año , no pude cumplirlos , o que complete solo un porcentaje de ellos , el punto es que quería iniciar el 2025 construyendo un plan más organizado para si poder completar y cumplir todas mis metas para este próximo año,y más para este año ,tener un sistema y plan sólido para que estos no queden en solo planes sin más , entre este sistema está el uso de un calendario , yo hago dos al año ,uno de cada 6 meses , y que sirva para verlo en mi pared , lo que hará que visualmente uno se pueda organizar muchísimo mejor, y sobre todo podamos ver el paso del tiempo, y poder actuar en base a eso, que es tan es una de las razones por las que siempre terminamos perdiendo la vista de las metas porque pensamos nos planteamos metas esperando que se hagan solas como si no fuéramos nosotros mismos quienes en el futuro los que tienen que buscar la forma de conseguirlas y no súper personas disciplinadas ( que la verdad no lo somos )😞.Por lo que este calendario está ideal para empezar a organizarnos en lo que comienza el año ,fotos aquí ↘️⬇️↙️.
Materiales
✨ Cartulina escolar negra
✨ Reglas y tijeras
✨ Pintura dorada
✨ Palito de dientes
✨ Pincel plano
**Manos a la obra **
English Version
✨🌝✨🌝✨🌝✨🌝✨🌝✨🌝✨🌝✨🌝✨
Hello artisan community and crafters, how are you spending these days? We already have the 24th upon us, and the end of the year is just a few days away, so I've already started to think about how I'll organize myself next year, and it's that many of the goals I had for this year, I couldn't fulfill, or I only completed a percentage of them, the point is that I wanted to start 2025 building a more organized plan so that I could complete and meet all my goals for this coming year, and more for this year, have a solid system and plan so that these don't remain just plans without more, among this system is the use of a calendar, I make two a year, one every 6 months, and that it serves to see it on my wall, which will make it visually possible to organize much better, and above all we can see the passage of time, and be able to act based on that, which is so It is one of the reasons why we always end up losing sight of the goals because we think we set goals hoping that they will be done by themselves as if we were not ourselves who in the future have to find the way to get them and not super disciplined people 😞 (which the truth is we are not)😞 So this calendar is ideal to start organizing ourselves as the year begins, photos here ↘️⬇️↙️.
Materials
✨ Black school cardboard
✨ Rulers and scissors
✨ Gold paint
✨ Toothpick
✨ Flat paintbrush
Let's get to work
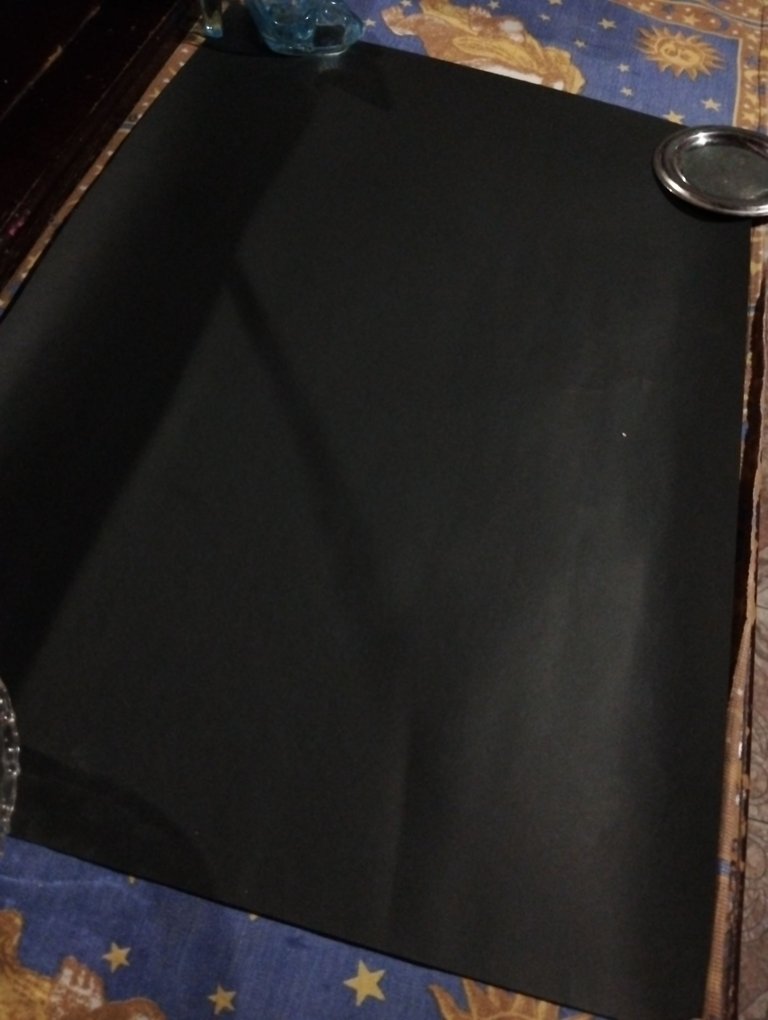
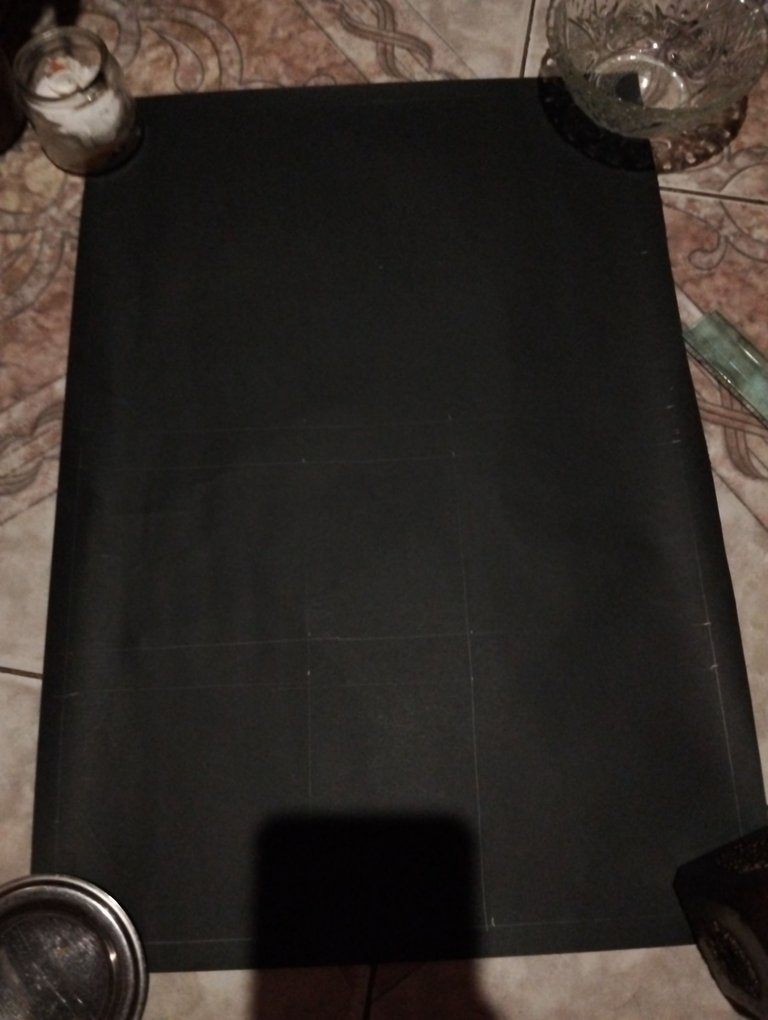
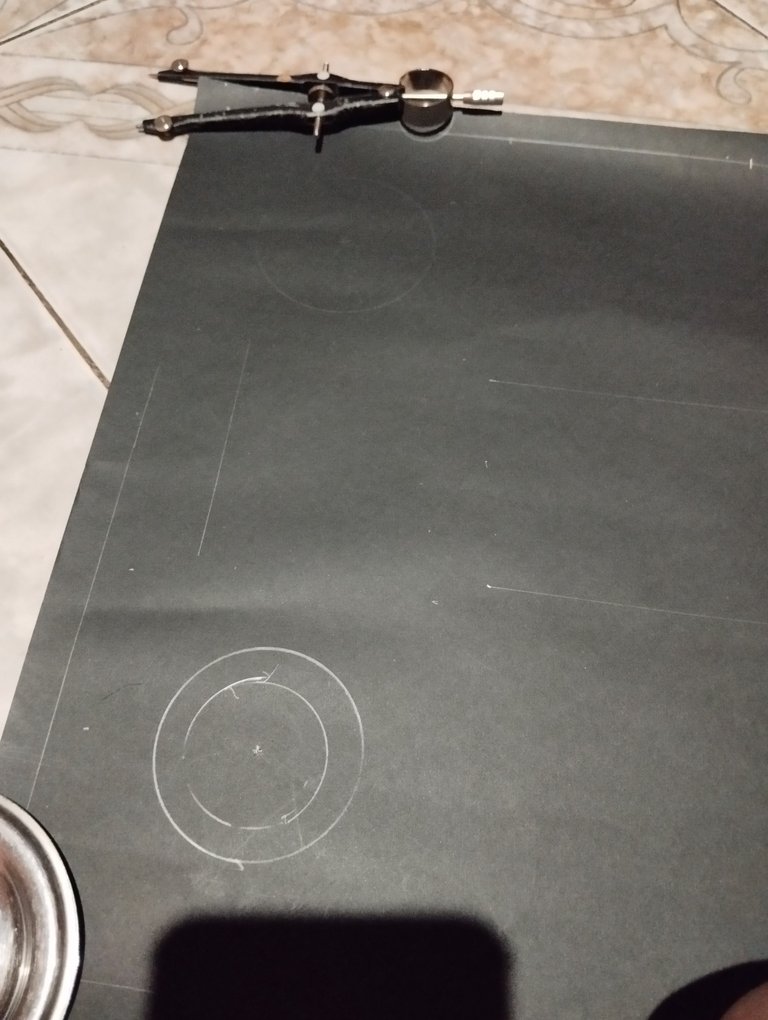
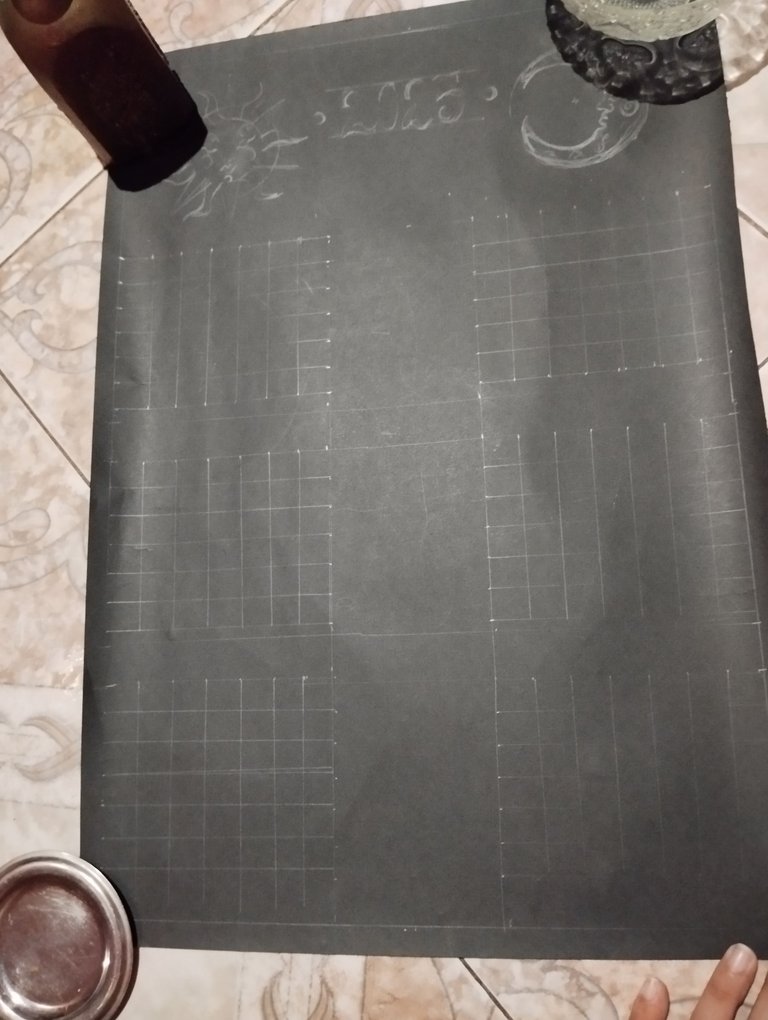
#1 Para el primer paso, usé una cartulina negra escolar , la cual doble a la mitad y lo corté ,de forma que me quedara el calendario de la mitad del tamaño de la cartulina, una vez cortado , empecé a medir para hacer una especie de margen dejando un 1cm de cada lado, dando entonces un rectángulo interior de 32 cm de ancho x 47 cm de largo , dejé un espacio en la parte superior para aquí poner el año ,y algunas ilustraciones y más abajo ir distribuyendo el calendario diario de los meses. Para distribuirlo pensé en hacerlo 2 meses , poniéndolo en 3 filas ,de formar que cubriera los primeros seis meses del año, marqué dos regtangulos, de 12cm de ancho, y unos 10 cm de largo . Marcando así cada 10 cm, y luego un espacio de dos centímetros, para luego marcar 10 cm de nuevo, 2 cm de espacio y por último 10 cm,esto nos dará la distribución de los 3 regtangulos para el mes, y en el lado lateral izquierdo también hice la misma medición, dejando un espacio del medio de 8 cm de ancho, Marcando renglones de 1,5 cm y cráneo 6 renglones para cada semana. En la parte de arriba en dónde iría la fecha , hice una línea, para ubicarla , y marqué dos círculos de 10 cm en cada lado, que sería la forma para empezar a bocetar los dibujos que adornarán el calendario.
English Version
**#1 For the first step, I used a black school cardboard, which I folded in half and cut it so that the calendar was half the size of the cardboard, once cut, I began to measure to make a kind of margin leaving 1cm on each side, then giving an inner rectangle of 32cm wide x 47cm long, I left a space at the top to put the year here, and some illustrations and below to distribute the daily calendar of the months. To distribute it I thought of making it 2 months, putting it in 3 rows, so that it covered the first six months of the year, I marked two rectangles, 12cm wide, and about 10cm long. Marking like this every 10 cm, and then a space of two centimeters, then marking 10 cm again, 2 cm of space and finally 10 cm, this will give us the distribution of the 3 rows for the month, and on the left side I also made the same measurement, leaving a space in the middle of 8 cm wide, marking rows of 1.5 cm and three 6 rows for each week. At the top where the date would go, I made a line, to locate it, and marked two circles of 10 cm on each side, which would be the way to start sketching the drawings that will adorn the calendar. **
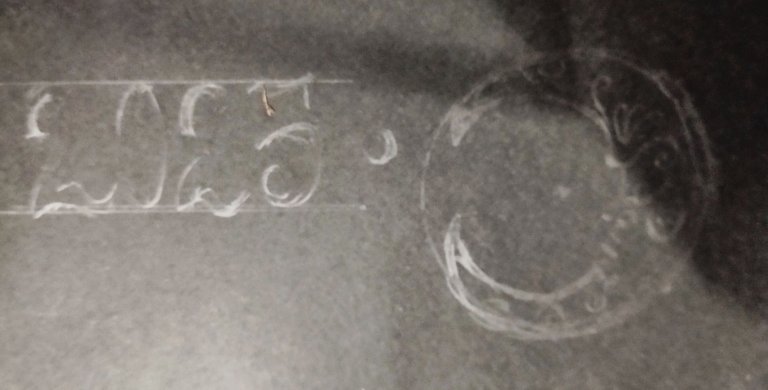
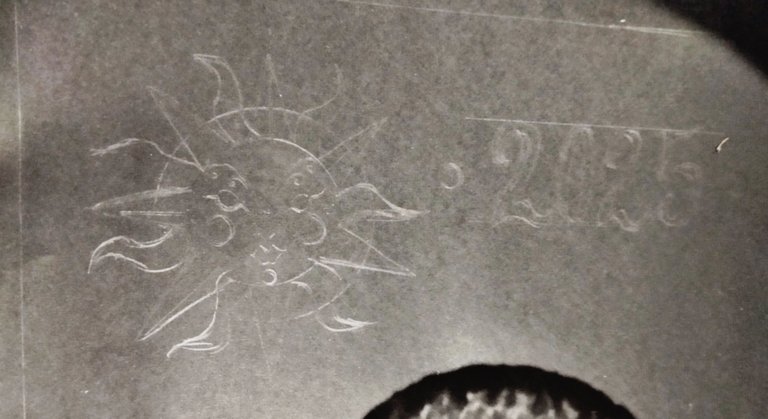
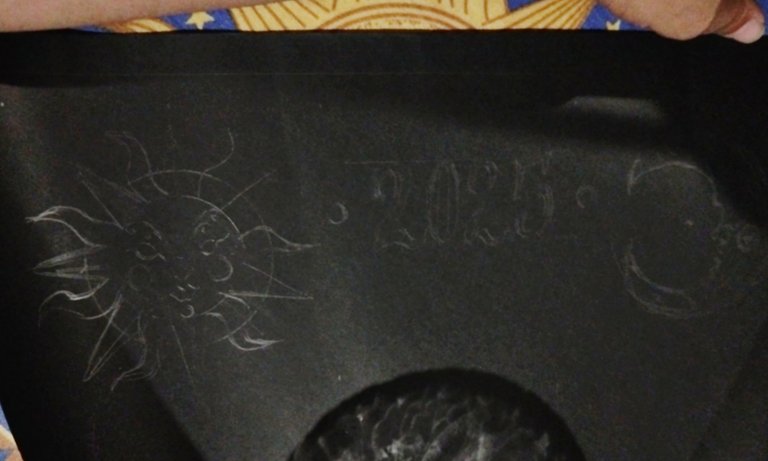
#2 Para las ilustraciones escogí hacer dos ,hice dos círculos , uno dentro del otro para hacer la parte de adentro, del sol y guiarme con el círculo exterior para los rayos , la idea era hacer un estilo de sol tipo caricatura vintage y darle un poco ese aspecto, al igual que a la Luna con un aspecto de cara graciosa, y dibujando el número de 2025 en el medio del calendario.
English Version
#2 For the illustrations I chose to make two, I made two circles, one inside the other to make the inside of the sun and guide myself with the outer circle for the rays, the idea was to make a vintage cartoon style sun and give it a bit of that look, as well as the Moon with a funny face look, and drawing the number 2025 in the middle of the calendar.
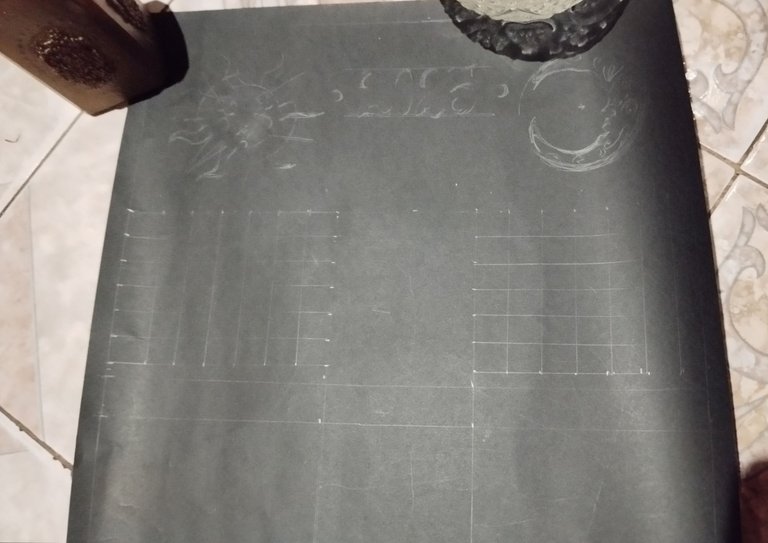
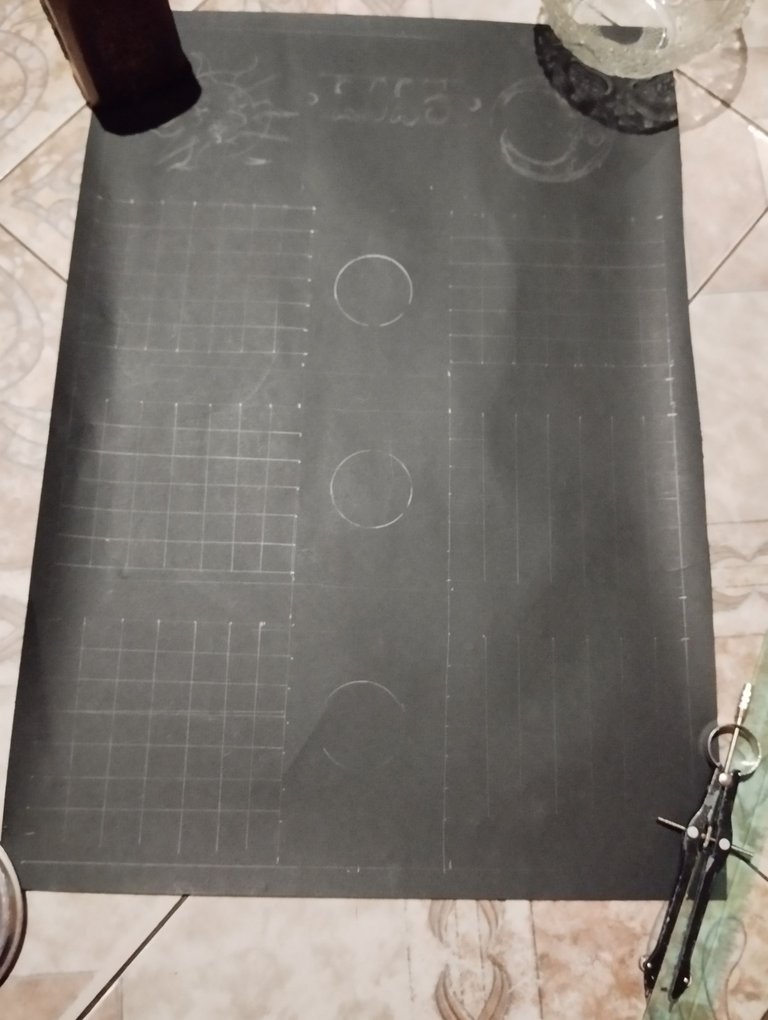
#3 Para hacer los rectángulos de cada mes , marqué la líneas guías de los puntos que había hecho para identificar los renglones que serían las semanas, y para los días marqué siete casillas de 1,7 cm para cada día, haciendo los 6 regtangulos, para cada mes ,y dejando el espacio que ya había marcado para los dos centímetros. En este espacio del medio hice tres círculos ,para hacer el boceto de tres ilustraciones que acompañaran el medio del calendario.
English Version
#3 To make the rectangles for each month, I marked the guide lines of the dots I had made to identify the rows that would be the weeks, and for the days I marked seven 1.7 cm boxes for each day, making the 6 rectangles for each month, and leaving the space I had already marked for the two centimeters. In this middle space I made three circles to make the sketch of three illustrations that would accompany the middle of the calendar.
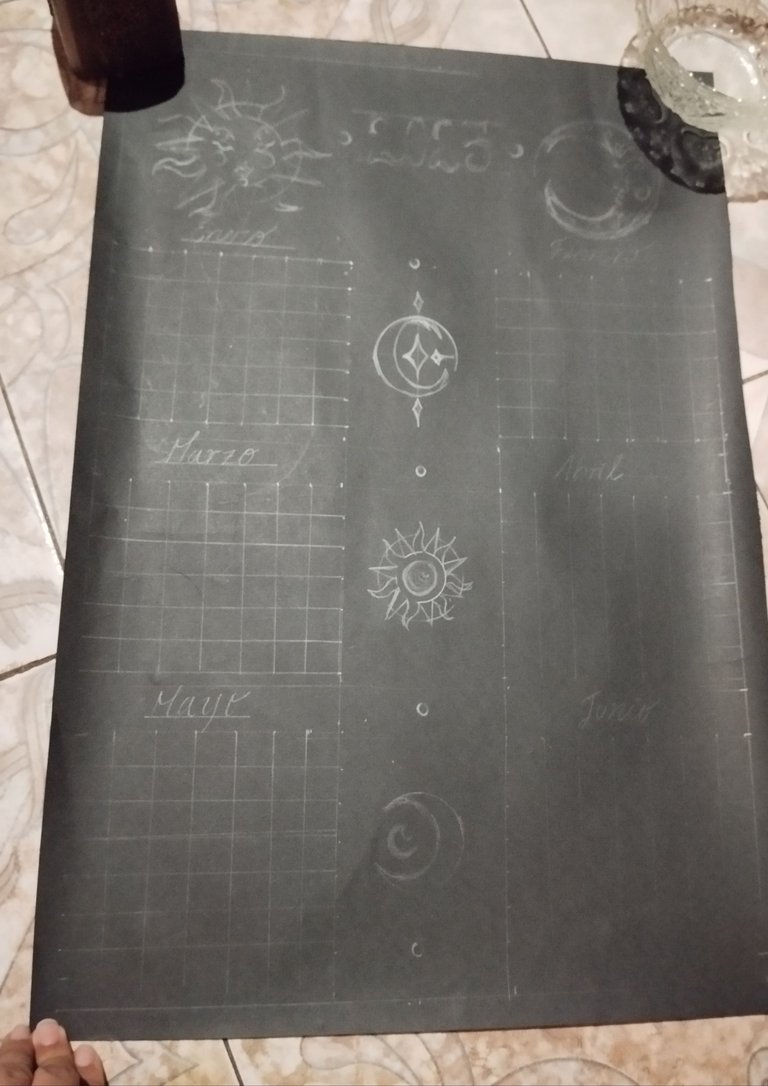
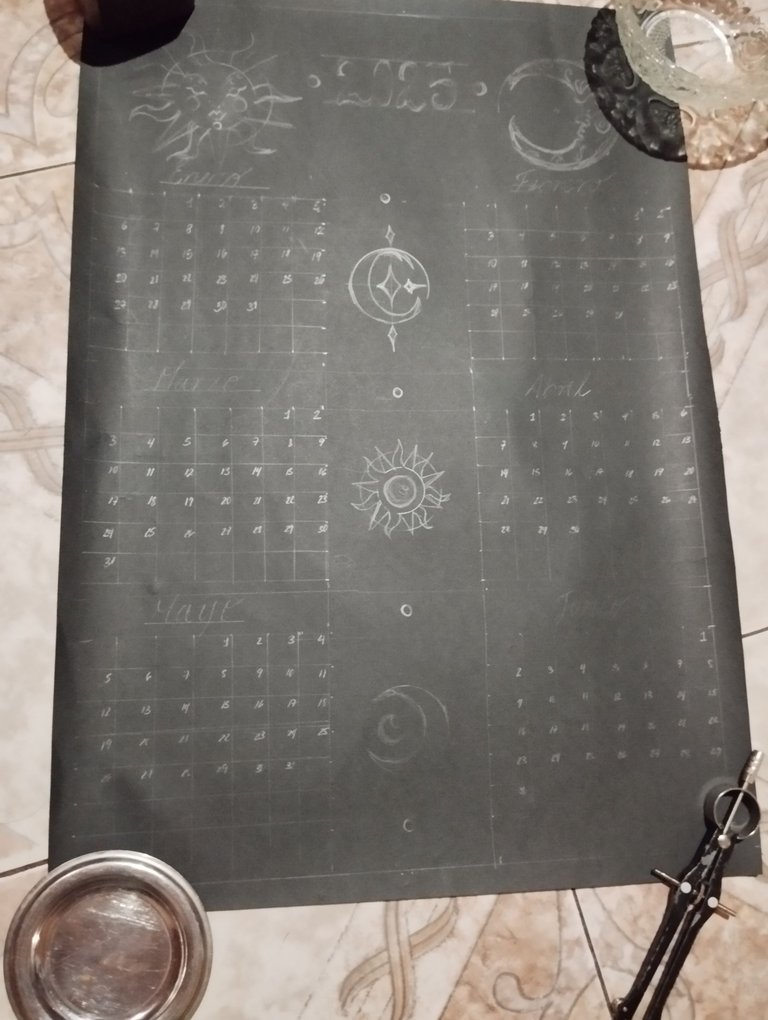
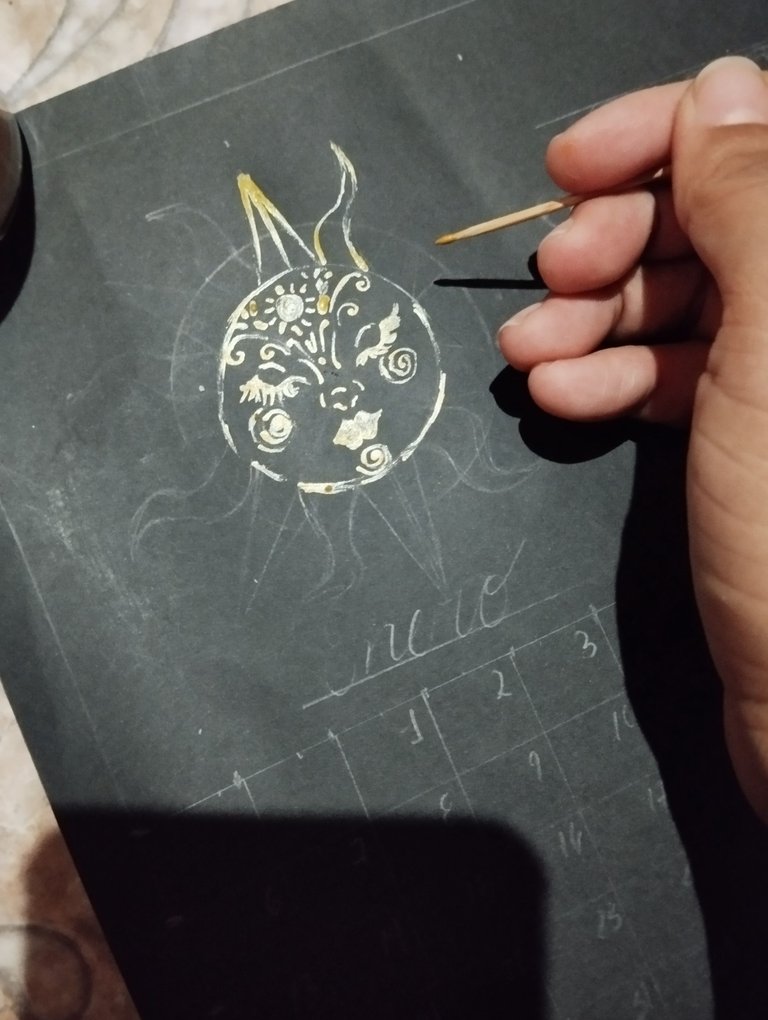
#4 Para las ilustraciones ,escogí seguir con la temática celestial, entonces empecé por arriba con una luna y un destello en el centro de está , también en el medio hice un solecito con sus rayos , y en el medio una lunita , y el último una luna invertida con puntillismo y una esferita. Tambien agregué los títulos de los meses , agregué también el número de cada día, y una vez que tenía todas las línea ay bocetos listos ,empecé a pintarlo con un palito de dientes y pintura dorada empezando a hacer todo el lineart.
English Version
#4 For the illustrations, I chose to continue with the celestial theme, so I started at the top with a moon and a flash of light in the center of it, also in the middle I made a little sun with its rays, and in the middle a little moon, and lastly an inverted moon with pointillism and a little sphere. I also added the titles of the months, I also added the number of each day, and once I had all the lines and sketches ready, I started painting it with a toothpick and gold paint starting to do all the lineart.
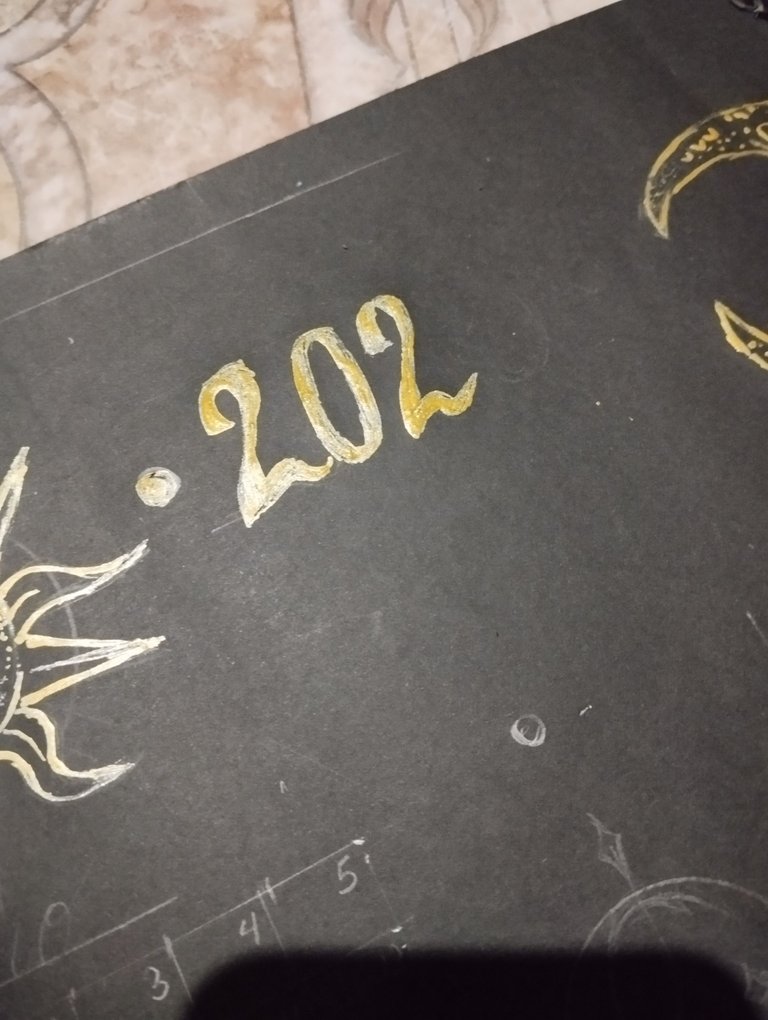
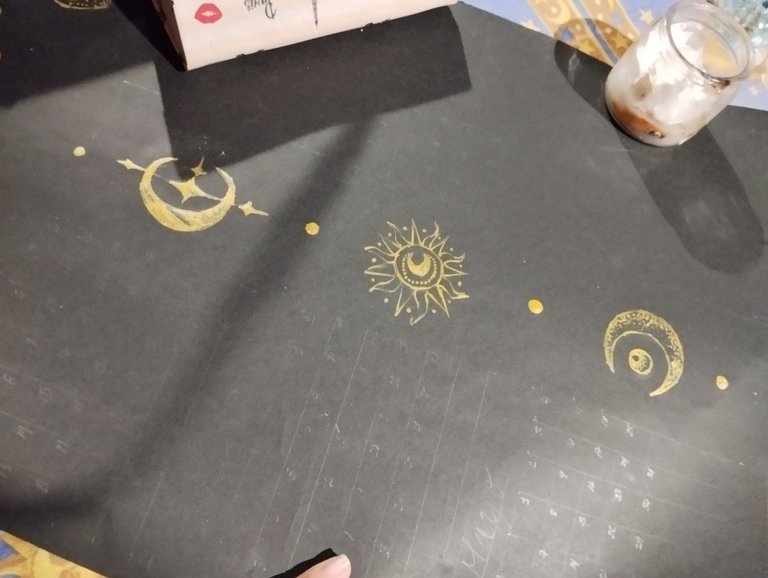
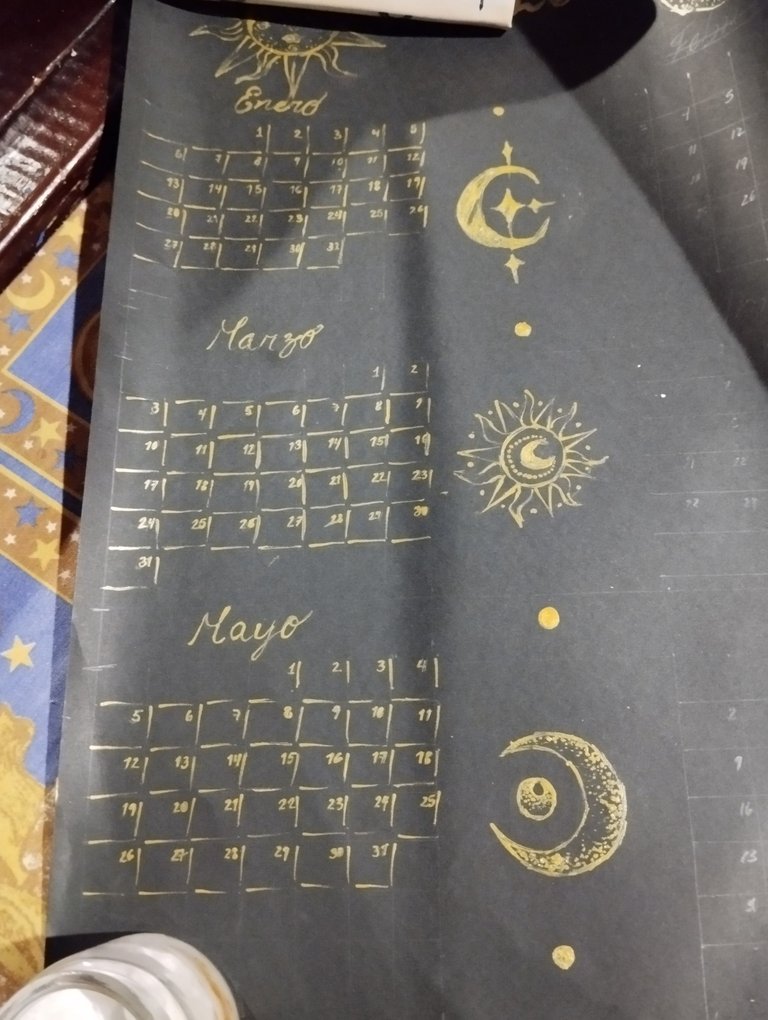
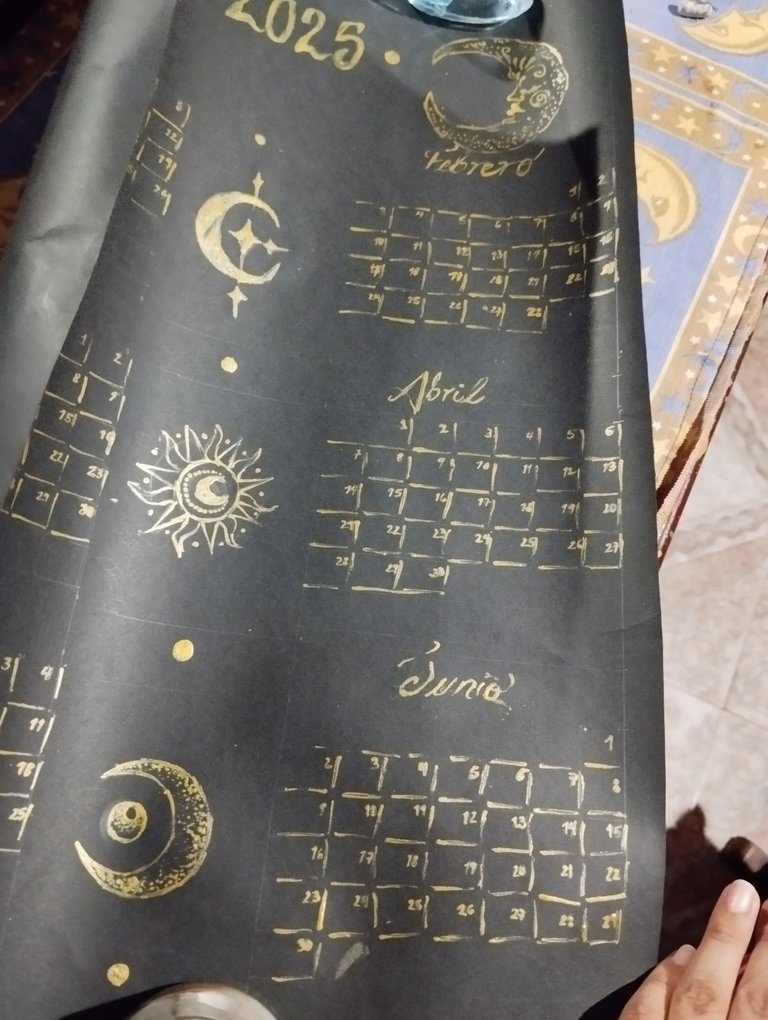
#5 Ya con el palito de dientes empecé a rellenar todos los bocetos , el 2025 , la luna y el sol ,y las figuras del medio.Cuando la pintura se secó, empecé a hacer las líneas de los cuadros , aquí la idea era hacer líneas rectas , pero aquí me acordé que estaba pintando era con un palito , Pequeño detalle ?Jajaja por lo que no me iba a quedar recto ,aquí que empecé a hacerlo con líneas pequeñas para hacer cada cuadrito, y también los números de cada día terminando primero un lado y luego el otro para que se secara, y los títulos de los meses.
English Version
#5 Now with the toothpick I began to fill in all the sketches, 2025, the moon and the sun, and the figures in the middle. When the paint dried, I began to make the lines of the boxes, here the idea was to make straight lines, but here I remembered that I was painting with a stick, Small detail? Hahaha so it was not going to be straight, here I began to do it with small lines to make each square, and also the numbers of each day finishing first one side and then the other so that it would dry, and the titles of the months.
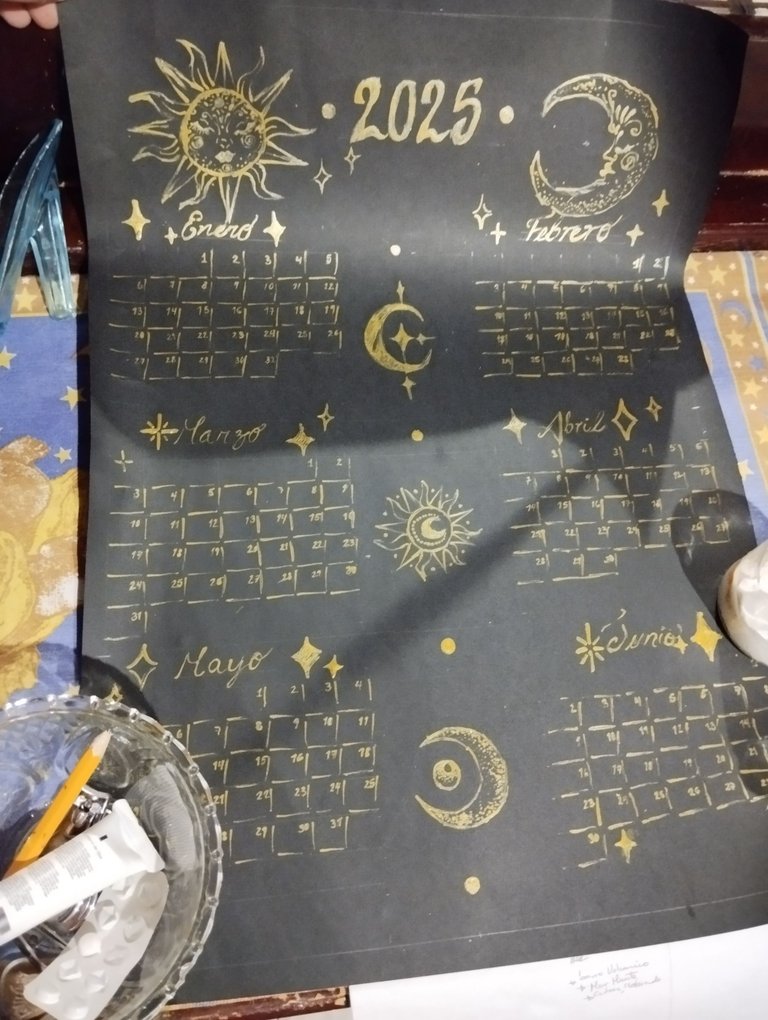
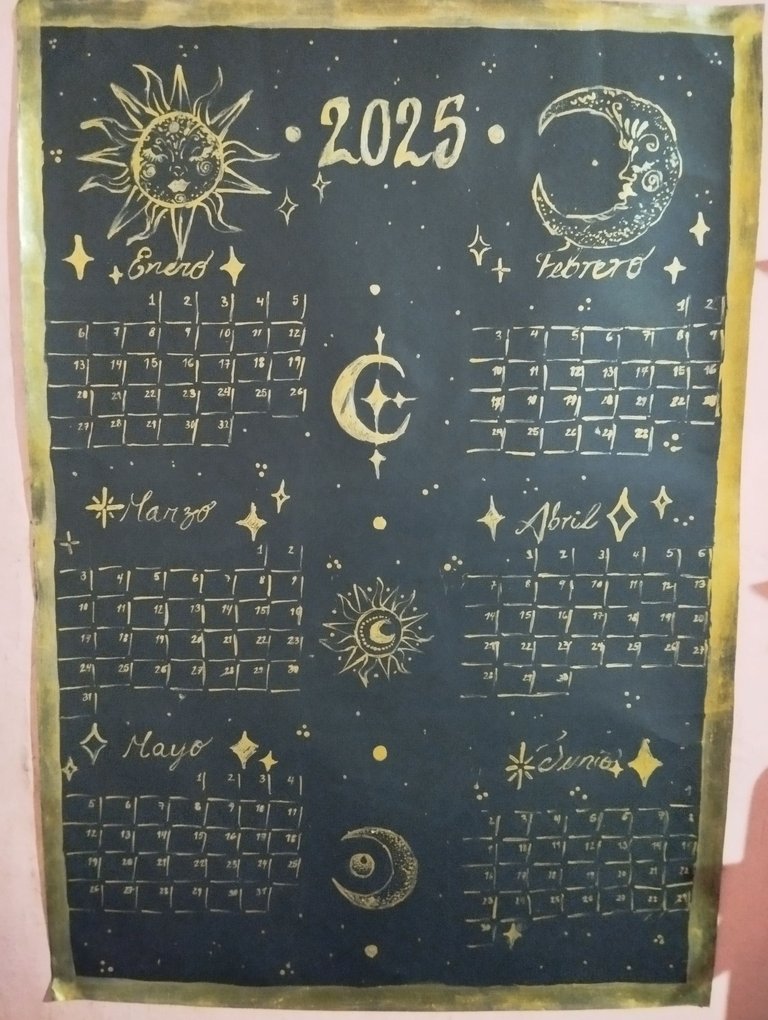
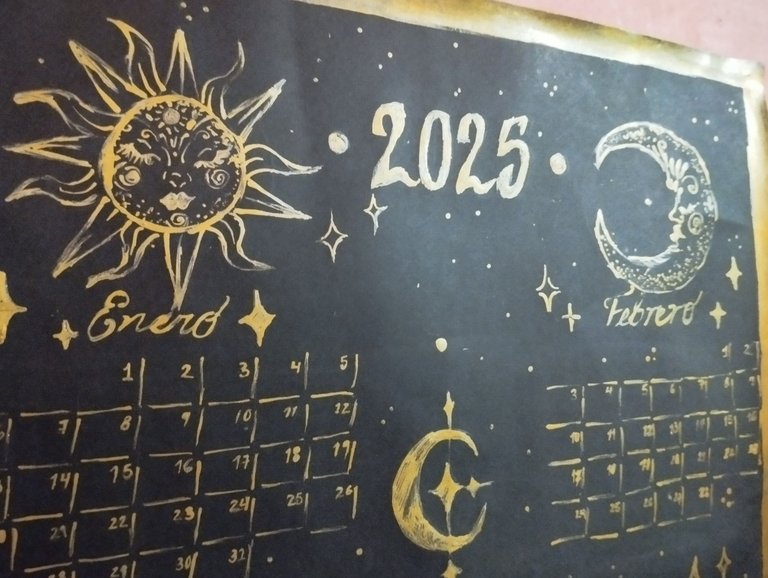
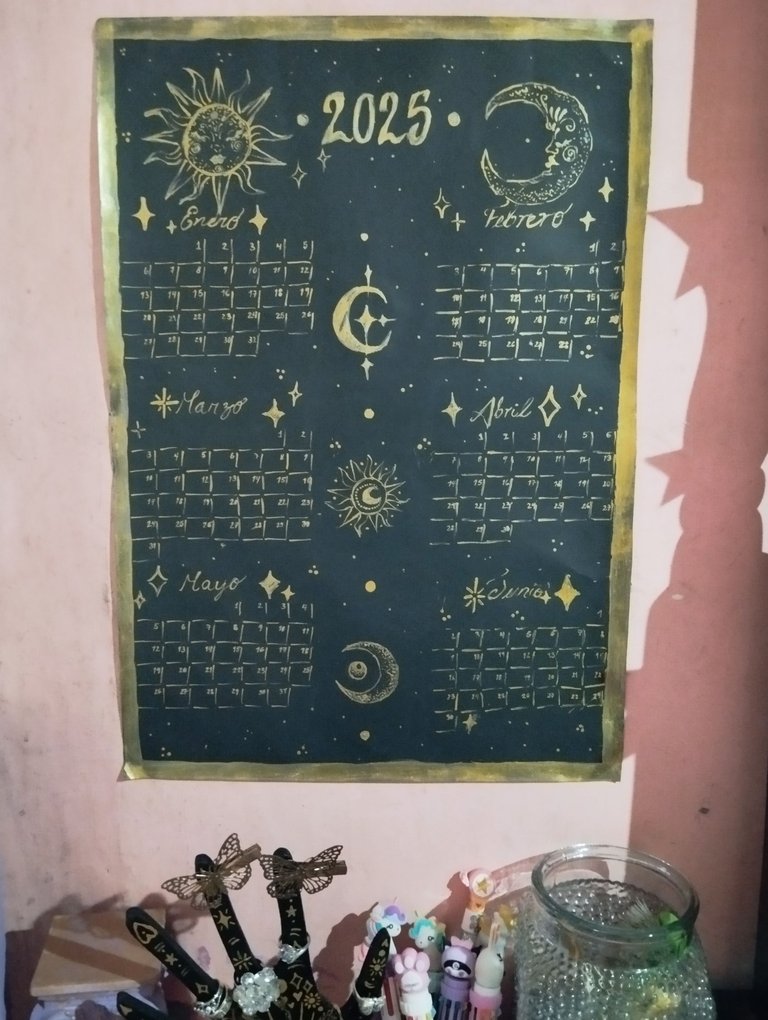
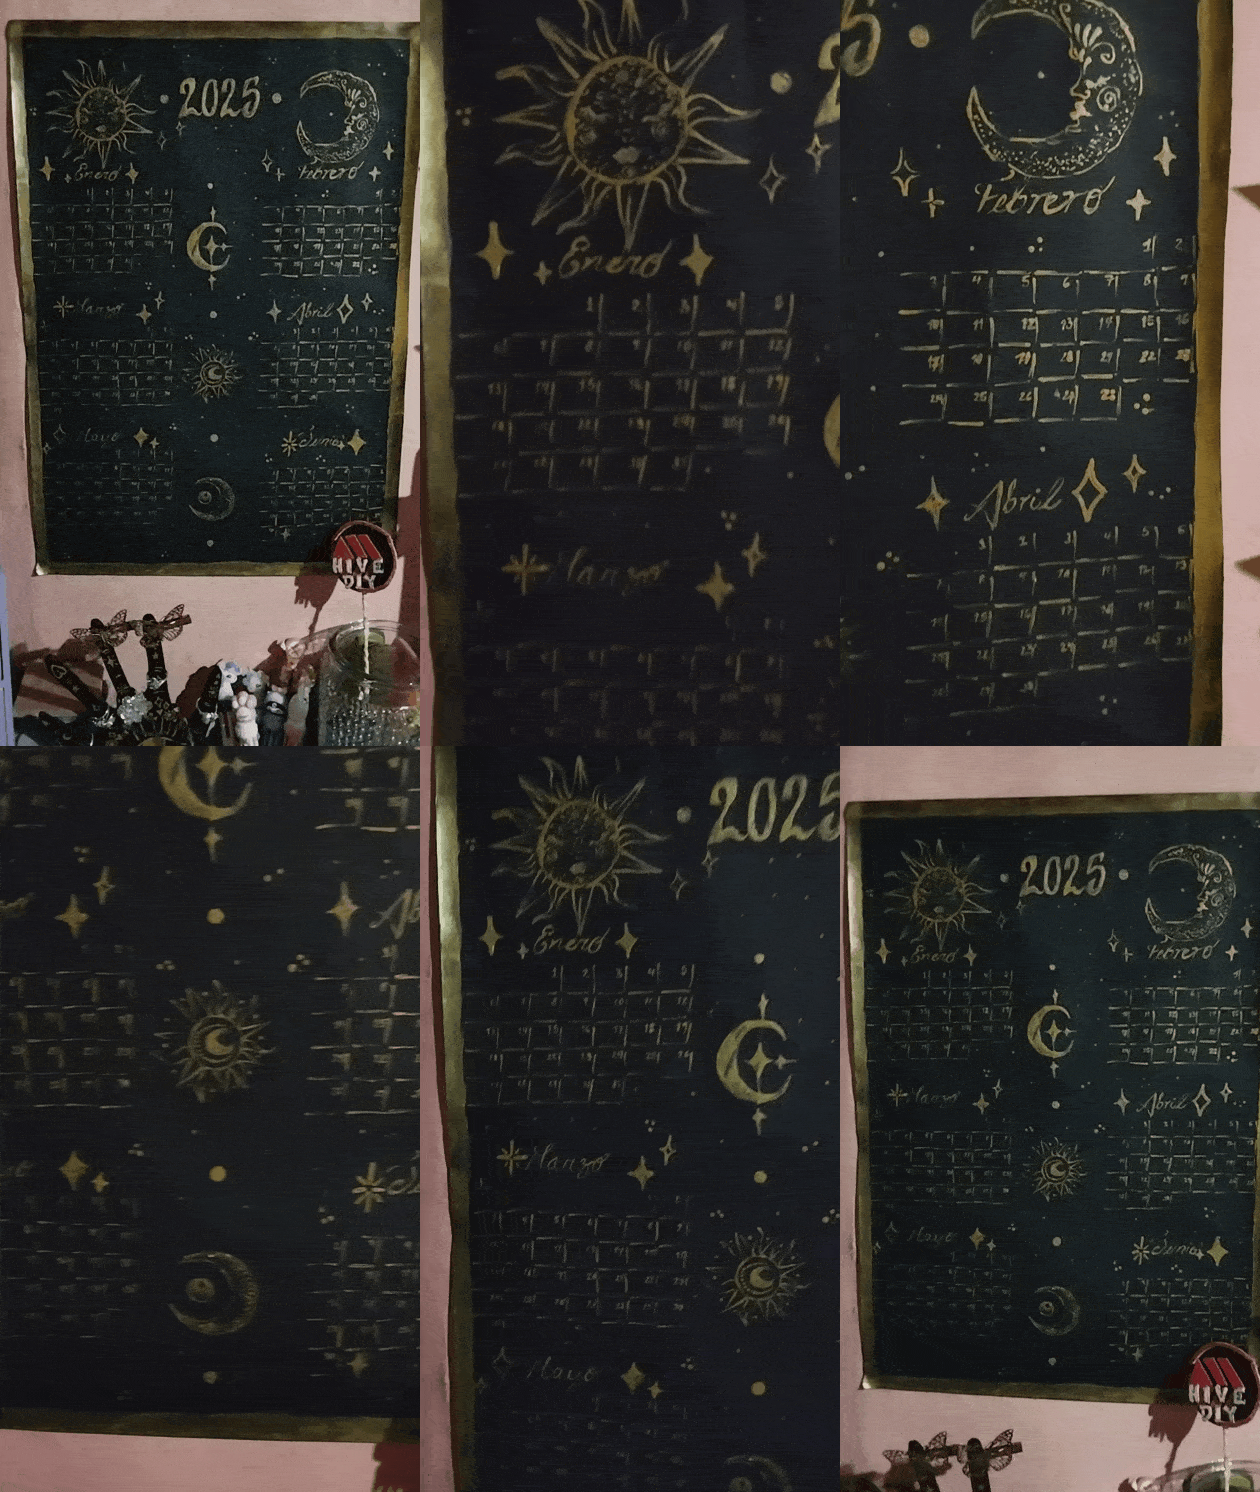
#6 Ya con los elementos principales del diseño listos , empecé a decorarlo agregando algunos detallitos por aquí y por allá , estos serían detallitos y como luceros ,brillitos para complementar el diseño.Y con un pincel plano , empecé a pintar todos los márgenes creando un marquito dorado , para realizarlo aún más. Aquí ya el diseño estaba completo pero como sentía que le faltaba algo , empecé a rellenar algunos espacios vacíos, con pequeños puntitos imitando algunas estrellas esparcidas por todo el calendario.(Por cierto olvide borrar las líneas guías antes de poner los detalles ,pero hay que borrar las líneas guías para que quede mucho más limpio el diseño.)
Una disculpa por las imágenes , no sabía cómo acomodarlas para que se apreciarán más los detalles , porque a veces no se ven muy los detalles a lápiz y no quería que se perdieran ,así que las subí de esta forma individual
Y como pueden ver este es el resultado, les dejo las fotos pegadas en mi pared , y se ve precioso de verdad ,como un poster antiguo , para decorar el cuarto , y amé la estetica toda celestial, misteriosa que tiene, también les dejo aquí un gif para que puedan ver mas detallitos , espero que les haya gustado , está idea para empezar a organizarnos para el próximo año !☺️💜
Fotos tomadas por mí en mi equipo Redmi note 12 editadas en Pics y GIFs texto traducido en Google traductor.
English Version
#6 With the main elements of the design ready, I began to decorate it by adding some little details here and there, these would be little details and like lights, sparkles to complement the design. And with a flat brush, I began to paint all the margins creating a golden frame, to make it even more complete. Here the design was already complete but as I felt that something was missing, I began to fill in some empty spaces, with small dots imitating some stars scattered throughout the calendar.(By the way, I forgot to erase the guide lines before adding the details, but you have to erase the guide lines to make the design much cleaner.)
** Sorry for the images, I didn't know how to arrange them so that the details would be more appreciated, because sometimes the details are not very visible in pencil and I didn't want them to get lost, so I uploaded them this way individually**
And as you can see this is the result, I leave the photos pasted on my wall, and it really looks beautiful, like an old poster, to decorate the room, and I loved the whole celestial, mysterious aesthetic it has, I also leave you a gif here so you can see more details, I hope you liked it, this idea to start organizing ourselves for next year! ☺️💜
*Photos taken by me on my Redmi note 12 device edited in Pics and GIFs text translated in Google translator.

Me encantó este proyecto 😍.... Nada como hacer tu propio calendario personalizado.
El diseño y el color dorado fue una combinación que me encantó.
Espero tengas felices fiestas y un exitoso y bendecido 2025.
!discovery 45
@chacald.dcymt ! Muchas gracias por tu comentario, también amo está combinación de colores ✨, igualmente una muy feliz navidad para ti ✨
Realmente felicitaciones por la paciencia la combinación de negro y dorado está espectacular me encantaron las ilustraciones que utilizaste una excelente idea para tener un calendario visible y completamente personalizado parece que es un detalle muy lindo que se puede hacer para uno o para regalarlo así que realmente Gracias por la idea y nuevamente felicitaciones por el por el trabajo que realizaste.
🌲 🌲 🌲 🌲🌲 🌲 🌲 🌲🌲 🌲 🌲 🌲🌲 🌲 🌲 🌲🌲 🌲 🌲 🌲🌲 🌲 🌲 🌲🌲 🌲 🌲
Really congratulations for the patience the combination of black and gold is spectacular I loved the illustrations you used an excellent idea to have a visible and completely personalized calendar seems to be a very nice detail that can be done for one or to give it as a gift so really thanks for the idea and again congratulations for the work you did.
Muchas gracias por tus lindas palabras @esperanzalandia , es todo un proyecto por el tiempito que lleva pintar cada detalle ,pero ame hacerlo, y cierto ,es un buen regalo para esta navidad a ser querido que le guste este estilo, seguro que le gustaría y no es algo muy costoso se hacer, que tengas unas felices fiestas ,y feliz navidad 🎄
This post was shared and voted inside the discord by the curators team of discovery-it
Join our Community and follow our Curation Trail
Discovery-it is also a Witness, vote for us here
Delegate to us for passive income. Check our 80% fee-back Program