Buenas gente creativa de la comunidad de HIVE y amante del arte.
Espero que se encuentren muy bien el día de hoy.
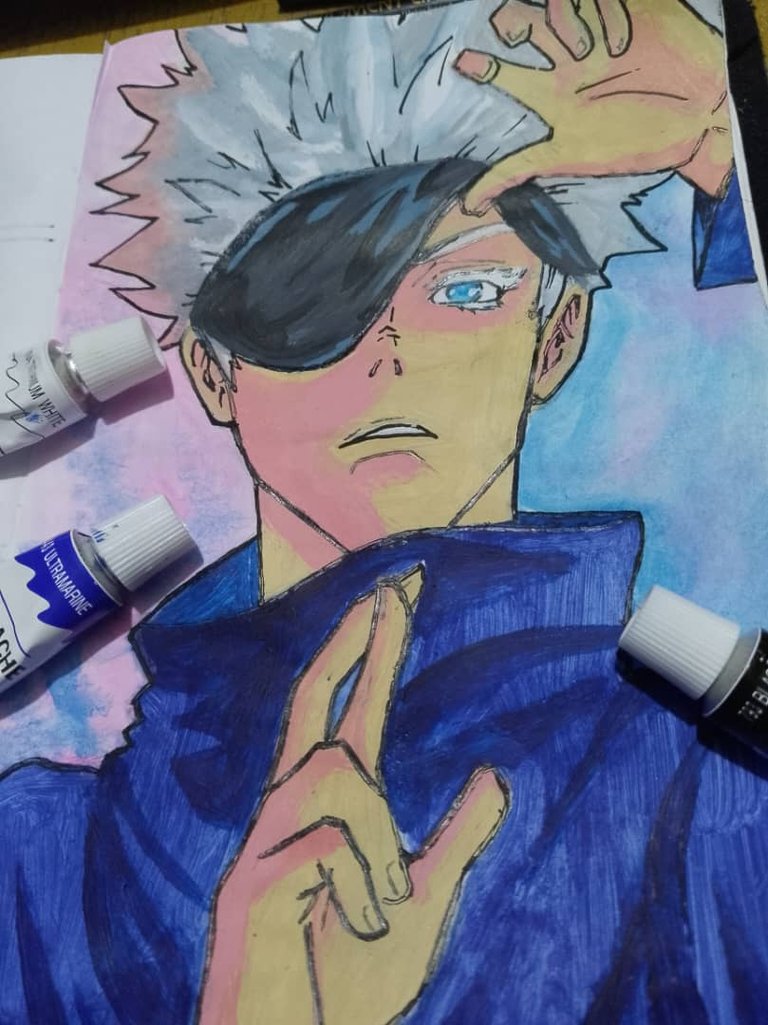
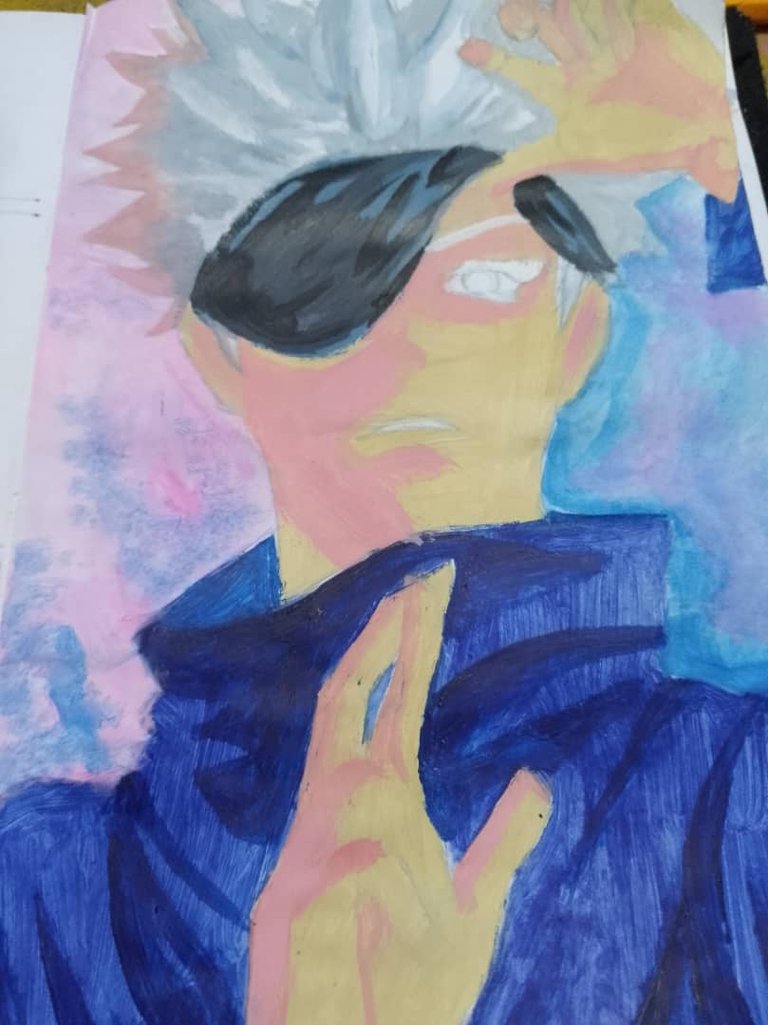
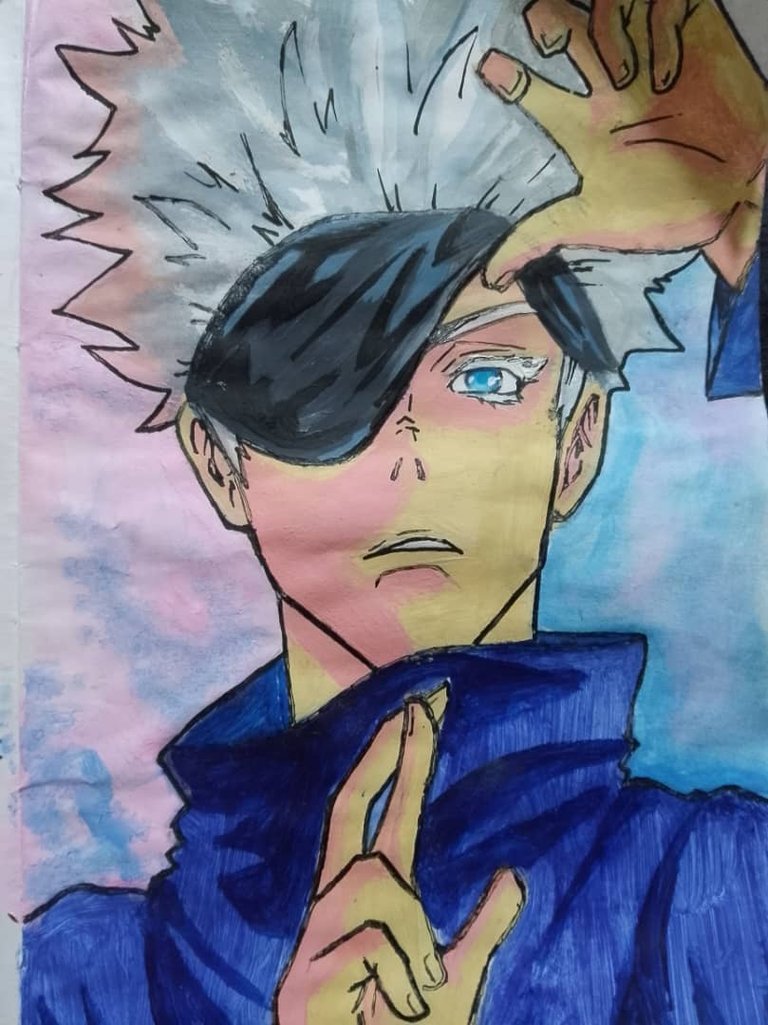
Hoy les enseñare el proceso y como se deben usar unos materiales de pintura que ando practicando y me que me encanta los resultados, dicho material se le conoce como Gouache; que para esta práctica, realizaré una ilustración de un persona de anime que se a hecho famoso en los últimos años, el cual es Satoru Gojo del anime Jujutso Kaizen.
Hello creative people of the HIVE community and art lovers.
I hope you are doing very well today.
Today I will teach you the process and how to use some painting materials that I am practicing and I love the results, this material is known as Gouache; for this practice, I will make an illustration of an anime character that has become famous in recent years, which is Satoru Gojo from the anime Jujutso Kaizen.
Antes de empezar con el proceso, les explicaré en que consiste el material. El Gouache es una técnica pictórica que se está usando últimamente entre los artistas, ya que es una pintura soluble en agua que da una apariencia de acuarela opaca, si se usa con mucha agua se trabaja como la técnica de acuarela, pero si se usa menos agua se trabaja con la pintura espesa, tendremos un acabado parecido a las pinturas acrílicas y lo bueno es que si se pinta por ejemplo una capa base sobre la zona, dejándolo secar y le aplicamos otro tono encima, no le afectará al trabajo que habíamos hecho anteriormente; solo afectaría si le aplicamos agua a esa área, activando la pintura para que se disuelva. Es bastante flexible esta técnica y permite a aquellos principiantes a conocer mejor la pintura, trabajando fácilmente y para los que ya están experimentados, led permite poder expresarse creativamente en sus obras, pero claro, no todos los gouaches son iguales, dependiendo de la marca se trabaje diferente, pero tiene el mismo concepto para todas.
Ahora sí vayamos con nuestra ilustración!
Before starting with the process, I will explain what the material consists of. Gouache is a painting technique that is being used lately among artists, since it is a water-soluble paint that gives an opaque watercolor appearance. If you use a lot of water, you work like the watercolor technique, but if you use less water, you work with thick paint, you will have a finish similar to acrylic paints and the good thing is that if you paint, for example, a base layer on the area, letting it dry and applying another tone on top, it will not affect the work that you had done previously; it would only affect if you apply water to that area, activating the paint so that it dissolves. This technique is quite flexible and allows beginners to get to know painting better, working easily, and for those who are already experienced, LED allows you to express yourself creatively in your works, but of course, not all gouaches are the same, depending on the brand, they are worked differently, but it has the same concept for all.
Now let's go to the illustration!
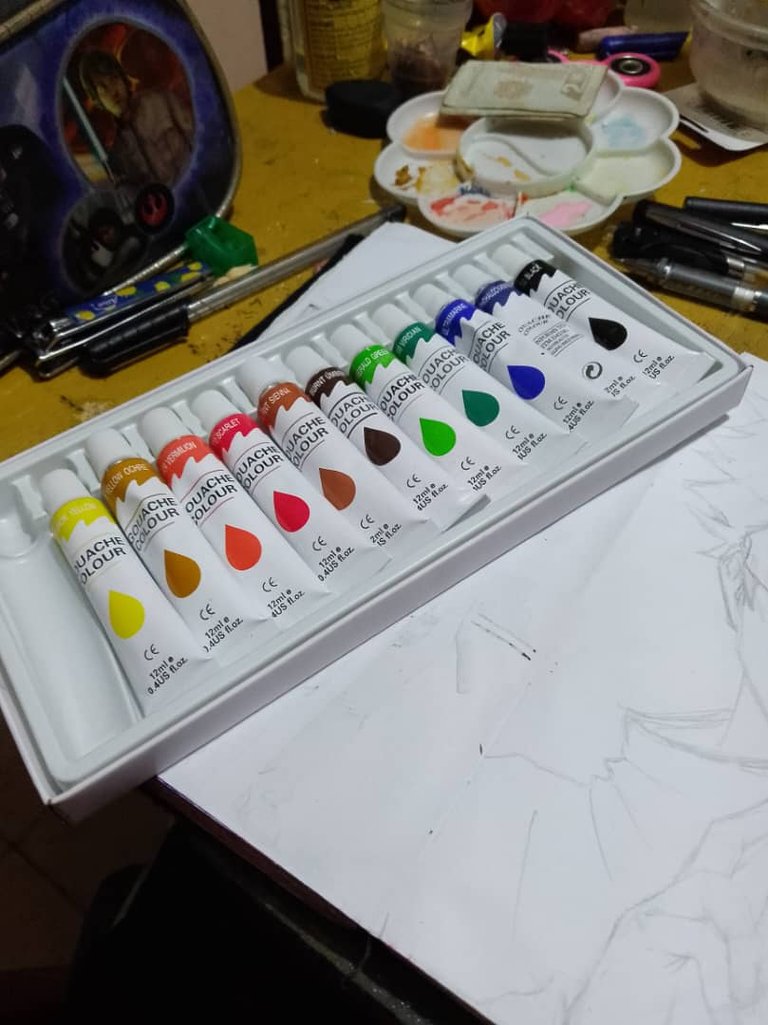
Materiales
- Hoja blanca tamaño media carta
- Gouache
- Pinceles finos
- Rapidograf o marcador de punta fina negro
- Marcadores
- Lápices de colores
Proceso / Process
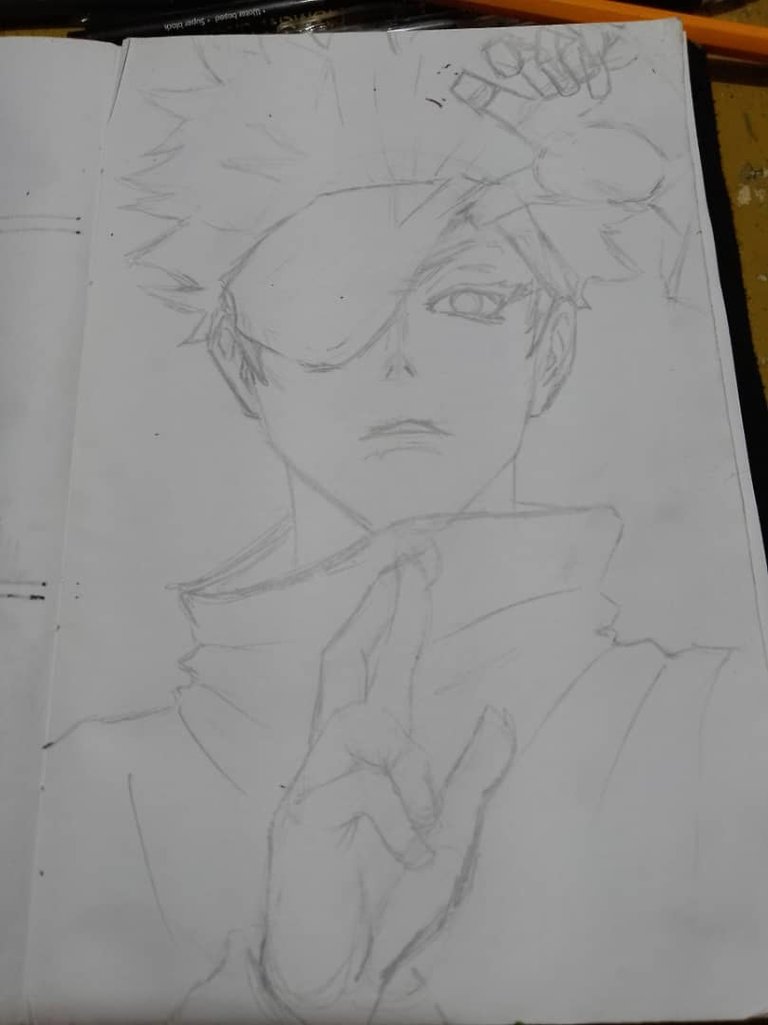
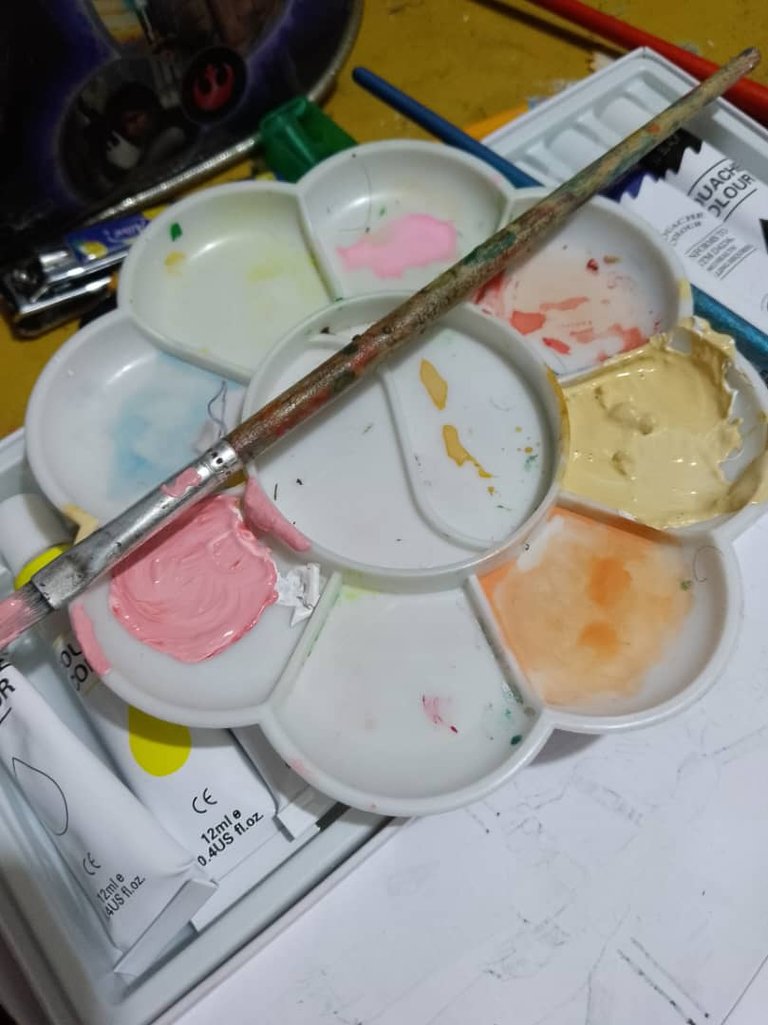
- Realice el boceto de nuestro personaje con anticipación para partir con la técnica. Escogemos los colores naranja y blanco para poder mezclar los colores, para generar un tono piel, para eso le aplique un pequeño toque de agua para que disluya y se mezclen más fácil para que no sea tan aguada.
- Make a sketch of our character in advance to start with the technique. We chose the colors orange and white to be able to mix the colors, to generate a skin tone, for that I applied a small touch of water to dilute it and mix it more easily so that it is not so watery.
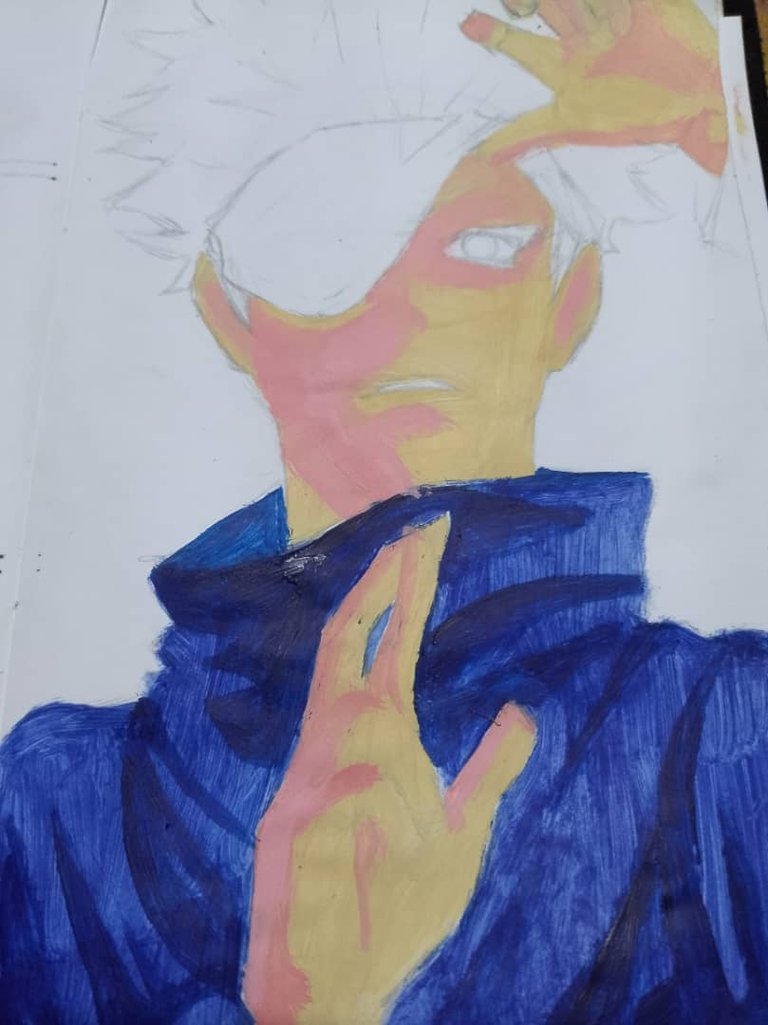
- Con un pincel fino (porque estoy trabajando en mi sketchbook, que el tamaño de las hojas es media carta), aplicamos la capa base de la piel, teniendo cuidado de no pasarnos por zonas, como el cabello, el ojo, y la camisa.
- Using a fine brush (because I'm working on my sketchbook, which has half-letter-sized pages), we apply the base coat of the skin, being careful not to go overboard on areas such as the hair, eyes, and shirt.
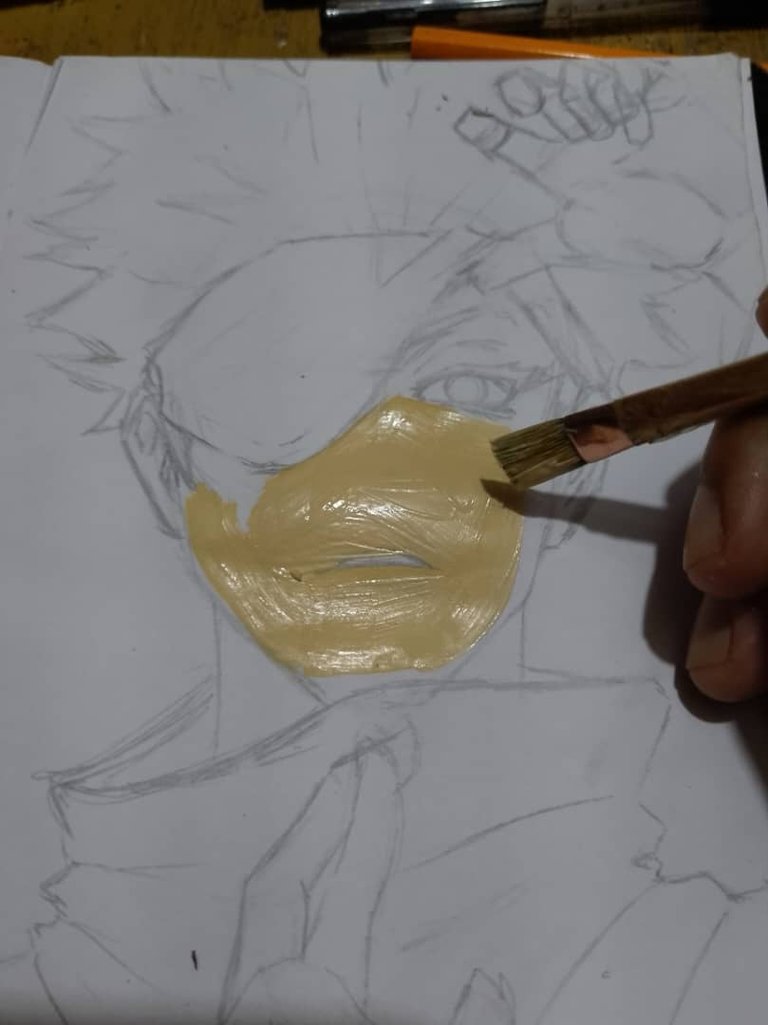
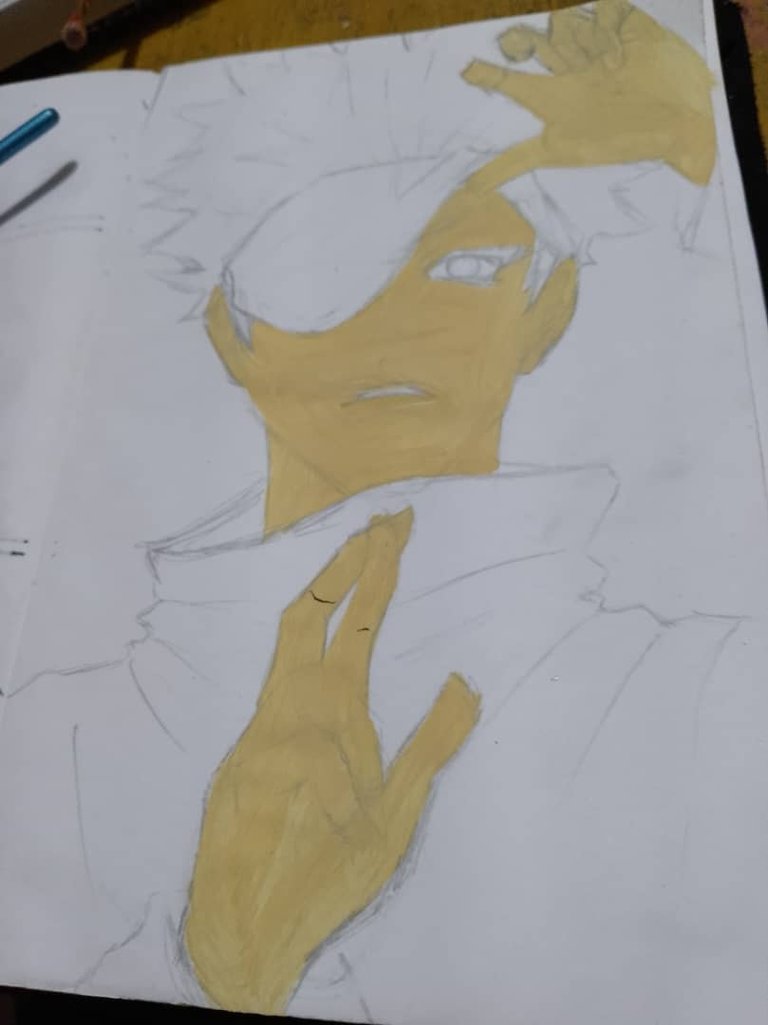
- Dejamos secar un poco las zonas pintadas para darle la capa base de la camisa, con un azul, diluyendolo con un poco más de agua (50 de pintura, 50 de agua). Este paso pase dos capas de pintura para que le quedará los más uniforme, teniendo cuidado de no tocar la mano del personaje.
- Let the painted areas dry a little to give the shirt the base coat, with a blue, diluting it with a little more water (50 paint, 50 water). This step is done with two coats of paint so that it will be more uniform, being careful not to touch the character's hand.
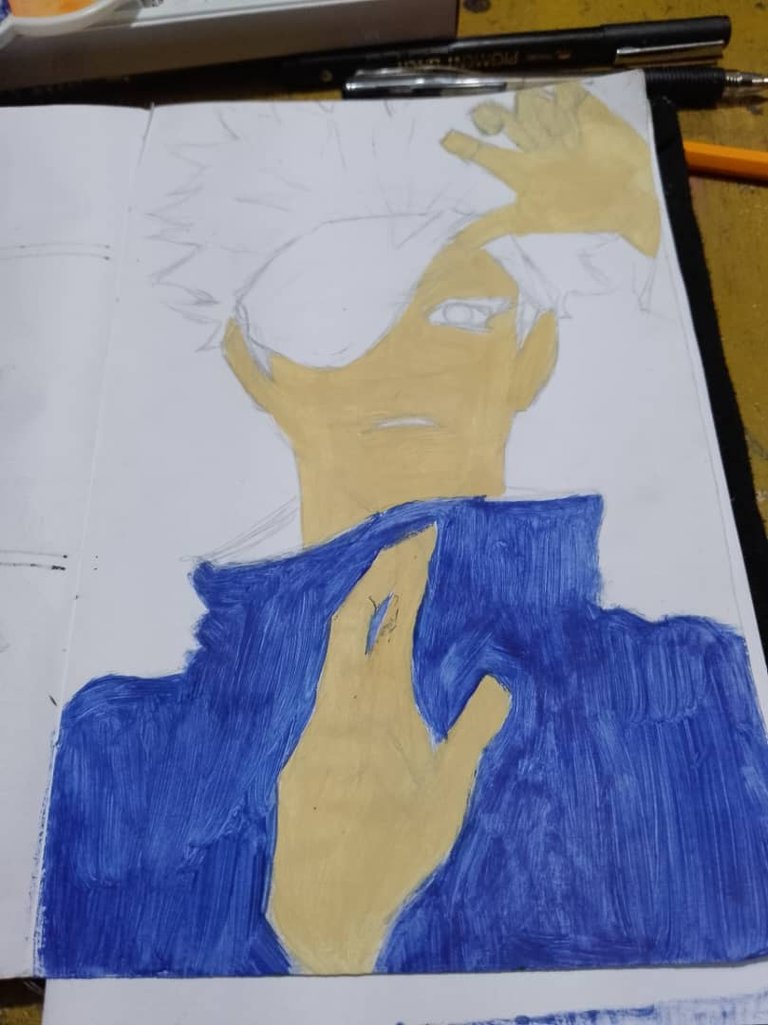
- Ahora toca darle las sombras al rostro y la camisa. Para el rostro mezcle los colores rojo y blanco, para un tono rosa, pintando en el área derecho del rostro y las manos. La camisa le di un tono más oscuro de azul, casi fucsia y para que se mezclen uniforme con la otra capa, le aplique con un poco de agua, mezclandose entre sí.
- Now it's time to give the face and shirt some shadows. For the face, mix the red and white colors, for a pink tone, paint on the right side of the face and hands. For the shirt, I gave it a darker shade of blue, almost fuchsia, and so that they blend evenly with the other layer, I applied a little water to it, mixing them together.
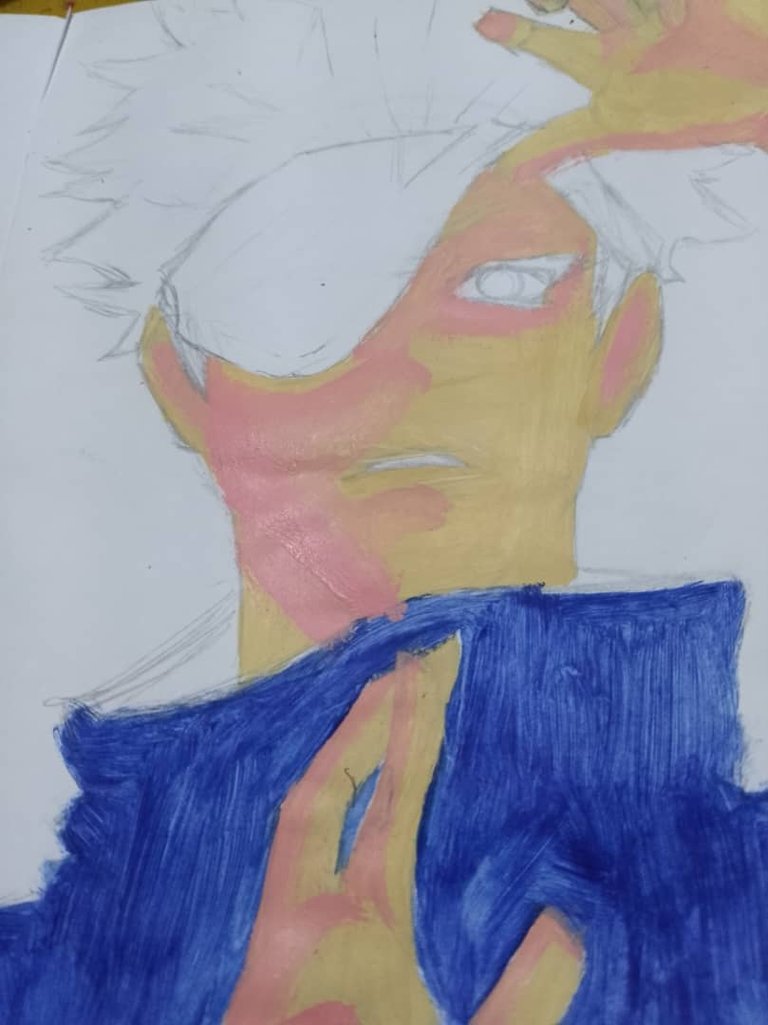
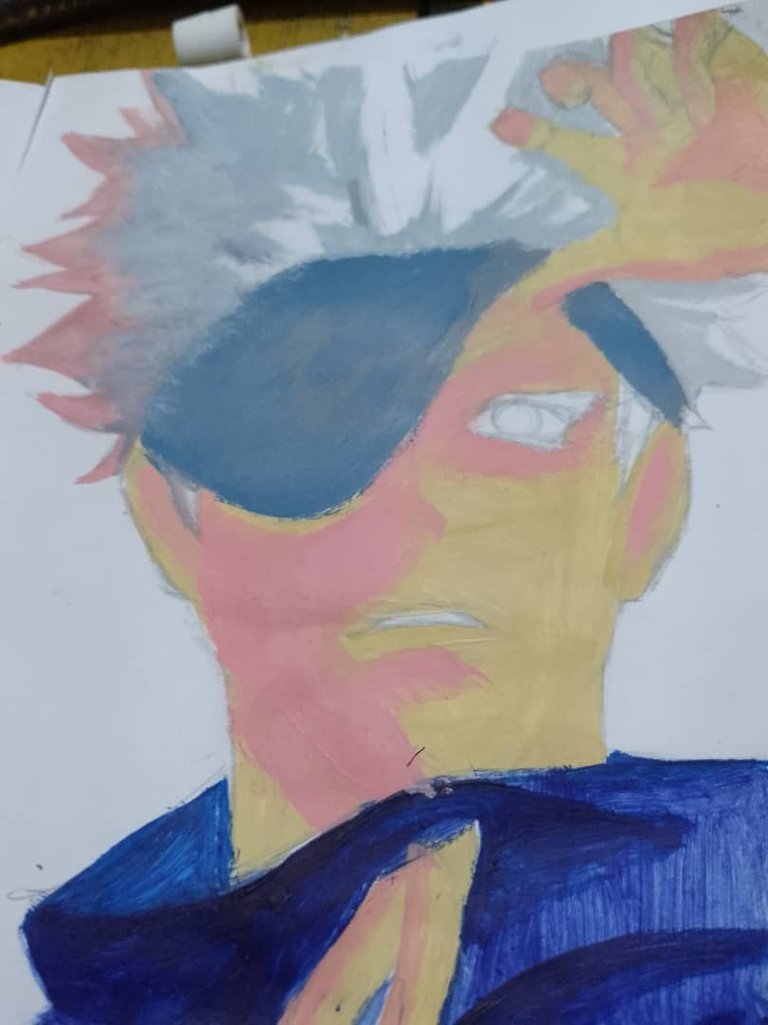
- Para el cabello, me tarde un poco en llegar al tomo exacto de gris (con el negro y blanco) mezclando con un poco de azul para darle un tono para que se mezcle con el fondo que al final, le haremos. Aproveche con el mismo gris pintar la venda de los ojos, aplicando sombras al más claro, hasta el tono negro para reforzar.
- For the hair, it took me a while to get the exact shade of grey (with black and white) mixing it with a bit of blue to give it a tone so that it blends with the background that we will make at the end. I took advantage of the same grey to paint the blindfold, applying shadows to the lightest shade, up to the black tone to reinforce it.
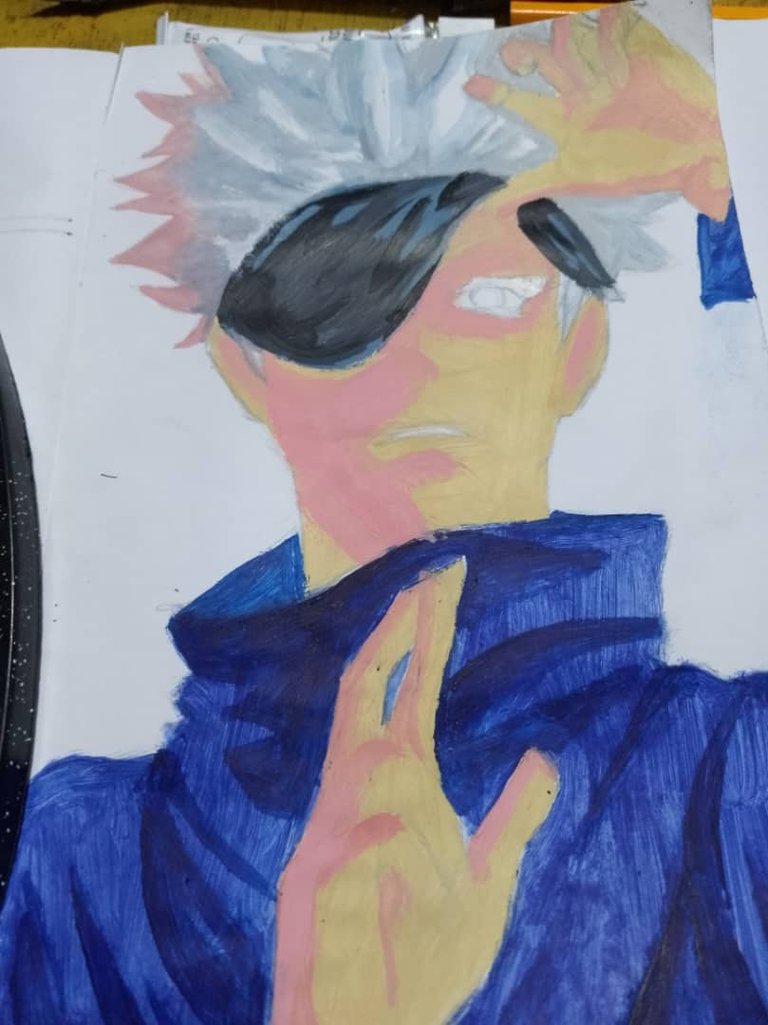
- Como no tenía para llegar a un azul claro, para el ojo, use uno de mis marcadores a base de alcohol y sombreando con los lápices de colores. Finalizando para el fondo, disolvió con agua para crear la sensación de acuarela pinté el fono con el tono rosado y azul por toda la hoja, con unos pequeños tonos oscuros del contrario.
- Since I didn't have a light blue to draw for the eye, I used one of my alcohol-based markers and shaded with colored pencils. Finally, for the background, I dissolved it with water to create a watercolor feel and painted the background with pink and blue tones all over the sheet, with some small dark tones on the other side.
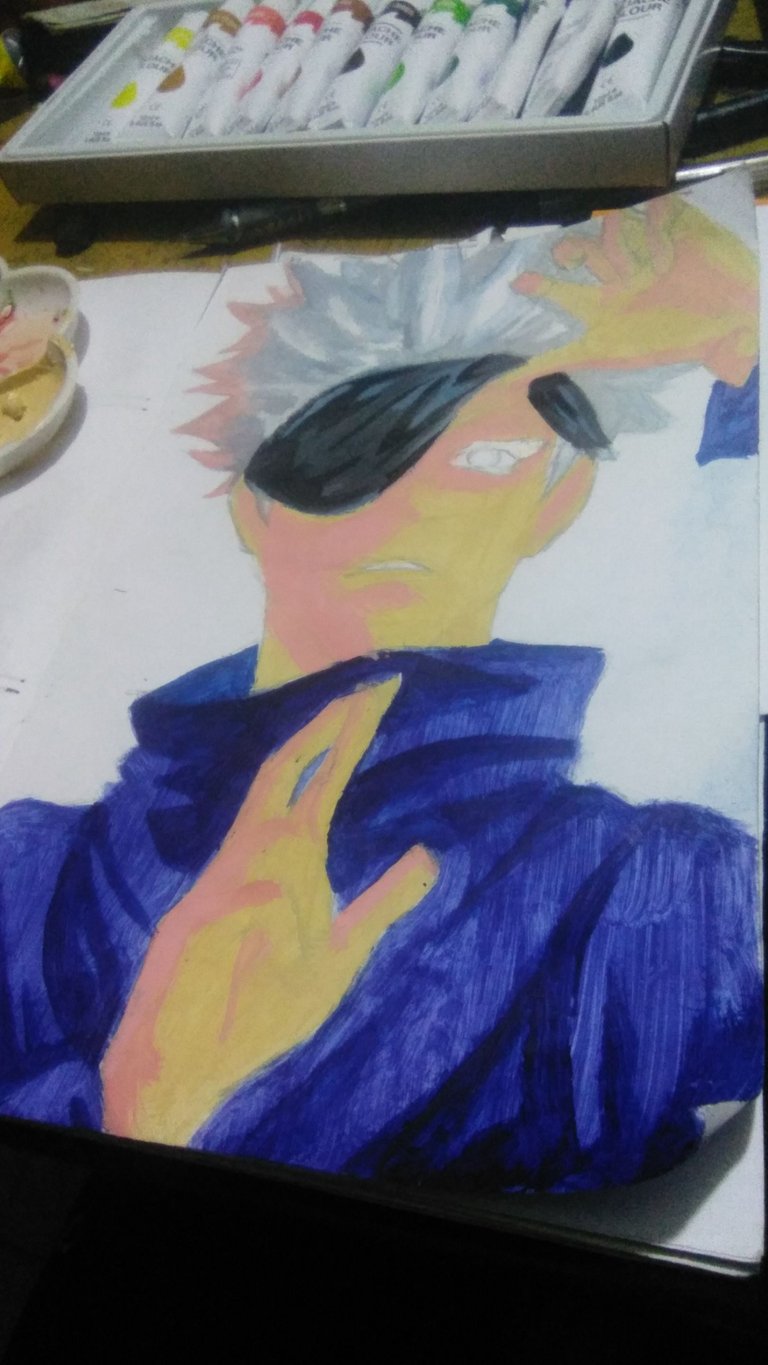
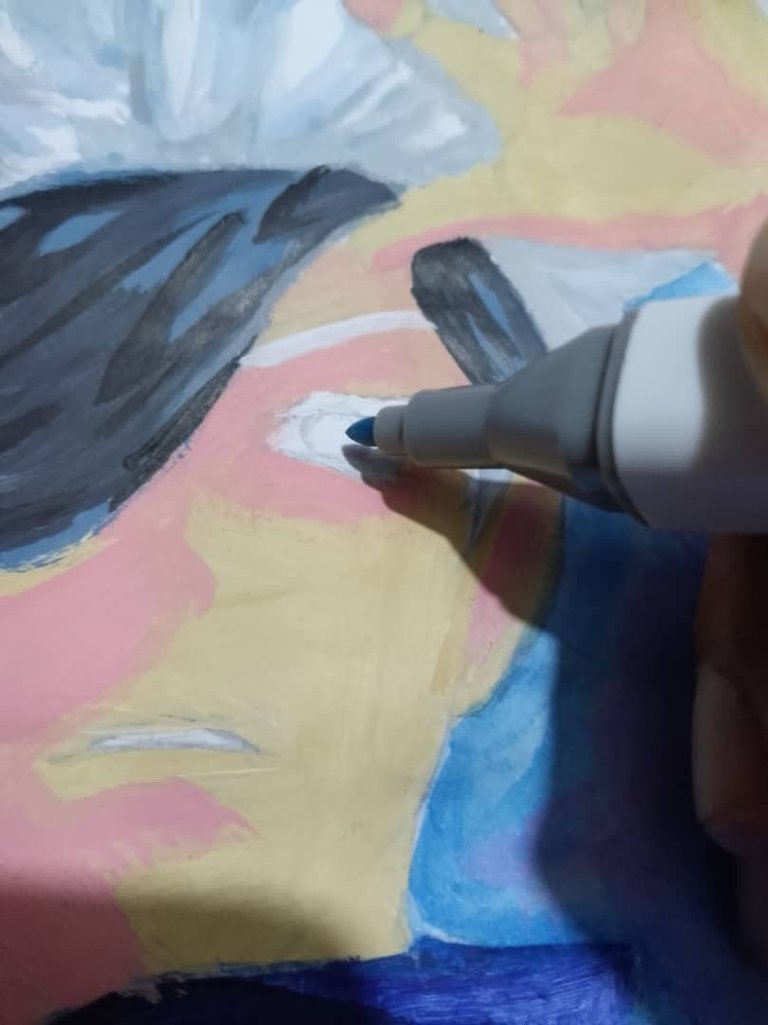
- Culminamos delineando todo el dibujo con el marcador fino.
- We finish by outlining the entire drawing with the fine marker.
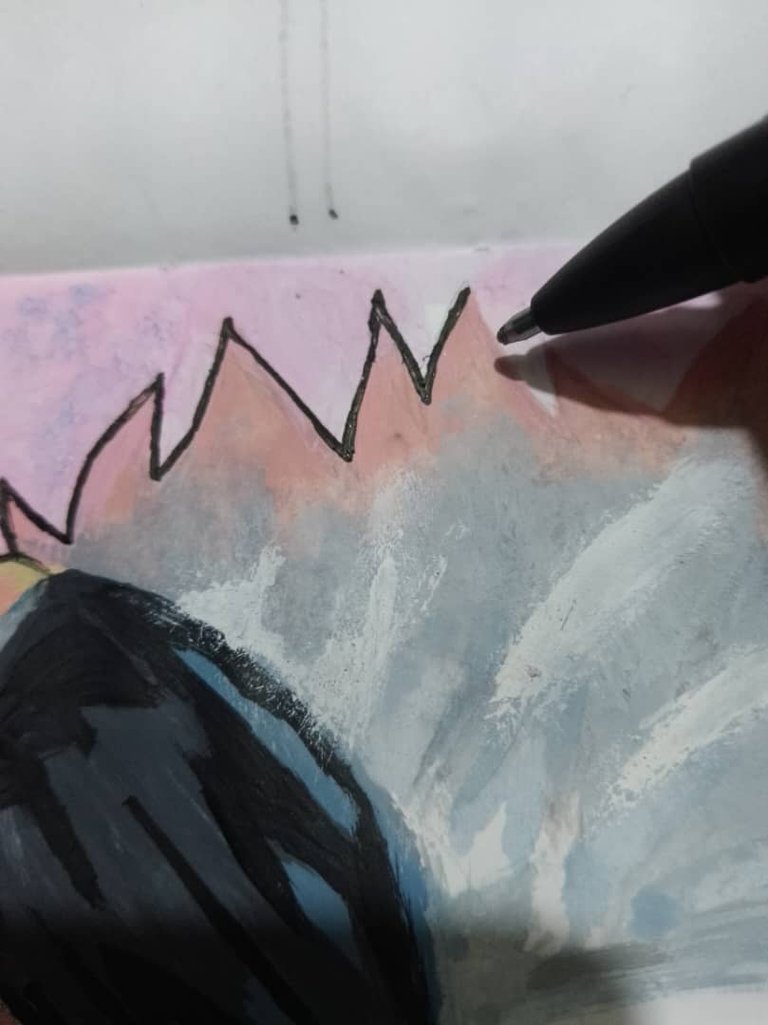
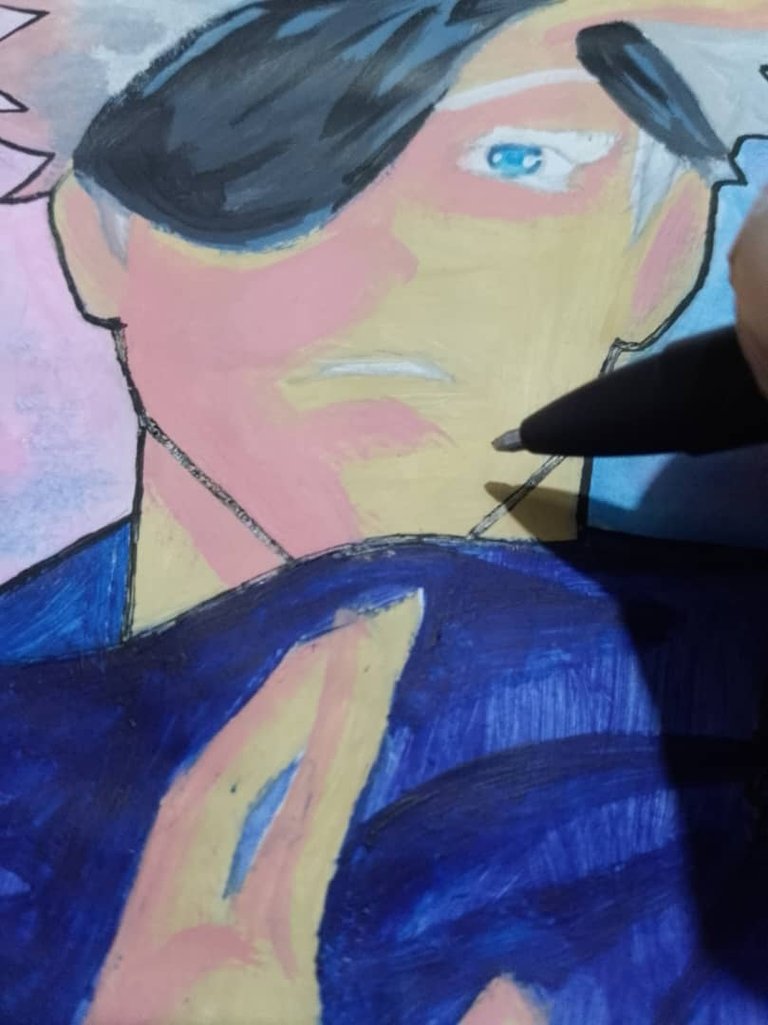
Por fin, tenemos nuestra ilustración terminada, me encanta el acabado de las pinturas sobre el dibujo; aún falta mucho por mejorar, pero es un primer paso para seguir con esta técnica. Espero que les halla gustado el proceso y está publicación, para que me apoyen a seguir creando contenido para HIVE.
Finally, we have our finished illustration. I love the way the paints finish on the drawing. There is still a lot to improve, but it is a first step to continue with this technique. I hope you liked the process and this post, so that you can support me to continue creating content for HIVE.

¡Nos vemos la próxima!
See you next time!
Traducción: Google traductor
Translation: Google translator
Instagram: @mercer_art17
¡El resultado es espectacular! Muy bonito trabajo, que talento tan wow.✨🩵
Muchas gracias por sus palabras
Seguimos mejorando
Congratulations @mercerprimus! You have completed the following achievement on the Hive blockchain And have been rewarded with New badge(s)
Your next target is to reach 200 upvotes.
You can view your badges on your board and compare yourself to others in the Ranking
If you no longer want to receive notifications, reply to this comment with the word
STOP