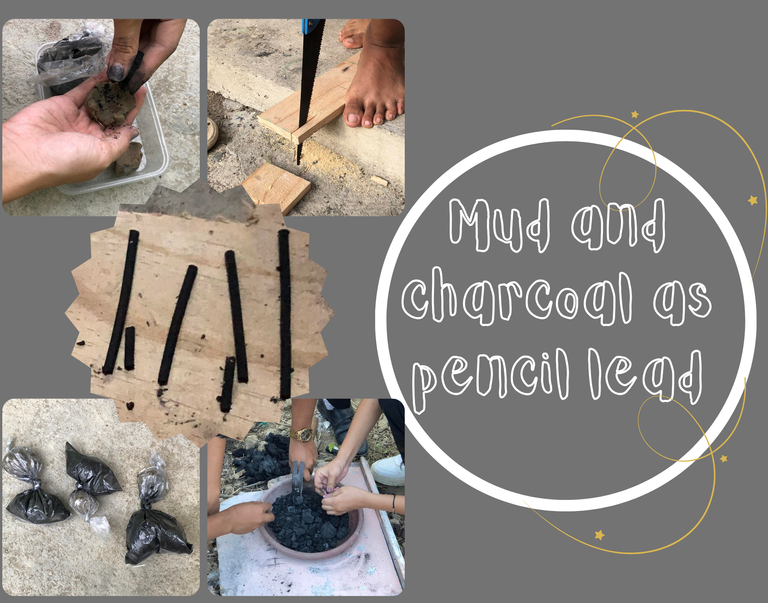
Hi everyone,it's me again, @memwuai, and here I am again to share how we made a pencil lead using mud and charcoal.
You think it's impossible, right? But, as I mentioned in my previous blog, when we made chalk out of eggshells, we made the impossible possible because we are STEM...OF COURSE WE TAKE OUR RESEARCH SERIOUSLY!
Do you have any idea why it is possible to make some pencil lead using charcoal and mud? Well, here's the explanation why that the Charcoal and mud can be used to make a pencil lead because they have properties that make them suitable for writing. Charcoal, when ground into a fine powder, is soft enough to leave a mark on paper but hard enough to be durable. It also has a dark colour, making it ideal for writing or drawing. Mud, when mixed with charcoal or other materials, can create a paste that, when dried, forms a solid material that can be used for writing or drawing. Both charcoal and mud are readily available and easy to work with, making them ideal materials for making a simple pencil lead.
So here's how we made our pencil lead
So the first thing that we did was to prepare the materials by buying charcoal worth 15 pesos, and after that, we went to the oceanside, where my classmate Crisann to get some mud.

It was so funny that time because when we went to get some mud, we borrowed Crisann's trisikad, also known as padyak or, in some places, tramp or stamp, to carry the mud. While Keith was driving us back to where we would be standby, the trisikad tipped over, and we almost fell over too, but thanks to God, we didn't fall when it tipped over.
The next thing that we do after collecting the mud and charcoal is crush the charcoal to make it into a thin powder and strain it with a strainer so that it will become more thinner.
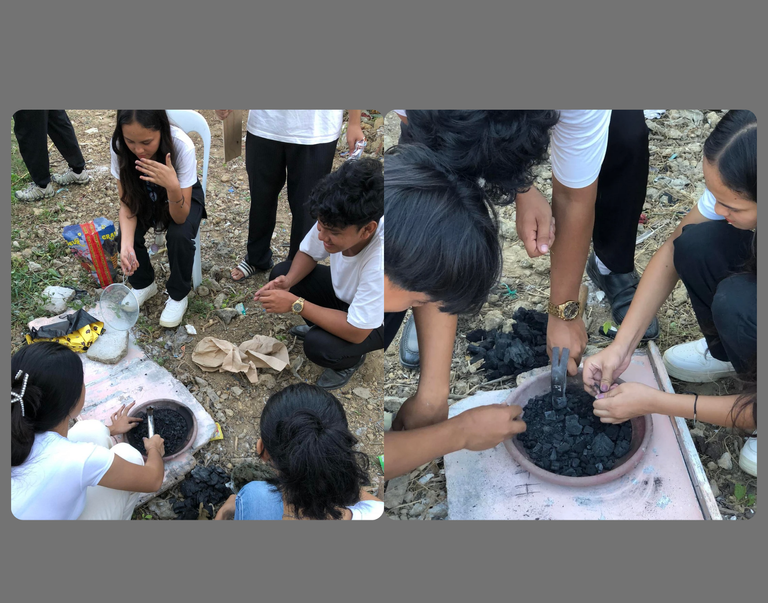
The next thing that we did was mix the charcoal powder with the mud. I want to mention that the mud on the ocean side was very disgusting because it smelled like a canal, which is not similar to our place, which is at Colon, but we swallowed our pride and proceeded because it was also for our grade.
But sadly, the first trial didn't work because we did not follow our paper, like the measurements, and the mud is very wet and it is hard to mix it into the charcoal.
That's why we decided to make another trial, which is to go to our place, because, for those who don't know, I live in Colon, and Colon is known for making cones, and the mud there is very nice quality.
SECOND TRIAL
After the failure, we didn't give up and went to my place with my group.
When we arrived, the first thing we did was get some mud, which we can also call it a clay mud because the mud we collected can be used to make a cone.
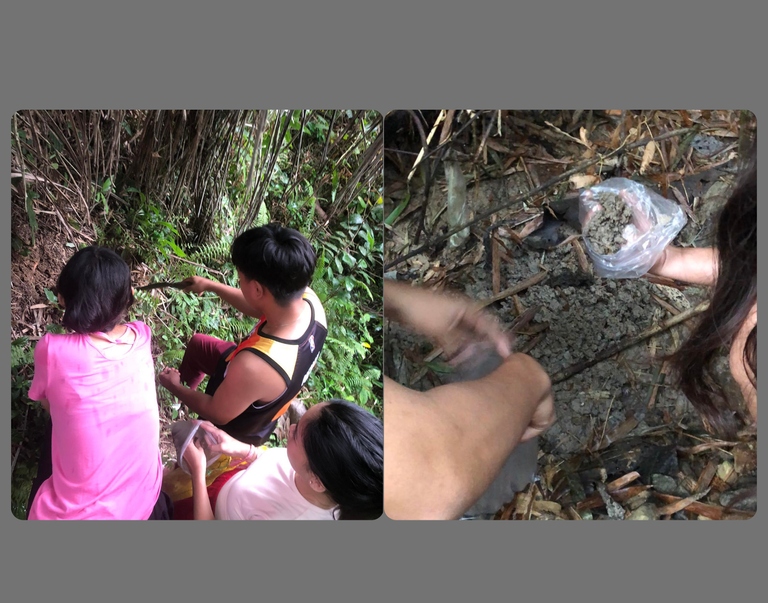
After that,we collected some charcoal.
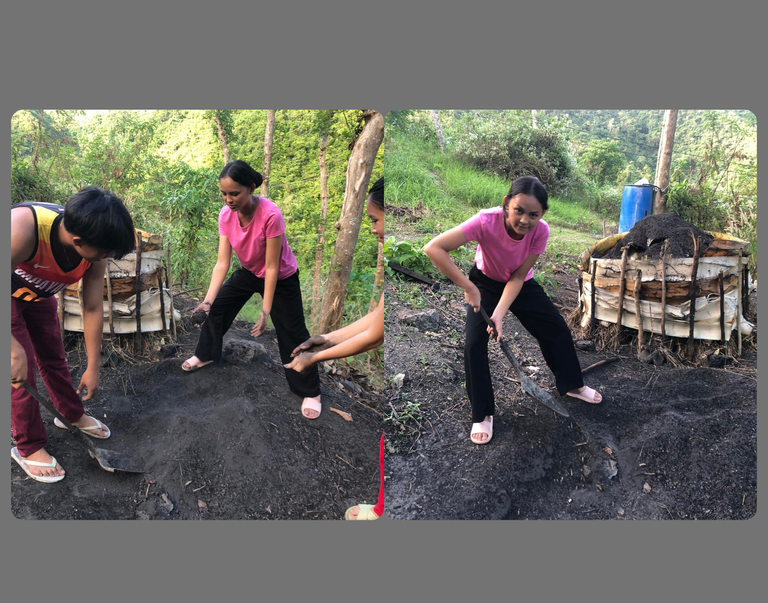
Same as in the first trial, we crush the charcoal into a thinner powder and use a strainer to strain the charcoal to make it more thinner.
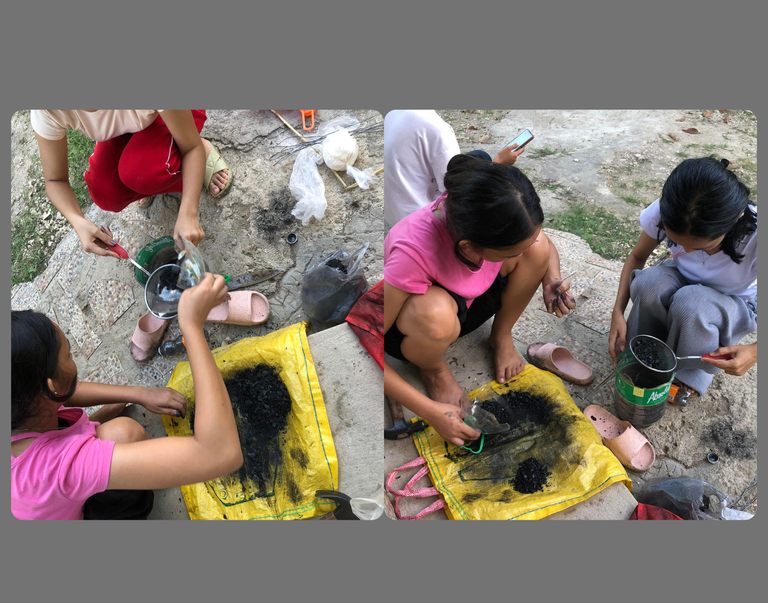
And after crashing,we already followed our paper, like the measurements.
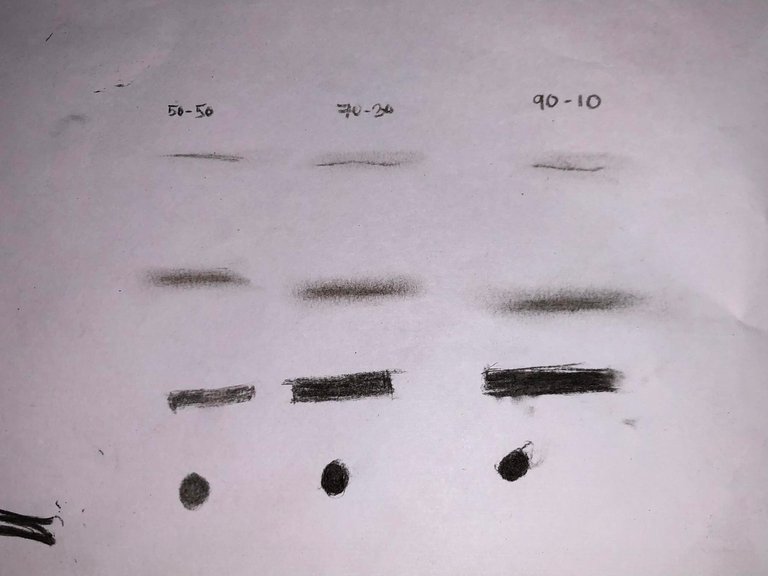
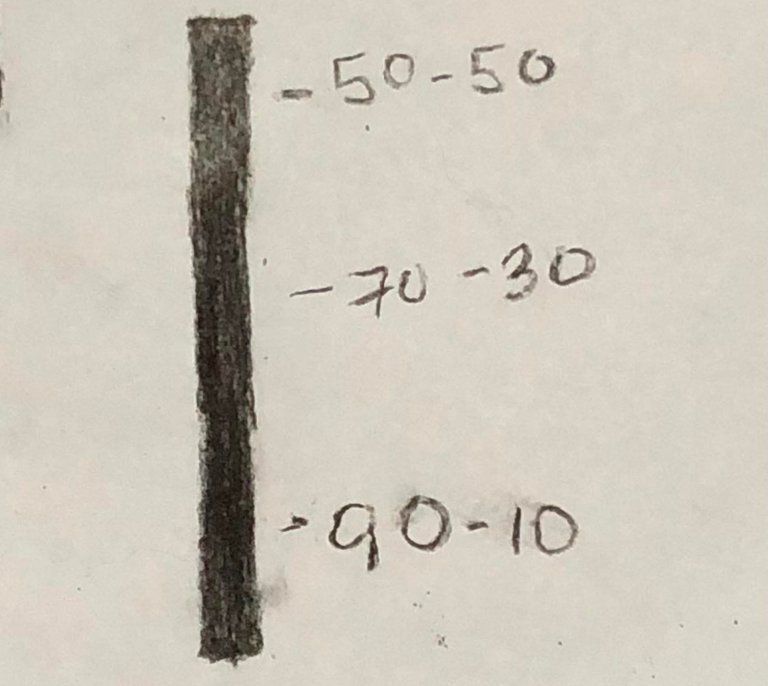
So here's the measurement:
30% mud and 70% charcoal
50% mud and 50% charcoal
10% mud and 90% charcoal
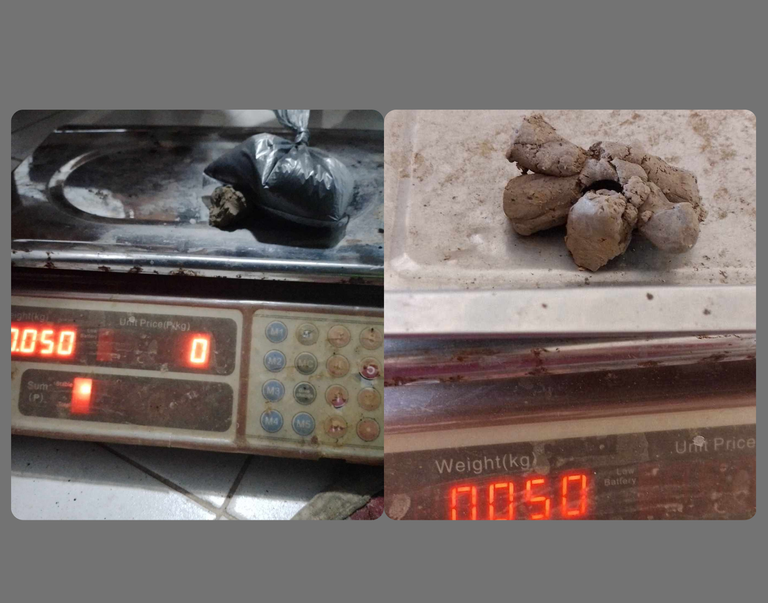
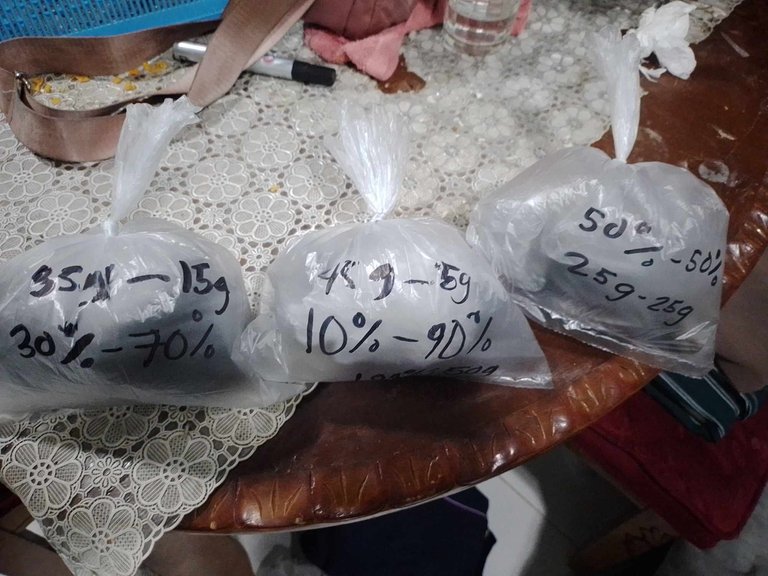
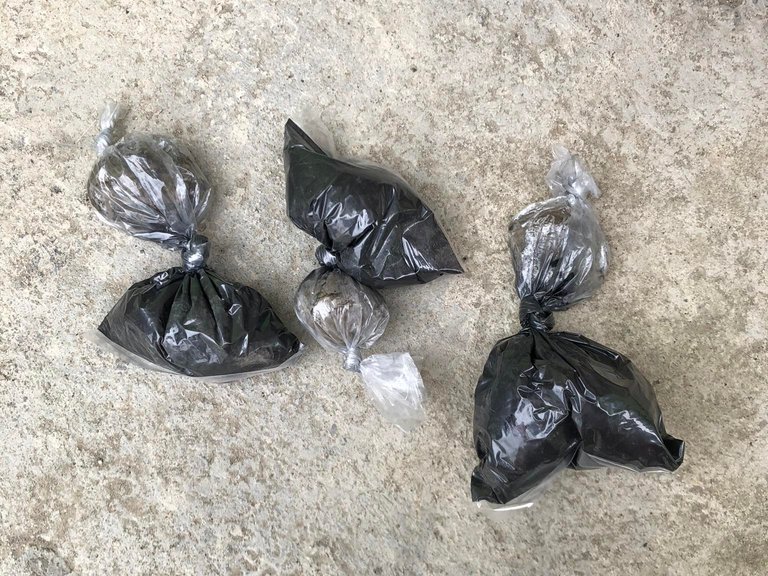
The next step we took was mixing the mud and charcoal, just as we did in our first trial.
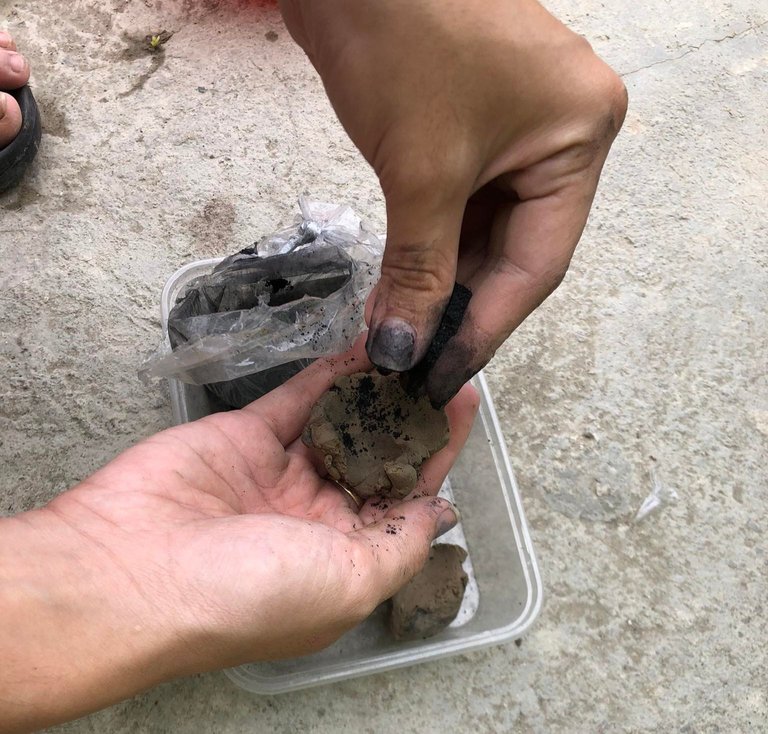
And after that,some of my group made some moulder for our pencil lead, and our moulder is wood or thicker than plywood.
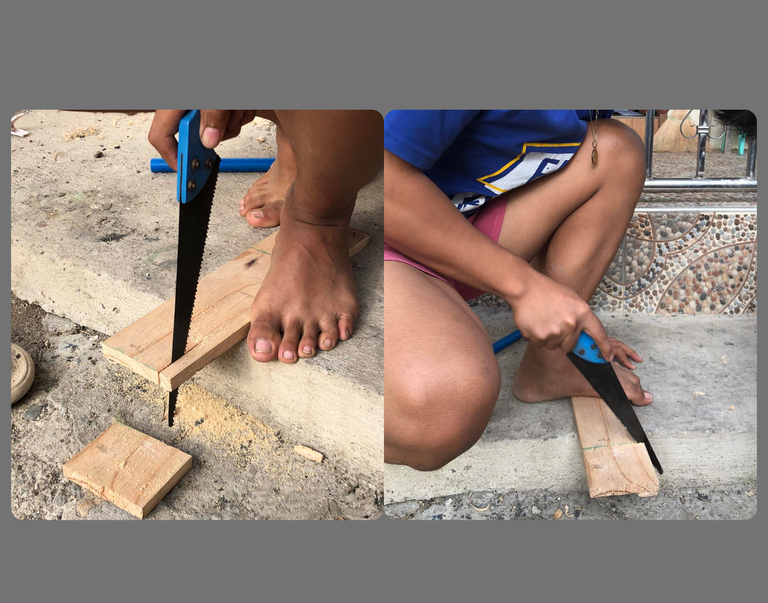
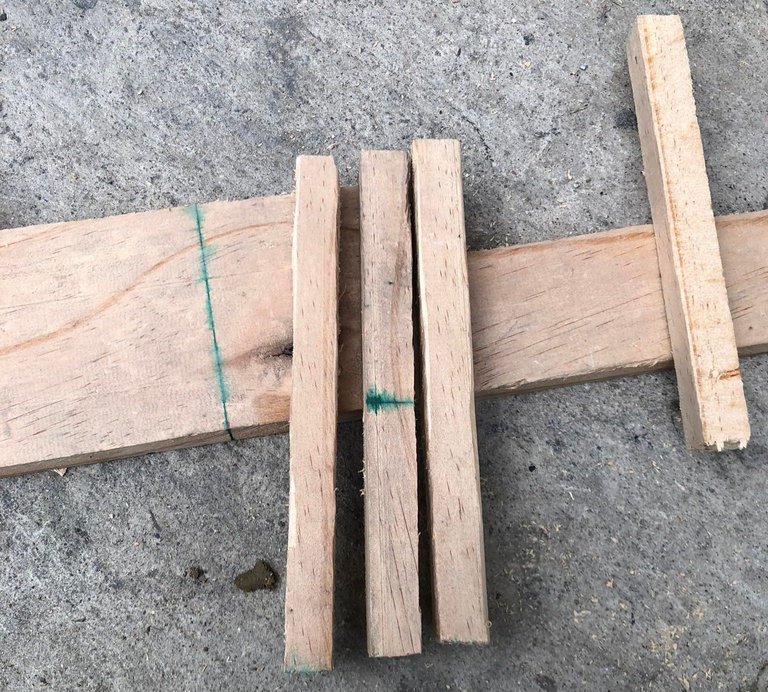
After cutting it,they cut it in half, and we use wire to form a lead, and we pound it using a hammer to easily form a lead mould.
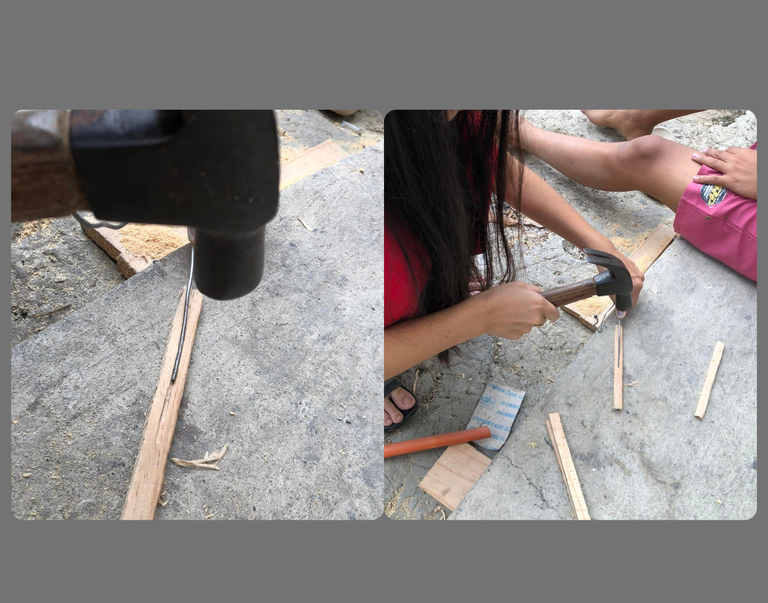
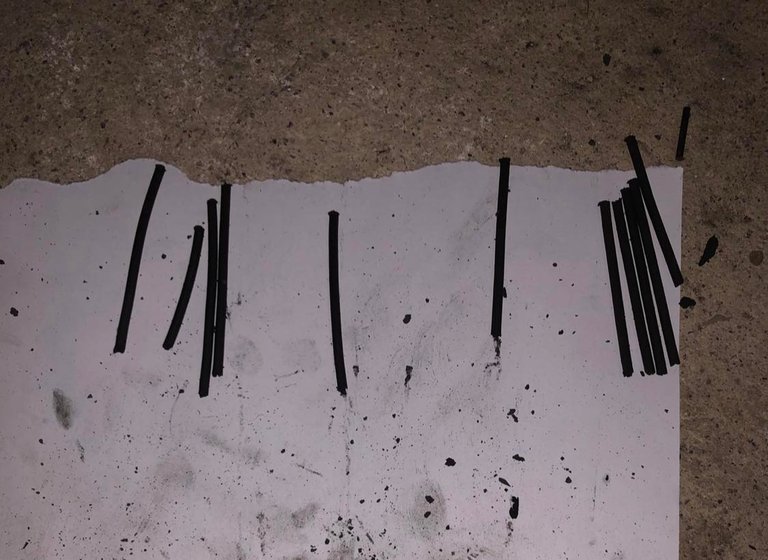
FAST FORWARD: The first mould that we made didn't work, which is why one of my groupmates had the idea that we would use an empty ballpoint pen where we could see the ink, and it made our research easier because it worked. Thats why we had made more than 10 pencil lead, but each has a measurement of 6 cm, but not all because some are smaller than 6cm.
And by the way, we did a sleepover in our house just to finish our product and our paper.
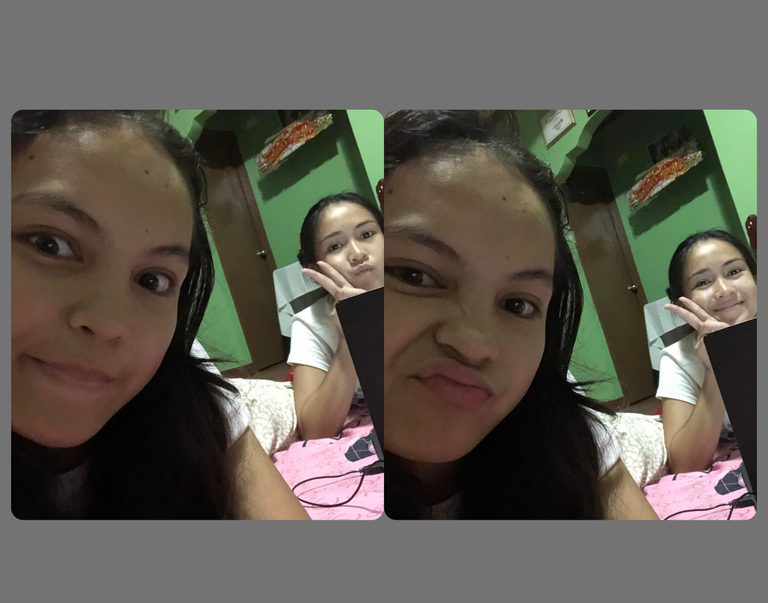
This is our 'woke up like this' face.

When we were satisfied with what we accomplished, which was more than 10 pencil leads, we carefully put it into the foil wrapper and put it into the mini toaster oven.
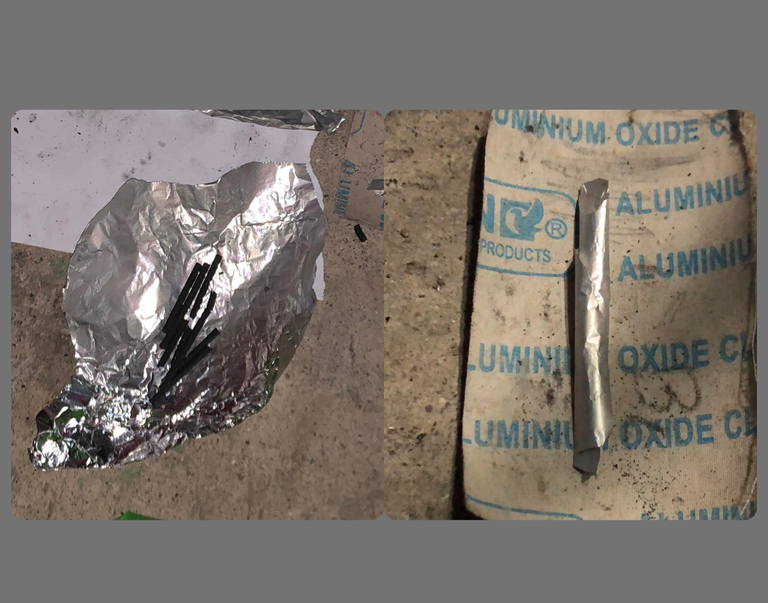
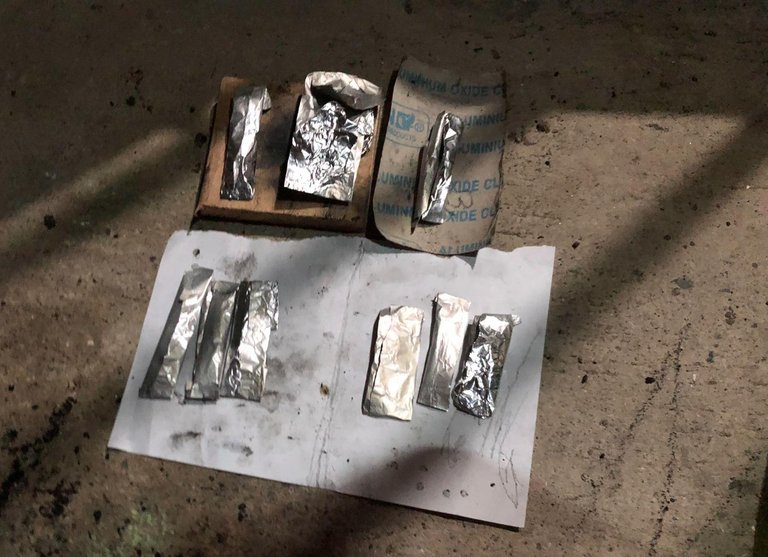
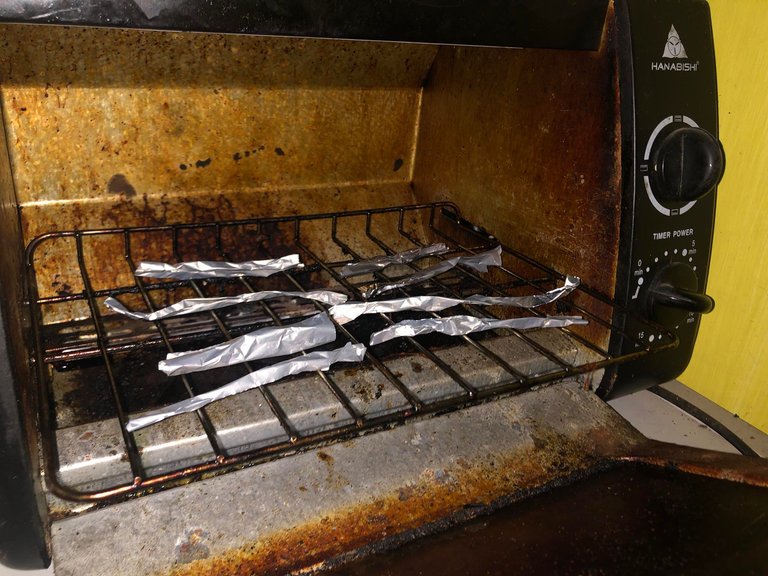
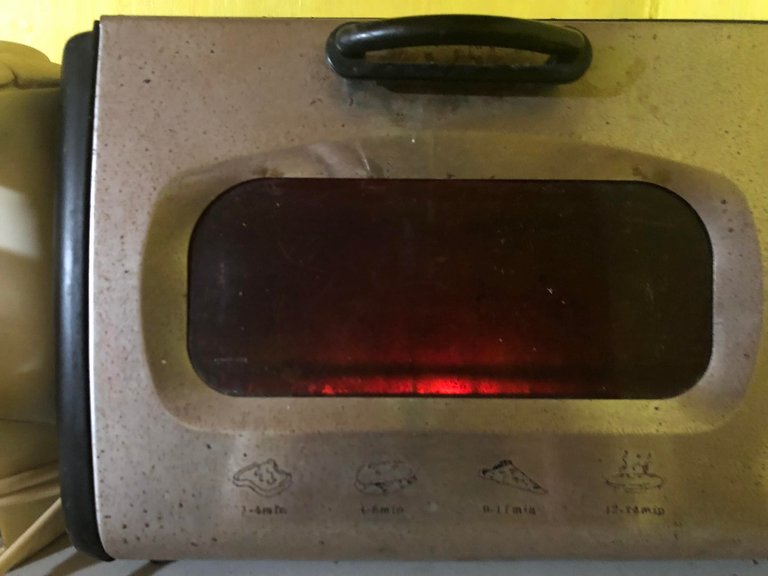
After how many minutes of waiting, it is already done, and it really works. It became just like a pencil, but for our pencil,it is nice when you love sketching or drawing.
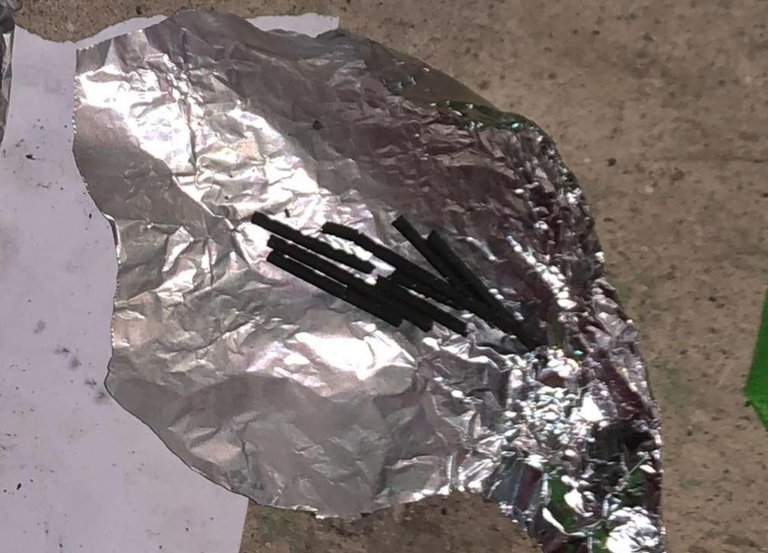
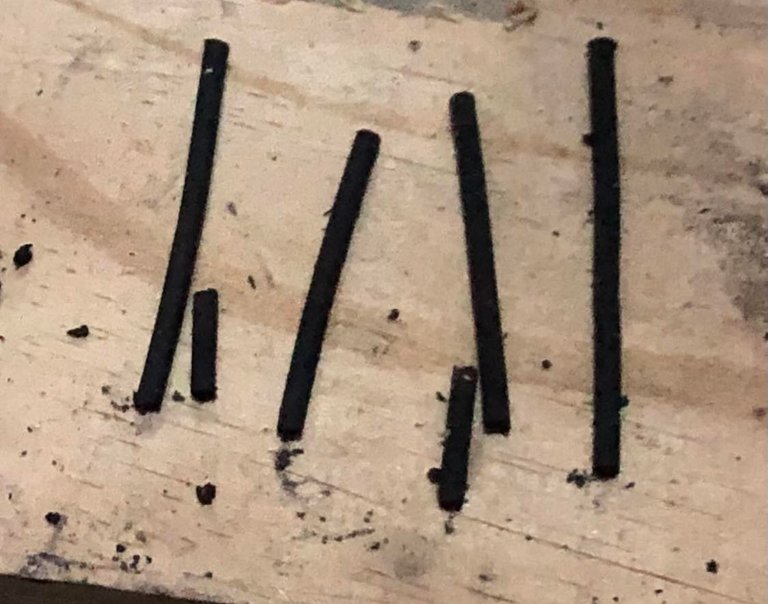
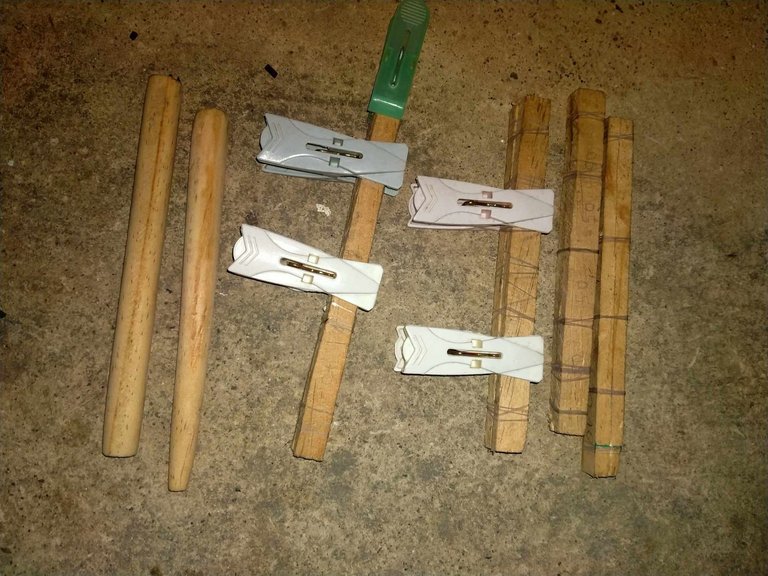
The next thing that we did was put the pencil lead into the pencil holder, paste it with wooden glue, and tie it with plastic rubber and a clip to easily stick and make it dry.
So here is the final product, which is the pencil lead and the smoothness and darkness in each measurement.
I hope you have learned something from my blog. Until next time, readers and hivers, TOGETHER WE SUPPORT EACH OTHER!!
Have a great day!!
Another interesting and engaging study @memwuai. You are really into the discovery of producing products from local materials. Localization and contextualization are evident. I hope to see more collaborative output from you guys. Keep it up and enjoy what you are doing to achieve your goals in life. 🫶
Thankyouu @cup-bearer,I really don't like research but I started liking it when we are starting to make our own product or some alternatives🥰
Nice invention
Thank you sir @intoy.bugoy. I really love sharing my experiences as a STEM student.💗
Congratulations @memwuai! You have completed the following achievement on the Hive blockchain And have been rewarded with New badge(s)
Your next target is to reach 900 upvotes.
You can view your badges on your board and compare yourself to others in the Ranking
If you no longer want to receive notifications, reply to this comment with the word
STOPWow a very good work maam @memwuai.Its so nice to learn and discover new things especially to this world more fun experience with you maam.Have a nice day &God bless!
thankyou @chyxille,as a STEM student we love to discover and explore things po🥰
Wow, amazing DIY..indeed a productive day with your friends. It's delightful to see you guyz enjoying what you are making. If you make more of these charcoal pencils in the future hopefully you'll wear masks labi sa part ng nanguha mo ug charcoal leftovers sa ulingan...hehe! It's too dusty! I knew it because mangunguling mi sa una sa akong pamilya. Good luck guys! Keep it up!
thankyouu ma'am @ciadanmea and next time if we will make some pencil leads again,we will wear masks napo but for me dili nami makabuhat kay it's very hard po but at least we made it with my groupmates💗🥰
nice nice
thankyouu ate @kyla-bacarro!💗
It is very nice to have my blog on Twitter. Thank you for always supporting💗
Wow ma amaze ko sa inyong gibuhat,enjoy guys.
thankyouu ma'am @chimegipamus,we really enjoy it even though it is hard.
Definitely learned a lot in this one.
It great to see youths like you to engage in this kind of things especially creating something with the local products we have in our surroundings...
If this can succeed and mass produce this creation, you can benefit from it for sure.
Good luck ...
Thankyouu so much @jhero22 and I am grateful that you learned something from my blog.🥰
Wow, this is very interesting!
Thankyou @danigada18,being a STEM student makes your life more interesting.
¡¡¡Buen trabajo!!! Gracias por publicar tu excelente contenido en Hive Diy, no sabía que se podia crear minas con carbón y barro, excelentes técnicas nos has compartido para poder realizar las nuestras, es muy interesante y el proceso se ve muy divertido.
Tu comunidad artesana ahora es testigo

Thankyouu so much @hive-130560,we have many lessons that we learned, and while doing this, it gives us enjoyment💗
Good job Ma'am @memwuai for a sustainable and renewable research project.
Thankyou so much ma'am @diamondinthesky!💗
Traumatizing experience kaayu may😭, abi nato na ma failed gyud ta, may gani na clutch. Hardwork is the key💪