Un saludo a todos. Una de las manualidades que más me ha gustado hacer, son las figuras de masa flexible (también conocida como porcelana fría), esta es una masa suave con un acabado muy prolijo, que permite hacer todo tipo de figuras, desde bisutería hasta recuerdos de eventos especiales (nacimientos, quince años, entre otros). Hace algunos años que no la trabajo, me he dedicado a otros proyectos, pero ¿a que no adivinan qué? (risas) ¡ha llegado el momento de volver! Sí, tengo nuevas ideas que requieren de esta masa y hoy, te comparto mi receta para que la hagas tú también y así complementes tus trabajos hermosos y creativos.
English Version
Greetings to all. One of the crafts that I have enjoyed the most, are the figures of flexible dough (also known as cold porcelain), this is a soft dough with a very neat finish, which allows to make all kinds of figures, from jewelry to memories of special events (births, fifteen years, among others). I haven't worked with it for a few years, I've been working on other projects, but guess what (laughs), it's time to come back! Yes, I have new ideas that require this dough and today, I share with you my recipe so you can make it too and complement your beautiful and creative works.
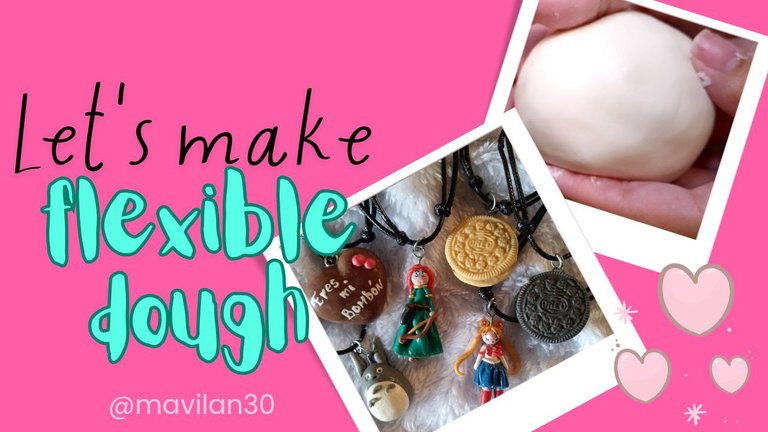
Imagen creada por mí en Canva / Image created by me in Canva
Materiales:
- 90gr Maicena (fécula de maíz)
- 8 cda Pegamento blanco (pega escolar)
- 1/4 cda Vinagre
- 1/4 cda Glicerina
- 1/2 cda Vaselina
- 1 cda Almidón
- Bowl
- Bolsa plástica o papel film
Procedimiento:
Iniciamos colocando en un bowl (yo usé un tazoncito sopero) la fécula de maíz y el almidón, los mezclamos entre ellos para que quede distribuido desde ya.
English Version
Materials:
- 90gr Maicena (cornstarch)
- 8 tbsp white glue (school glue)
- 1/4 tbsp Vinegar
- 1/4 tbsp Glycerin
- 1/2 tablespoon Vaseline
- 1 tablespoon Starch
- Bowl
- Plastic bag or plastic wrap
Procedure:
Start by placing the cornstarch and starch in a bowl (I used a soup bowl) and mix them together so that they are already distributed.
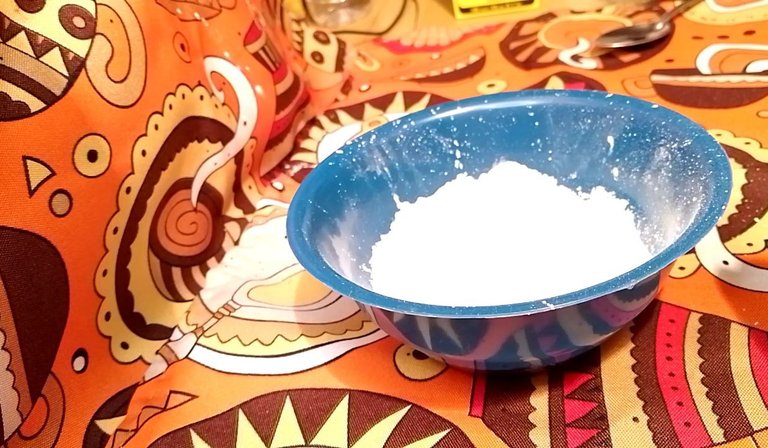
Fécula de maíz y almidón / Corn starch and starch
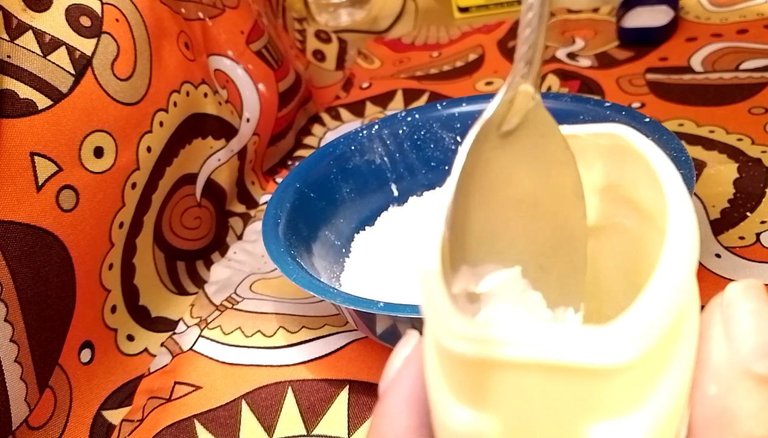
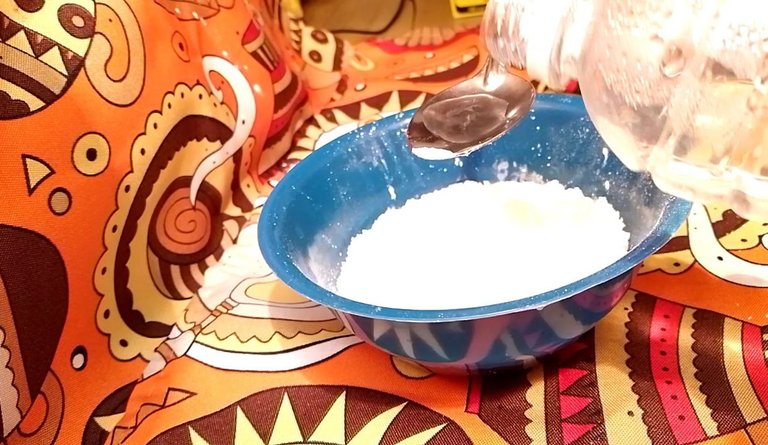
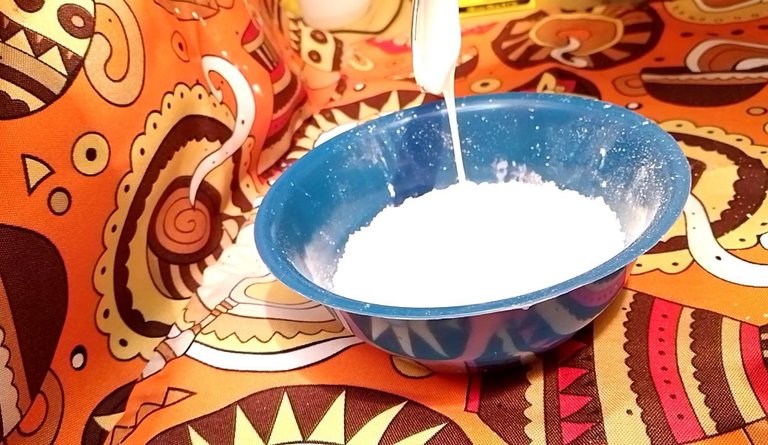
Seguimos añadiendo lo demás, la media cucharada de vaselina, luego el vinagre, la glicerina y por último todo el pegamento blanco. En realidad no importa mucho el orden en que agregues los ingredientes de este paso, es solo que así lo hice yo (risas).
English Version
We continue adding the rest, the half tablespoon of petroleum jelly, then the vinegar, the glycerin and finally all the white glue. It doesn't really matter much in which order you add the ingredients in this step, it's just the way I did it (laughs).
 |  |  |
|---|
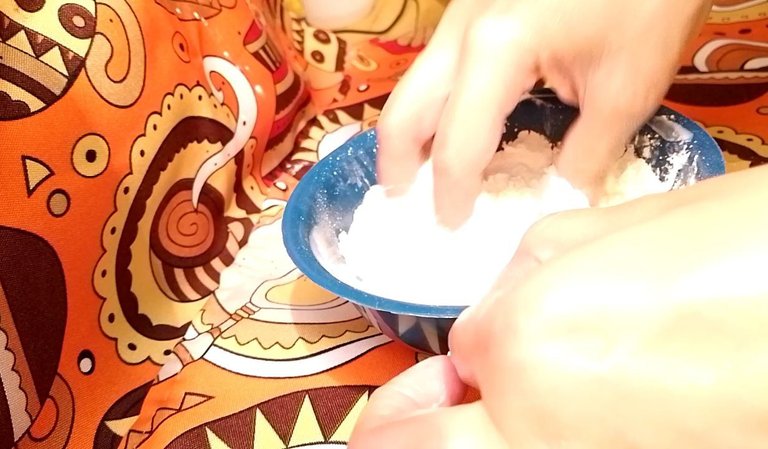
Ahora sí, es momento de empezar a integrar todo con nuestras manitos pero primero, añade algo de aceite en tus manos y espárcelo muy bien por toda la superficie para evitar que se te adhiera demasiado la mezcla a las manos (spoiler: igual se te va a pegar, pero si no lo haces será peor).
English Version
Now it's time to start integrating everything with our little hands, but first, add some oil in your hands and spread it very well all over the surface to prevent the mixture from sticking too much to your hands (spoiler: it will still stick to your hands, but if you don't, it will be worse).
Amasando / Kneading
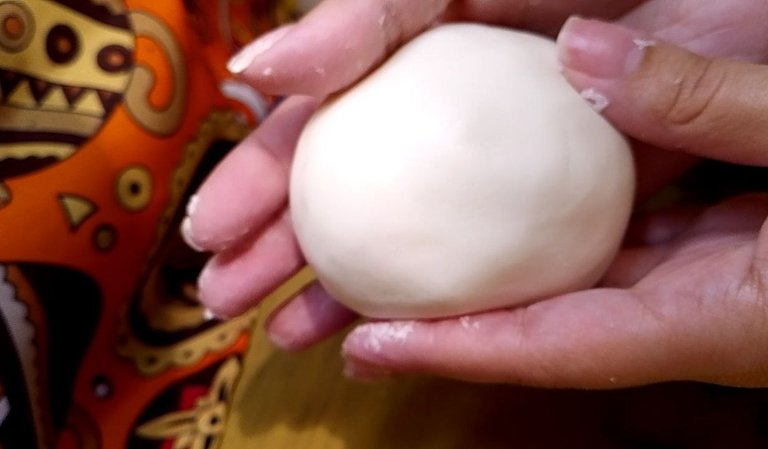
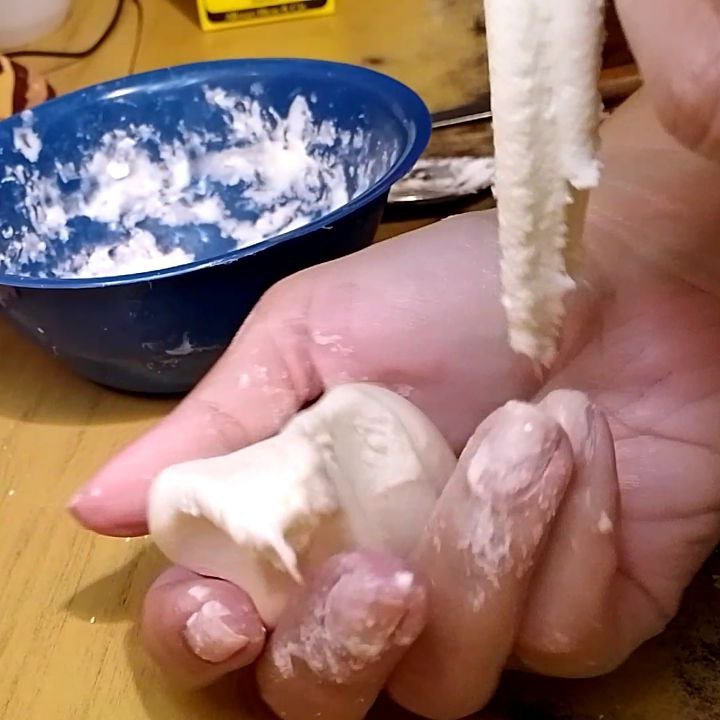
Una vez terminado el proceso de amasado, terminarás obteniendo una masa suave y muy elástica con una superficie súper lisa ¿cómo saber si tu masa está lista? Bueno, sepárala en dos partes estirando con tus manos y debe formarse un pico como verás en las imágenes a continuación.
English Version
Once the kneading process is finished, you will end up getting a soft and very elastic dough with a super smooth surface. How do you know if your dough is ready? Well, separate it into two parts by stretching it with your hands and it should form a peak as you will see in the images below.
 |  |
|---|
Luego de esta comprobación, amasamos una vez más para que de nuevo se vuelva bolita y se vea lisa y bonita. Entonces, procedemos a tomar una bolsa plástica totalmente limpia (o también sirve usar papel film) y le añadiremos aceite por toda la superficie que estará en contacto con nuestra masa flexible, porque sí, todo esto es para empaquetarla, puesto que la porcelana fría seca así, al aire, entonces debemos protegerla del aire mientras no la estamos usando para que no se endurezca. Una vez esté bien envuelta, la guardamos además en un tupper y la metemos a la nevera al menos una hora, a mí me gusta dejarla allí toda la noche.
En la mañana se ve como en la imagen siguiente y ya la consistencia es la apropiada para comenzar a hacer todas las figuras que nos permita nuestra imaginación.
English Version
After this check, we knead once more so that it becomes a ball again and looks smooth and nice. Then, we proceed to take a completely clean plastic bag (or it is also useful to use plastic wrap) and add oil all over the surface that will be in contact with our flexible dough, because yes, all this is to pack it, since the cold porcelain dries like this, in the air, so we must protect it from the air while we are not using it so that it does not harden. Once it is well wrapped, we also store it in a tupper and put it in the fridge for at least an hour, I like to leave it there overnight.
In the morning it looks like in the following image and the consistency is already appropriate to start making all the figures that our imagination allows us.
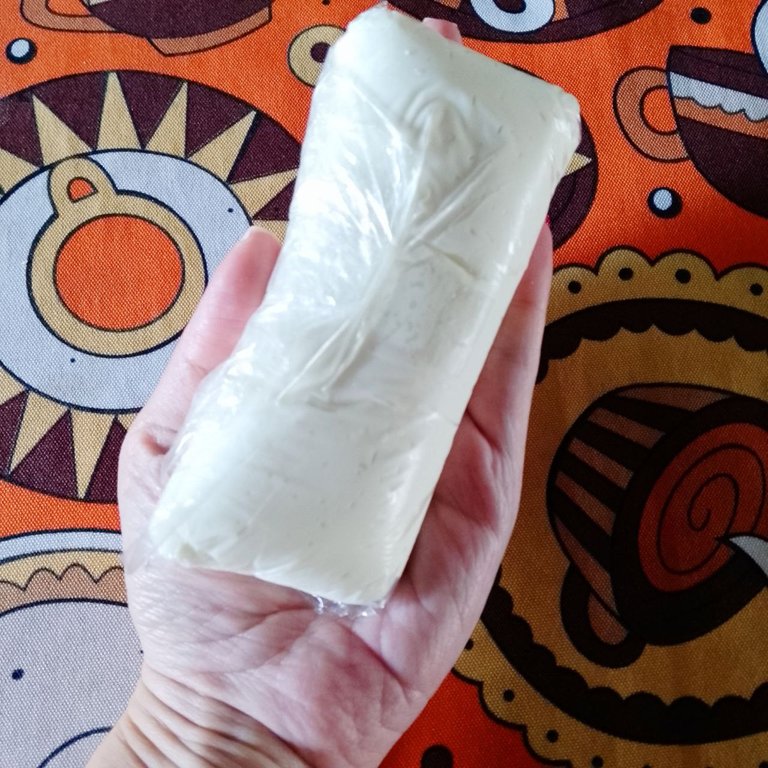
Resultado final / Final result
Les dejo por acá algunos ejemplos de figuras que se pueden hacer con masa flexible, estos son de mi propiedad, los hice hace algún tiempo pero la foto es actual, la he tomado hoy.
English Version
I leave here some examples of figures that can be made with flexible dough, these are my own, I made them some time ago but the photo is current, I took it today.
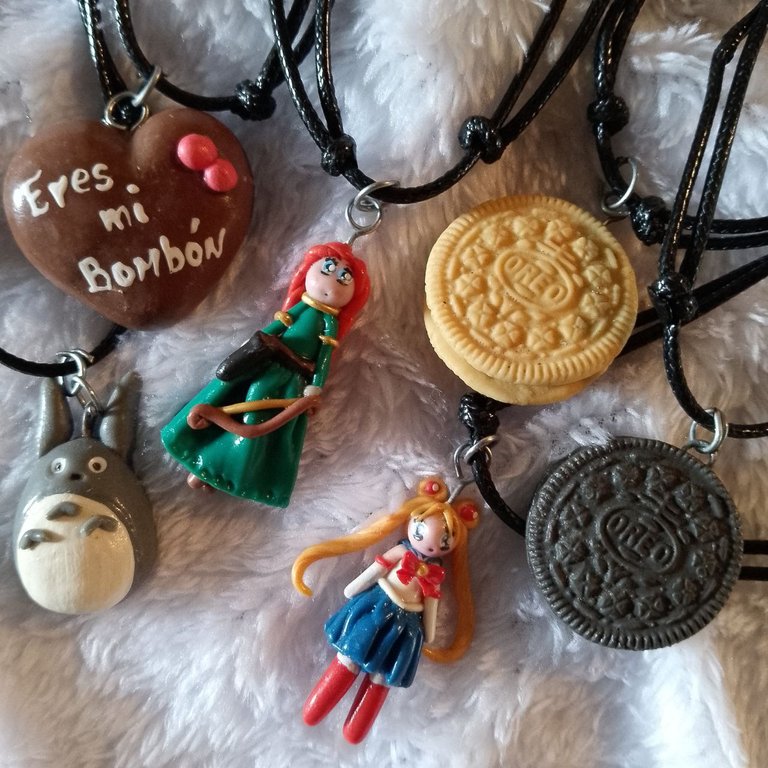
Algunos de mis trabajos / Some of my work
Algunos comentarios extra:
El almidón no es un ingrediente obligatorio, puedes prescindir de él pero ayuda a que la masa sea más elástica y el acabado es más bonito, más de porcelana.
La vaselina la puedes sustituir por aceite, cualquier tipo de aceite de hecho, cosmético o comestible, pero si usas el cosmético, además tendrá una fragancia agradable.
El vinagre puede ser sustituido por limón, funciona igual, lo empleé por años y me dio muy buenos resultados. Ya sea que uses uno o el otro, este ingrediente ayudará a evitar la formación de hongos.
Cuando empaquetes la masa, recuerda siempre evitar las burbujas de aire lo más posible, esto alargará la vida útil de la masa por lo que ya te he explicado más arriba sobre el contacto con el aire.
Tu masa debe permanecer en la nevera siempre que no la estés usando, sin embargo, puedes sacarla de allí una media hora antes de iniciar tus trabajos con ella si deseas que bote un poco el frío.
Puede que necesites añadir un poco más de fécula de maíz o un poco más de pegamento o vaselina/aceite, dependiendo de la consistencia del pegamento que utilices, puesto que unos son más espesos, mientras que otros son más líquidos, tu indicador para esta decisión siempre será que la mas forme el pico al separarla por estiramiento de la misma.
Esta masa puedes añadirle color, ya sea con pinturas al frío, colorante vegetal, óleos, entre otros, tu elección dependerá de tus preferencias en cuanto a grado de pigmentación.
English Version
Some extra comments:
Starch is not a mandatory ingredient, you can do without it but it helps to make the dough more elastic and the finish is nicer, more porcelain-like.
Vaseline can be replaced by oil, any type of oil in fact, cosmetic or edible, but if you use cosmetic, it will also have a pleasant fragrance.
Vinegar can be substituted with lemon, it works the same, I used it for years and it gave me very good results. Whether you use one or the other, this ingredient will help prevent the formation of fungus.
When packaging the dough, always remember to avoid air bubbles as much as possible, this will extend the shelf life of the dough because of what I explained above about air contact.
Your dough should remain in the fridge whenever you are not using it, however, you can take it out of the fridge about half an hour before you start working with it if you want it to bounce a little bit of cold.
You may need to add a little more cornstarch or a little more glue or petroleum jelly/oil, depending on the consistency of the glue you use, since some are thicker, while others are more liquid, your indicator for this decision will always be that the dough forms the peak when you separate it by stretching it.
You can add color to this mass, either with cold paints, vegetable coloring, oils, among others, your choice will depend on your preferences in terms of degree of pigmentation.
¡Muchas gracias por leerme!
Thank you so much for reading me!
Fotografías propias, tomadas con mi Tecno Spark 10C.
Traducido al inglés con DeepL.
English Version
Own photographs, taken with my Tecno Spark 10C.
Translated to English with DeepL.

Banner creado por mí en Canva / Banner made by me in Canva
Hola amiga. Te quedó buenísima la masa. Yo he preparado, pero a veces me queda bien y otras veces no tanto...😊 Quizá siguiendo tu receta al pie de madre me quede bien.
Hola amiga! Muchas gracias por tu comentario🤗 es cuestión de ir ajustando las porciones, principalmente por la consistencia del pegamento. Espero que pronto logres hacerla perfecta y ver todas tus nuevas creaciones💖
Siii. Eso espero. El foami moldeable que me quedaba se secó 😏 así que estoy sin masa. Gracias por compartir tu receta 🤗
OMG! Esto me recuerda mucho a una querida tía, que en paz descanse, ella amaba hacer arte con masa flexible y me regalaba zarcillos o collares.
Siempre quise saber como es que la hacía, porque yo quería intentarlo por mí misma, qué bonito encontrar este post entonces jijiji. Gracias por compartir!
Por cierto, amé el de Totoro, se ve abrazable a pesar de que es de material sólido jajaja (´ω`♡)
Celelyyyy✨ que bonito comentario, me alegra mucho saber que mi post te ha traído un recuerdo tan agradable y además te ha despejado una duda jeje
Espero que pronto puedas hacer esta masa y nos muestres tus creaciones con ella💖
Siiiii ese Totoro se ve muy tierno🥰
Muchas gracias por pasar🤗
que cool, todos los dias se aprende algo nuevo, gracias por la receta!! igual los animados están muy bonitos!!
Hola amiga! Me contenta que pudieses aprender algo nuevo con mi post✨ muchas gracias por tu comentario🤗
Gracias por este tutorial, me trae recuerdos tenía una galleta oreo como la que nos muestras, hecha por una amiga 😅😅
Gracias por tu visita marile ✨ esos dijes de galleta oreo son geniales, aunque a veces dan hambre jeje🤭
Congratulations @mavilan30! You have completed the following achievement on the Hive blockchain And have been rewarded with New badge(s)
Your next target is to reach 3250 upvotes.
You can view your badges on your board and compare yourself to others in the Ranking
If you no longer want to receive notifications, reply to this comment with the word
STOPMe encantó gracias por la receta Mavi, siempre me querido intentar eso pero yo decidí dedicarme al arte en 2020 y desde entonces ha sido complicado hacer todo lo que quiero 😆 ver este tipo de post me animan mucho.
Hola querida Sarang✨ me contenta mucho tu comentario💖 espero que pronto puedas intentar con esta receta y así nos traigas más de tus lindas y creativas manualidades 🤗
Wow ! Que arte tan precioso, siempre ví en recuerdos de fiestas algunos de esos proyectos Pero nunca había visto un paso a paso con éste material. Gracias por mostrarnos .
Muchas gracias por tus palabras✨ me alegra que te gustara mi trabajo. Saludos☺️