Saludos amigos de HIVE DIY, espero tengáis un excelente día ❤️
Hoy quiero compartir con ustedes un modelo bastante sencillo para hacer de pijama o ropa de Casa, especial para esos días calurosos o que deseas andar con ropa holgada, ven y te muestro mi paso a paso:
Greetings friends of HIVE DIY, I hope you have a great day ❤️
Today I want to share with you a fairly simple model to make pajamas or home clothes, especially for those hot days or when you want to walk around in loose clothing, come and I'll show you my step by step:
MATERIALES
MATERIALS
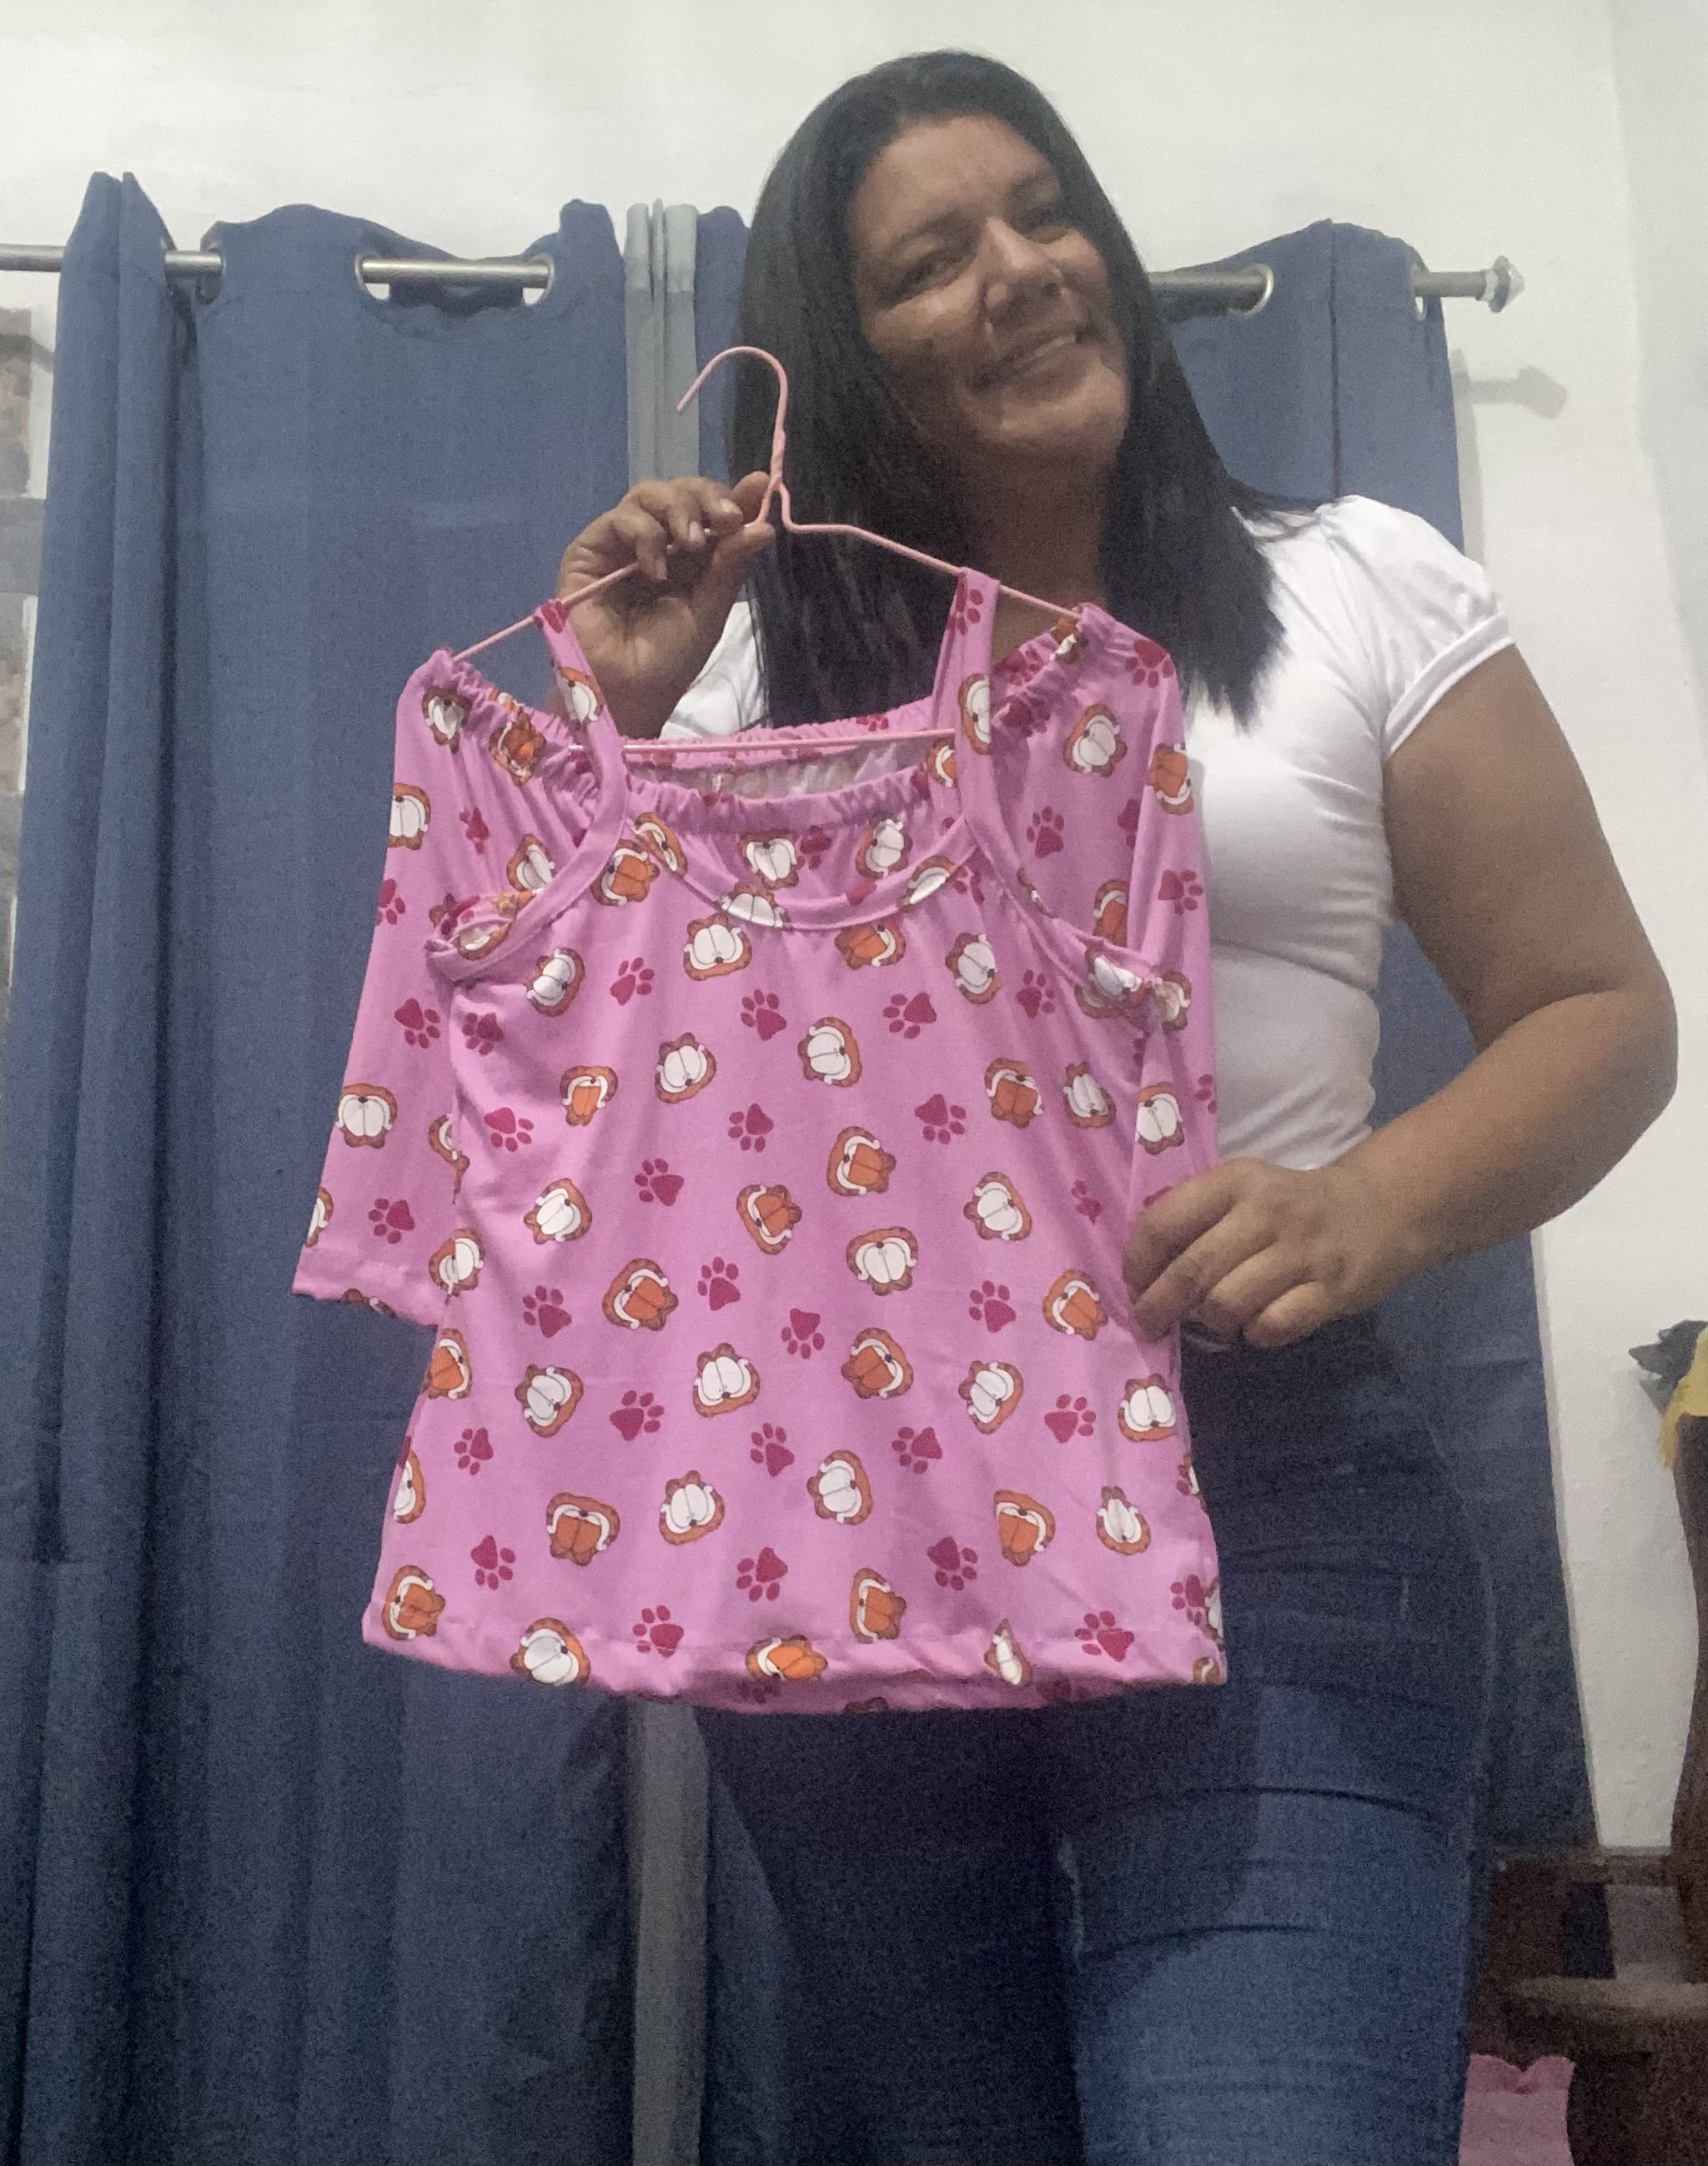
Hace poco conseguí una irresistible oferta, la tela llamada microdurazno estampada la rebajaron a 1,25$ el Metro y no aguante la tentación y me compre algunas de diseños lindos para hacerme unas pijamas y renovar mi clóset ya que las que tengo parecen de indigente😂
En mi ciudad está haciendo mucho calor y esta tela me gusta mucho ya que es bastante fresca, este modelo de pijama es mi favorito y voy a copiarlo de otra que me hice algún tiempo, personalmente soy muy calurosa, no soporto llevar prendas muy cerradas y en casa me gusta siempre andar en Short corto y franela de tirantes, es por esto que siempre copio este modelo de pijama.
para la confección de esta pijama se necesita:
- 1 Metro de tela elástica
- elástico de 2cm de ancho
- hilo
- máquina de coser
I recently got an irresistible offer, the printed micropeach fabric was reduced to $1.25 per meter and I couldn't resist the temptation and bought some cute designs to make myself some pajamas and update my closet since the ones I have look like a homeless one😂
It's very hot in my city and I like this fabric a lot since it's quite cool, this pajama model is my favorite and I'm going to copy it from another one that I made some time ago, personally I'm very hot, I can't stand wearing very closed clothes and at home I always like to walk around in short shorts and a tank top, that's why I always copy this pajama model.
To make this pajama you will need:
- 1 meter of elastic fabric
- 2cm wide elastic
- thread
- sewing machine
PASO A PASO
STEP BY STEP
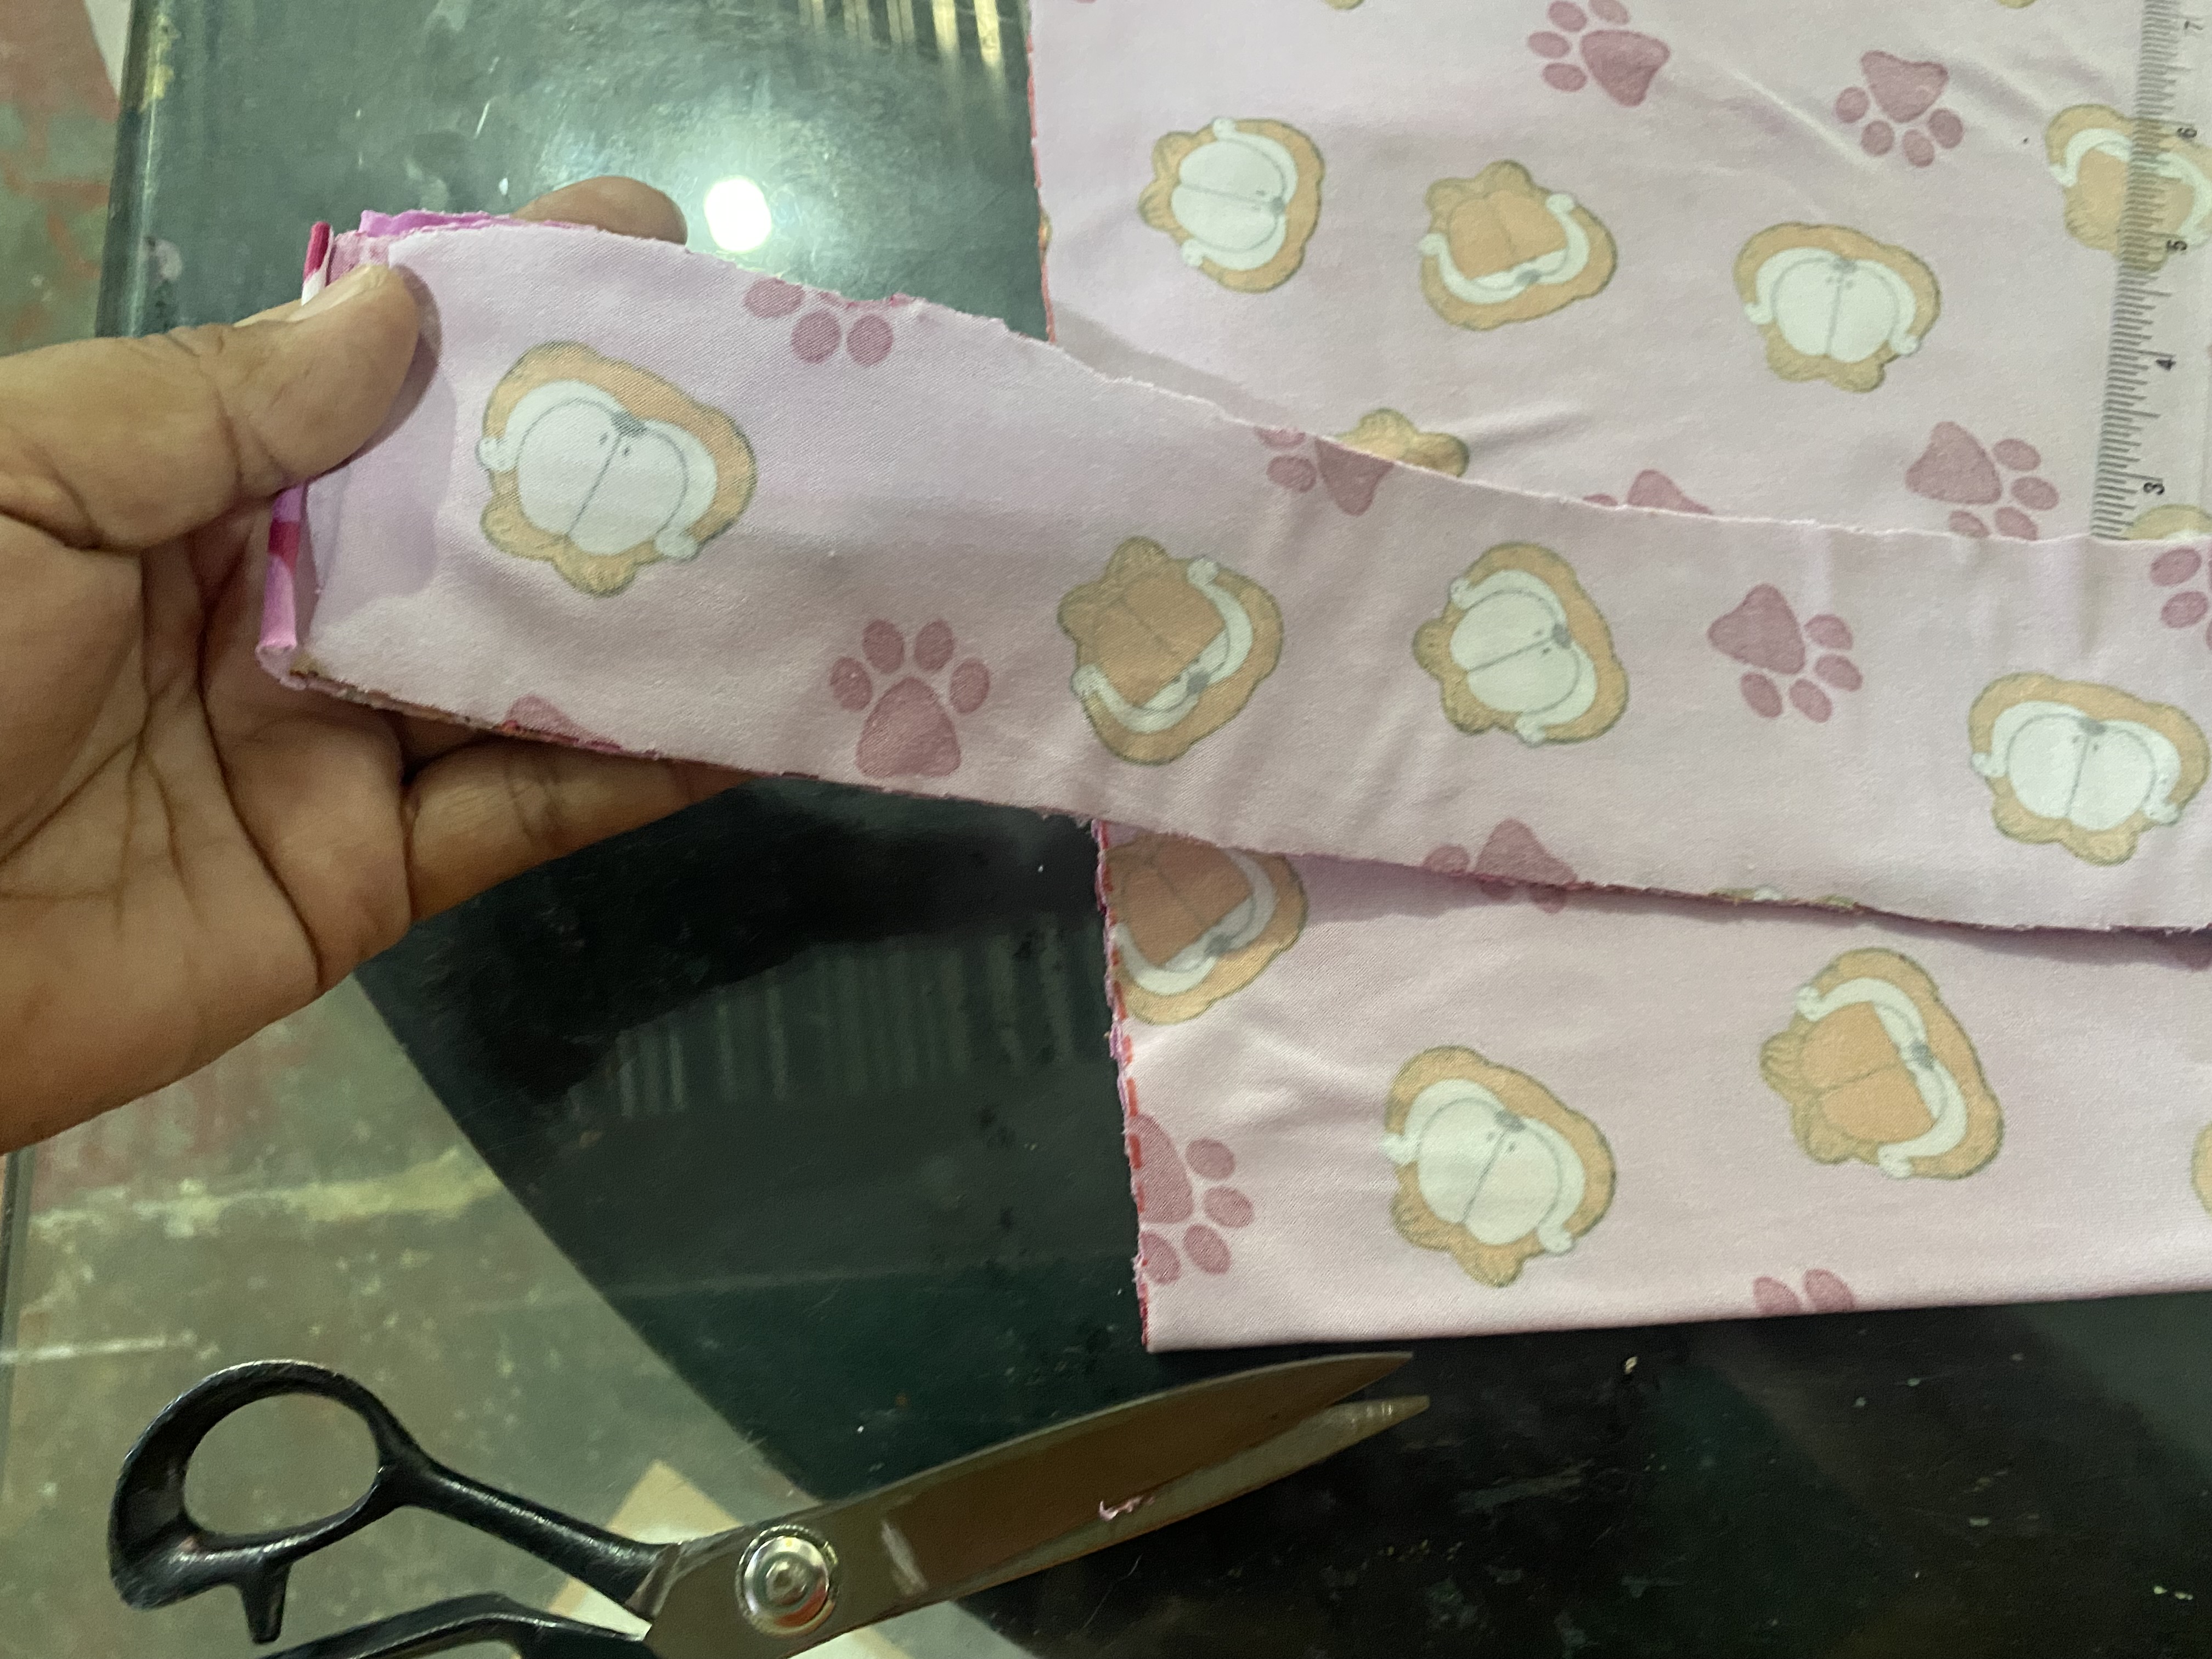
Comenzaremos colocando nuestra tela por el lado del revés, es importante que hagamos esto ya que al marcar la tela muchas veces no logramos quitarle la marca y así no nos afectará por el lado derecho, antes de dibujar la prenda que voy a hacer si esta lleva tirantes o sesgo en las orillas, primero corto una tira al largo de la tela y 6 cm de ancho aproximadamente, con esto evito que luego me vaya a faltar.
Vamos a dibujar primero la blusa, este tipo de blusa en pijama es bastante sencillo ya que es el mismo molde tanto para la parte delantera como para la parte de atrás, doblamos la tela a la mitad que está vaya doble, las medidas serán 24cm en la parte del busto 26 cm a la altura del ombligo y de largo 40 cm , 9 cm aproximado para el escote.
We will start by placing our fabric on the wrong side, it is important that we do this because when marking the fabric many times we do not manage to remove the mark and thus it will not affect us on the right side, before drawing the garment that I am going to make if it has straps or bias on the edges, first I cut a strip the length of the fabric and approximately 6 cm wide, with this I avoid that I will be missing later.
We are going to draw the blouse first, this type of pajama blouse is quite simple since it is the same pattern for both the front and the back, we fold the fabric in half so that it is double, the measurements will be 24cm at the bust area, 26 cm at the height of the navel and 40 cm long, approximately 9 cm for the neckline.
 |  |
|---|---|
 |
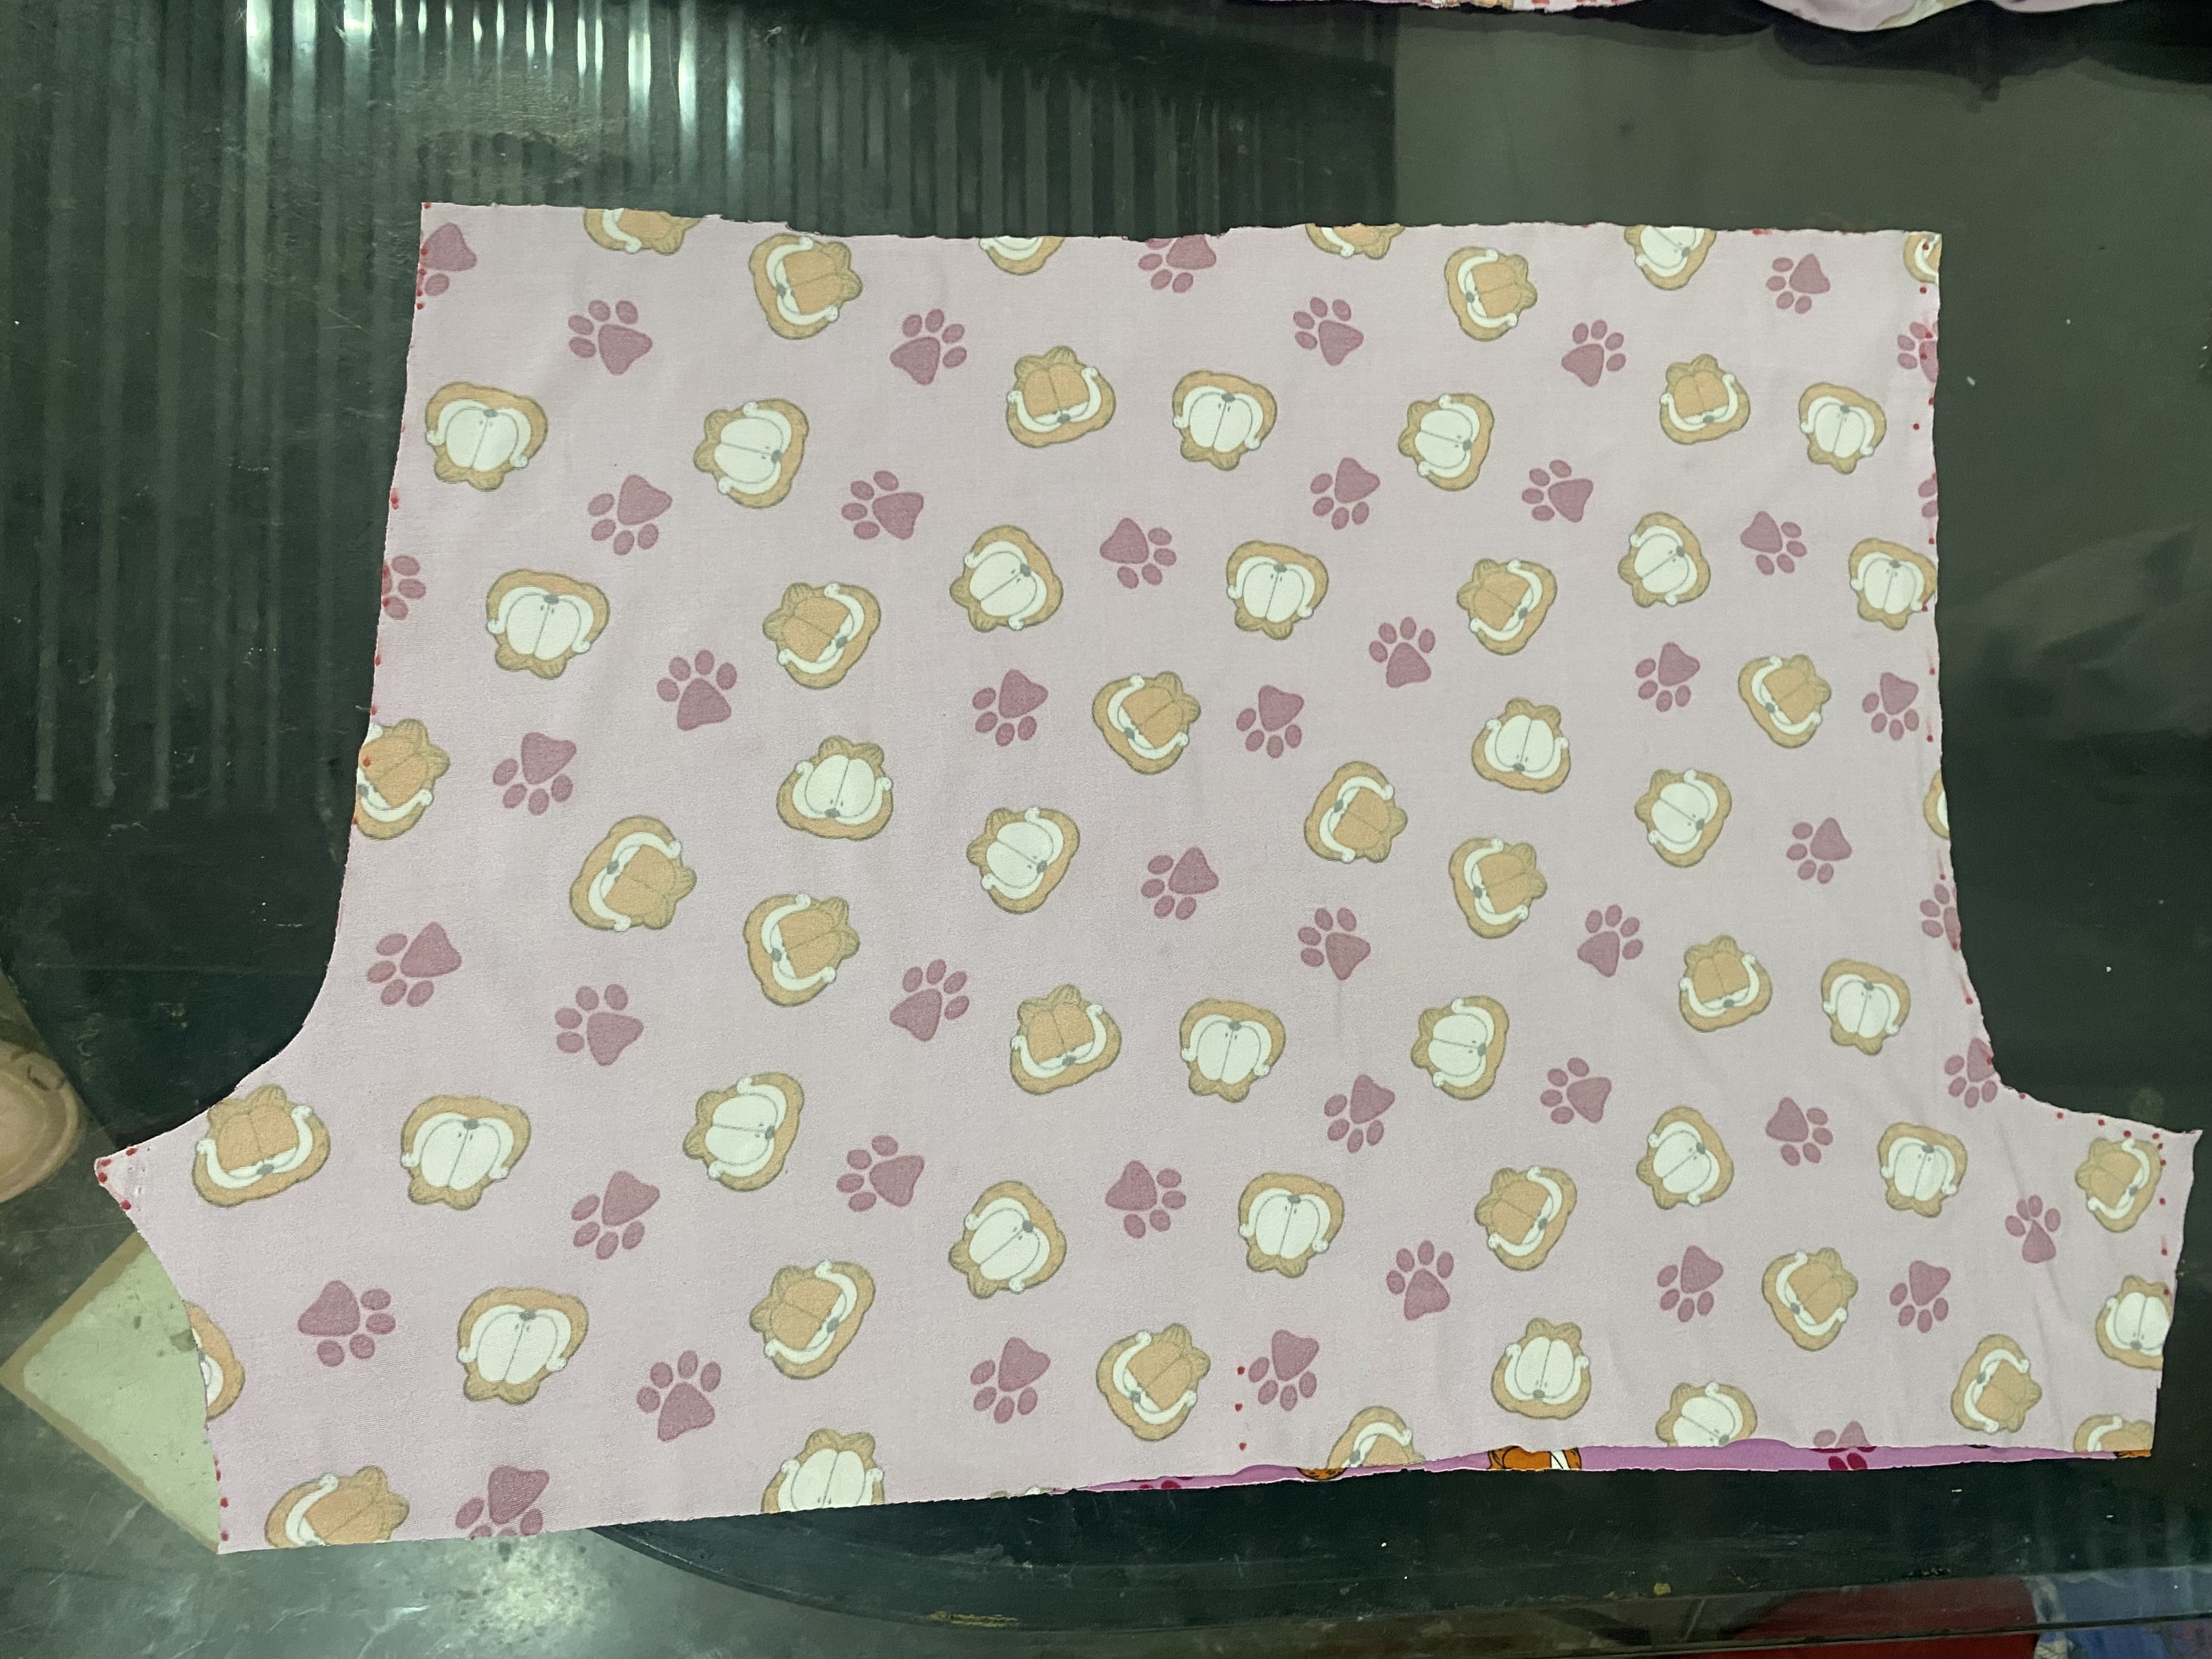
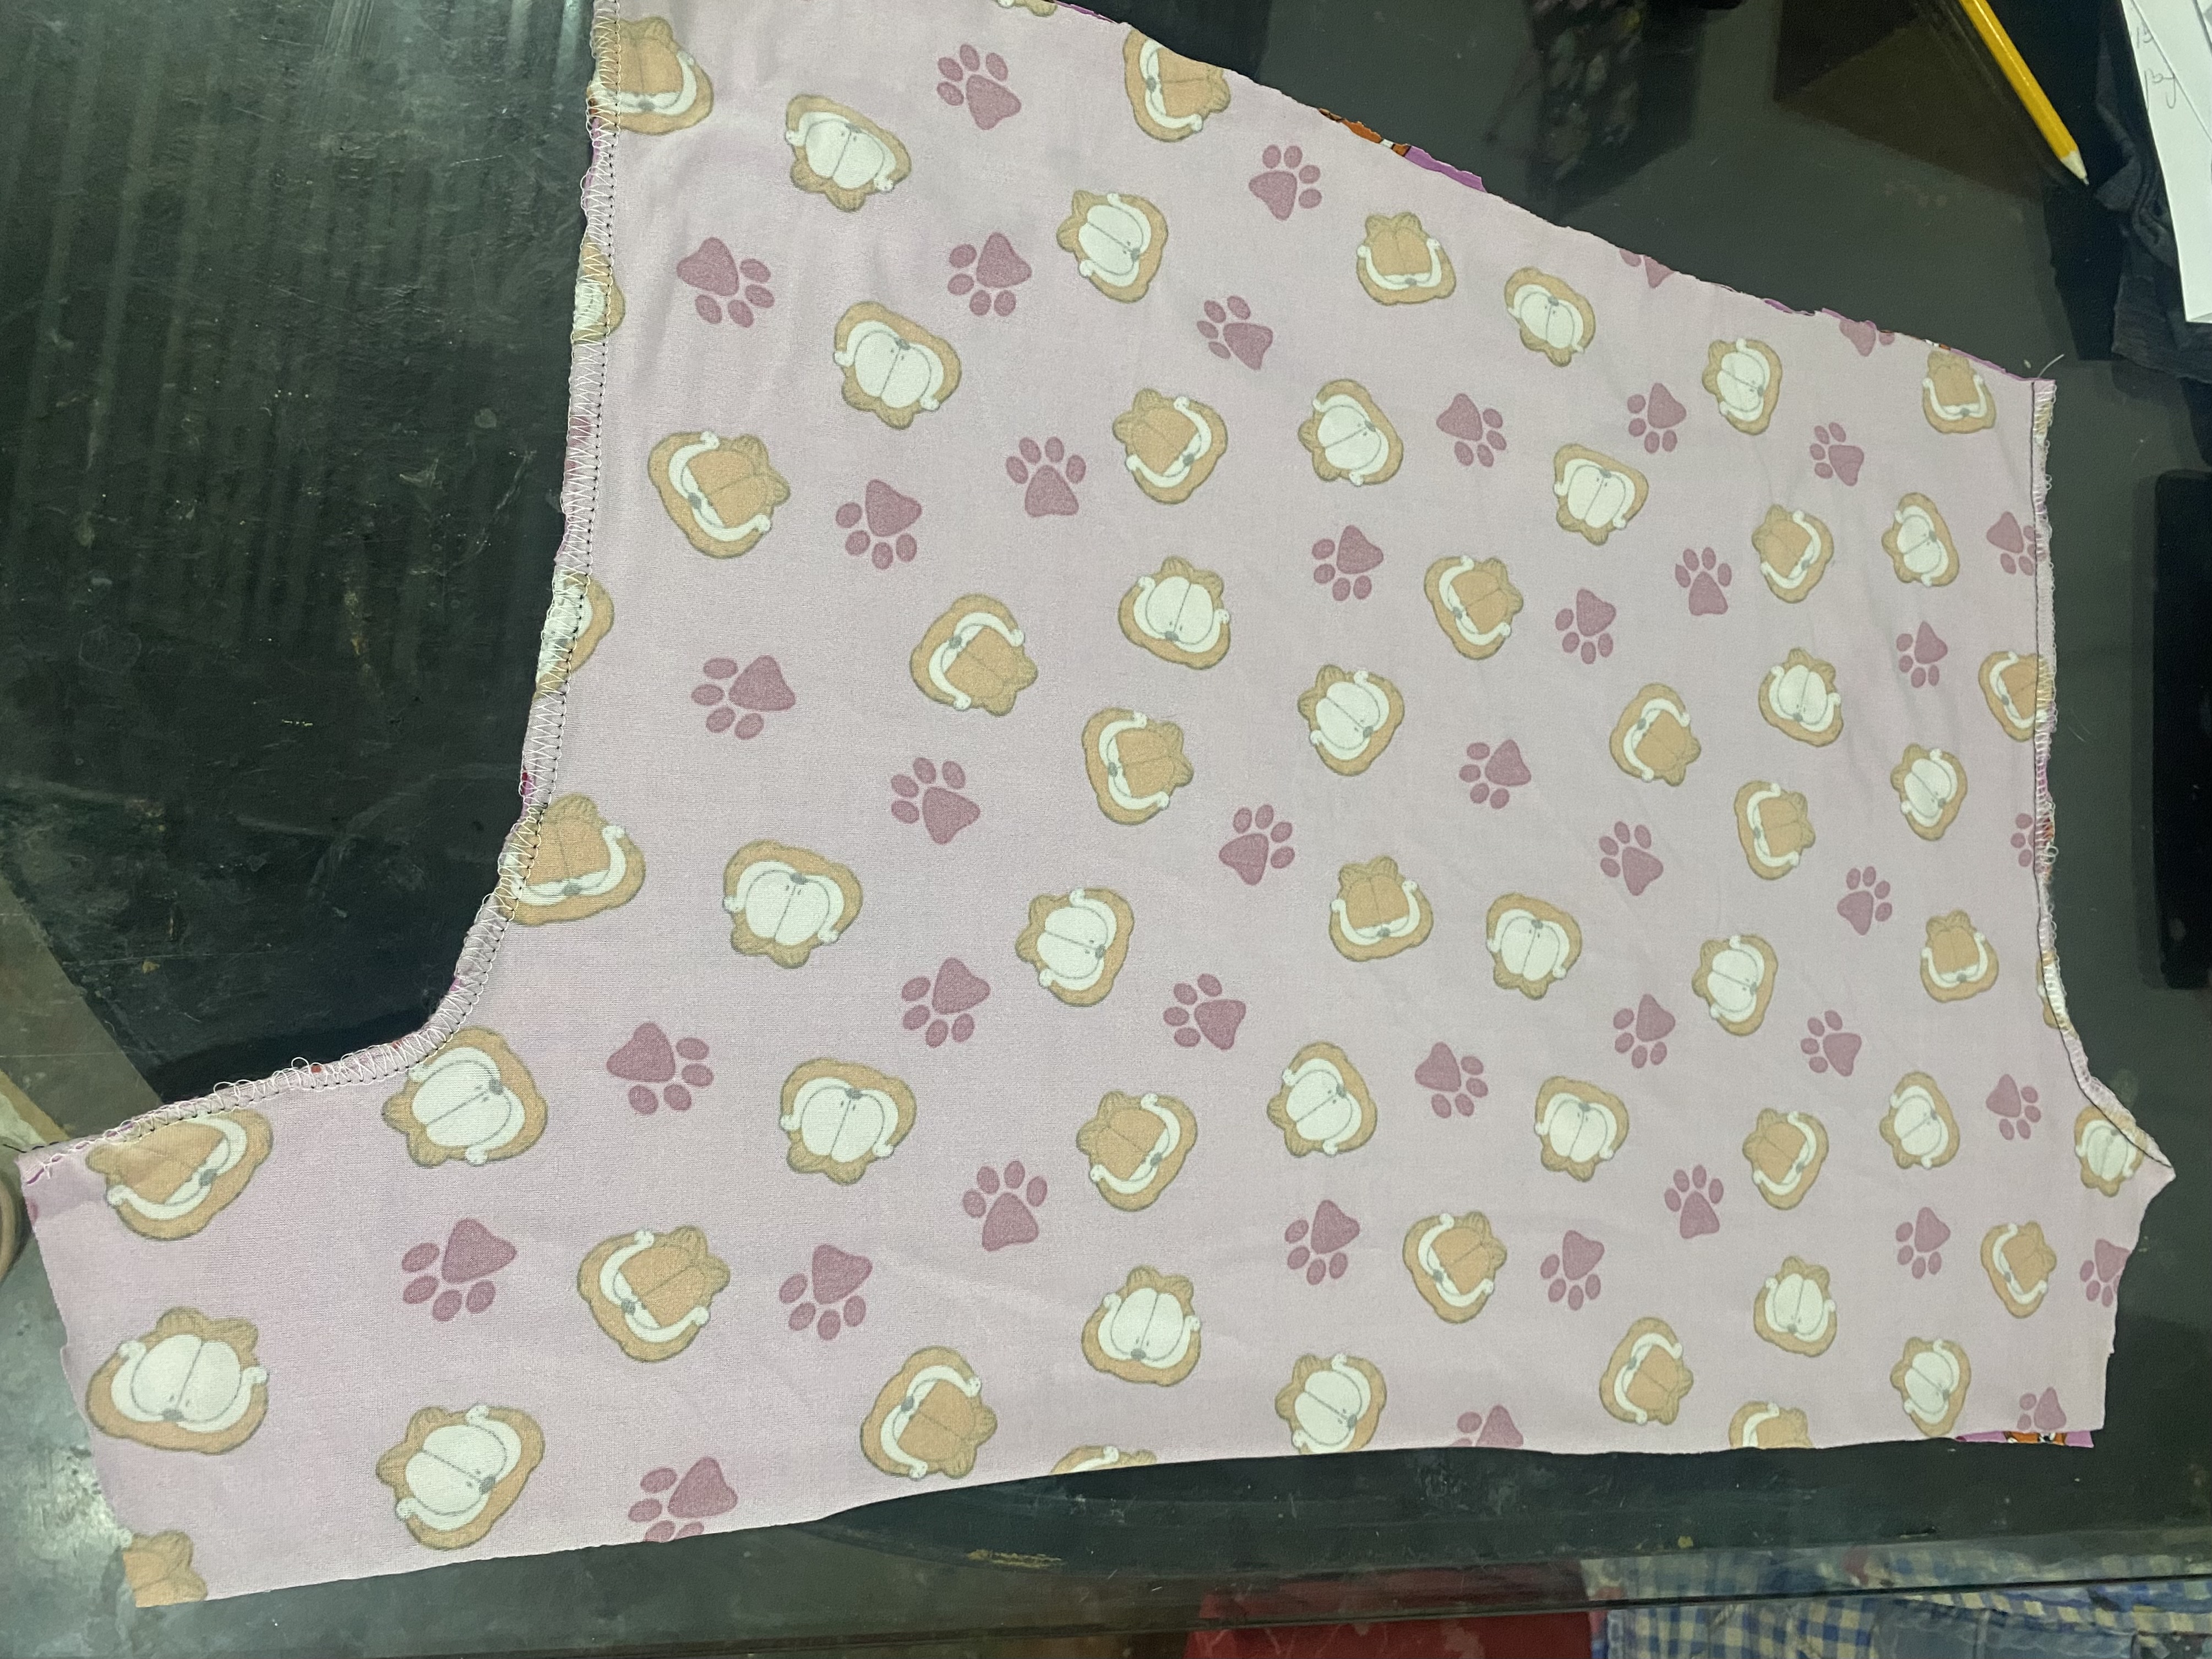
Continuamos dibujando y cortandoel Short, este modelo es bastante sencillo ya que es un solo corte, mis medidas a utilizar son: de ancho en total tendrá 64 cm en toda la parte del ruedo de pierna, de tiro delantero a tiro trasero
tendrá 70 cm y la altura de fundillo tanto adelante como atrás será de 11 cm, el tiro en la parte delantera será de 33 cm y en la parte trasera será de 40 cm la distancia de el tiro delantero al tiro trasero será de 54 cm.
We continue drawing and cutting the shorts, this model is quite simple since it is a single cut, my measurements to use are: the total width will be 64 cm along the entire leg hem, from the front hem to the back hem it will be 70 cm and the height of the bottom both front and back will be 11 cm, the hem at the front will be 33 cm and at the back it will be 40 cm, the distance from the front hem to the back hem will be 54 cm.
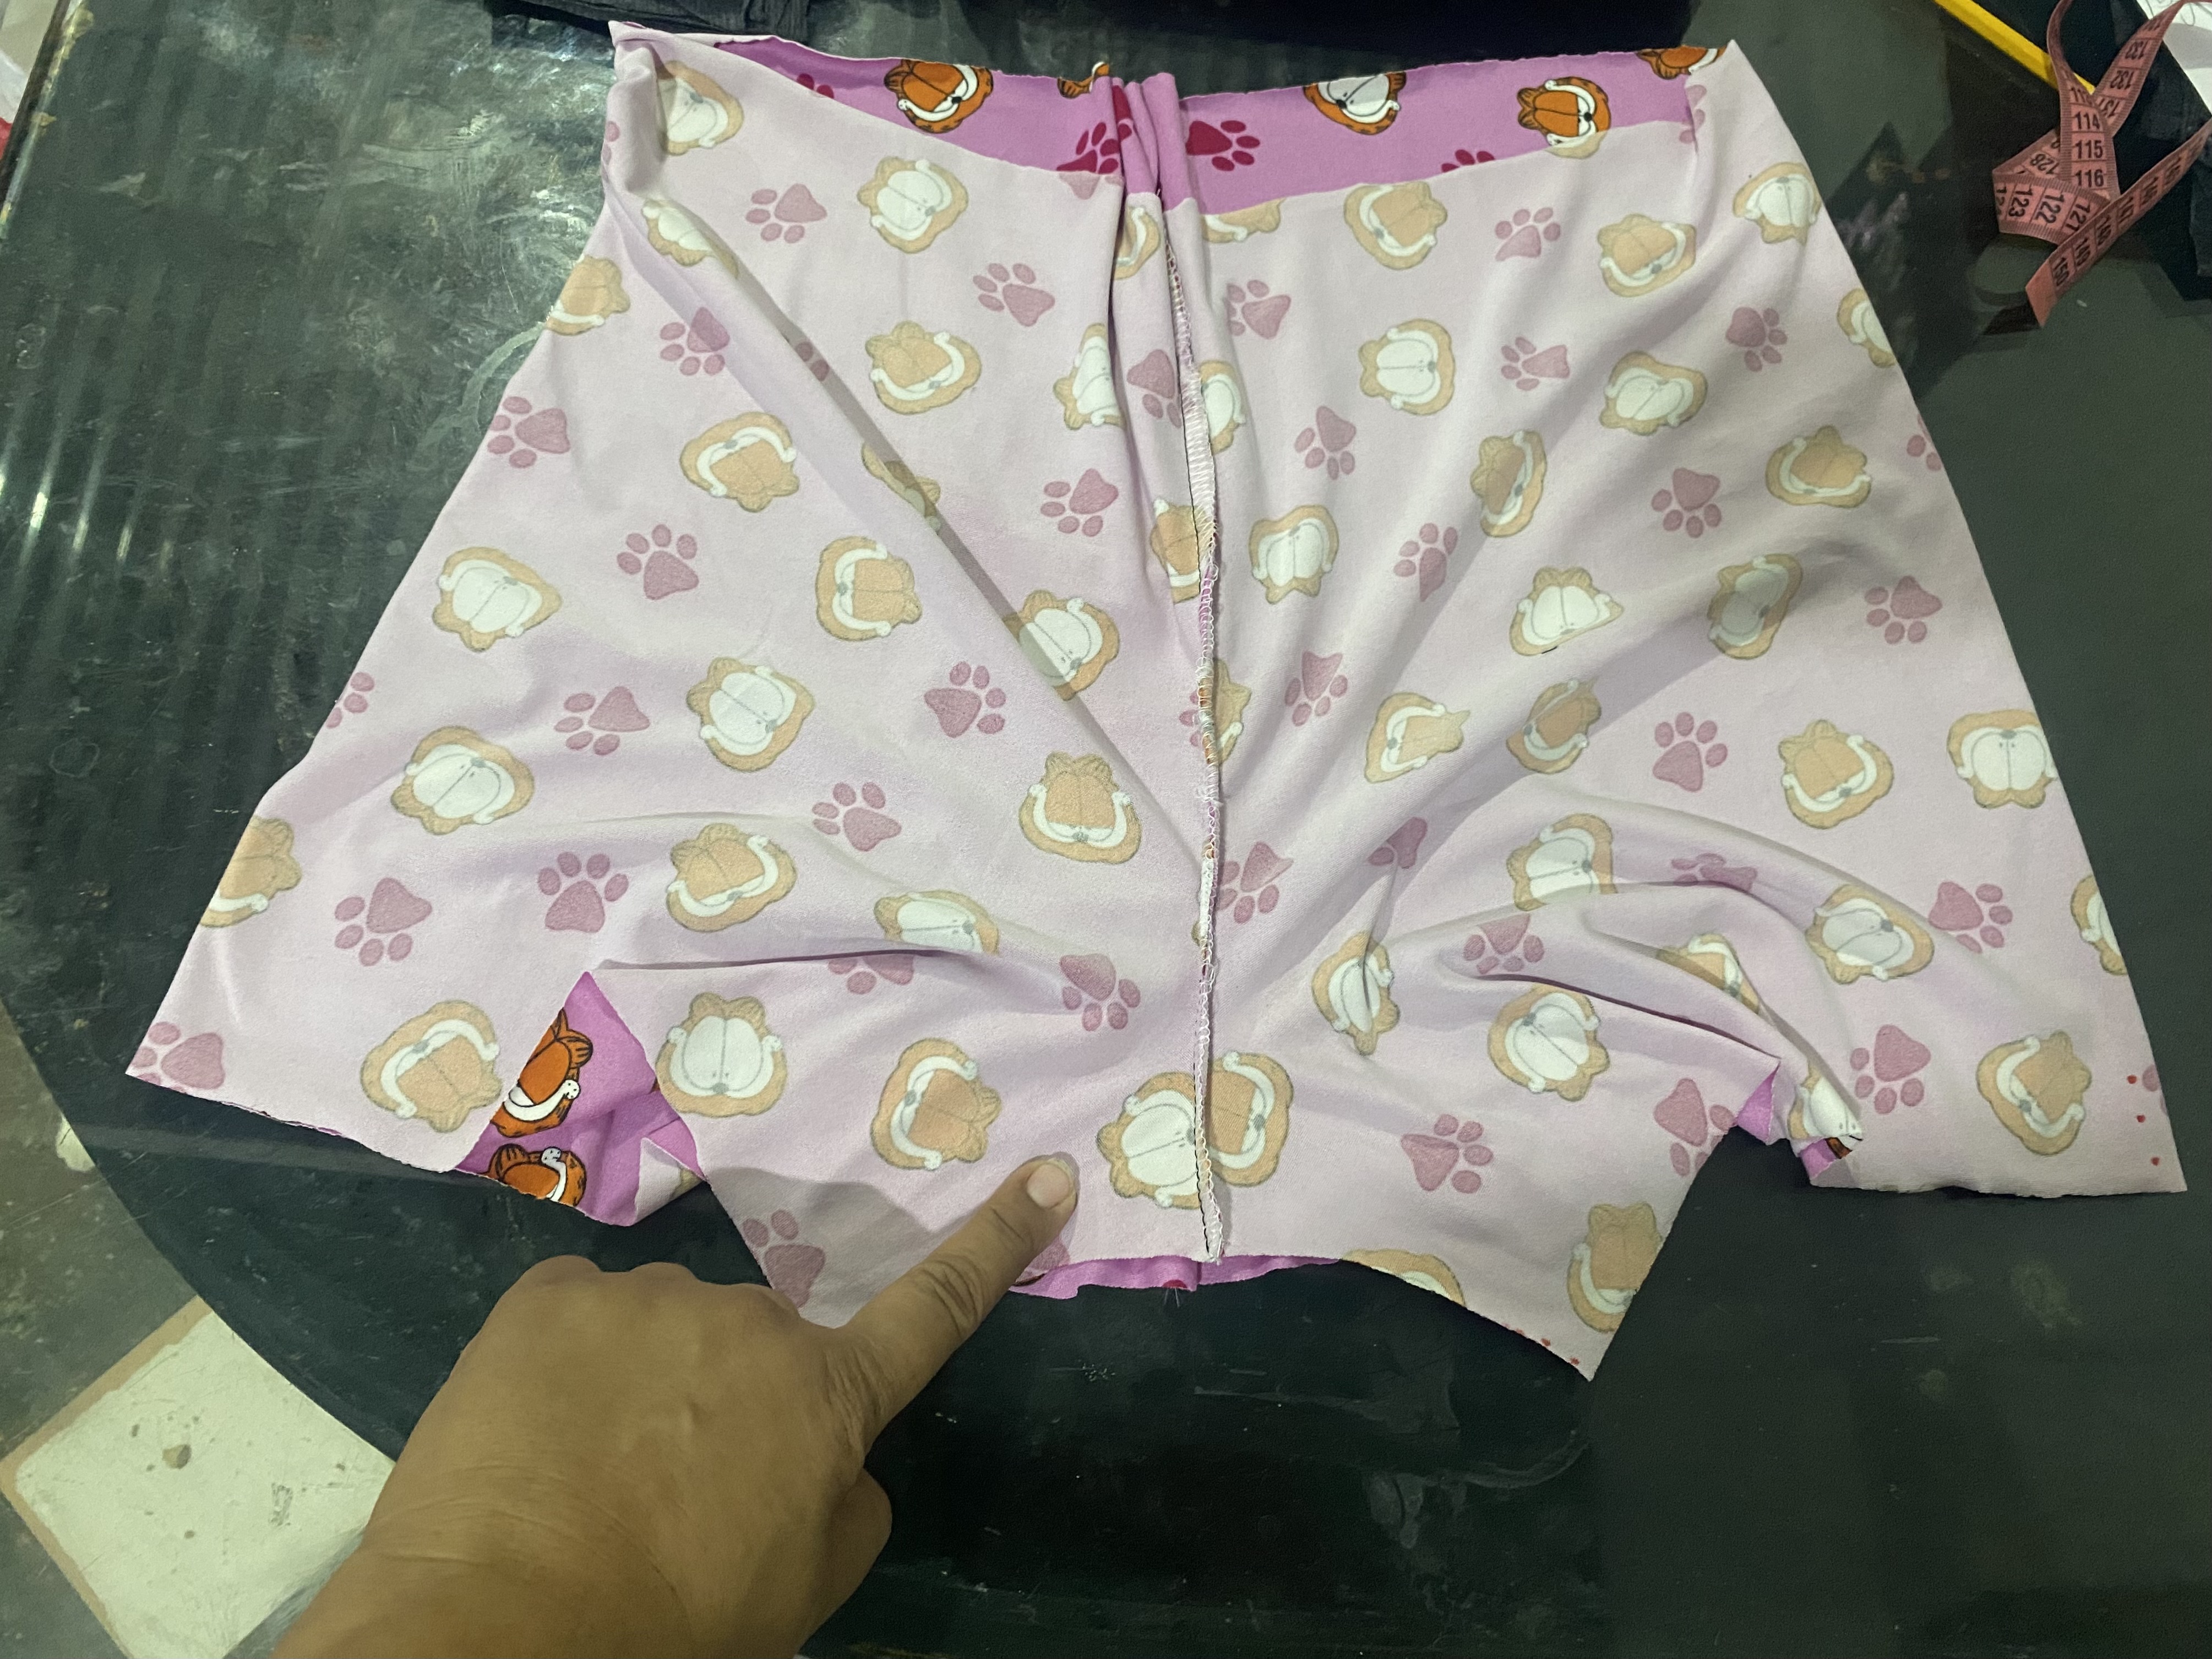
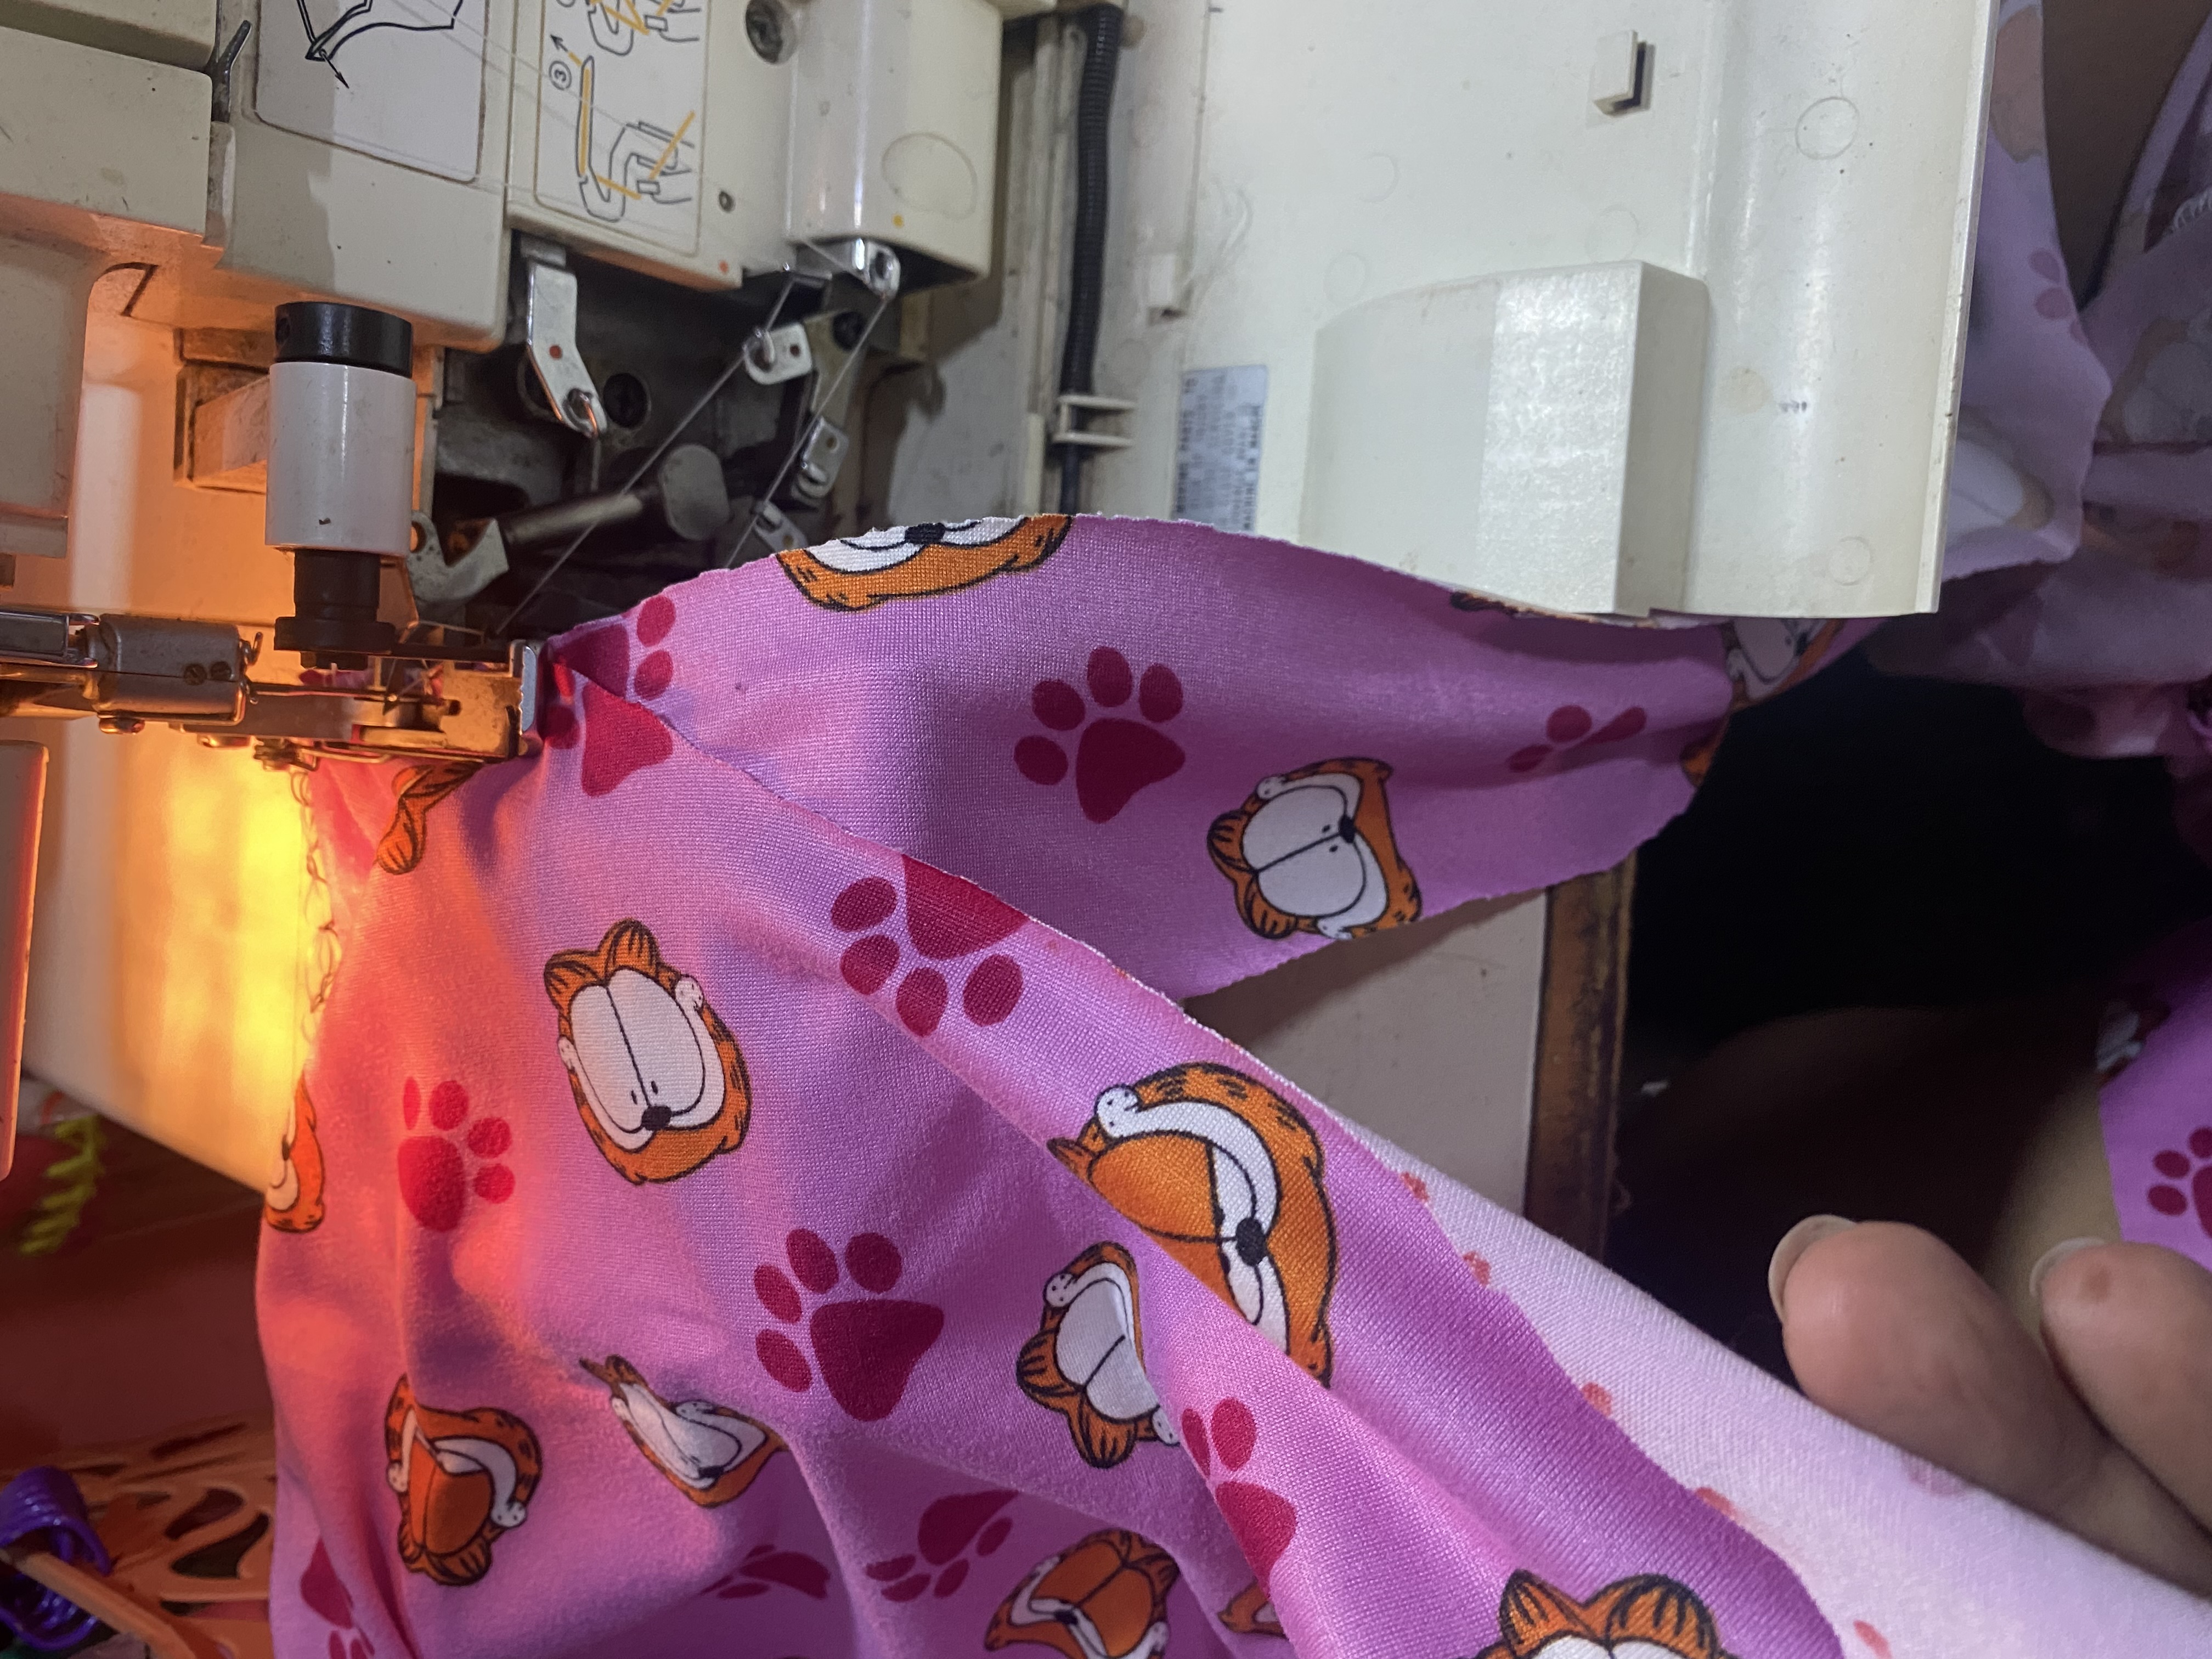
Ahora comenzaremos con las costuras, hace poco volví a sacar nuevamente mi máquina overlock con esta, el proceso de costura sobre todo en tela elástica es mucho más sencillo, pasaremos costura en el tiro delantero y el tiro trasero, también podemos utilizar la costura de zig zag, luego le pasamos una costura recta para reforzar.
Un truco que aprendí hace poco es que en la máquina recta le colocamos hilo de Overlook en la parte de la bobina para que la costura sea más elástica y las telas elásticas tengan mejor estiramiento.
Luego unimos con costura por el fundillo.
Now we will start with the seams, I recently took out my overlock machine again with this one, the sewing process, especially with elastic fabric, is much simpler, we will sew the front and back hem, we can also use the zigzag stitch, then we will sew a straight stitch to reinforce.
A trick I learned recently is that on the straight machine we put Overlook thread on the bobbin part so that the seam is more elastic and the elastic fabrics have better stretch.
Then we join with a seam along the hem.
 |  |
|---|
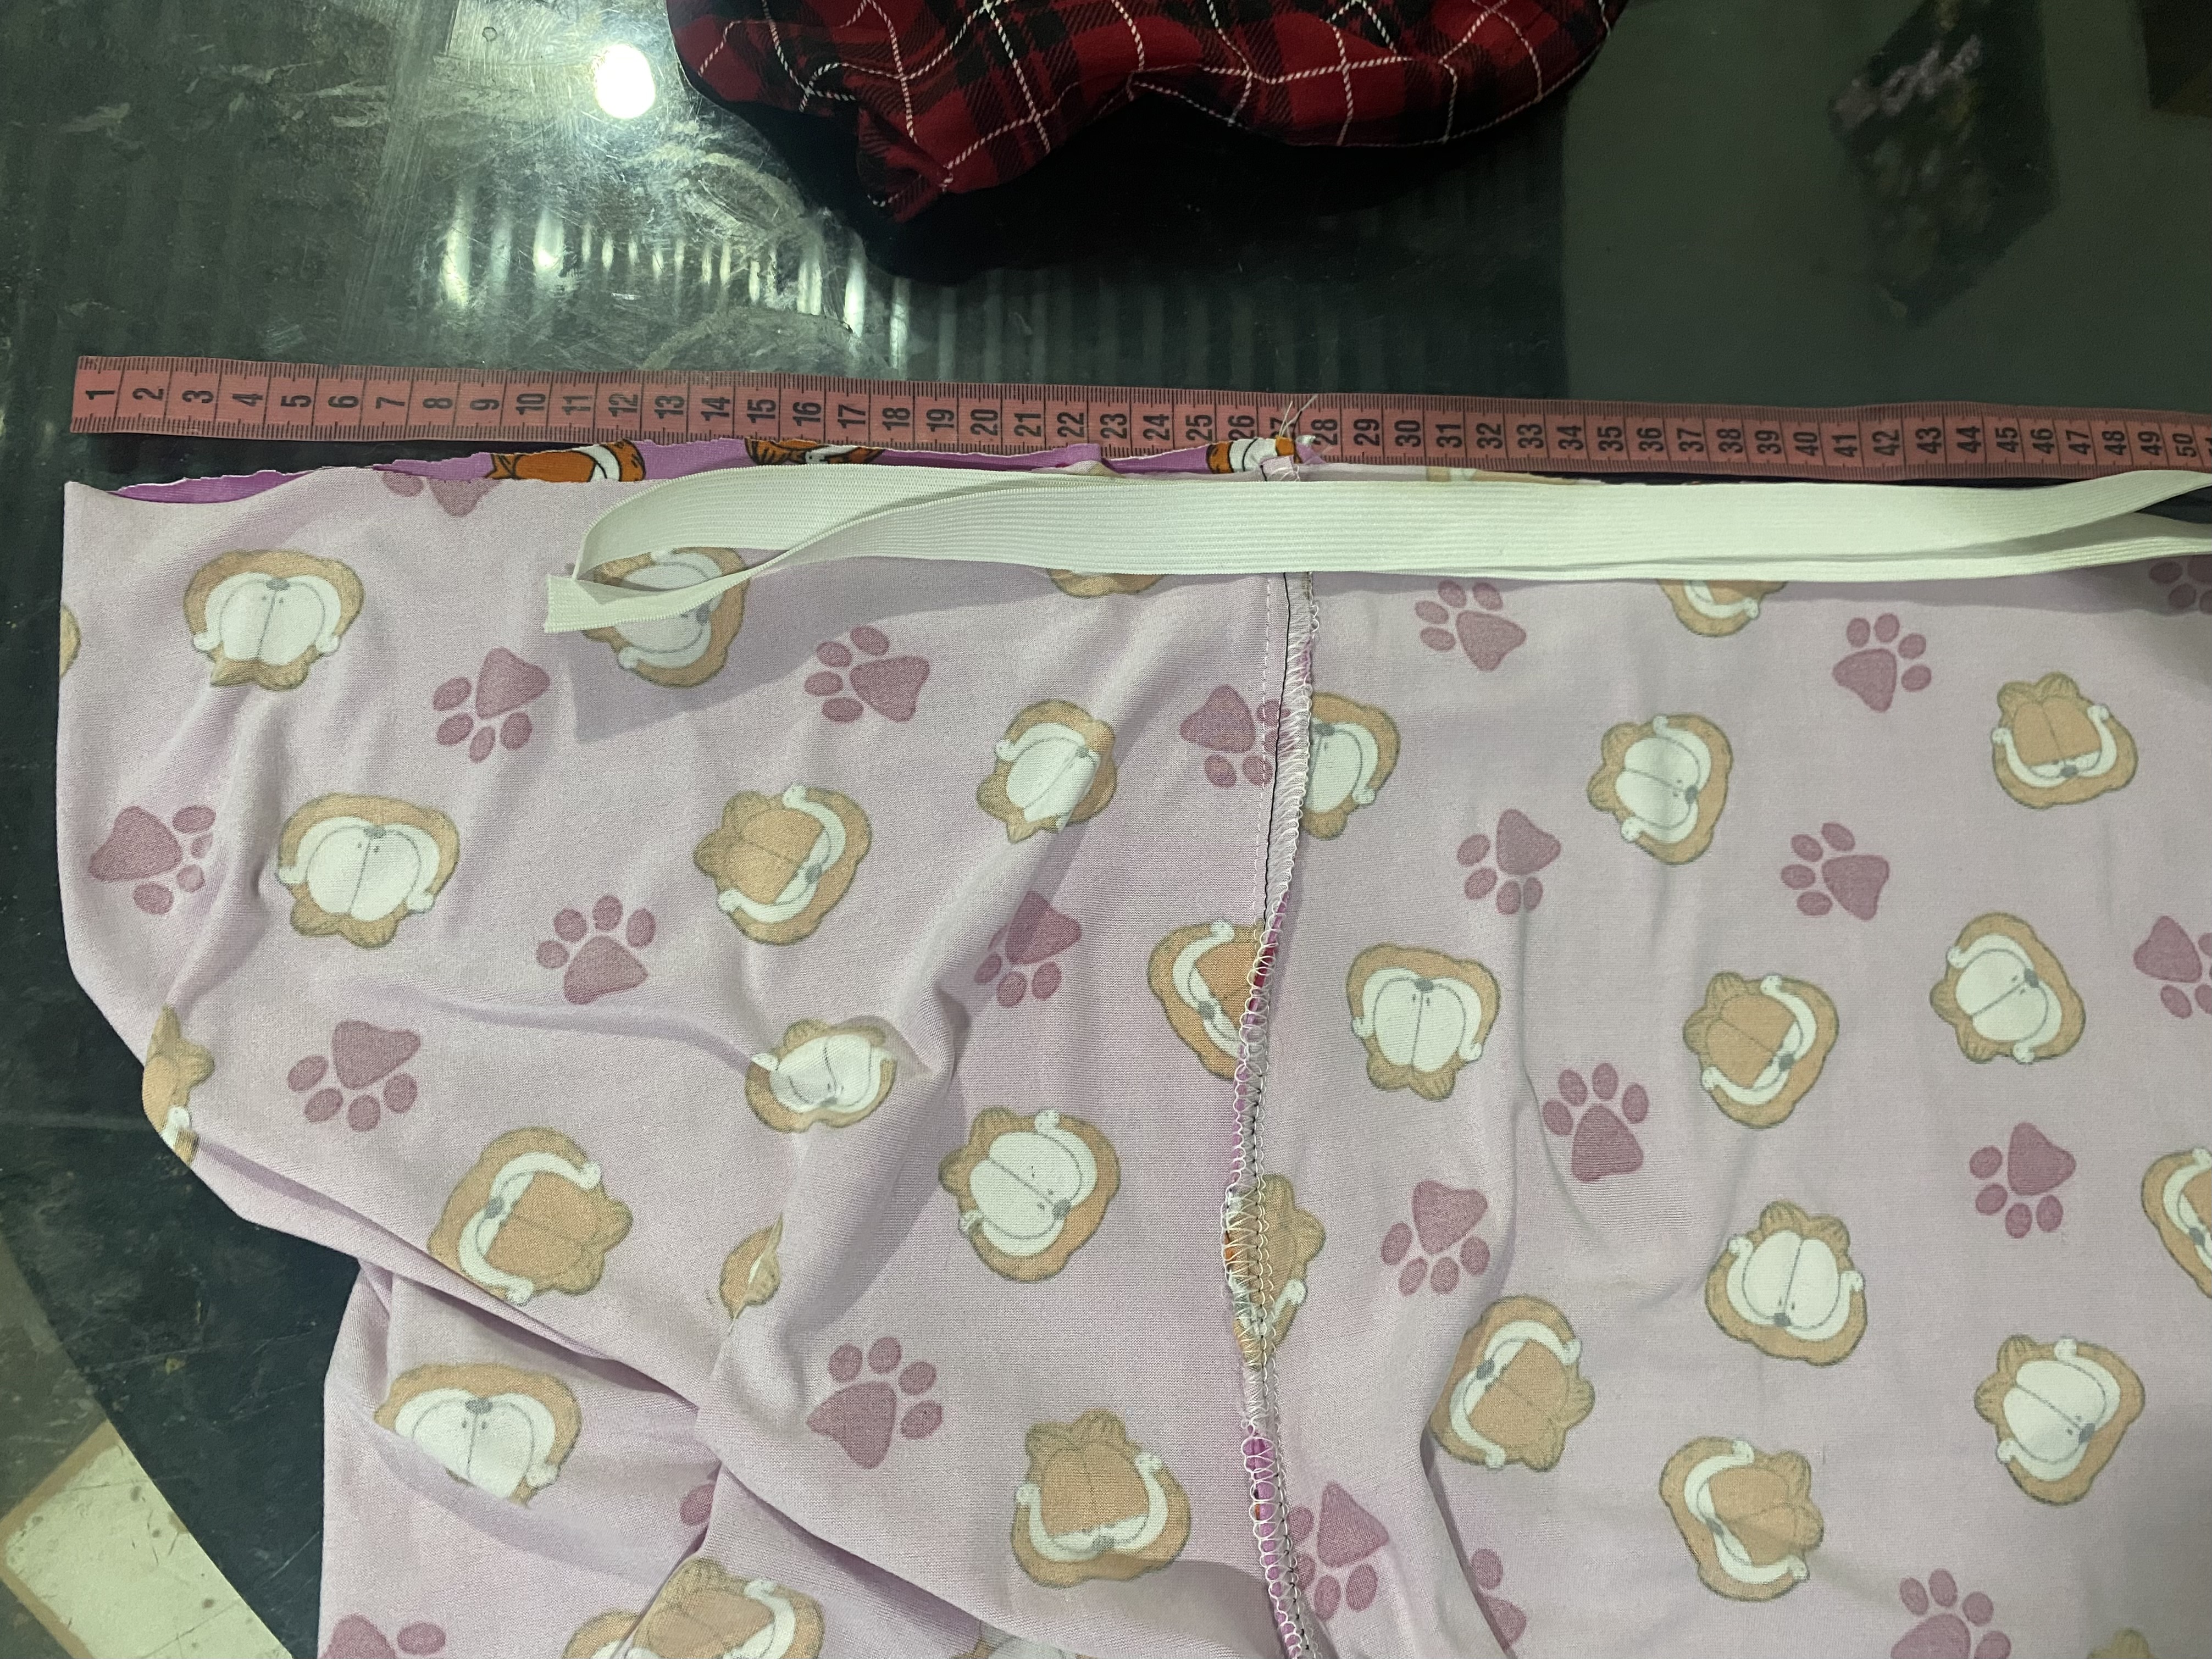
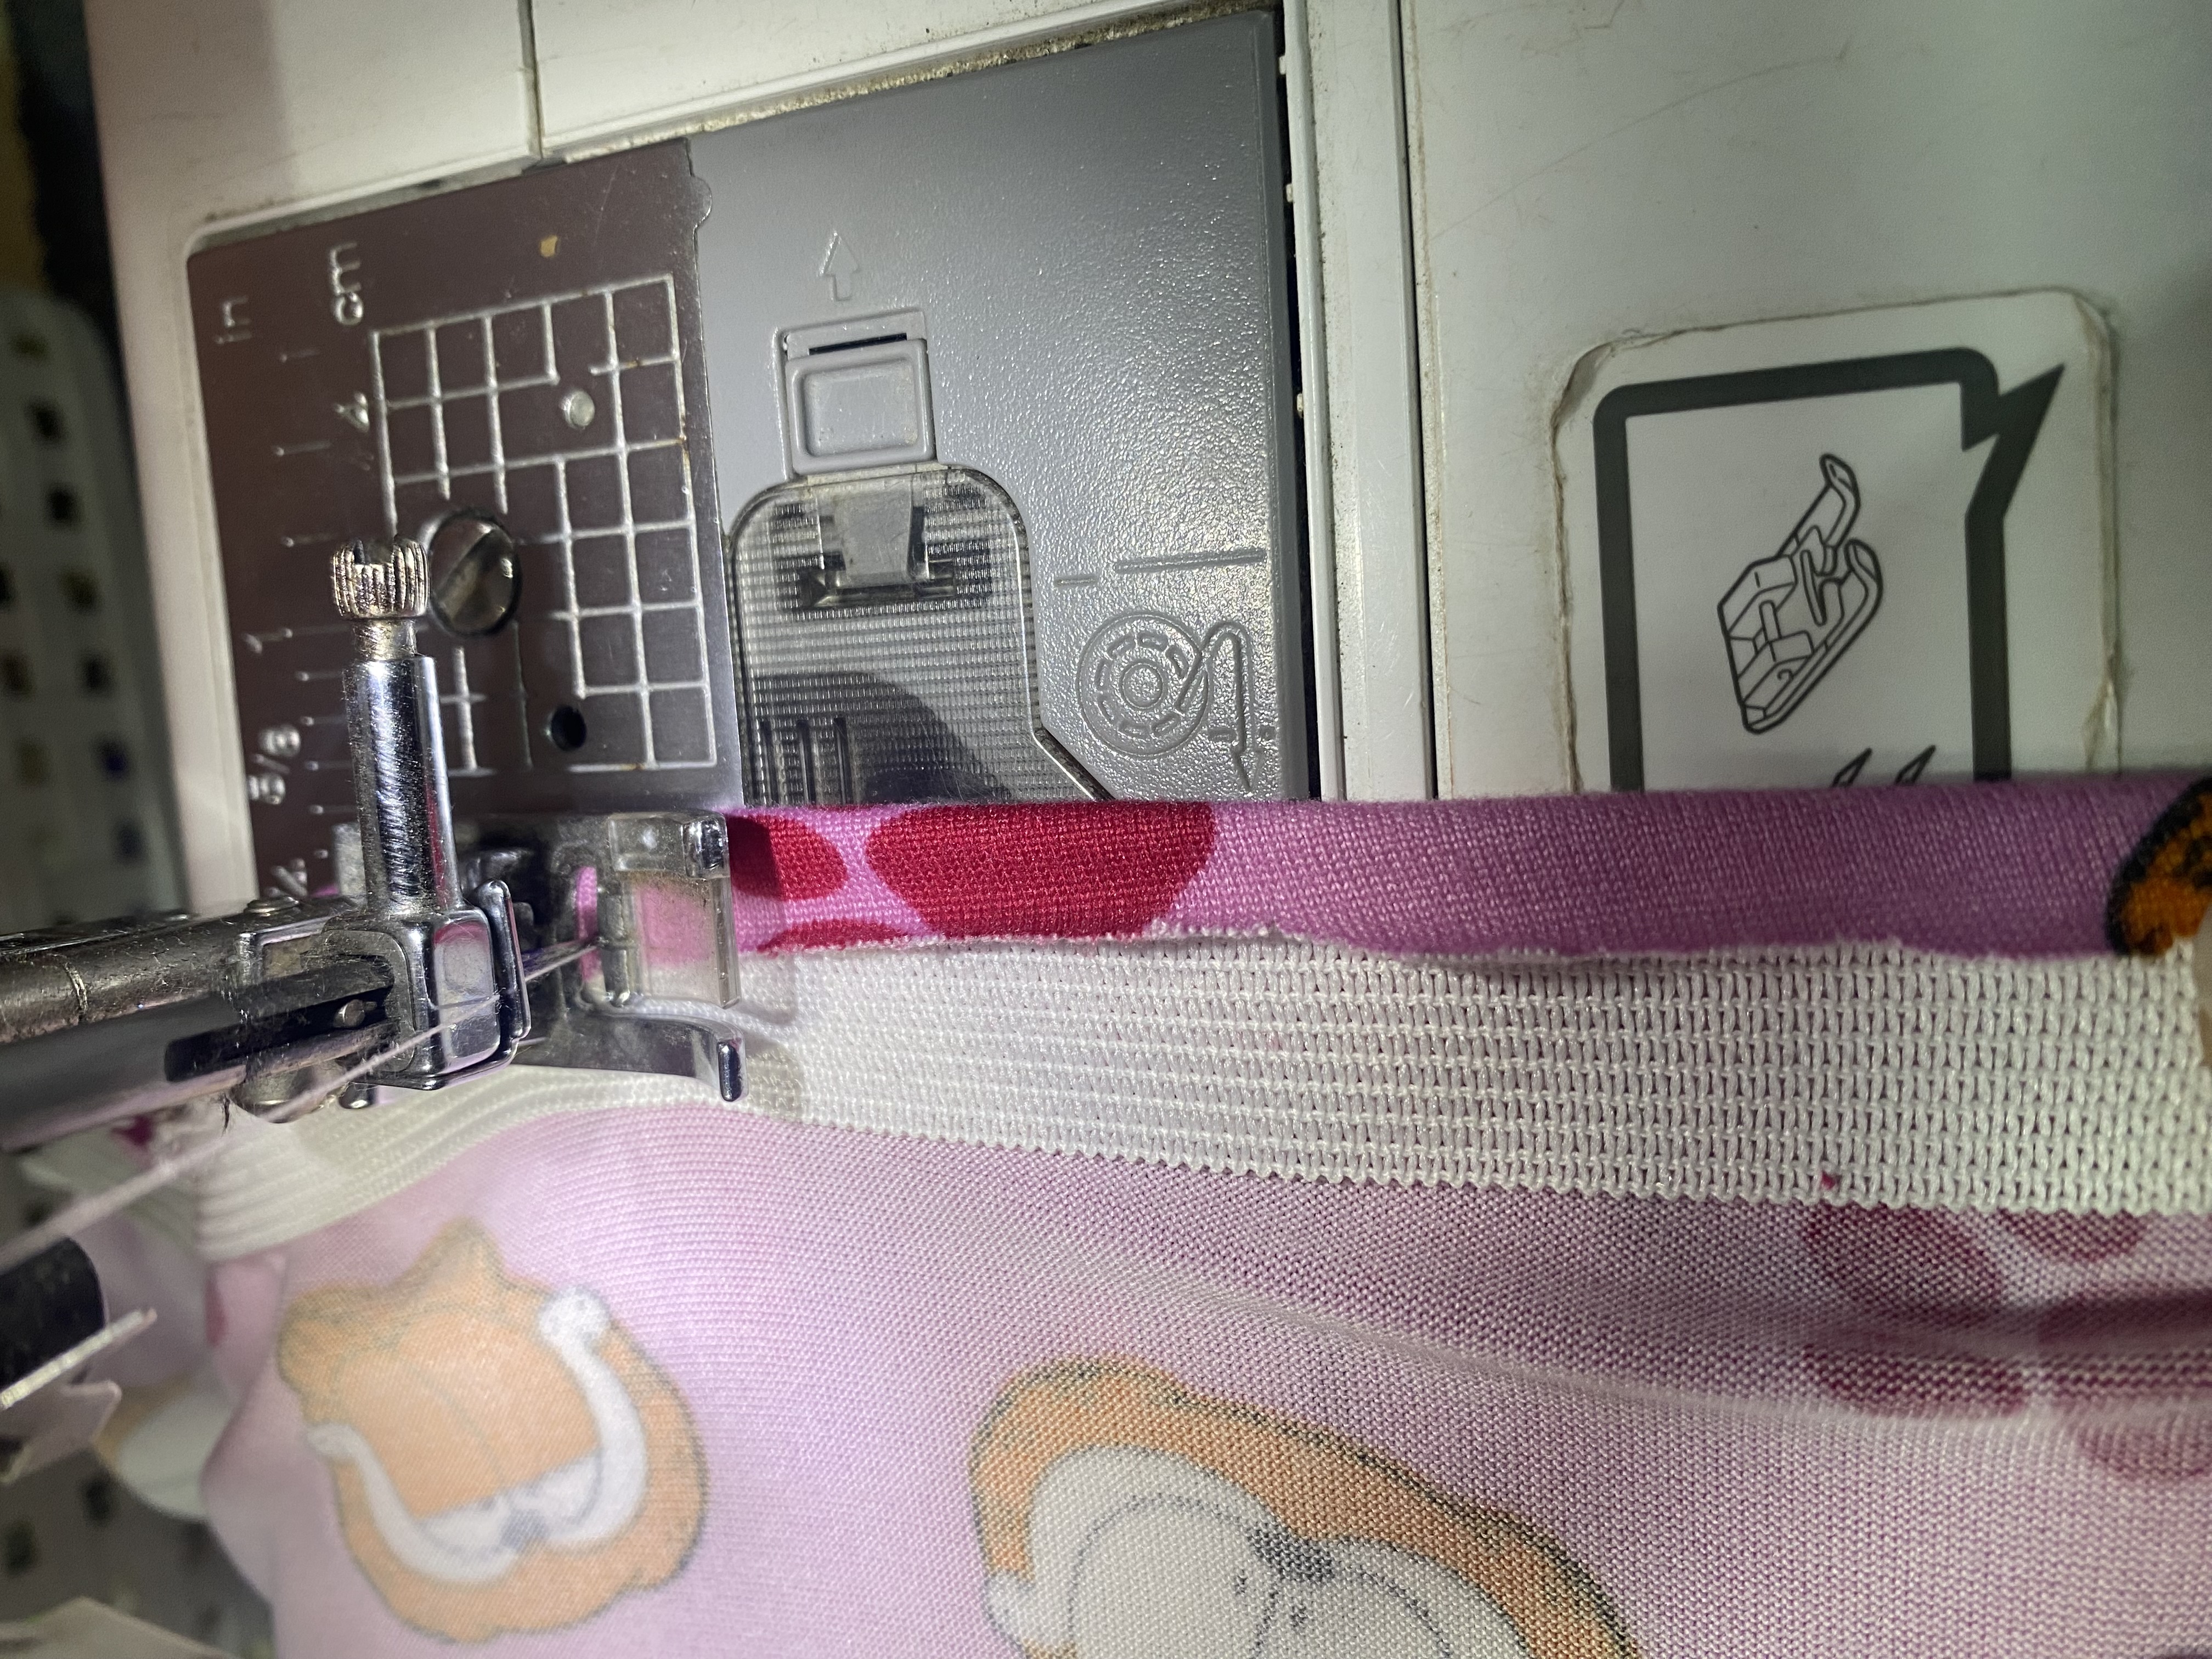
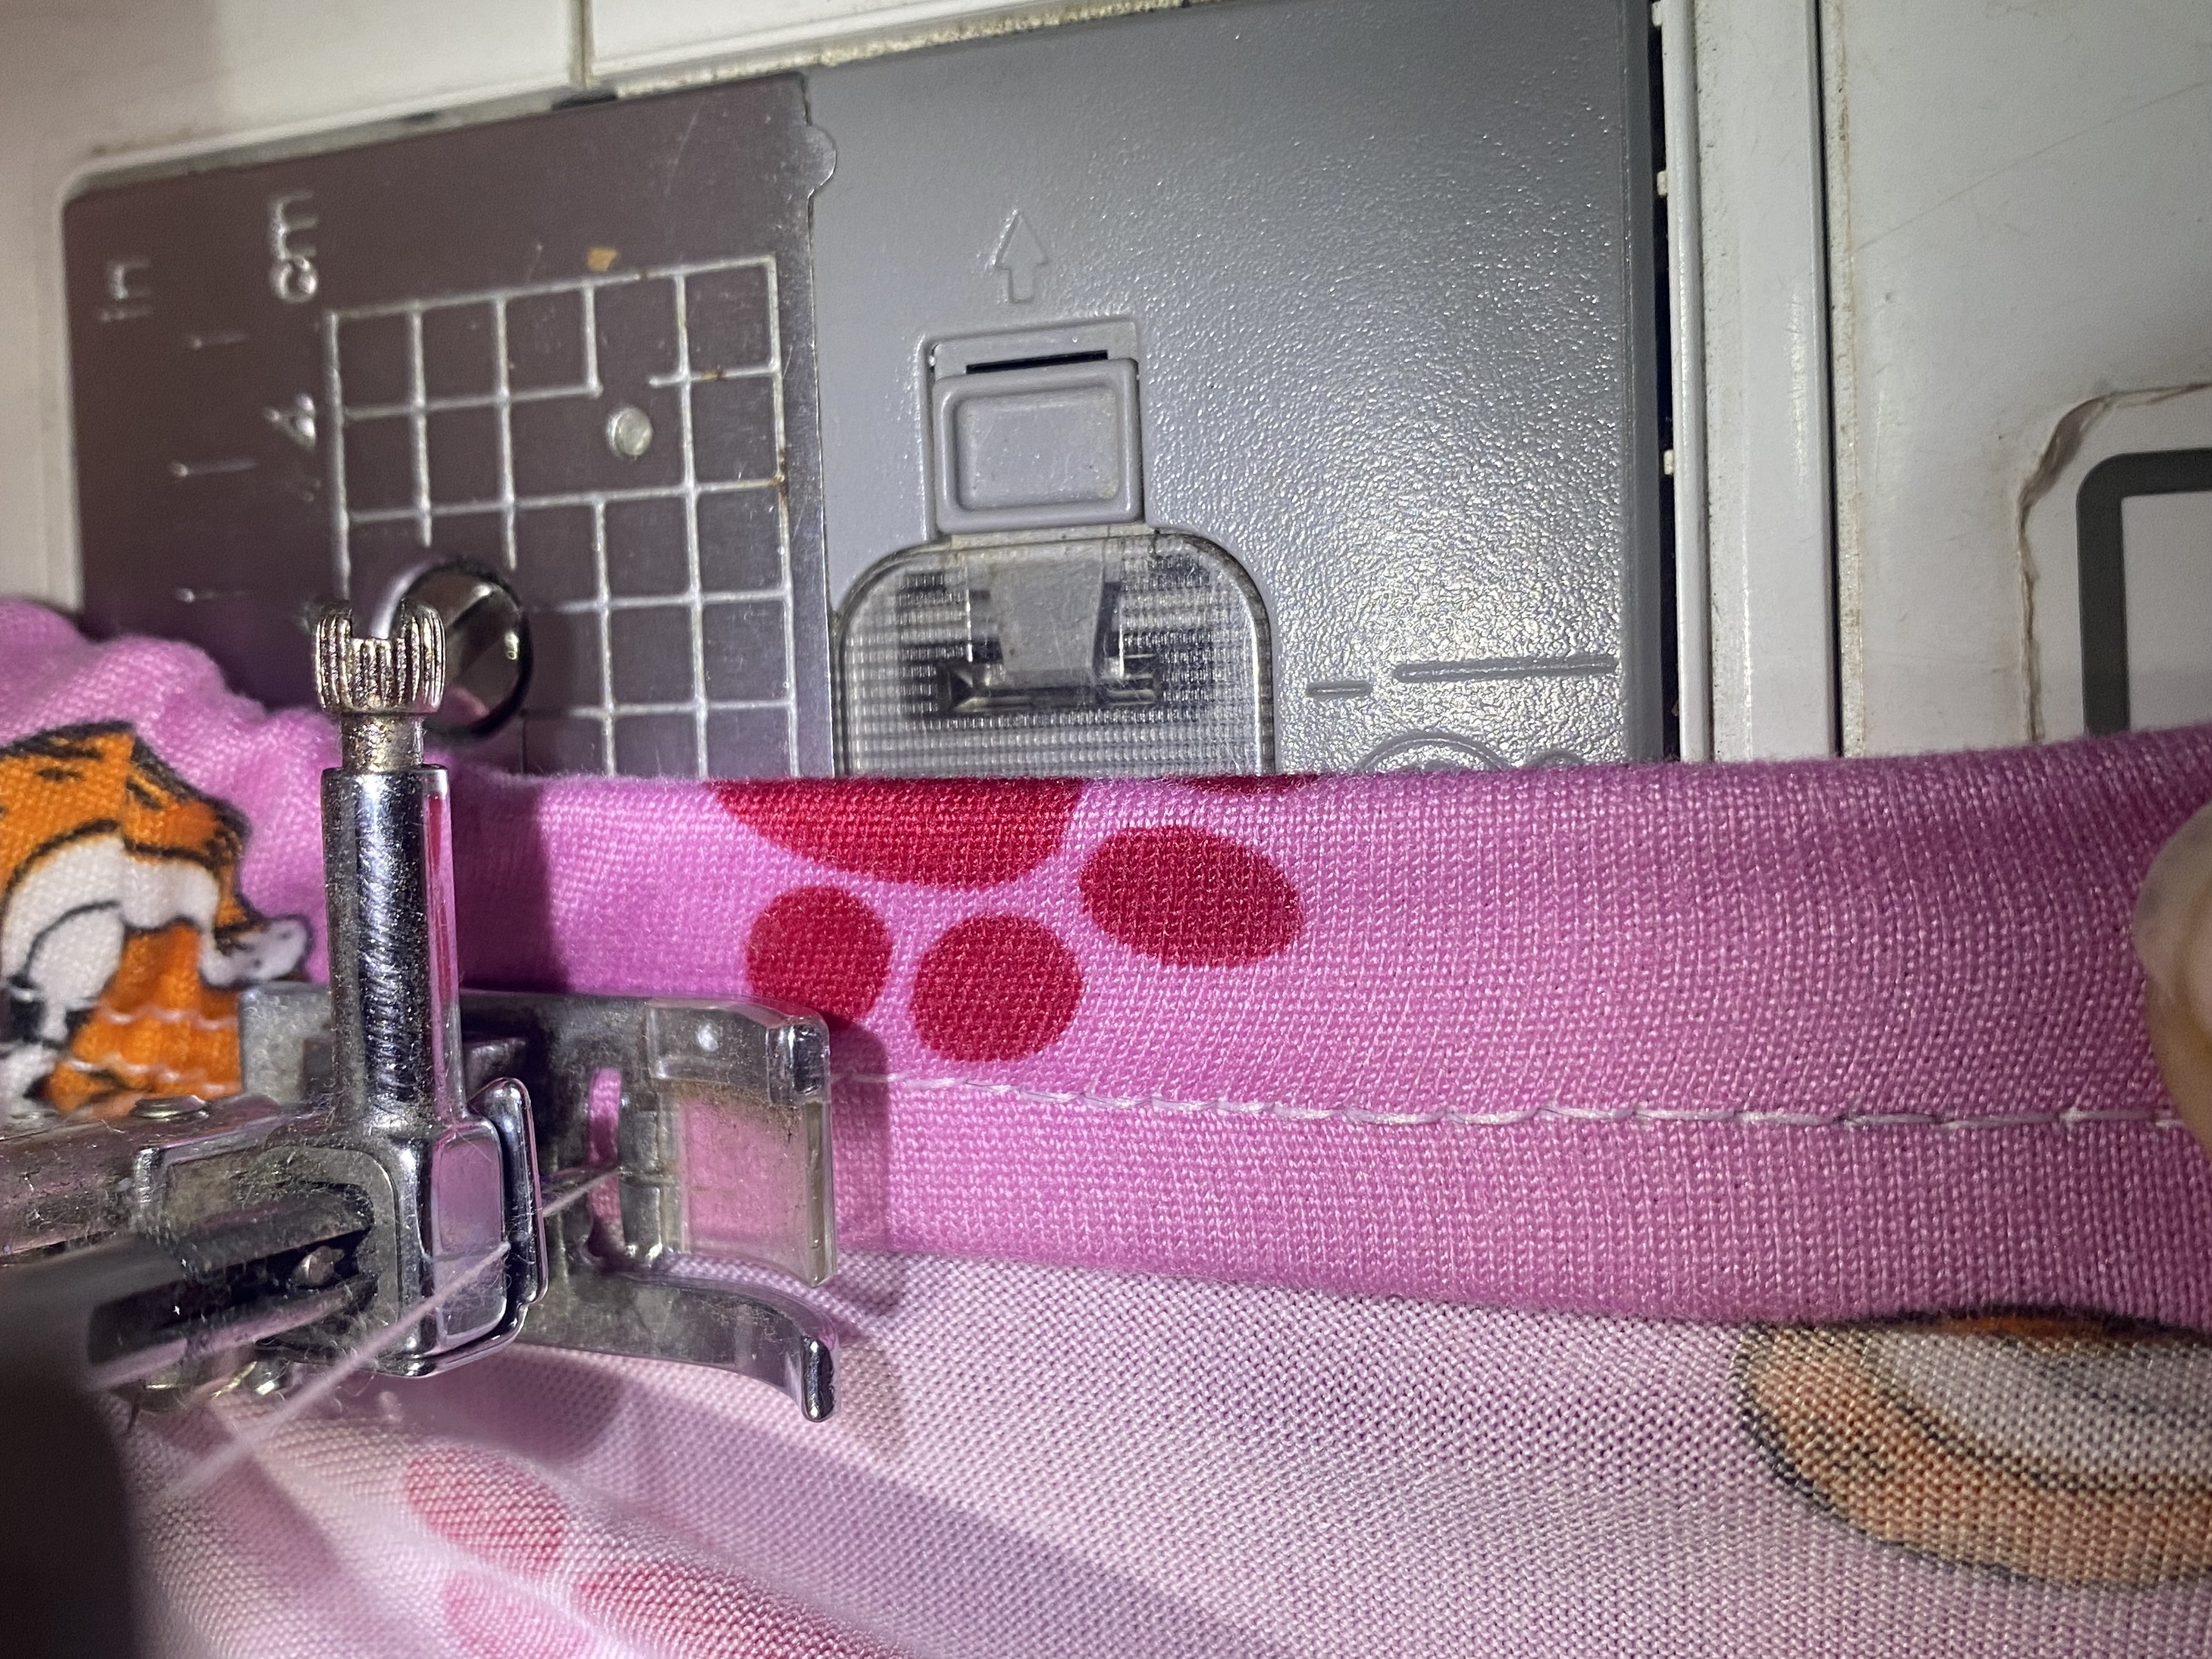
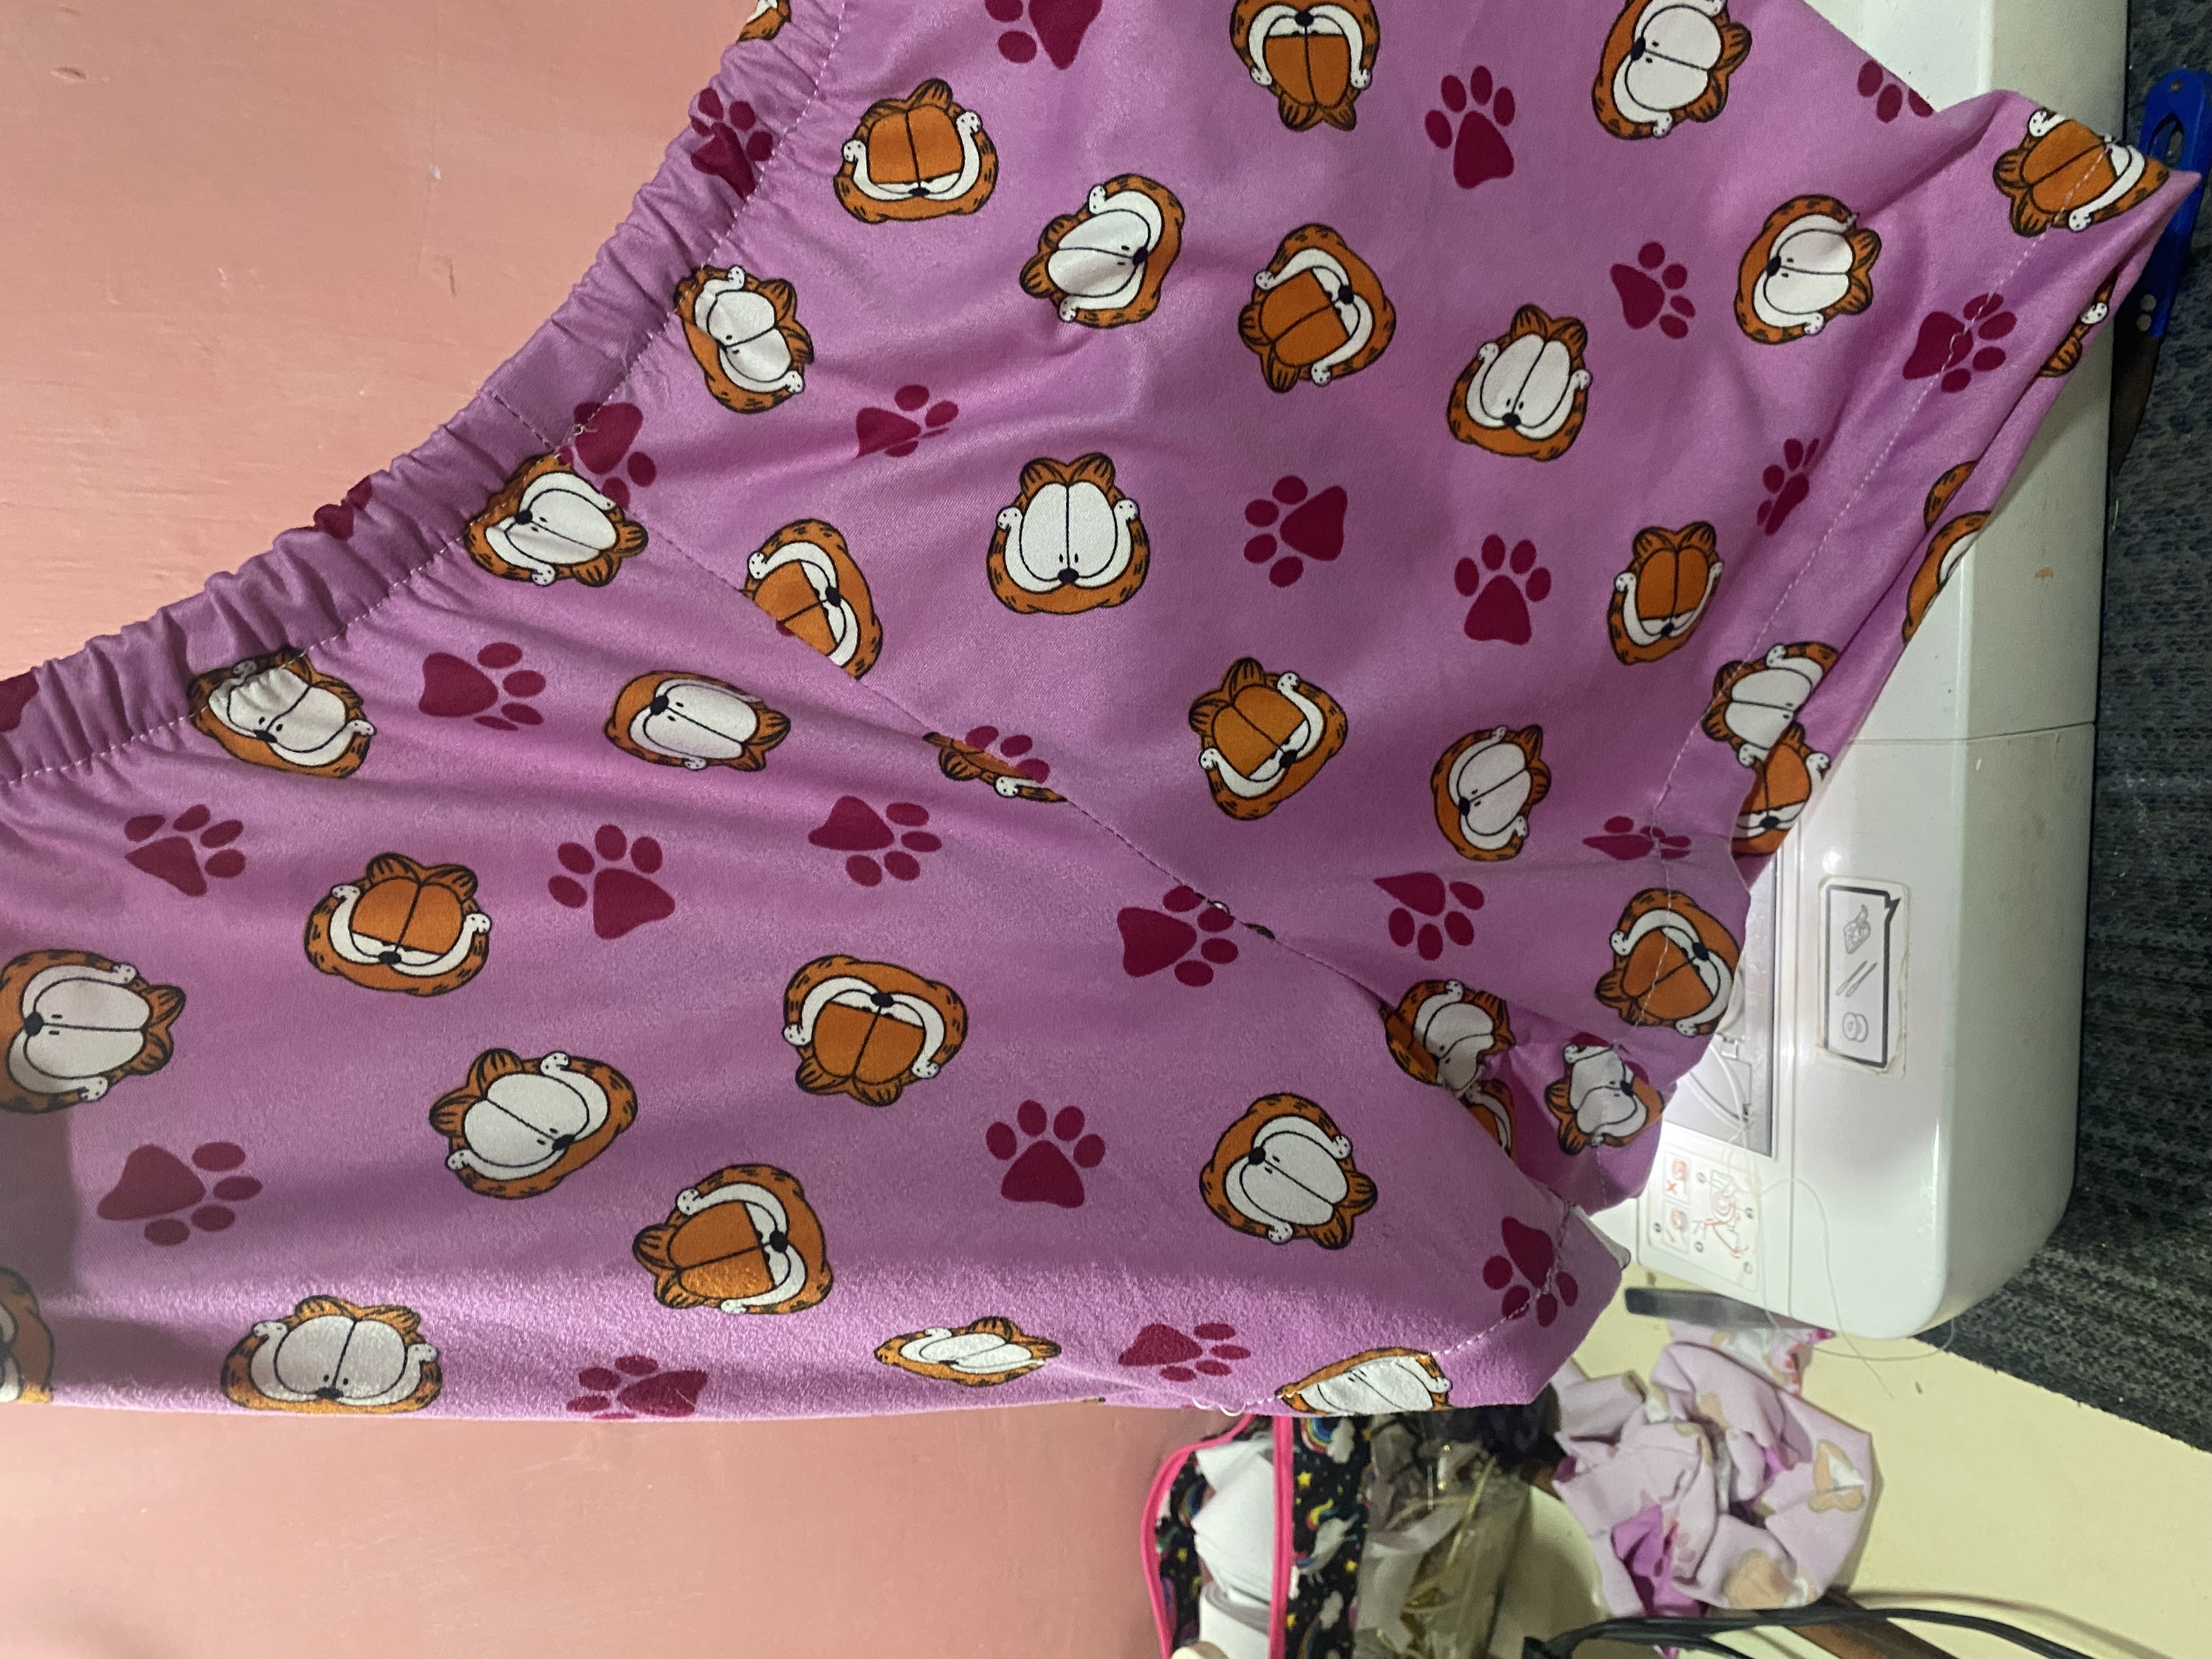
Continuaremos en el siguiente paso colocándole el elástico, para este vamos a medir el contorno de cintura en mi caso me da 52 cm doble, le disminuyo 10 cm, si el elástico es muy rígido le puedes disminuir un poco menos todo va a depender que tan ajustado lo deseas.
Para coser el elástico a nuestro Short vamos a colocar el elástico y pasamos costura dejando una pestaña de aproximadamente medio centímetro, luego doblamos y pasamos otra costura, así nos cubrirá completamente el elástico, en mis imágenes les muestro como debe quedar, y para finalizar nuestro Short le vamos a hacer el ruedo de aproximadamente 2 cm.
We will continue with the next step by placing the elastic, for this we are going to measure the waist circumference, in my case it gives me 52 cm double, I decrease it by 10 cm, if the elastic is very rigid you can decrease it a little less, everything will depend on how tight you want it.
To sew the elastic to our shorts we will place the elastic and sew it leaving a tab of approximately half a centimeter, then we fold it and sew another seam, so the elastic will completely cover us, in my images I show you how it should look, and to finish our Shorts we are going to make the hem of approximately 2 cm.
 |  |
|---|---|
 |  |
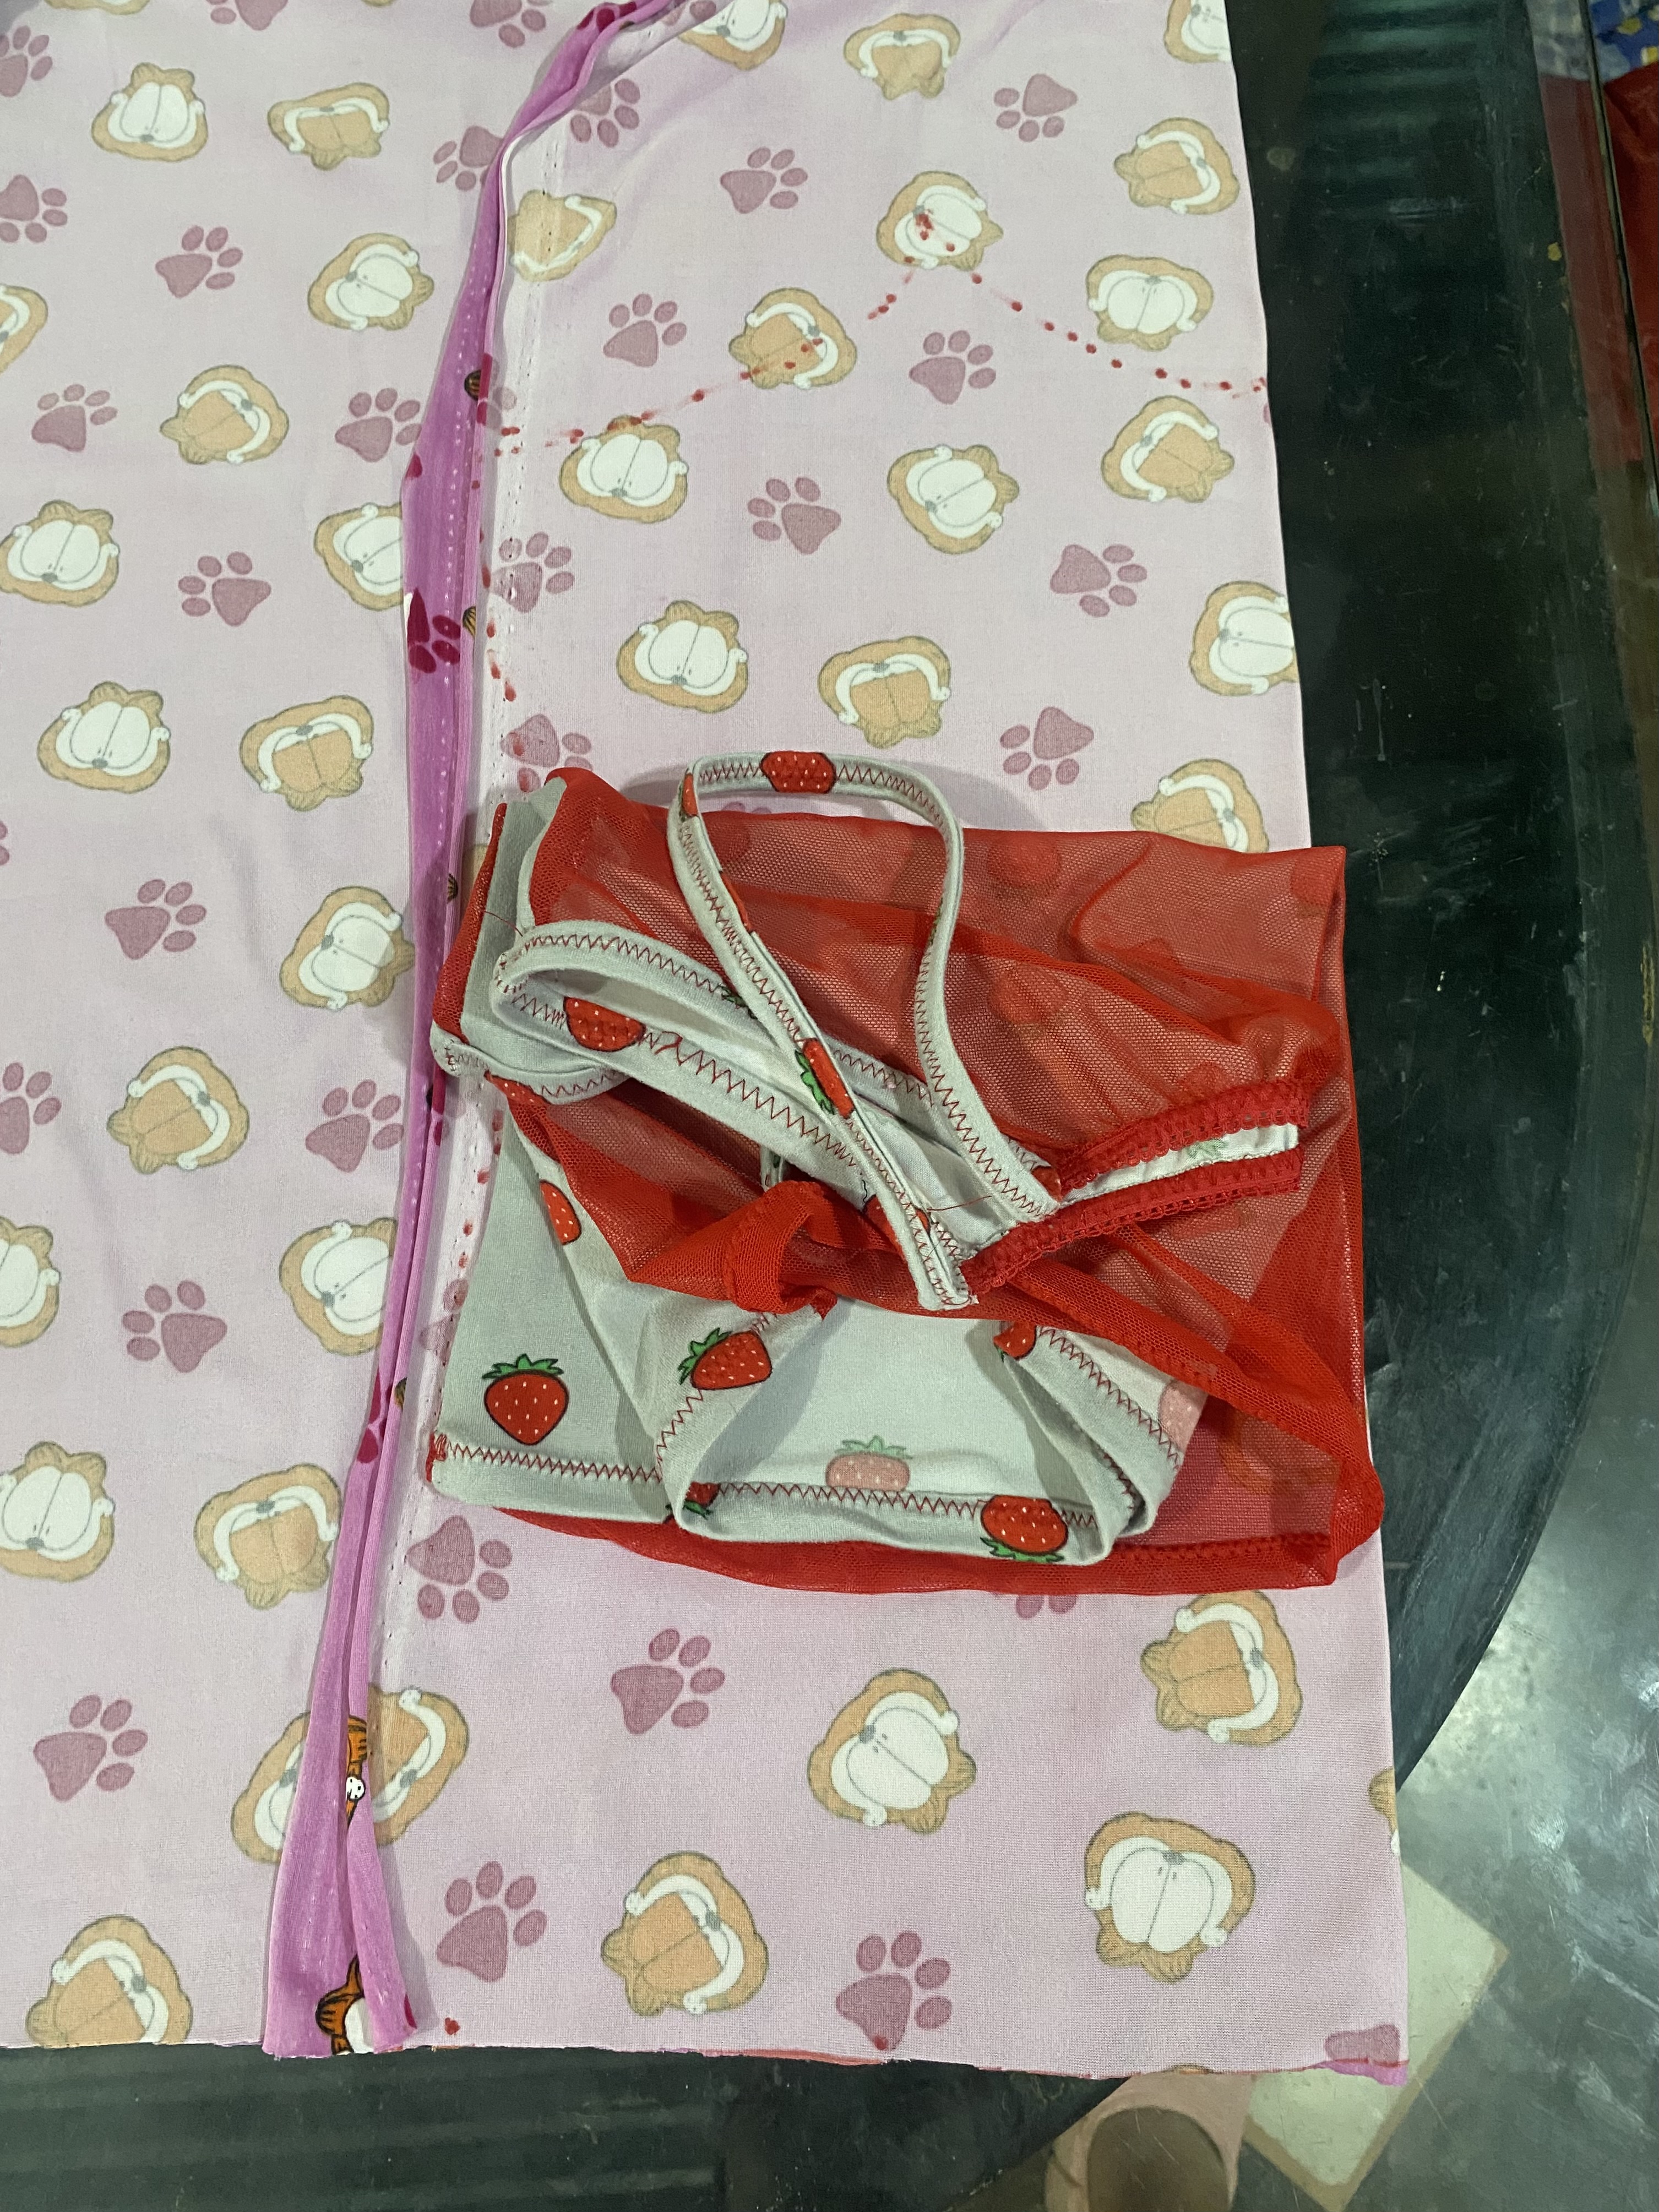
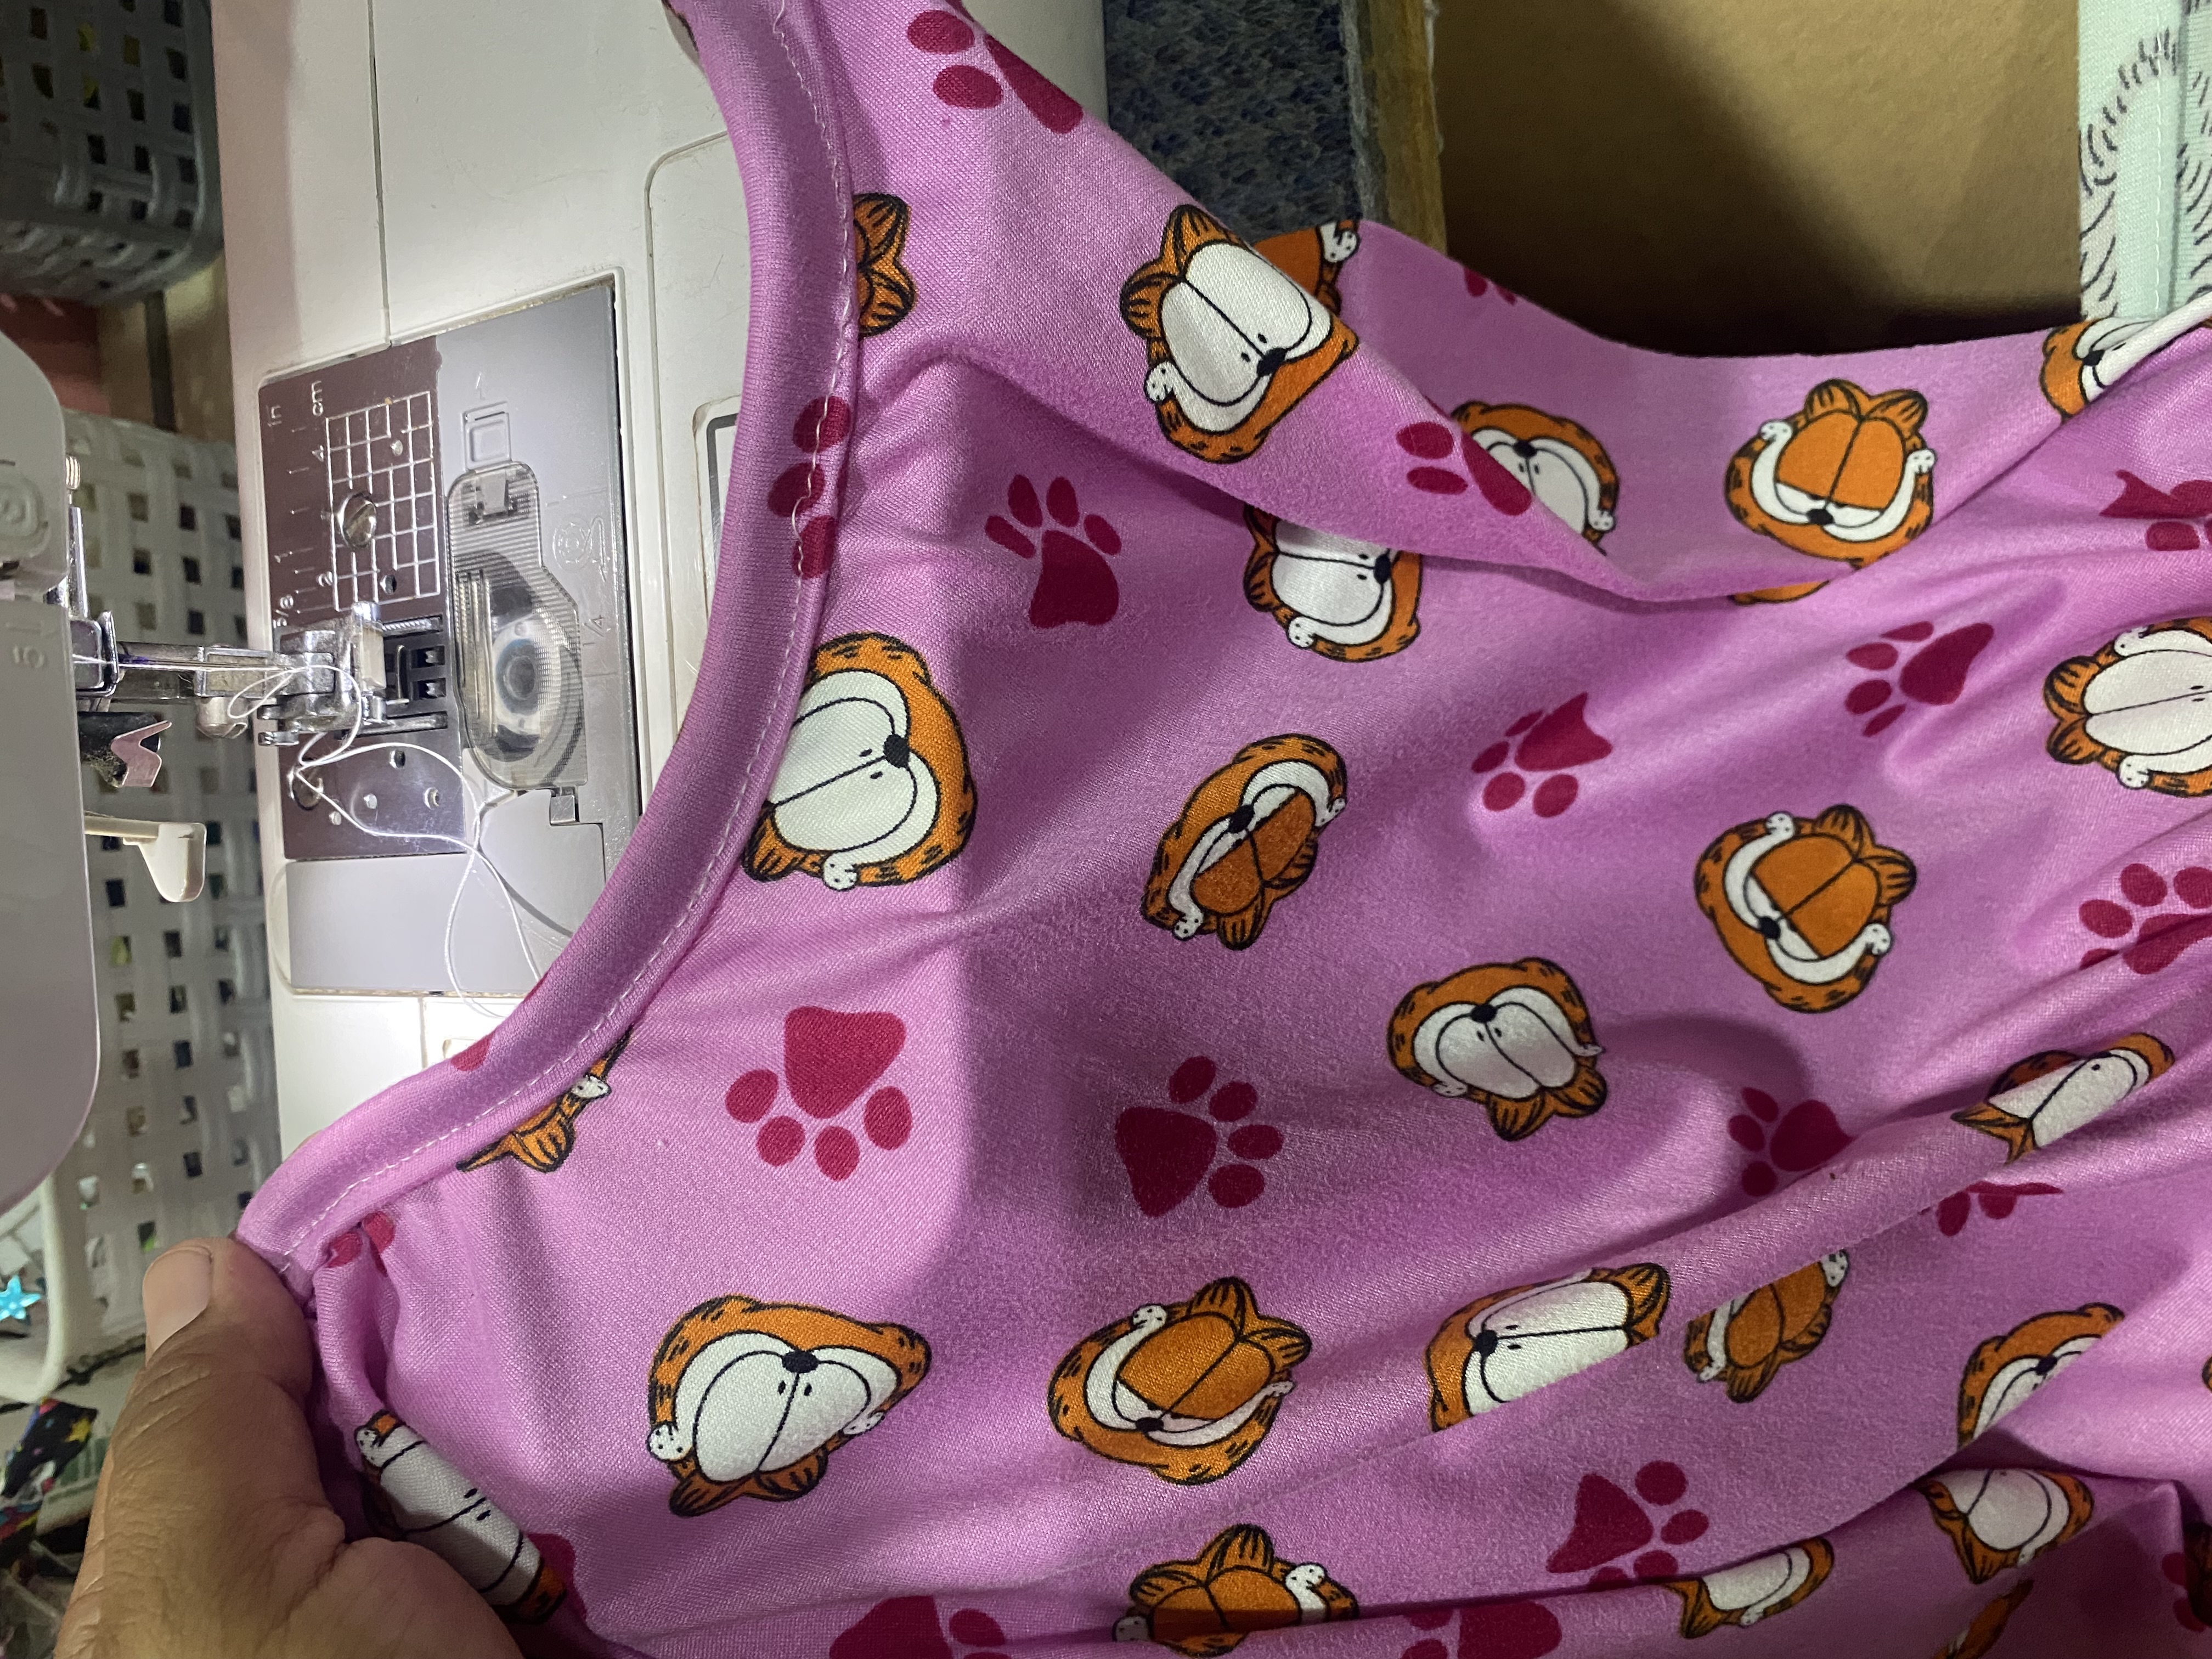
Ahora es el turno de ensamblar la blusa, le colocaremos el sesgo o tirante en el escote, éste lo colocamos por la parte del revés, pasamos costura y luego doblamos dándole la forma, luego le vamos a colocar el sesgo o tirante en las orillas haciendo el mismo paso.
Now it is time to assemble the blouse, we will place the bias or strap on the neckline, we will place it on the wrong side, we sew it and then we fold it giving it the shape, then we will place the bias or strap on the edges doing the same step.
 |  |
|---|
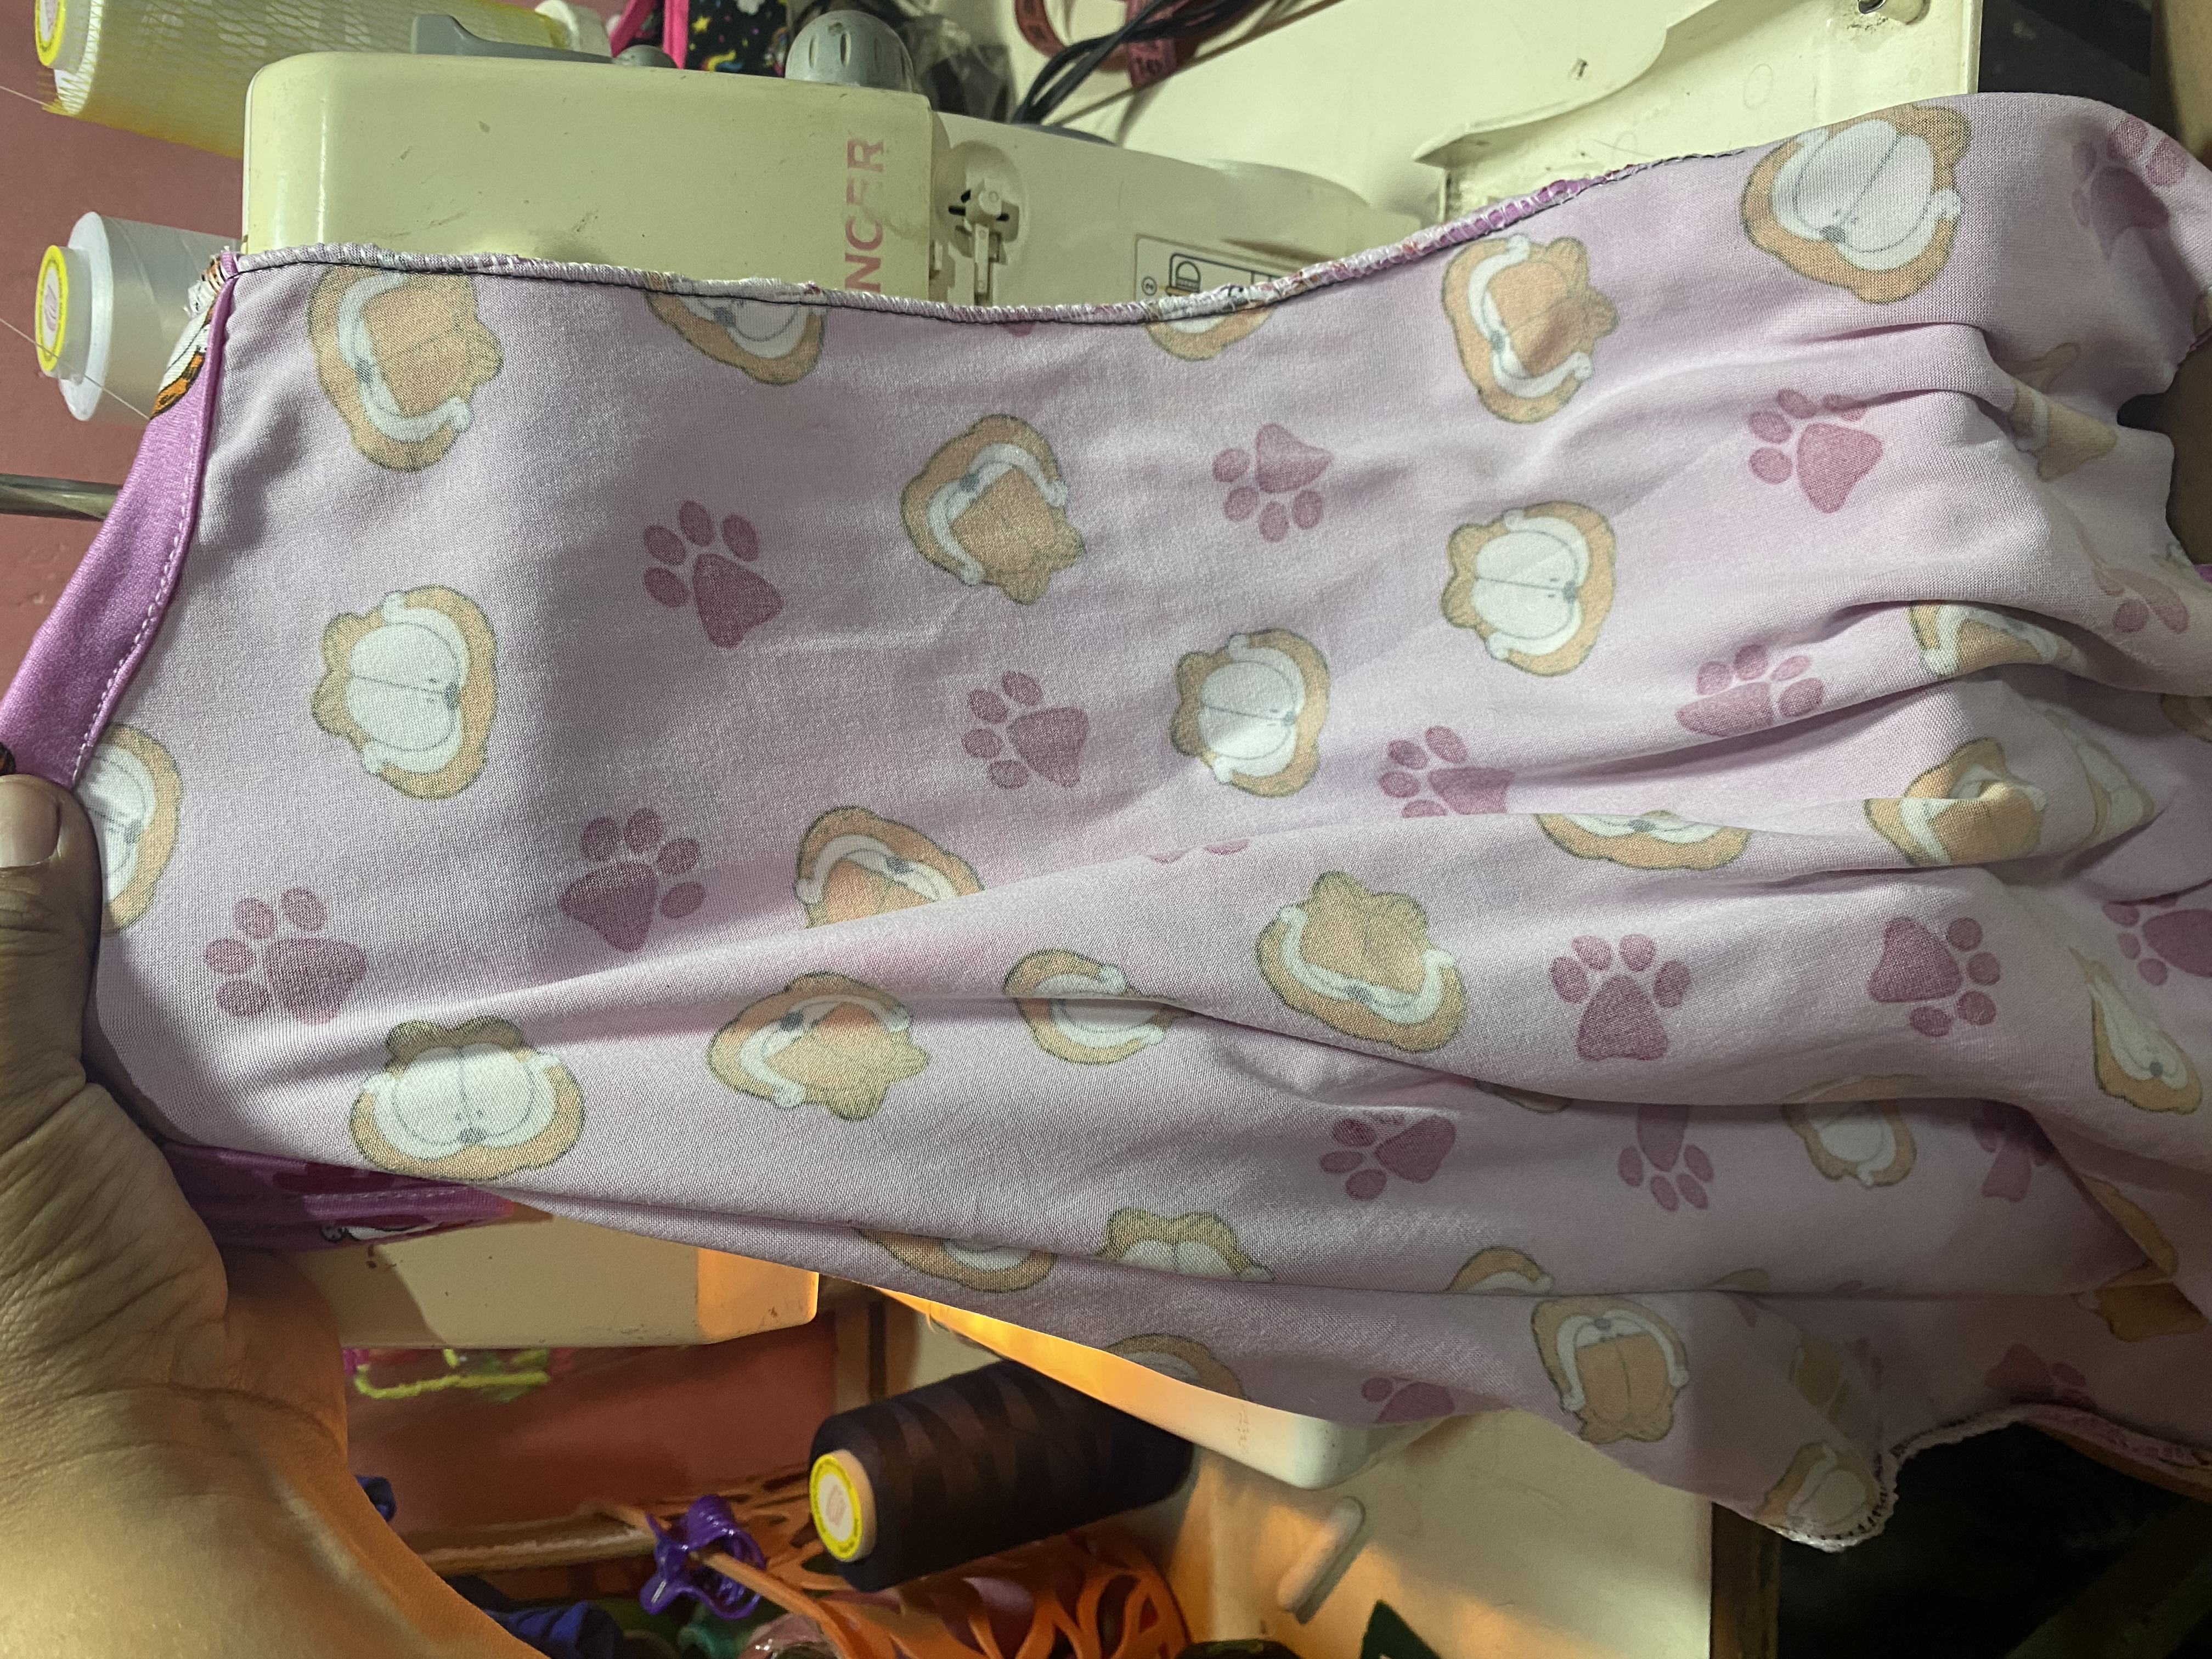
Luego pasaremos costura por los costados y para finalizar nuestra blusa le vamos a hacer el ruedo del mismo ancho que se lo hicimos al Short, y así está lista esta linda pijama
Then we will sew the sides and to finish our blouse we will make the hem the same width as we did for the shorts, and this cute pajama is ready.
 |  |
|---|
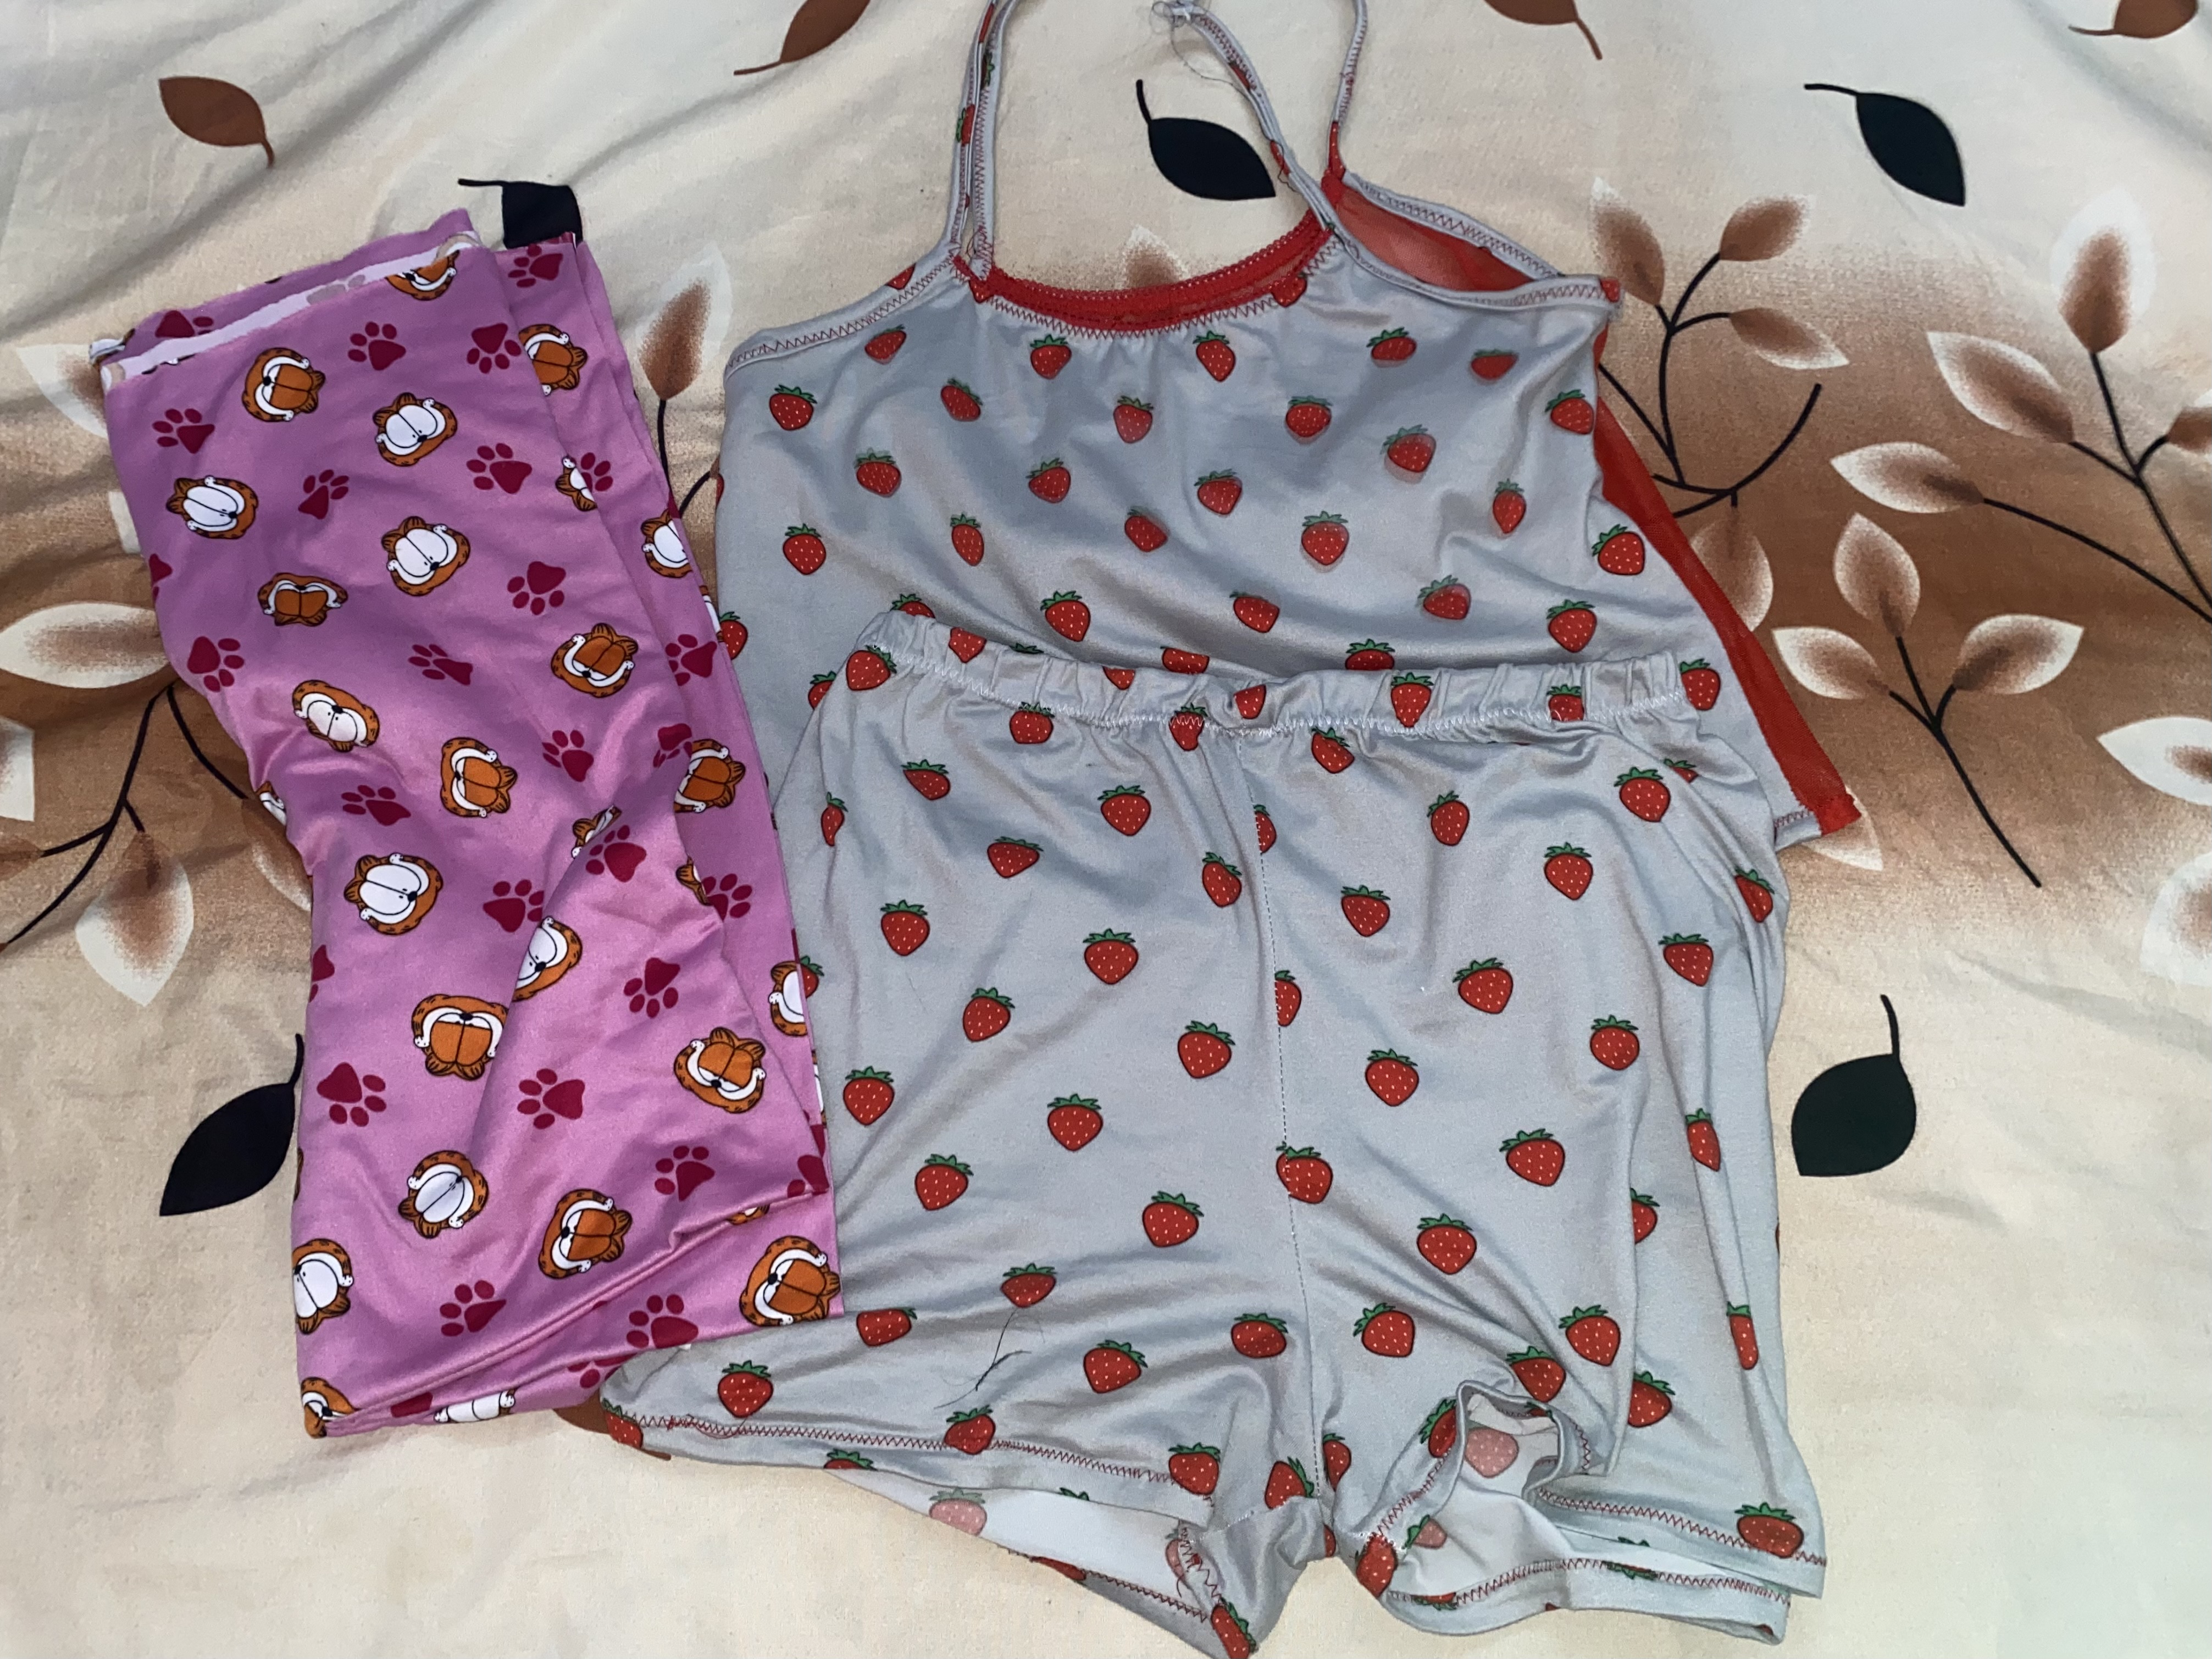
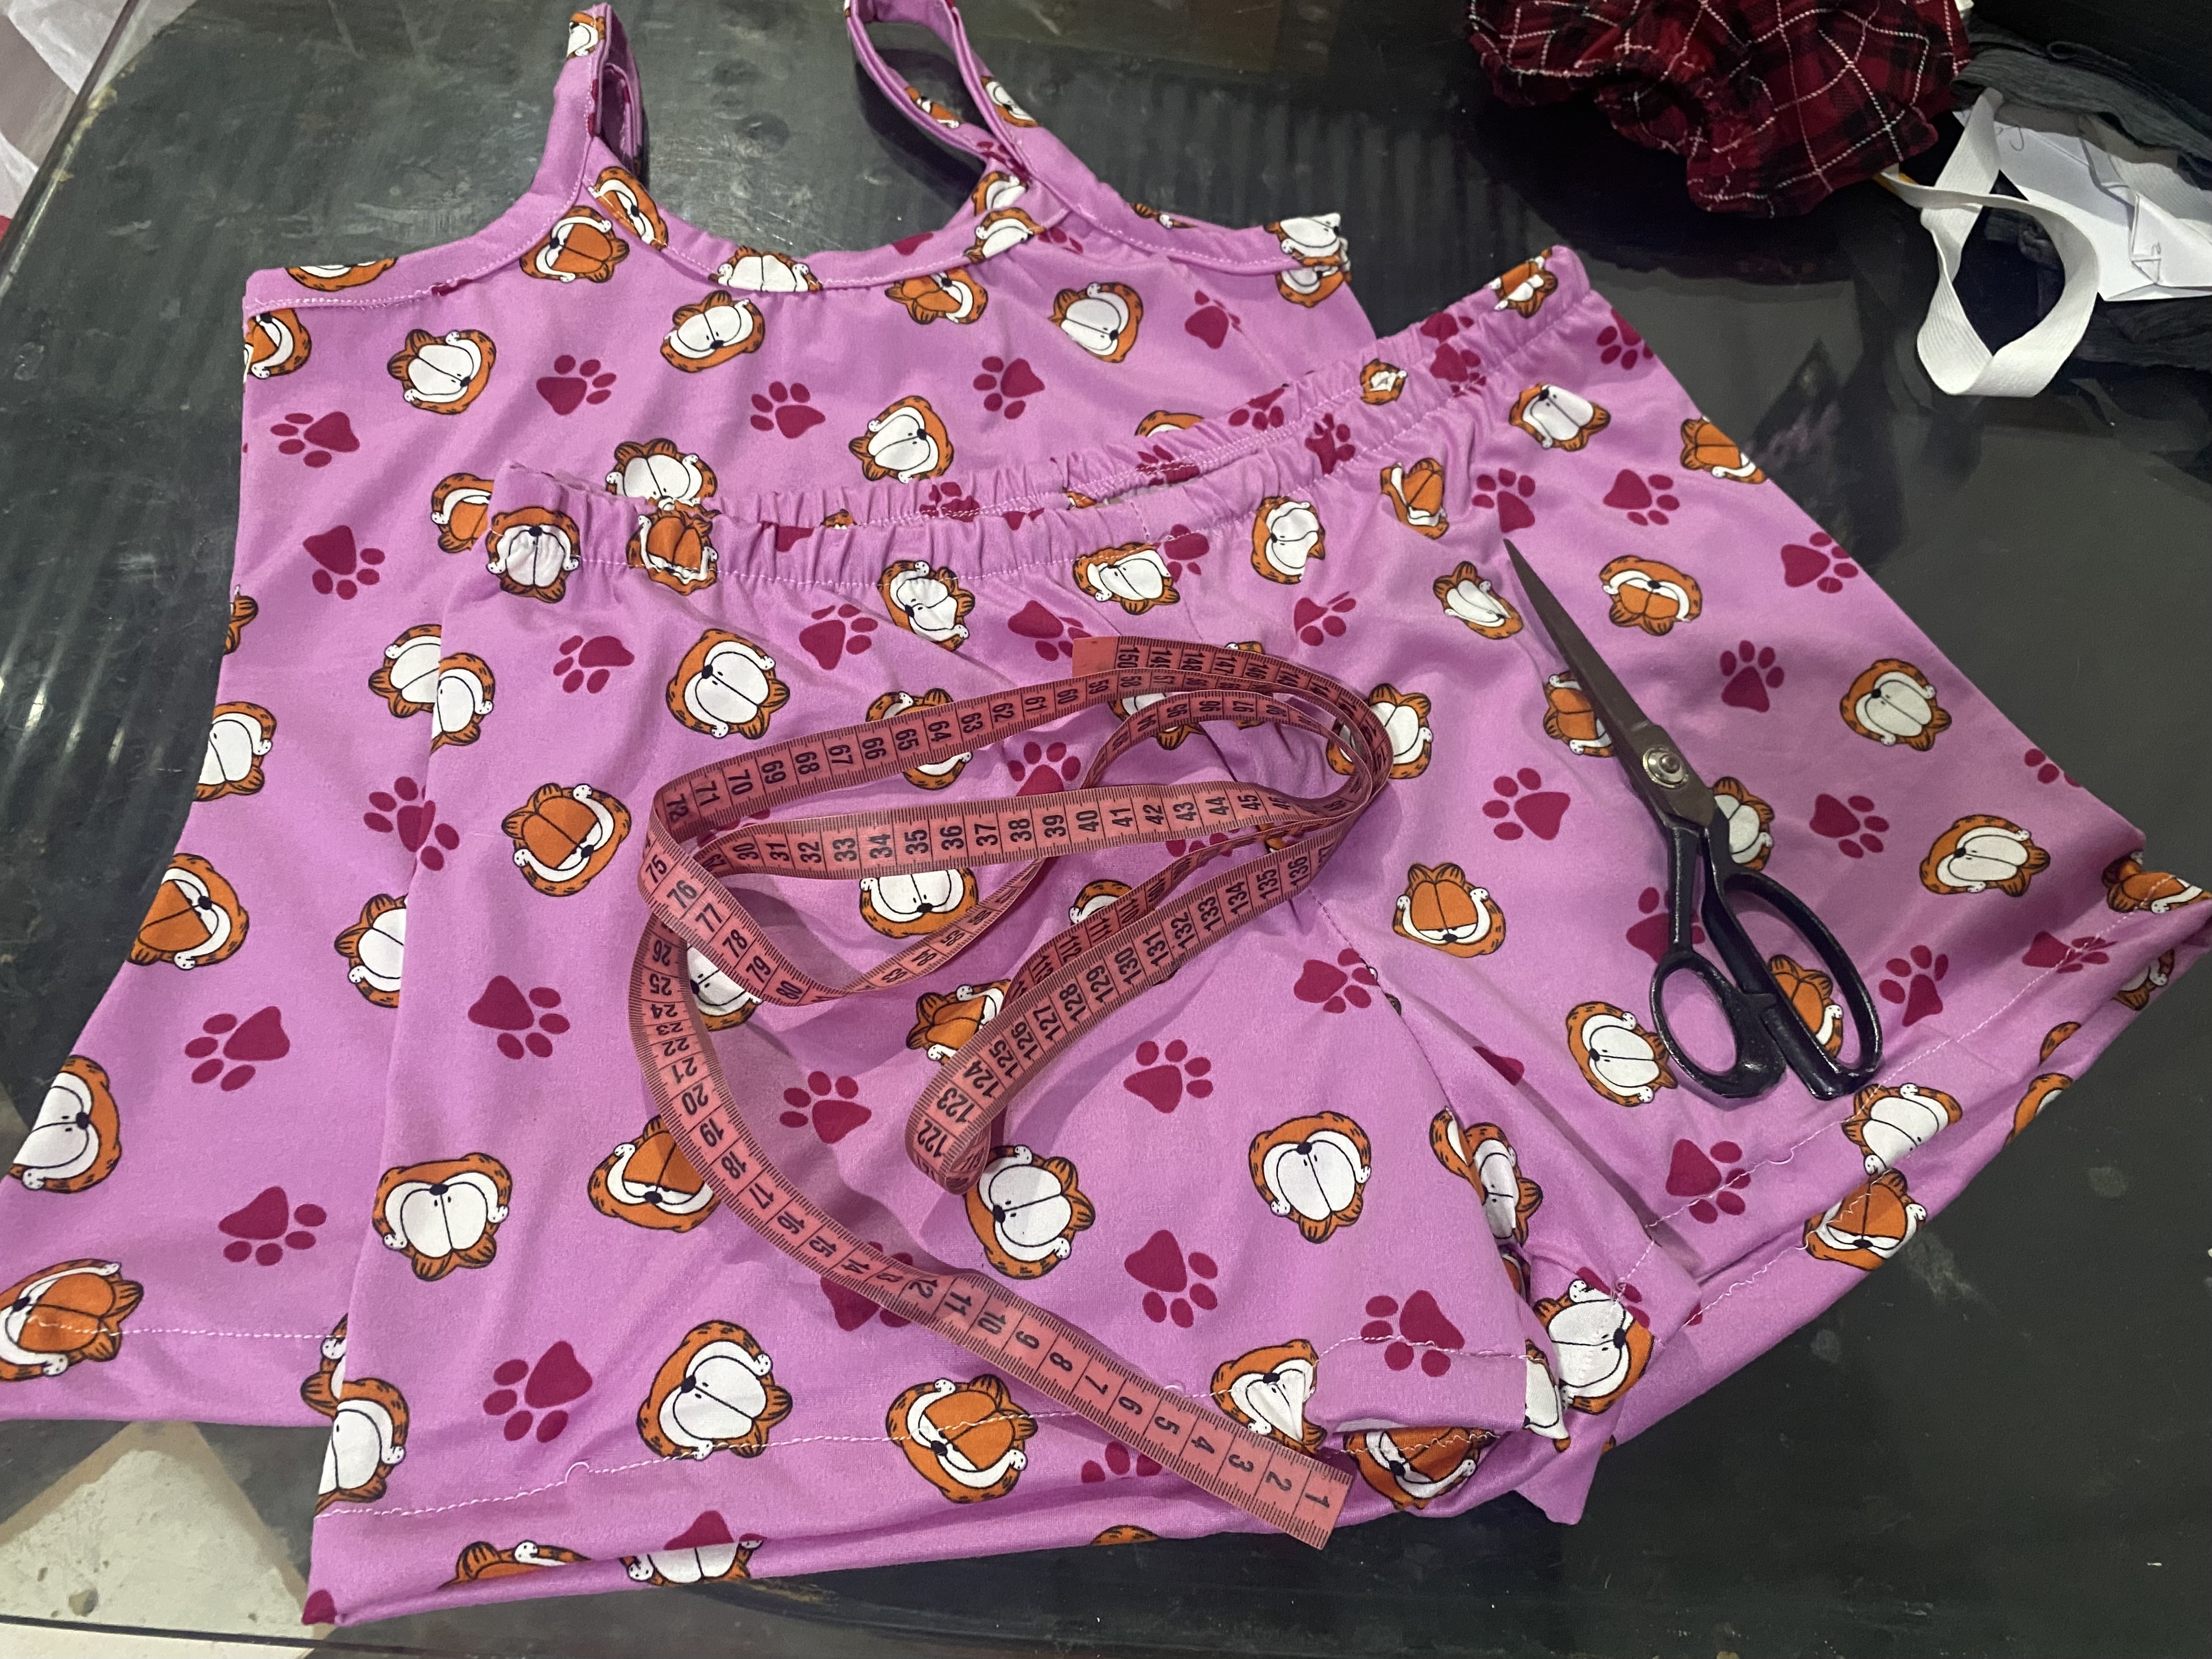
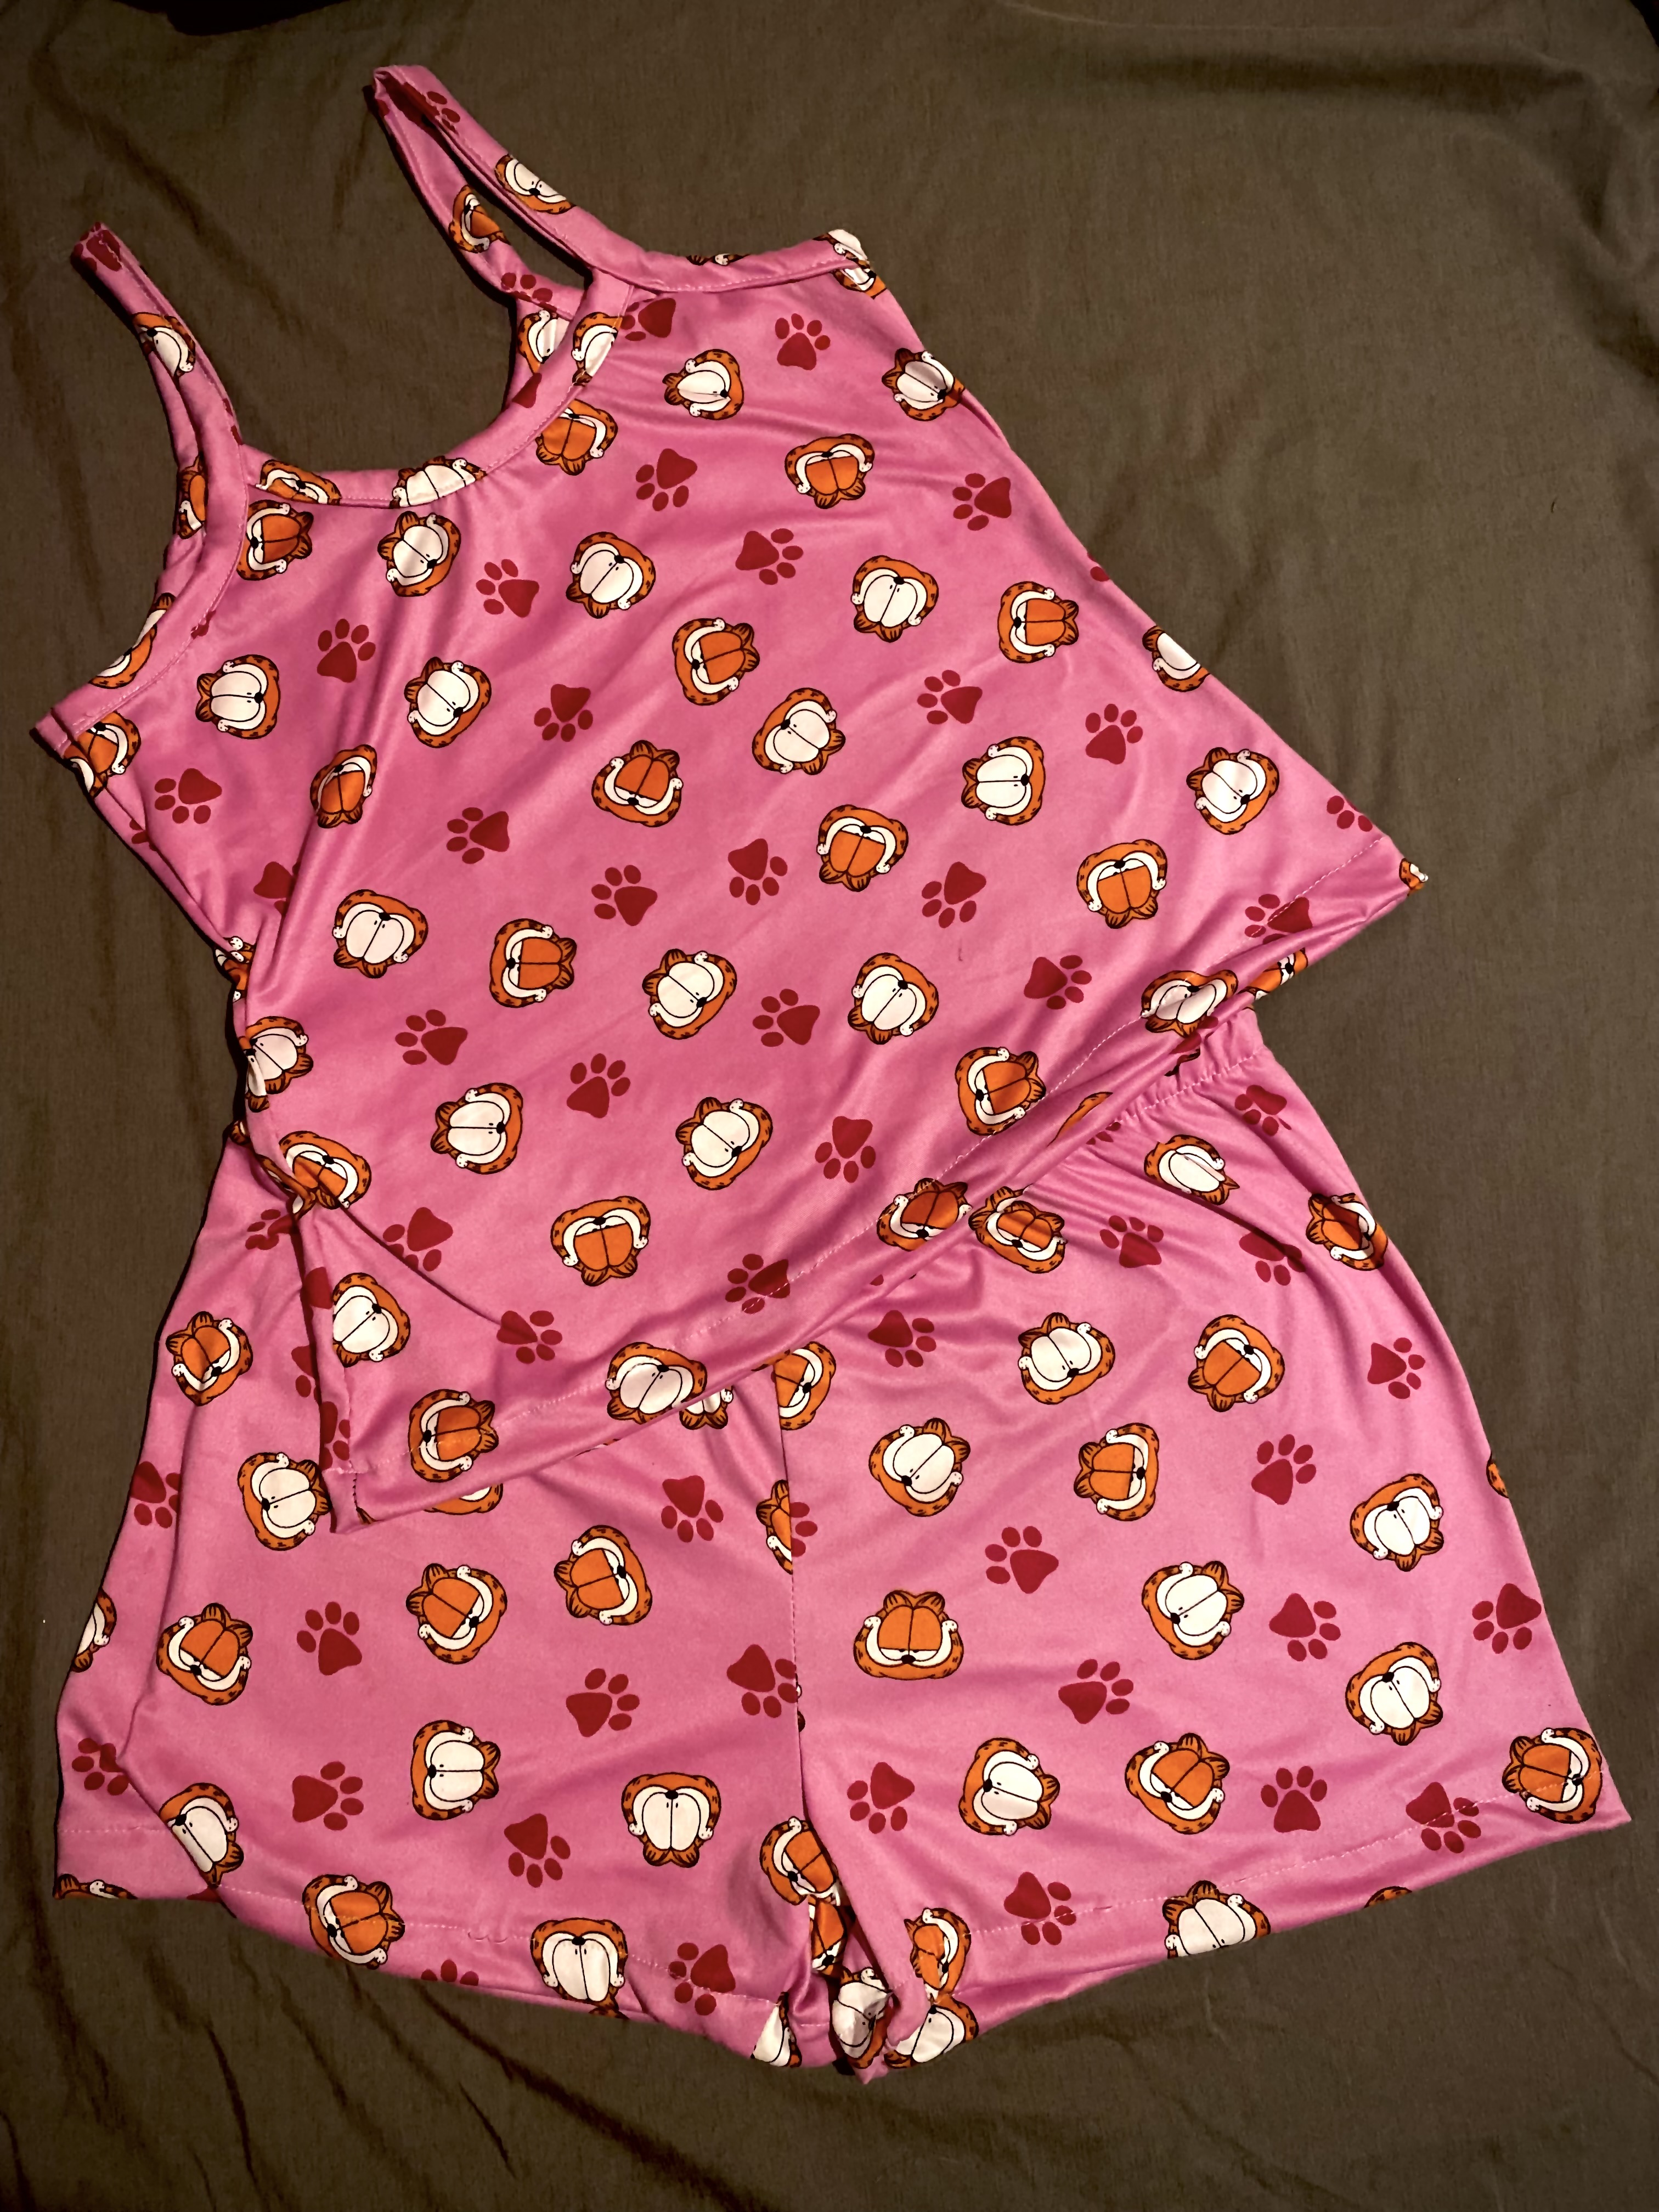
El proceso para hacer estas pijamas es bastante sencillo, todo está en la dedicación y paciencia que puedas darle, espero les haya gustado, me despido deseándoles muchos éxitos y bendiciones hasta otra oportunidad 🪡🧵❤️
The process to make these pajamas is quite simple, it's all in the dedication and patience that you can give it, I hope you liked it, I say goodbye wishing you many successes and blessings until another opportunity 🪡🧵❤️
Excelente trabajo, quedó muy linda la pijama, esa tela es muy suave. Saludos 😊
Gracias 🥰
Quedó muy linda, también es una buena idea para emprender 😉🙌🏽
Si amiga 🤭, gracias por comentar 🥰
Una pijama con estos patrones tan sencillos y fáciles de realizar, puede verse hermosa cambiando telas para tener muchísimas. Yo aprendí a realizarlas cuando mis hijas nacieron y nunca les faltó pijamas y ropita de andar en casa.
Excelente post @marlynmont
Eso es lo maravilloso de la costura amiga, nos ayuda mucho en lograr hacer prendas hermosas para nosotros y nuestros hijos y a precios accesibles 🤭, gracias por comentar 🥰
Saludos amiga, que hermosa pijama, ideales para los días calurosos o ropa de diario, la tela es fresca y cómoda, gracias por compartir.
Feliz noche!
Son buenísimas amiga para soportar el calor ☺️, gracias por comentar 🥰
Beautiful 😍😍❤️
Thank you 🥰
Welcome 🤗
Excelente trabajo, es un gusto poder ver más personas que se suman a mostrar sus piezas de confección!
Congratulations @marlynmont! You have completed the following achievement on the Hive blockchain And have been rewarded with New badge(s)
Your next target is to reach 40000 upvotes.
You can view your badges on your board and compare yourself to others in the Ranking
If you no longer want to receive notifications, reply to this comment with the word
STOP