Saludos amigos de HIVE DIY, espero pasen un excelente fin de semana 🥰❤️
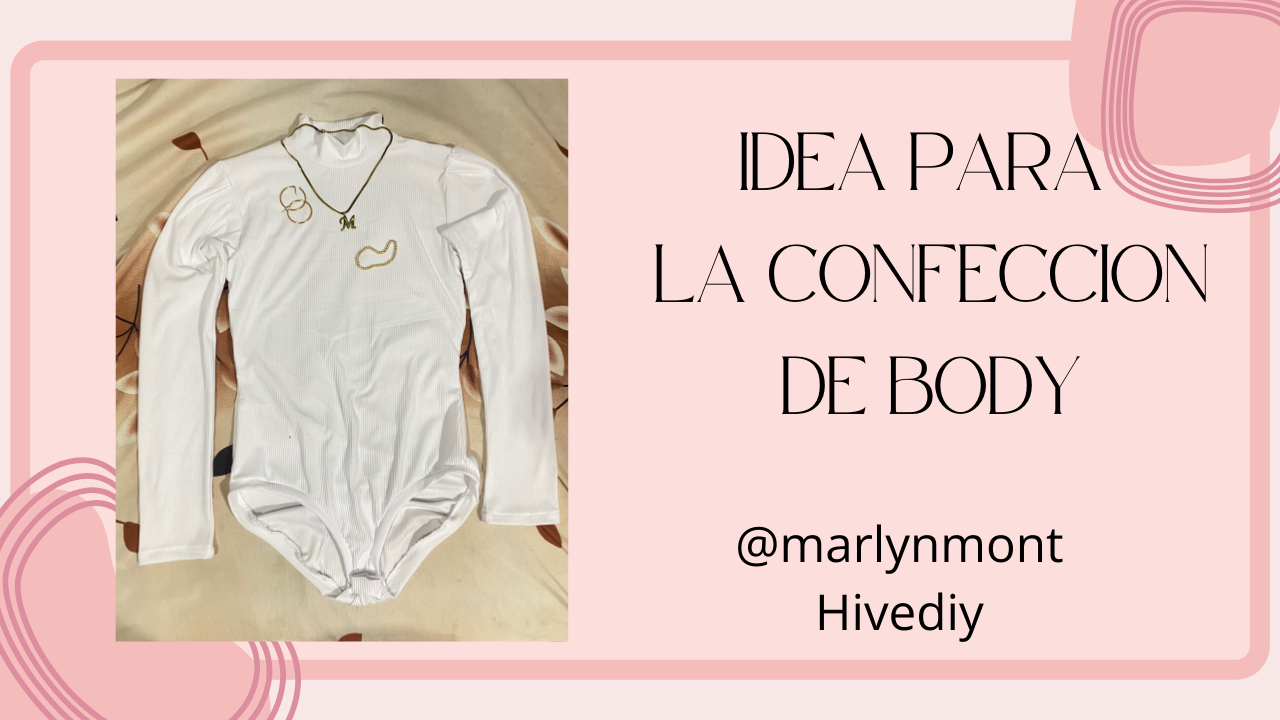
Hoy quiero compartirles una linda idea para hacer un body o enterizo cuello tortuga y manga larga en color blanco ideal para cualquier ocasión y para diferentes estilos de outfit, ven y te muestro cómo confeccionarlo:
Greetings friends of HIVE DIY, I hope you have a great weekend 🥰❤️
Today I want to share with you a nice idea to make a turtleneck and long-sleeved bodysuit in white, ideal for any occasion and for different styles of outfit, come and I'll show you how to make it:
MATERIALES
MATERIALS
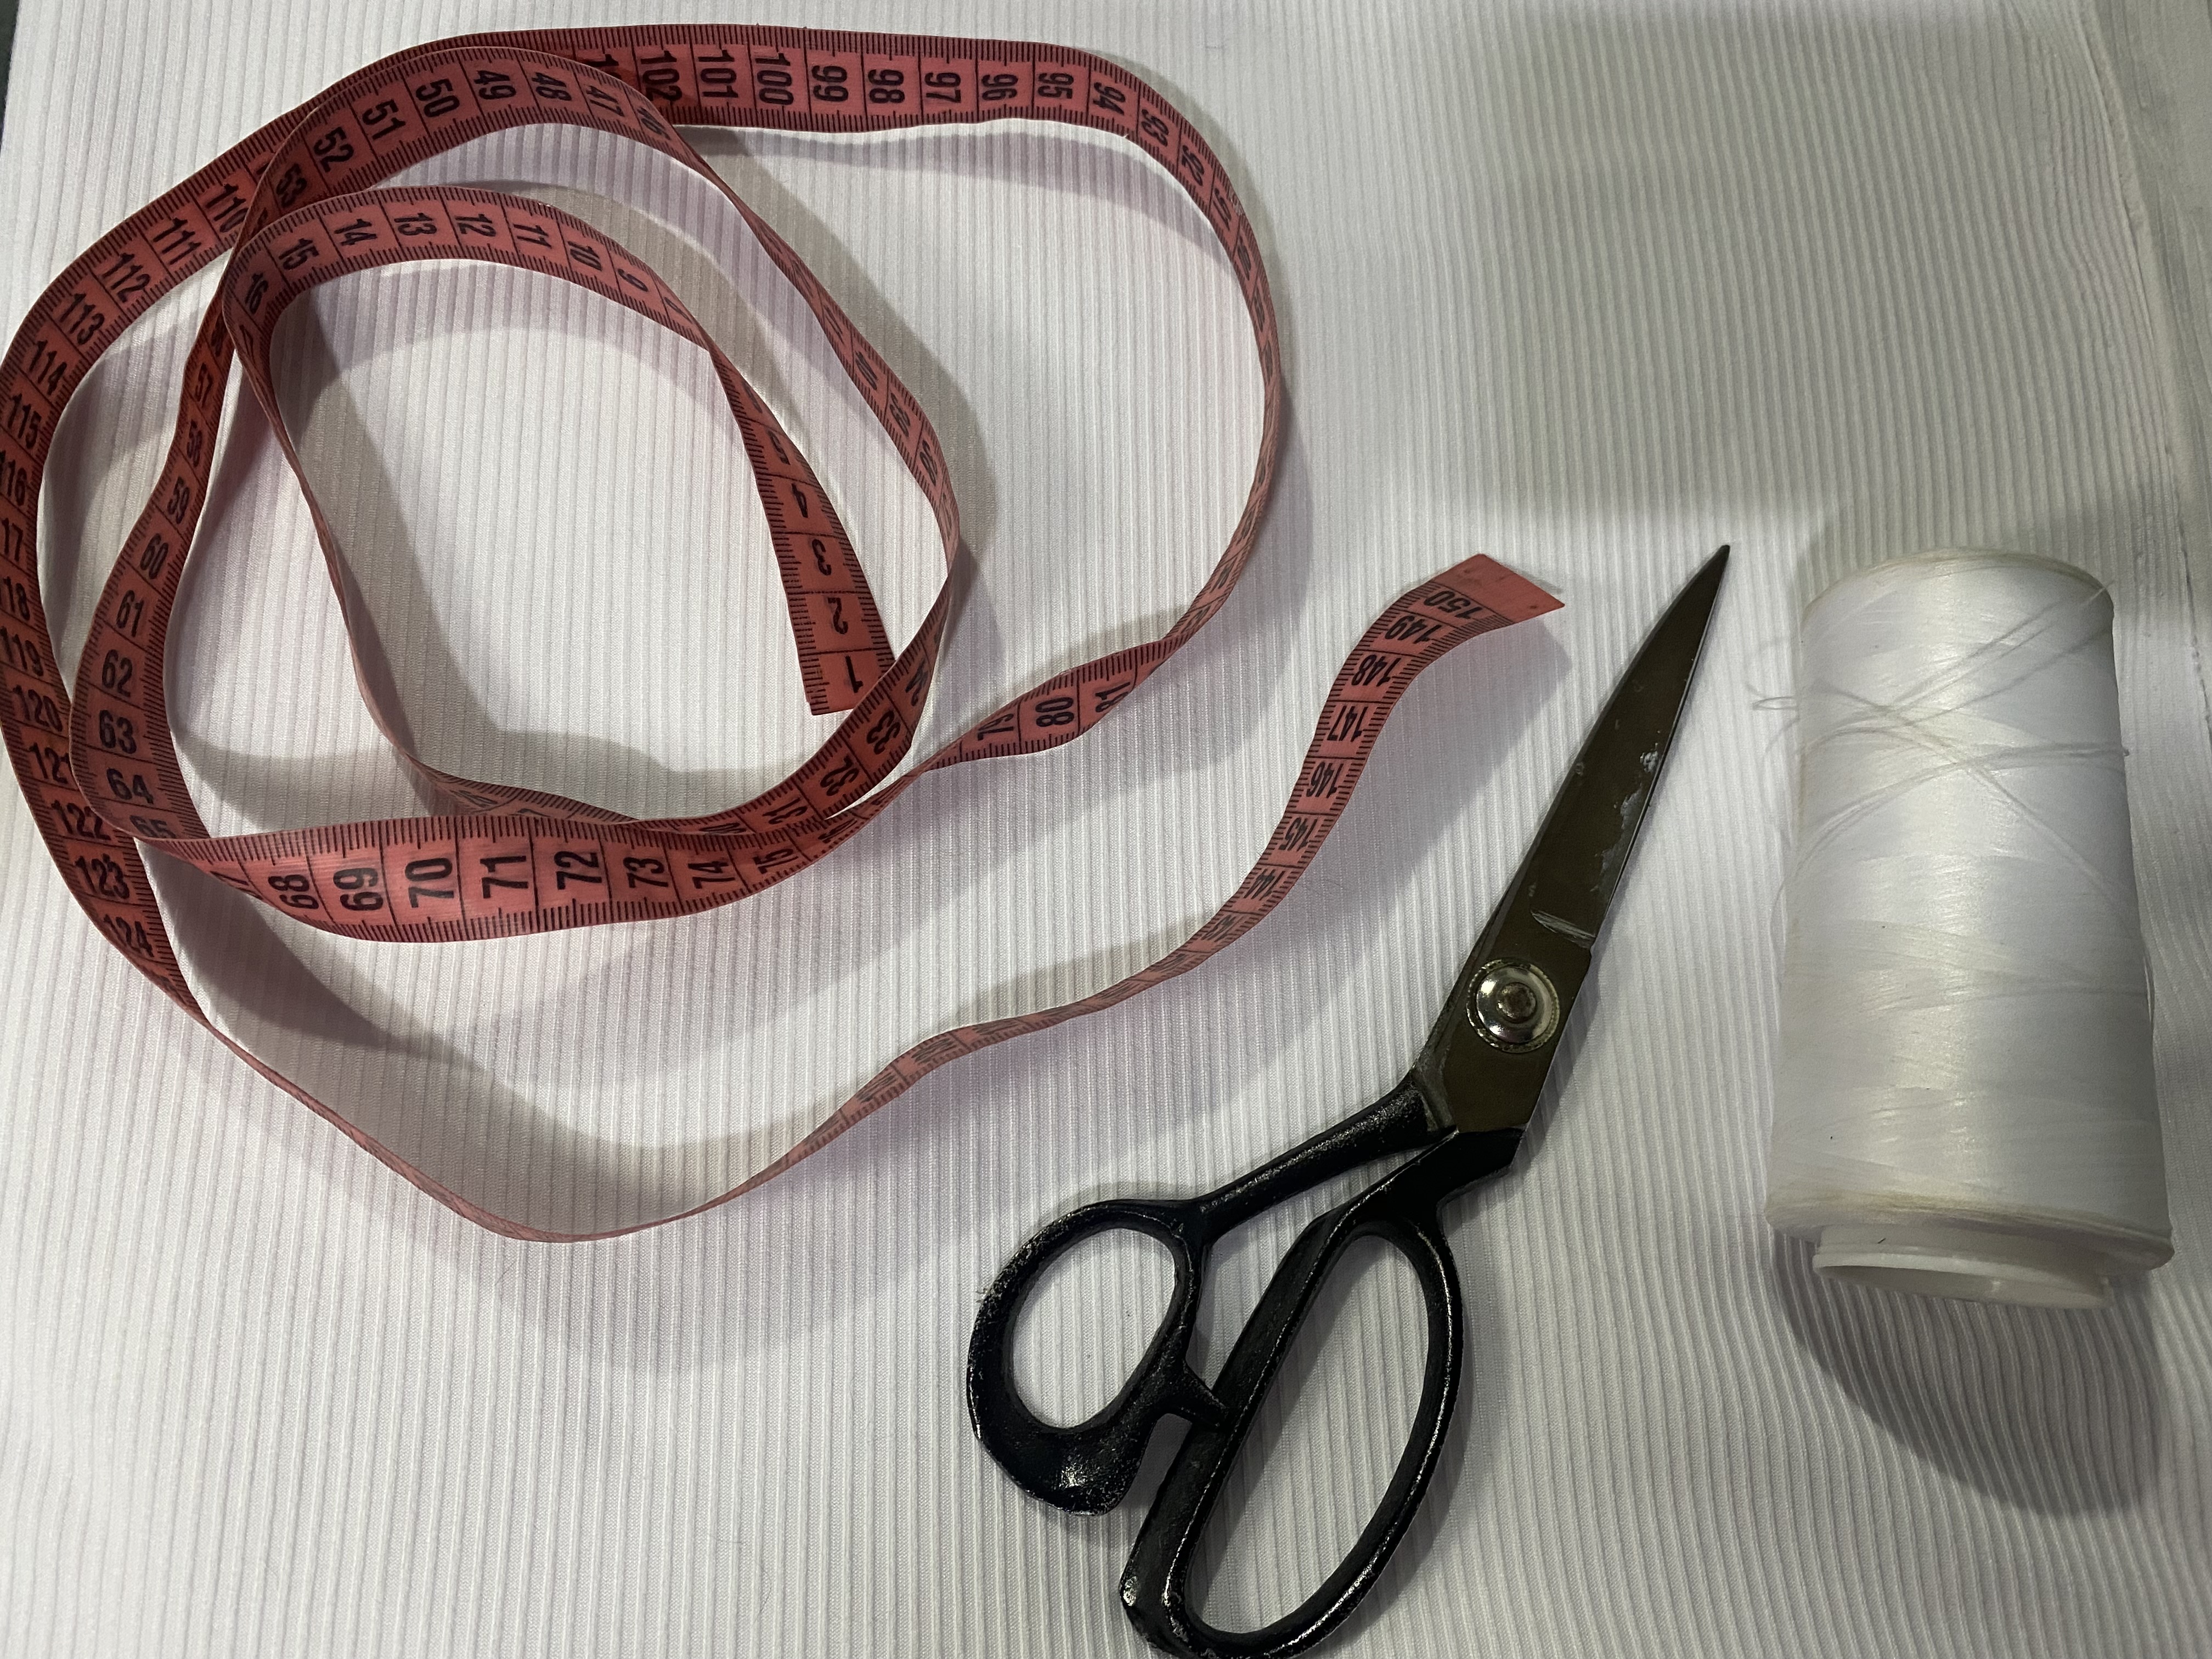
En el clóset de toda chica siempre debe haber blusas blancas y que mejor que sea un body el cual puedes combinarlo de muchas formas y lucir hermosa y elegante, para la confección de este body necesitaremos los siguientes materiales:
- 1 m de tela elástica en mi caso utilízare Micro rib
- Hilo
- tijeras
- cinta métrica
- maquina de coser
In every girl's closet there should always be white blouses and what better than a bodysuit which you can combine in many ways and look beautiful and elegant. To make this bodysuit we will need the following materials:
- 1 m of elastic fabric in my case I will use Micro rib
- Thread
- Scissors
- Measuring tape
- Sewing machine
PASO A PASO
STEP BY STEP
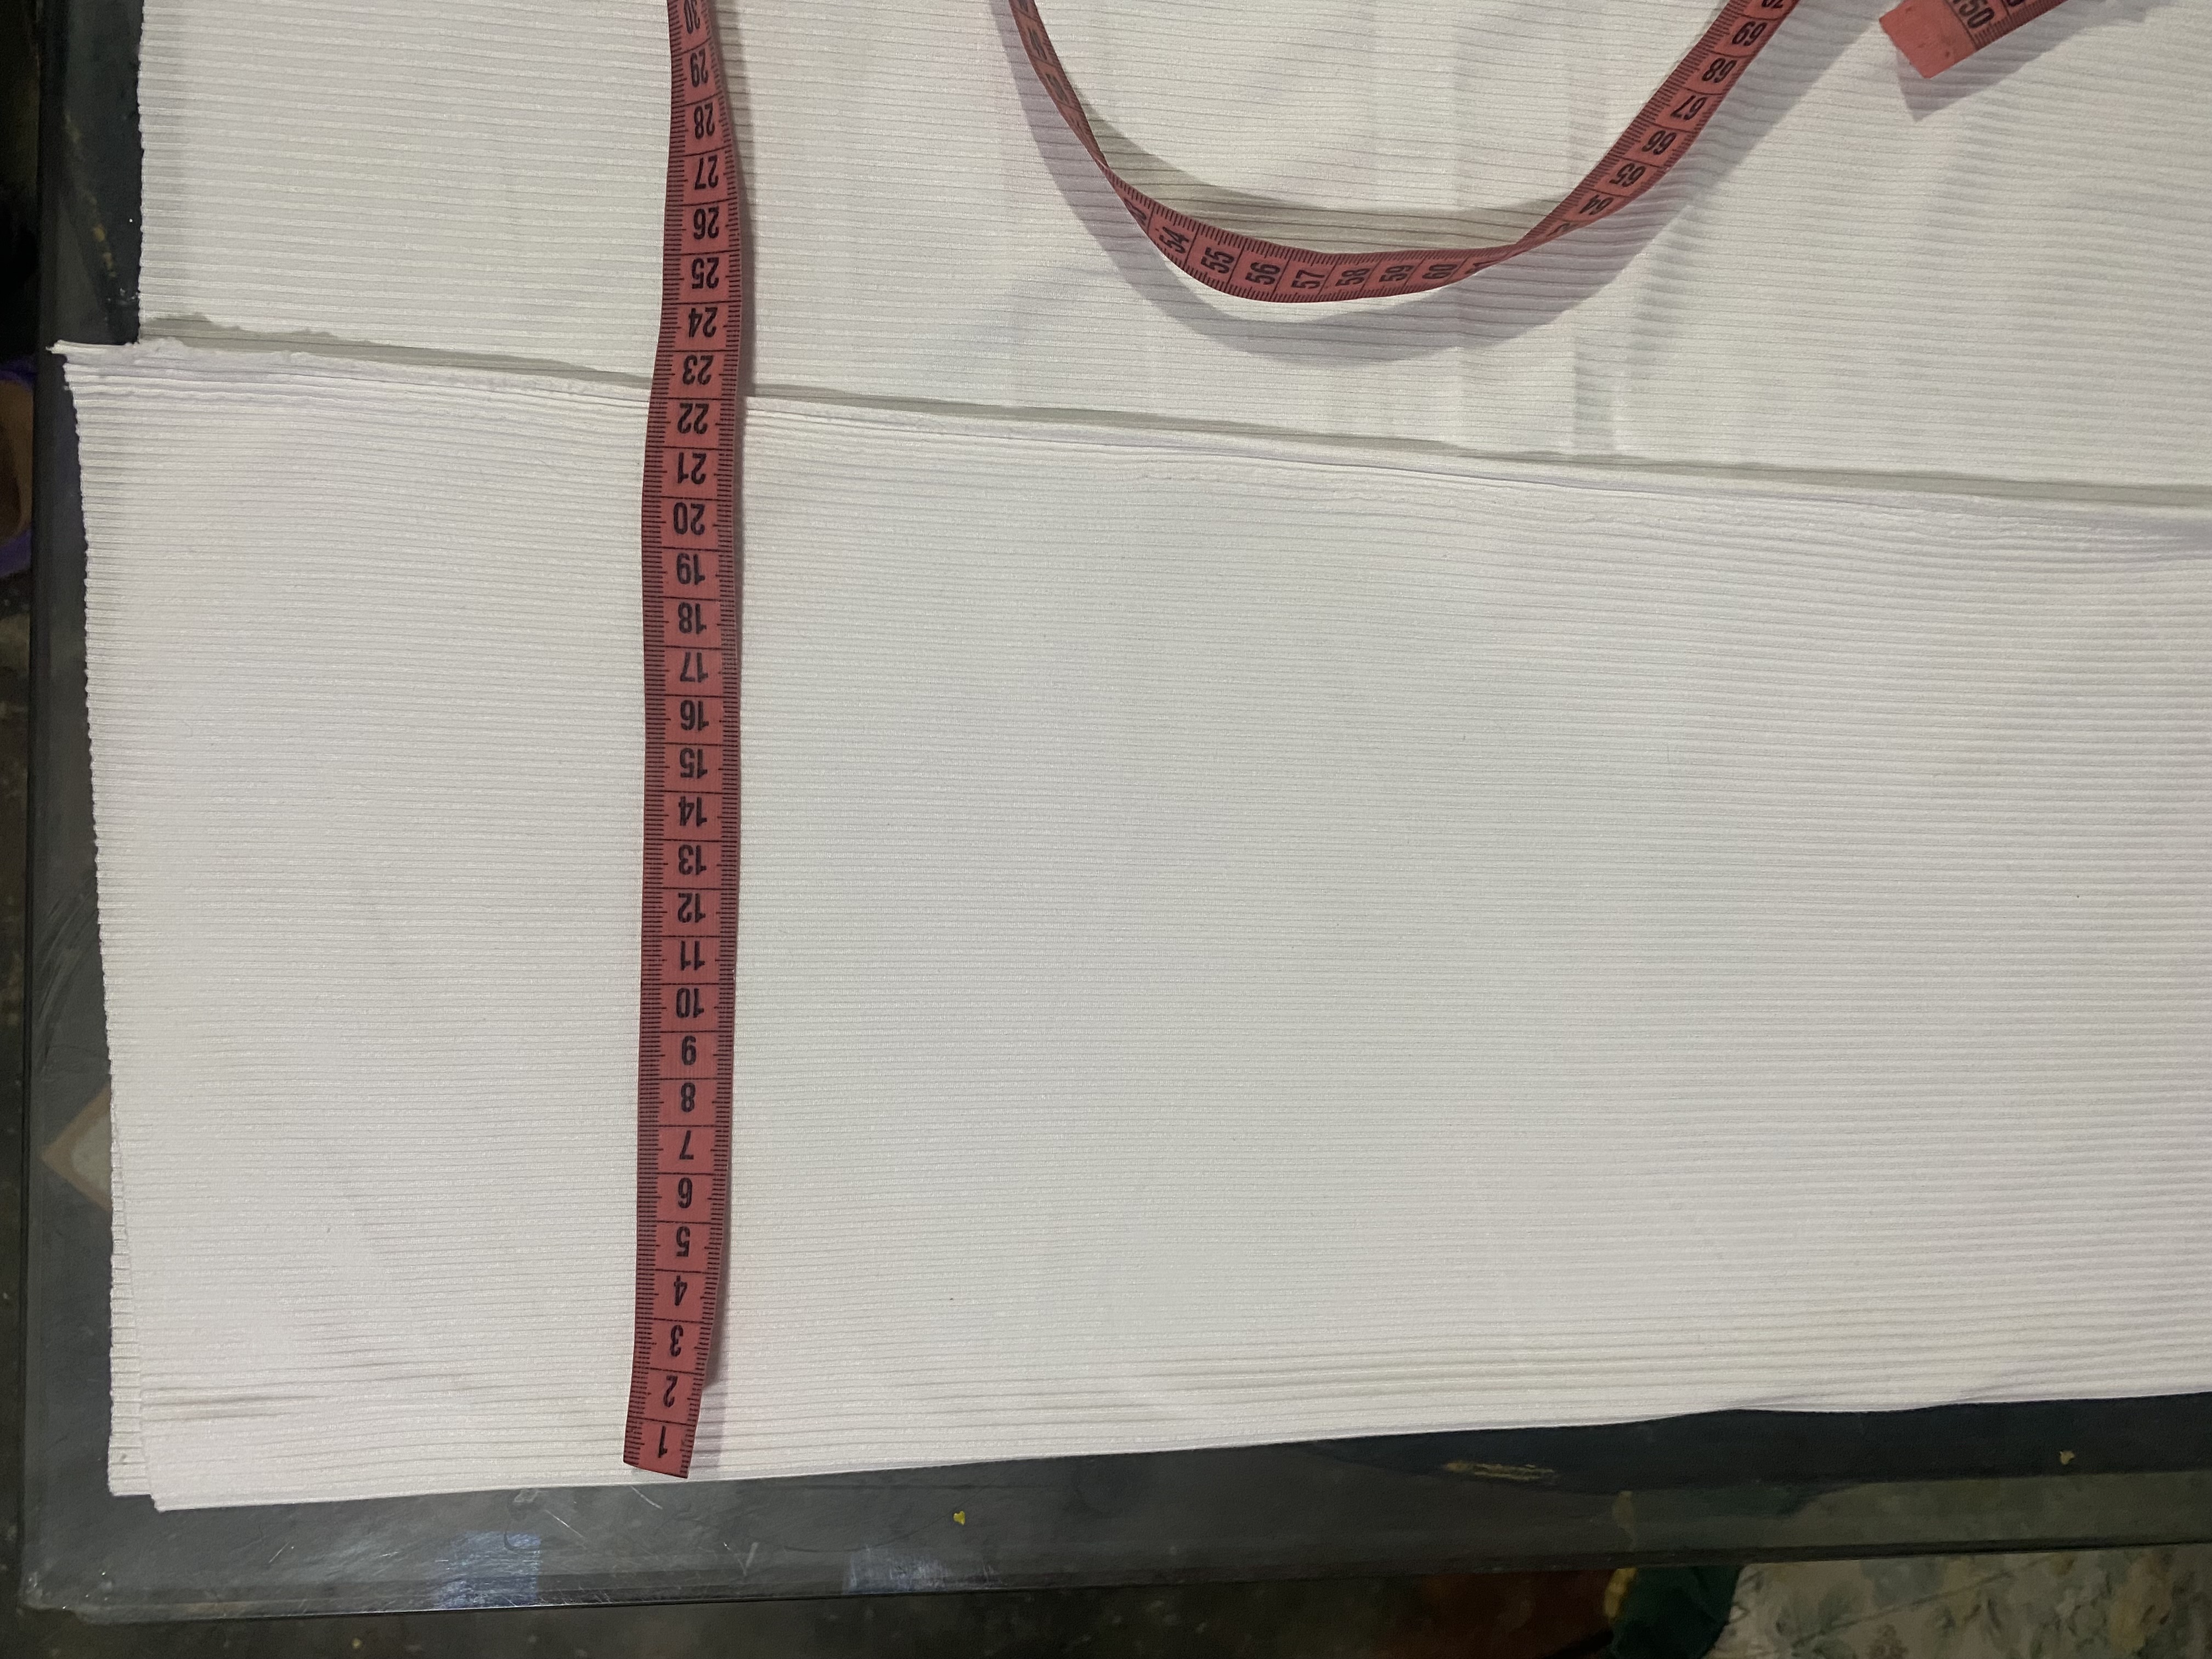
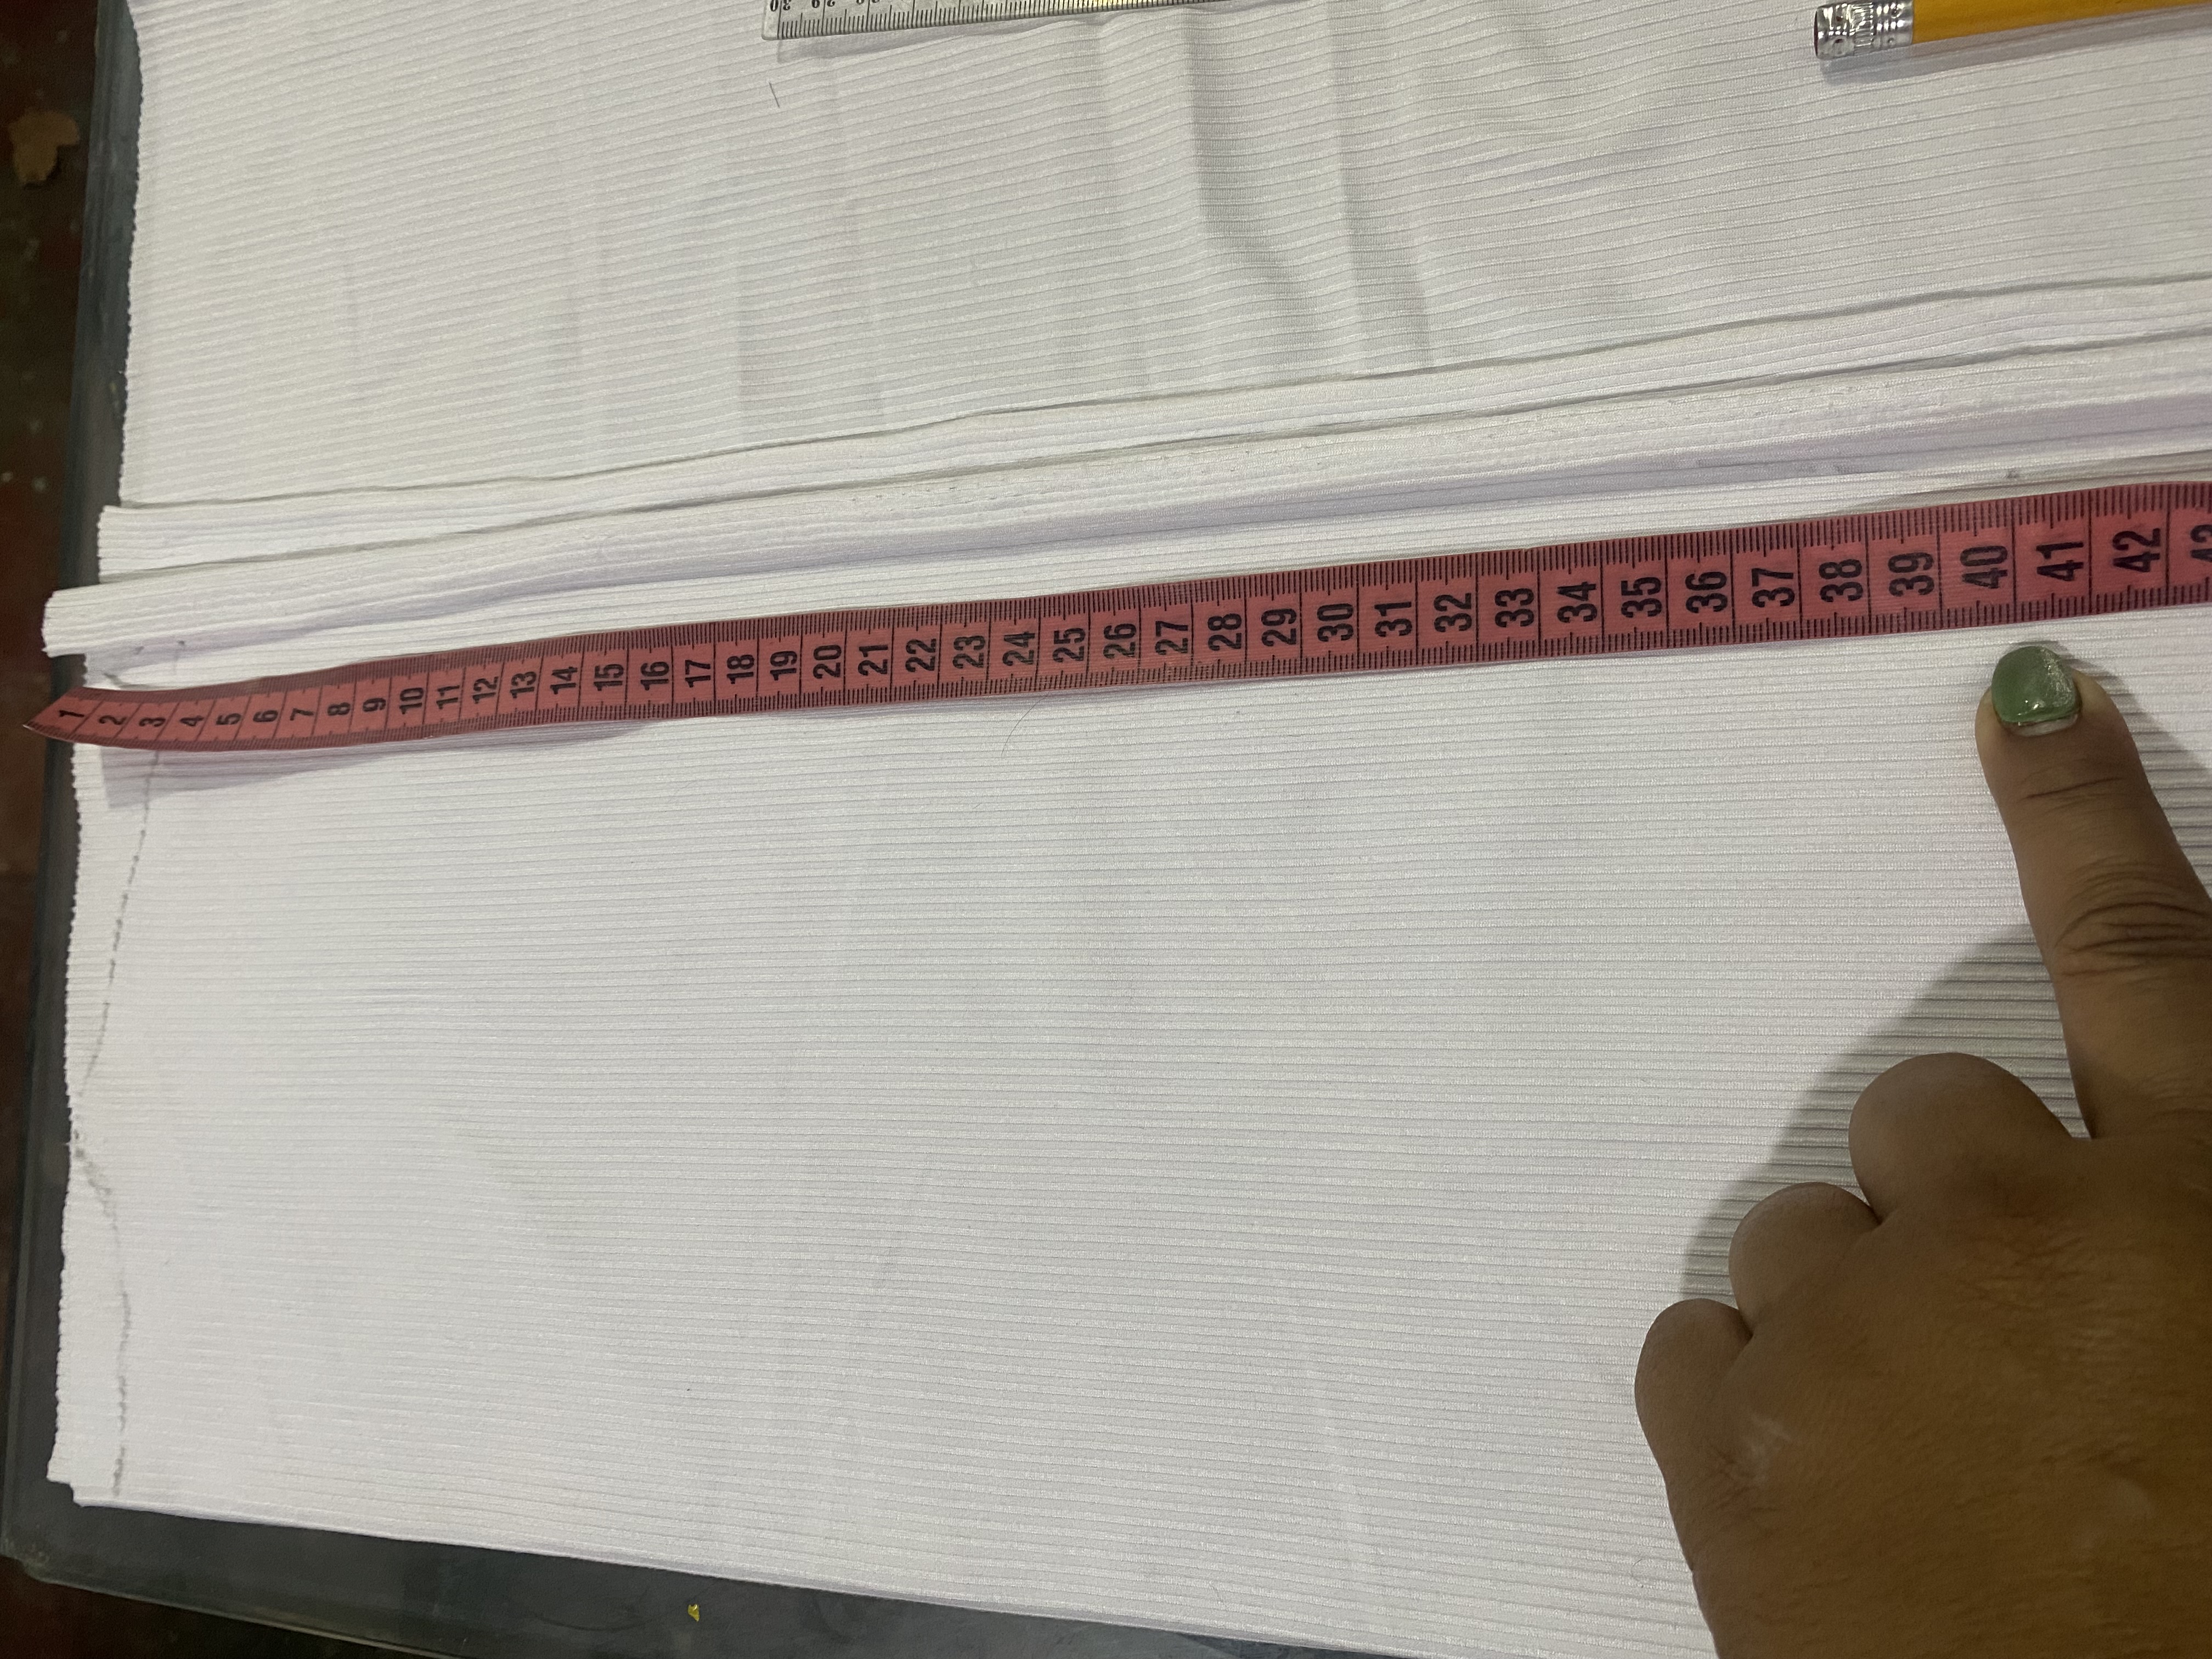
Comenzaremos doblando la tela a la mitad y calcularemos el ancho de nuestra blusa, en mi caso doblaré a los 22 cm , cortaré las dos piezas al mismo tiempo delantera y trasera, esa es la ventaja de utilizar telas Stretch para las blusas de dama, éstas se pueden cortar del mismo tamaño en ambas partes y sólo se le hará modificaciones en el área del cuello, en el contorno de brazo y en este caso por ser un Body en la parte de abajo.
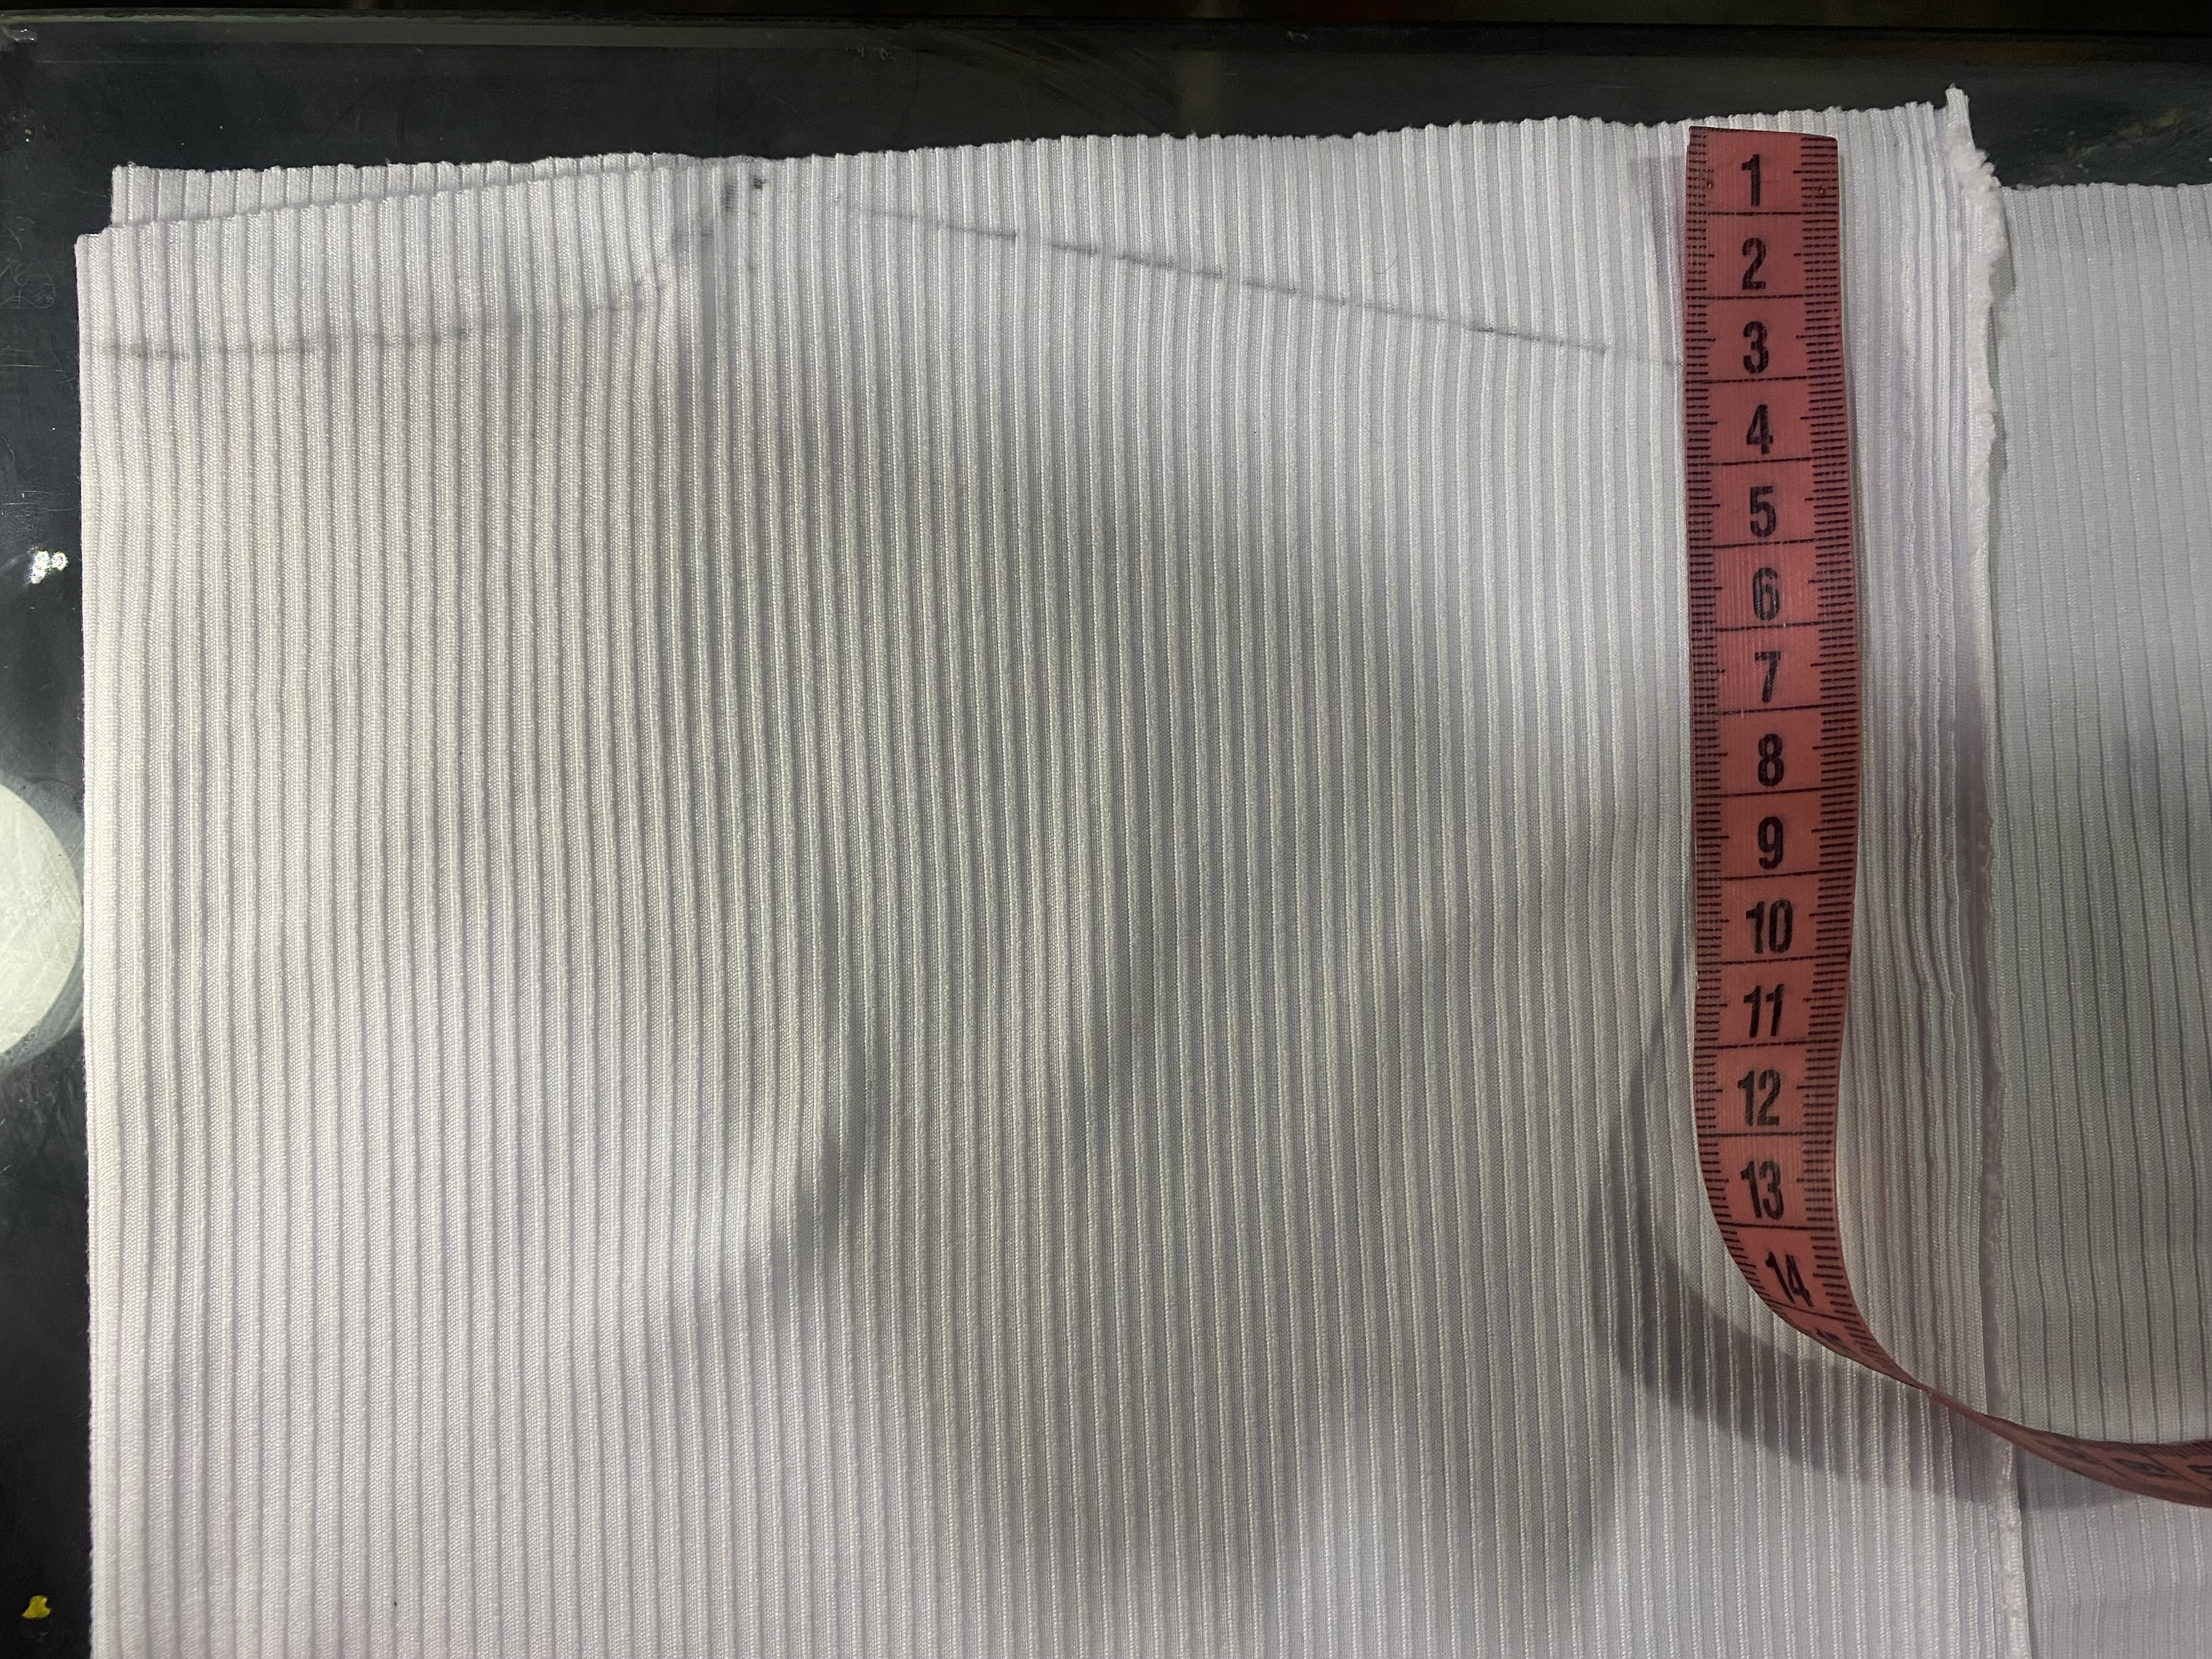
De la orilla superior de la tela vamos a bajar 22 cm, vamos a utilizar la medida del ancho de la tela y la misma medida la marcamos hacia abajo formando como un cuadrado, en el área del cuello para la parte de atrás marcamos 8 cm hacia adentro y luego bajamos 3 cm en la orilla del hombro y hacemos una línea en diagonal de aproximadamente 13 o 14 cm, estas medidas son estándar para las blusas de dama, para el contorno de manga le damos una forma redondeada.
We will start by folding the fabric in half and calculate the width of our blouse. In my case, I will fold it at 22 cm, cut the two pieces at the same time, front and back. This is the advantage of using stretch fabrics for women's blouses. These can be cut in the same size on both sides and modifications will only be made in the neck area, the arm circumference and, in this case, because it is a bodysuit, the bottom part.
From the top edge of the fabric, we will go down 22 cm. We will use the width measurement of the fabric and mark the same measurement downwards, forming a square. In the neck area for the back, we will mark 8 cm inwards and then we go down 3 cm on the shoulder edge and make a diagonal line of approximately 13 or 14 cm. These measurements are standard for women's blouses. For the sleeve circumference, we give it a rounded shape.
 |  |
|---|
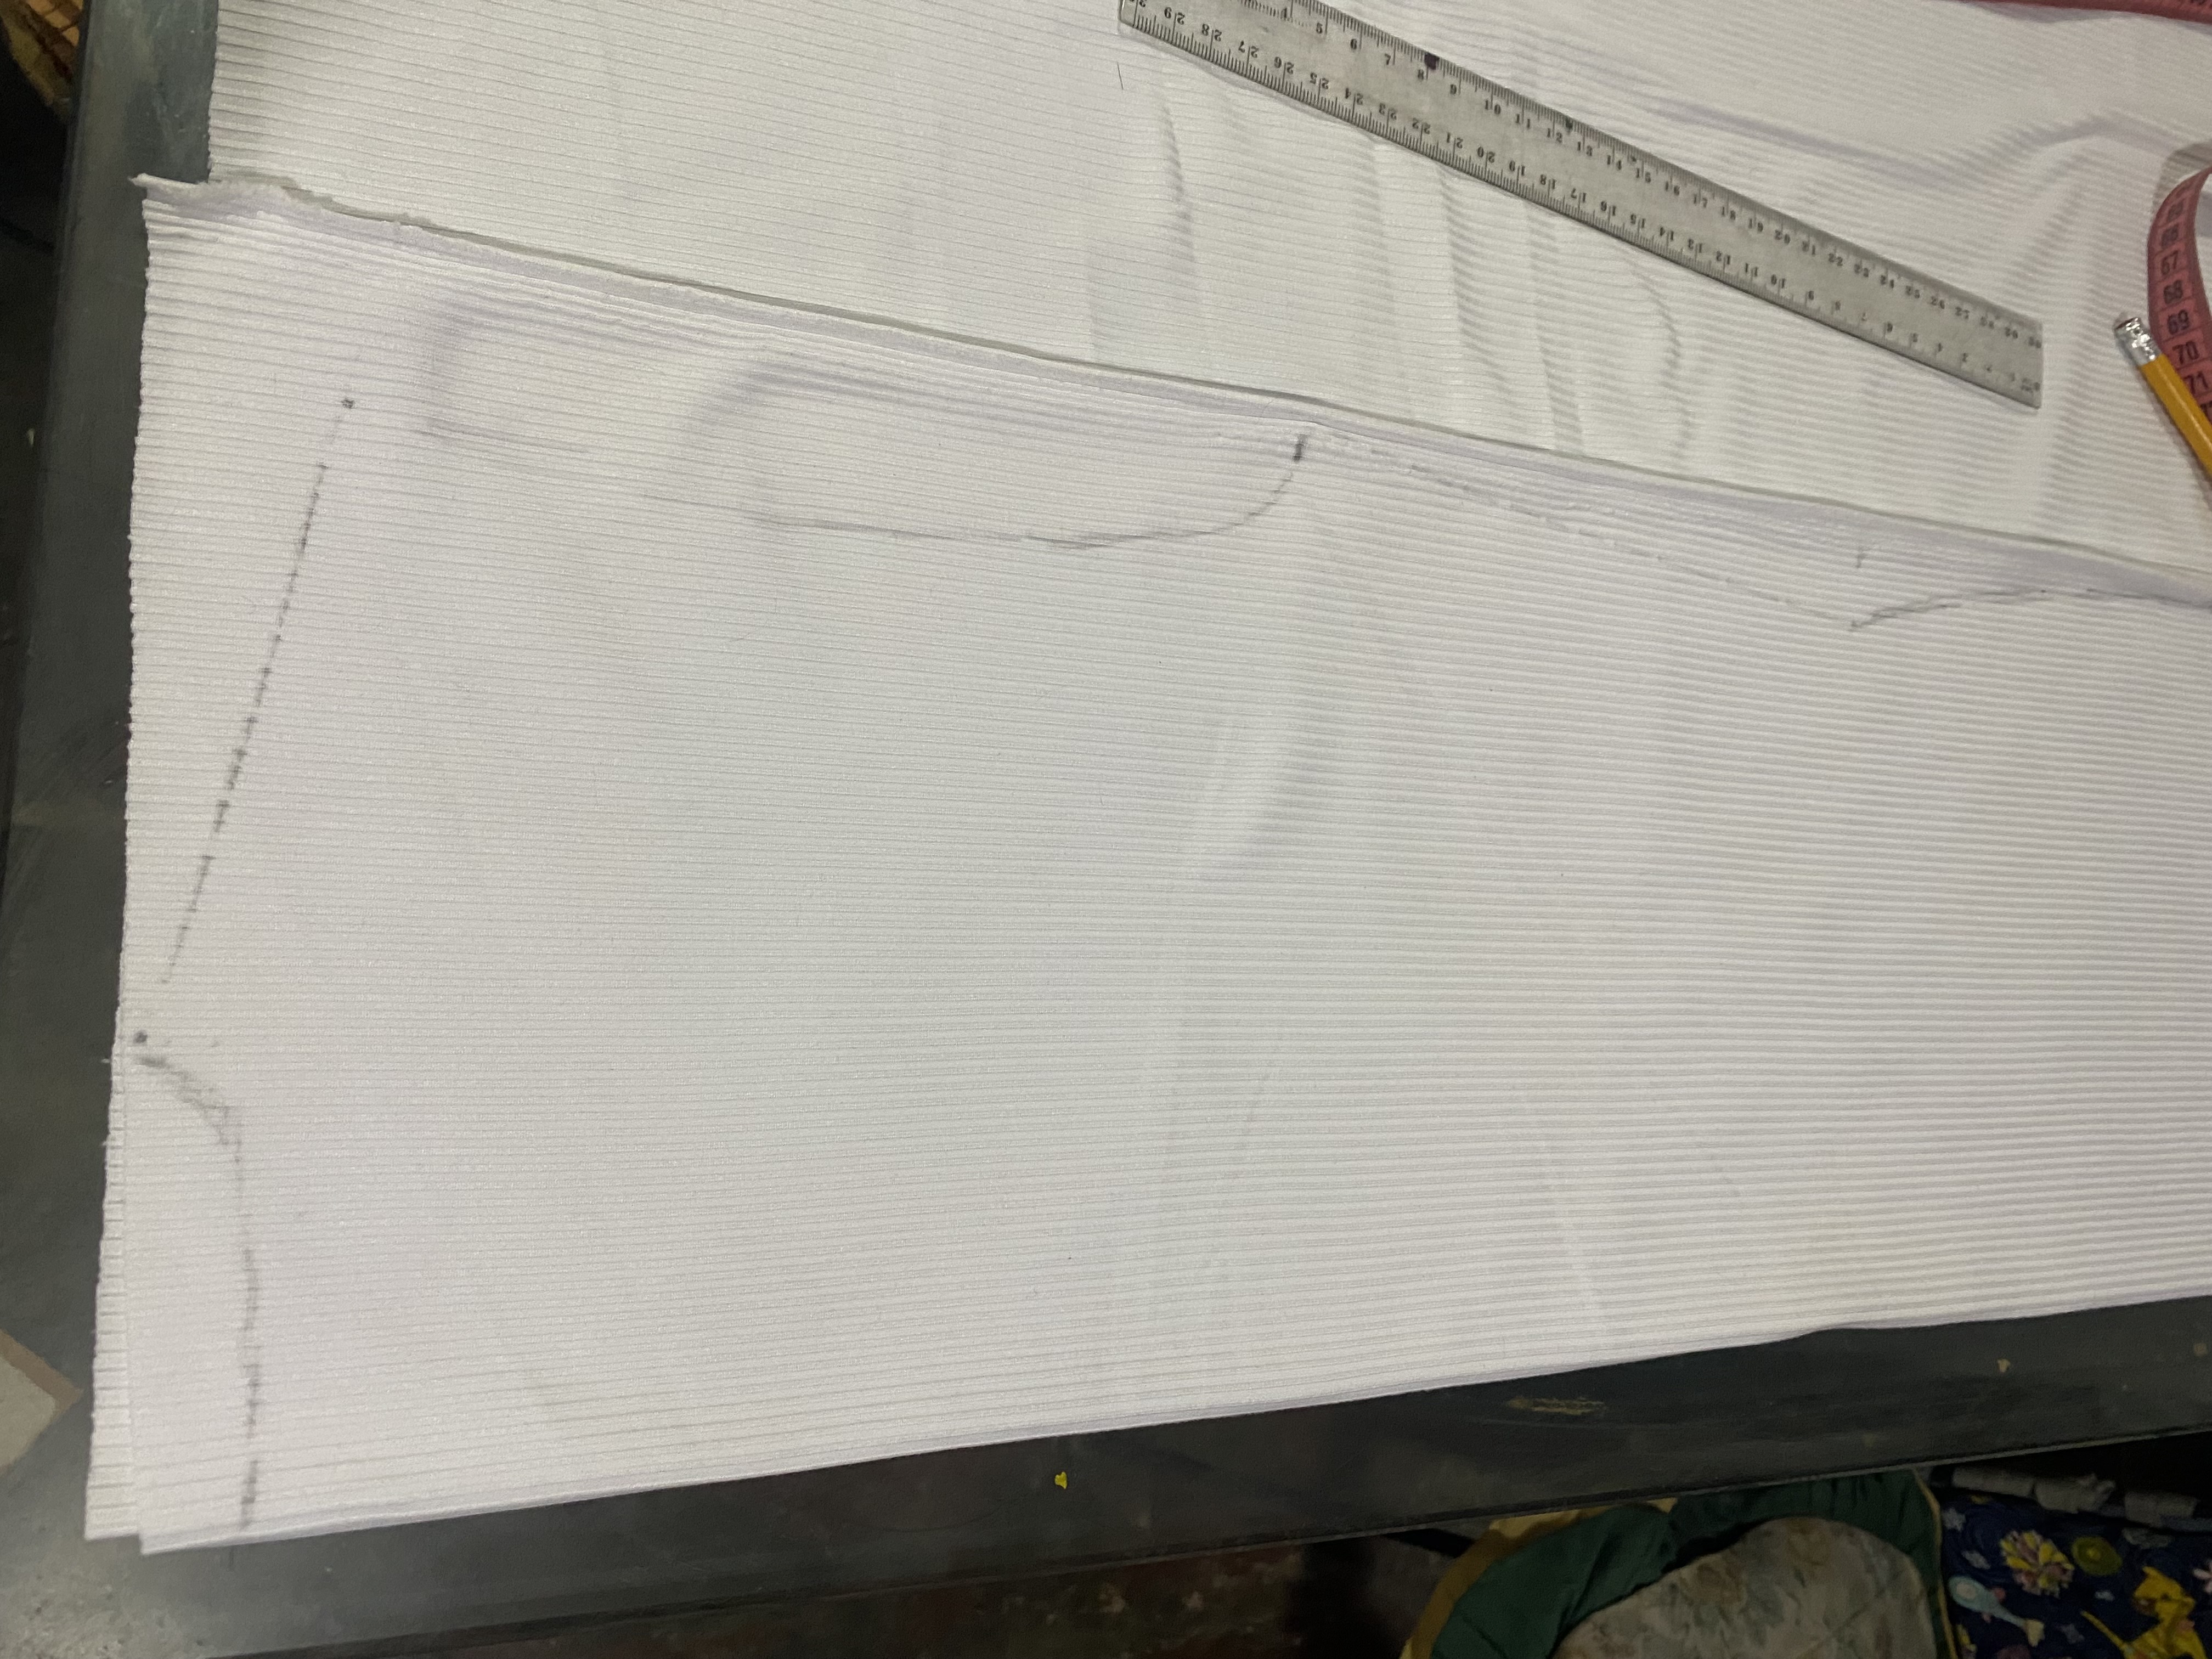
Vamos a marcar desde la orilla superior de la tela 40 cm, luego marcamos 3 cm hacia adentro y hacemos un punto, esto es para definir el punto de la cintura, de allí bajaremos 15 cm la cual será la orilla donde le daremos la forma delantera de pantys, para la parte delantera bajaremos 15 cm nuevamente y le damos la forma curva como una panty y para la parte de atrás vamos a bajar 25 cm , trataremos de que en la parte inferior de nuestro Body nos quede un poco delgado en la orilla para poder colocarle broche.
El largo de nuestro Body por la parte de atrás será de 80 cm y en la parte delantera será de 70 cm, cabe resaltar que esta medida es para personas altas si la persona es bajita debe hacerse un poco más corto.
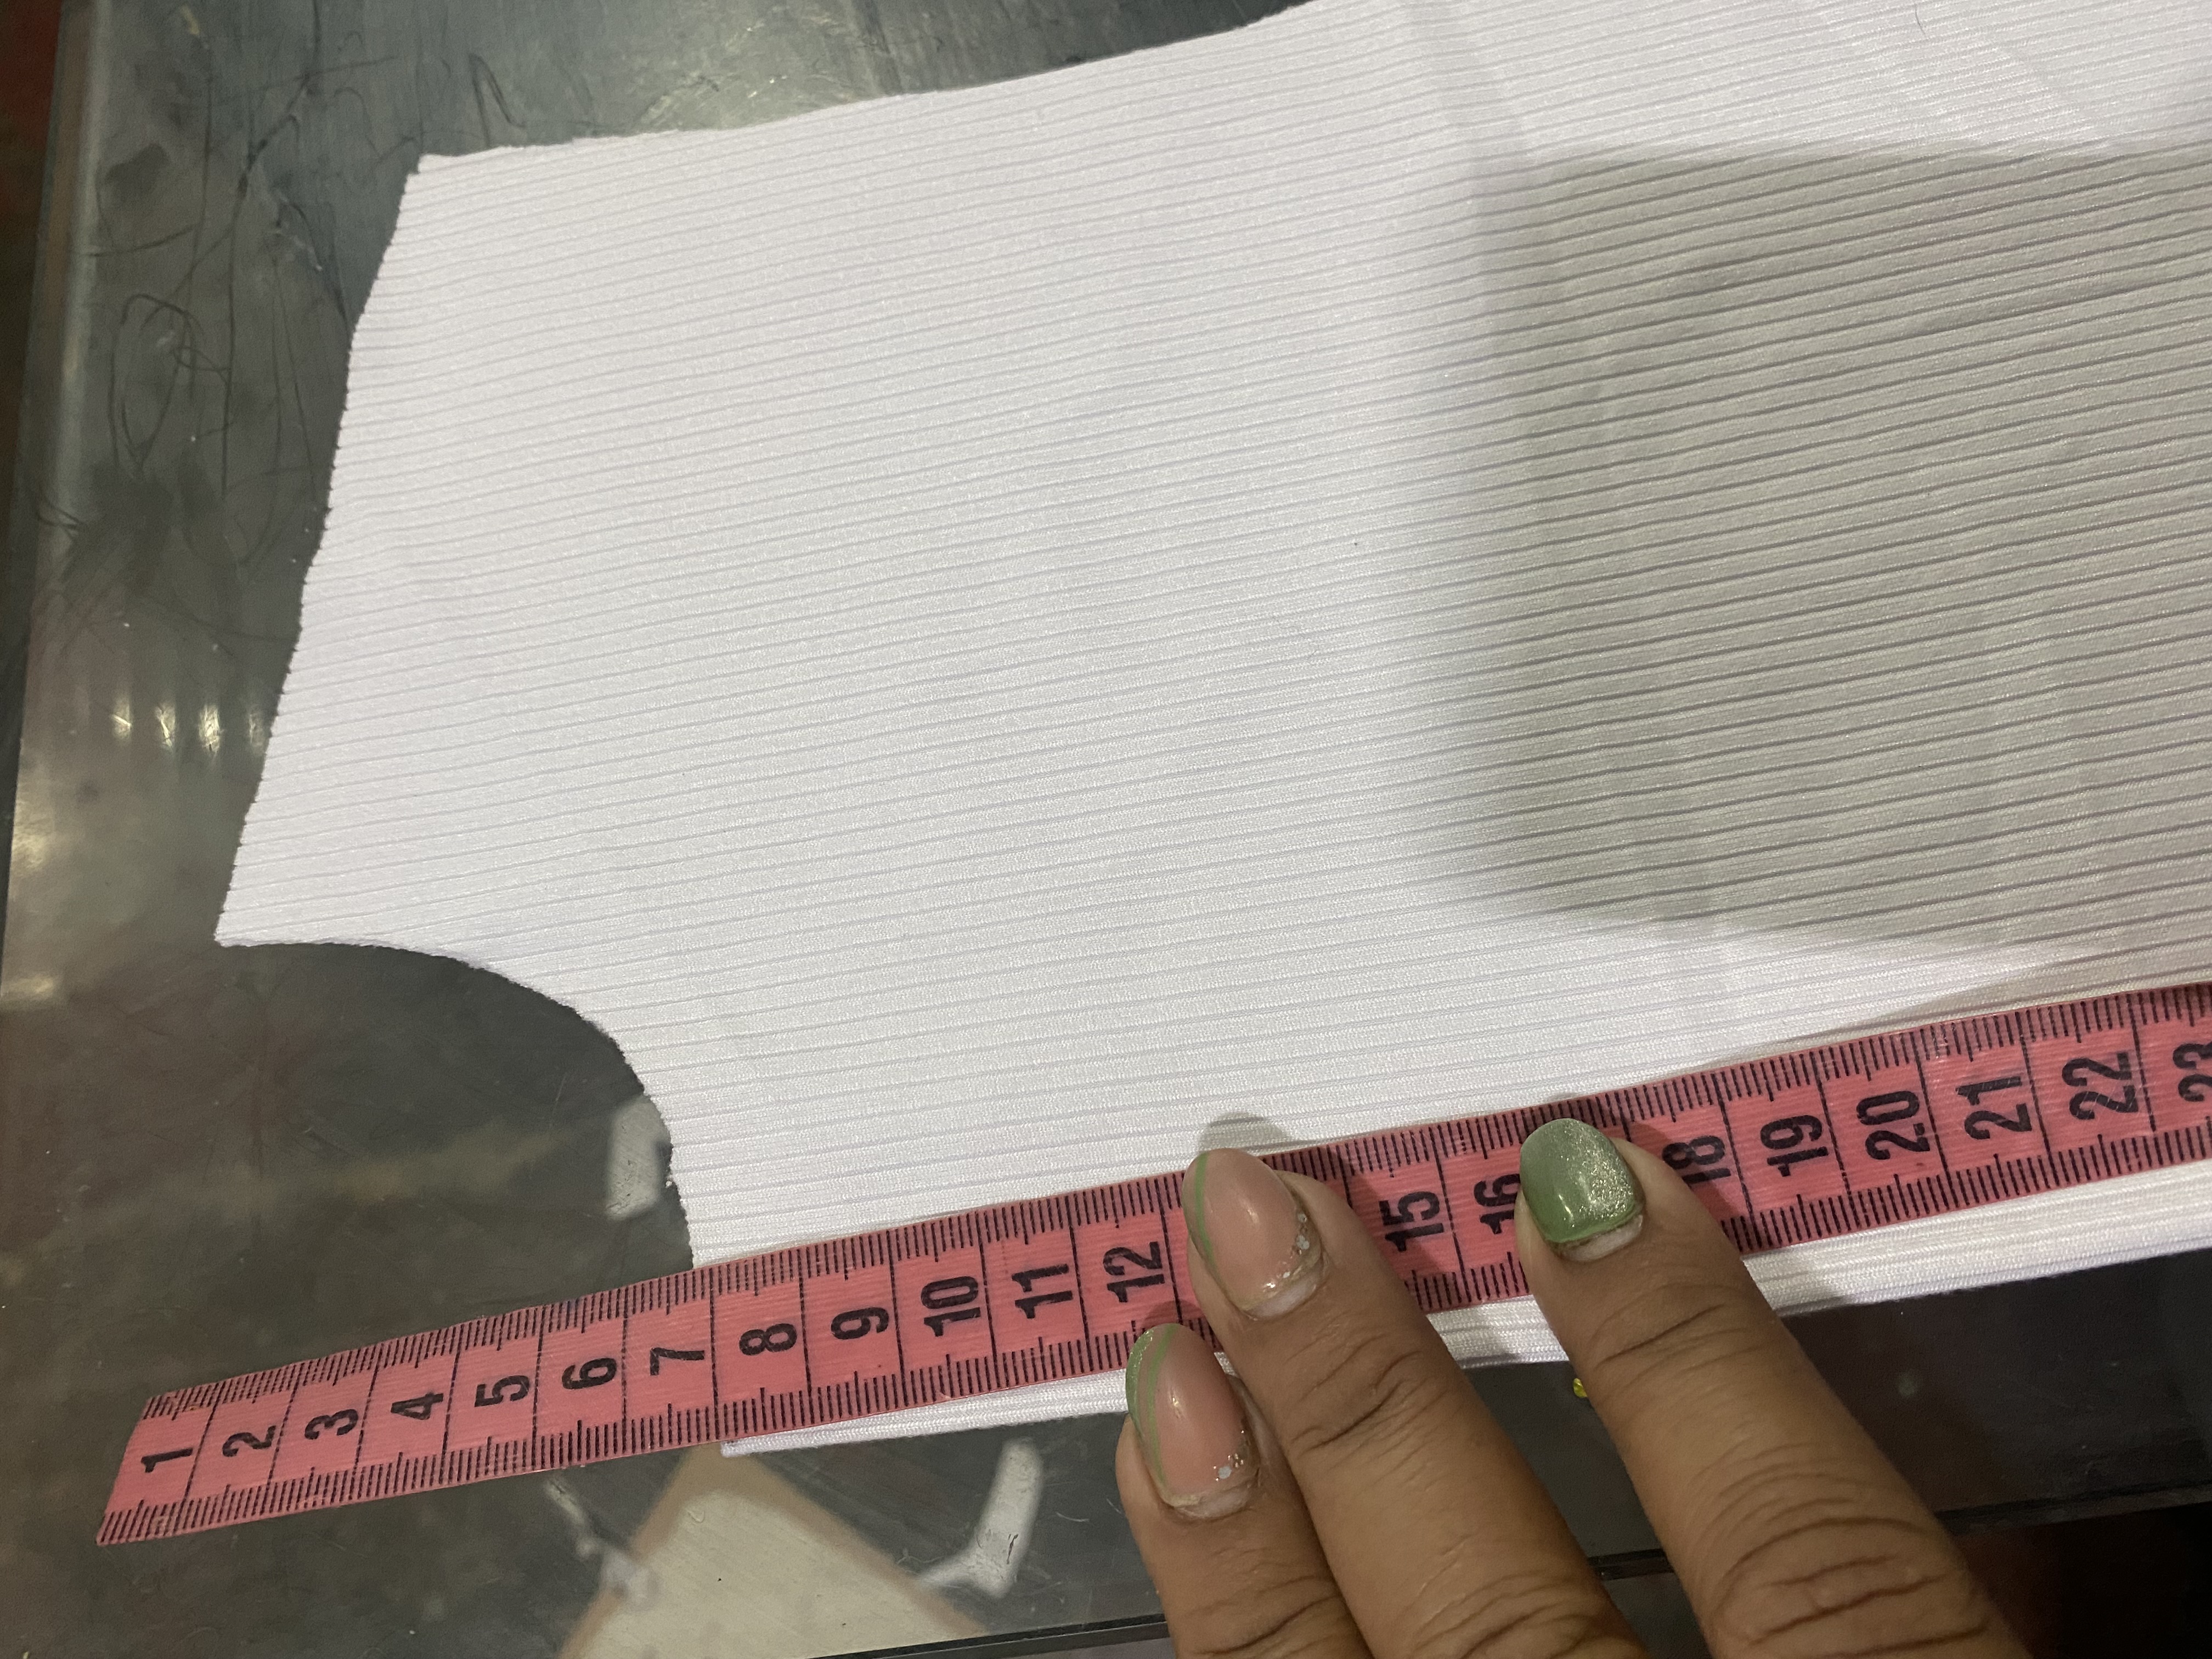
En el momento de cortar la parte inferior d del body separé la parte de atrás con la de adelante y así poder darle forma de manera individual a cada una, para el área del cuello delantero vamos a bajar 7 cm centímetros y le damos la forma redondeada, para la parte de atrás se baja 1cm.
We are going to mark 40 cm from the top edge of the fabric, then we mark 3 cm inwards and make a point, this is to define the waist point, from there we will go down 15 cm which will be the edge where we will give it the front shape of pantyhose, for the front part we will go down 15 cm again and we will give it the curved shape like a panty and for the back part we will go down 25 cm, we will try to make the bottom part of our Body a little thin at the edge so we can put a clasp on it.
The length of our Body on the back will be 80 cm and on the front it will be 70 cm, it should be noted that this measurement is for tall people if the person is short it should be made a little shorter.
When cutting the lower part of the body, I separated the back part from the front so I could shape each one individually. For the front neck area, we will lower it 7 cm and give it a rounded shape. For the back part, we will lower it 1 cm.
 |  |
|---|---|
 |
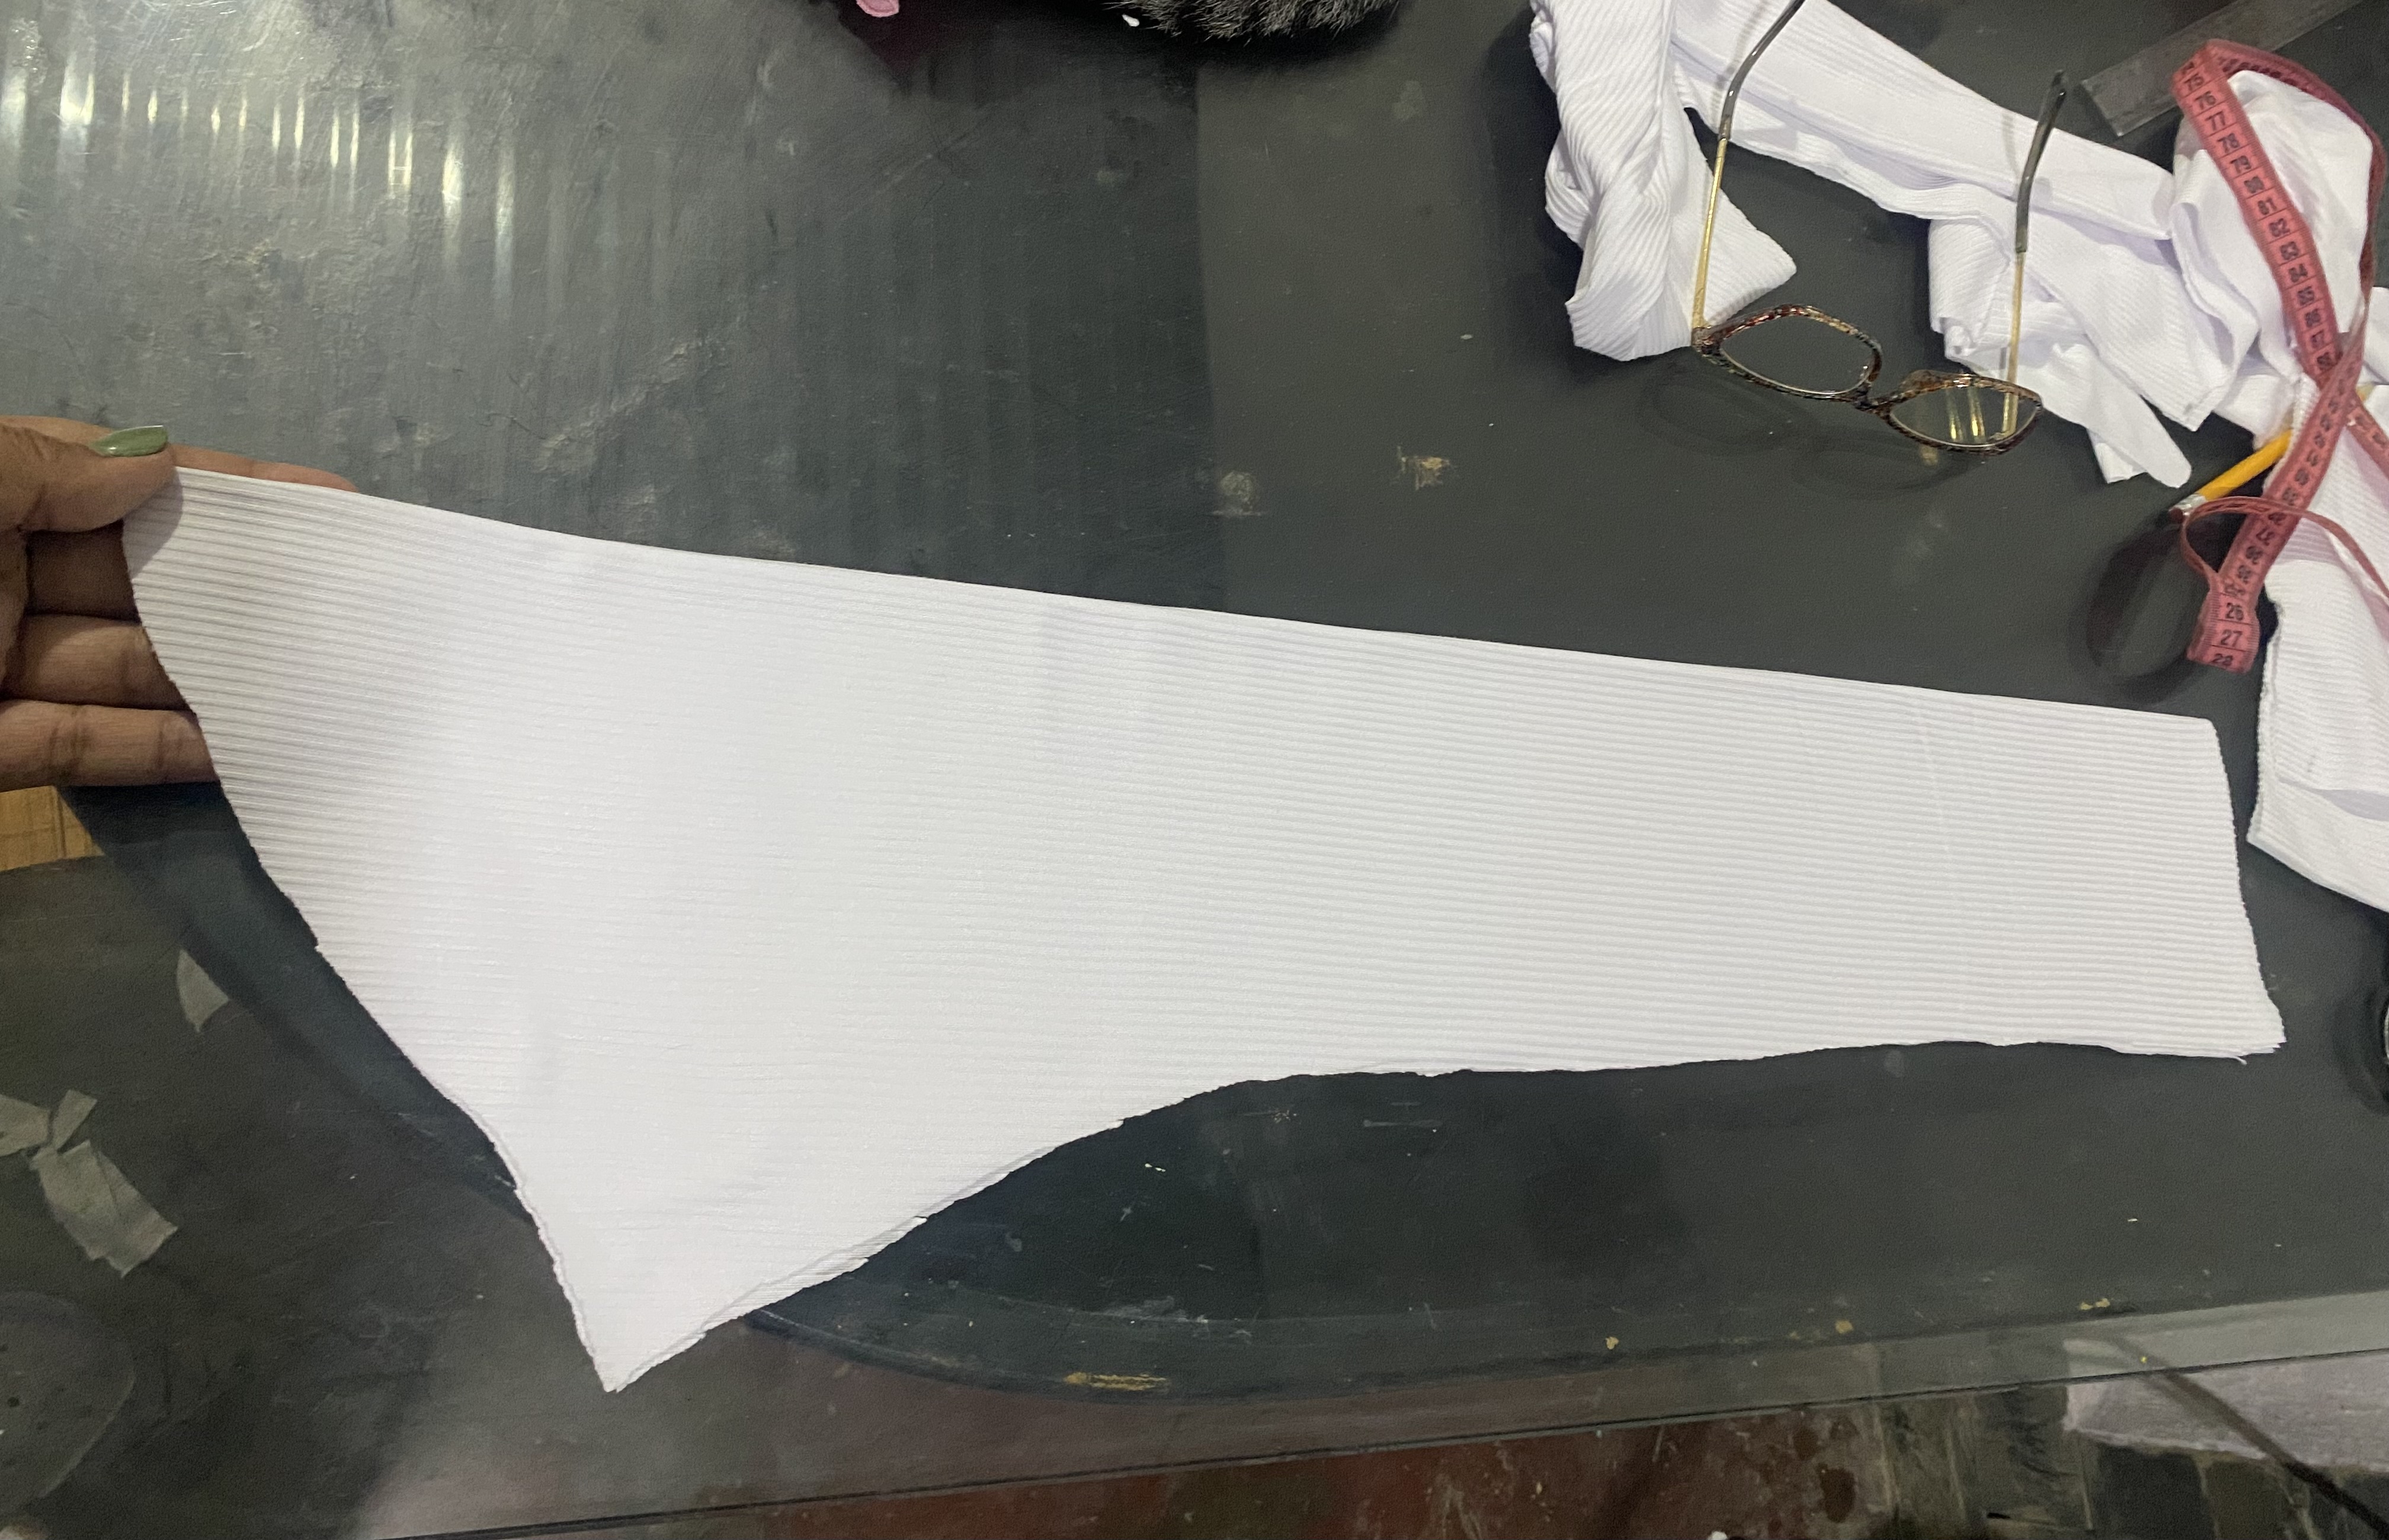
Para la manga mediremos el largo deseado, en mi caso será de 64 cm, le aumentaré 4 cm más para la orilla del ruedo, el contorno de muñeca será de 19 cm y el contorno de manga será de 25cm, el contorno original es de 23 cm pero le aumenté 2 cm para hacerle algunos pliegues en el hombro, cortaremos la tela doble utilizando estas medidas.
For the sleeve we will measure the desired length, in my case it will be 64 cm, I will add 4 cm more for the edge of the hem, the wrist circumference will be 19 cm and the sleeve circumference will be 25 cm, the original circumference is 23 cm but I added 2 cm to make some folds on the shoulder, we will cut the double fabric using these measurements.
Para este siguiente paso vamos a comenzar con las costuras, comenzaremos uniendo con costura por los hombros, acostumbro siempre pasar costura recta y luego zig zag para reforzar así lo haré con cada unión, luego vamos a unir las mangas, empiezo por una orilla dejando unos 2 cm antes de llegar a la unión del hombro, hago el mismo procedimiento en la otra orilla, y lo que me sobre le hago los pliegues, luego paso costura nuevamente, luego voy a unir por los laterales.
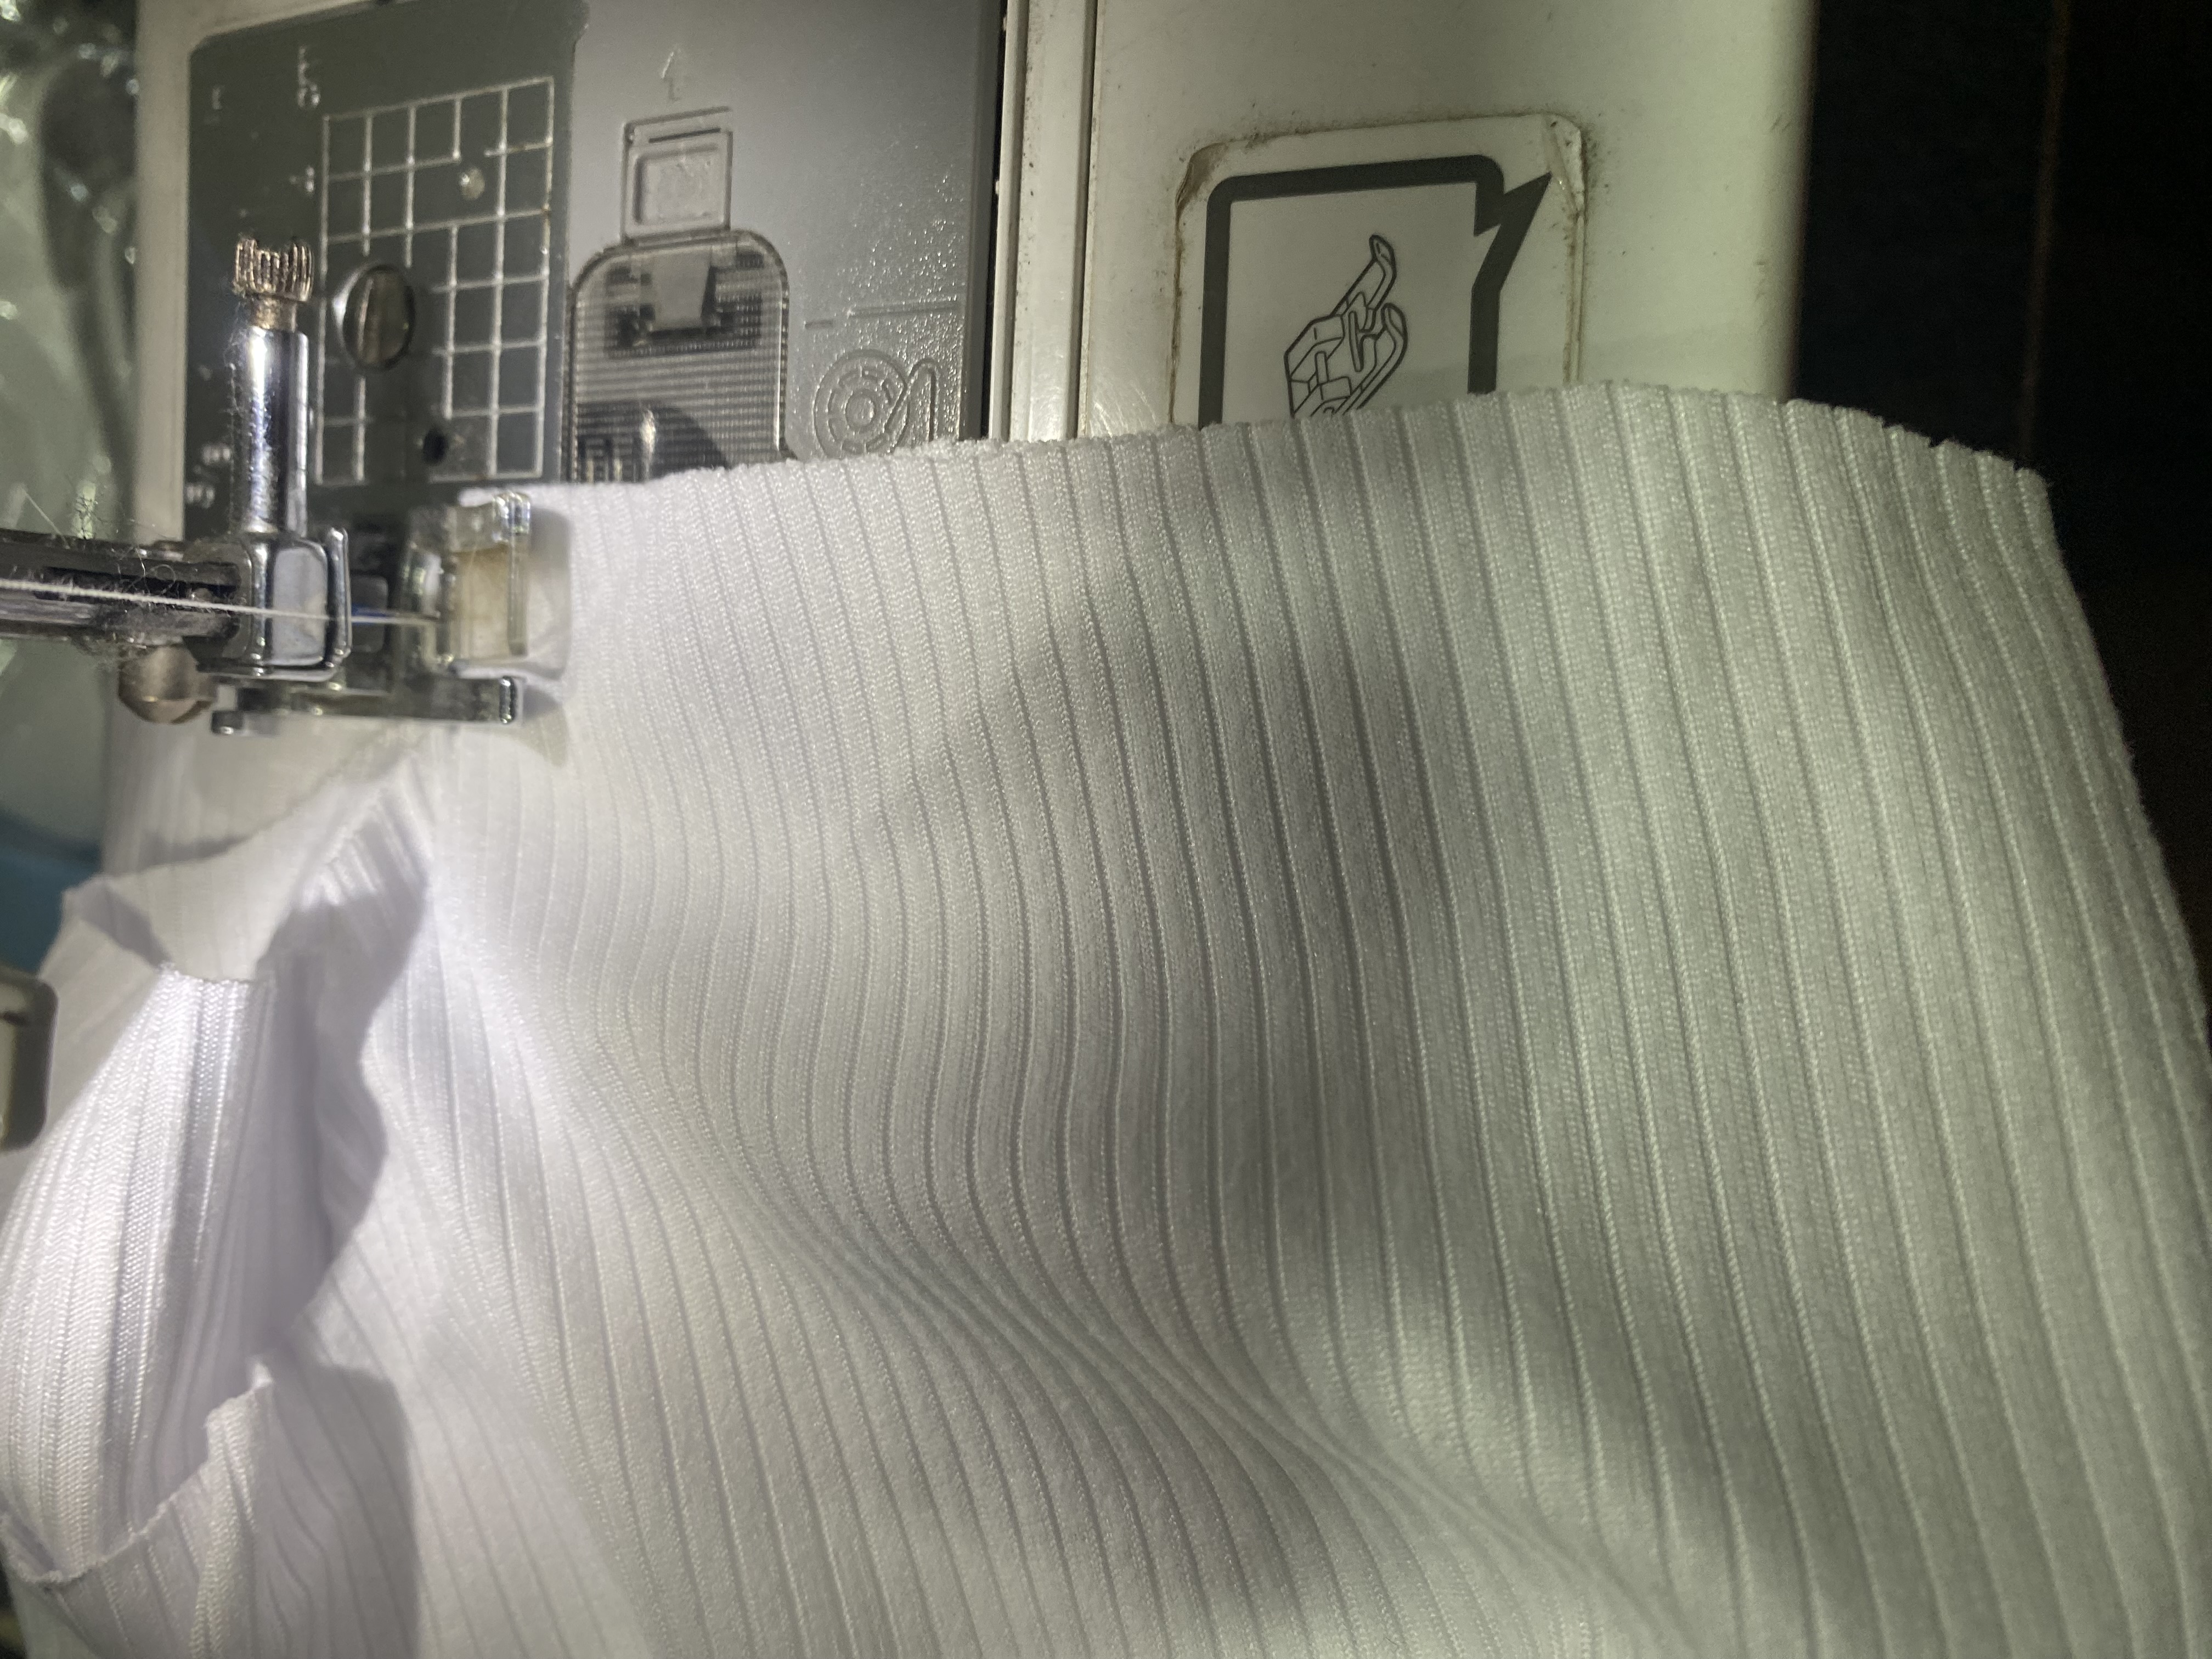 | 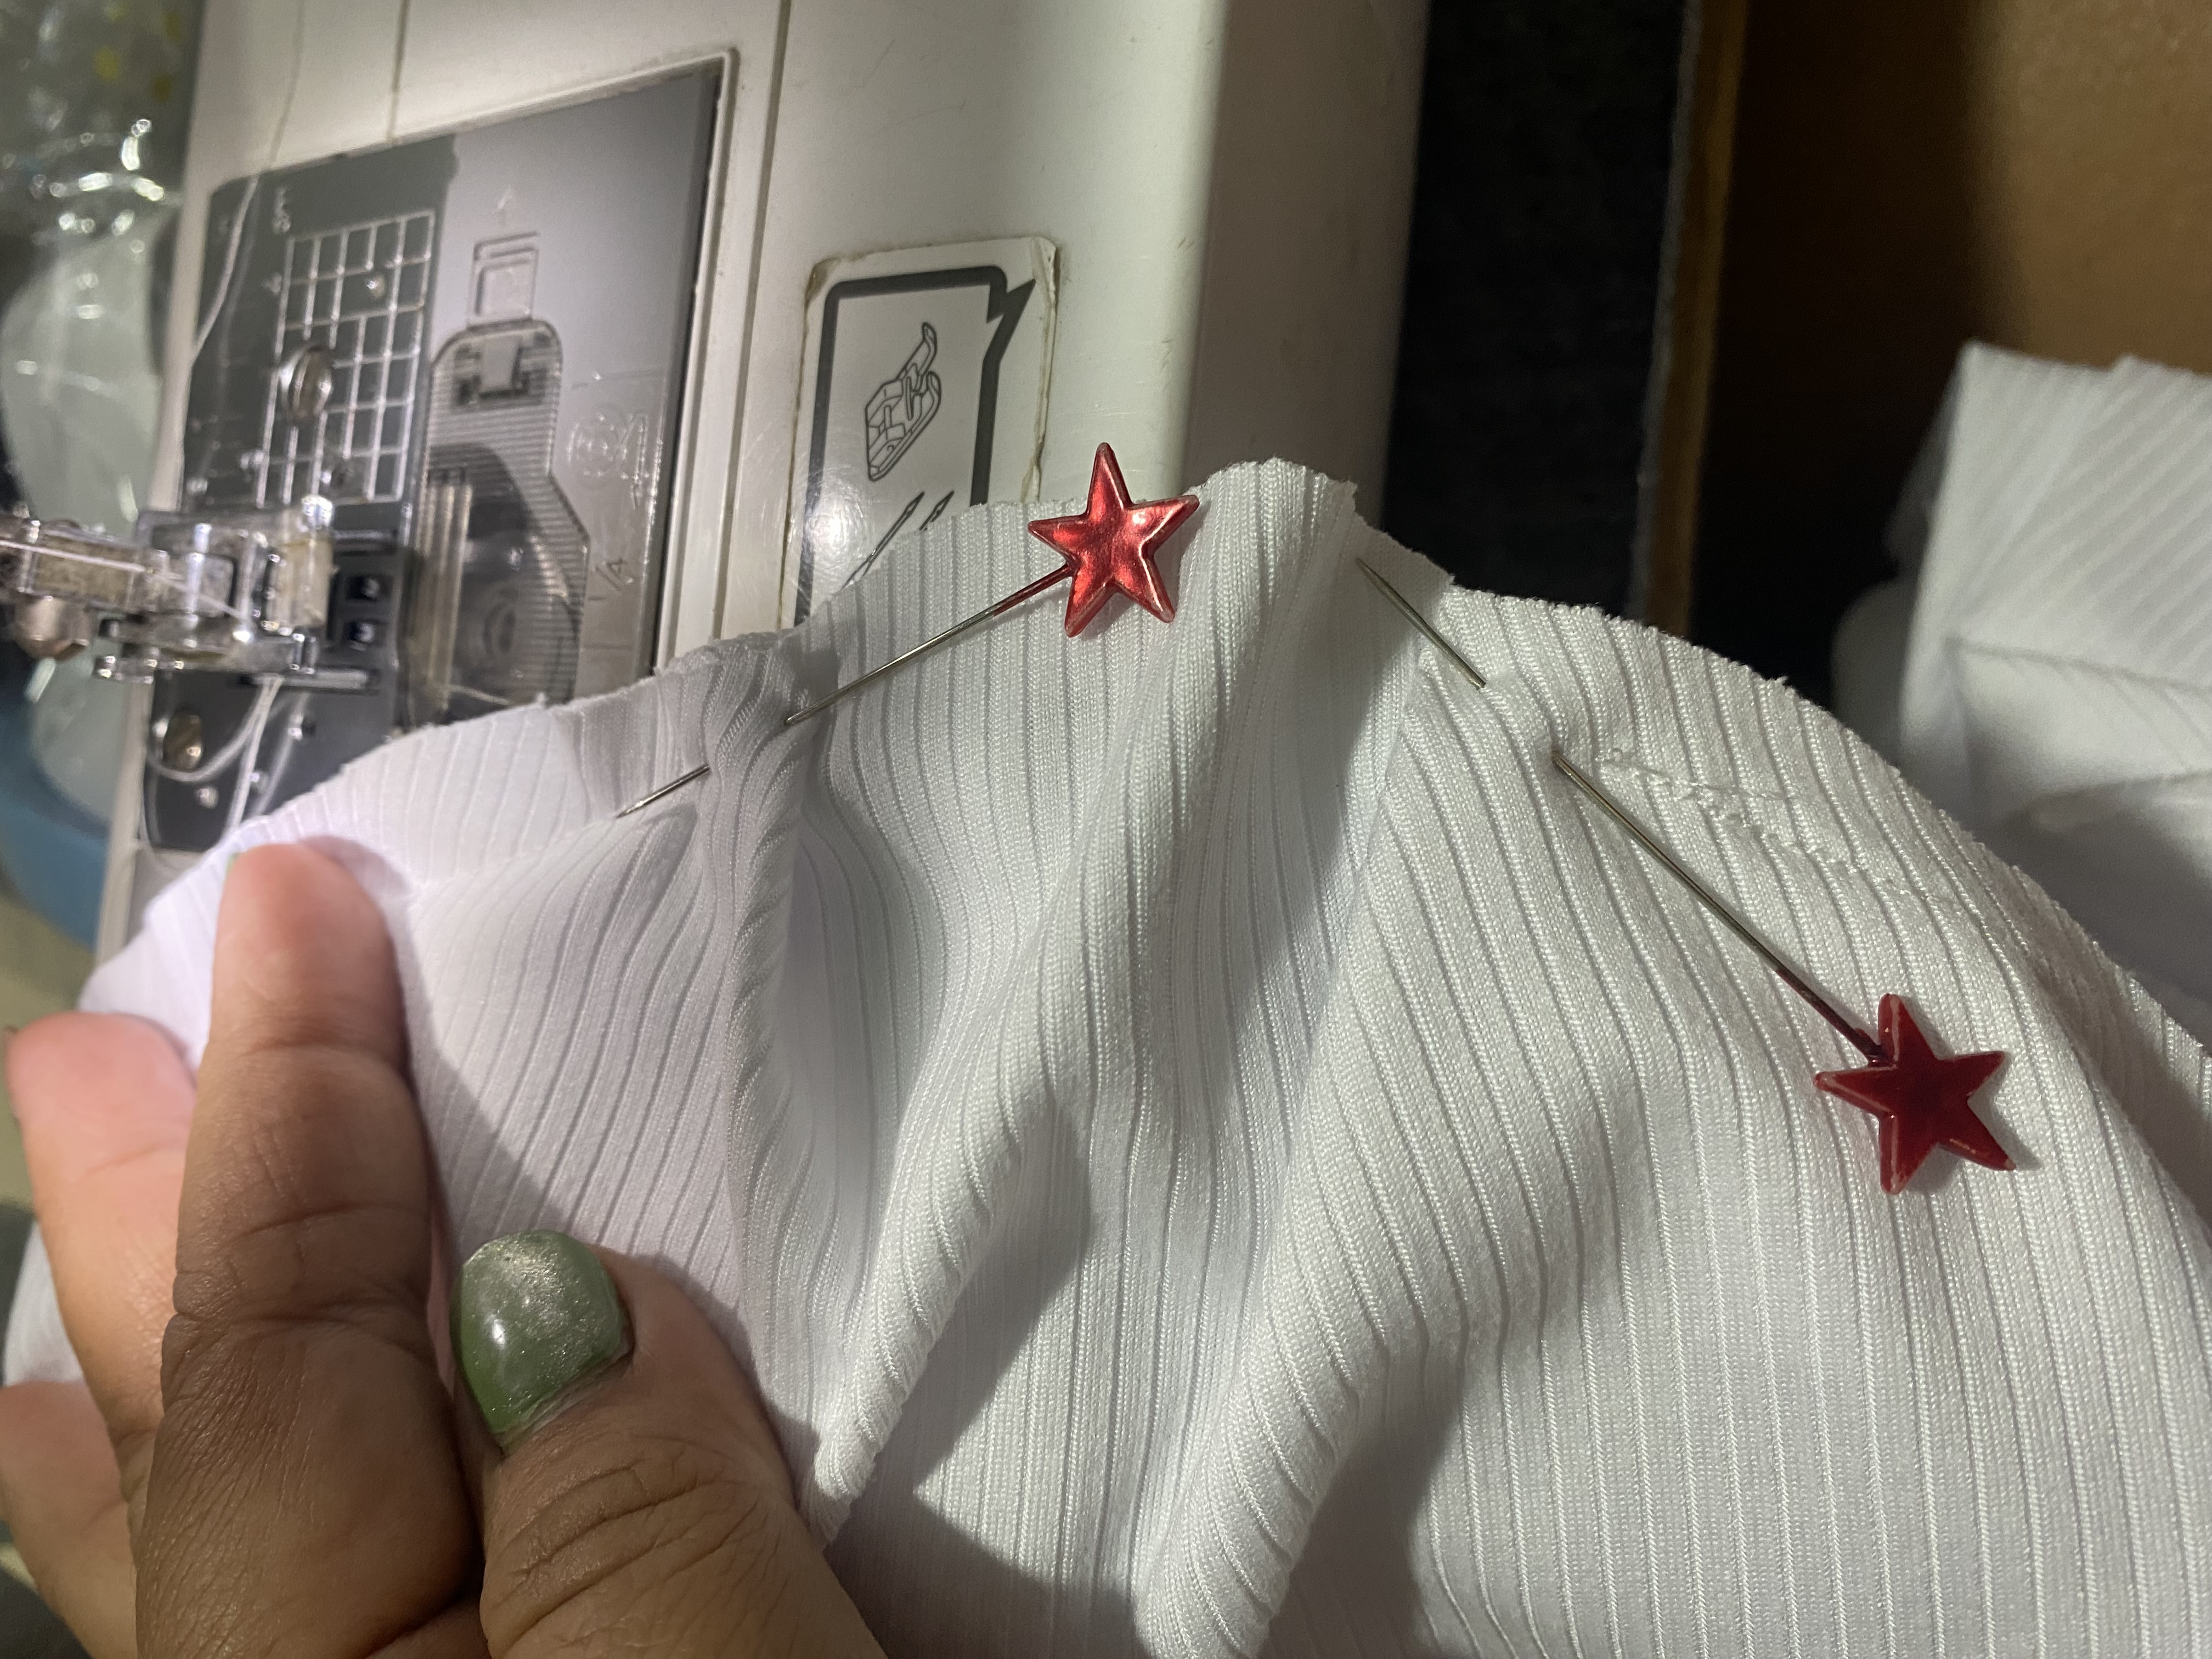 |
|---|
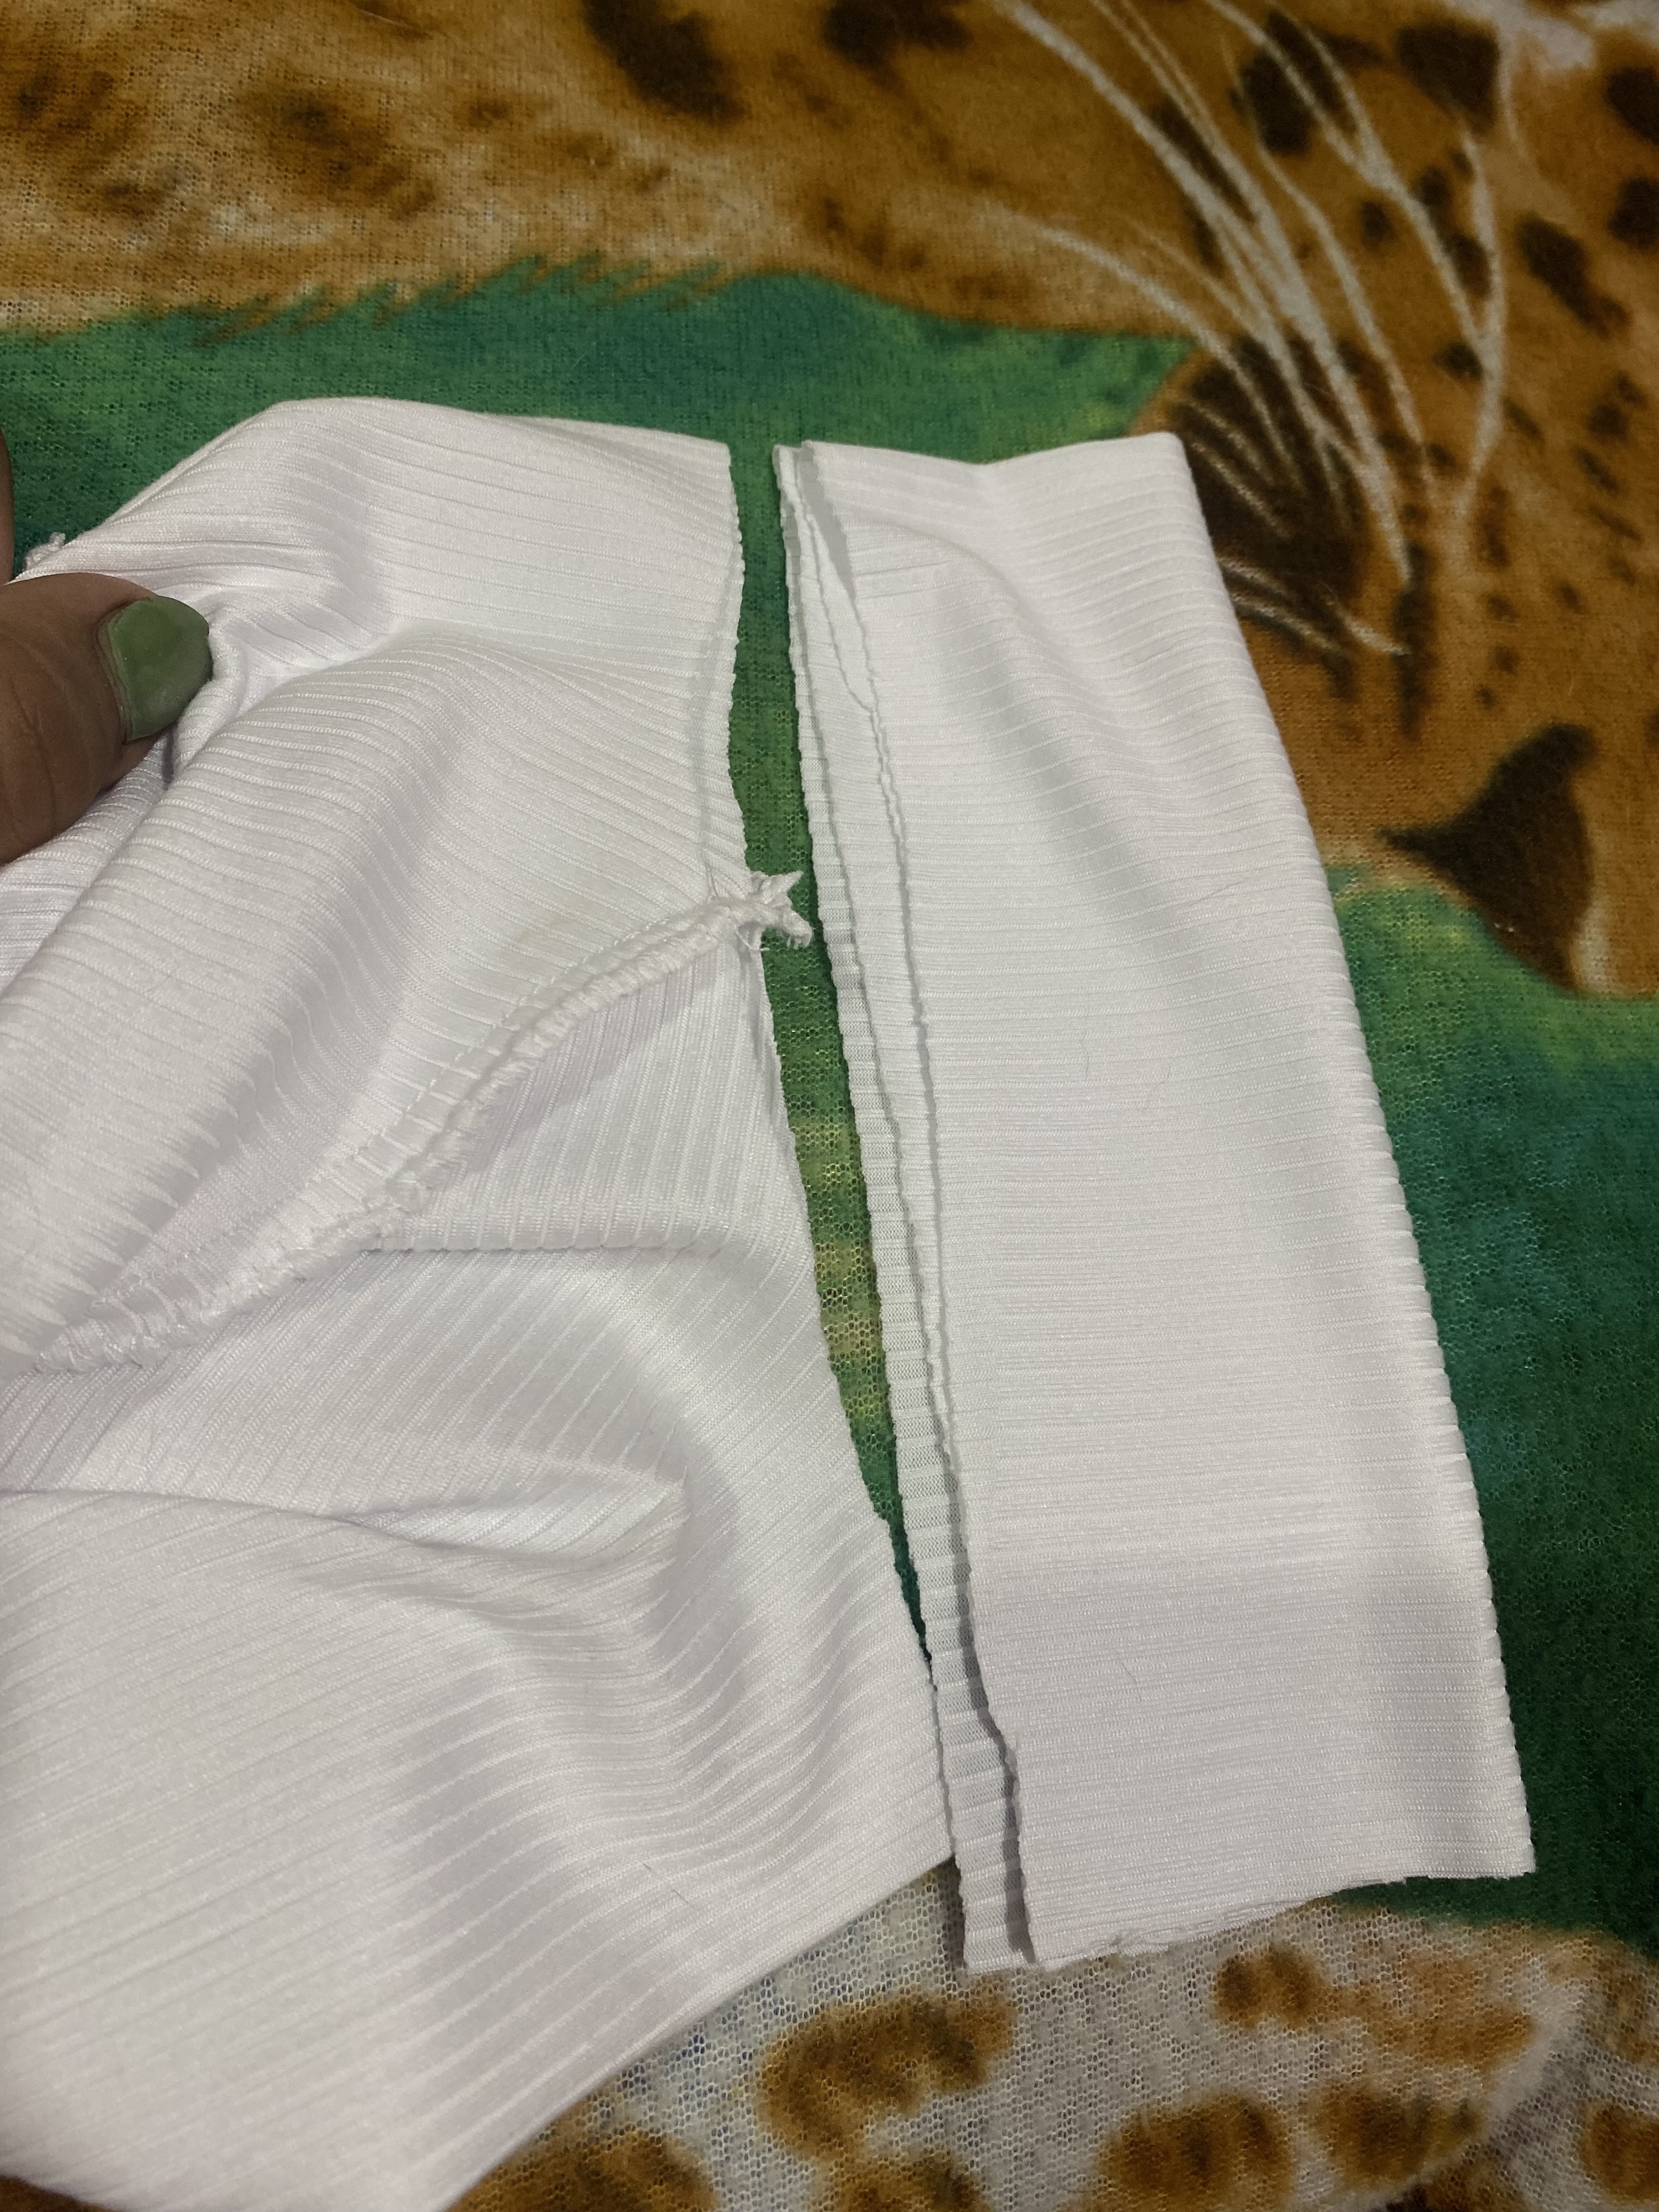
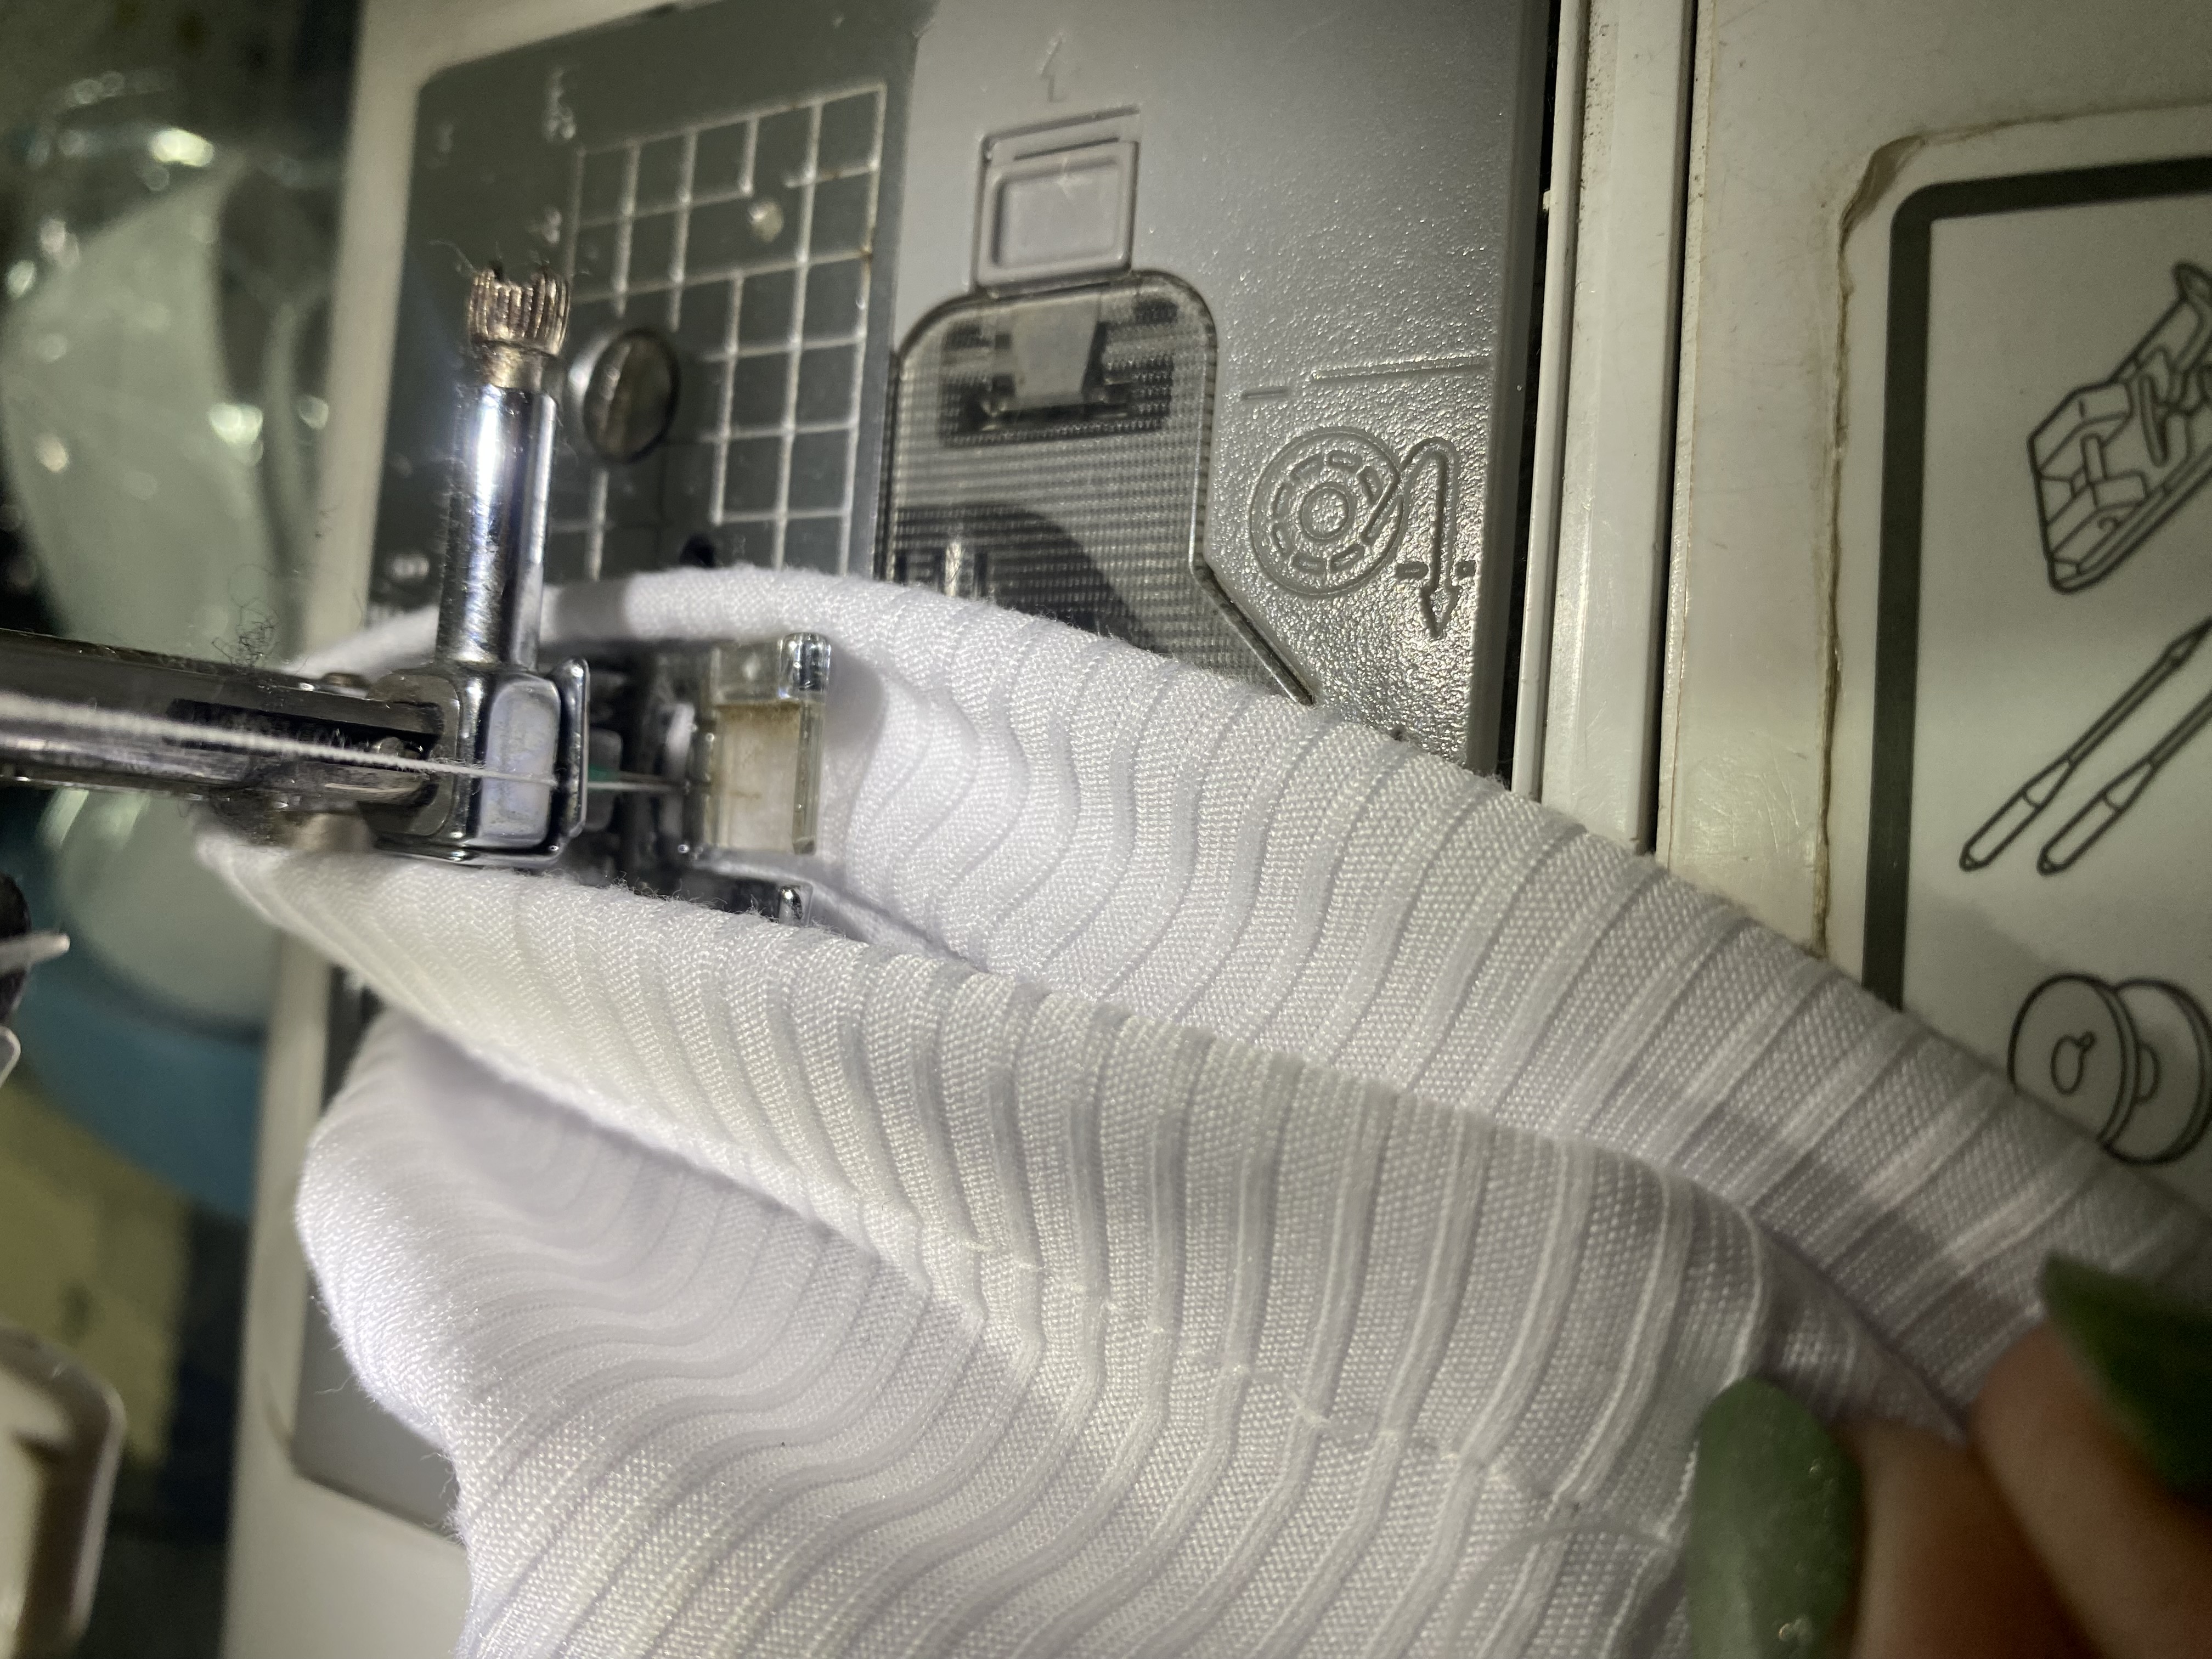
Para el cuello vamos a cortar una tira de tela de 12 cm de ancho, doblaremos el contorno del cuello y nos guiaremos para saber el largo de la tira de tela y cortamos a la misma medida el largo de la tira, unimos para formar un aro, doblamos a la mitad y luego unimos al cuello de nuestra blusa, luego hacemos el ruedo a las orillas de las mangas
For the neck we are going to cut a strip of fabric 12 cm wide, we will fold the outline of the neck and we will guide ourselves to know the length of the strip of fabric and we will cut the same length as the strip, we will join to form a ring, we will fold it in half and then we will join it to the neck of our blouse, Then we make the hem at the edges of the sleeves
 |  |
|---|---|
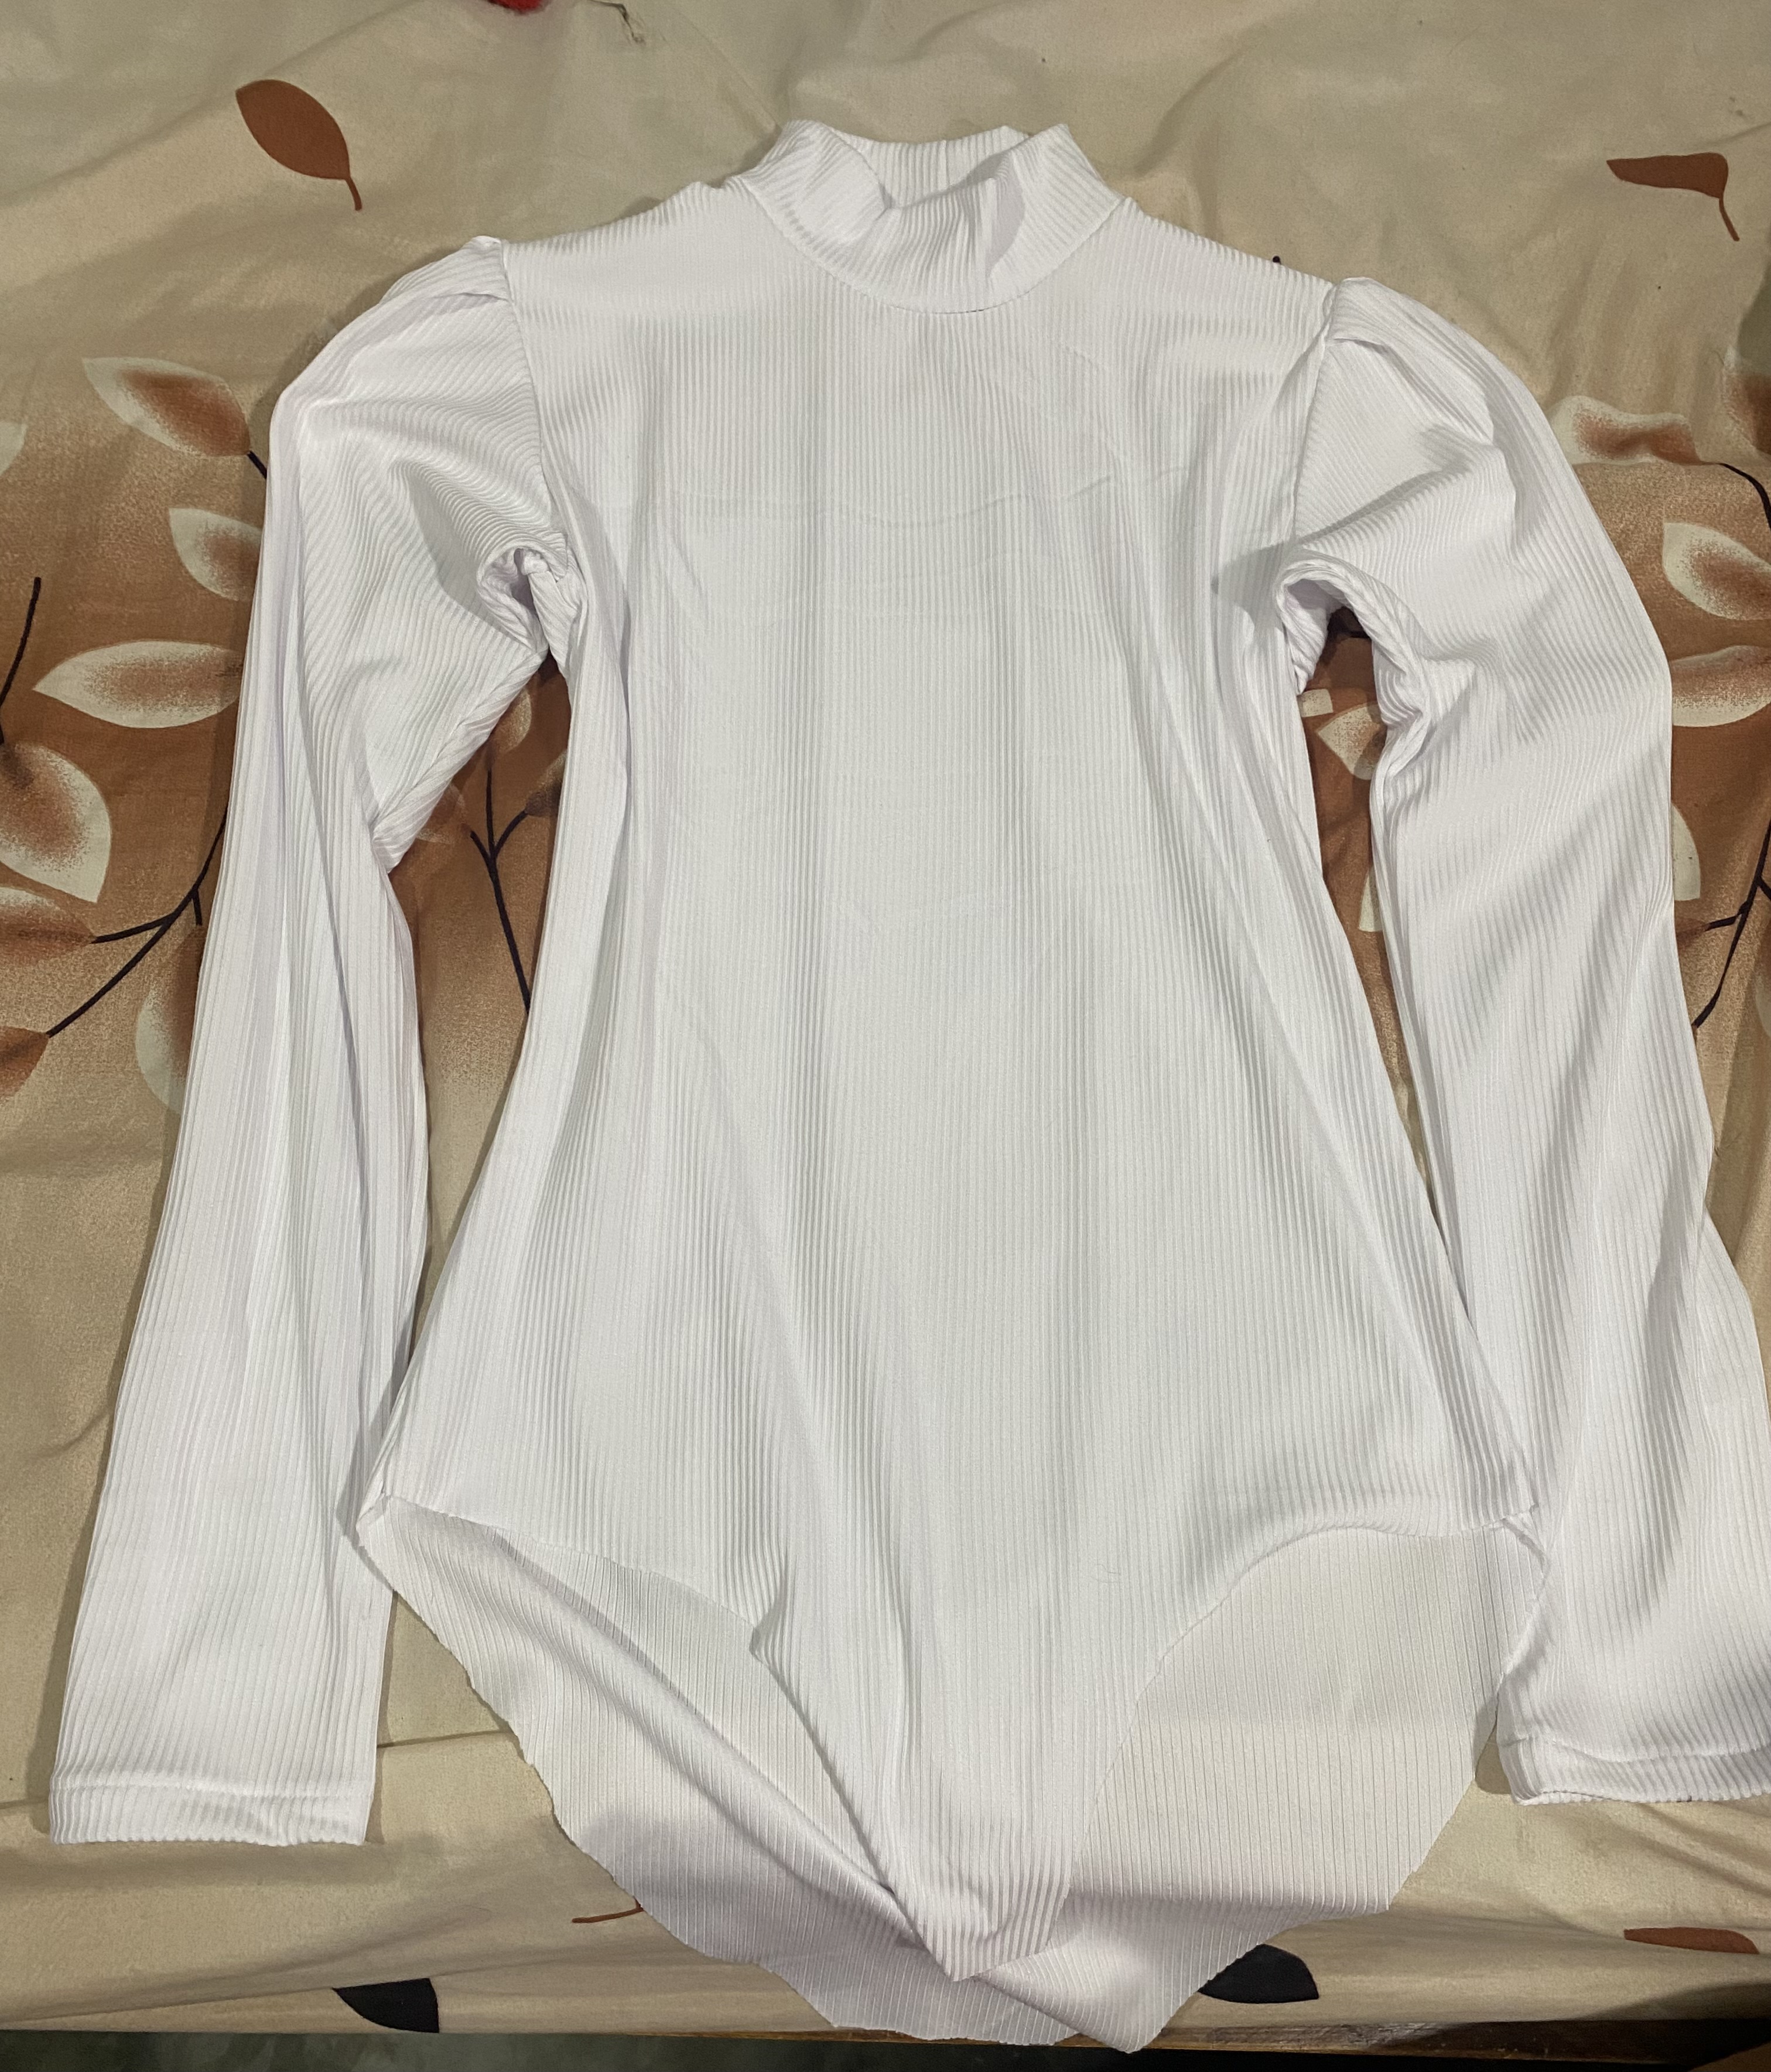 |
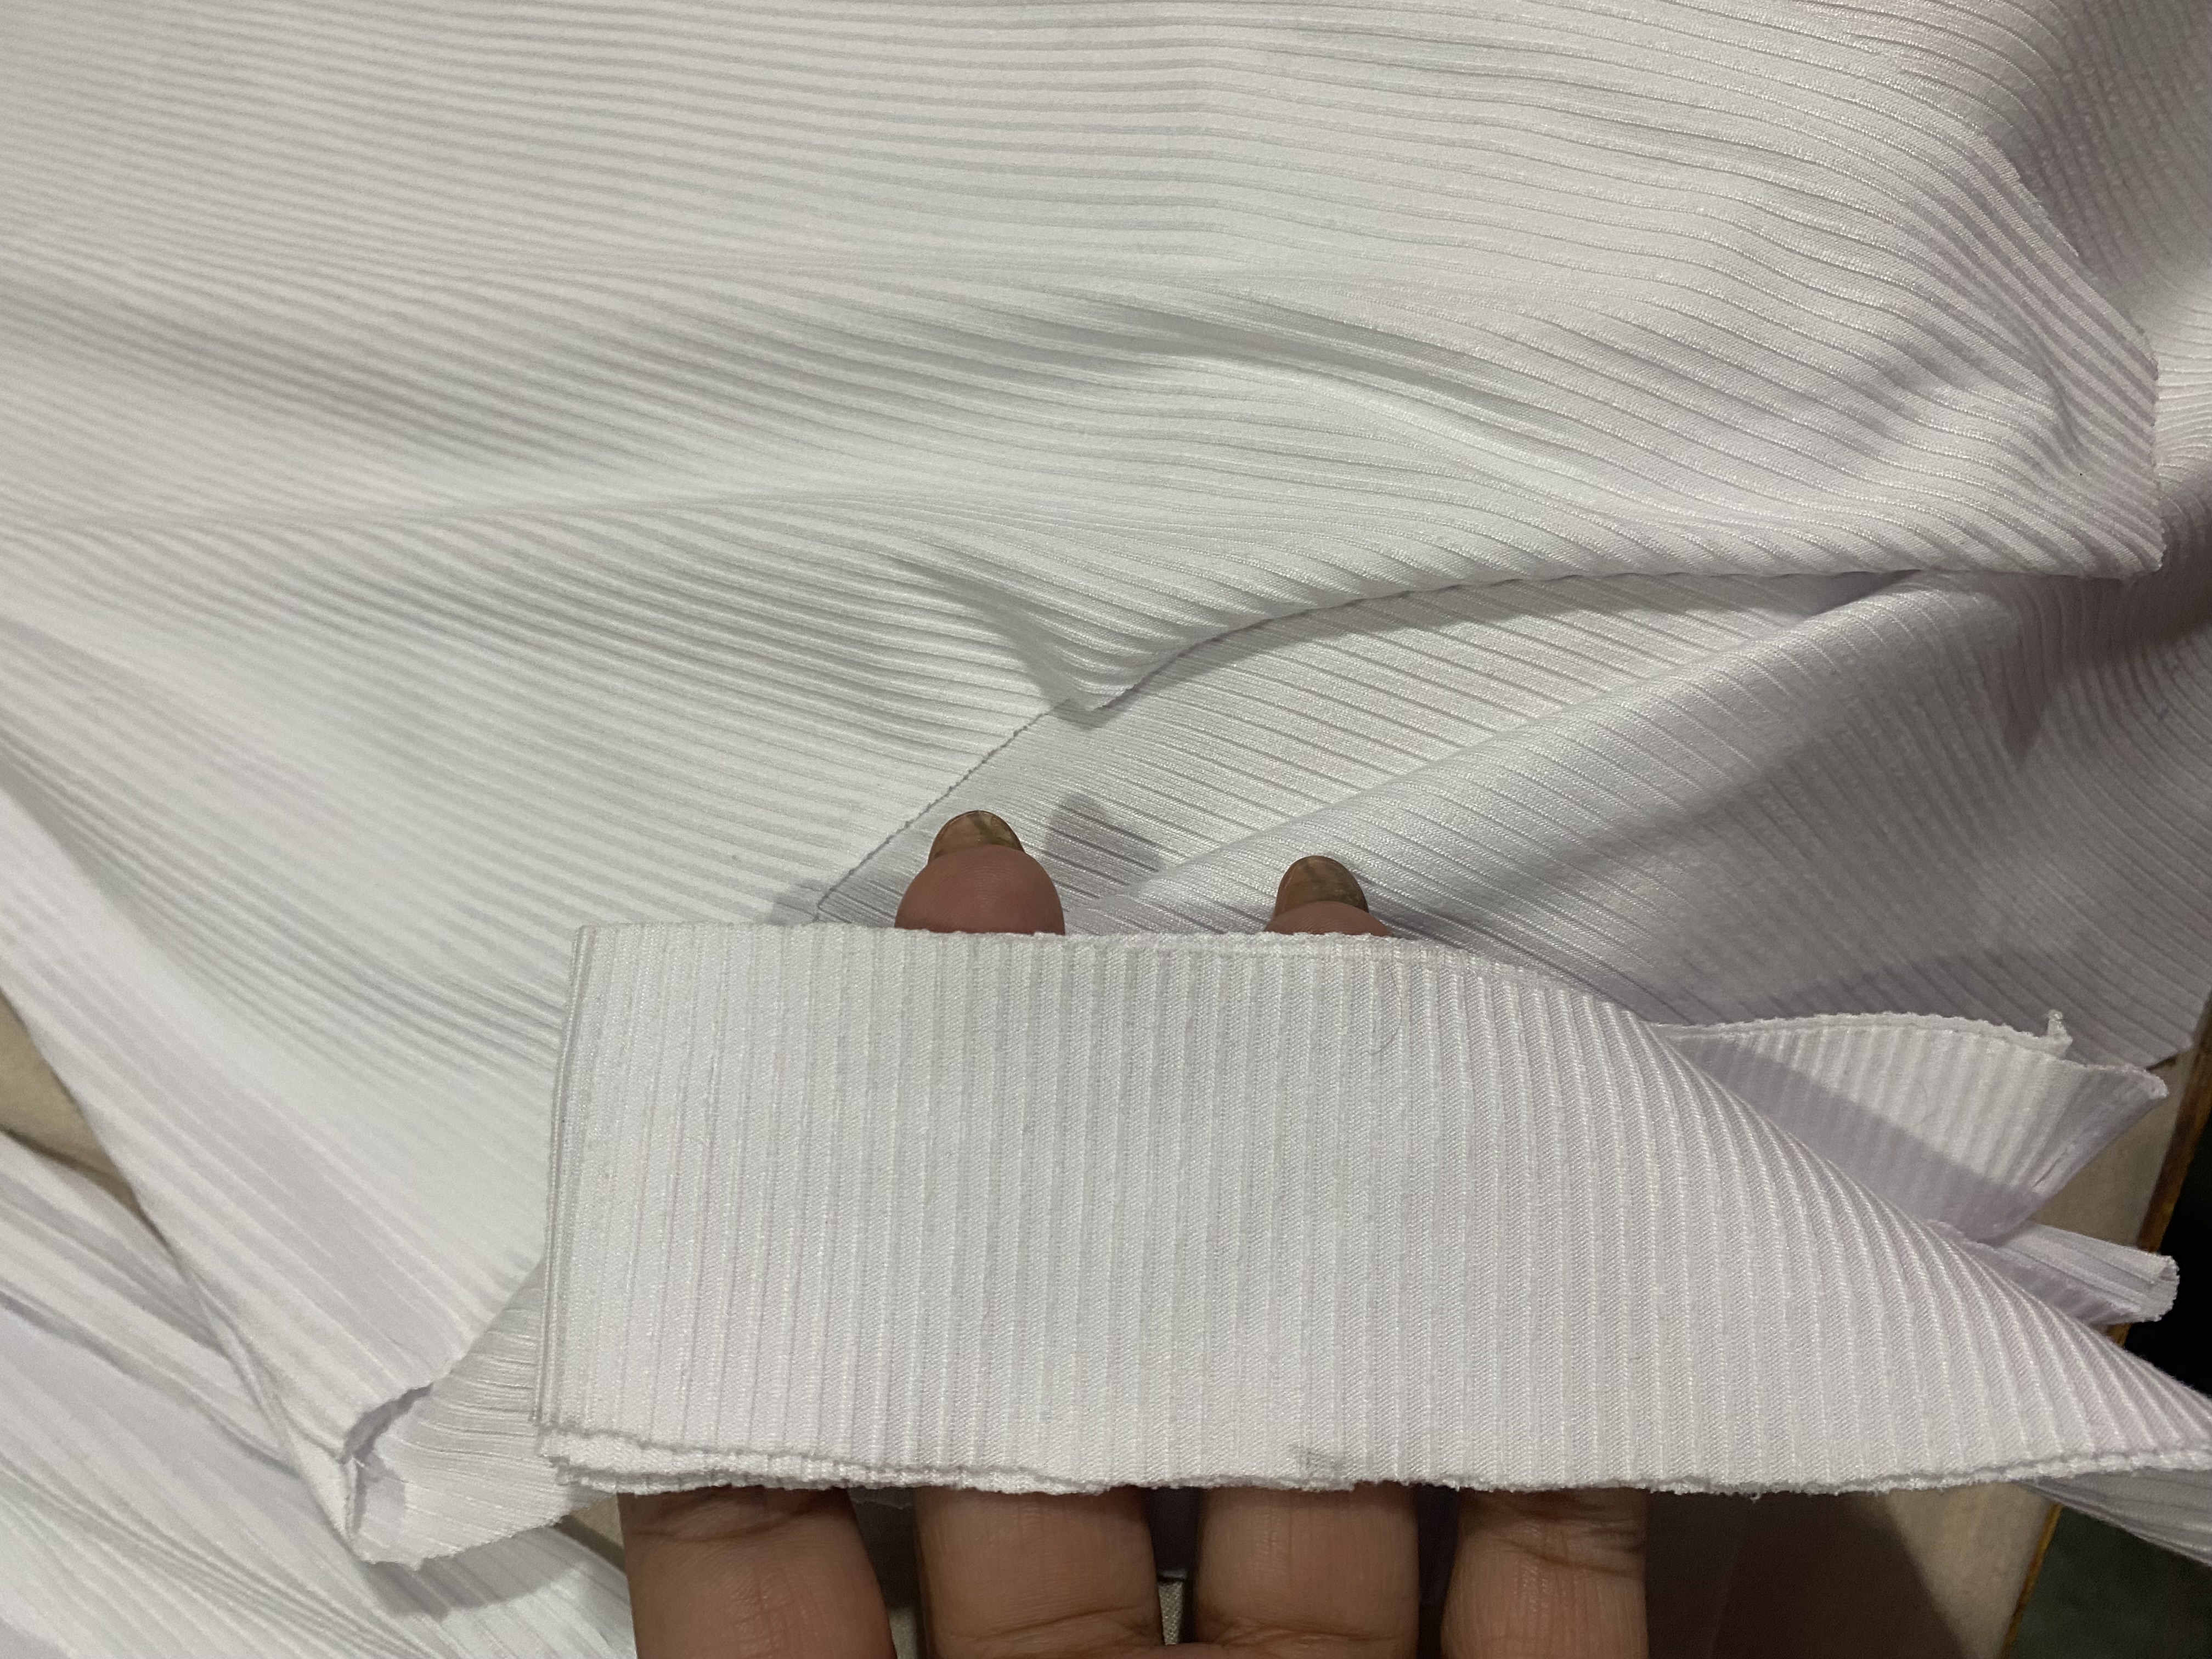
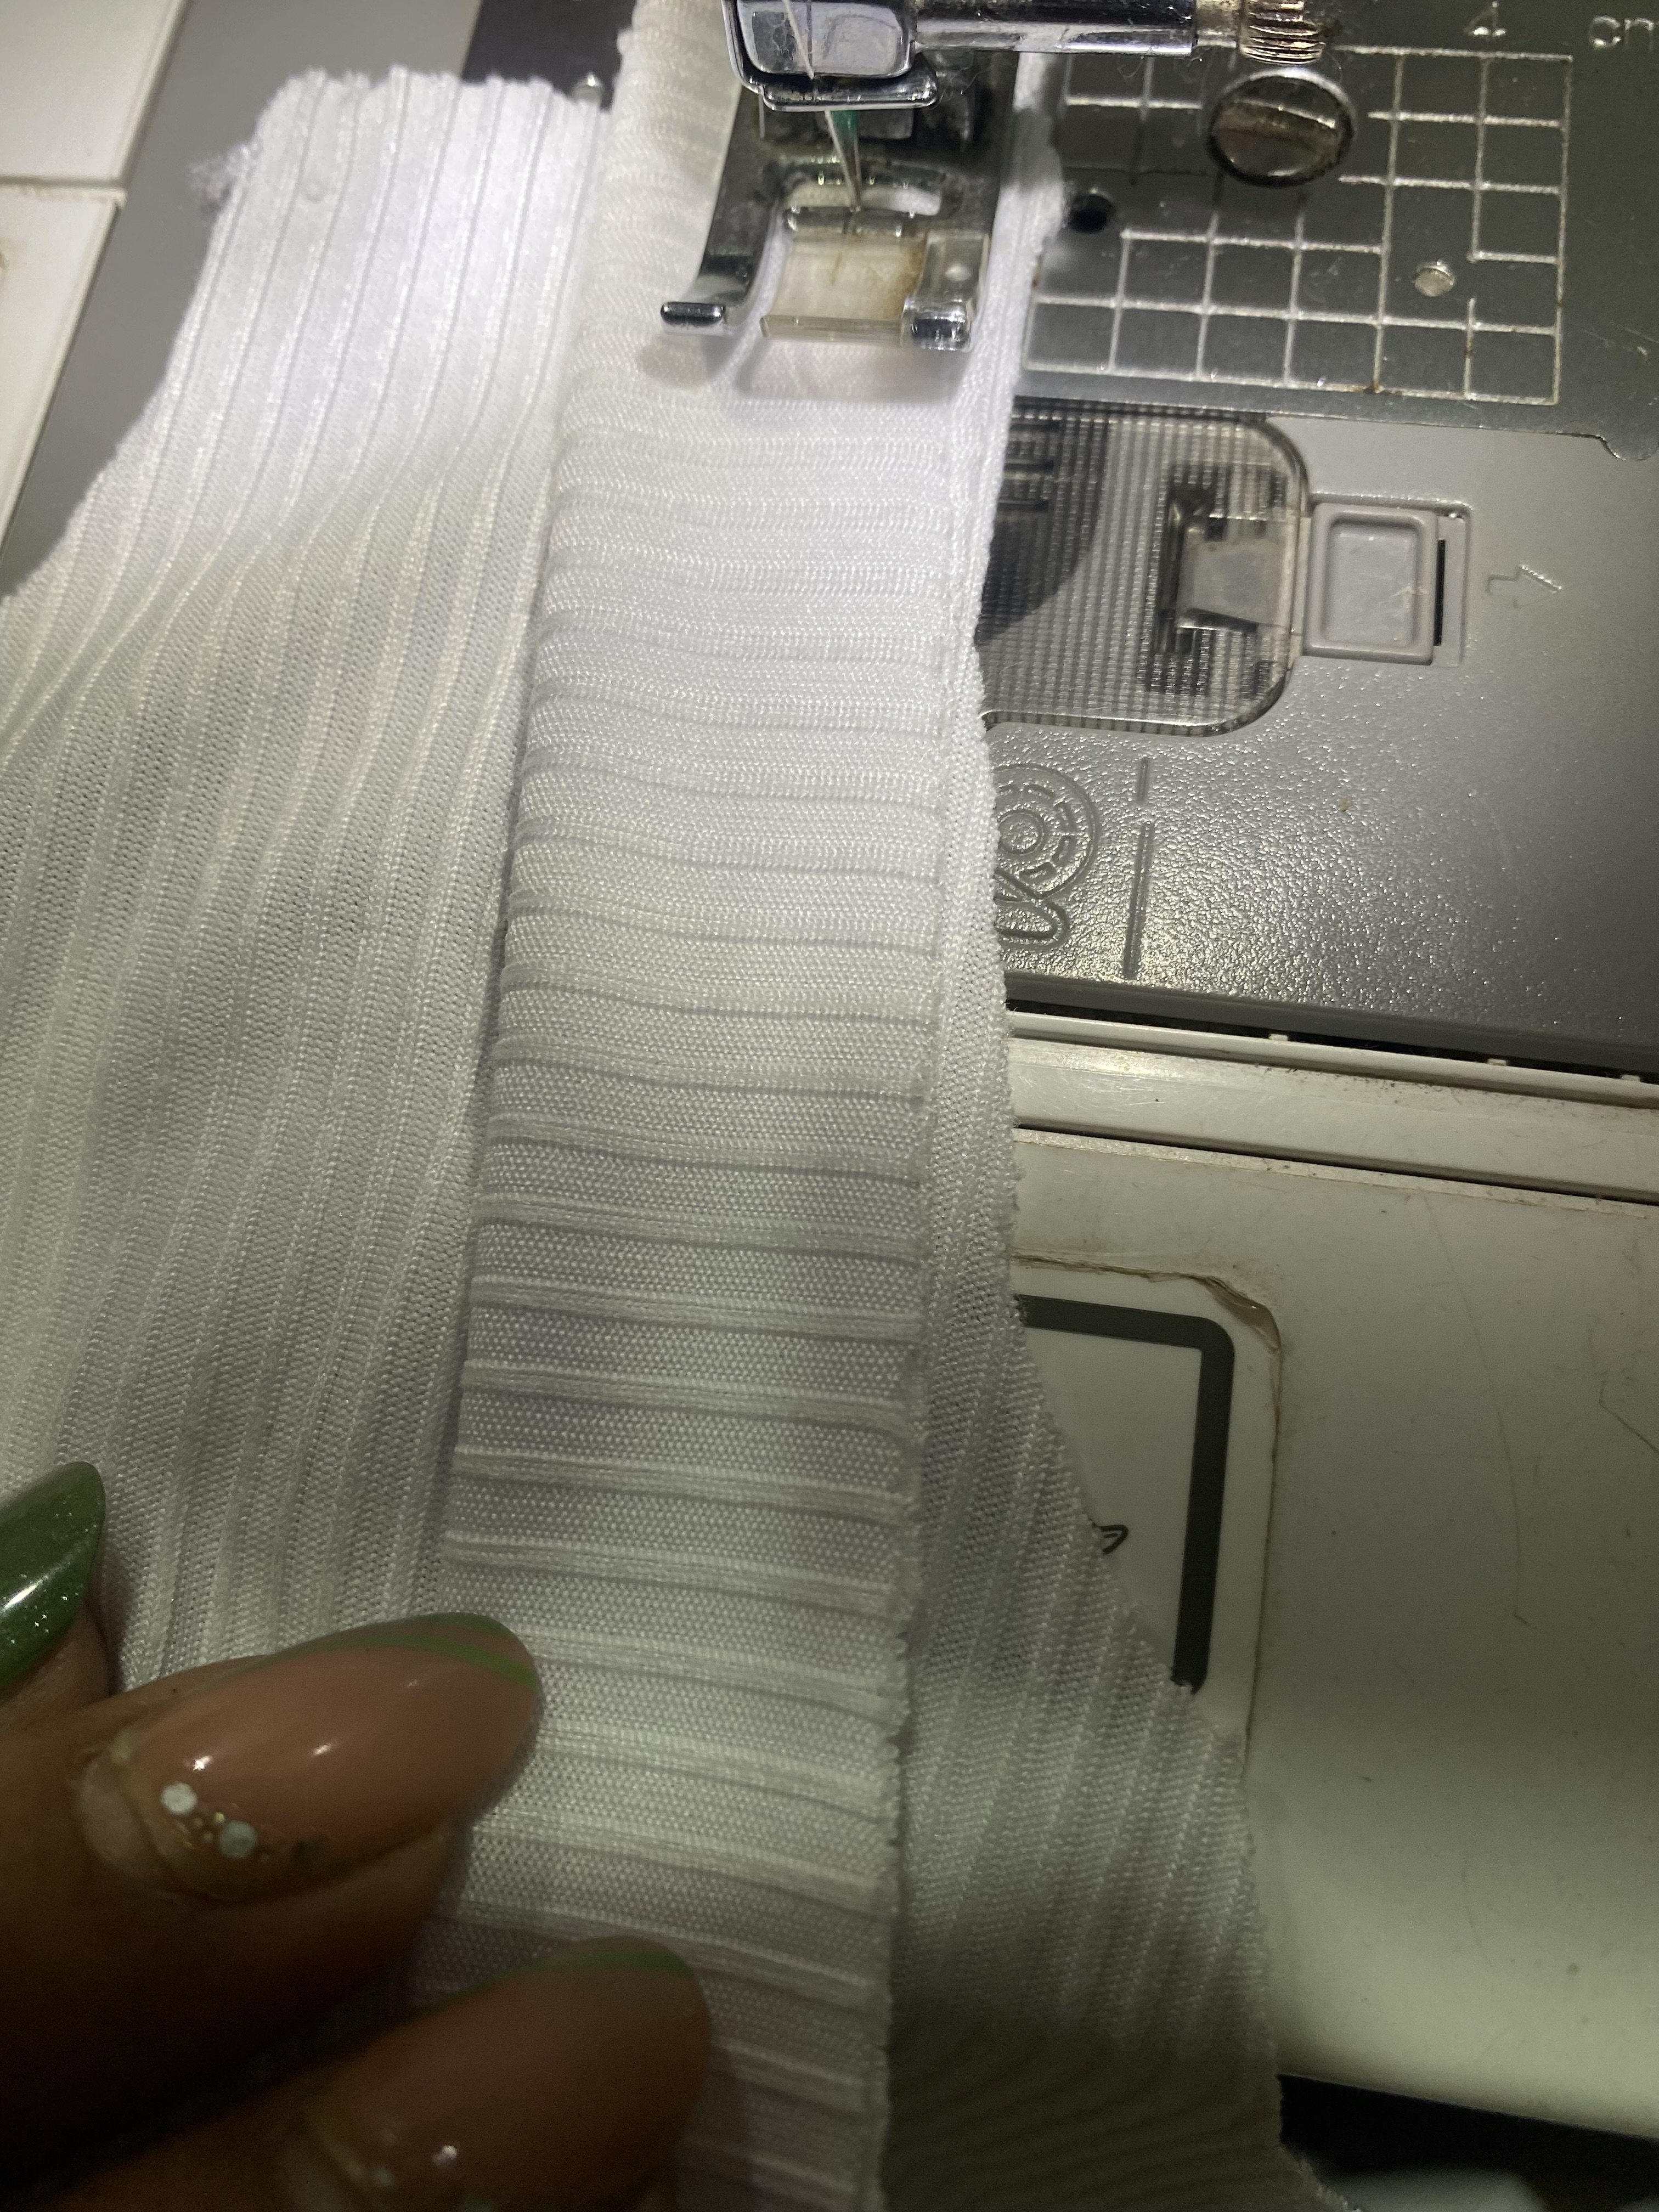
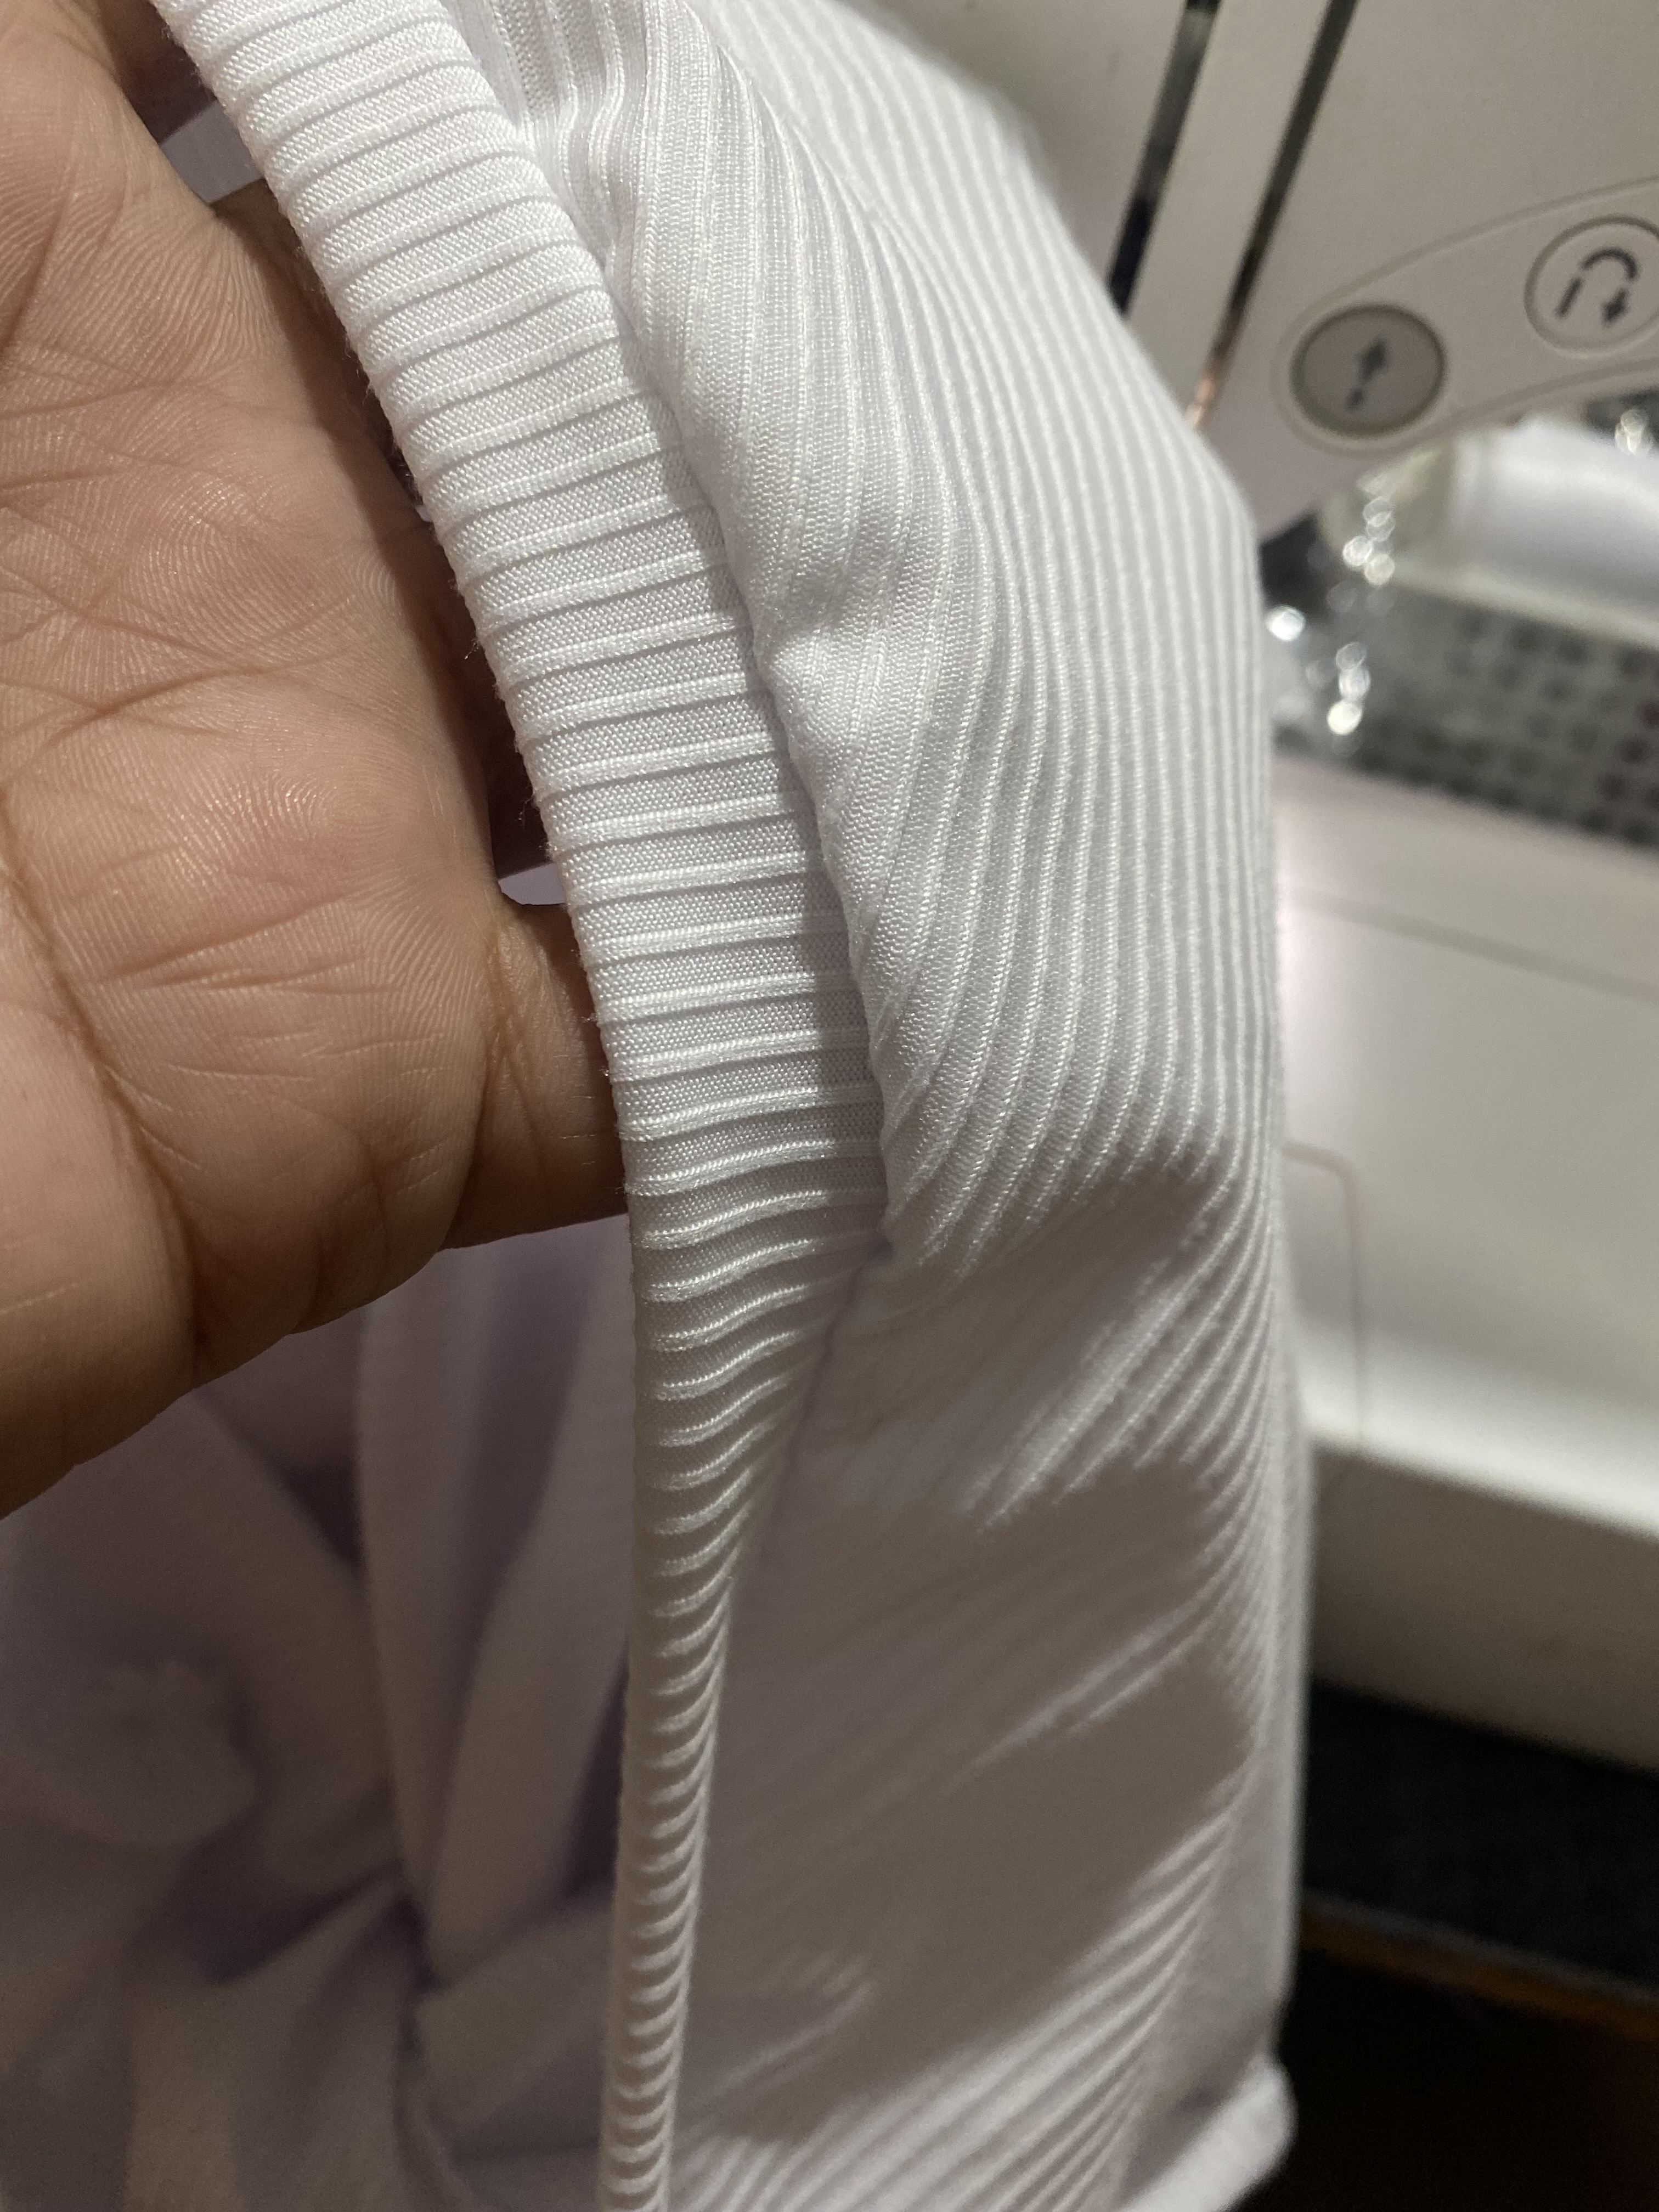
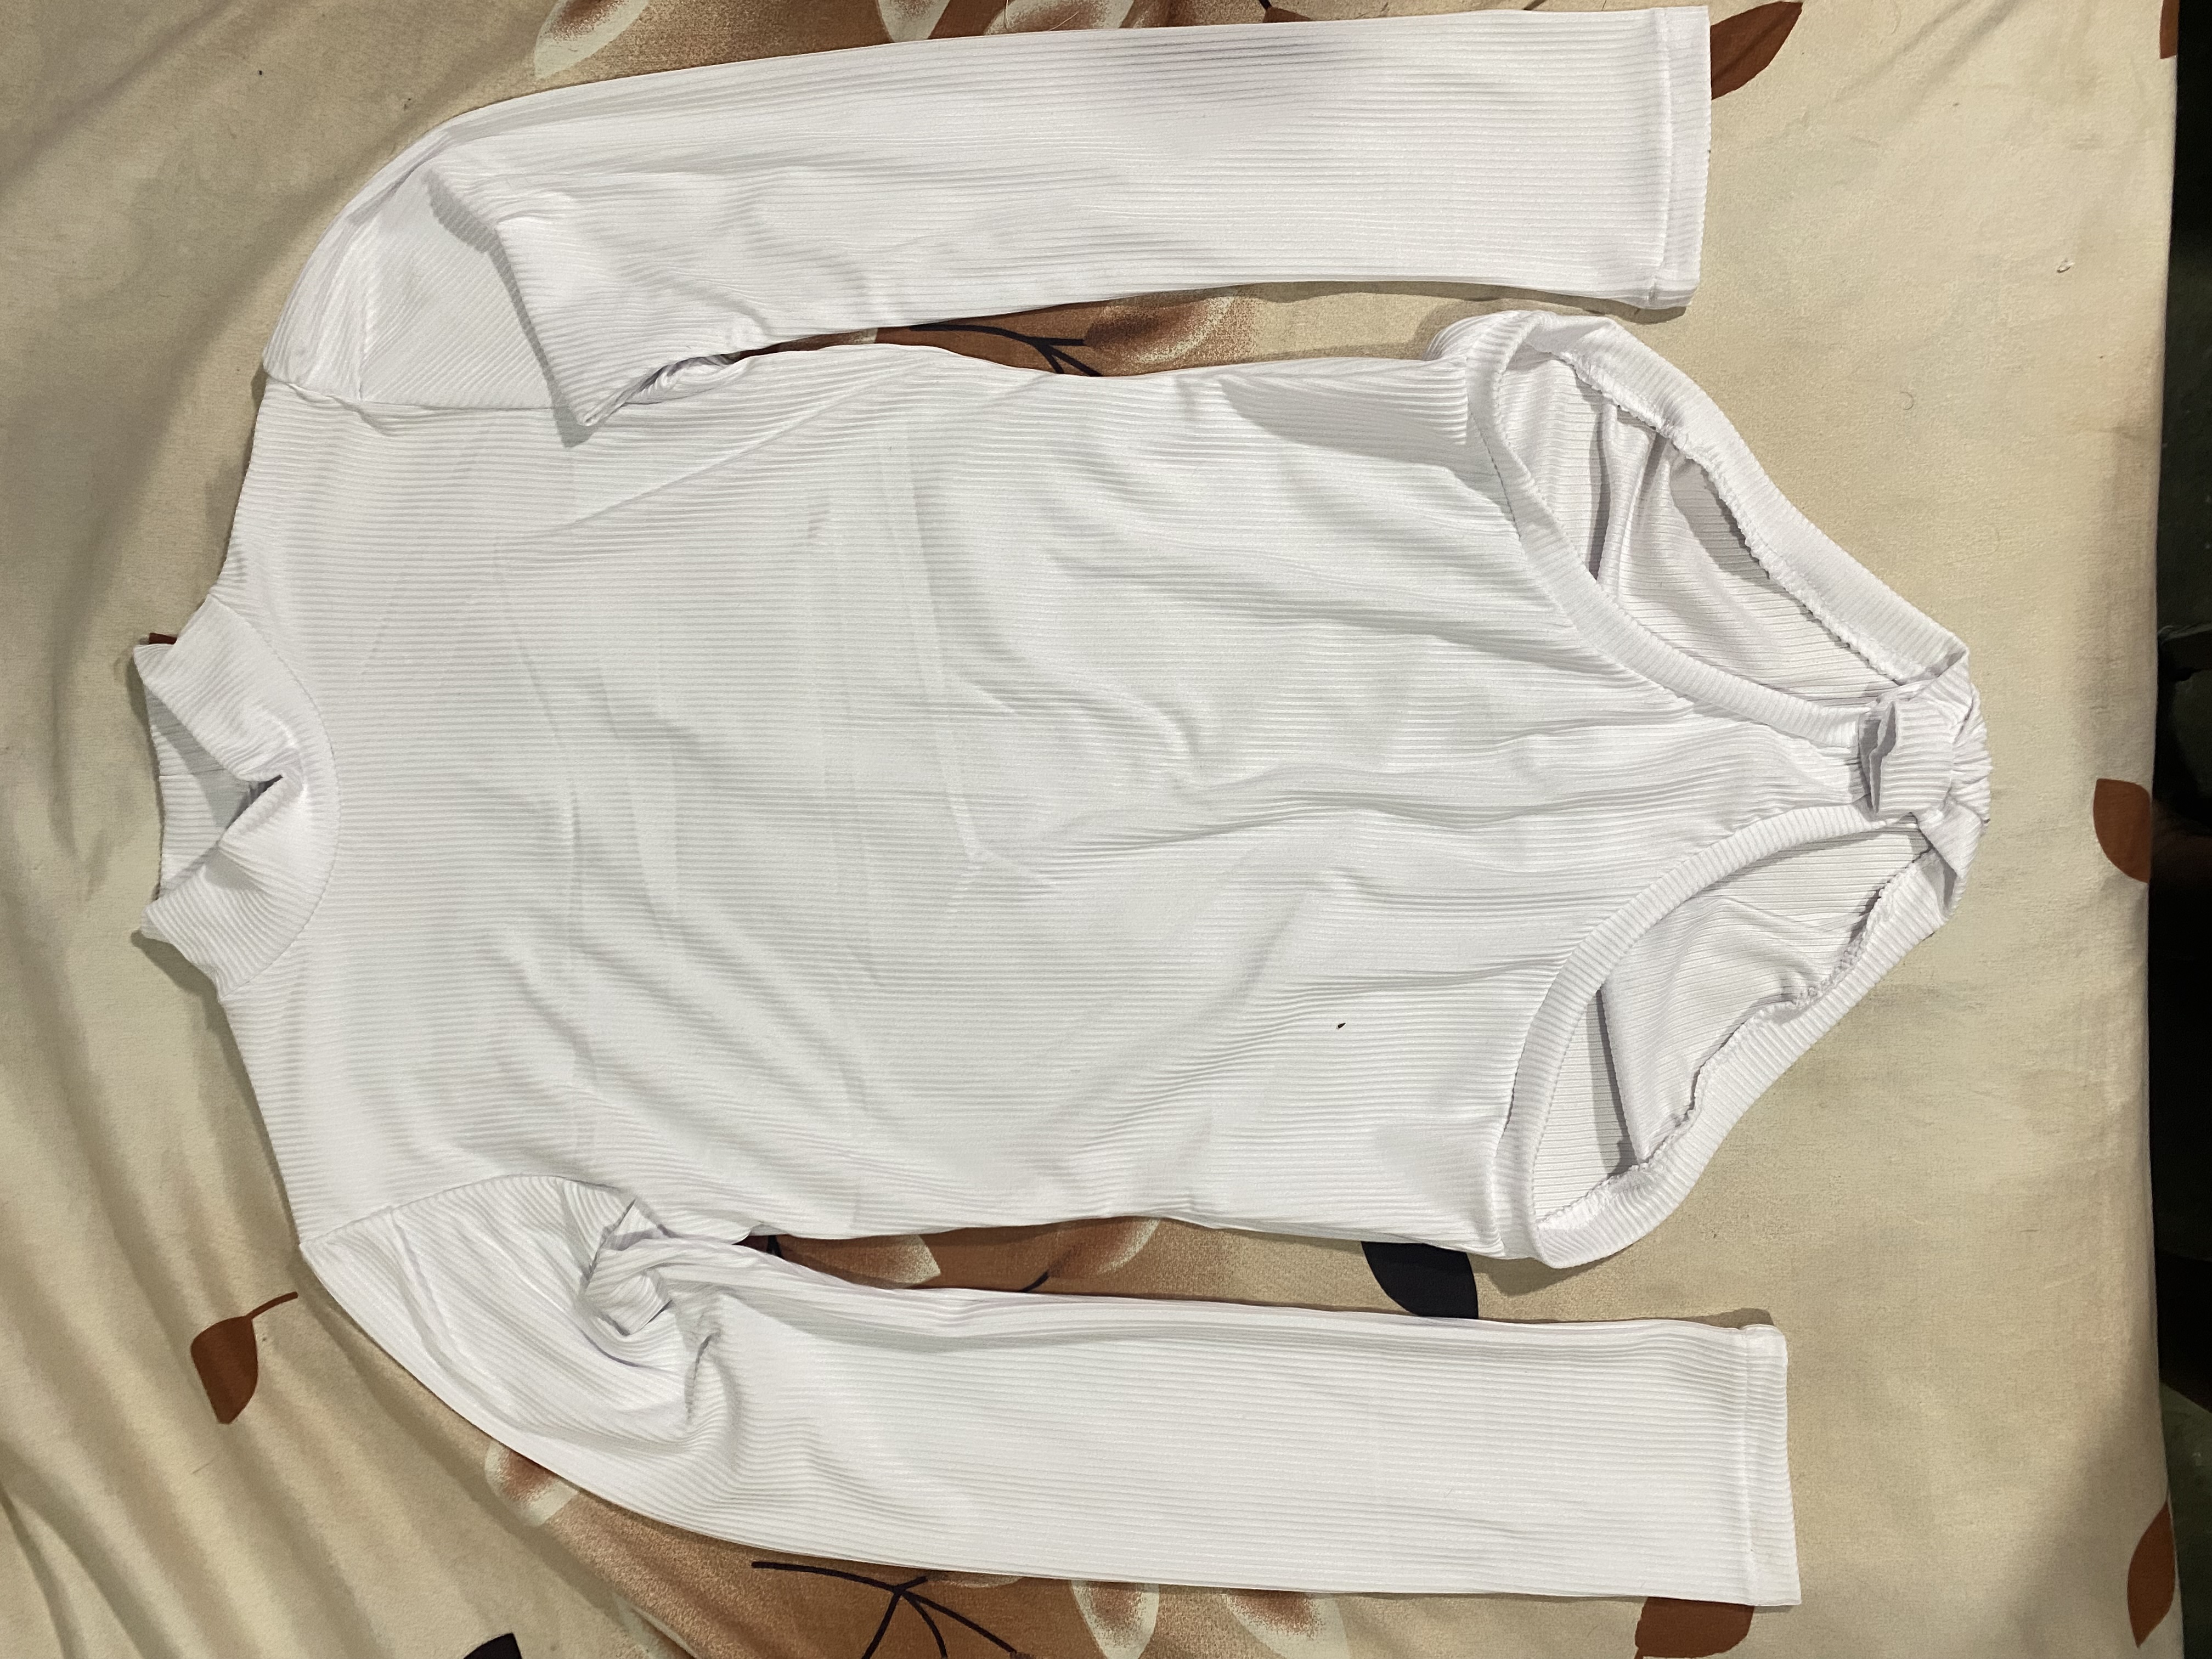
Ya nos falta sólo la parte inferior de nuestro Body, cortaremos una tira de tela de 5 cm de ancha doblamos a la mitad y cosemos por toda la orilla estirando tan sólo un poco para que quede un poco arruchada, en cada punta le vamos a colocar otro retazo de tela dándole la forma cuadrada allí le colocaremos los broches y así ya está listo este hermoso Body manga larga espero les guste el resultado
Now we only need the lower part of our Bodysuit, we will cut a strip of fabric 5 cm wide, fold it in half and sew along the entire edge, stretching it just a little so that it is a little wrinkled, at each end we will place another piece of fabric giving it a square shape there we will place the clasps and thus this beautiful long-sleeved Bodysuit is ready. I hope you like the result.
 |  |
|---|---|
 |  |
Este tipo de prendas es bastante sencillo de confeccionar, toma muy poco tiempo realizarlo, me gustó mucho el procedimiento, de antemano estoy muy agradecida de qué hayas visitado mi Publicación, me despido por hoy deseándoles muchos éxitos y bendiciones
This type of garment is quite simple to make, it takes very little time to do it, I really liked the procedure, I am very grateful in advance that you have visited my publication, I say goodbye for today wishing you much success and blessings.
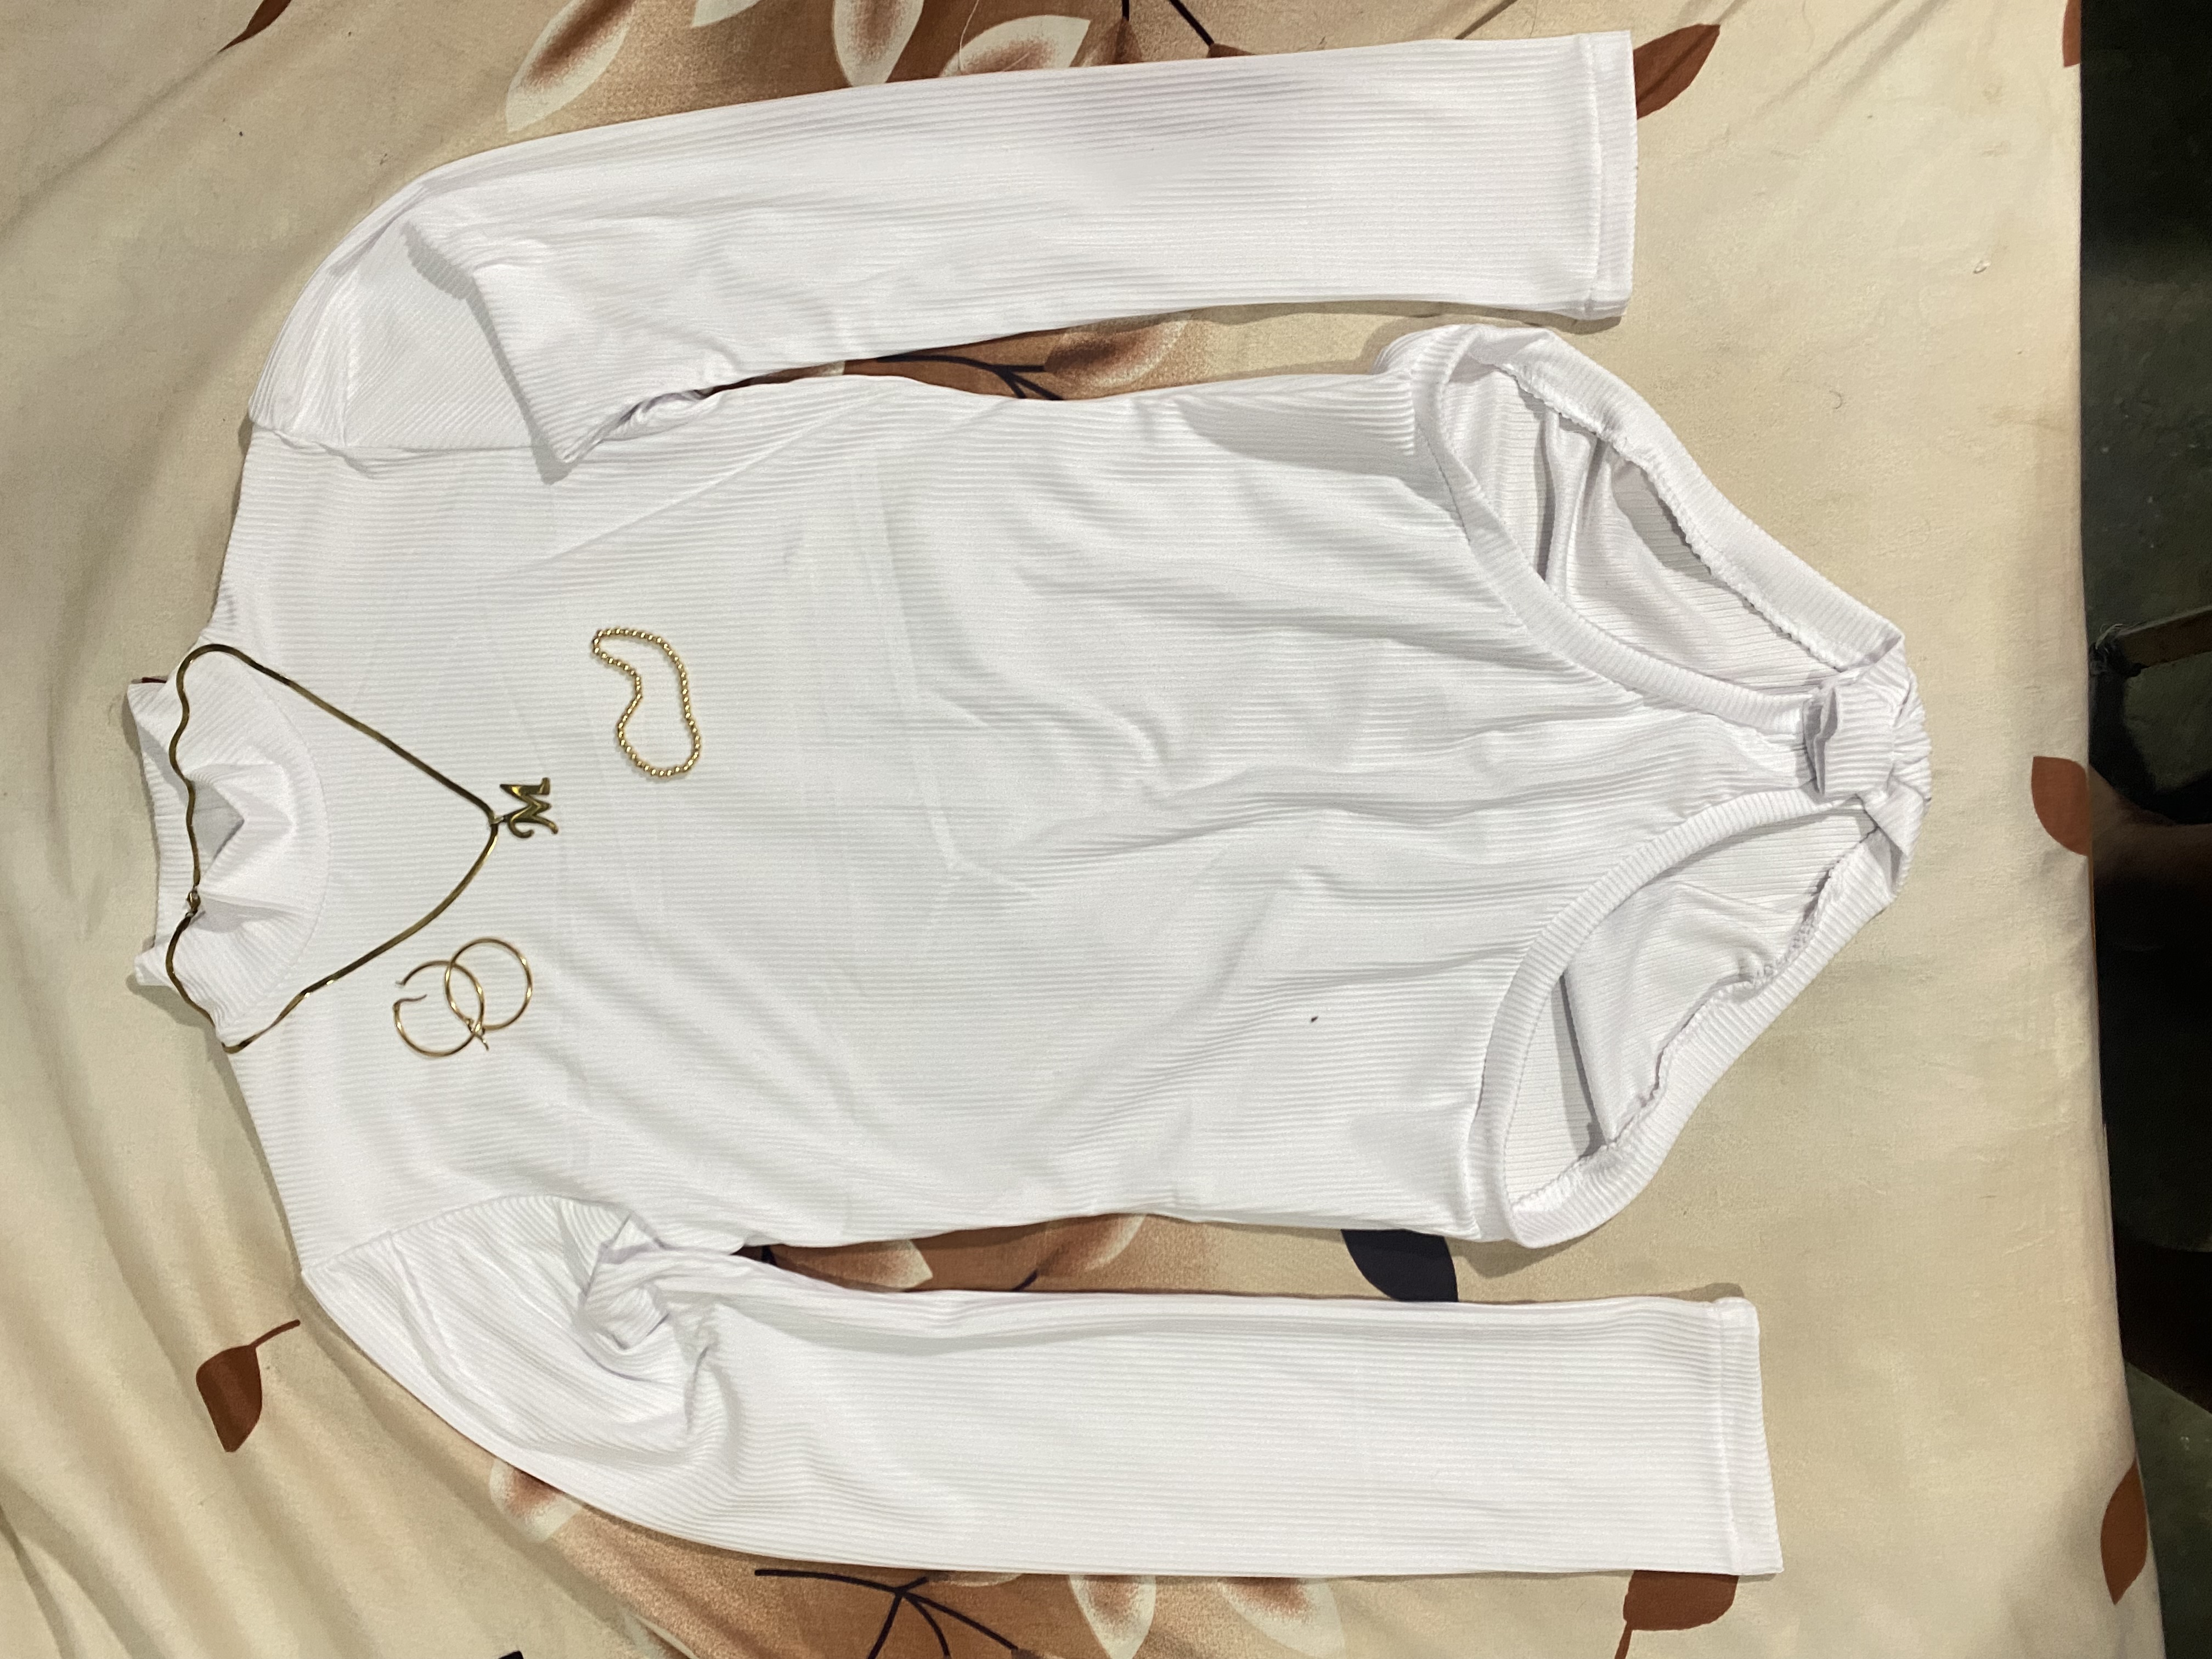
The photos shared here are my property taken with my iPhone 11 phone, the editing was done in Canva, for the translation from English use the Google translator

Sending Love and Ecency Curation Vote!
 Follow Eceny's curation trail to earn better APR on your own HP. : )
Hola amiga, que lindo body, la tela micro rib me encanta, es fresca y práctica al momento de coser.
Saludos!