Muy buenos días. Me llena de alegría saber que puedo hoy miércoles compartir con ustedes unos de mis trabajos. Pido a Dios que les bendiga y les guarde en gran manera.
Good morning. It fills me with joy to know that today Wednesday I can share with you some of my work. I ask God to bless you and keep you in a great way.
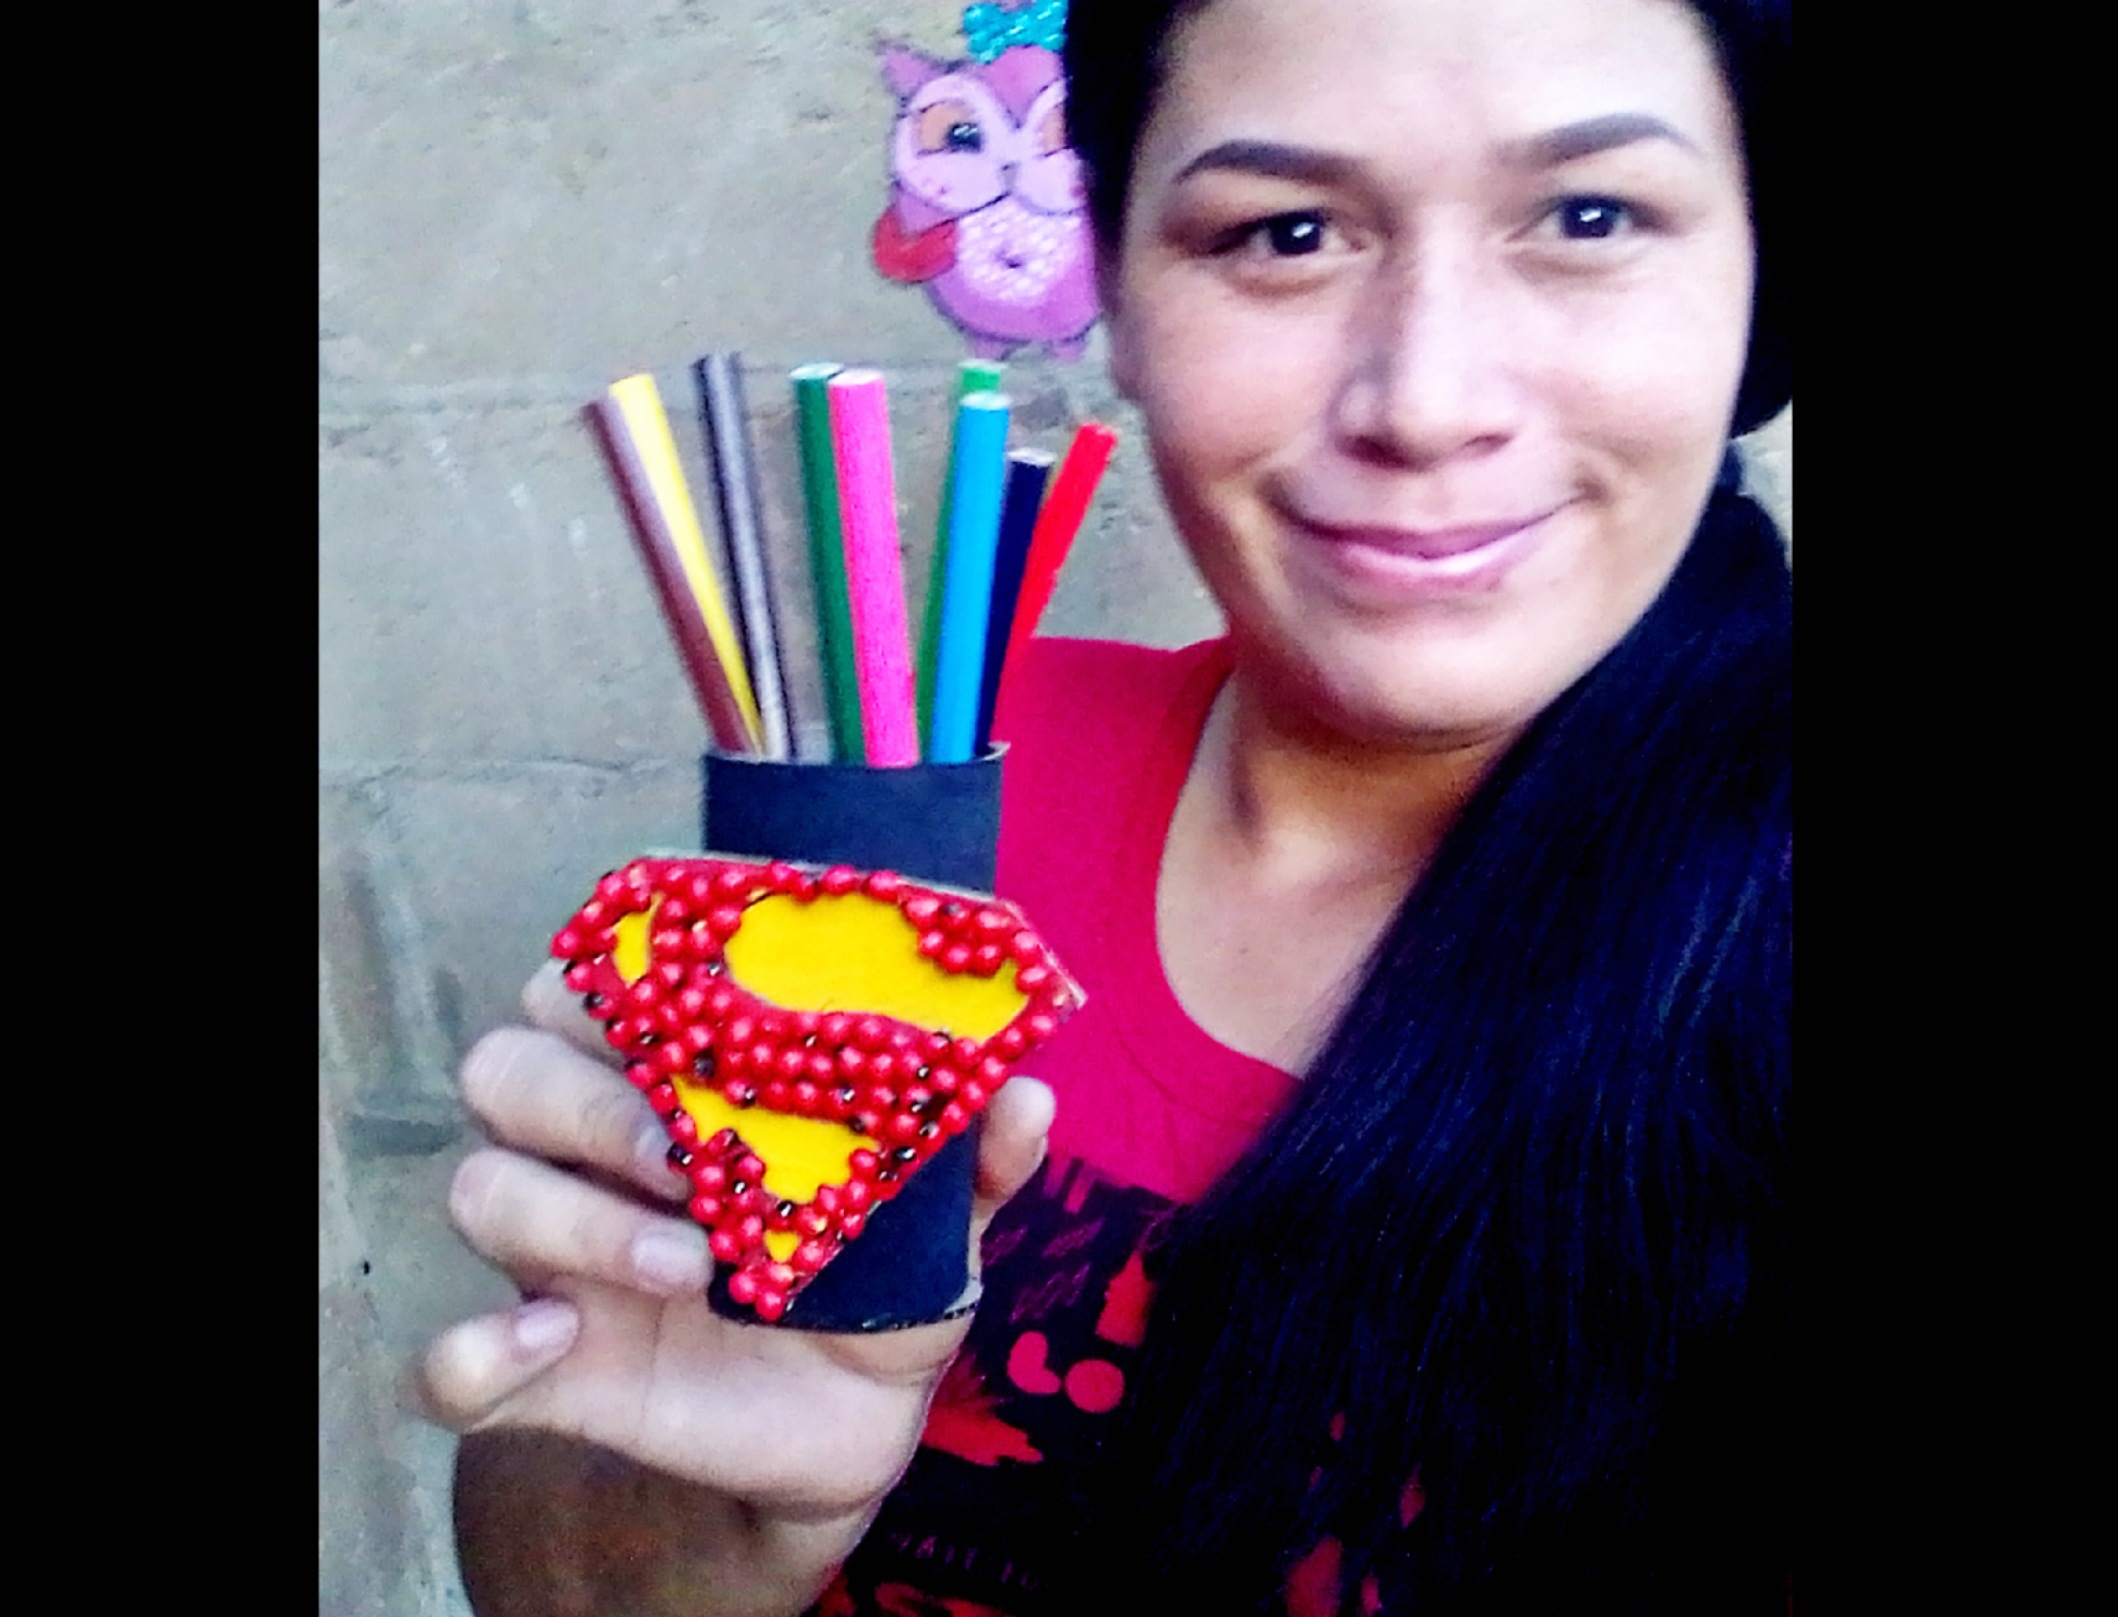
La verdad, cómo les conté en días pasados, se acerca el cumpleaños de mi hijo, va a cumplir 5 añitos. A mi hijo le llama la atención el personaje " Superman" decidi pues enfocarme en esta imagen de este superhéroe para realizar mi trabajo del día. Le hice a mi hijo un "portalapiz Superman". Quédate conmigo y te divertirás aprendiendo, verás que con materiales de reciclaje podrás trabajar.
The truth, as I told you in days past, my son's birthday is coming up, he will be 5 years old. My son is attracted by the character "Superman" so I decided to focus on this image of this superhero to do my job for the day. I made my son a "Superman pencil holder". Stay with me and you will have fun learning. you will see that you can work with recycled materials.
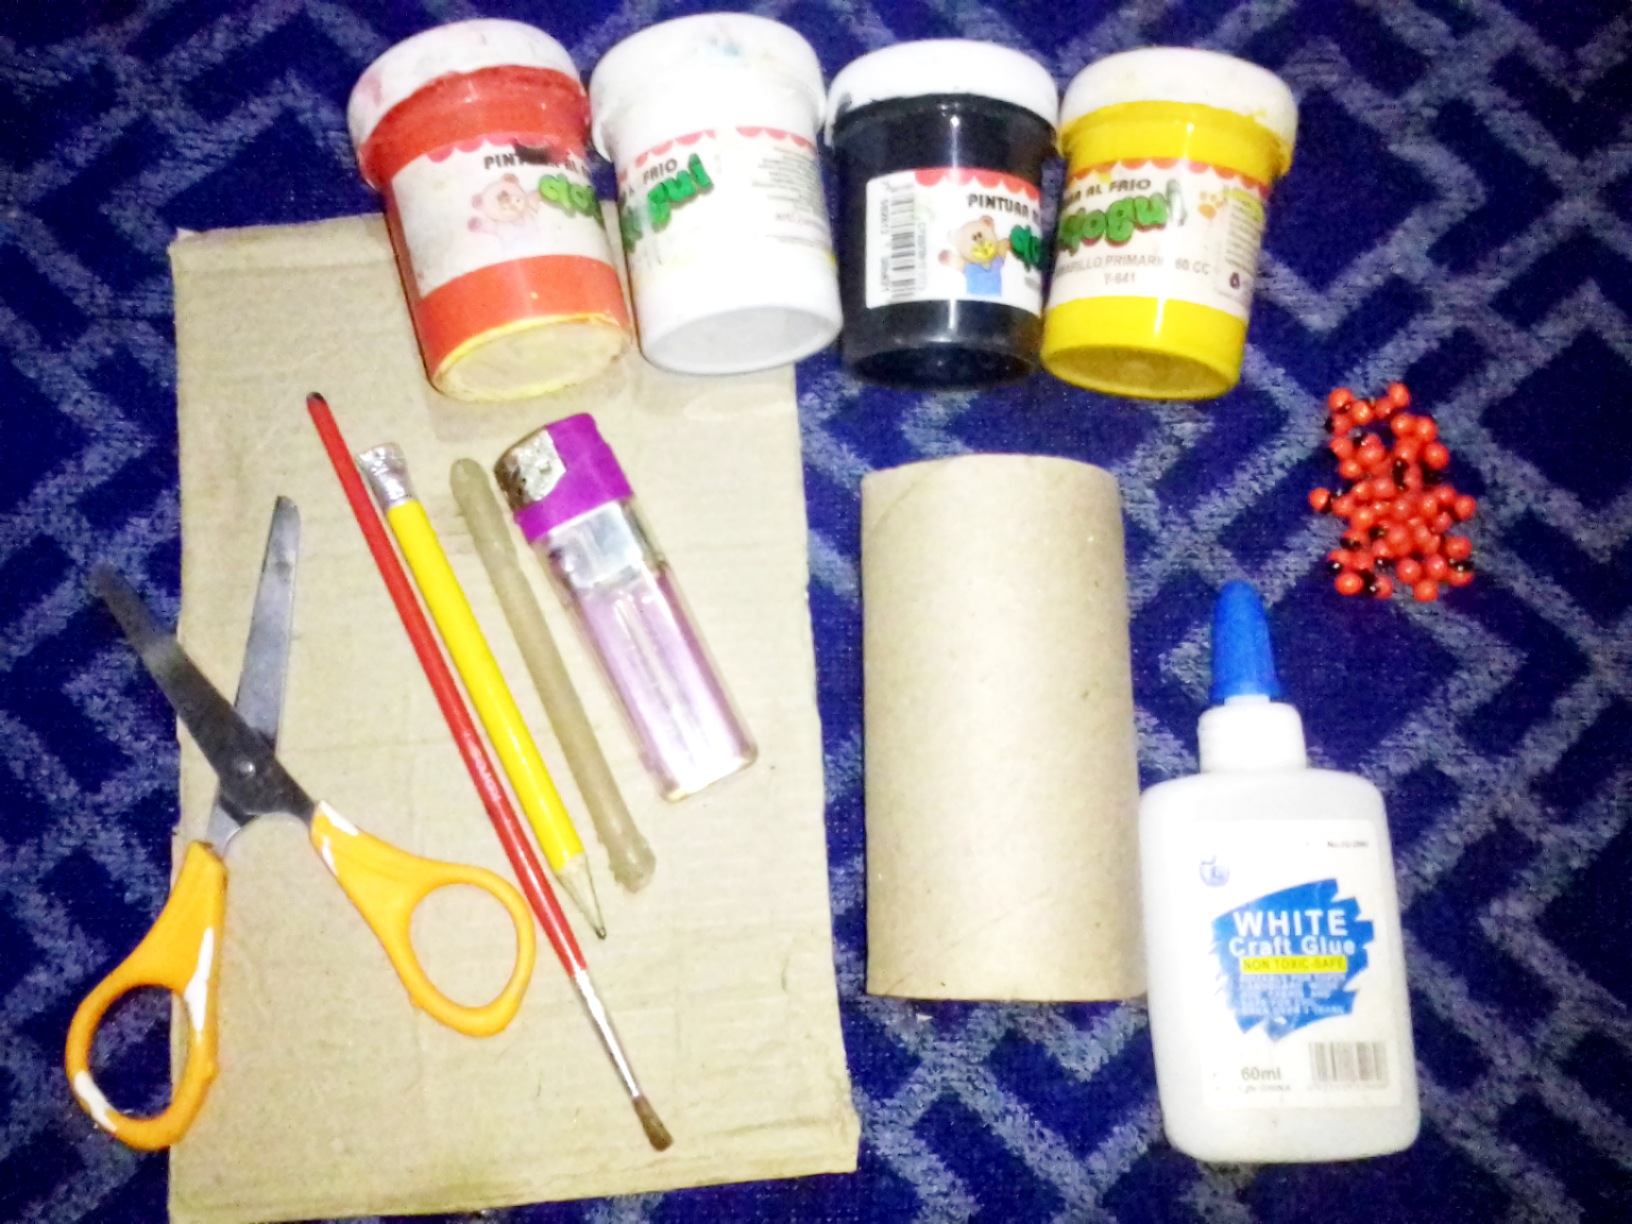
- Rollo de cartón
- Pinturas al frío, color: amarillo, rojo, blanco, negro.
- Pincel
- Pega blanca
- Tijeras
- Peionias
- Lápiz creyon
- Cardboard roll
- Cold paints, color: yellow, red, white, black.
- Brush
- white glue
- Pair of scissors
- peonies
- Crayon pencil
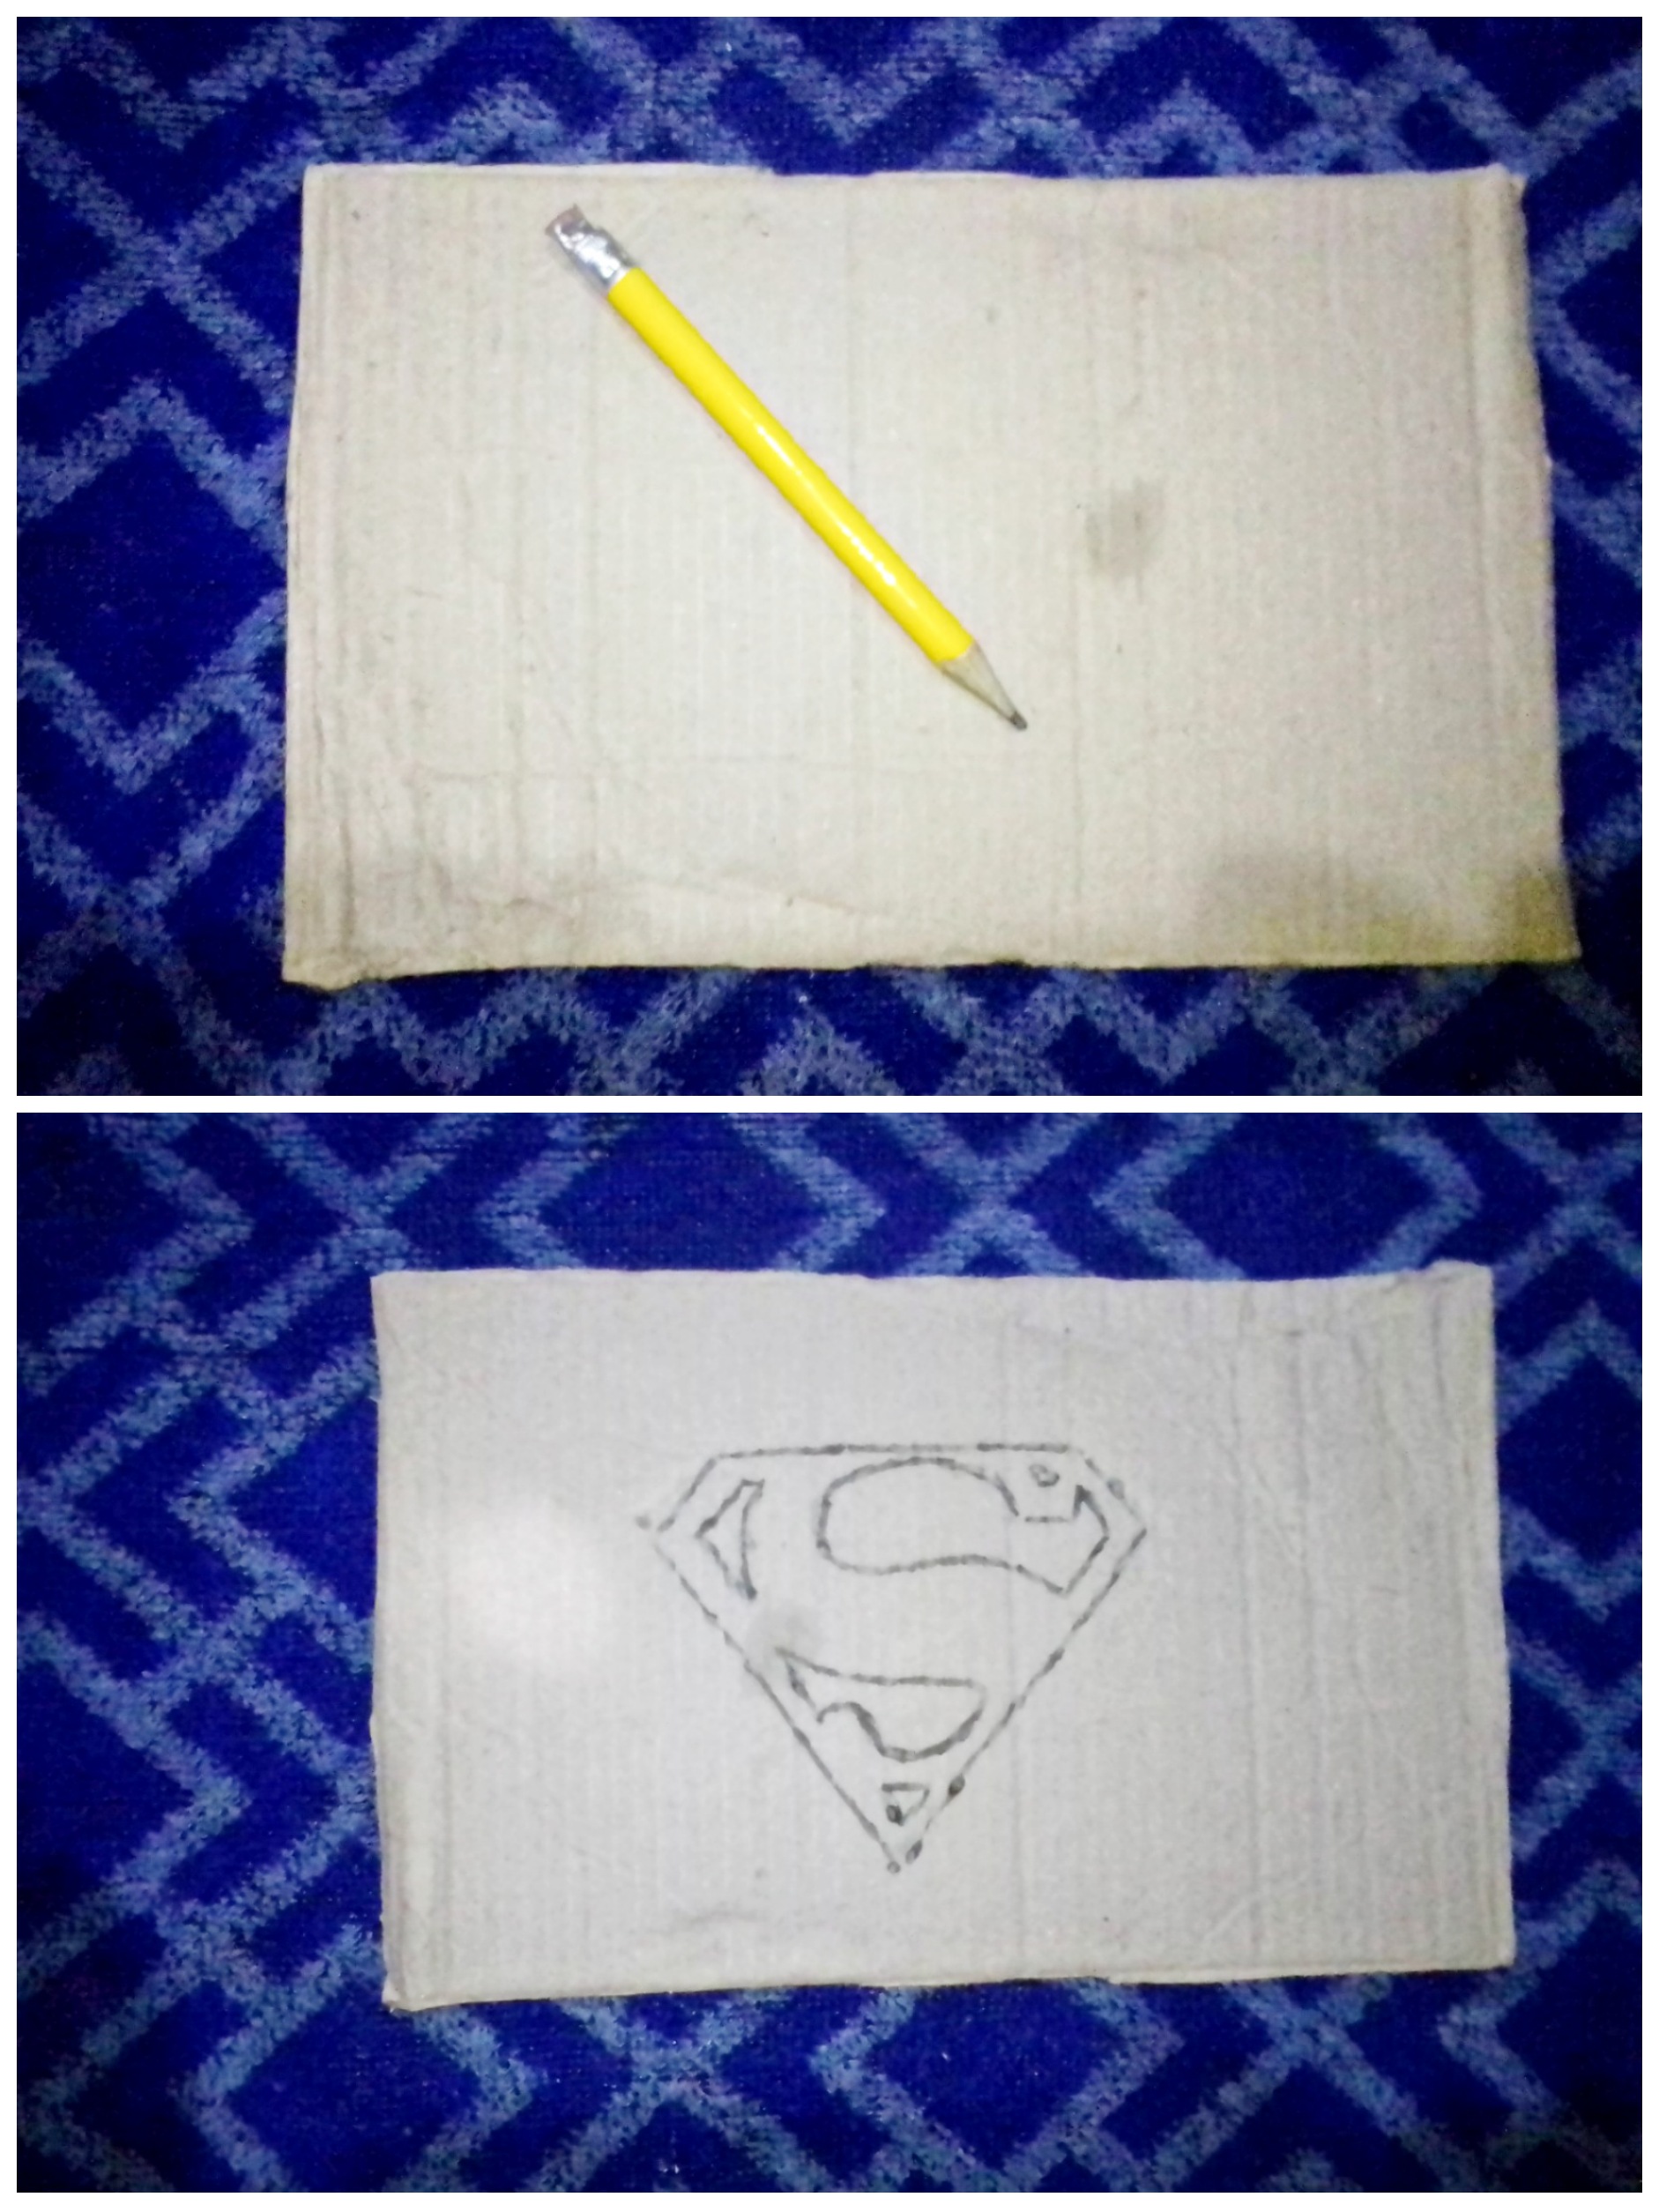
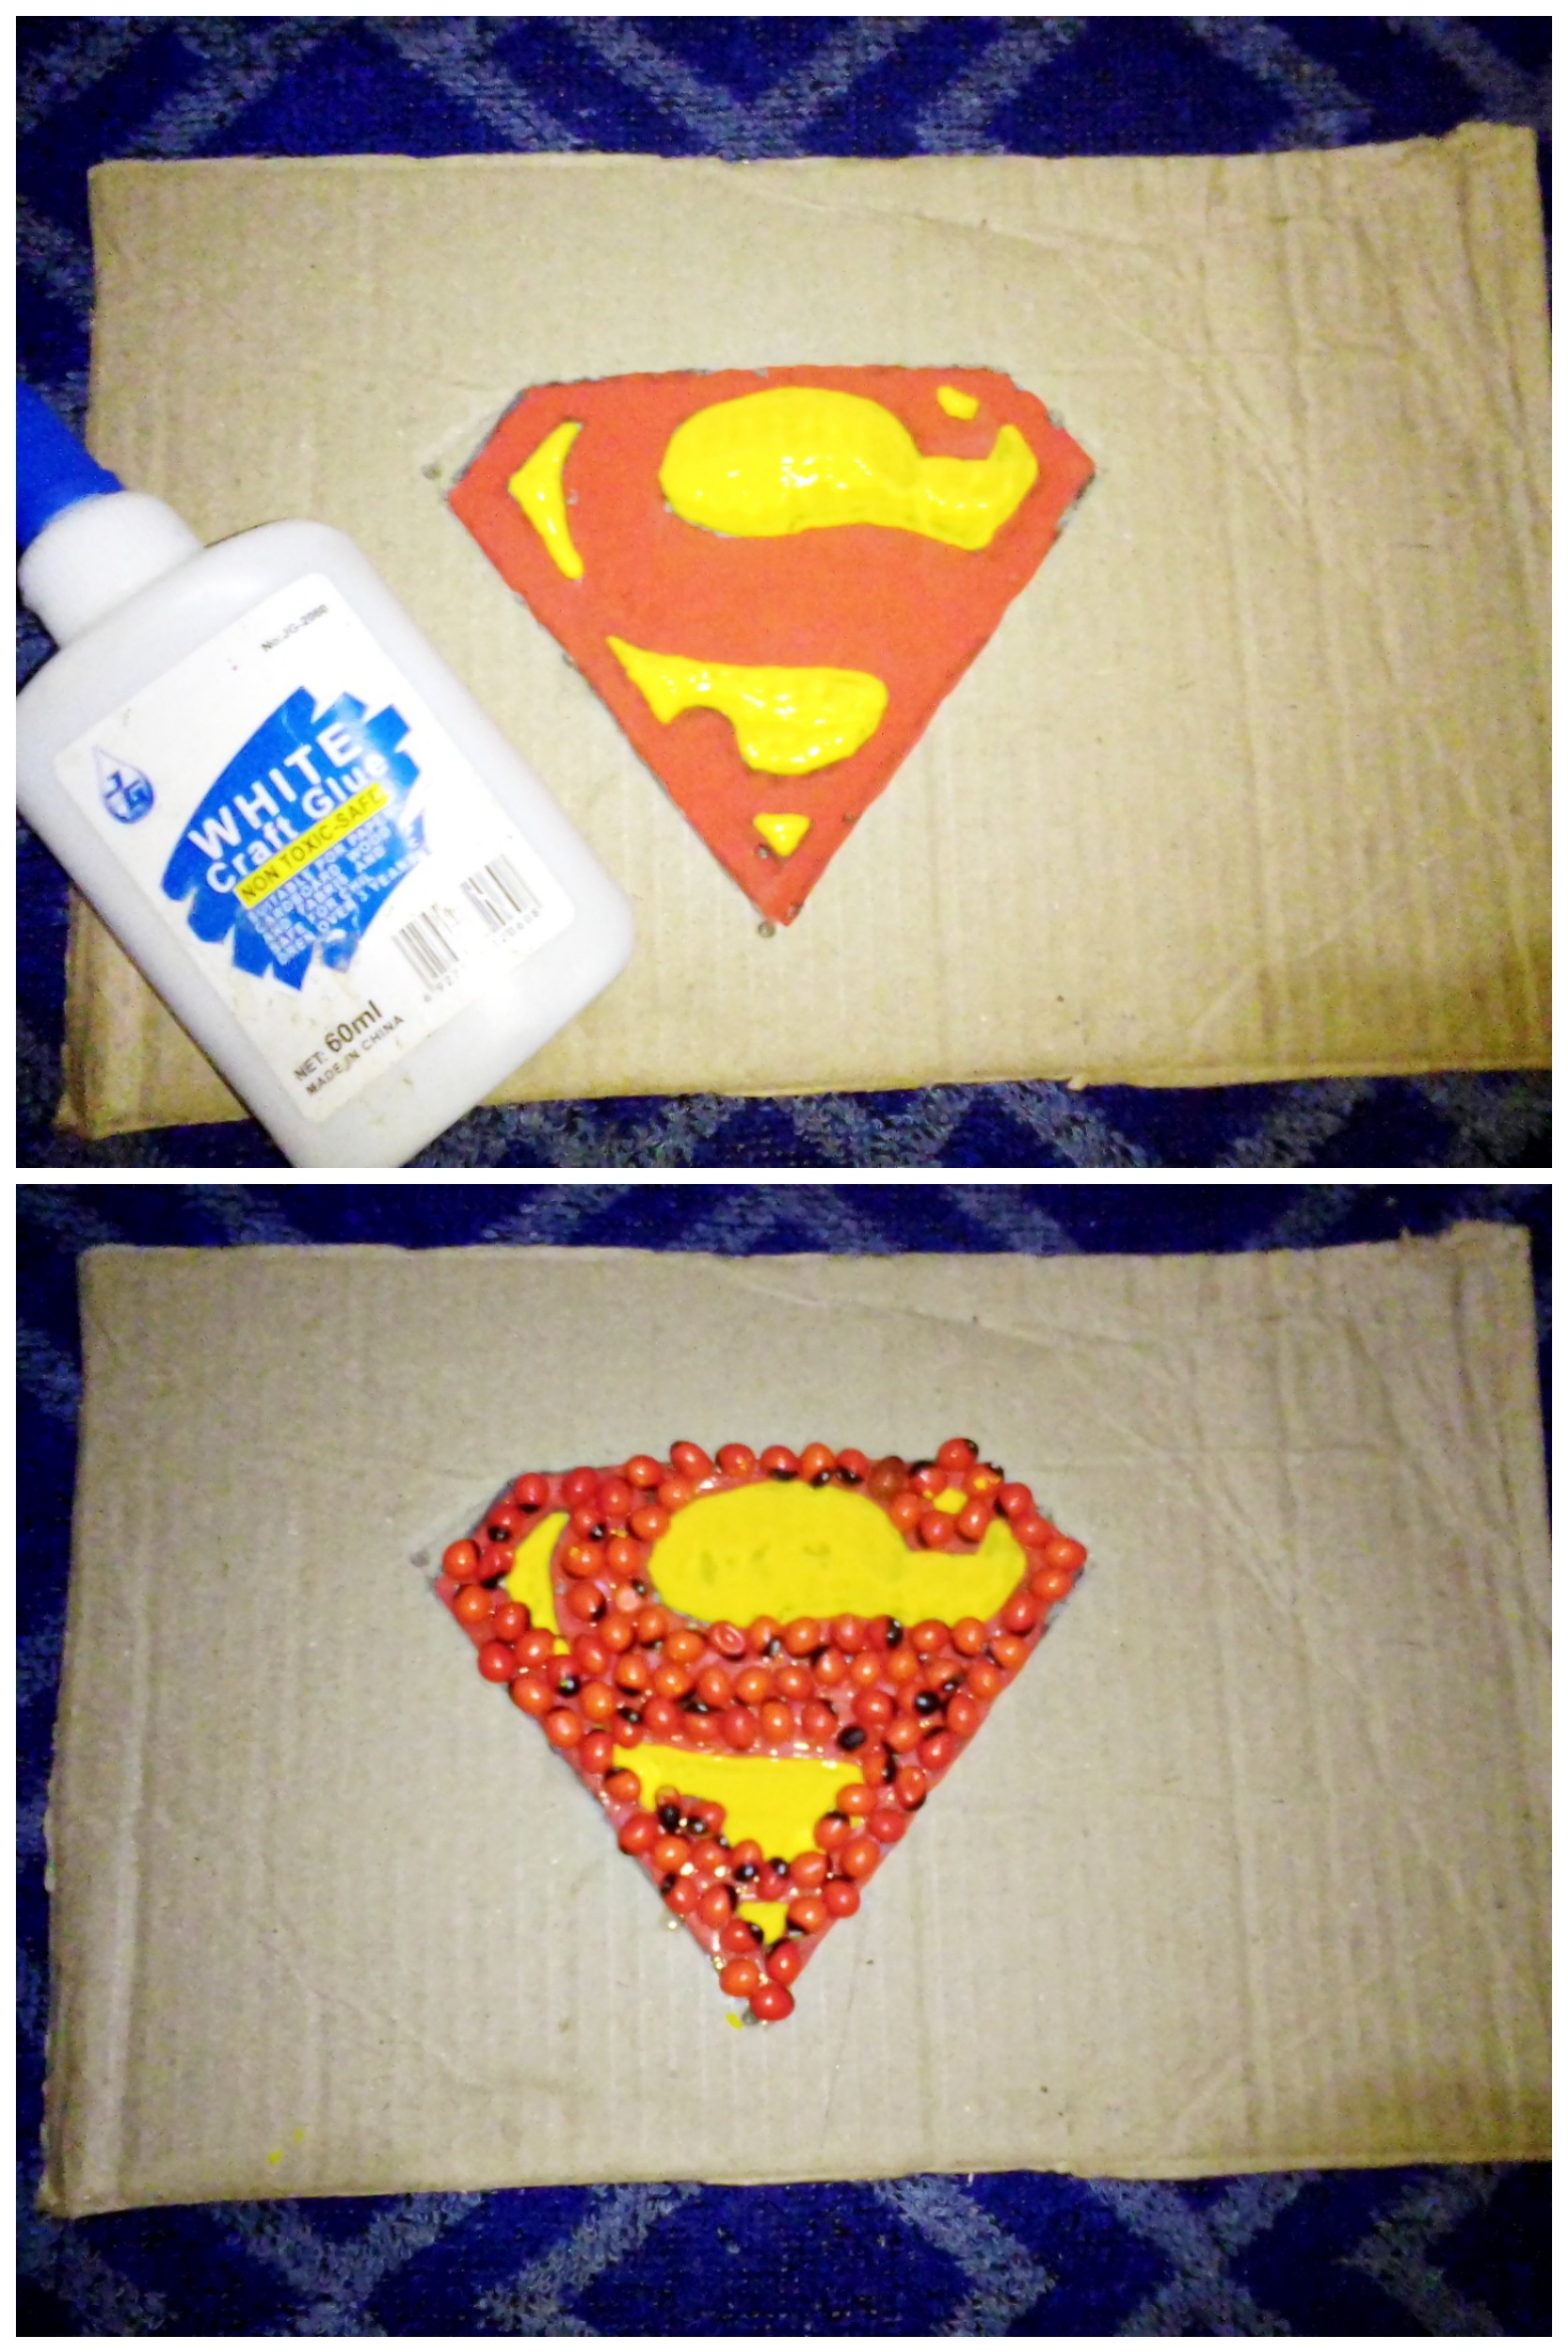
Empieza trazando el logo de superman sobre el cartón. Utiliza el lápiz de creyon.
Start by tracing the superman logo onto the cardboard. Use the crayon pencil.
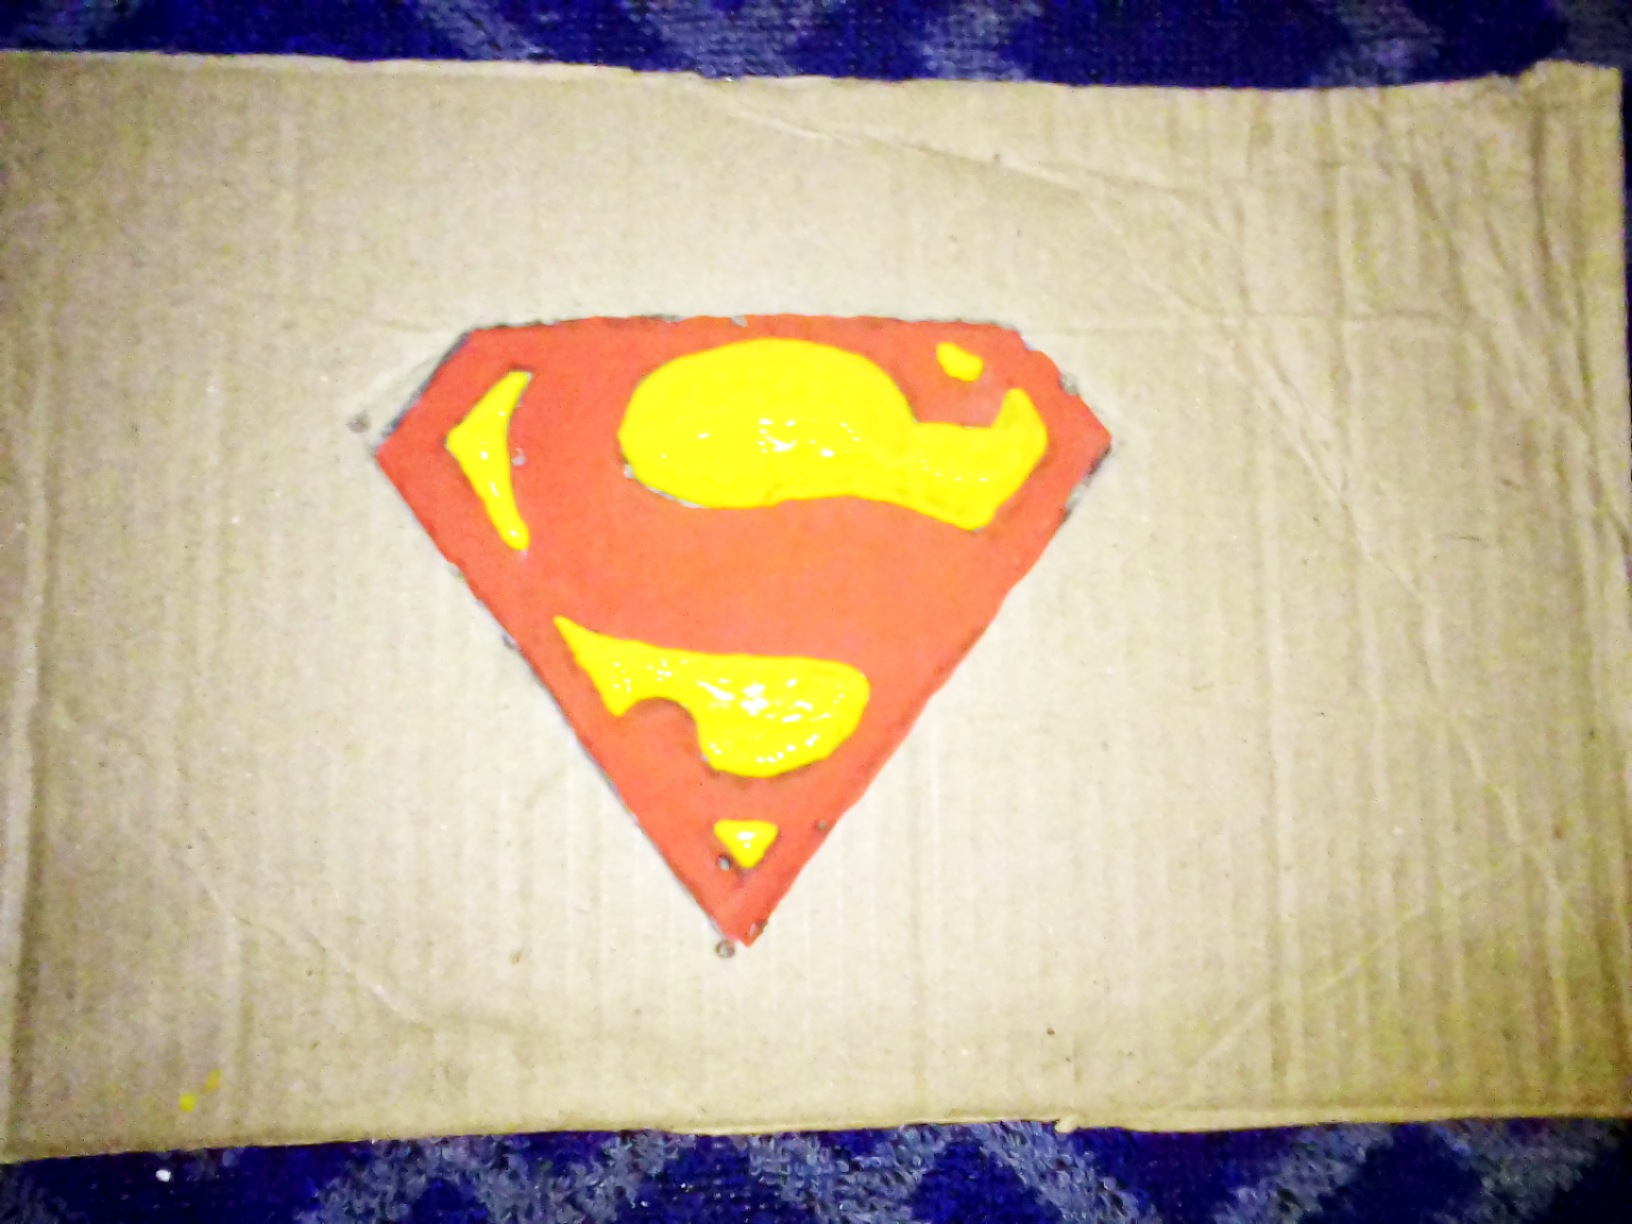
Empieza a añadir color al dibujo realizado. Primero con color rojo llena los espacios más grandes.
Start adding color to the drawn drawing. First with red color fill the largest spaces.

Con amarillo, sigue añadiendo color al diseño, con este color terminarás de utilizar la pintura😁😁
With yellow, keep adding color to the design, with this color you will finish using the paint😁😁
La pega blanca que citamos al principio nos servirá para pegar las peionias en los espacios pintados de color rojo. Utiliza un pincel para añadir La pega.
The white glue that we mentioned at the beginning will help us to glue the peonies in the spaces painted red. Use a brush to add the paste.
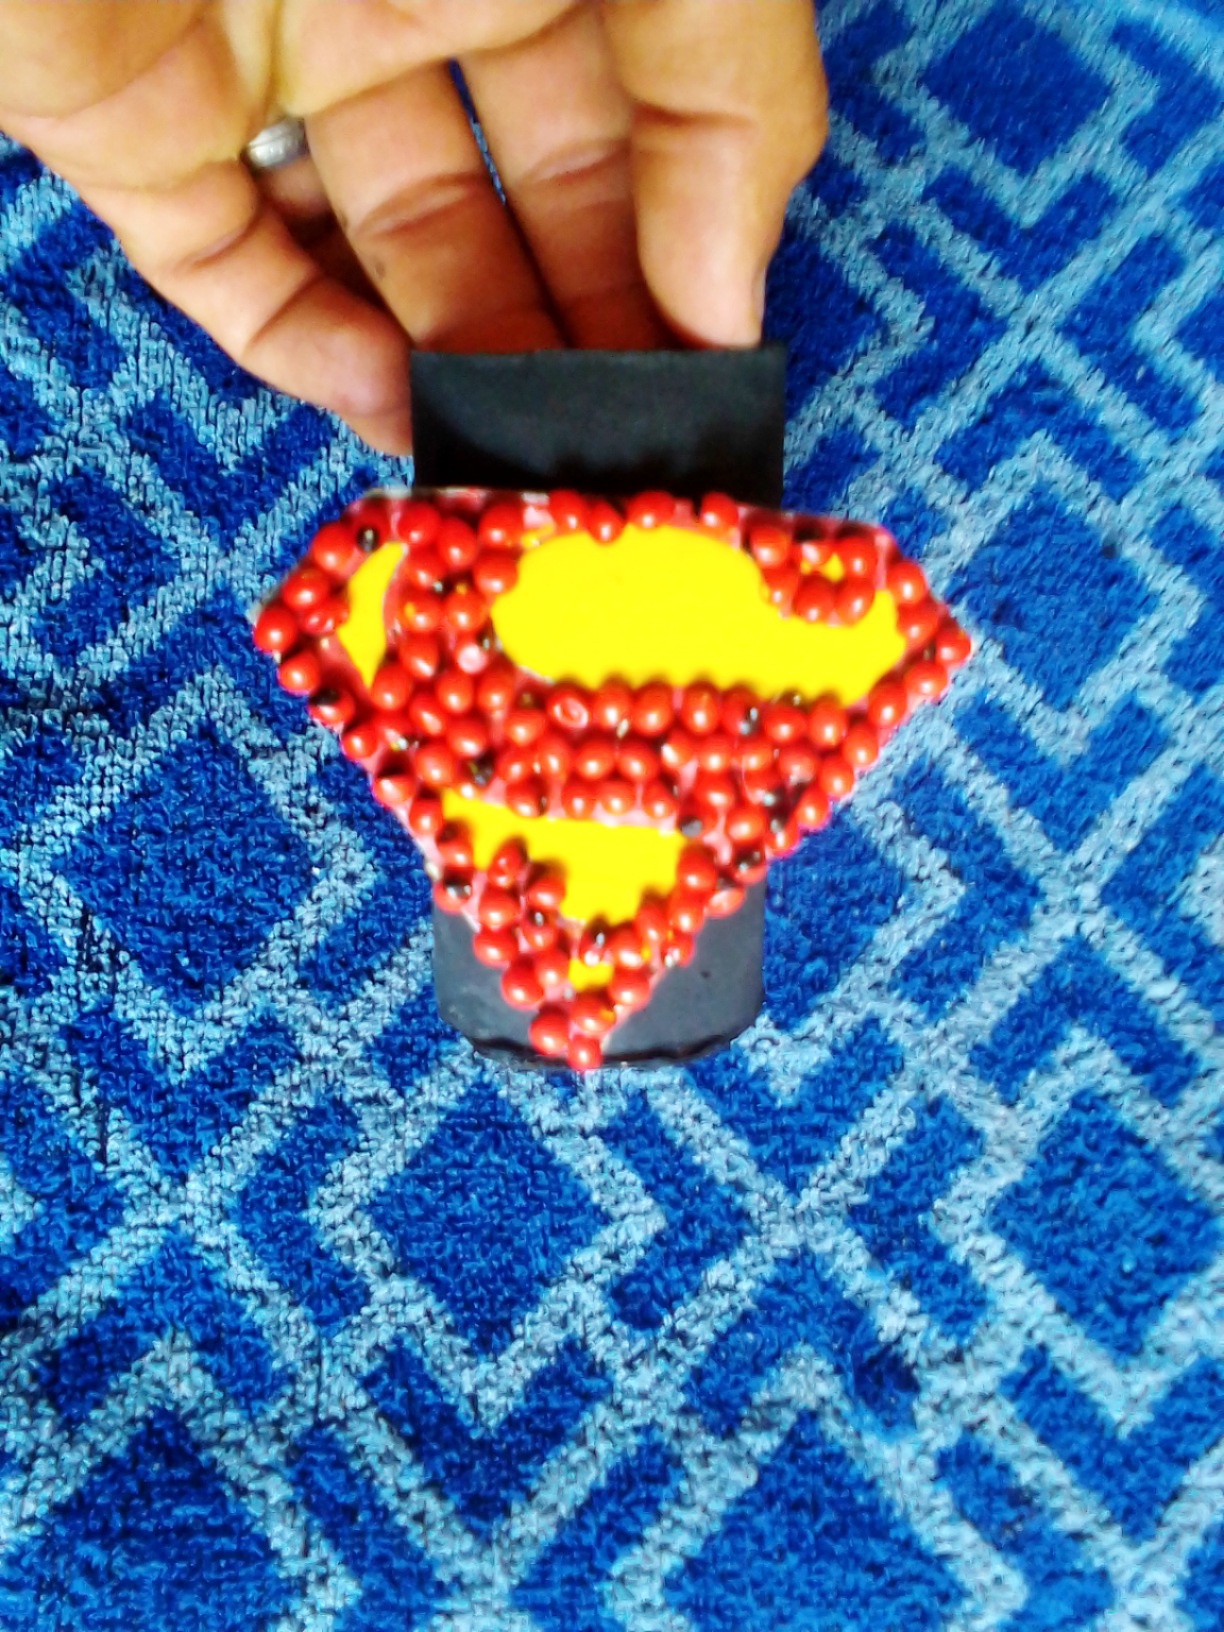
Recorta, utiliza la tijera y ti diseño quedará tan hermoso en tu mano! El rollo que citamos al principio lo pintas de negro y a este pegaras el logo🖌️🖌️🖌️😁
Cut out, use the scissors and your design will be so beautiful in your hand! You paint the roll that we mentioned at the beginning in black and you will paste the logo on it🖌️🖌️🖌️😁
Con el cartón que sobró de los recortes, cubre el espacio en la parte inferior del rollo y pinta también de negro. ¡Tienes listo tu trabajo!
Using the cardboard left over from the cutouts, cover the space at the bottom of the roll and paint black as well. You have your work ready!
¡hiciste un gran trabajo. Te felicito! Gracias por visitar mi blog, me alegro compartir contigo. De verdad, Dios te siga bendiciendo. Se te quiere.
you did a great job. I congratulate you! Thank you for visiting my blog, I am glad to share with you. Truly, God continue to bless you. You are loved.
All the photographs in this post are my own. Edited from my mobile phone