Felíz domingo amigos de Hive Diy, les mando un saludo y mis mejores deseos para esta nueva semana que está por comenzar, hoy domingo tratando de descansar luego de pasar un largo día ocupada, más sin embargo les quiero compartir un trabajo que realicé para mí casita.
Happy Sunday friends of Hive Diy, I send you a greeting and my best wishes for this new week that is about to begin, today Sunday trying to rest after a long busy day, however I want to share with you a work that I did for my little house.
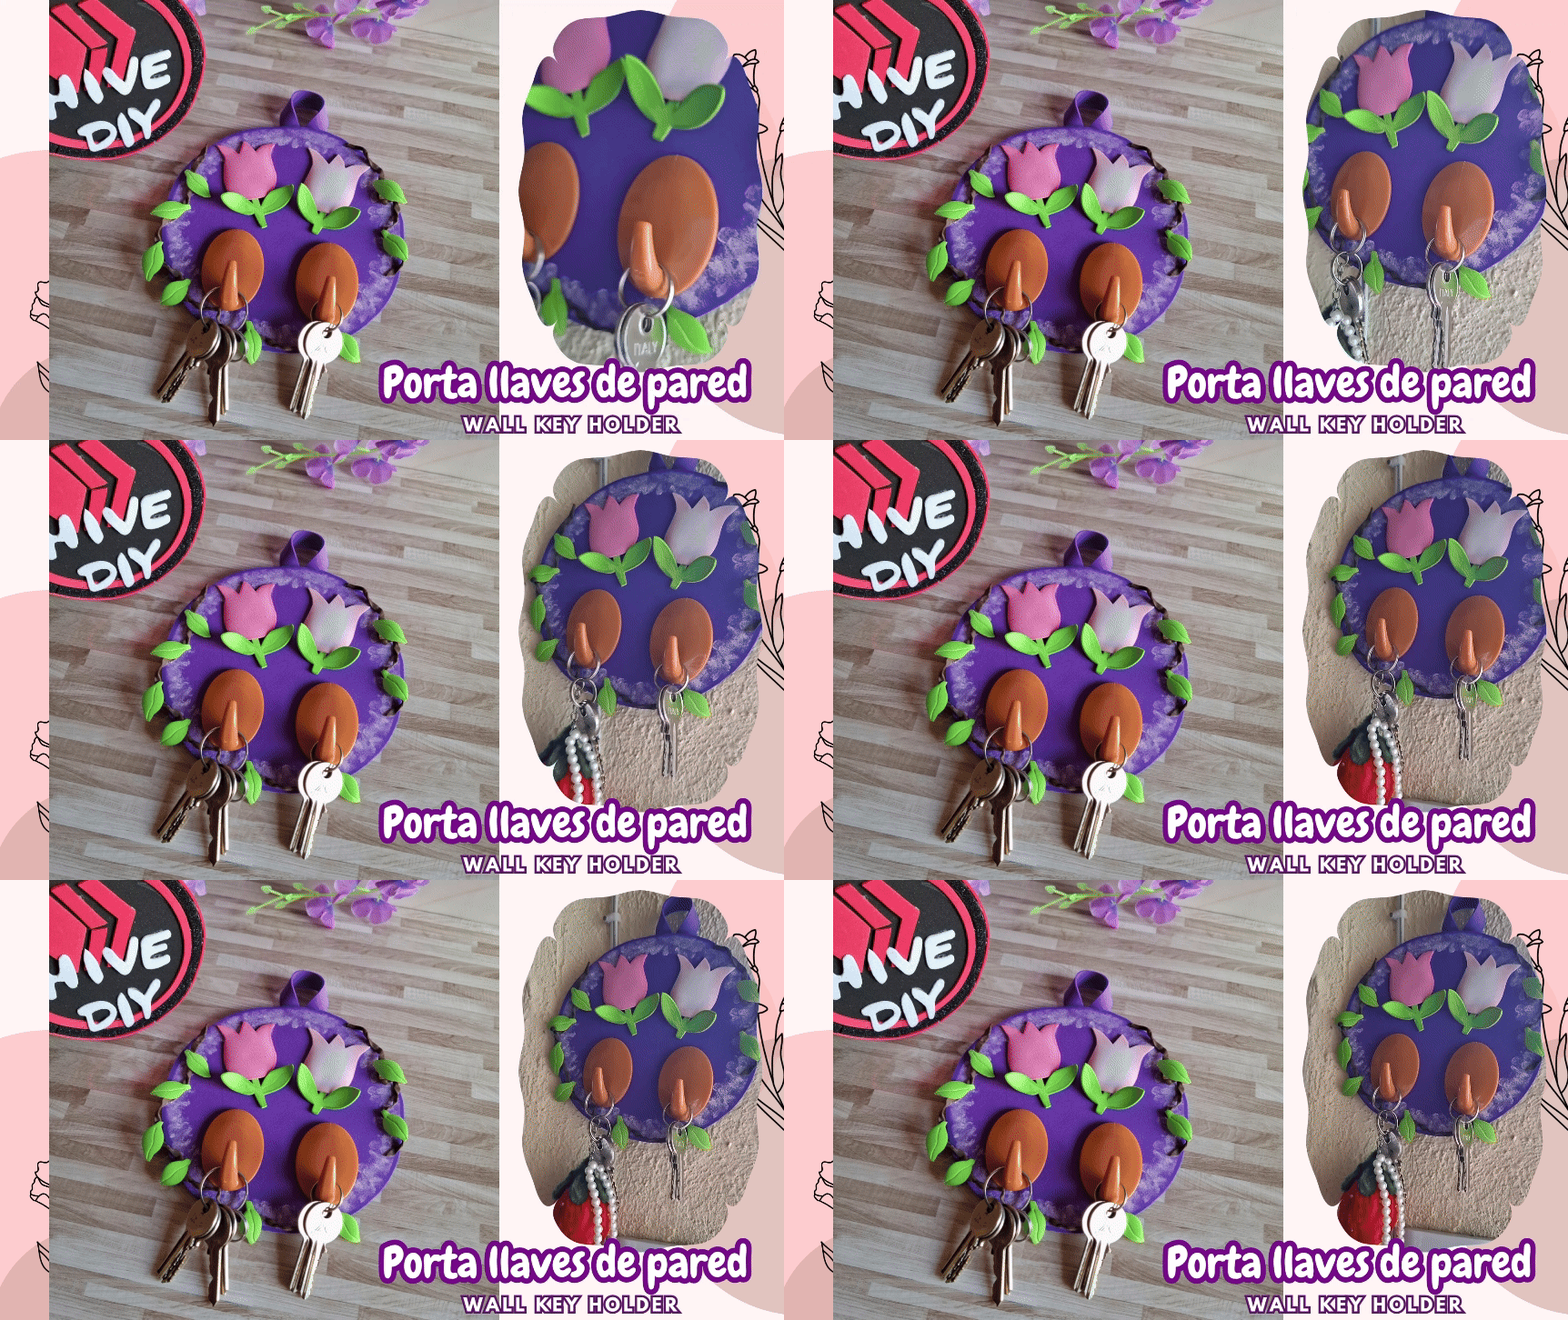
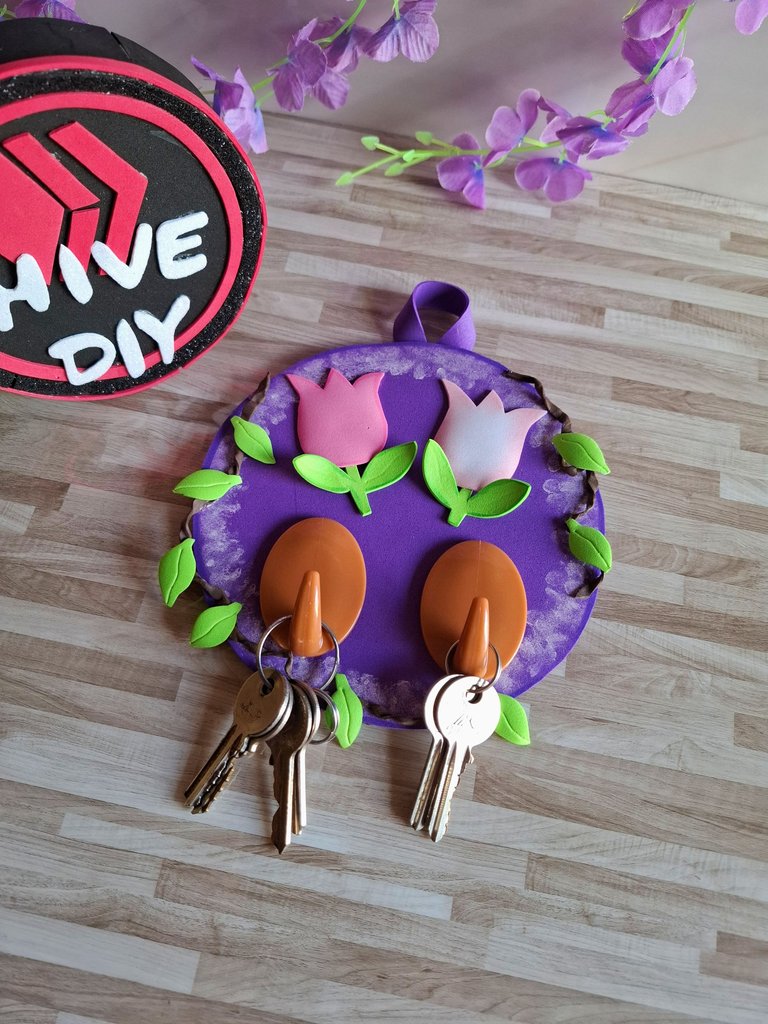
Decidí renovar mi porta llaves de pared ya que el primero que hice se estaba deteriorando, reutilice materiales como carton, retazos de foami, por otra parte mi esposo compro el centro unos ganchos decorativos para pared ideales para colocar en la cocina, o en la habitación, me gusta para poder organizar en la pared ciertas cosas, así que pensé en utilizar dos para el porta llaves, a continuación les muestro los materiales y el paso a paso.
I decided to renew my wall key holder since the first one I made was deteriorating, I reused materials such as cardboard, foam scraps, on the other hand my husband bought some decorative wall hooks in the center, ideal for placing in the kitchen, or in the bedroom, I like to be able to organize certain things on the wall, so I thought of using two for the key holder, below I show you the materials and the step by step.

| Materiales | Materials |
|---|---|
| Foami morado | purple foam |
| Foami blanco | White foam |
| Foami rosa | Pink foam |
| Foami verde | Green foam |
| Foami marrón | Brown foam |
| Pintura blanca | white paint |
| Cartón | Cardboard |
| Tijera | Scissors |
| Silicón | Silicone |
| Sombras de ojos | Eye shadows |
| Marcadores | Bookmarks |
| Ganchos | Hooks |
| Algodón | Cotton |
.jpg)

Paso a paso / Step by step
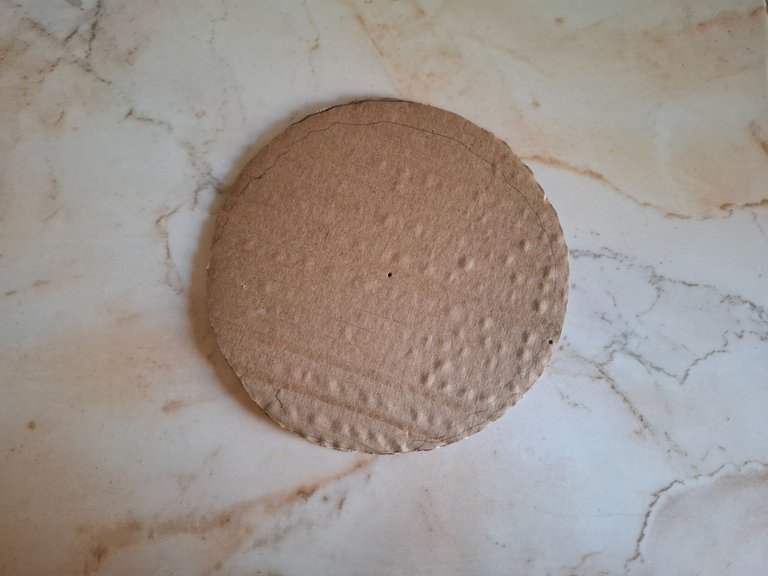
El primer paso se trata de realizar un círculo en el cartón de reciclaje, voy a tomar como medida un recipiente redondo, cortamos y comenzamos a decorar.
The first step is to make a circle on the recycled cardboard. I'm going to use a round container as a measurement, cut it out and start decorating.
 |  |  |
|---|
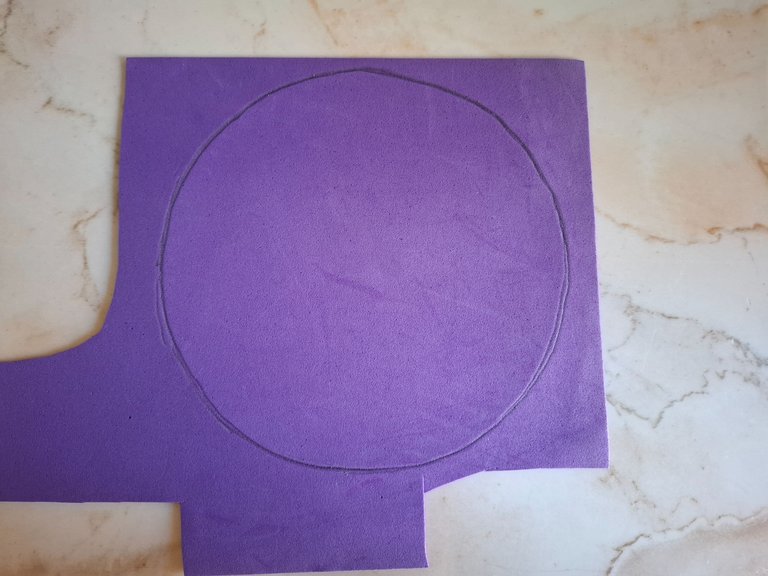
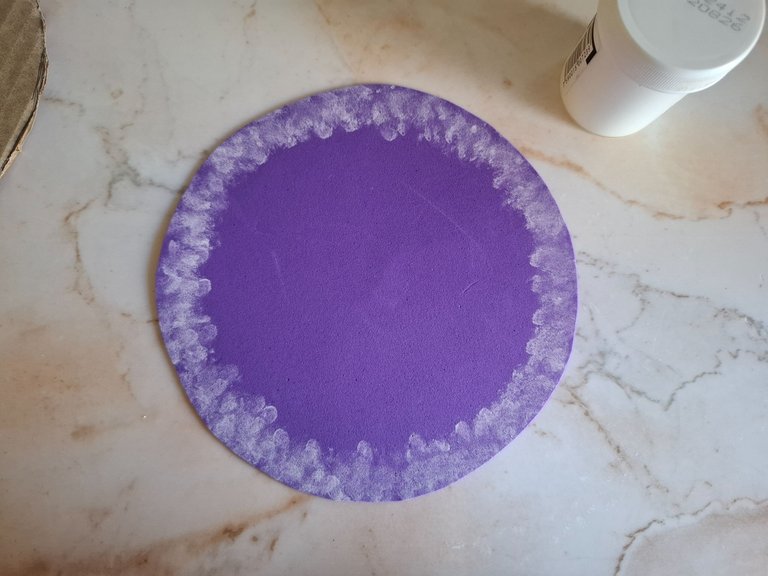
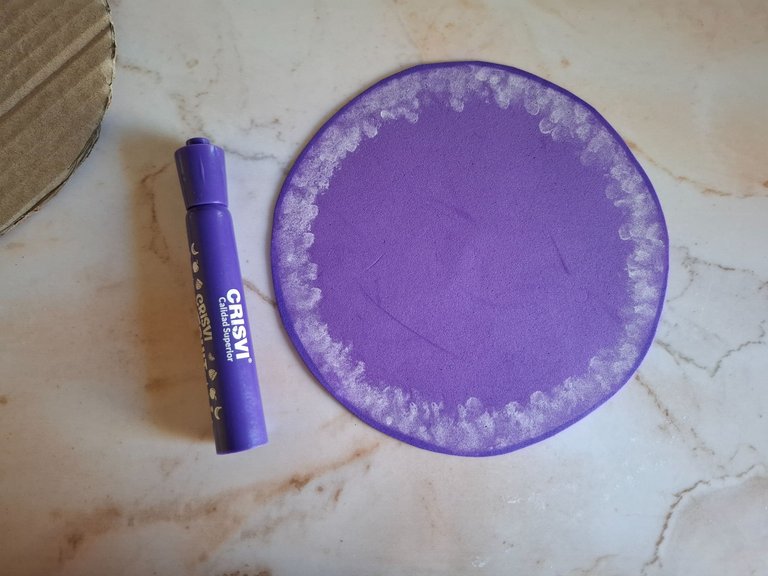
Para la decoración voy a cortar un círculo de foami morado del mismo tamaño del cartón, voy a tomar algodón y pintura blanca y voy a dar pequeñas toques en el borde del foami, luego con marcador morado difuminamos al rededor del borde.
For the decoration I'm going to cut a circle of purple foam the same size as the cardboard, I'm going to take cotton and white paint and I'm going to give small touches on the edge of the foam, then with a purple marker we'll blur around the edge.
 |  |  |
|---|

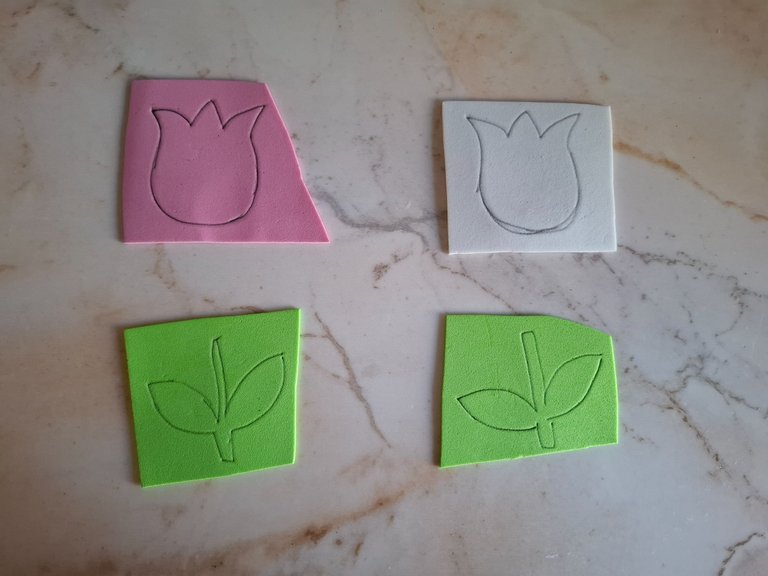
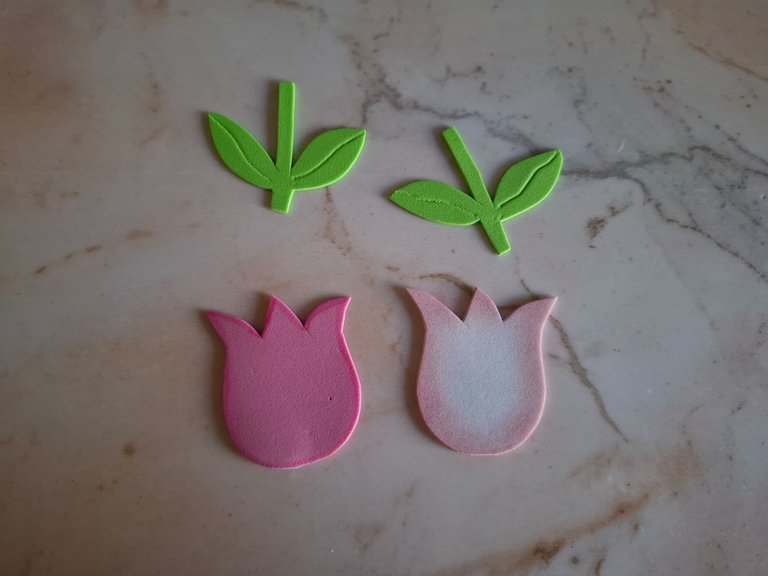
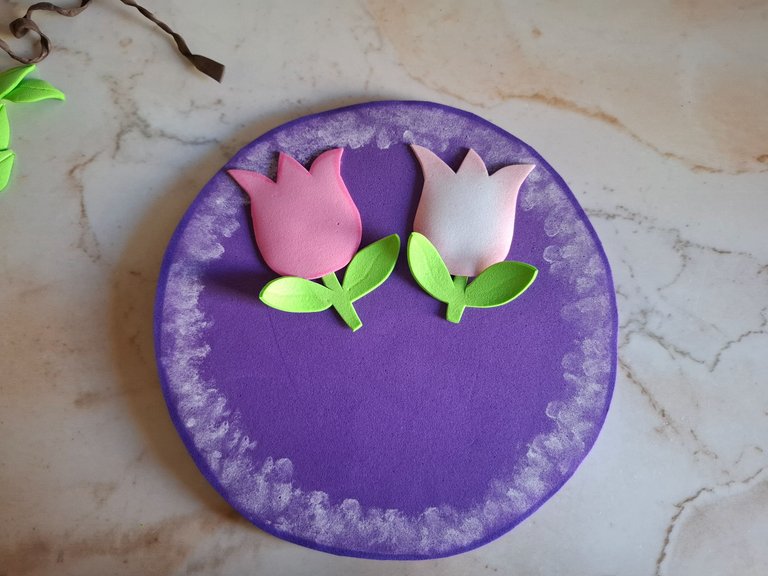
Continuamos realizando dos tulipanes en foami uno de color rosa, y otro de color blanco, al rededor del foami blanco apliqué sombra de color rosa, también realicé el tallo y hojas verdes, aplicamos calor con la plancha.
We continue making two tulips in foam, one pink and one white. Around the white foam I applied pink shadow. I also made the stem and green leaves. We applied heat with the iron.
 |  |  |
|---|
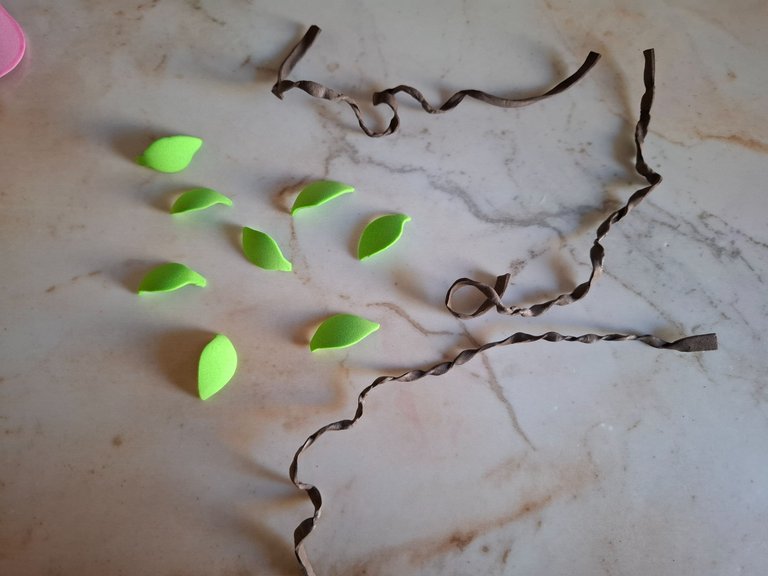
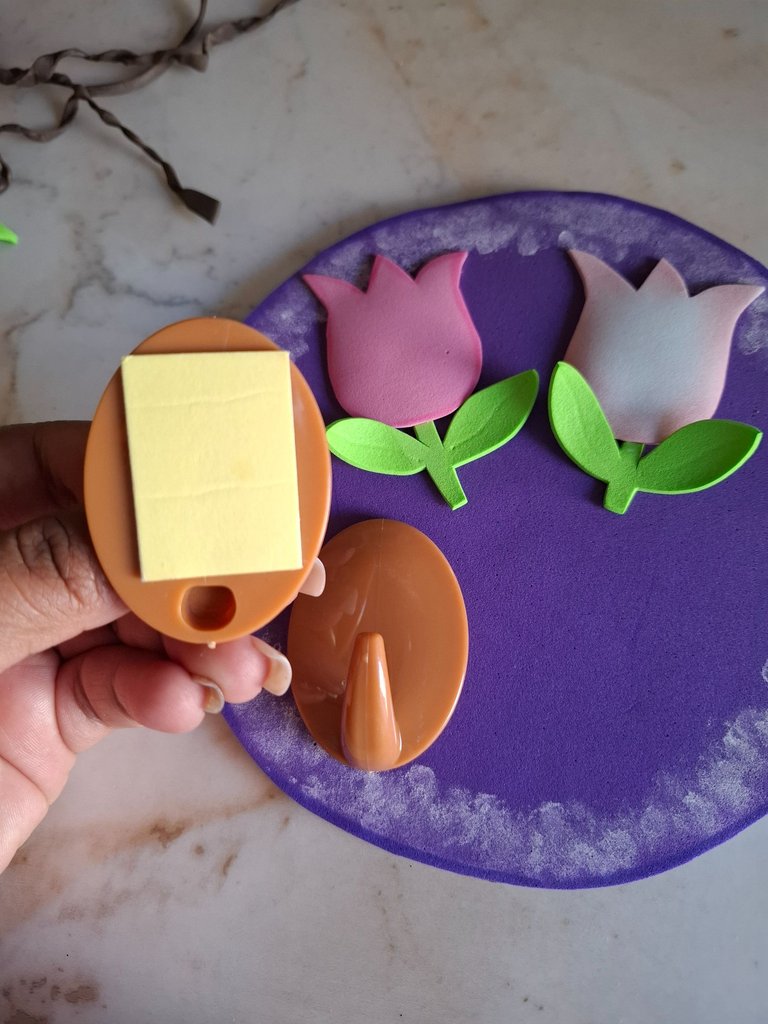
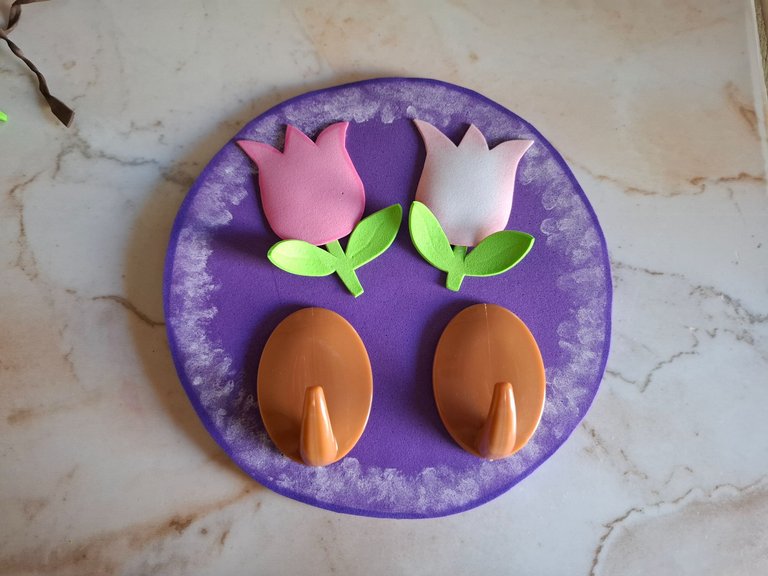
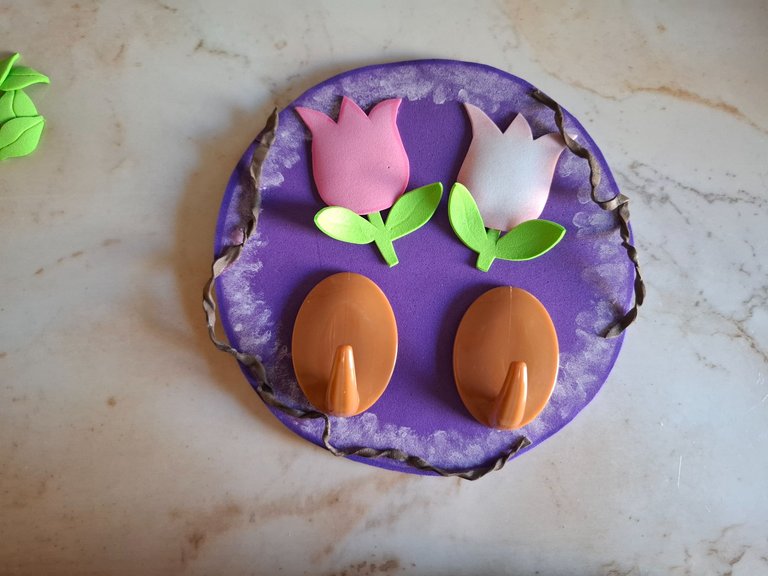
Corte foami marrón en franjas finas y la pasé por una plancha para dar forma de rama, ubicamos los tulipanes en el centro, las ramas y hojas al rededor del borde, el último paso es pegar los ganchos que les comenté anteriormente, estos ya traen su pega y se adhieren muy bien.
I cut brown foam into thin strips and passed it through an iron to give it the shape of a branch. We placed the tulips in the center, the branches and leaves around the edge. The last step is to stick the hooks that I mentioned earlier. These already have their own glue and adhere very well.
 |  |
|---|
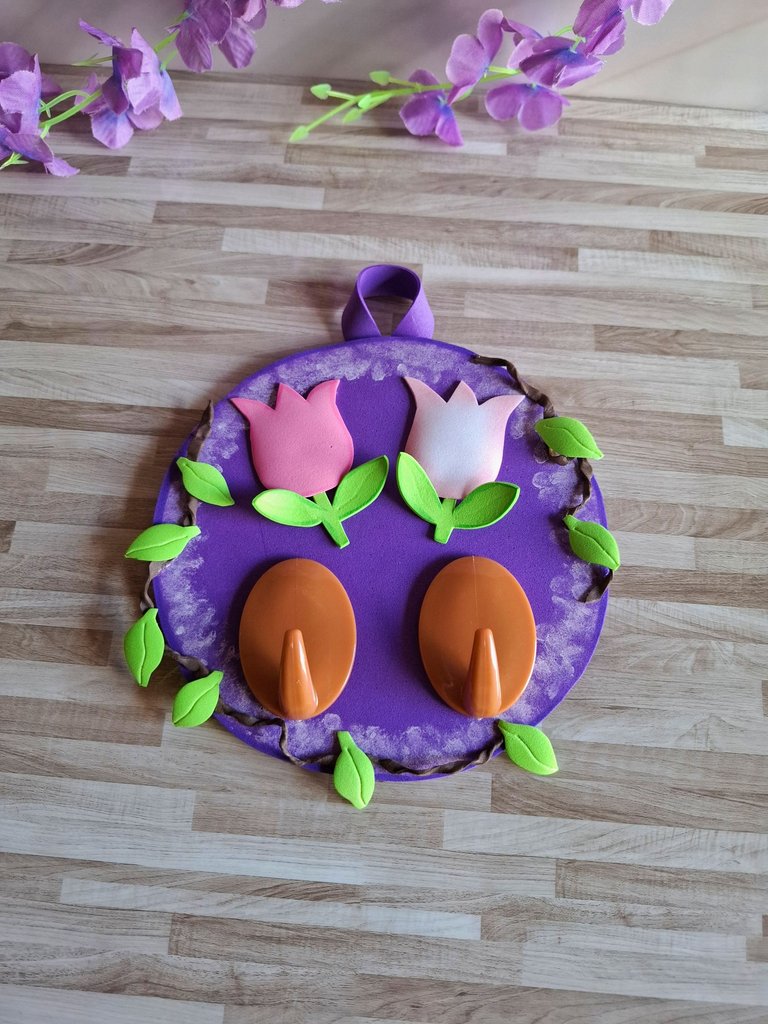
De esta forma terminé mi porta llaves de pared, pues colocar una franja de foami en la parte trasera que sirva para colgar, me gustó mucho el resultado y estoy contenta por ello, lo ubiqué en una pared de la sala y no ocupa mucho espacio, si desean pueden cambiar la forma a cuadrado, rectangular, como más les guste.
This is how I finished my wall key holder, because I placed a foam strip on the back that can be used to hang it. I really liked the result and I'm happy about it. I placed it on a wall in the living room and it doesn't take up much space. If you want, you can change the shape to square, rectangular, whatever you like.
Muchas gracias por visitar mi publicación nos vemos en una próxima oportunidad con más ideas creativas.
Thank you very much for visiting my post. See you next time with more creative ideas.


Contenido original. - original content.
Los separadores y banner fueron realizados en Canva. - The dividers and banner were made in Canva.
Fotografías tomadas con mi Samsung A55. - Photographs taken with my Samsung A55.
Gif creado desde Giphy / Gif created from Giphy
Traducción de: Google traductor - Translation of: Google translator.
Posted Using INLEO
Excelente idea y creatividad. Te quedó muy bonito.
Muchas gracias 🫂
Gracias a ti por compartir
Que esplendido trabajo, ame los colores y la decoracion con esas florcitas y las hojas alrededor 😍 hasta las llaves tienen derecho a lucir elegantes con un bonito portallaves jeje
Gracias por el apoyo, un abrazo 🤗
very beautiful👍
thank you, regards 🥹
You're welcome.
It feels so good to be able to give an old keyholder like yours a new look. The transformation is awesome, well done, and thanks for sharing your work with us.
Thank you very much, greetings 💙
Los colores usados son bien llamativos, lo que sumados con la sencillez de diseño, lo hacen una pieza muy interesante. Me gustó mucho su llavero.
Muchas gracias por comentar, saludos 🤗
Amiga además de crear una manualidad hermosa y útil, debo felicitarte por la estructura de tu post, muy organizada y fácil de entender, da gusto ver tu contenido.
Agradecida por el apoyo, me contenta que le haya gustado 🥹