Es un gran gusto saludarles amigos de la comunidad de Hive Diy, muy contenta de saludarles y compartir un nuevo proyecto con todos ustedes, para esta ocasión elabore con un rollo de papel reciclado y un poco de pintura un hermoso organizador o portalápices, con motivo de patilla, este lo realicé para mi niña, para que a la hora de realizar sus tareas tenga sus colores preferidos a la mano, ya que le encanta resaltar todo con color.
It is a great pleasure to greet you friends of the Hive Diy community, very happy to greet you and share a new project with all of you, for this occasion I made a beautiful organizer or pencil holder with a roll of recycled paper and a little paint, on the occasion of sideburn, I made this for my girl, so that when she does her homework she has her favorite colors at hand, since she loves to highlight everything with color.
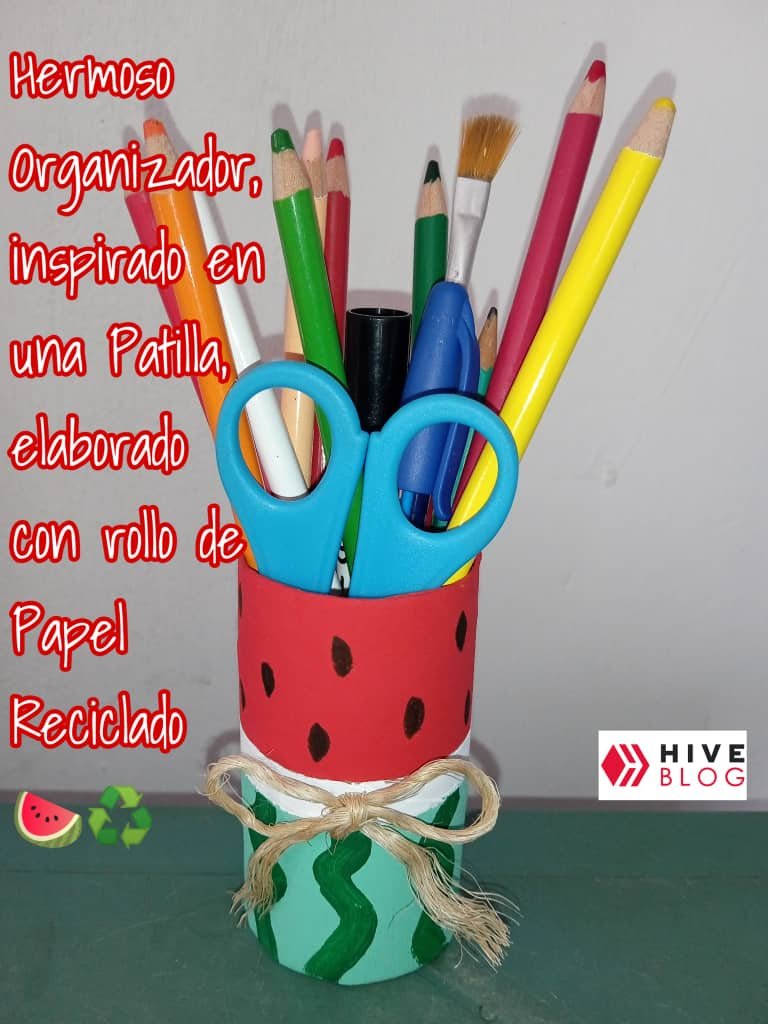
Hermoso Organizador, inspirado en una Patilla, elaborado con rollo de Papel Reciclado 🍉♻️
Materiales
🧻1 rollo de papel reciclado
🖌️Pincel grueso y fino
♻️Cartón reciclado
✂️Tijera
🎨 Pintura al frío roja, verde claro, oscuro y blanco
🖊️ Marcador negro
✏️Lápiz
🧶12 cm de guaral
🪔Silicón caliente
🧵 Hilo grueso
Beautiful Organizer, inspired by a Sideburn, made with a roll of Recycled Paper 🍉♻️
Materials
🧻1 roll of recycled paper
🖌️Thick and thin brush
♻️Recycled cardboard
✂️Scissors
🎨 Red, light green, dark and white cold paint
🖊️ Black marker
✏️Pencil
12 cm of guaral
Hot silicone
Thick yarn
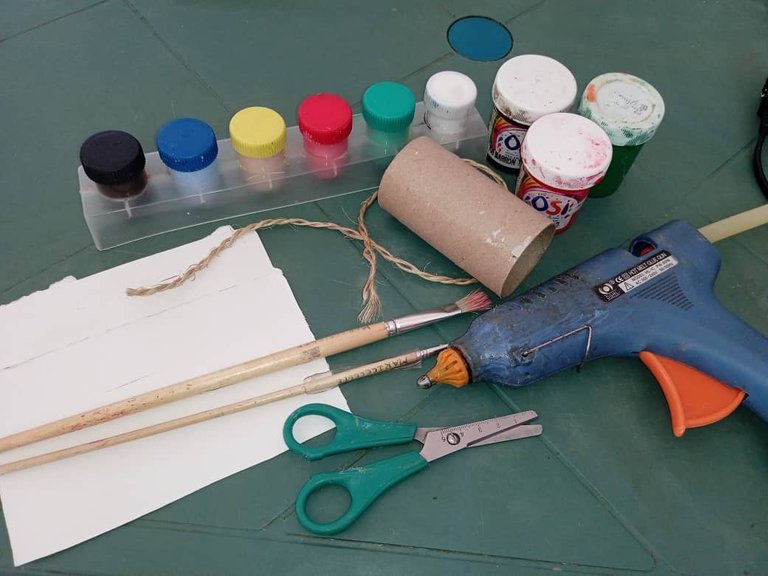
Procedimiento/Process
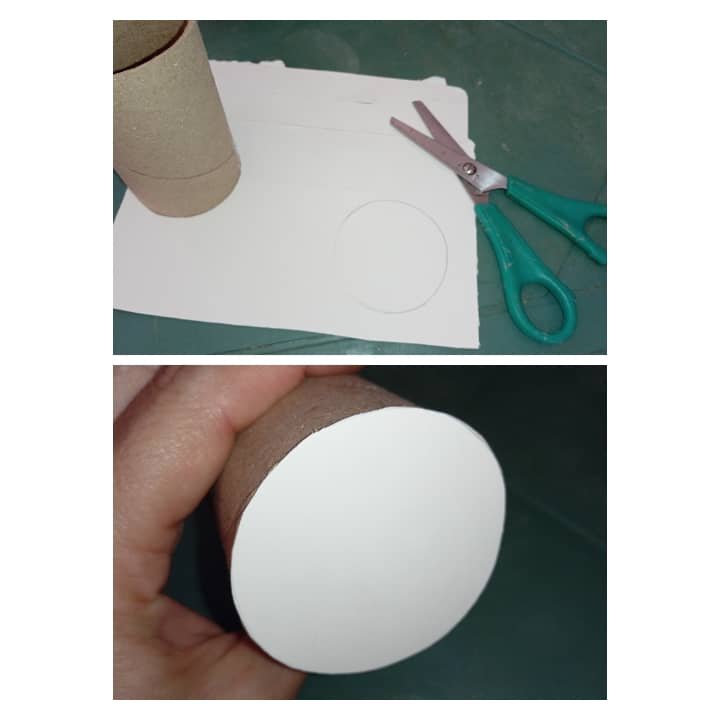
1.Para comenzar este proyecto debemos hacer la base del organizador, para ello tomamos el rollo de papel y marcamos el círculo en el cartón, recortamos y con ayuda del silicón caliente lo pegamos , recortamos el exceso si es necesario y lista la base.
1.To start this project we must make the base of the organizer, for this we take the roll of paper and mark the circle on the cardboard, cut it out and with the help of hot silicone we glue it, cut the excess if necessary and the base is ready.
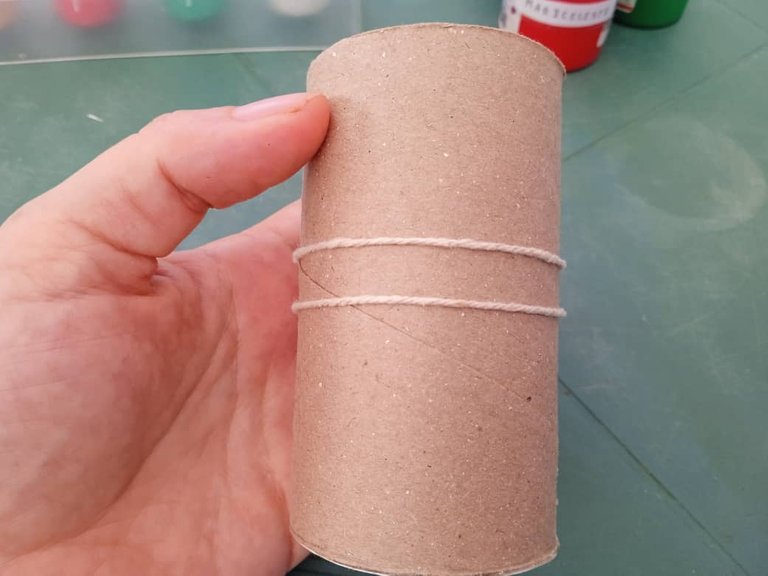
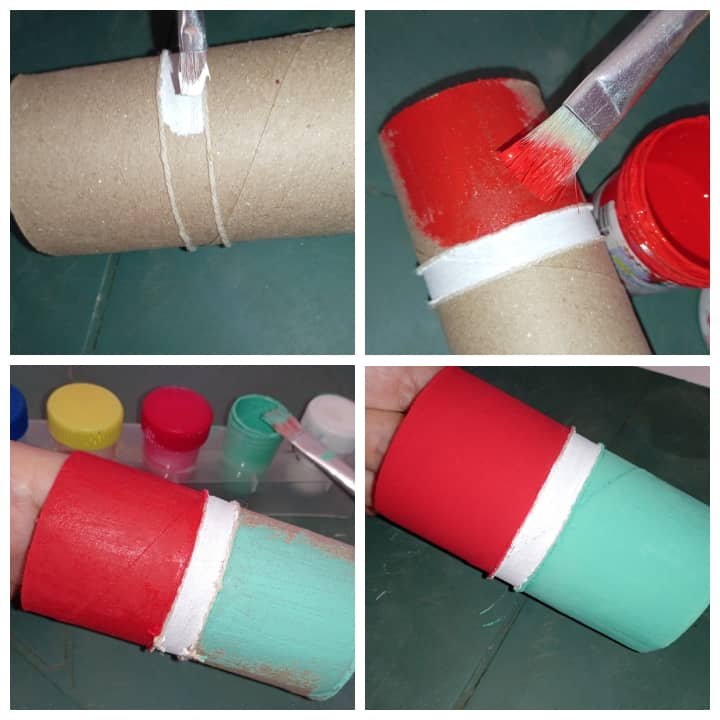
2.Luego vamos a tomar el hilo grueso y en aproximadamente la mitad del tubo lo amarramos y dejando un espacio de 1/2 cm amarramos otro hilo, que quede bien sujeto, este me va a permitir poder pintar cada una de las partes sin problema.
2.Then we are going to take the thick thread and in approximately half of the tube we tie it and leaving a space of 1/2 cm we tie another thread, which is well attached, this will allow me to be able to paint each of the parts without problem .
3.Comenzamos a pintar, con el pincel delgado, pintamos de blanco el centro donde colocamos el hilo, con el pincel grueso, pintamos la parte de arriba de rojo y la de abajo verde claro, dejar secar muy bien y aplicar otra capa de pintura si es necesario.
3.We begin to paint, with the thin brush, we paint the center where we place the thread white, with the thick brush, we paint the upper part red and the lower part light green, let it dry very well and apply another layer of paint if required.
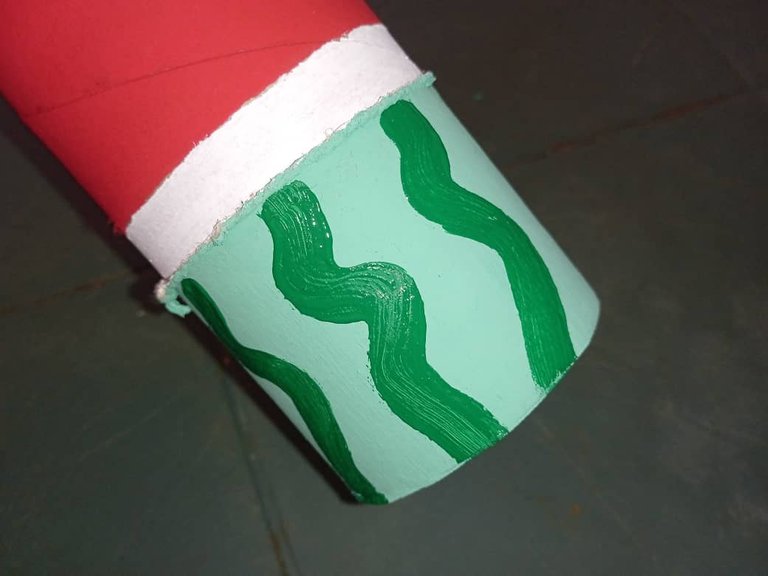
4.Despues que esté bien seco, con el pincel delgado y la pintura verde oscuro, pintaremos unas curvas en el verde claro, este simulara la concha de la patilla, dejar secar muy bien.
4.After it is dry, with the thin brush and the dark green paint, we will paint some curves in the light green, this will simulate the shell of the sideburn, let it dry very well.
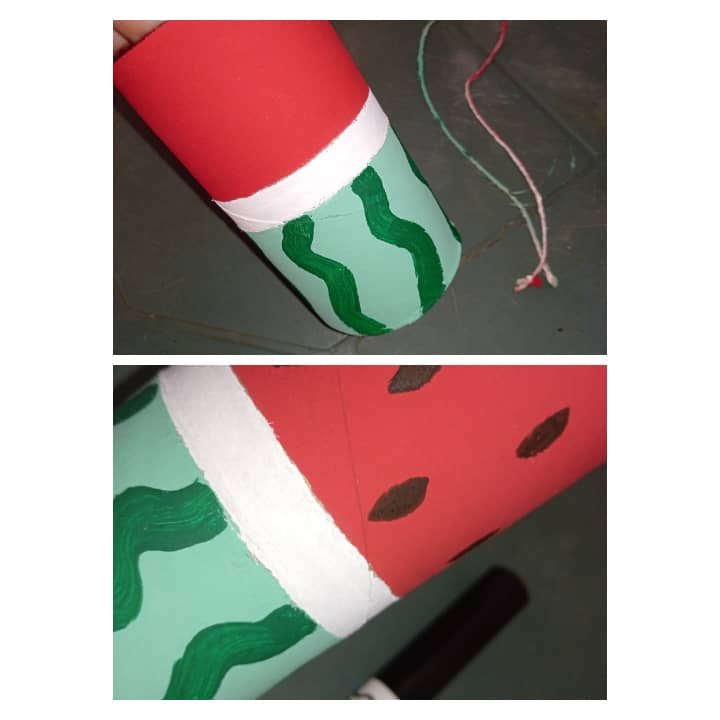
5.Seguido de ello, cortaremos los hilos que le colocamos y con el marcador negro pintaremos las semillas en la parte roja, vas hacer tantas desees, yo las hice un poco separada.
5.Followed by this, we will cut the threads that we put on it and with the black marker we will paint the seeds in the red part, you will do as many as you want, I did them a little separated.
6.Por último, con el guaral haremos un lazo, la cual pegamos en el centro, en la parte blanca, para darle un toque especial y listo este hermoso organizador.
6.Finally, with the guaral we will make a bow, which we glue in the center, in the white part, to give it a special touch and this beautiful organizer is ready.
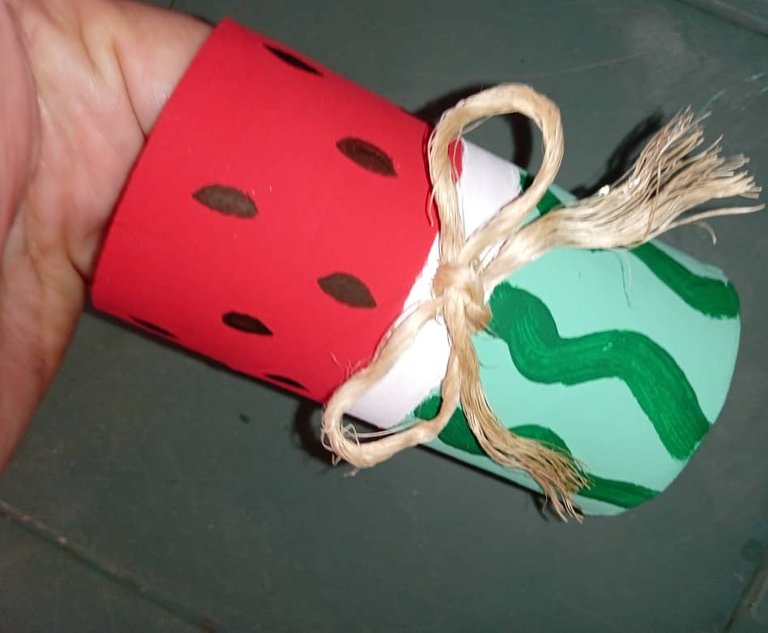
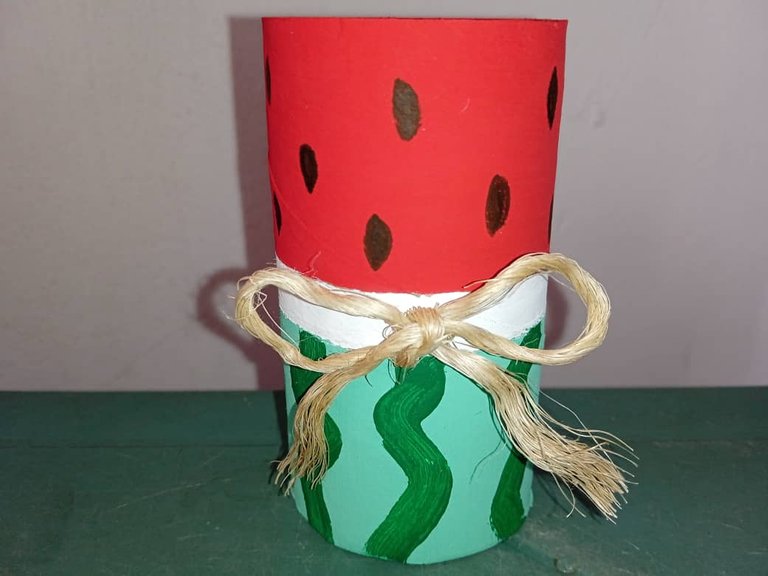
Y proyecto listo!
And project done!
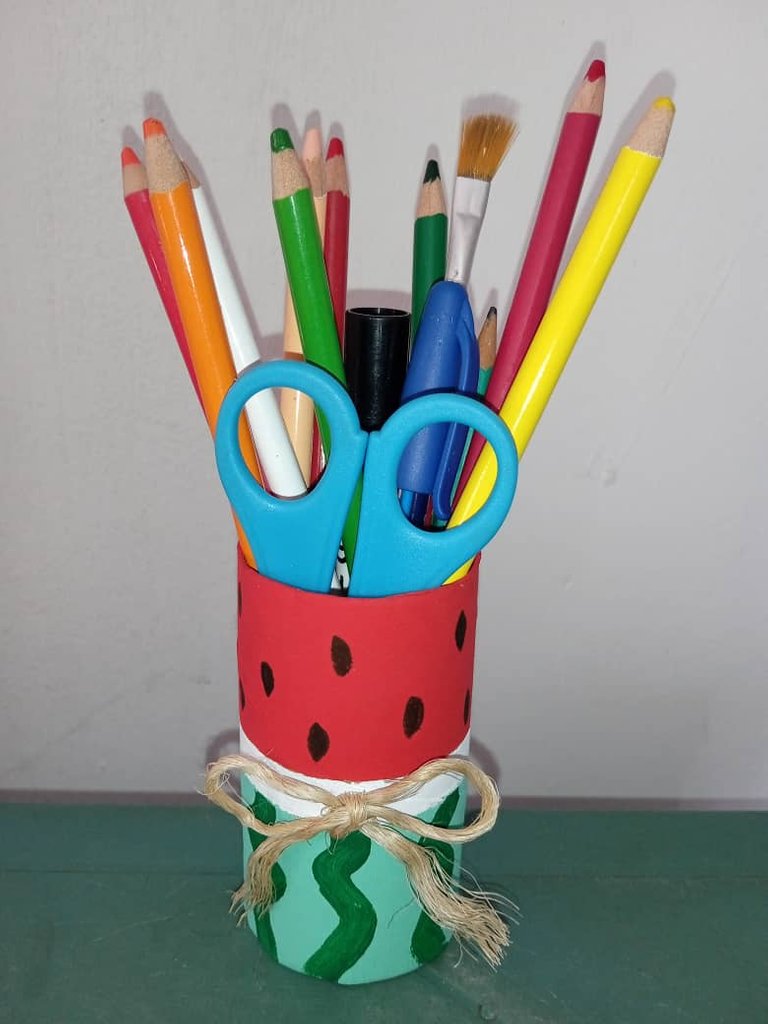
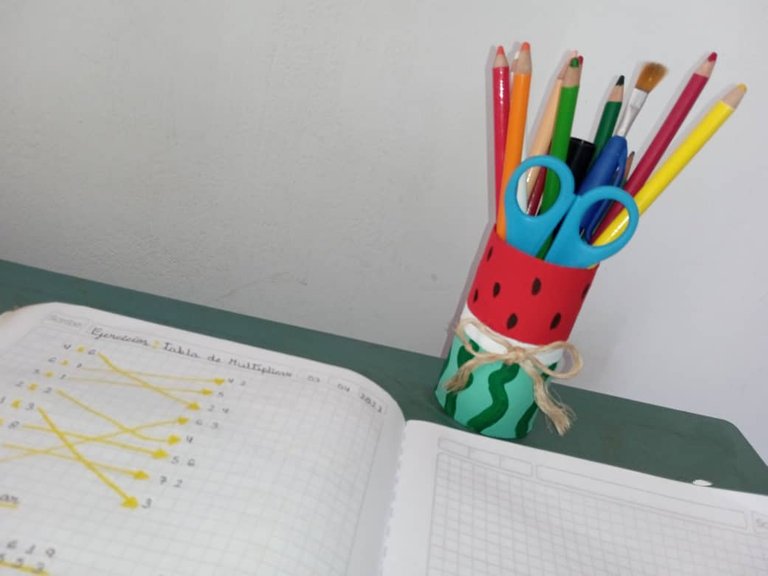
Hasta aquí mi Proyecto de este día, espero les haya gustado, muchas gracias por el apoyo brindado. Saludos 🍉♻️
So Project for this day, I hope you liked it, thank you very much for the support. Greetings 🍉♻️
Todas las imágenes son de mi autoria por @mariarodriguez, tomadas especialmente para esta publicación.
All images are my own by @mariarodriguez, taken especially for this publication.

Wow this is a very helpful tool and a beauty to behold, you did a great job here.
Hola amiga, te quedo muy bonito tu porta lápices, muy original. Un abrazo.