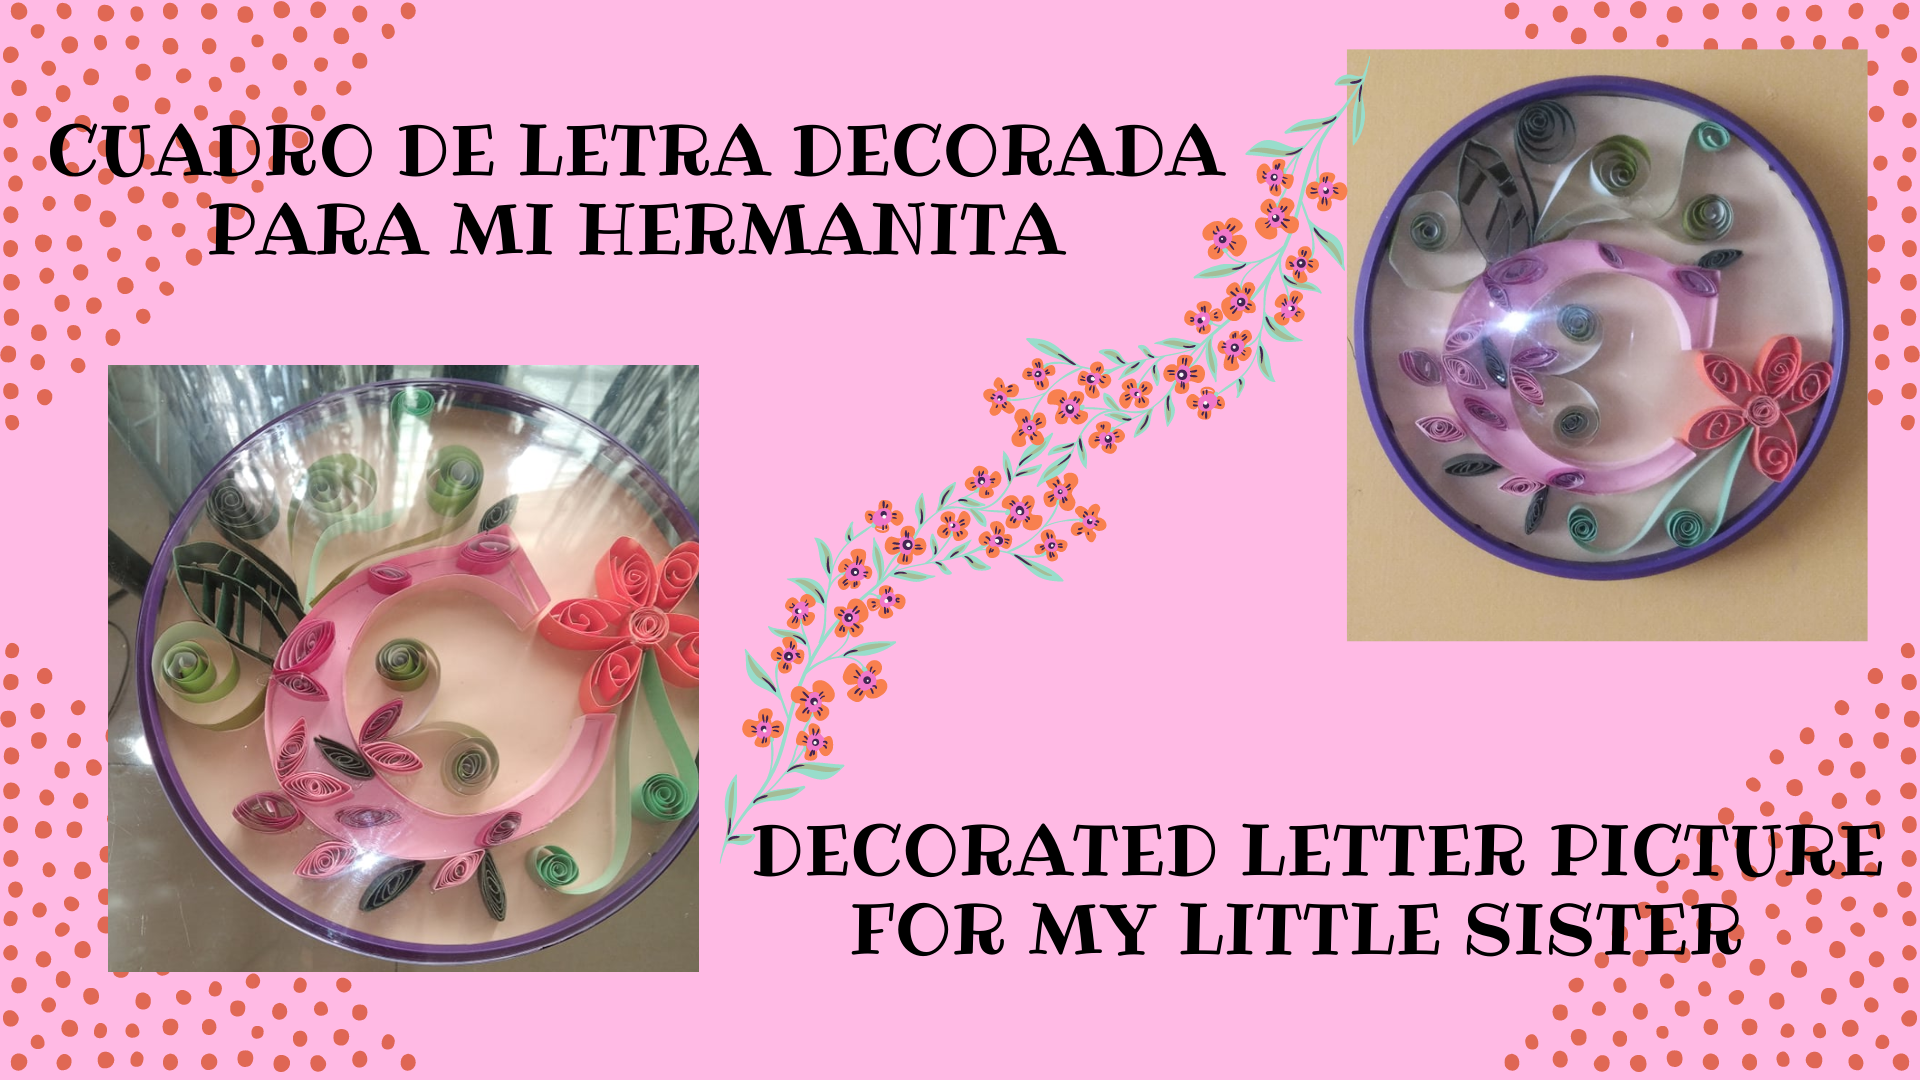
Hola gente bonita de hive, El día de hoy les quiero compartir como hice este bonito cuadro de letra decorada para mi hermanita Camila, es muy fácil y rápido de hacer, espero que el resultado les guste tanto como a mi, sin más que decir, comencemos!!
Hello beautiful people of hive, Today I want to share with you how I made this beautiful decorated letter picture for my little sister Camila, it is very easy and quick to make, I hope you like the result as much as I do, without more to say, let's start!!!

| Materiales | Materials |
|---|---|
| Papel de colores | Colored paper |
| Tijera | Scissors |
| Pega | Glue |
| Silicón | Silicone |
| Lápiz | Pencil |
| Reloj de pared | Wall clock |

- Paso 1:
En una hoja de papel dibujamos la letra "C" la recortamos y la hacemos en el papel de color rosado.
- Step 1:
On a sheet of paper we draw the letter "C" we cut it out and make it on the pink paper.


- Paso 2:
Recortamos unos de los papeles en forma redonda y ahí vamos a pegar nuestra letra, cortamos dos tiras rosadas para hacerle el borde a la letra.
- Step 2:
We cut out one of the papers in a round shape and there we are going to glue our letter, we cut two pink strips to make the border of the letter.


- Paso 3:
Con el resto de las hojas de colores hacemos flores y hojas en forma de espiral para decorar y las pegamos.
- Step 3:
With the rest of the colored leaves we make flowers and leaves in a spiral shape for decoration and glue them together.


- Paso 4:
Por último metemos nuestra letra decorada dentro del reloj de pared viejo.
- Step 4:
Finally we tuck our decorated lettering inside the old wall clock.


FINAL RESULT


All photos are my own
