Hello everyone, Hope everyone is well as before. I am also very good with your prayers. Today I am here again with a new DIY post. So, friends, without delay, let's take a look at my today's post.

Edited with Picsart
Almost all of us make different things with paper. I love anything made of paper. So I always try to make different things with paper.
Doing these things will pass your free time very nicely. So I think everyone should do such things. Another great thing is that doing these things will increase your creative spirit.
So you all try to always create something new, be it using paper or recycling any unnecessary material. I also like recycling. Then one day I will use unnecessary things to make necessary things.
I hope you will like my creations. Feel free to let me know what you think of my creations by commenting. So guys let's start without delay.
Necessary Equipment
_1.jpg)
1• Paper
2• Scissor
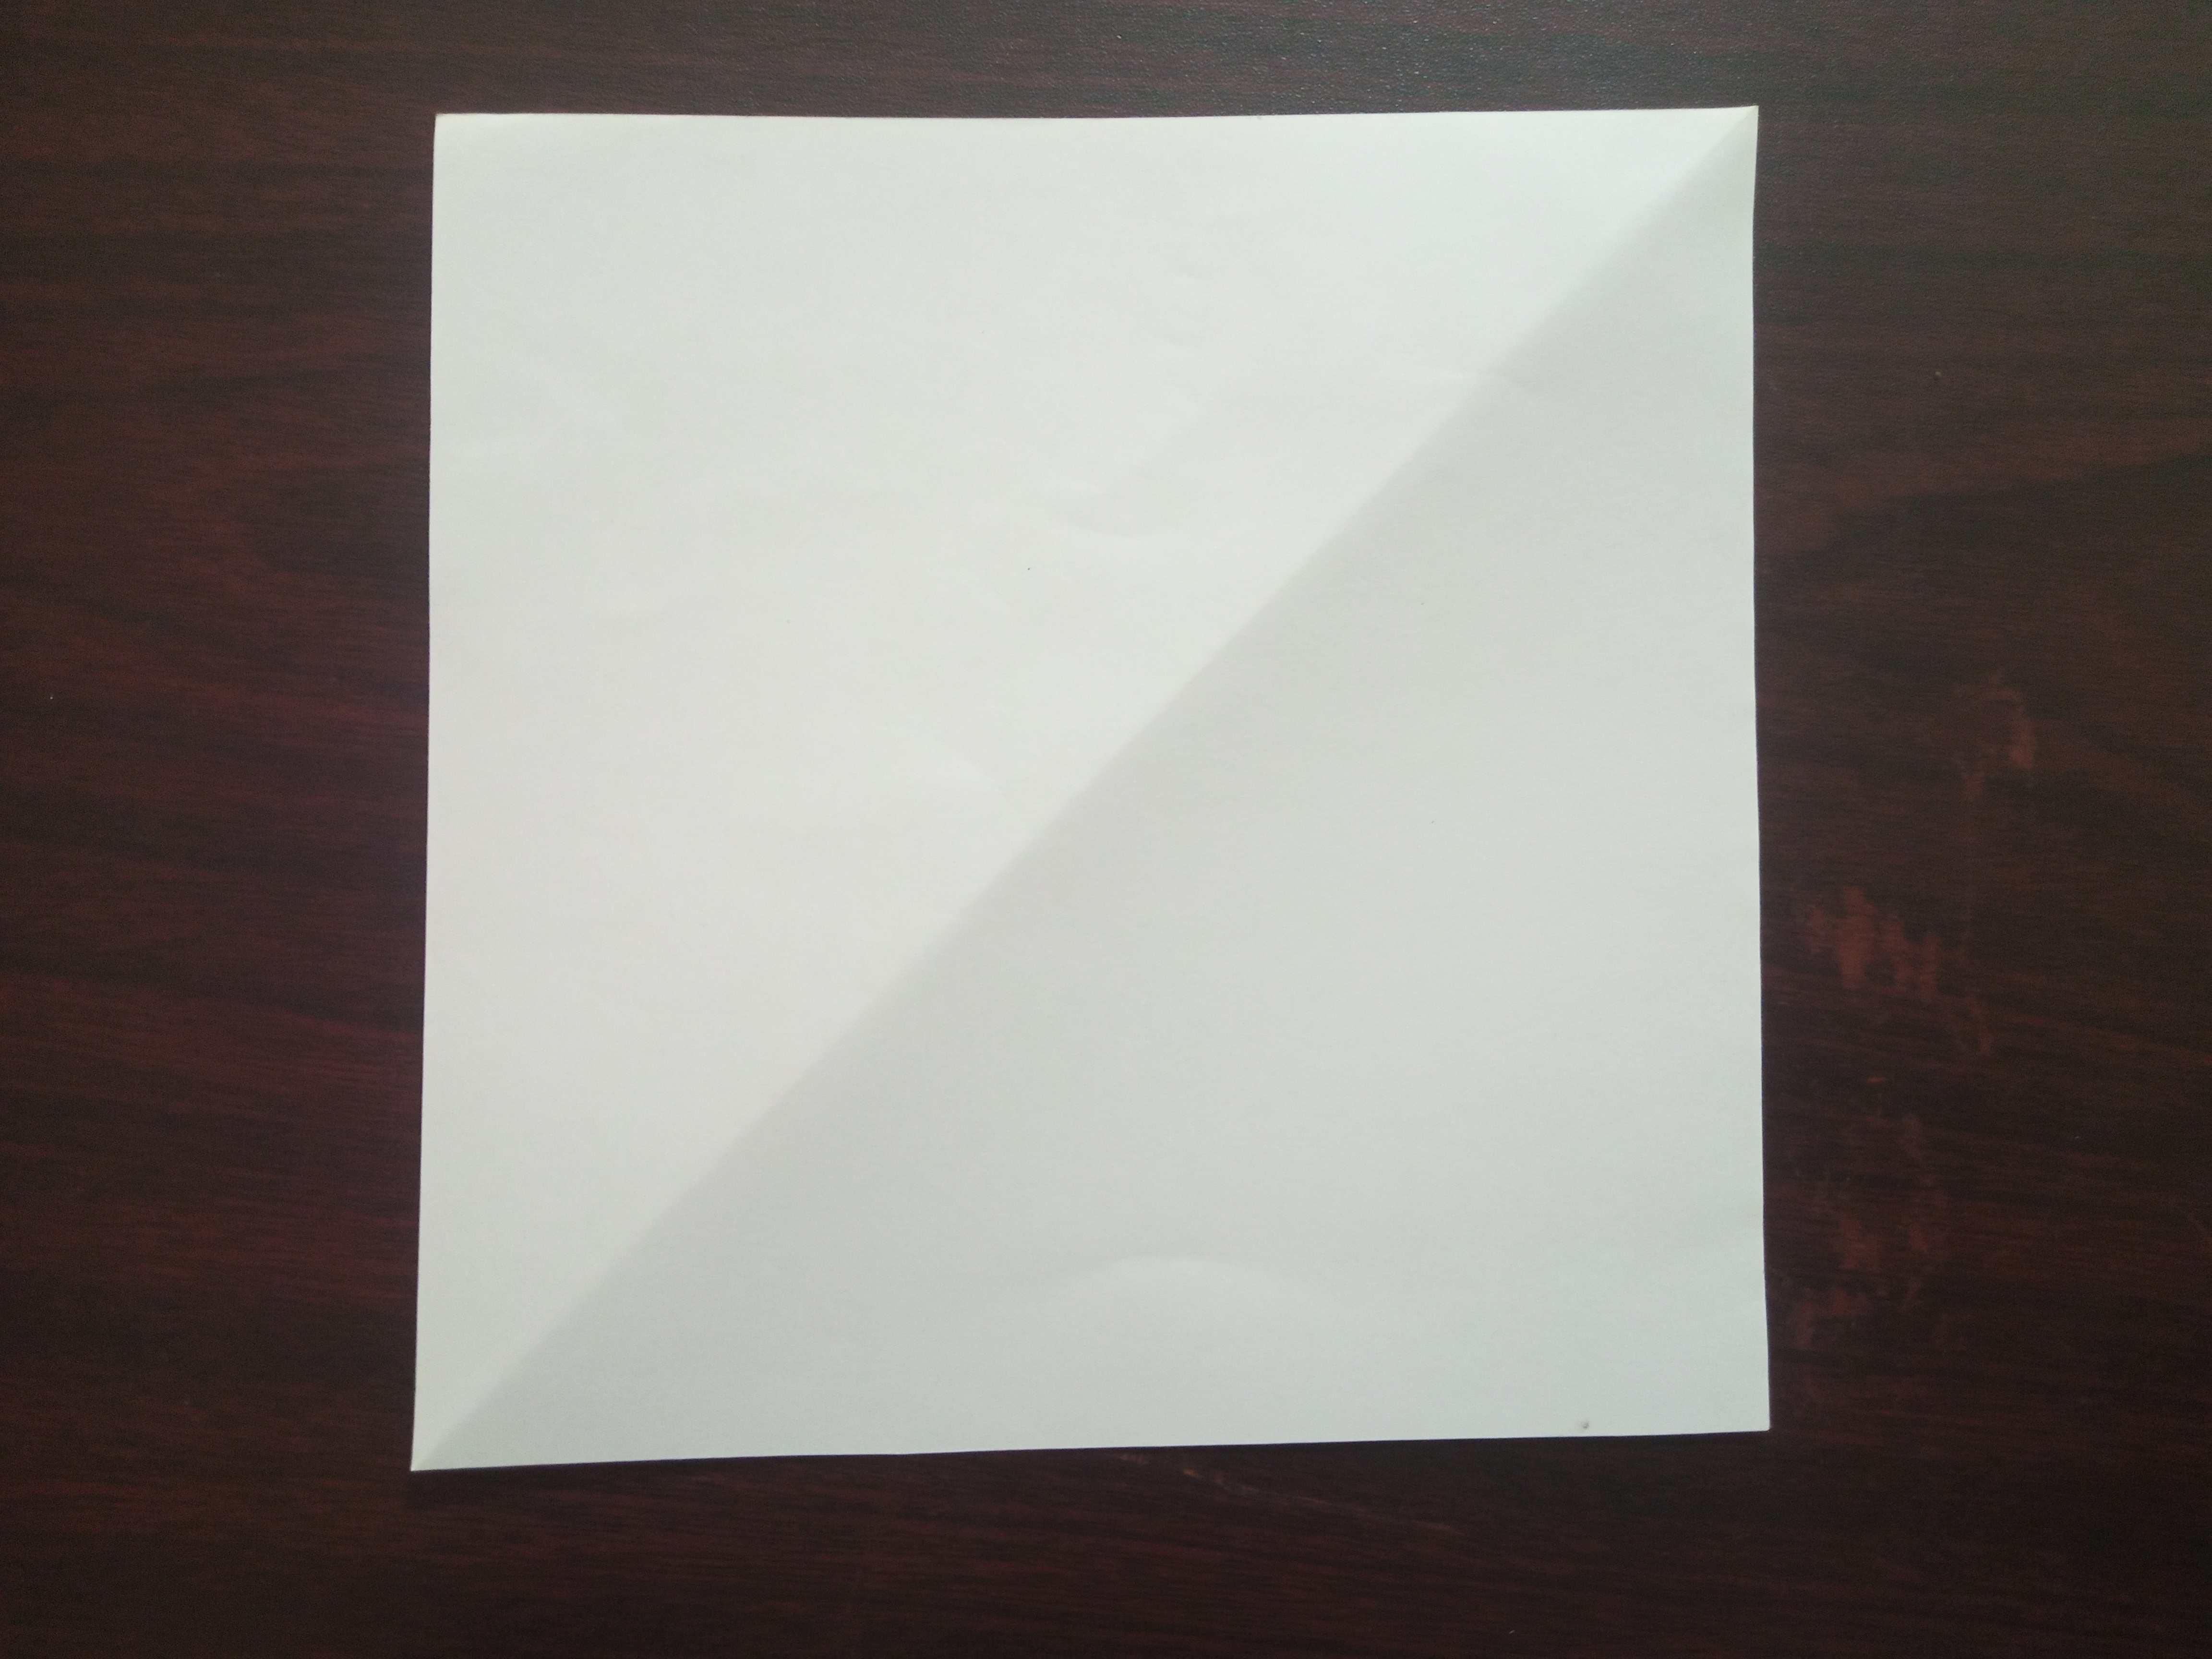
First we will cut the paper into square size.

Now fold the square paper right in the middle. Then fold again in the middle so that we get a plus size spot on the paper.
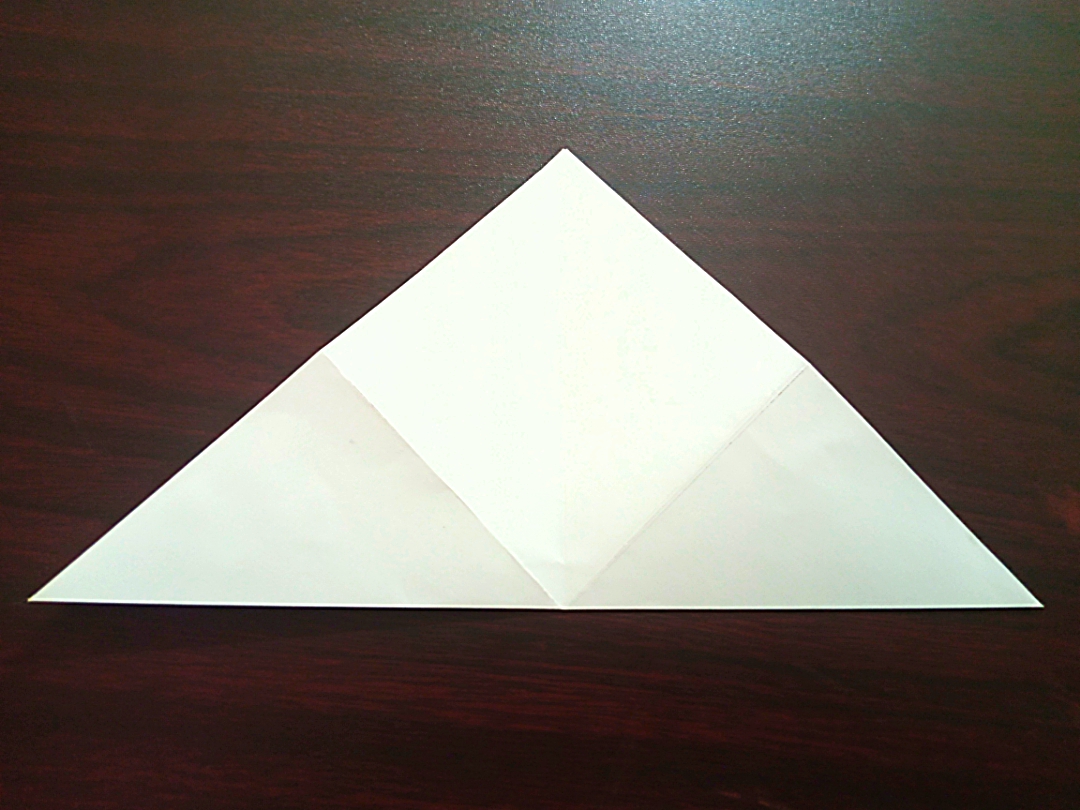
Now fold the paper slightly as shown in the picture. By folding like this we will get another ridge along the middle of the paper.

This time we got total four spots on the paper. We have to proceed with these spots.
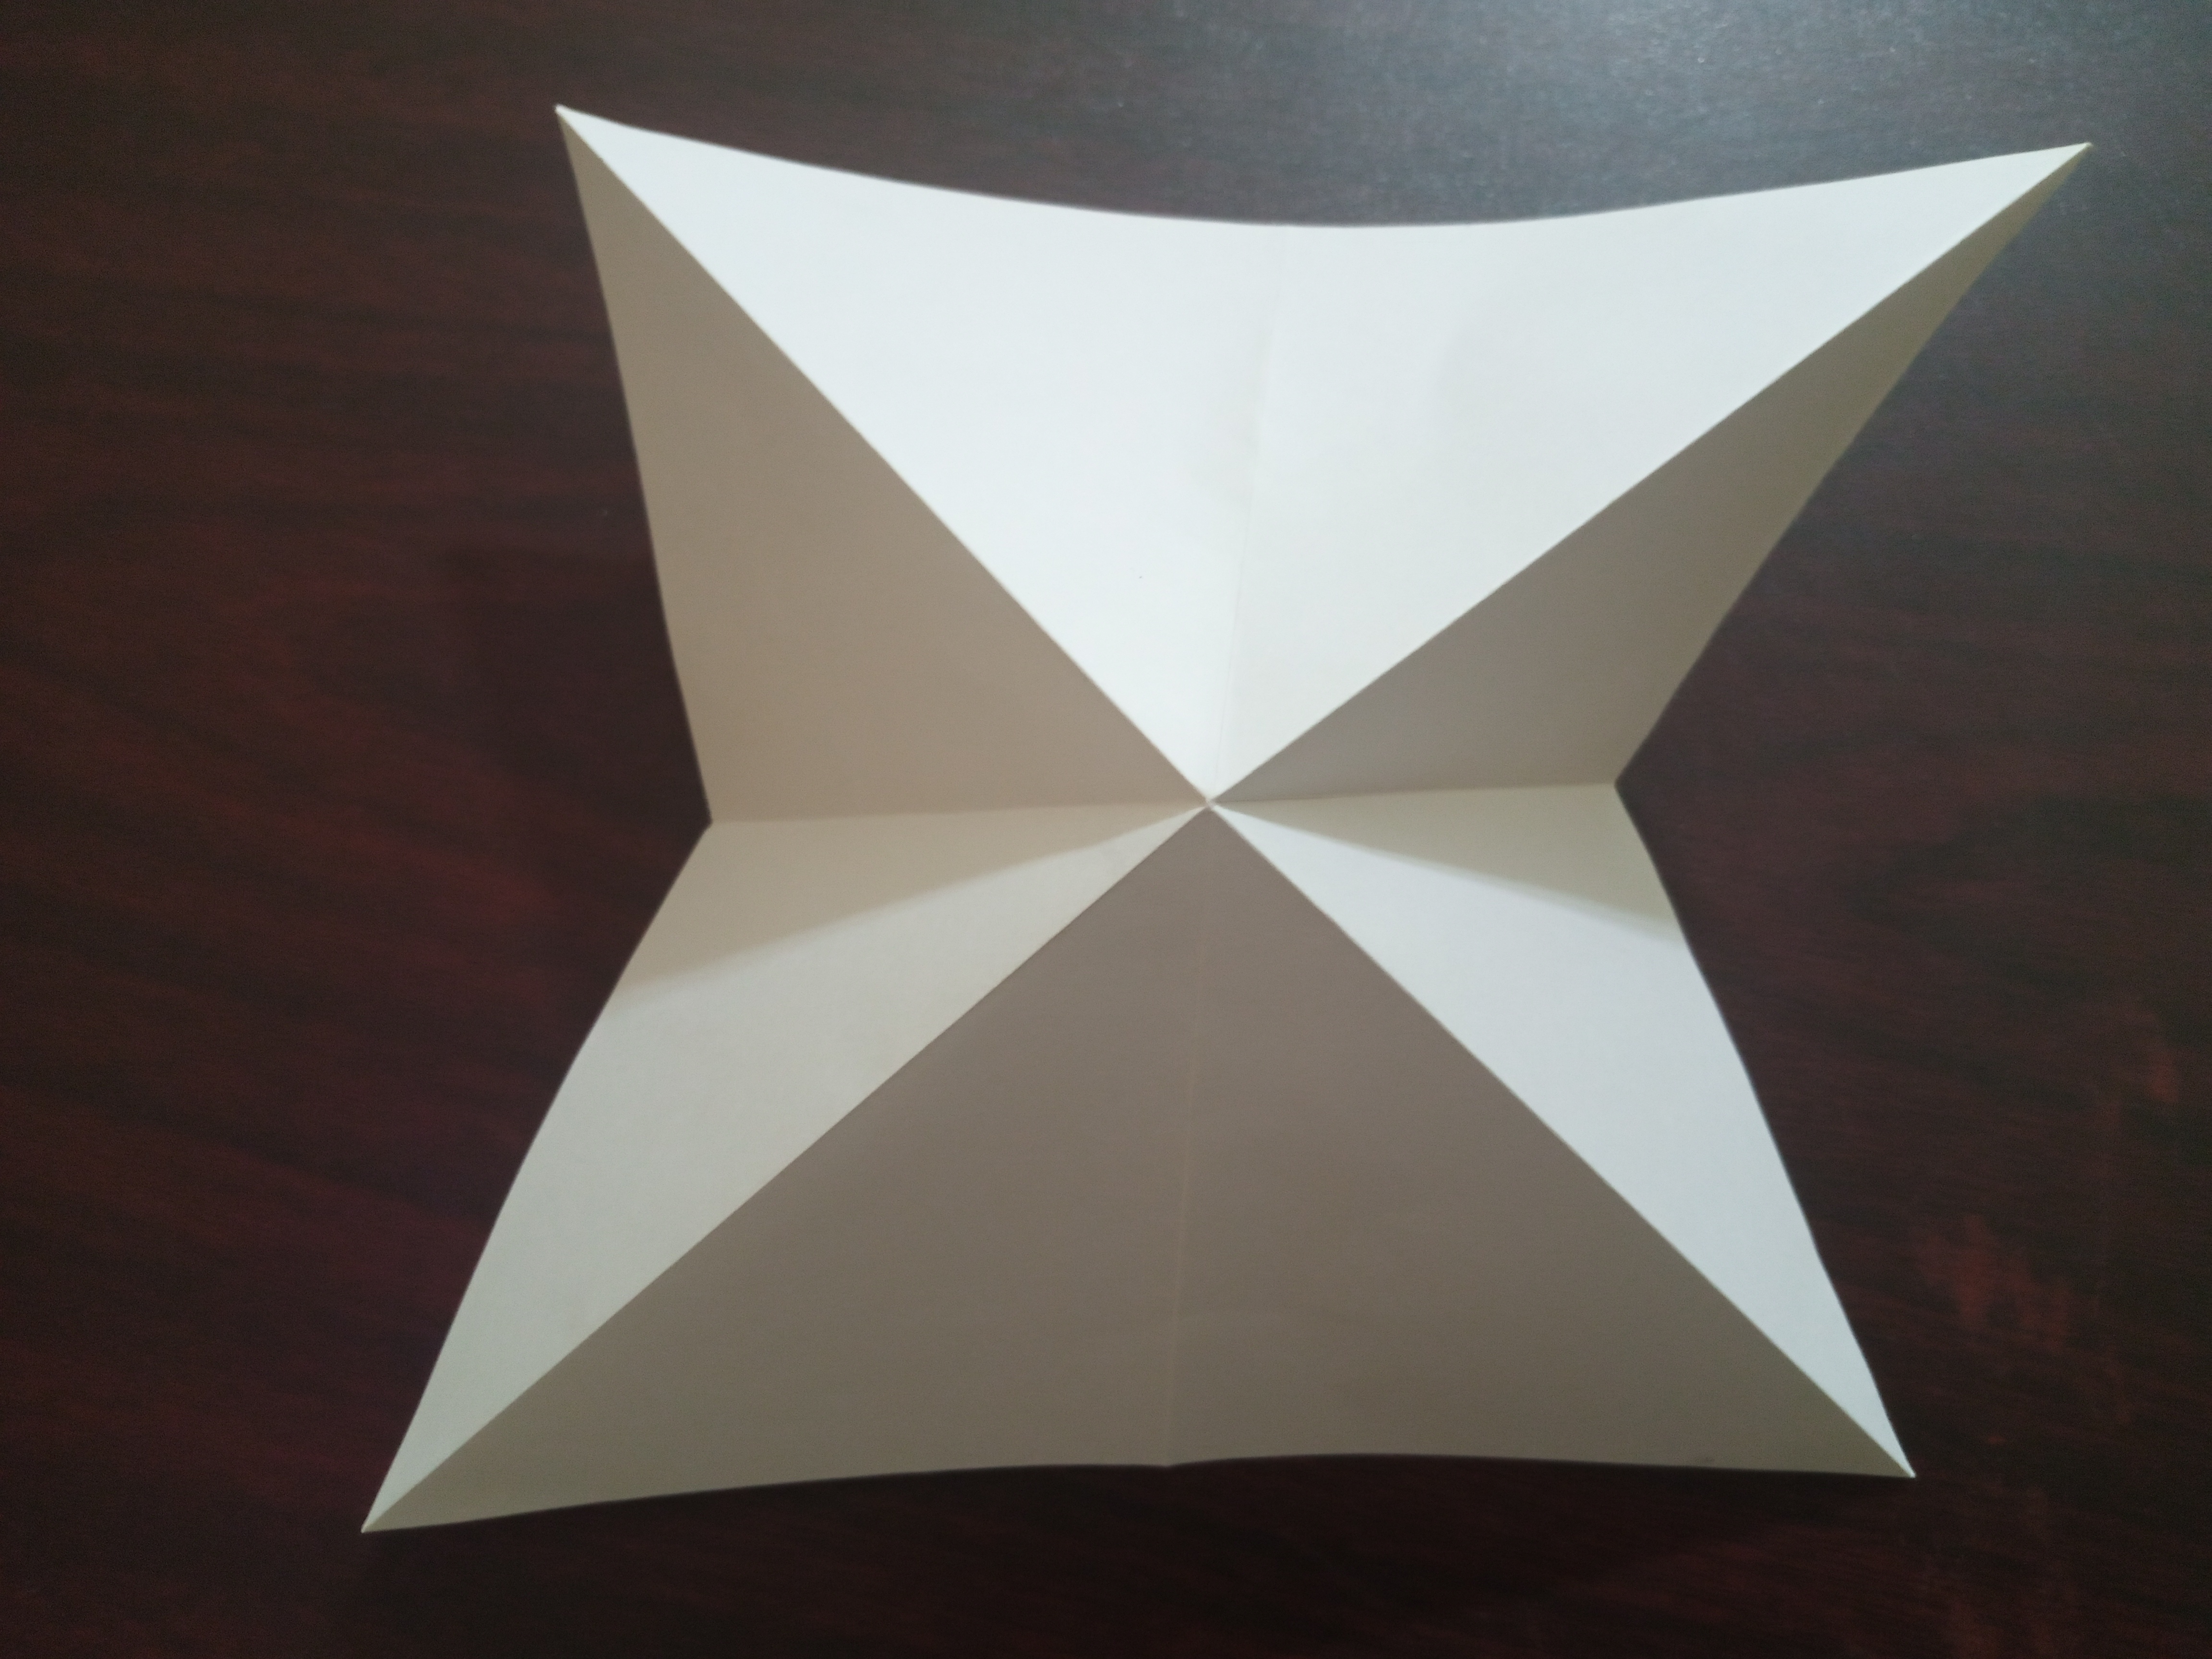
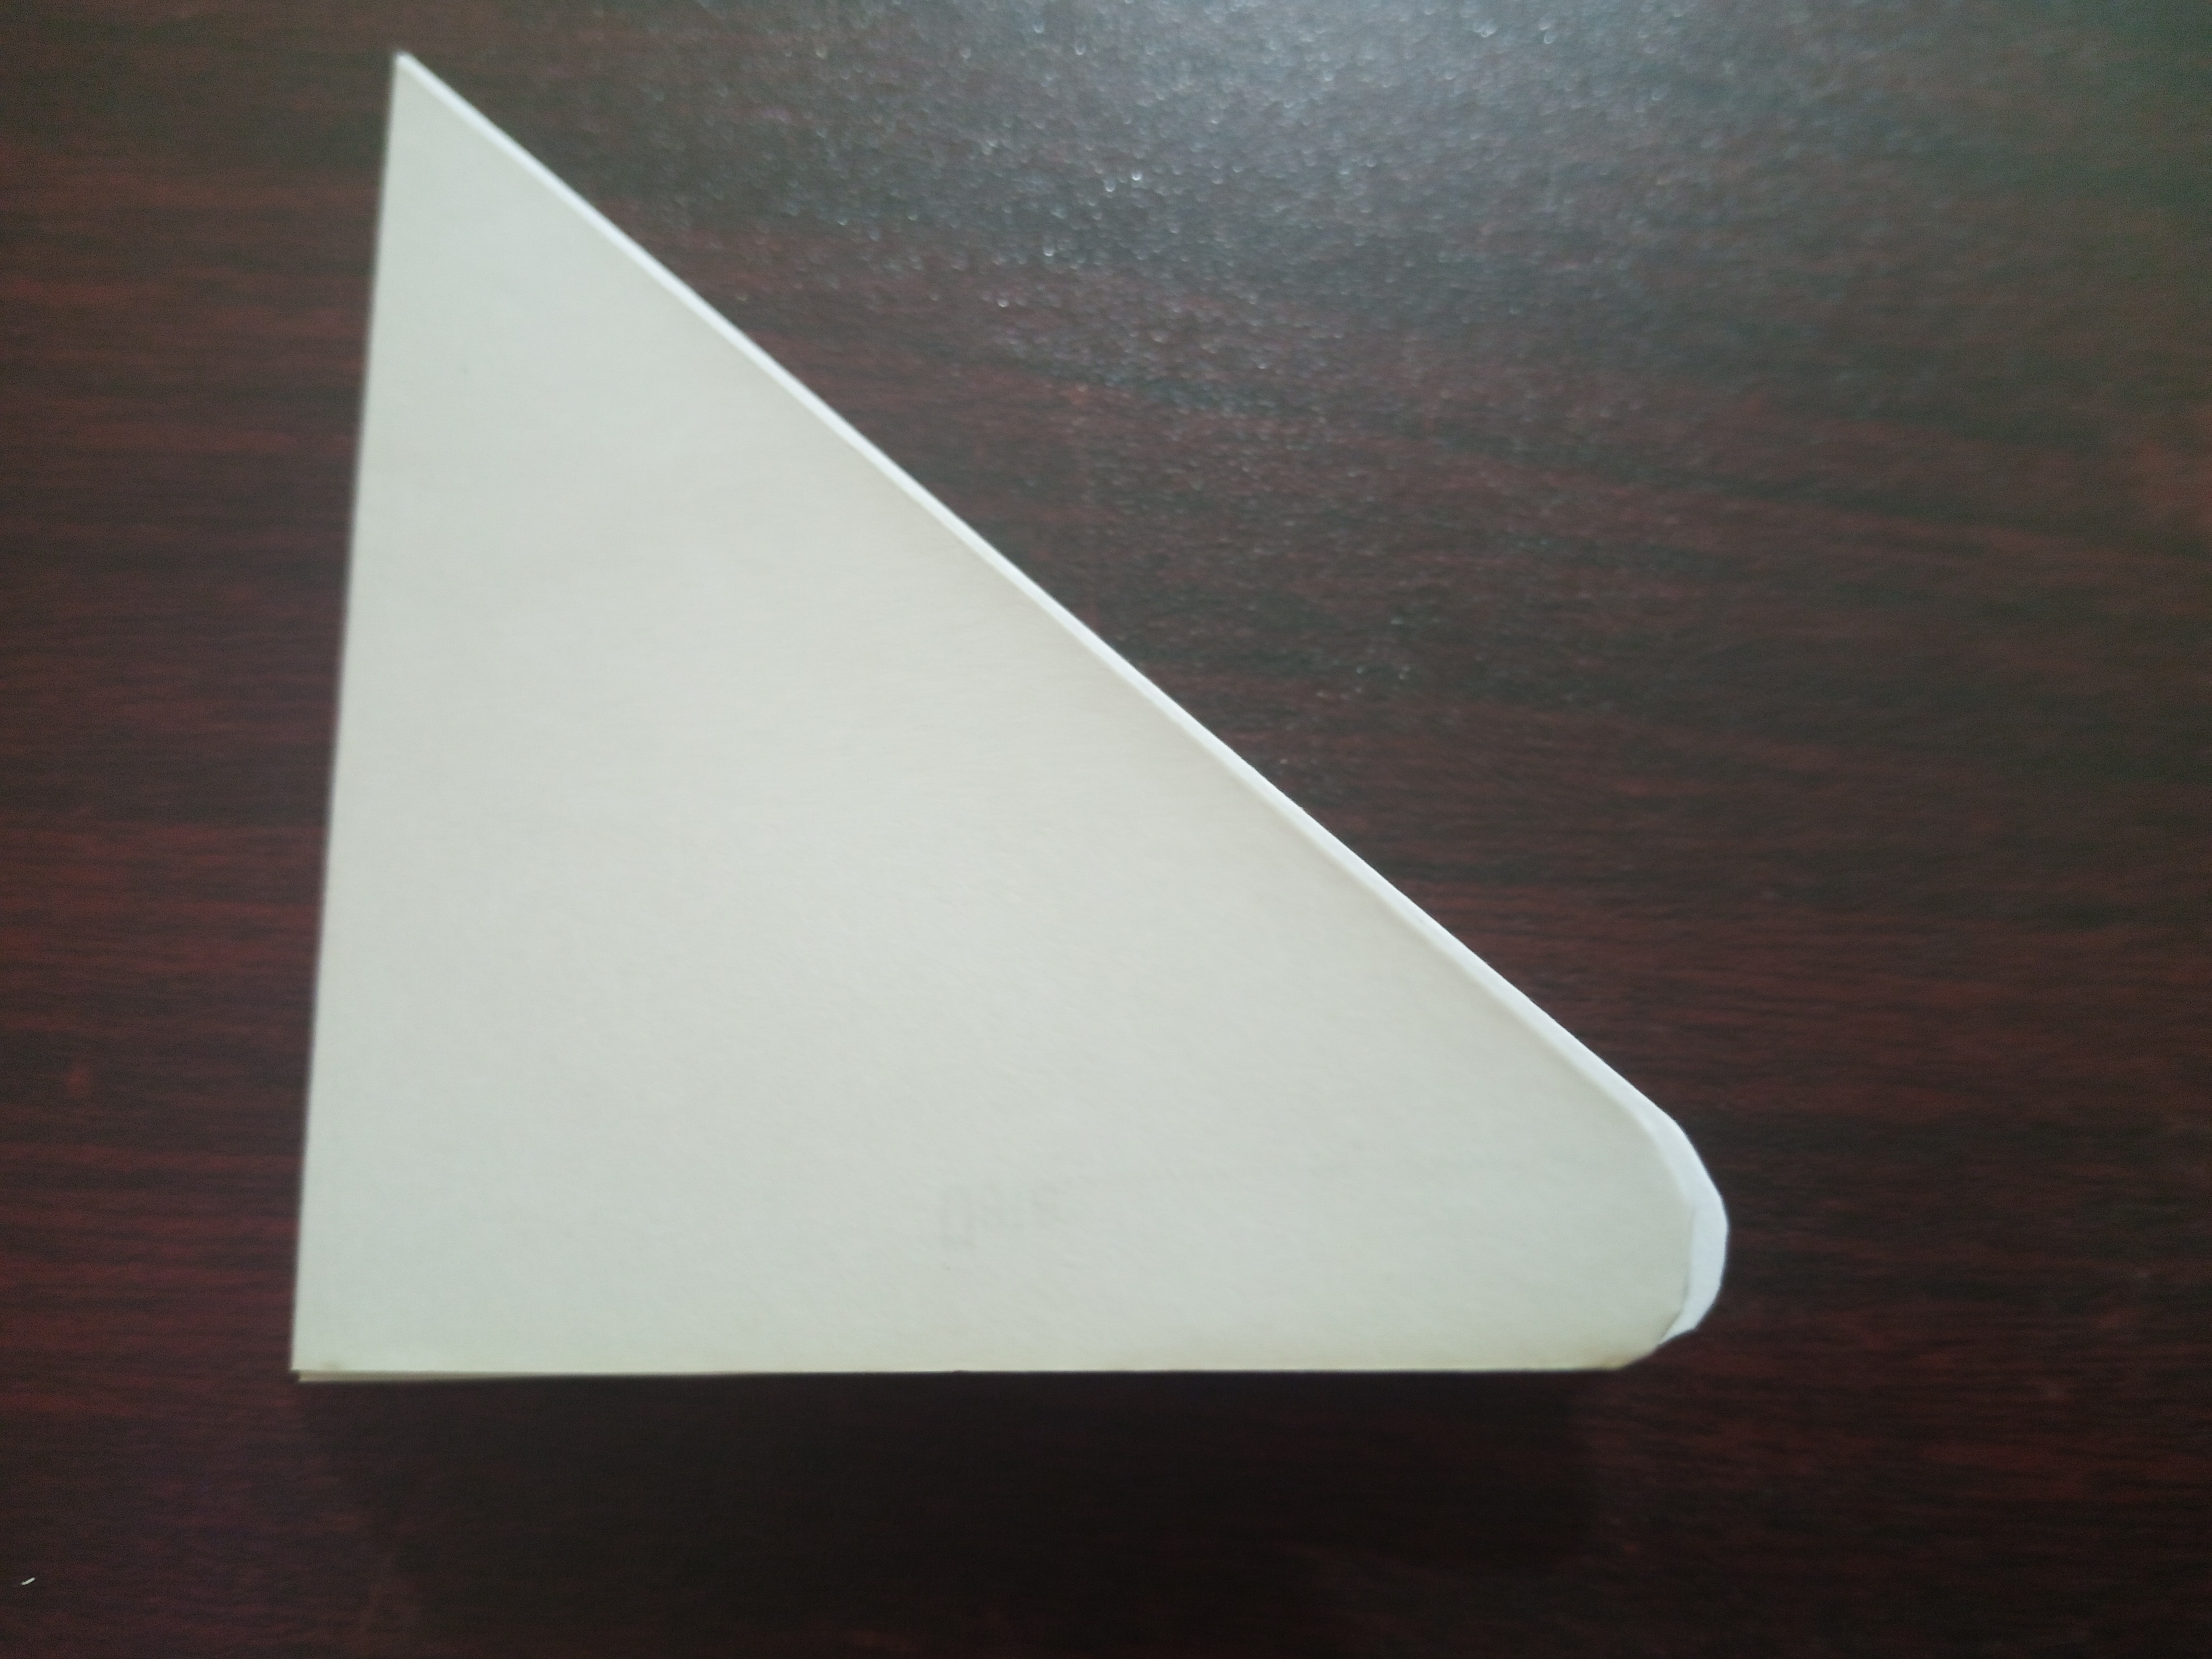
Now we will hold the paper exactly as shown in the picture. Then one side of the folds on the paper should be folded inward and the other side should be kept straight.

Now we will get exactly such a piece of paper.
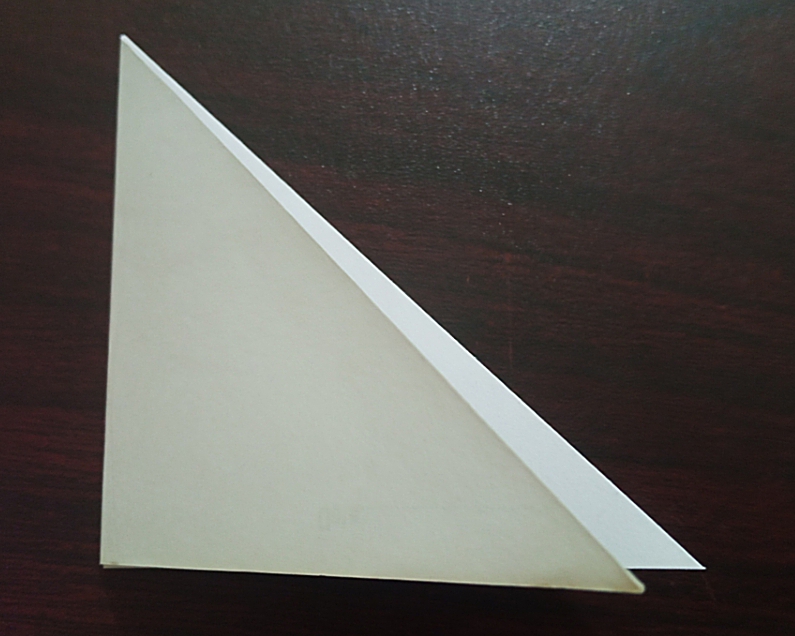
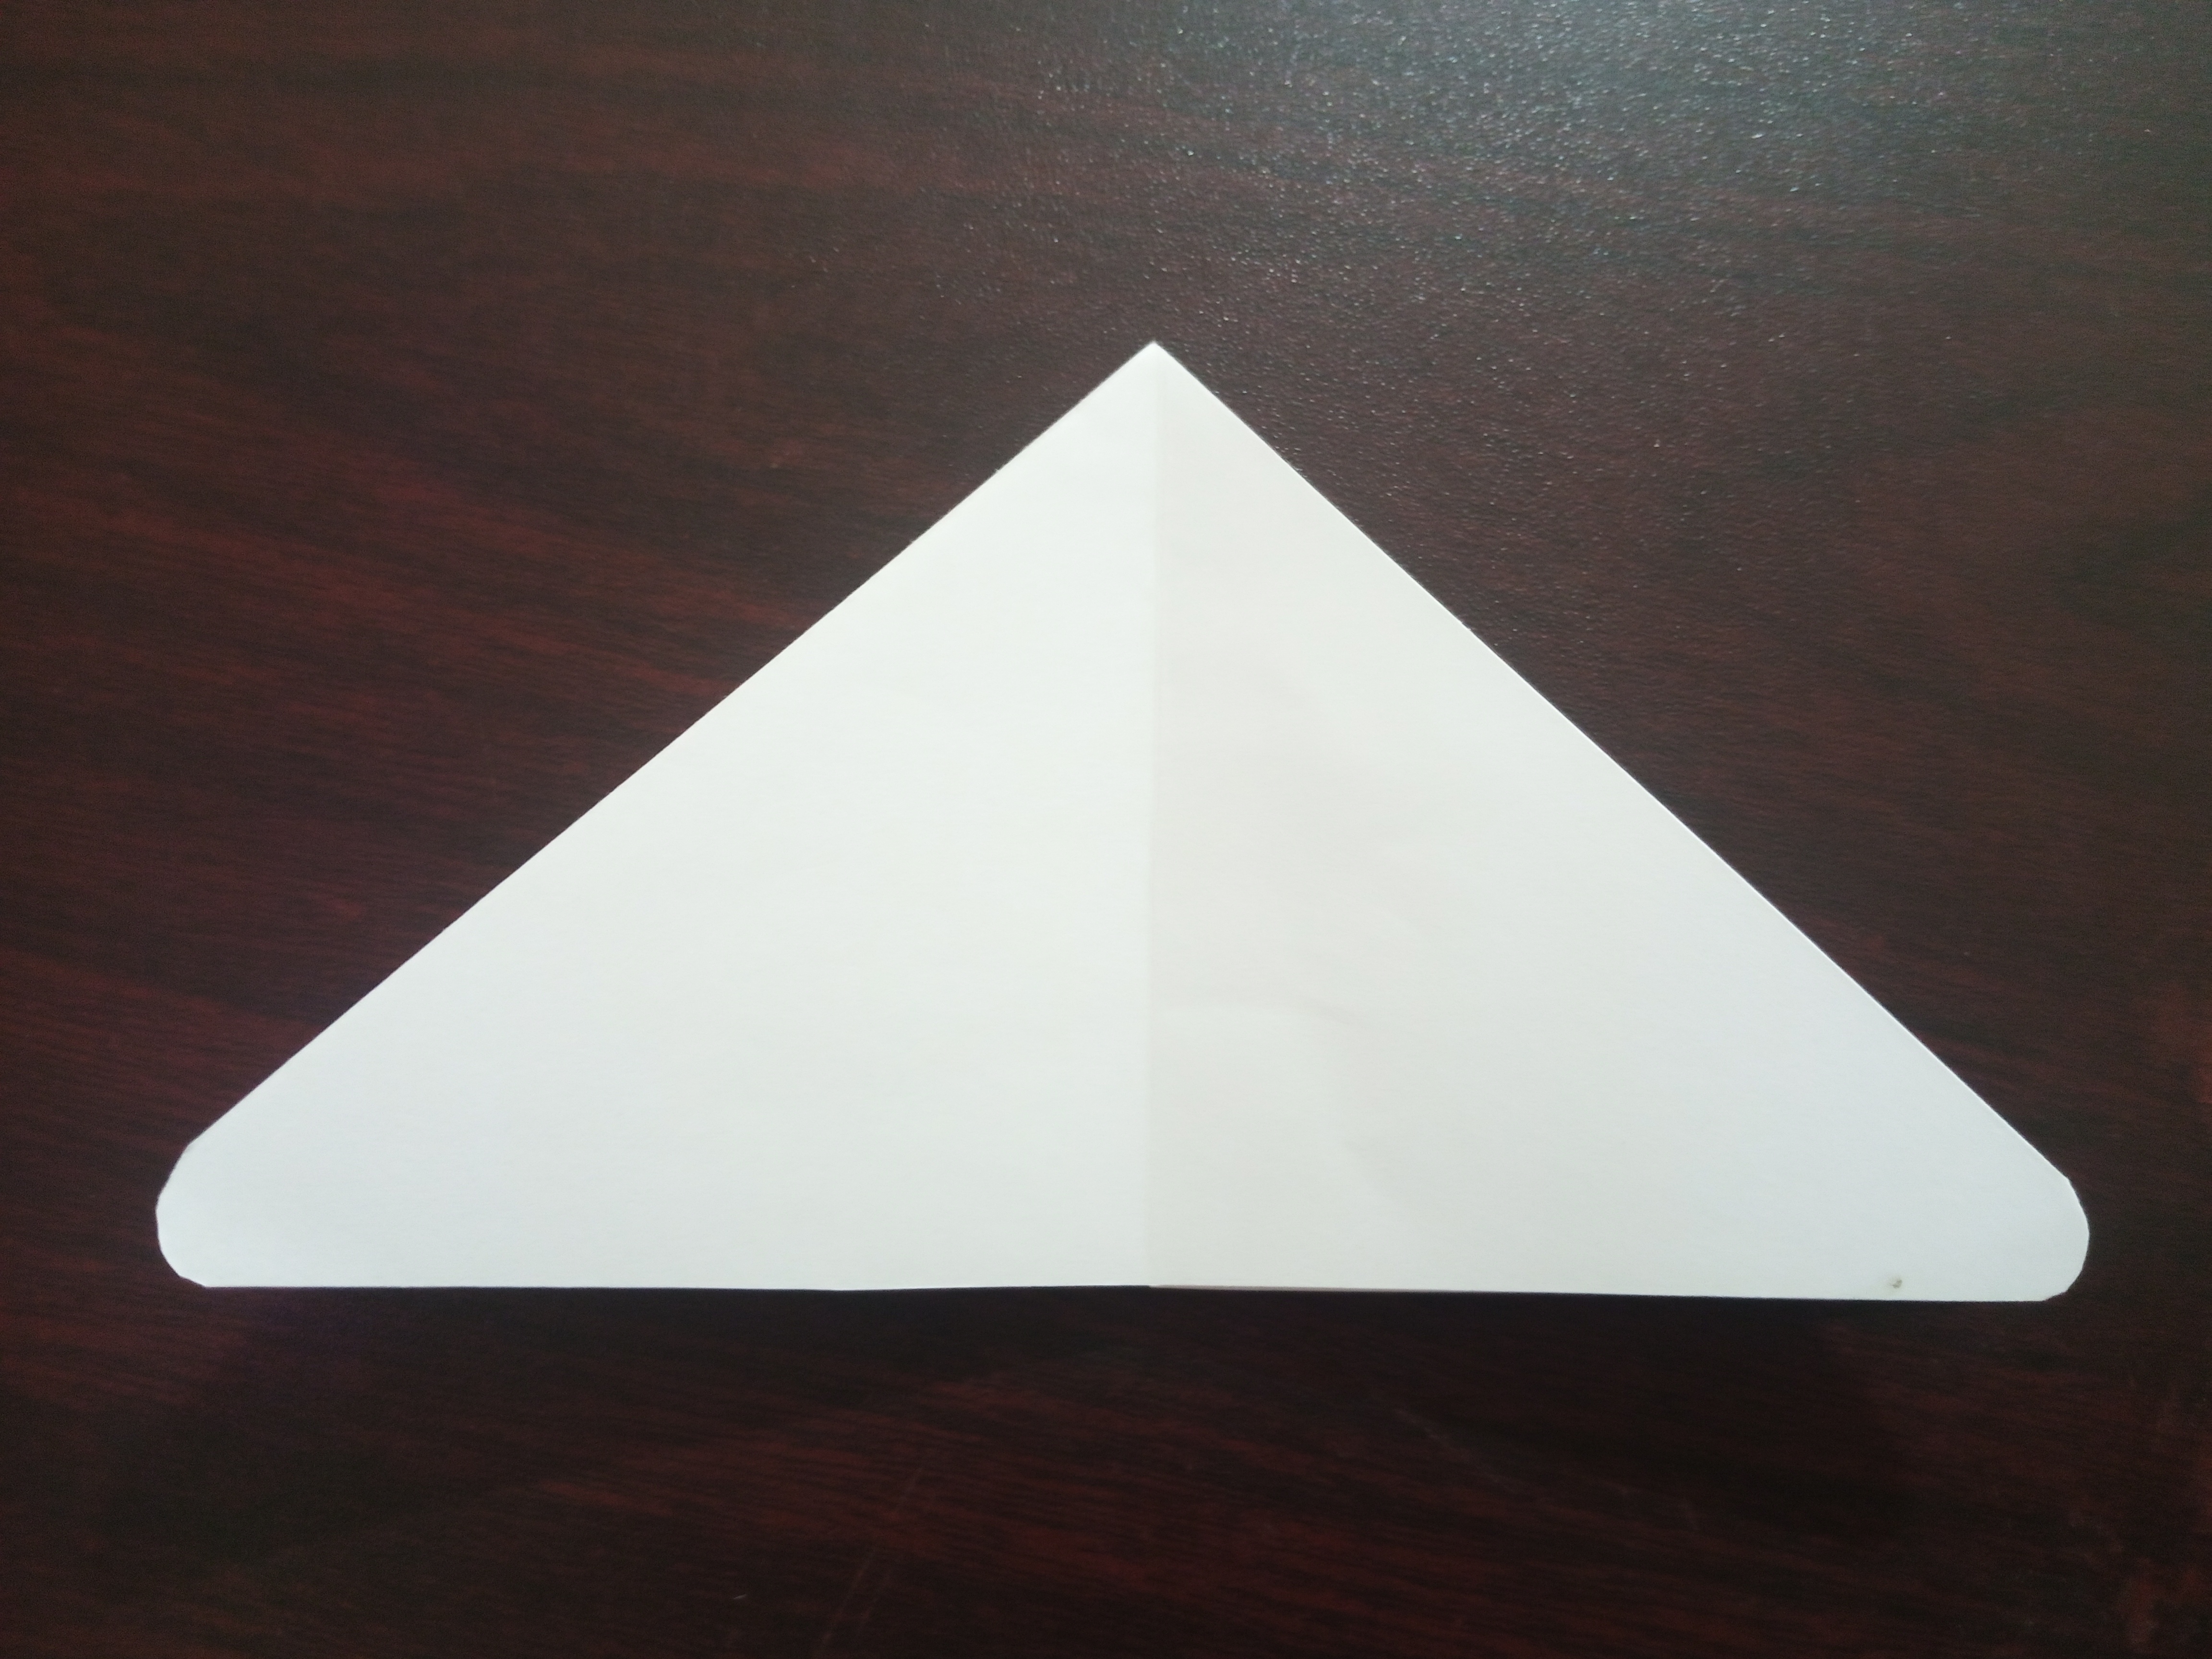
Now fold this part of the paper in the middle again.
Now we will use scissors to round the bottom of this piece of paper.
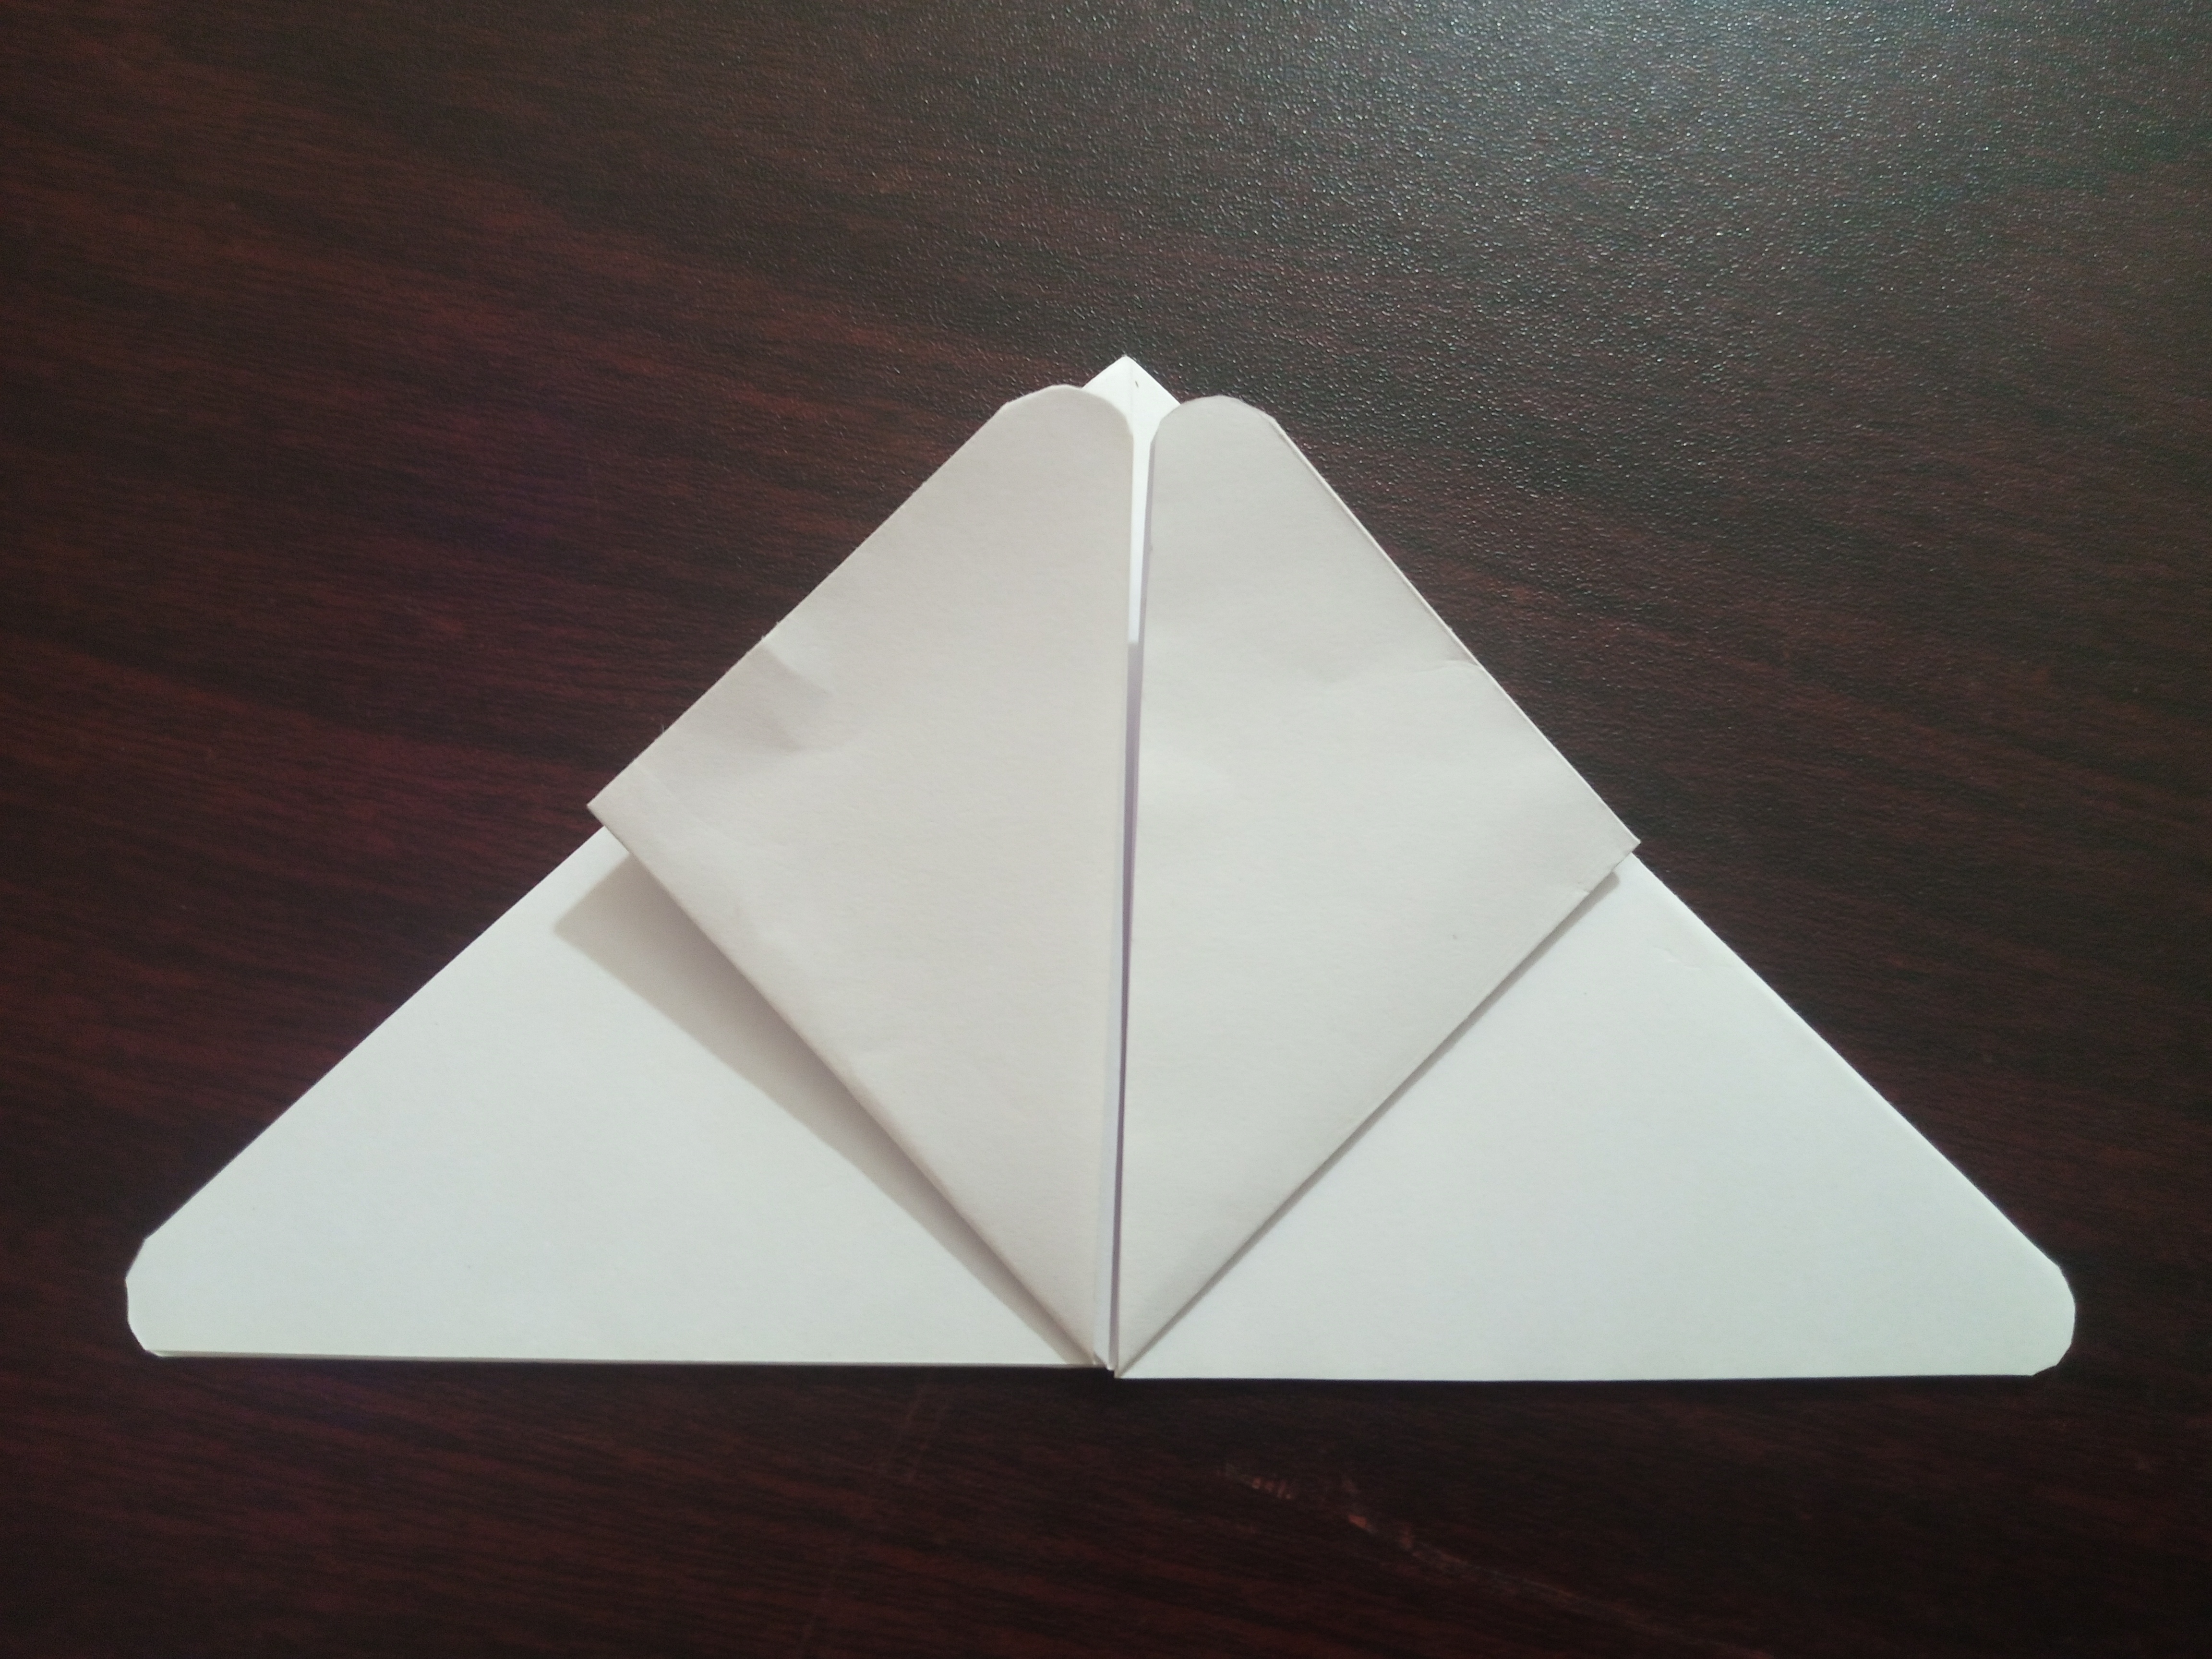
Then we will unfold the middle fold of the paper. Now we can see that the two sides of the paper are slightly rounded.
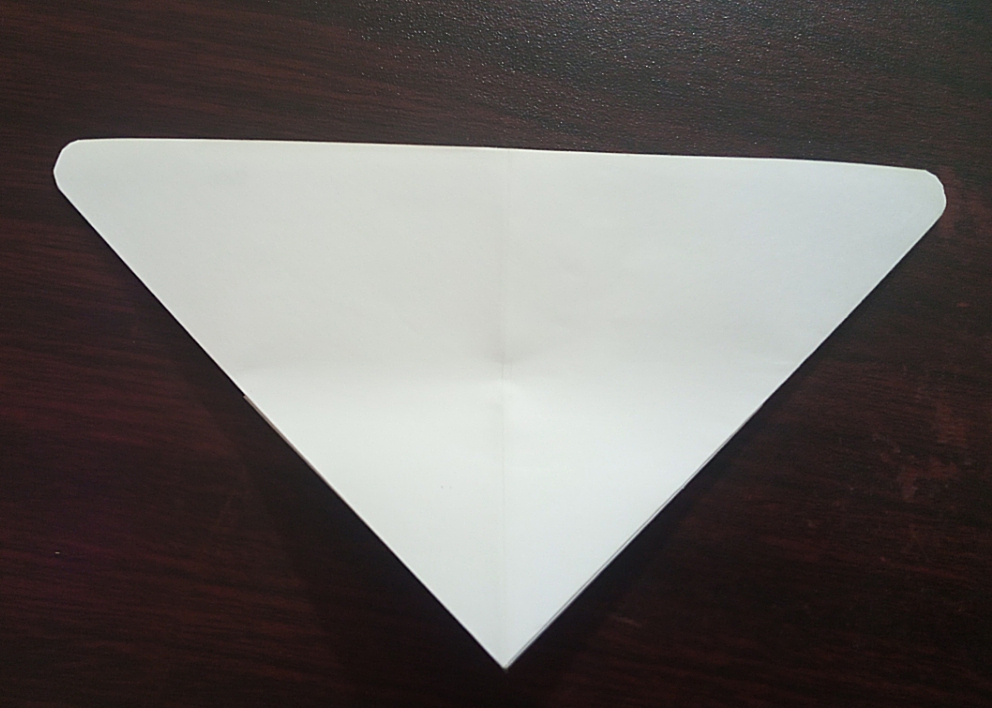
Now fold a part of the paper upwards as shown in the picture.
Now we will turn the paper over.

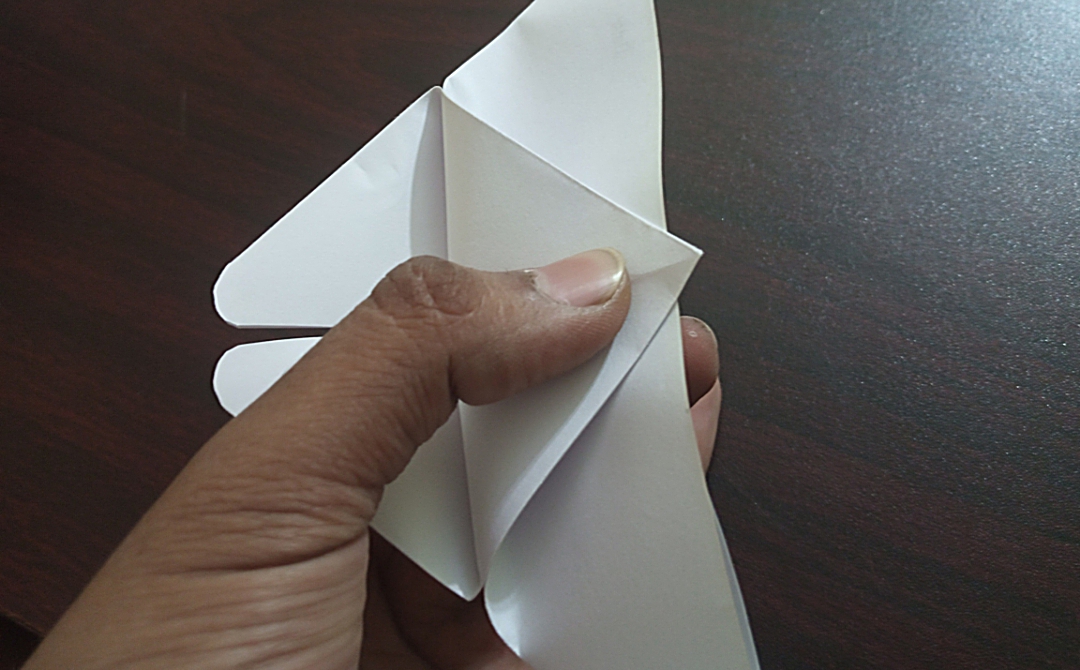

Now the lower part of the paper should be raised upwards, then the origami of the butterfly will be made by folding it a little at the front.
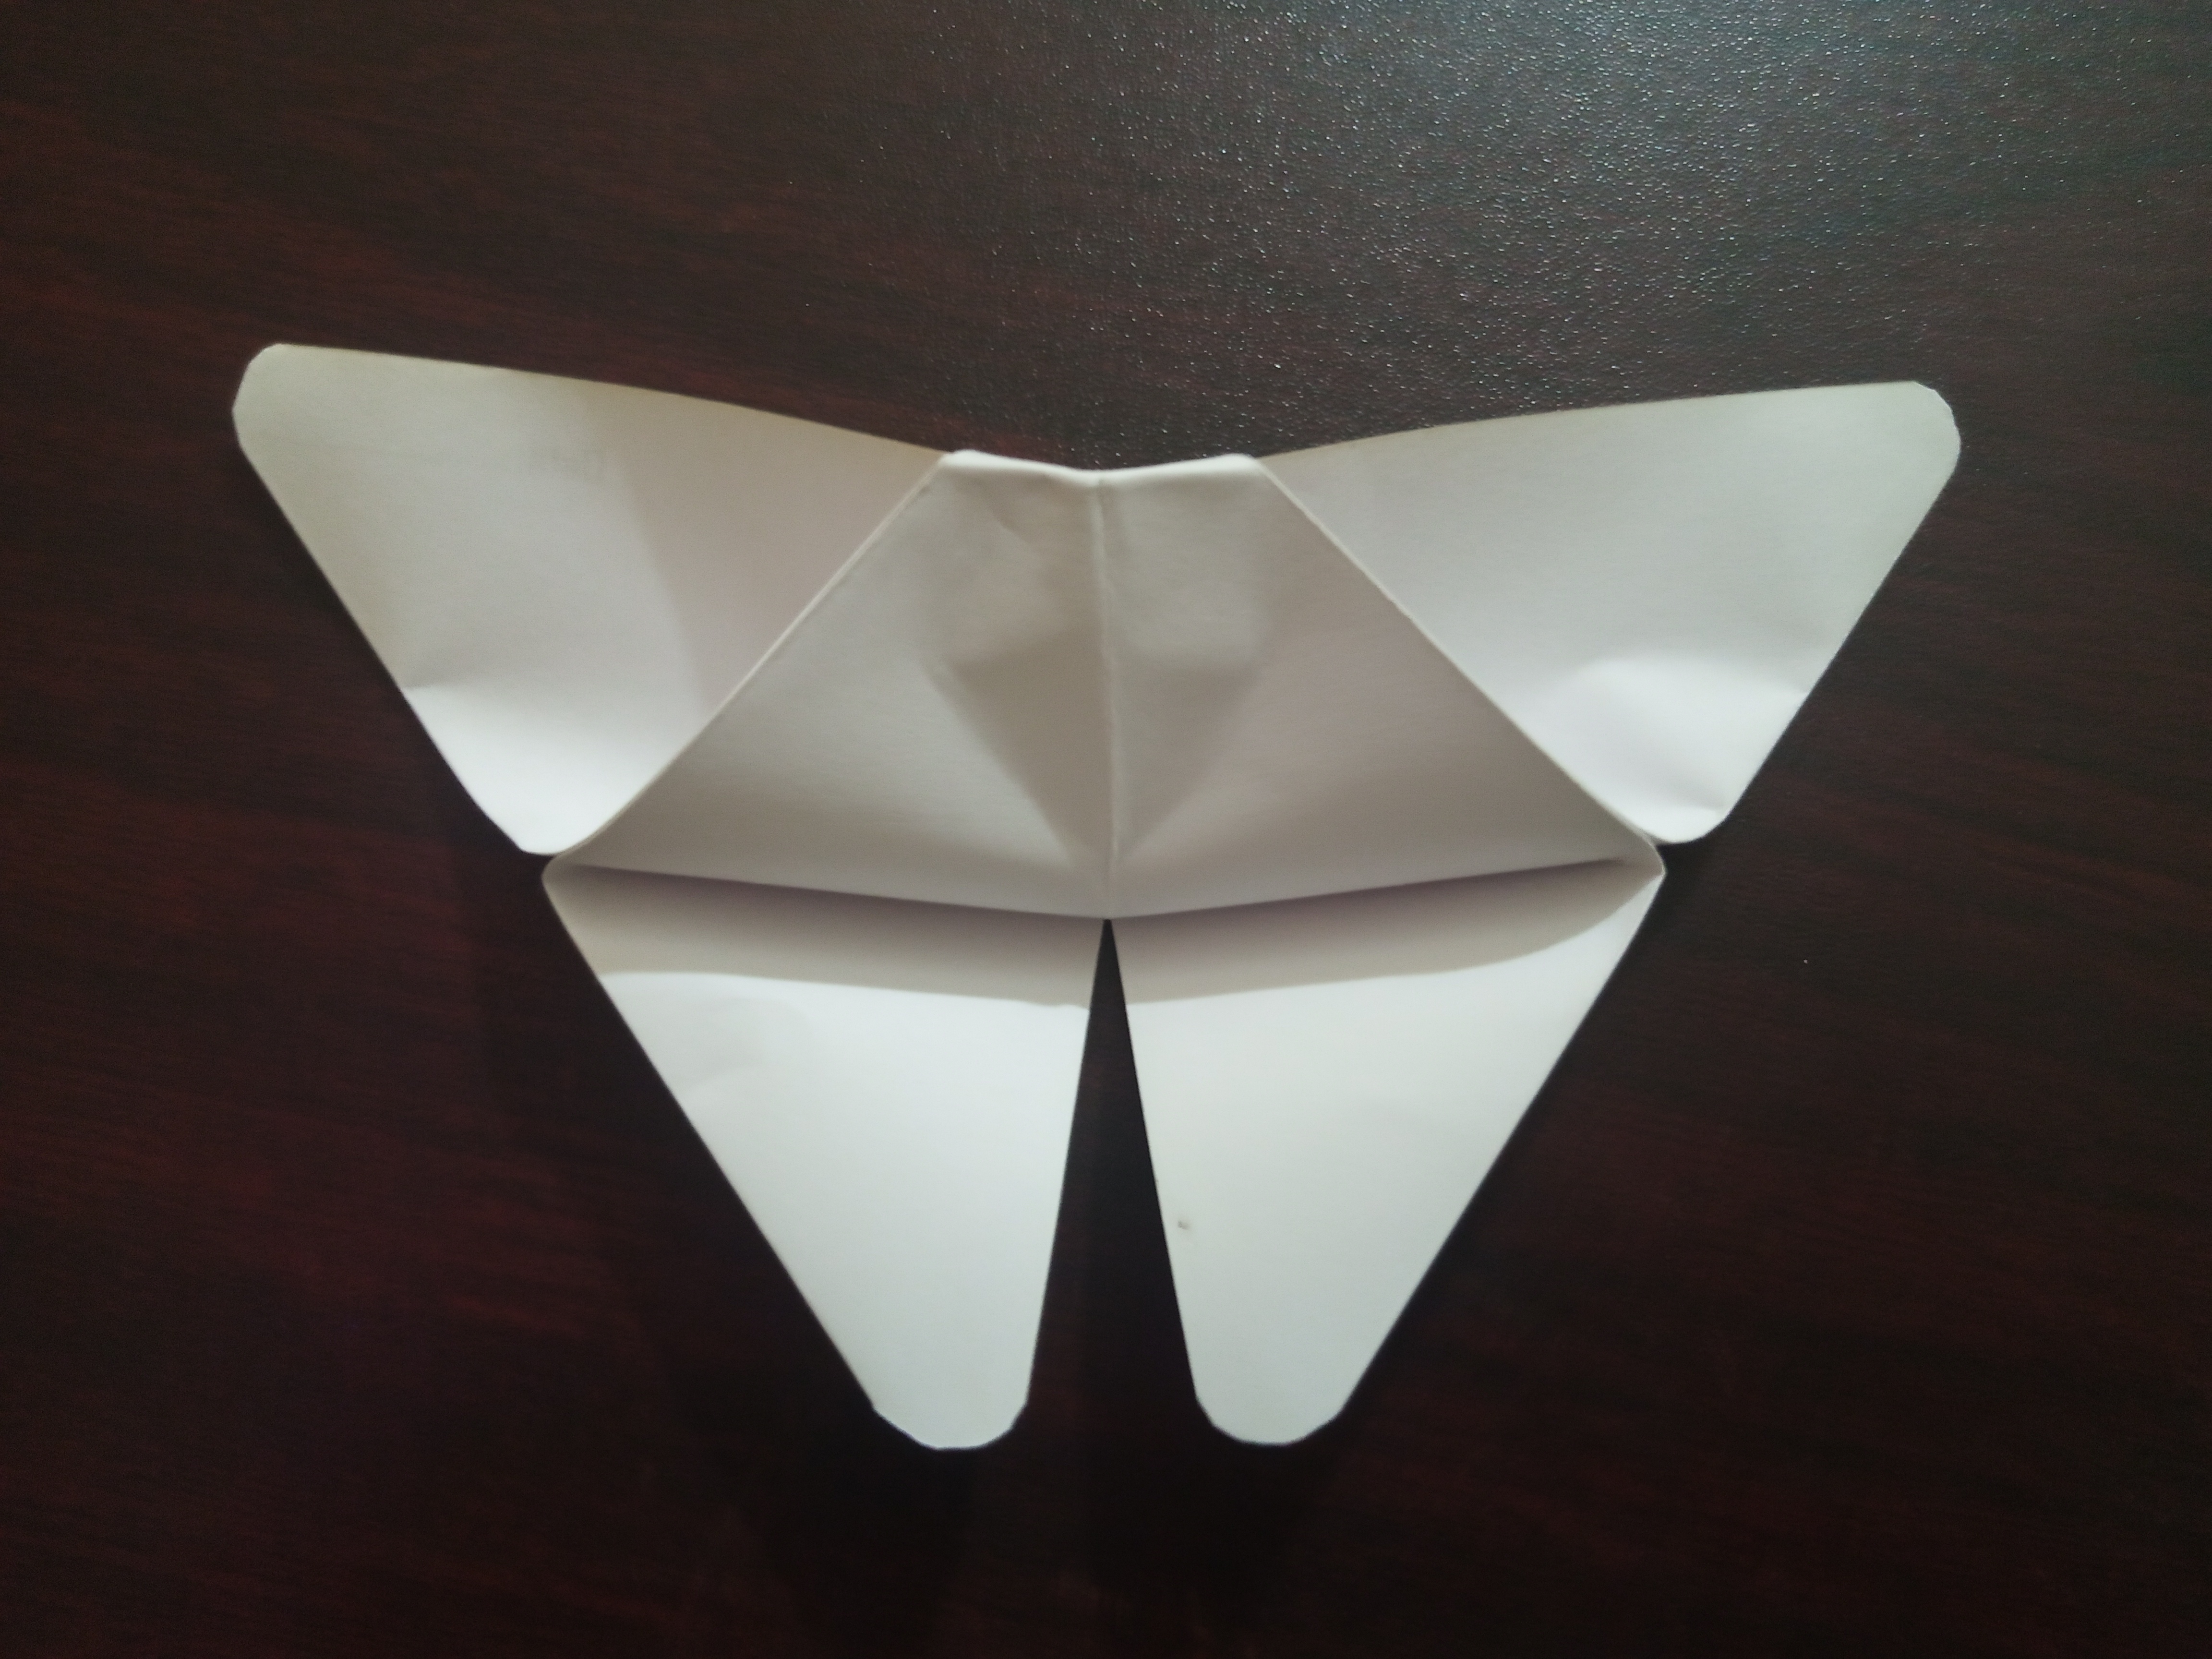
This is the back of the butterfly.

Now we can see the beauty of the butterfly by turning towards the butterfly. You will understand how beautiful butterflies can be made with paper once you make it.
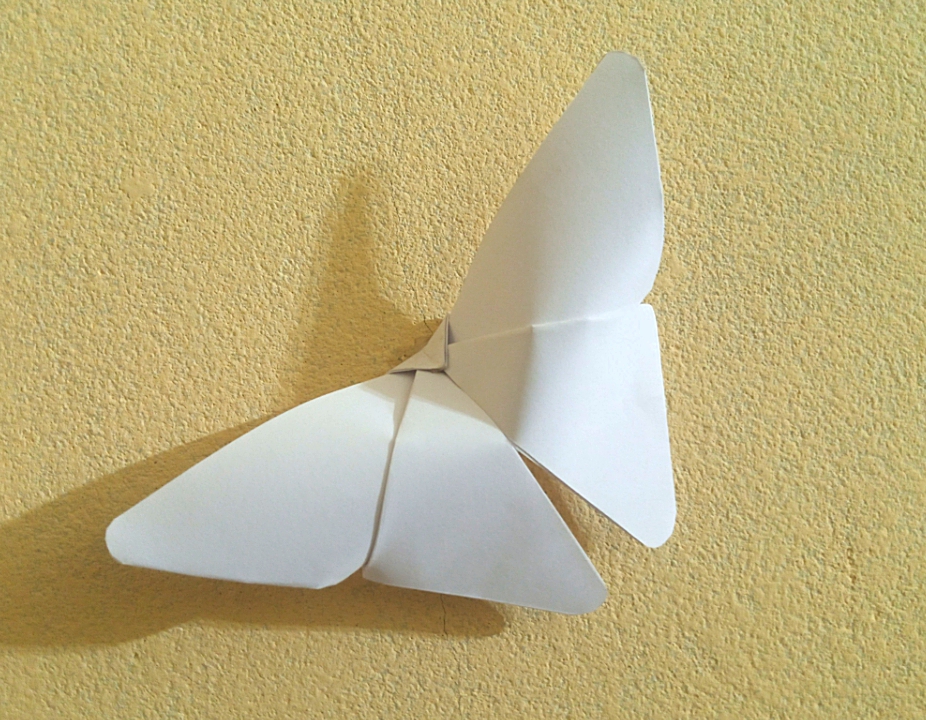
This is exactly how I arranged the butterfly origami on the wall of my room. And if you make a few butterflies and decorate them like this, it will look great.
Those of you who can do art can make such a butterfly and paint it with colors, this butterfly will look much more beautiful.
Hope one of you will make such a butterfly and color it with colors and serve it to us. I was waiting to see.
Feel free to tell me how you like the origami I made through the comments. Thank you all so much for coming to my post. I will see you again in one of my new posts. Until then, everyone will be fine and healthy. I wish you all the best.
𝕋𝕙𝕒𝕟𝕜 𝕐𝕠𝕦 𝔸𝕝𝕝

Thats a cute little paper butterfly. You did good
Congratulations @mahir4221! You have completed the following achievement on the Hive blockchain And have been rewarded with New badge(s)
Your next target is to reach 40 posts.
You can view your badges on your board and compare yourself to others in the Ranking
If you no longer want to receive notifications, reply to this comment with the word
STOPCheck out our last posts: