Hello everyone, I hope everyone is well, I am also very well in your prayers. Today I am here again with a new post. Today I am here with you a DIY post.
 |
|---|
I have been making various things with paper for a long time. But never shared those things I made before. From now on I will try to share with you all the DIYs I make.
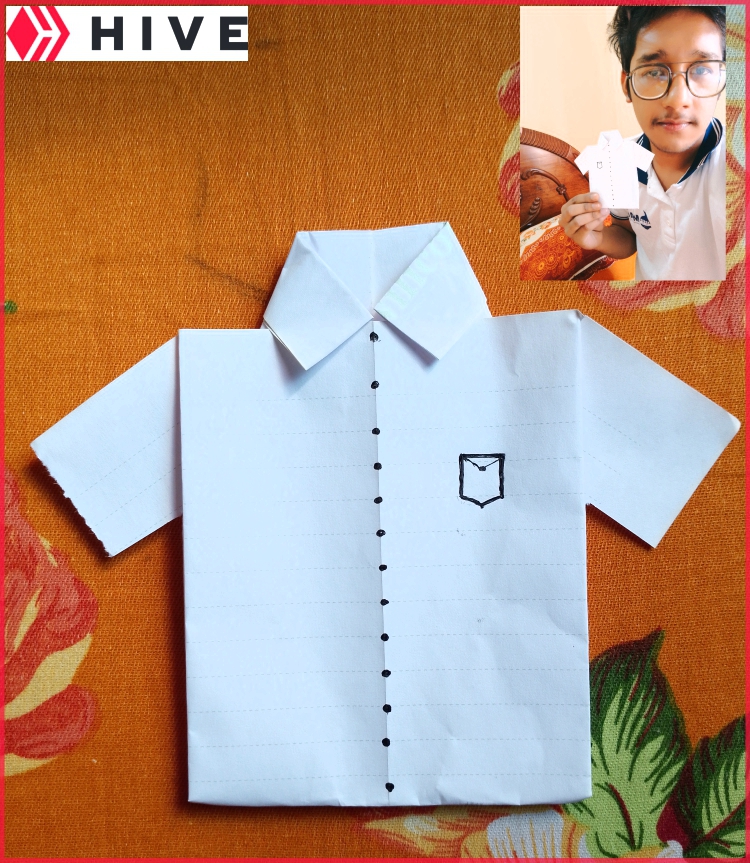
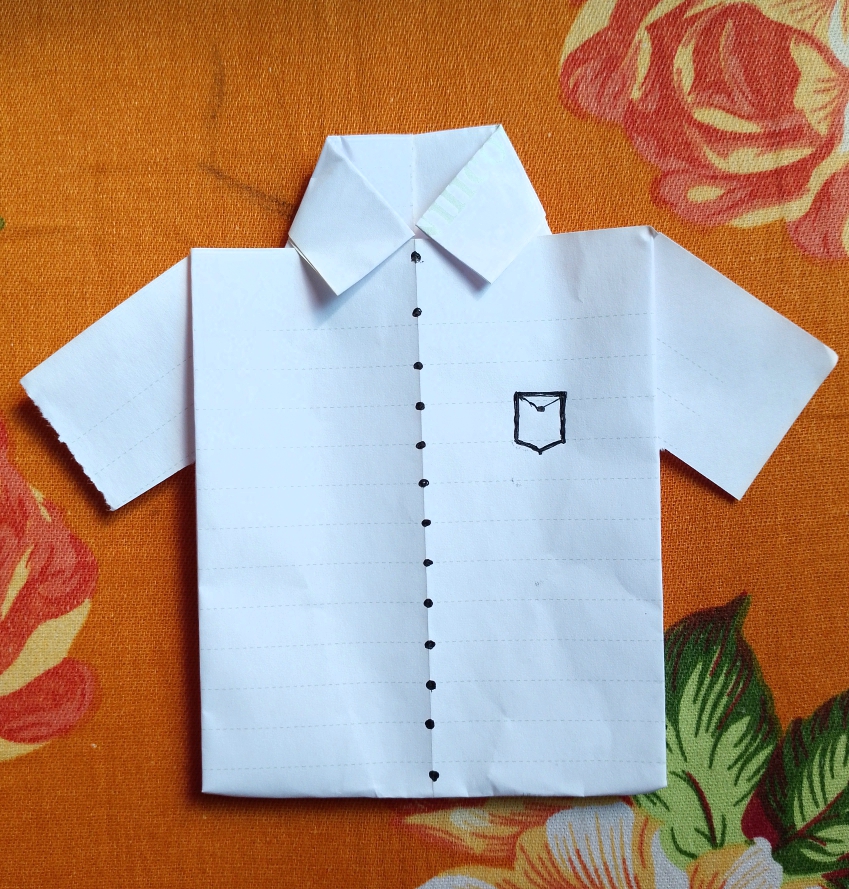
Today I made a shirt using white paper. You can let your little kids play by making such things. Or it does not look bad if you make such things and keep them at home.
I will share with you step by step how I made the DIY so that you too can make it very easily. So let's get started without further ado.
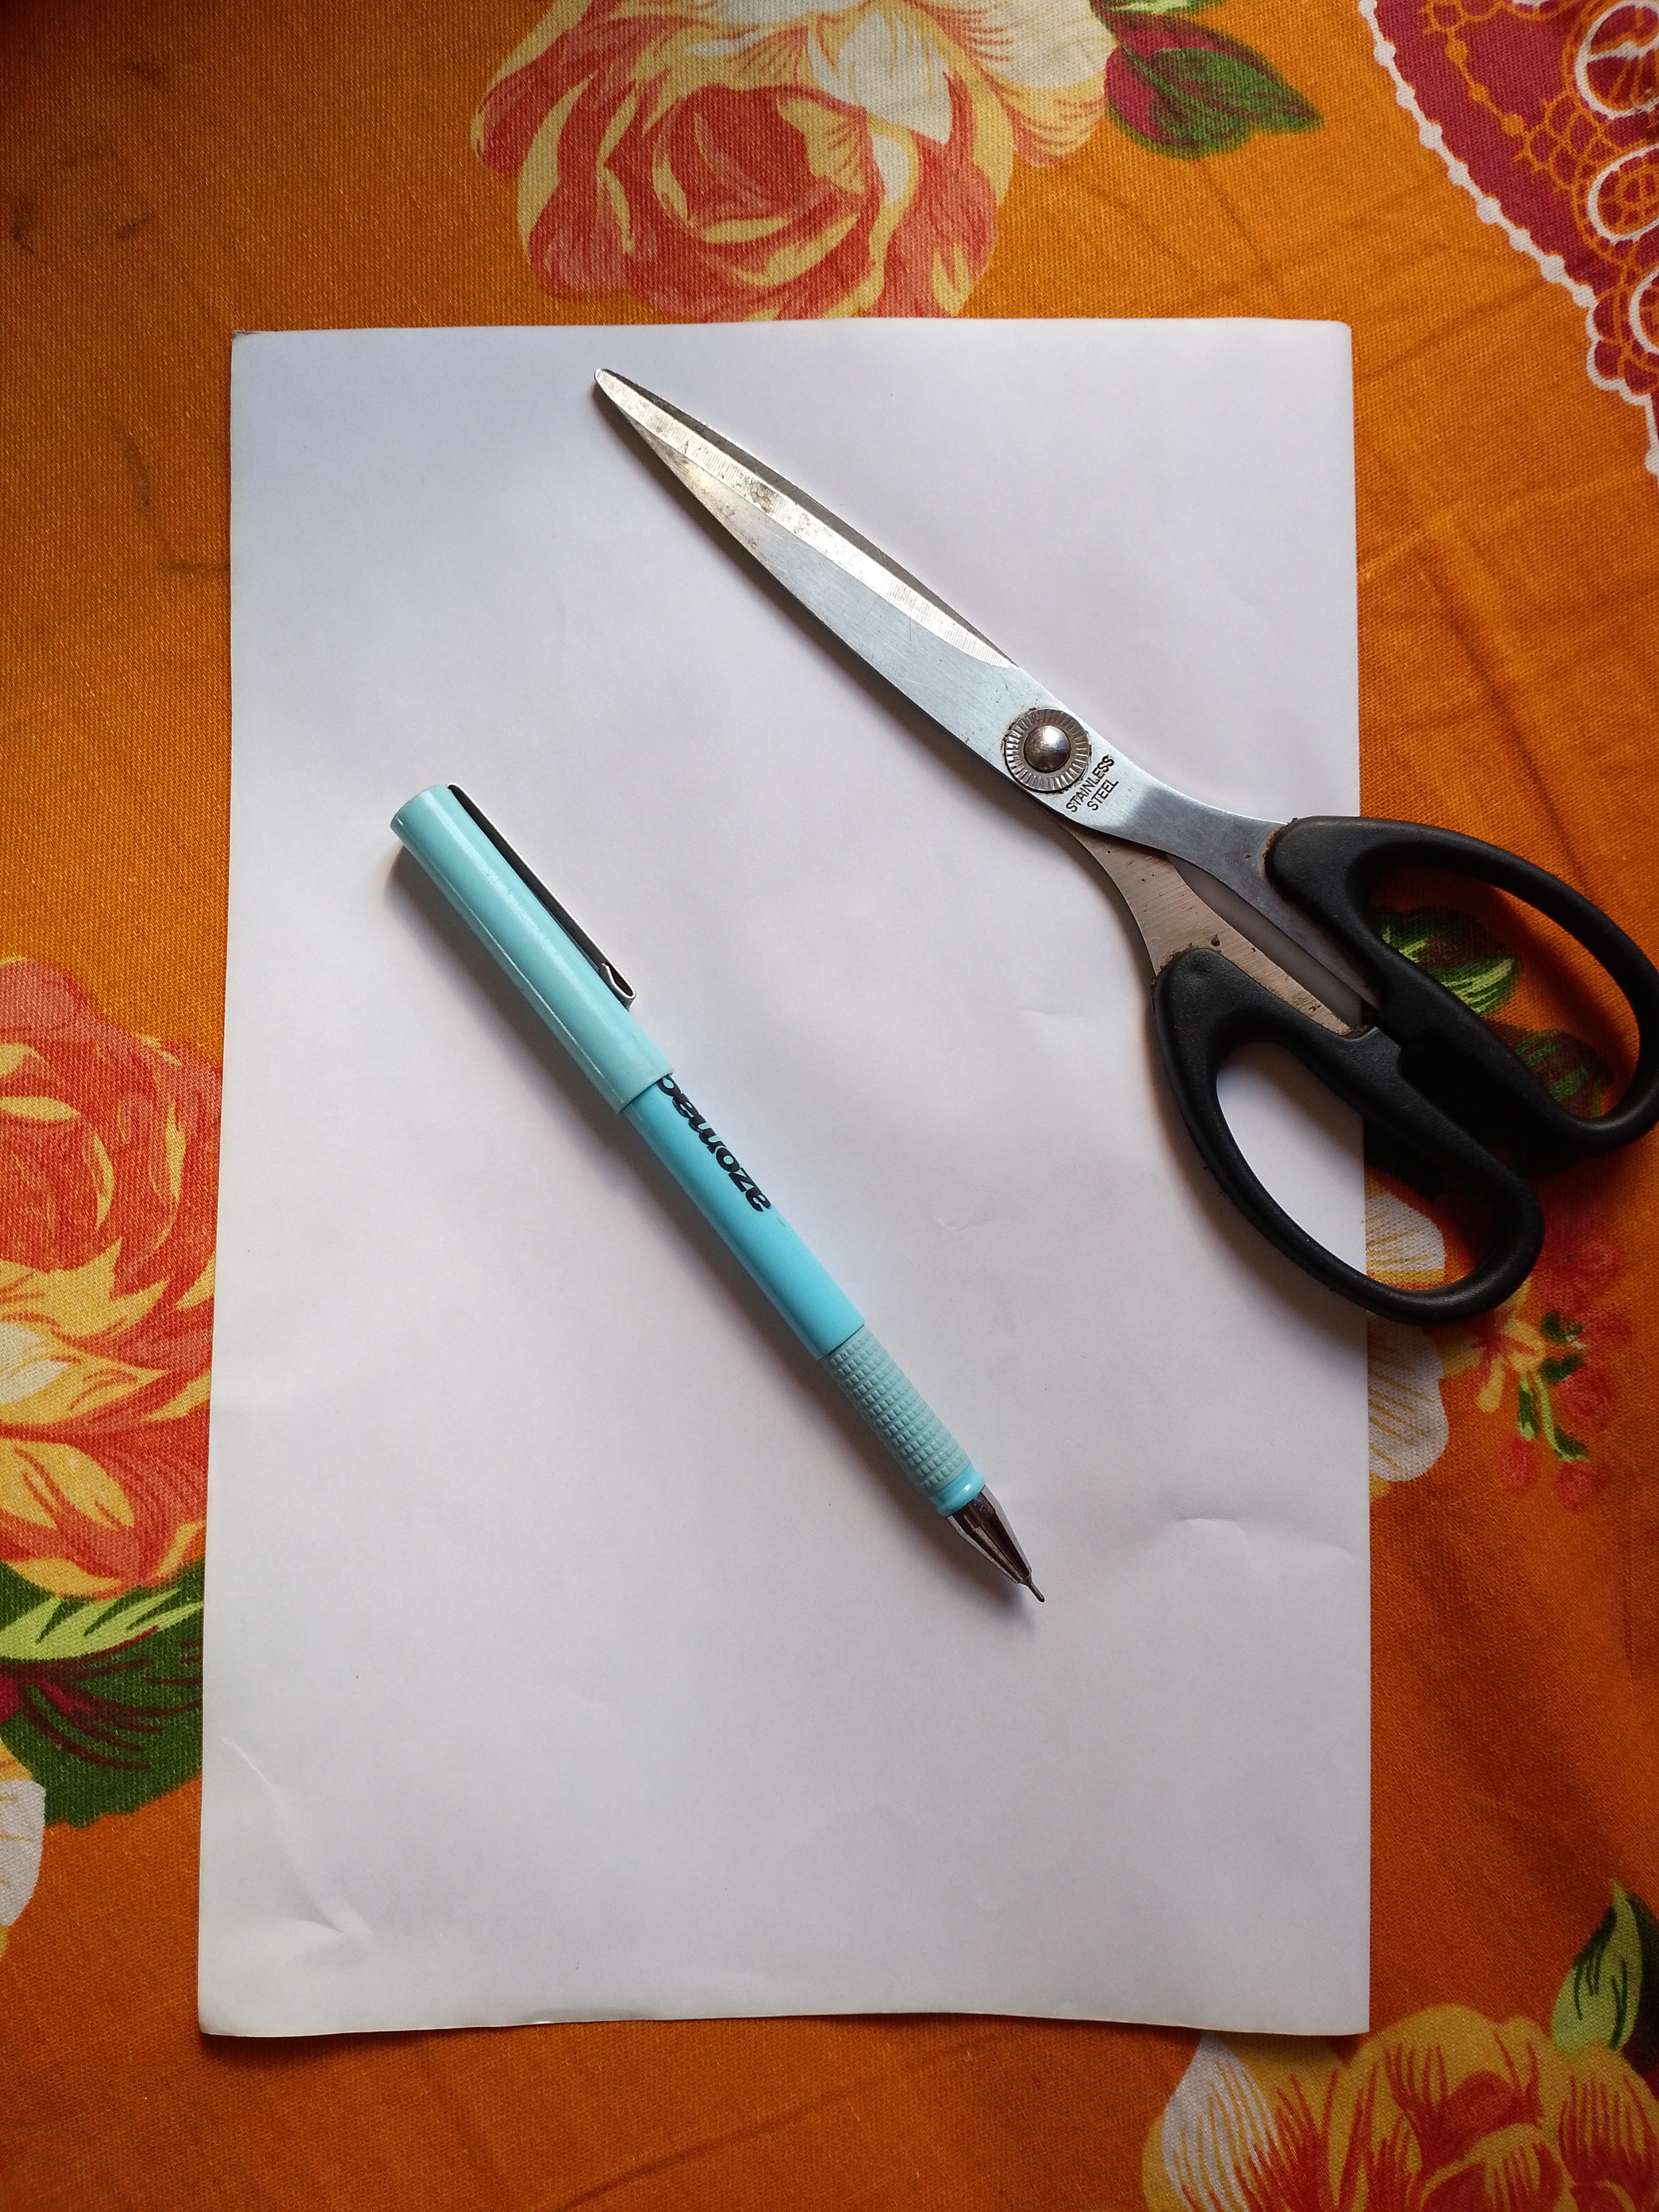
Necessary Equipment
 |
|---|
1• Paper
2• Scissors
3• Pen
How to make step by step
 |
|---|
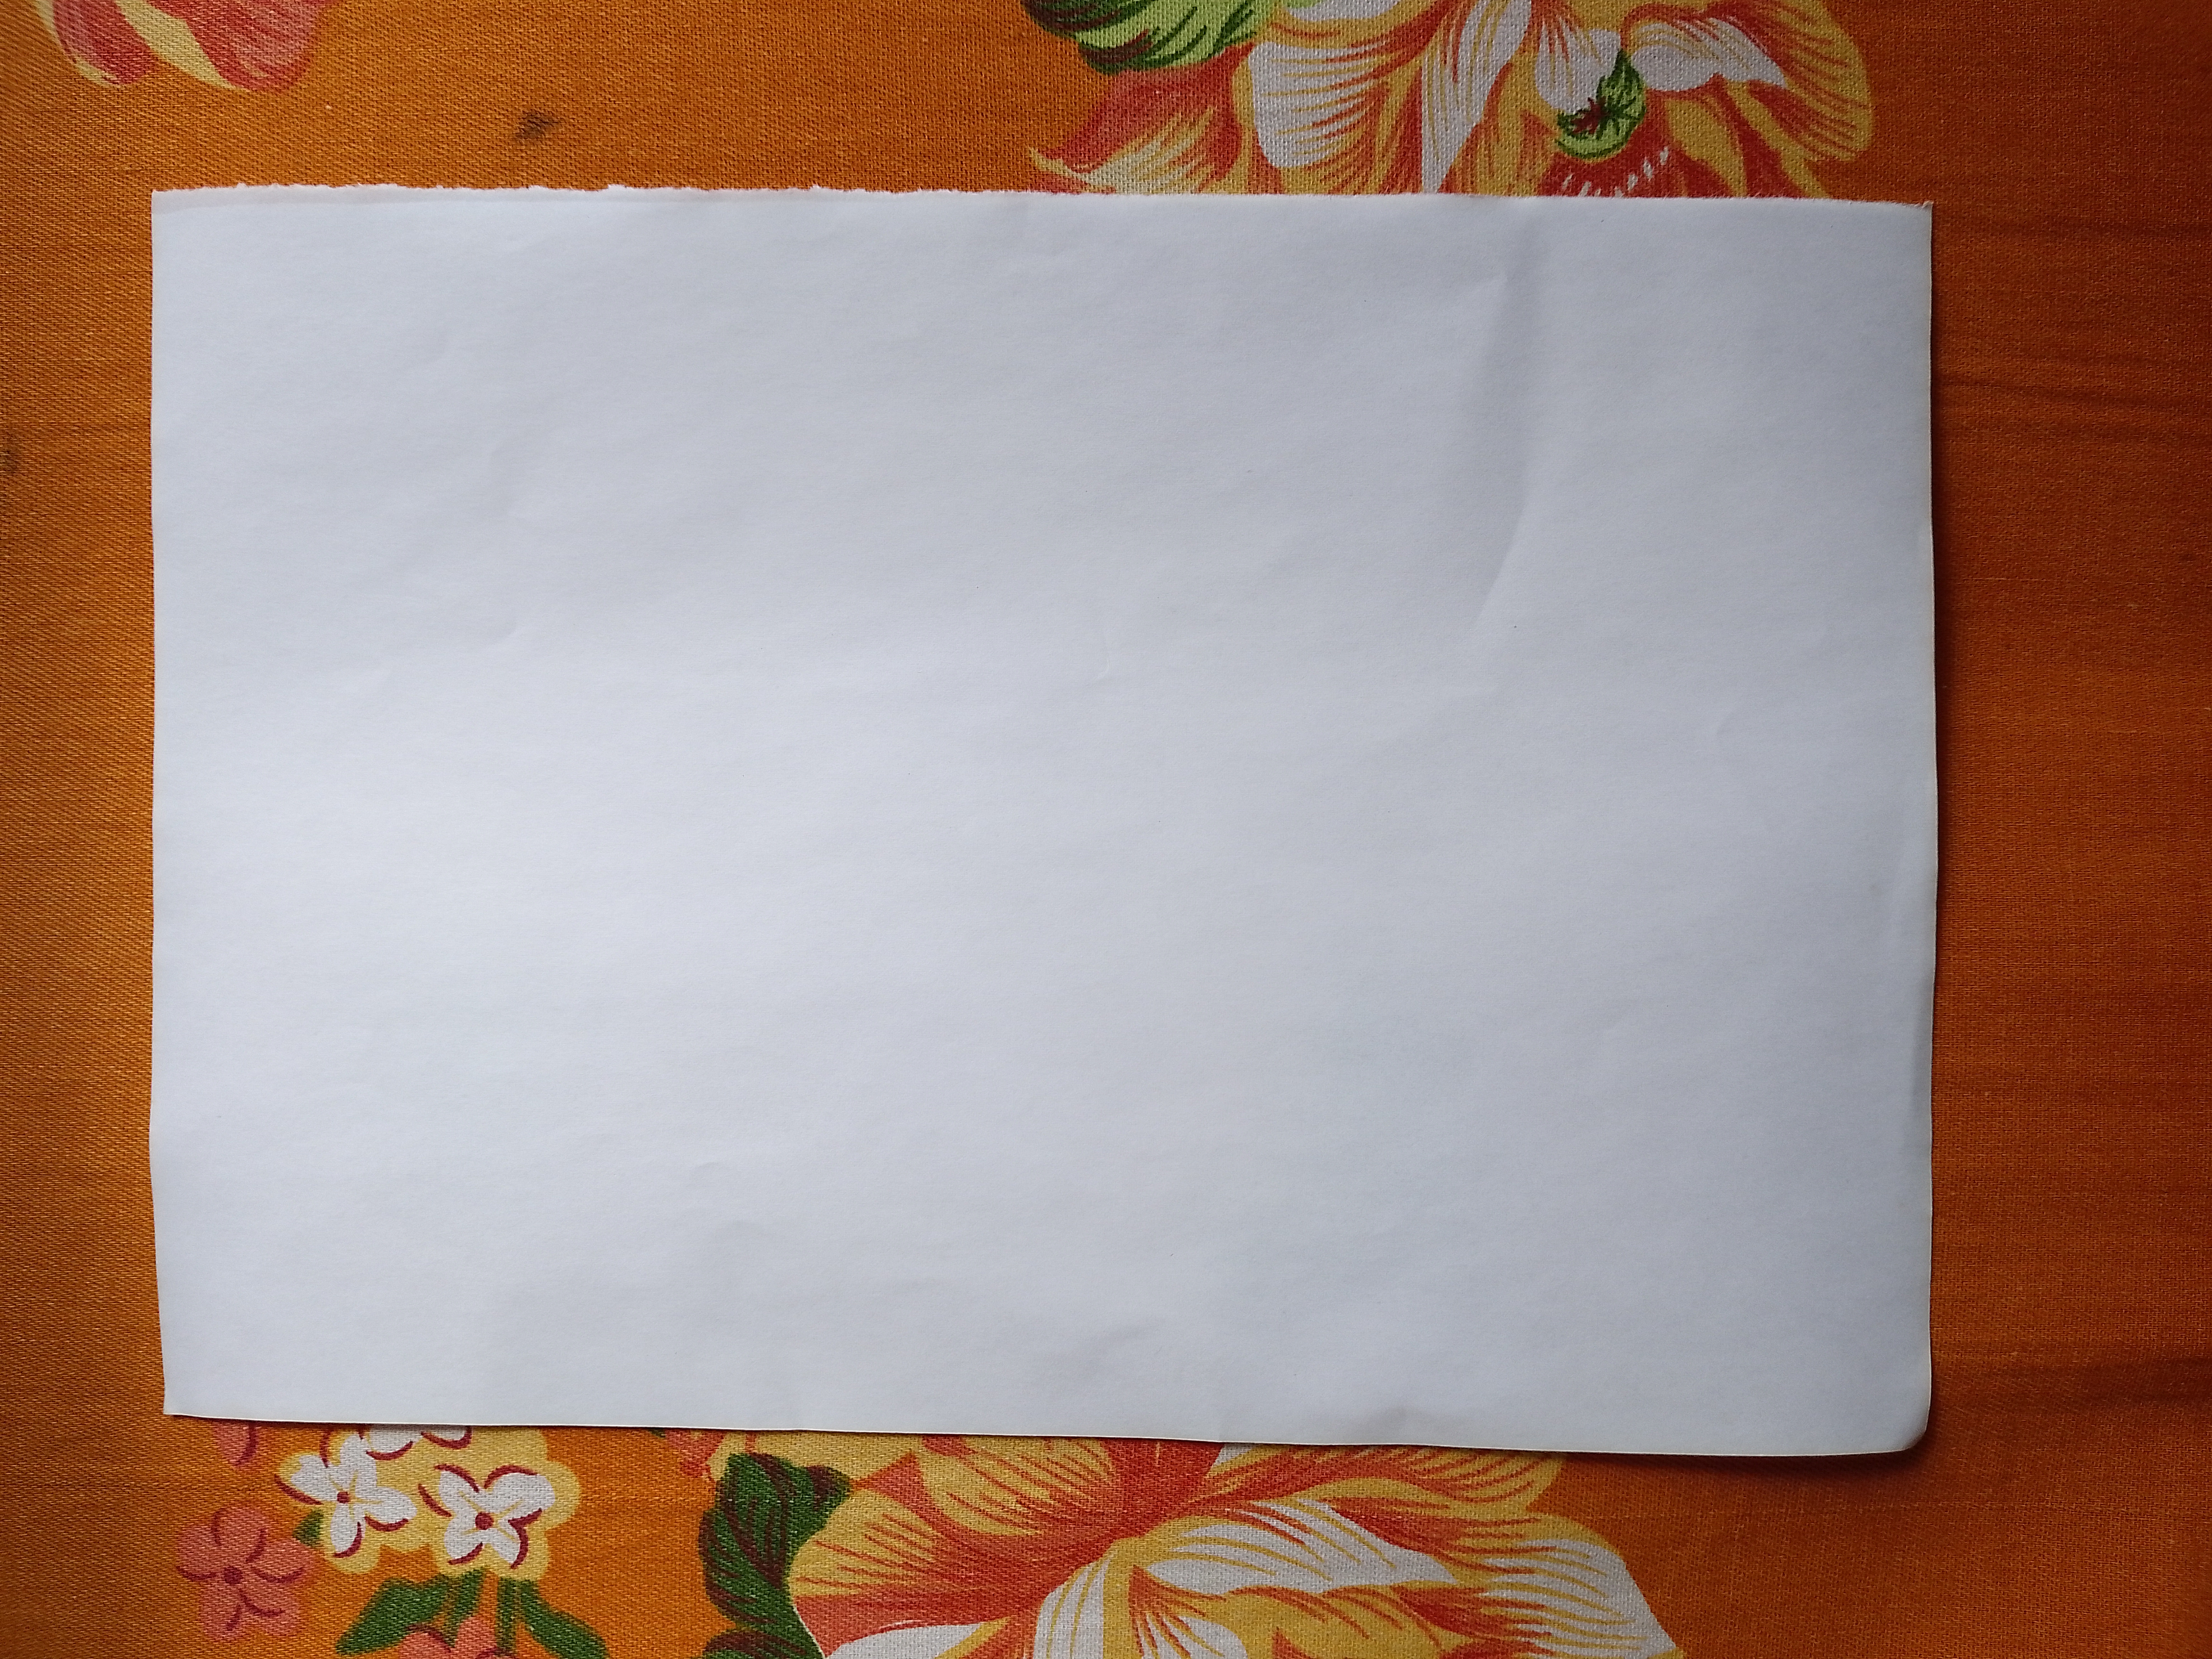
First we will take a white paper.
 |
|---|
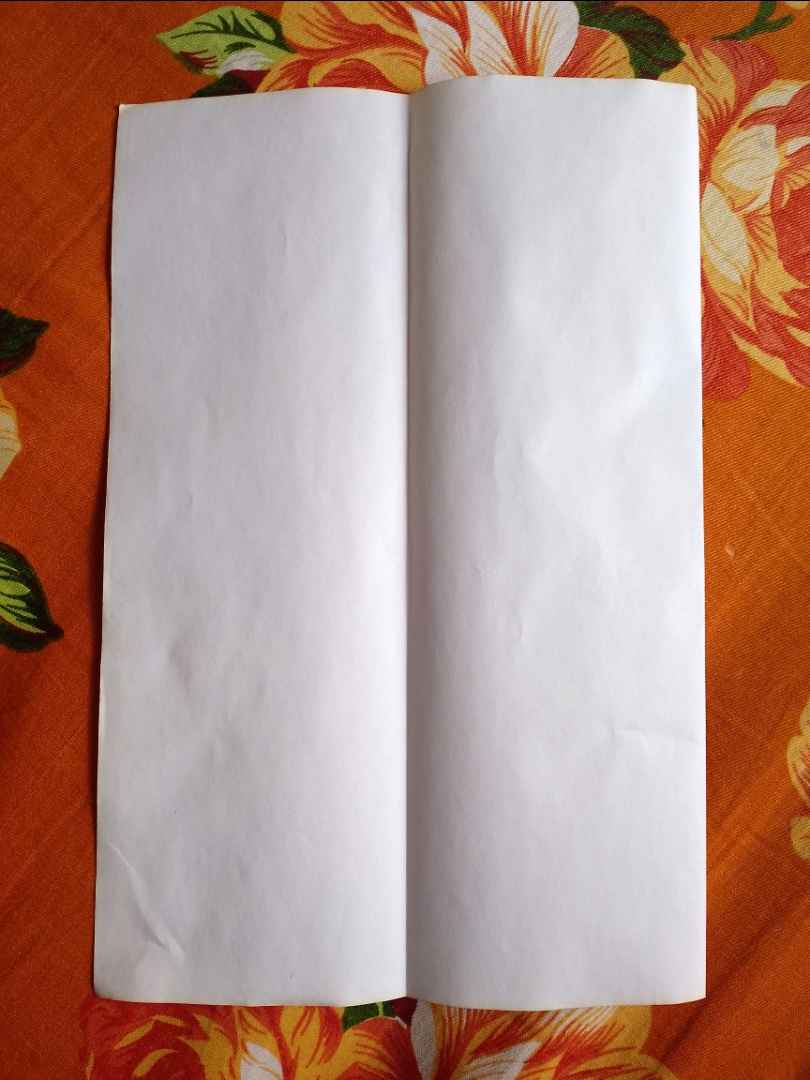
Fold the paper once right down the middle.
 |
|---|
After unfolding the middle fold of the paper, we get exactly one piece of paper with such marks in it.
 |
|---|
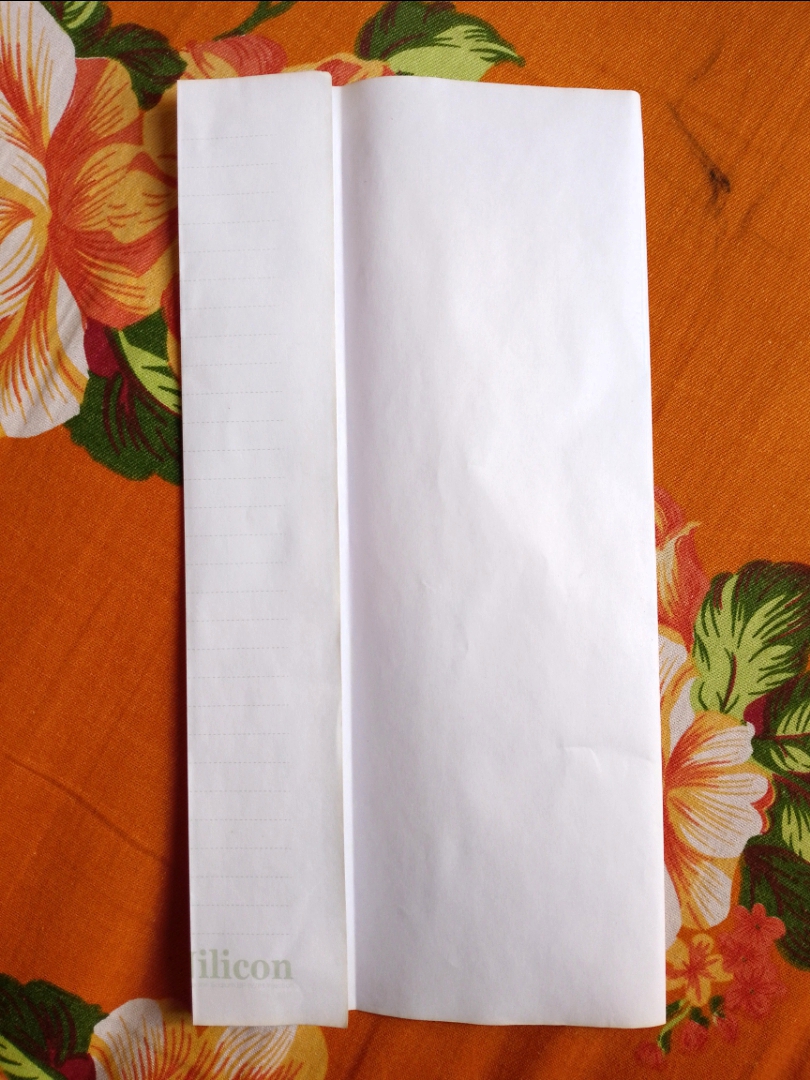
Now fold the left side of the paper in the middle as shown in the picture.
 |
|---|
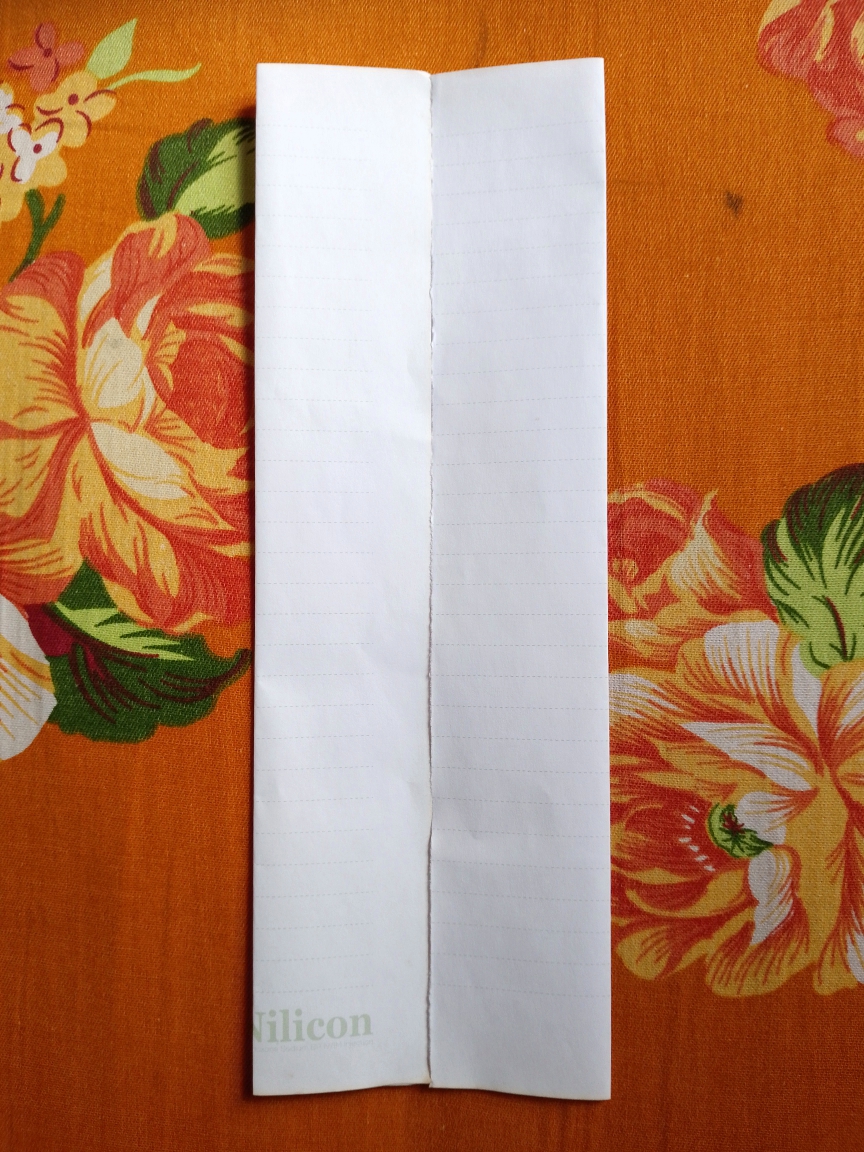
Similarly we will also fold the right side of the paper in the middle.
 |
|---|
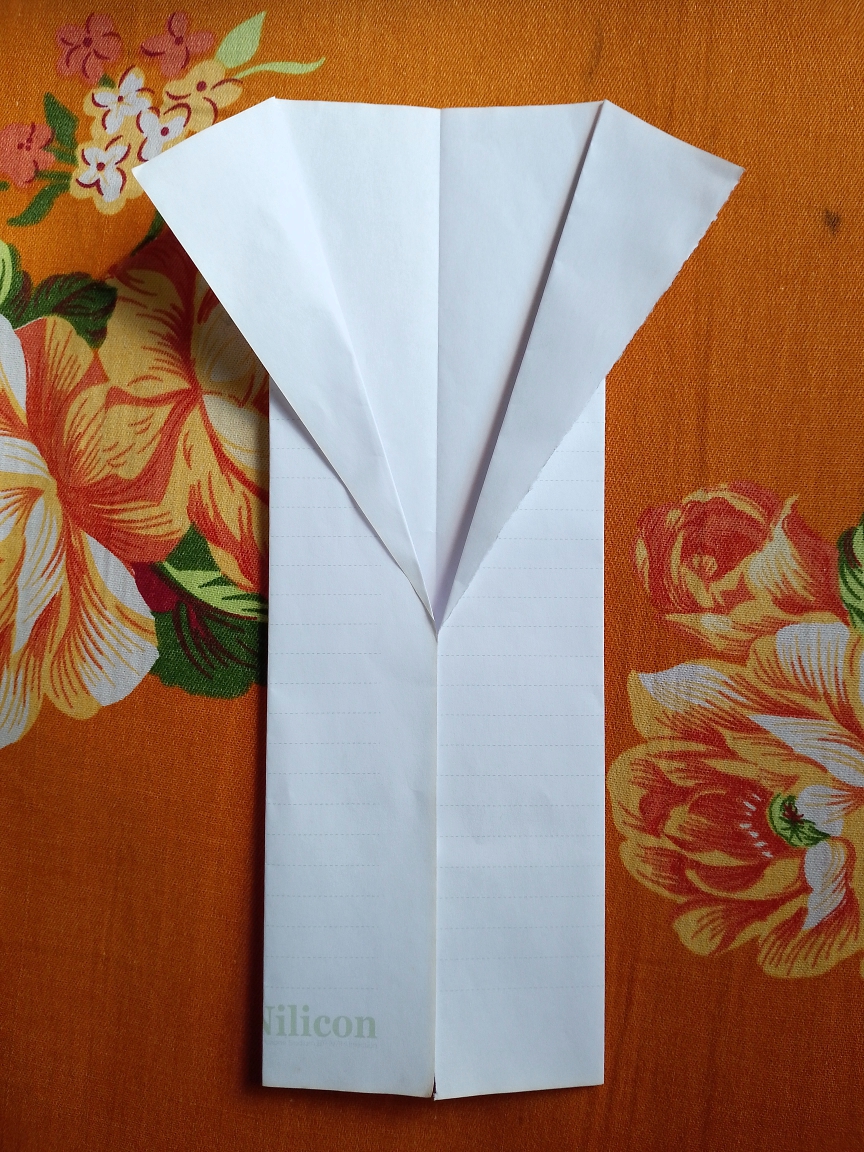
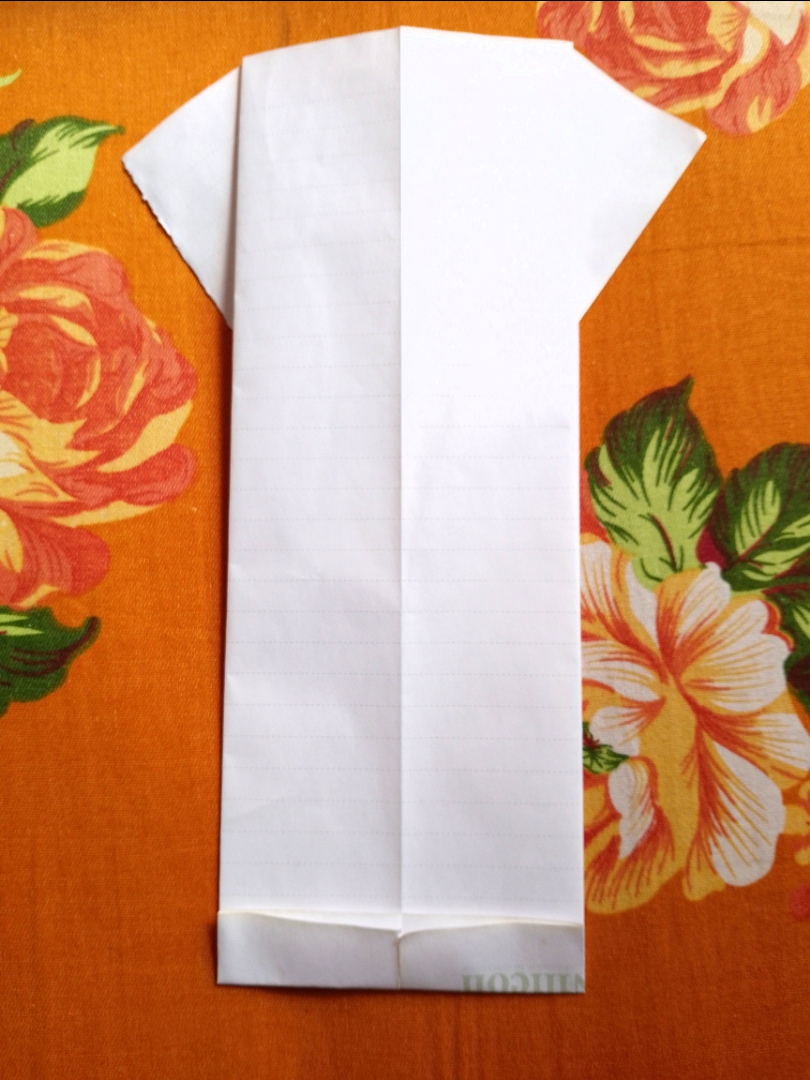
Now we will fold the upper parts of the paper outwards as shown in the picture.
 |
|---|
 |
|---|
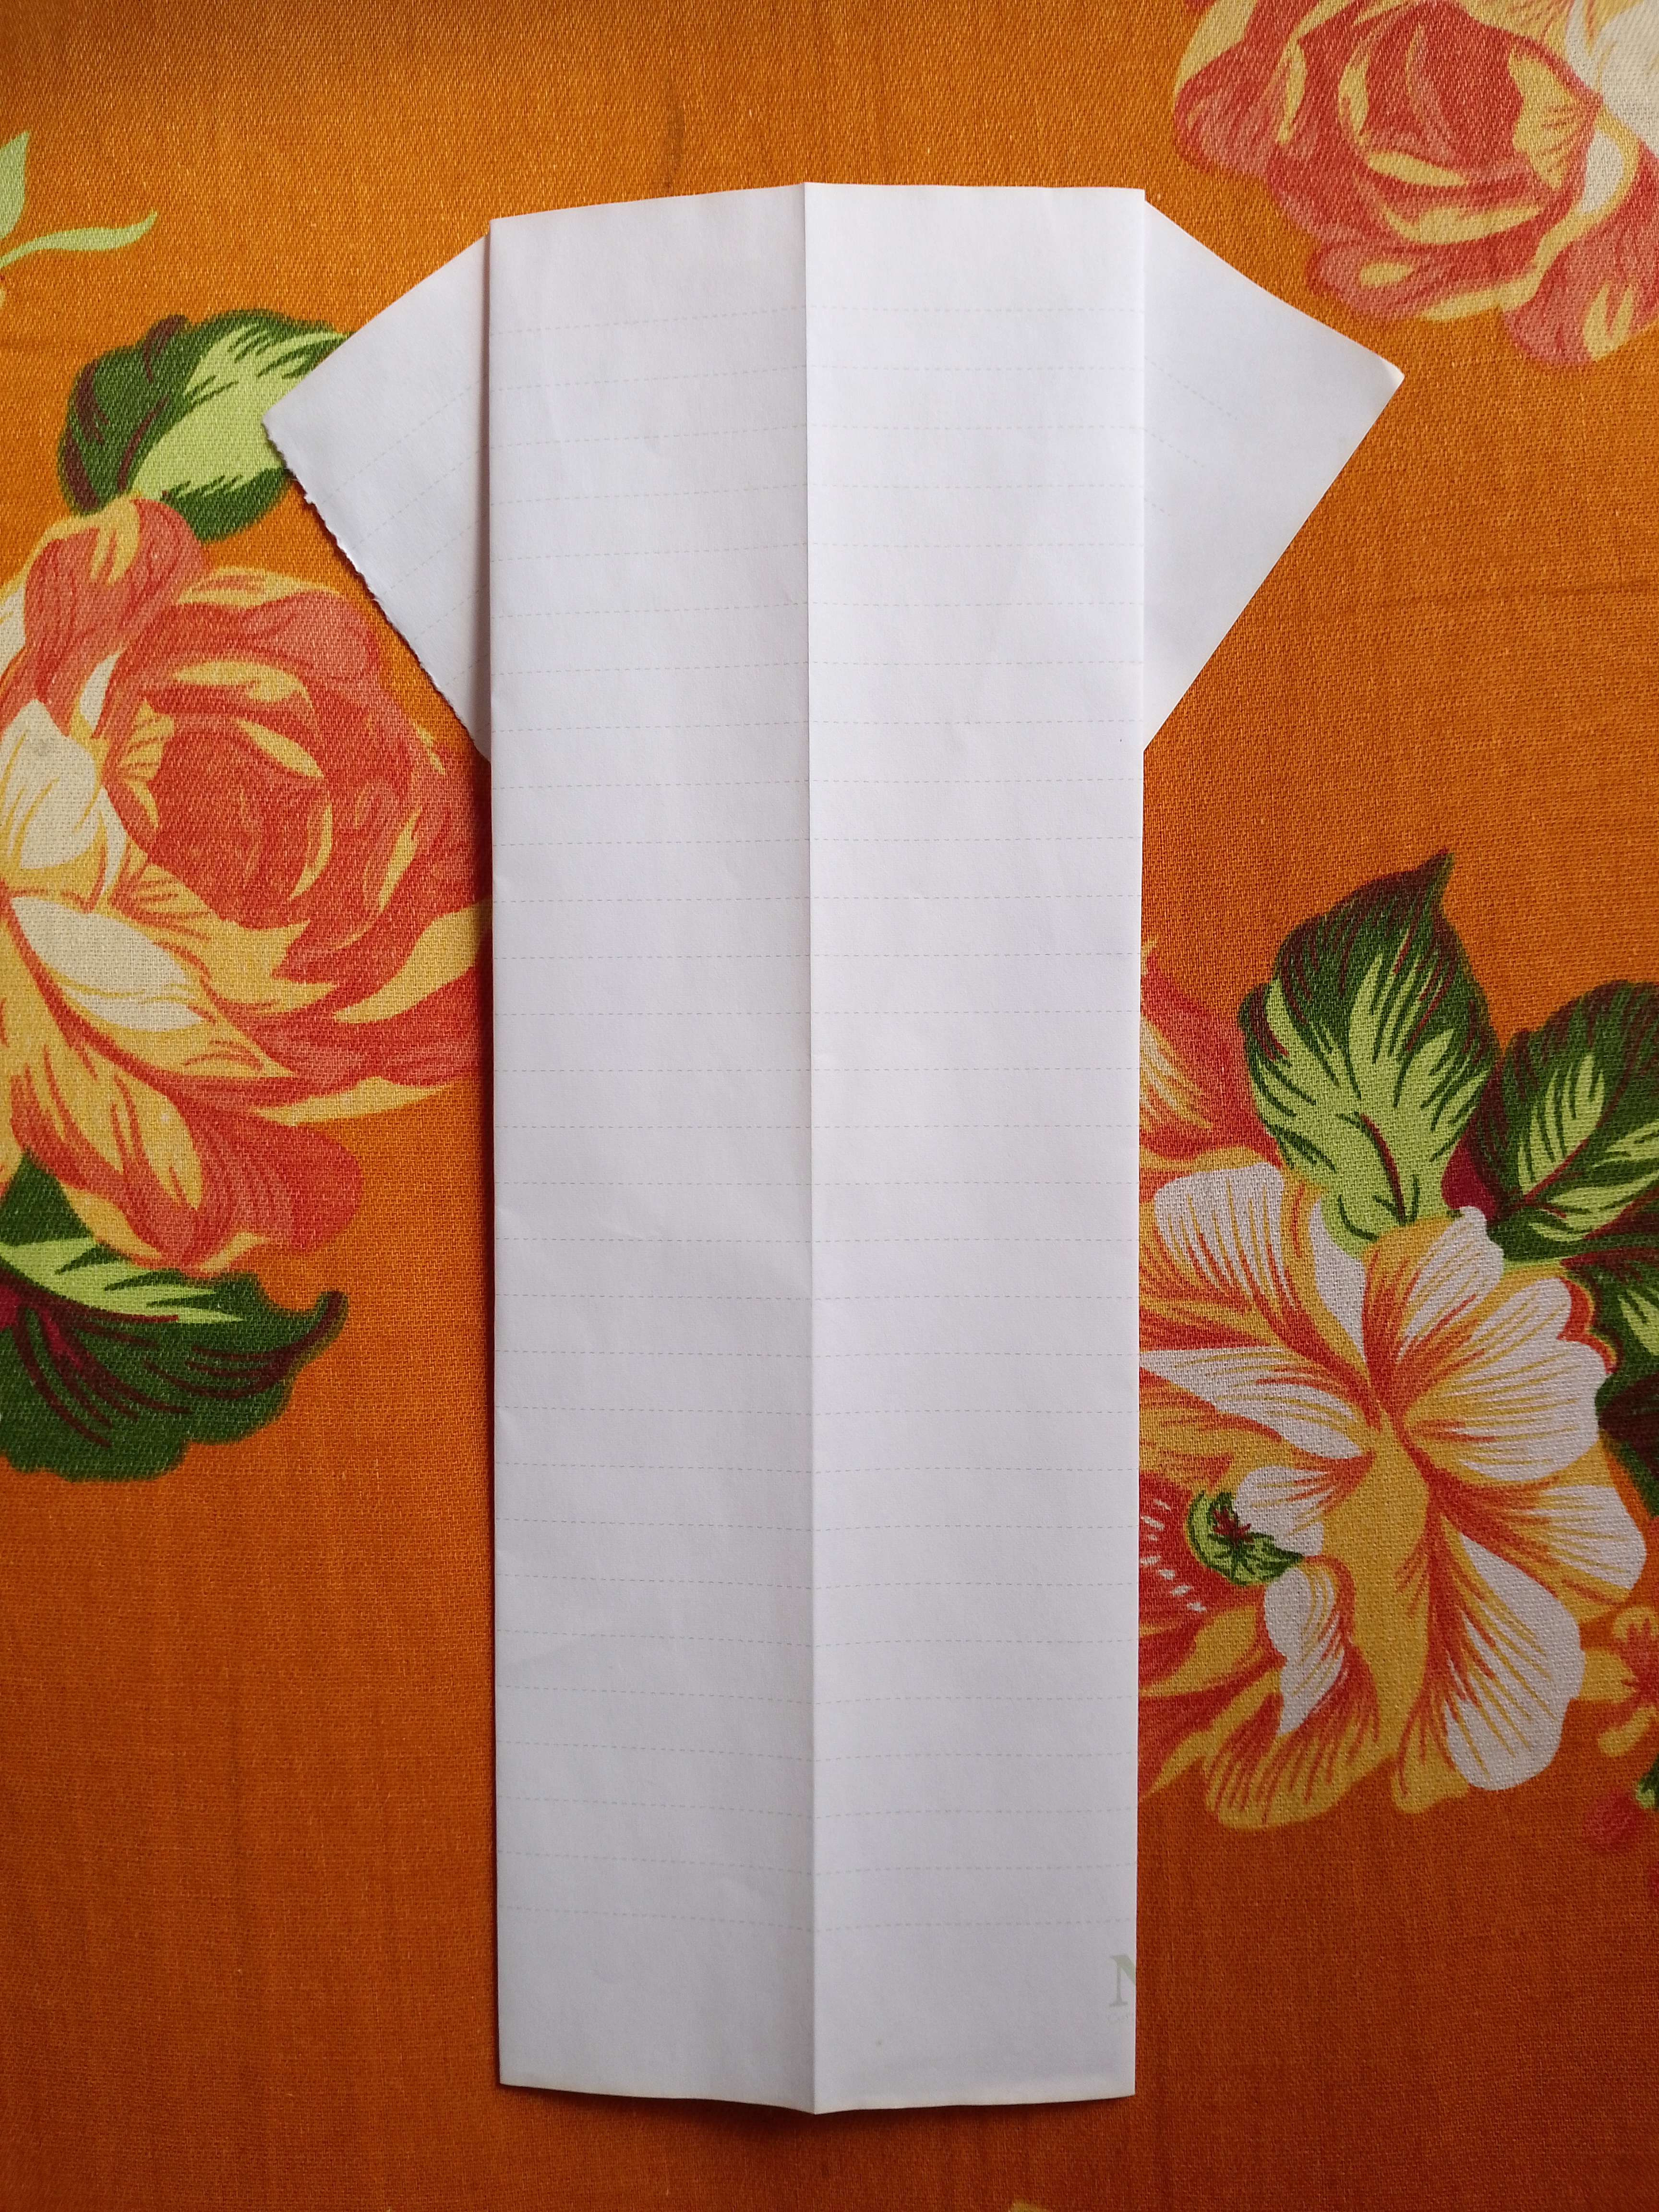
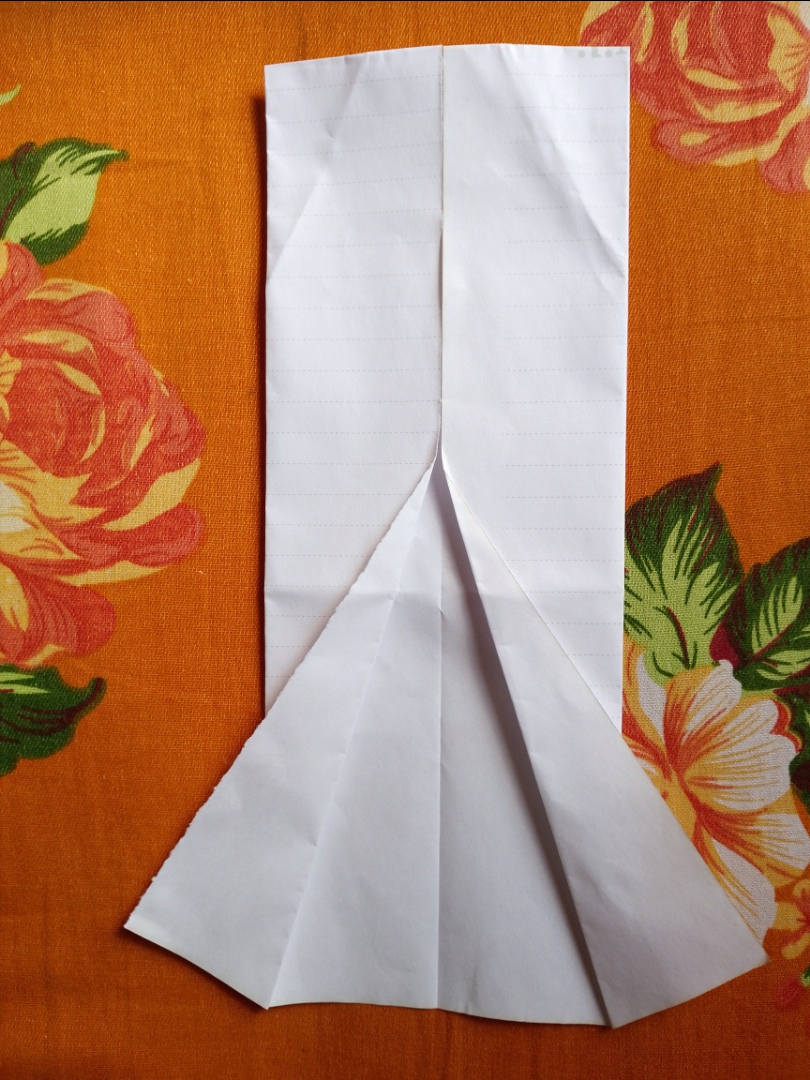
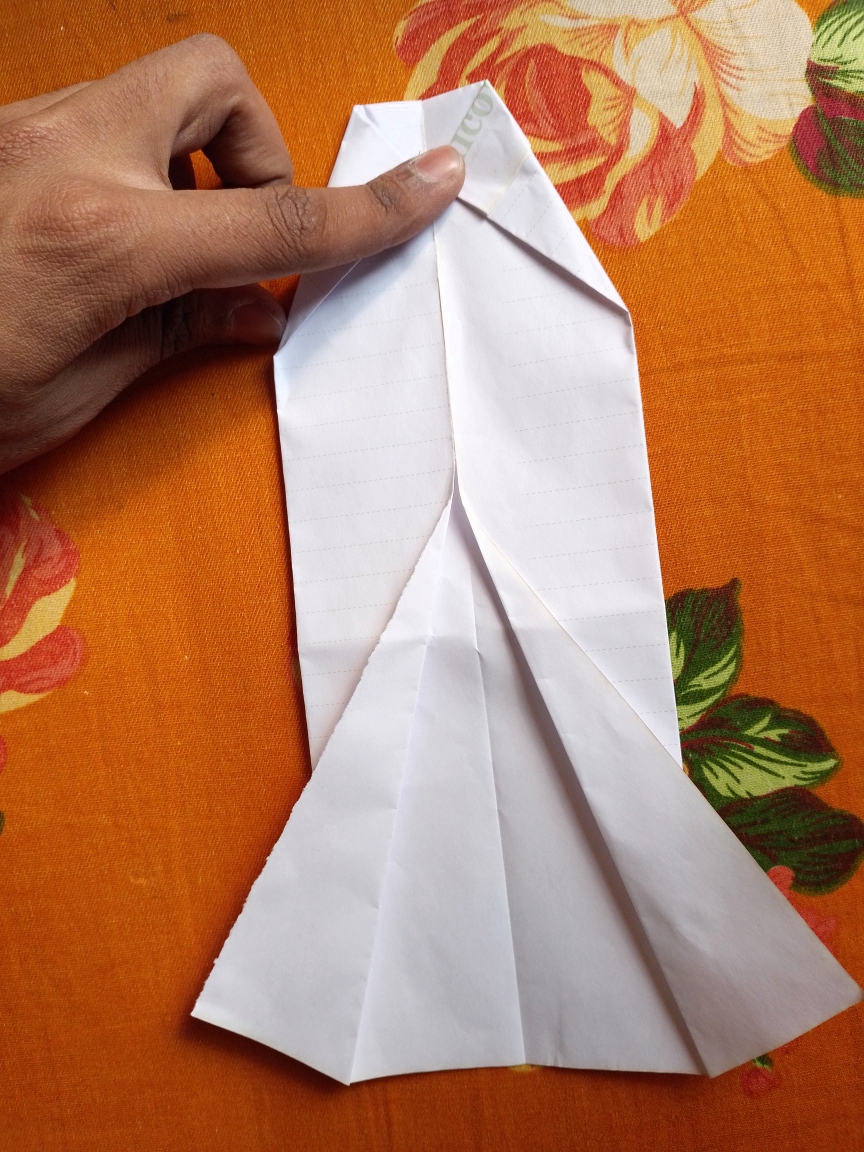
Now we will turn the paper upside down and lightly wrap the lower side as shown in the picture.
 |
|---|
 |
|---|
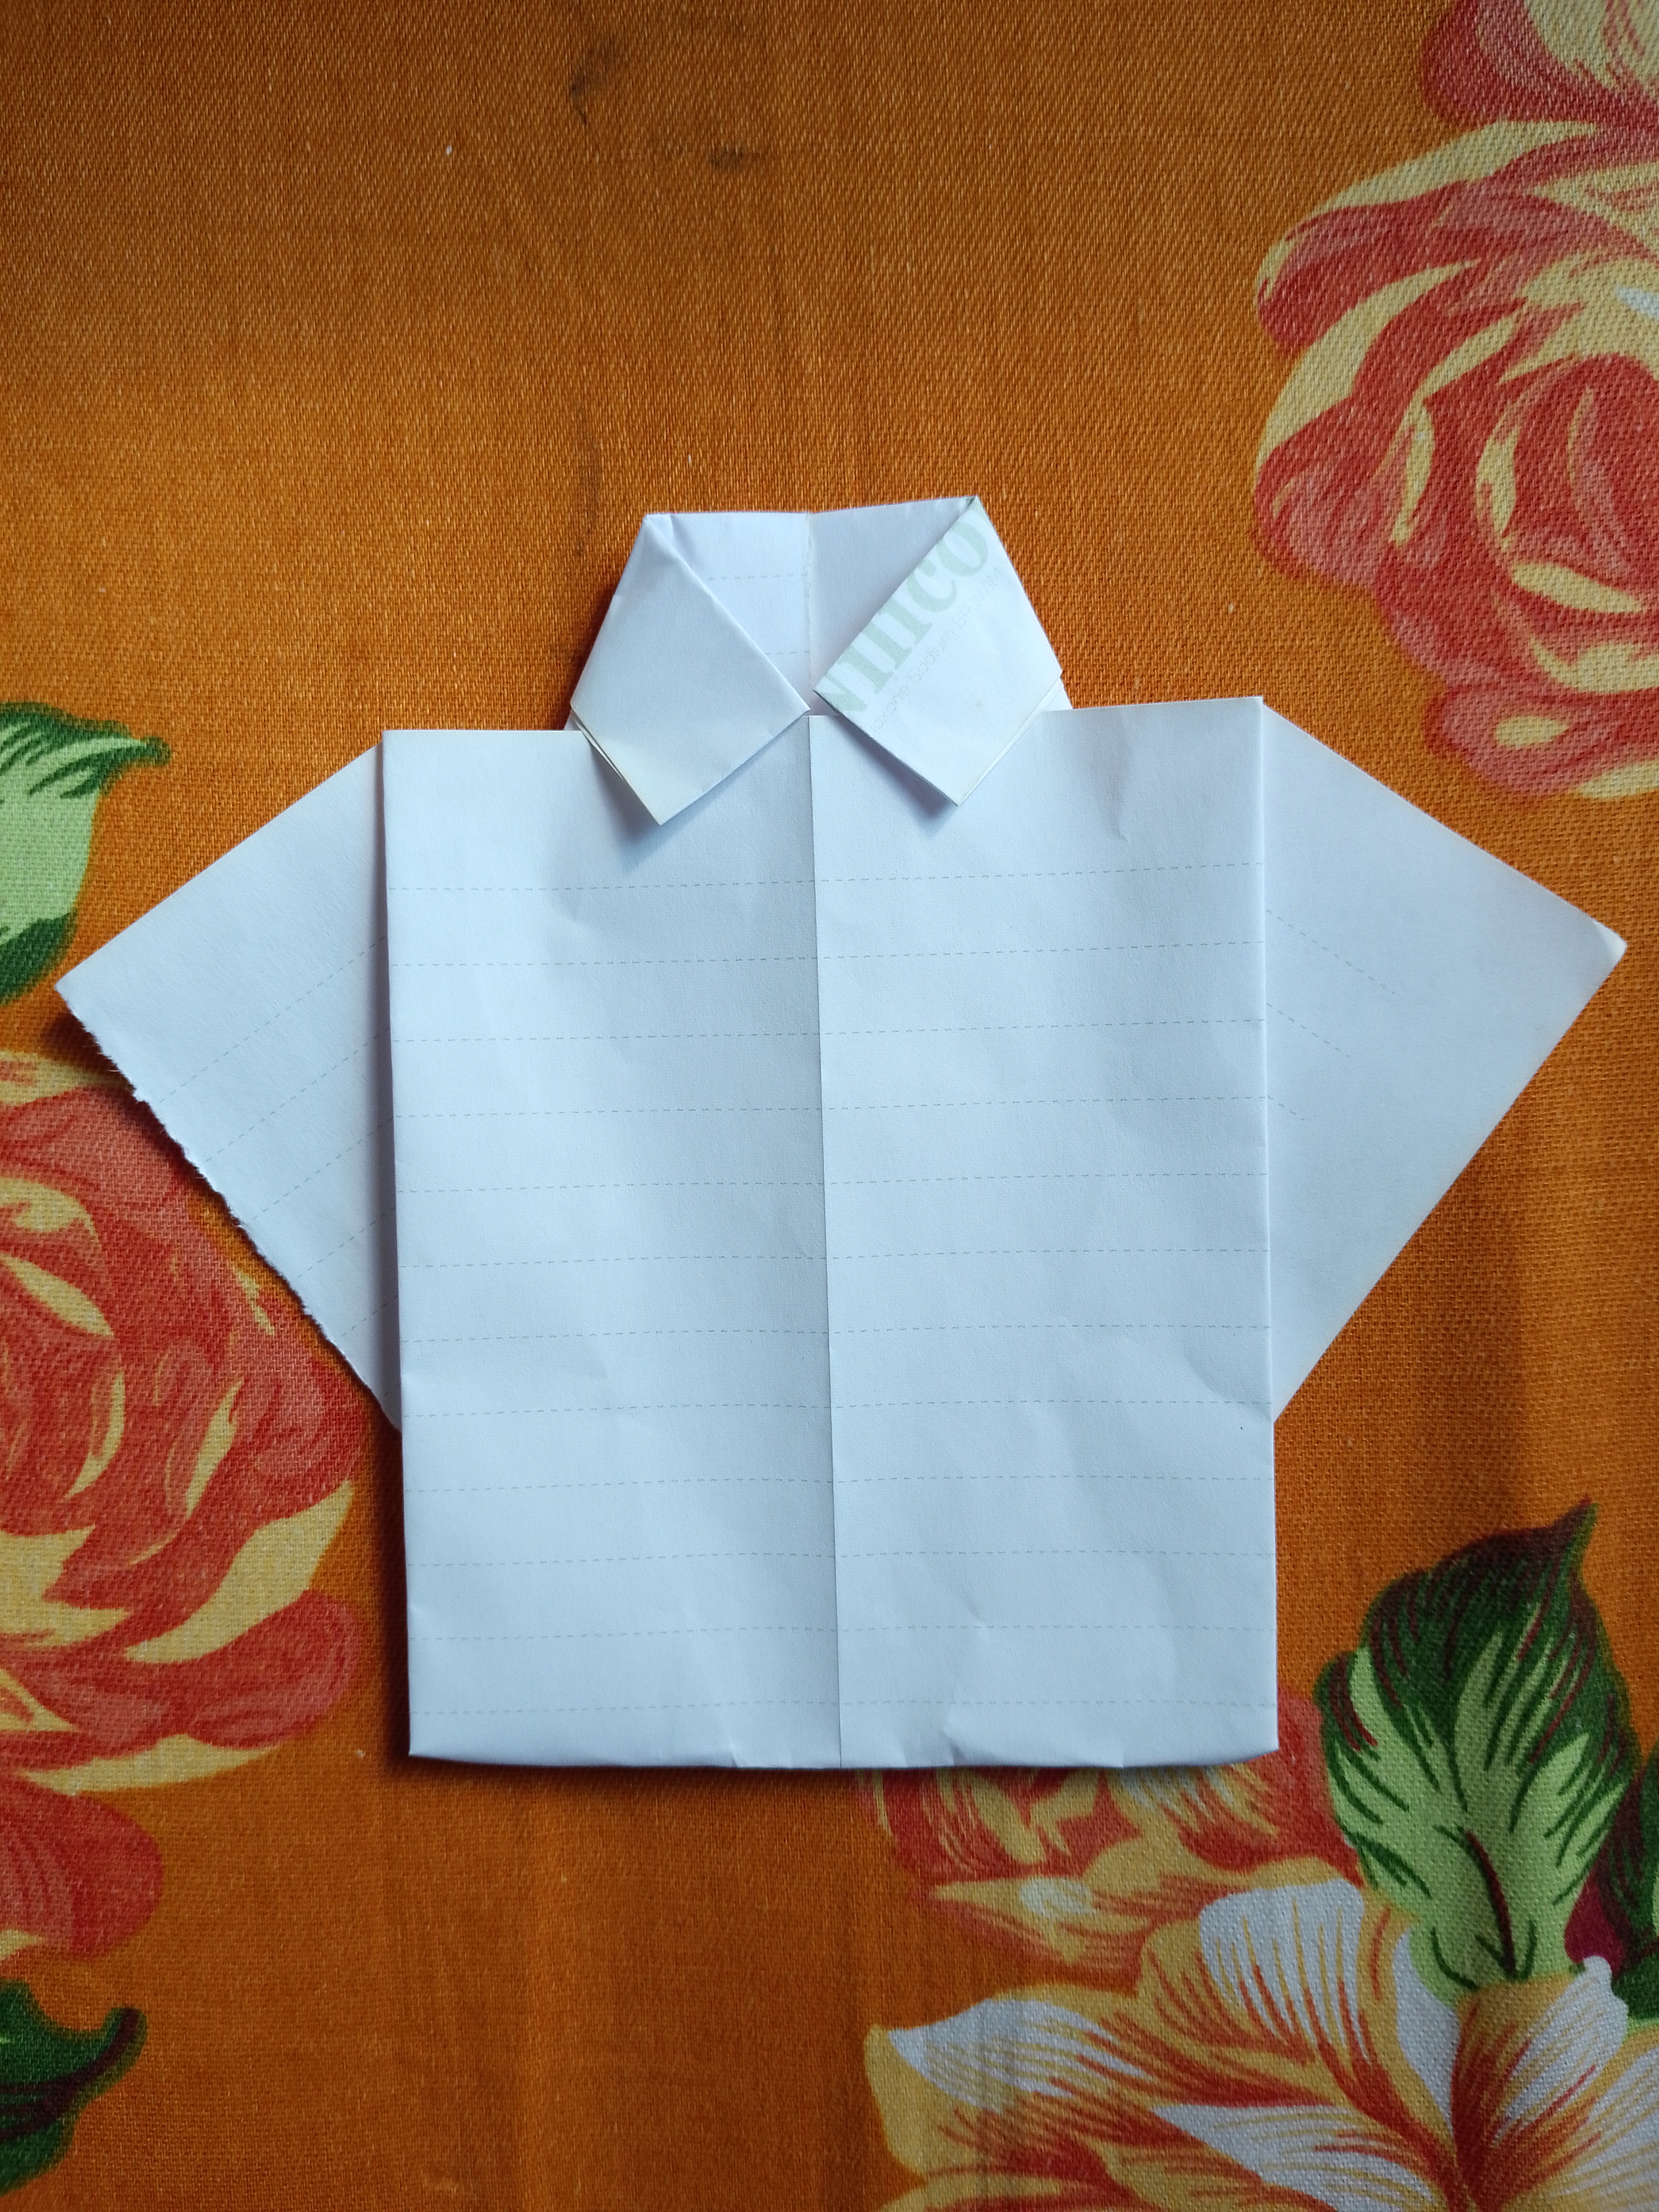
Then from the paper we will turn it to the other side again and fold the top side as shown in the picture
 |
|---|
Then insert the lower part of the paper inside the upper fold and our shirt will be ready.
 |
|---|
Now we will make beautiful button and pocket art on top of the shirt with pen.Now our shirt is completely made.
As seen in the end

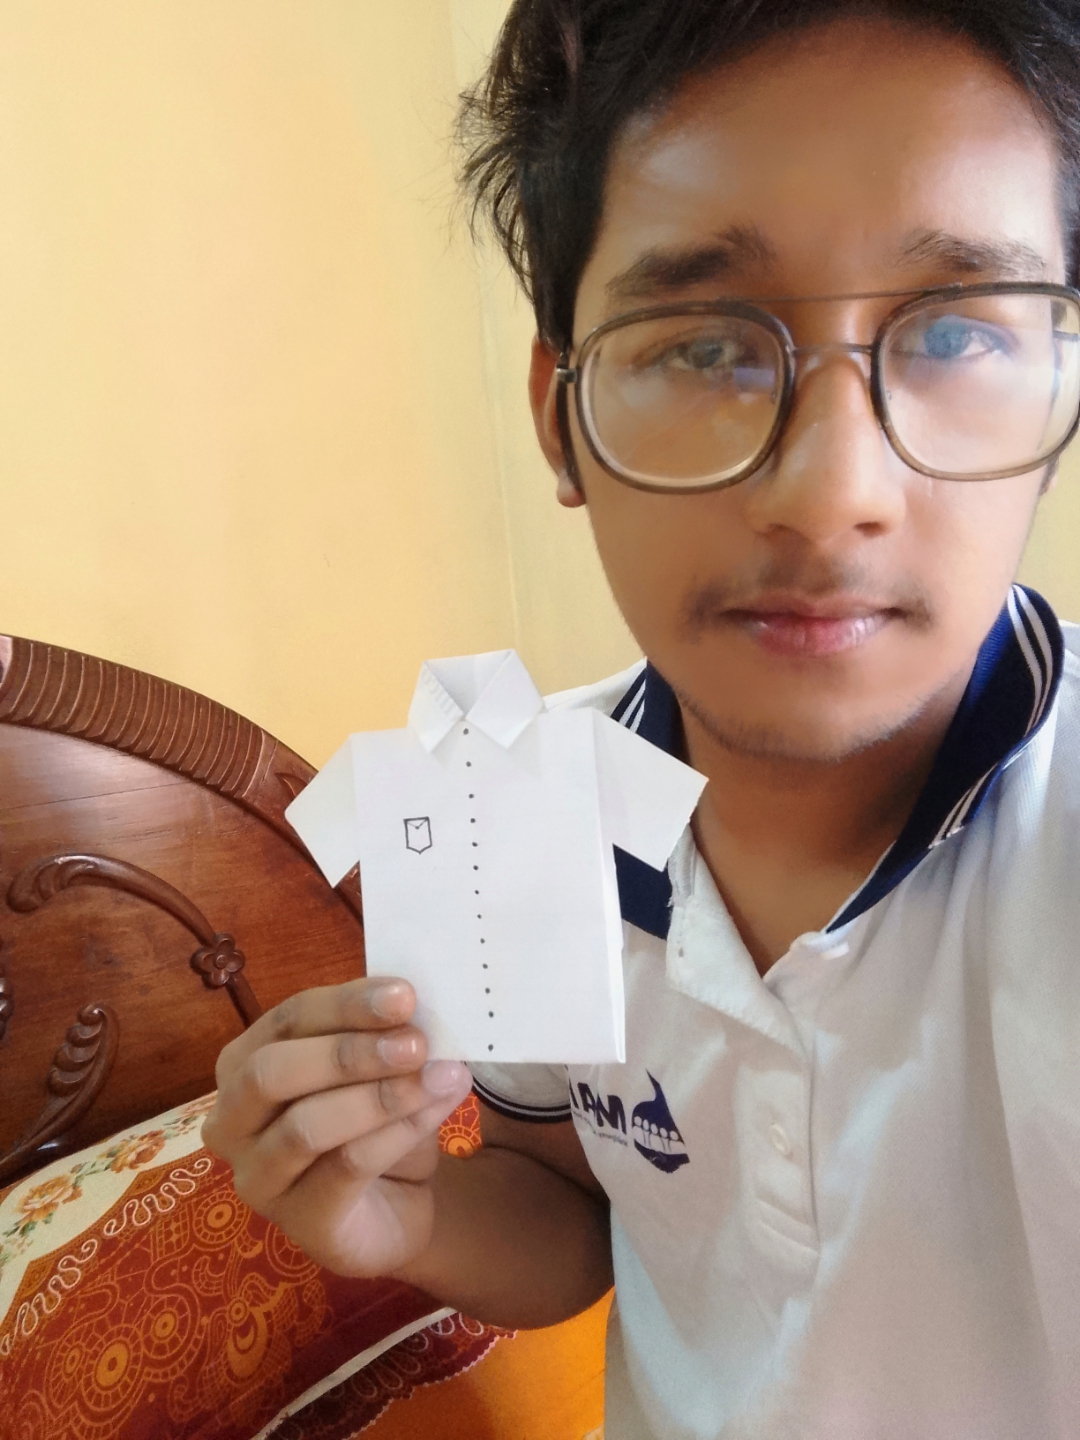
This was the paper shirt I made today. Hope you like my DIY today. You must try to make it at home and you will like it.
Thank you all so much for visiting my post. You must share your valuable opinion through comments. I will see you again in a new post until then, everyone will be fine and healthy. Good luck to everyone.
👍