Hello! How are you? Having a lot of hobbies sometimes helps me forget all the problems I am stressing about every day one of the hobbies is doing clay art, I admire people doing this kind of craft now that I have invested little by little in the materials and I am telling you it is not easy I am the person need weeks or months to decide to buy or should not the materials I needed because I wanted to research for it first if it worth buying it LOL. Maybe one time I am going to share with you one by one all the tools and materials and what the use of it.
But the focus of this blog is making Philippines street food made in polymer clay how cool is that by the way I posted a blog before but now I have added and improved the clay I made this time.
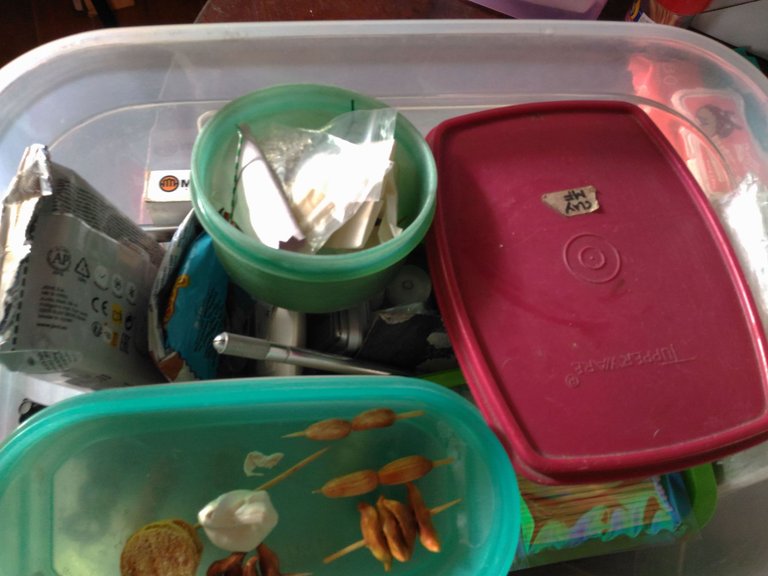
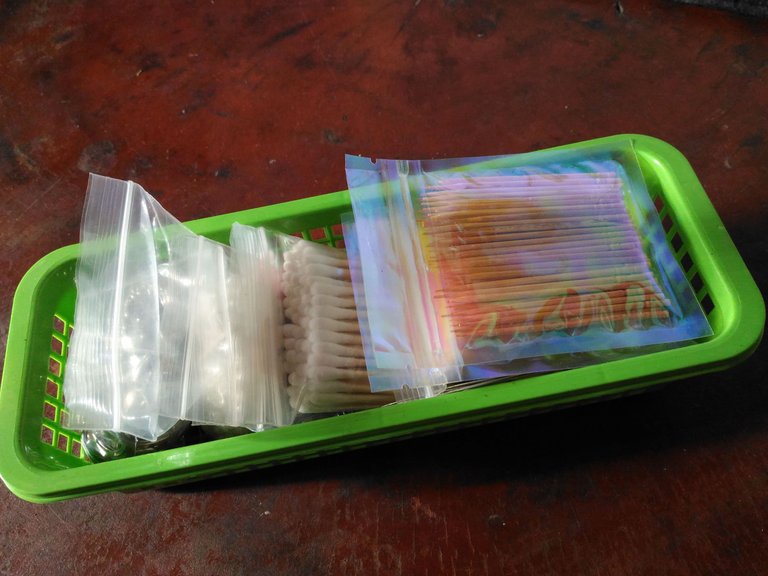
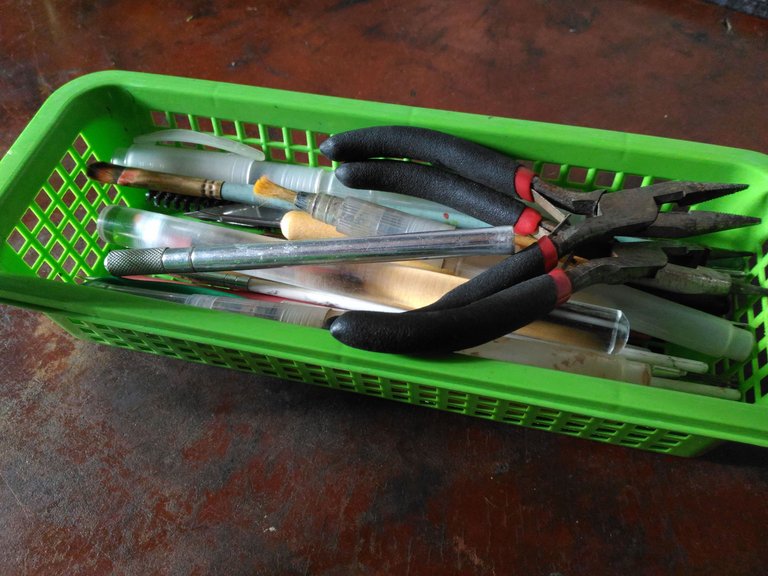
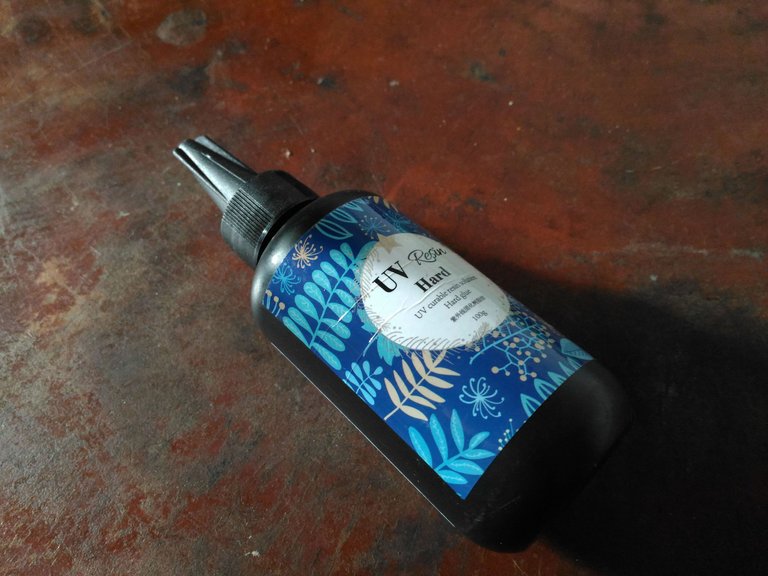
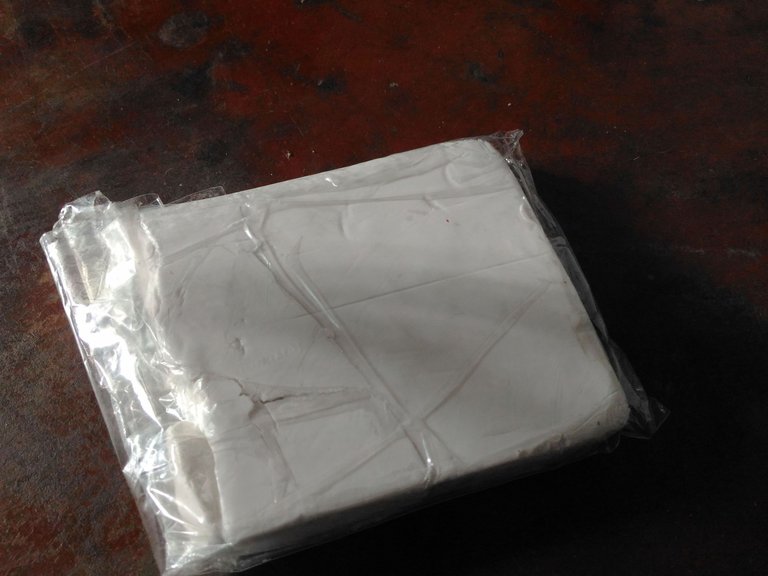
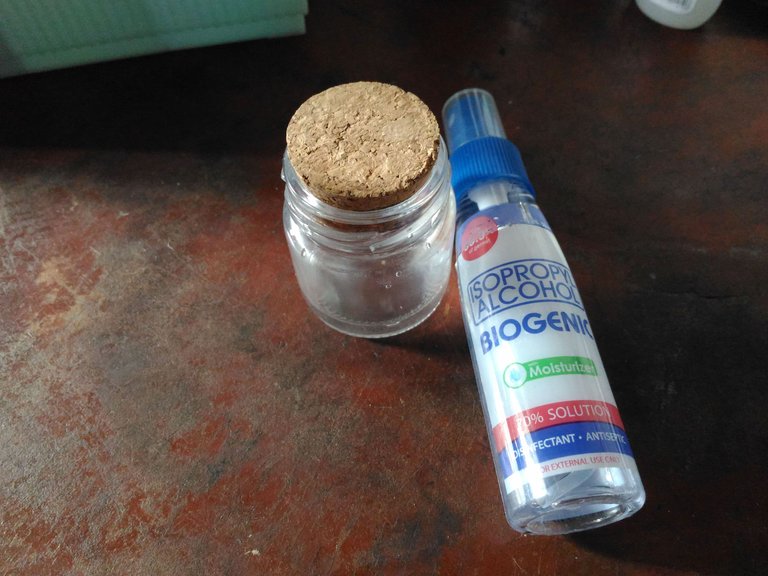
Materials I used:
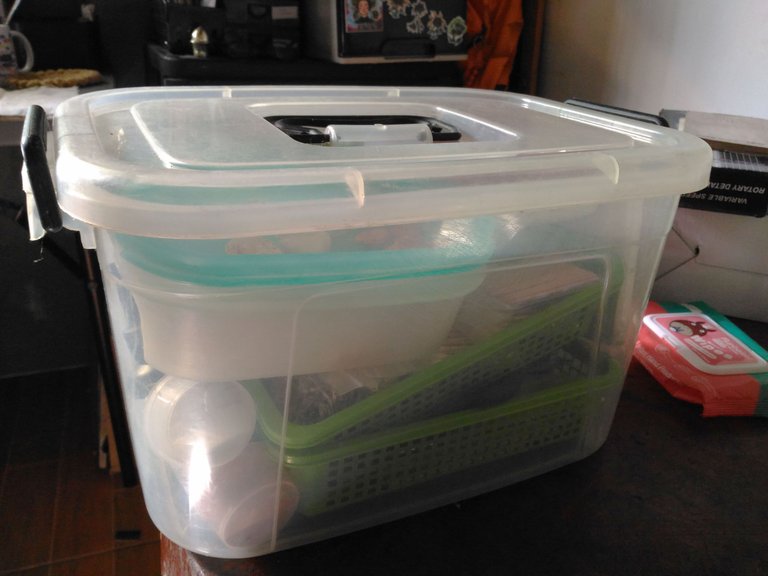
(My Precious Container Box)
- Glass Board
- Polymer Clay
- Acrylic Rolling Pin
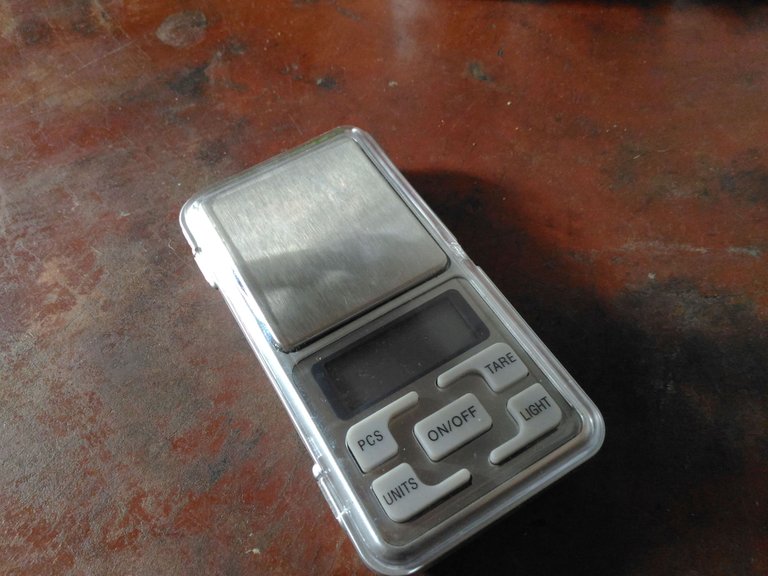
- Portable Weighing Scale
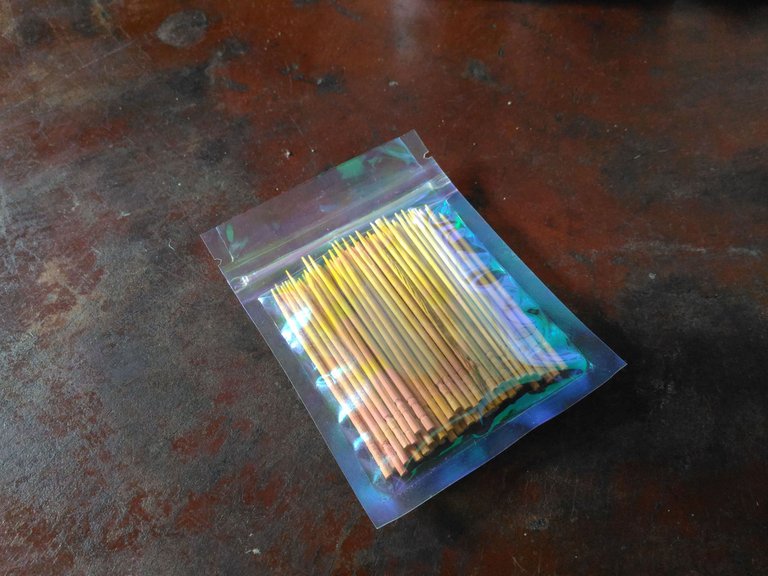
- Toothpick
- Alcohol
- Mini Glass Bottle
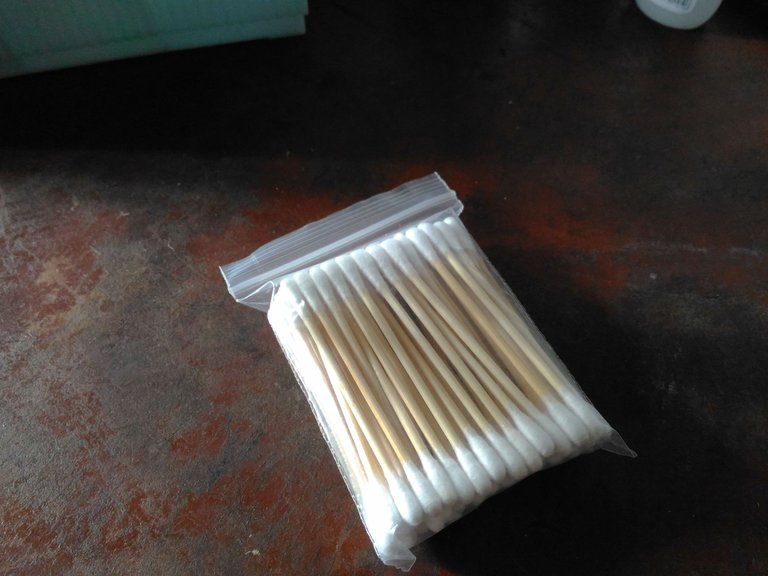
- Cotton Buds
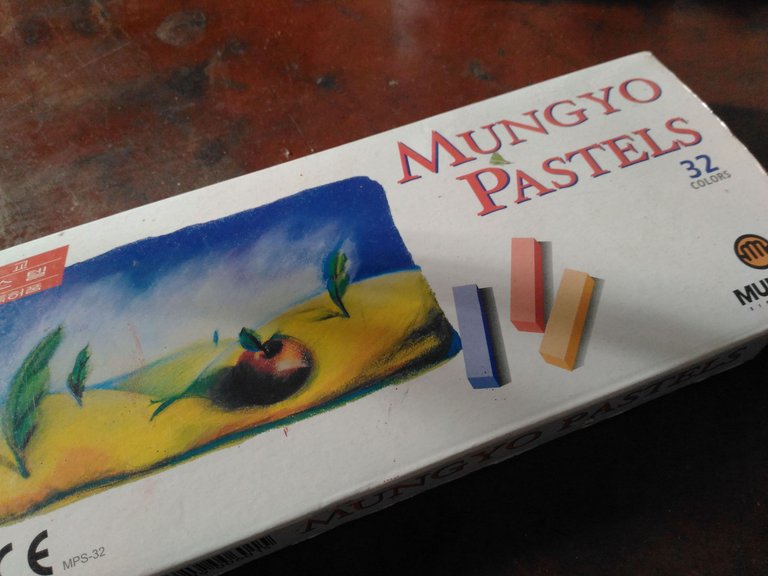
- Soft Pastels
- Brush
- Clay Tools
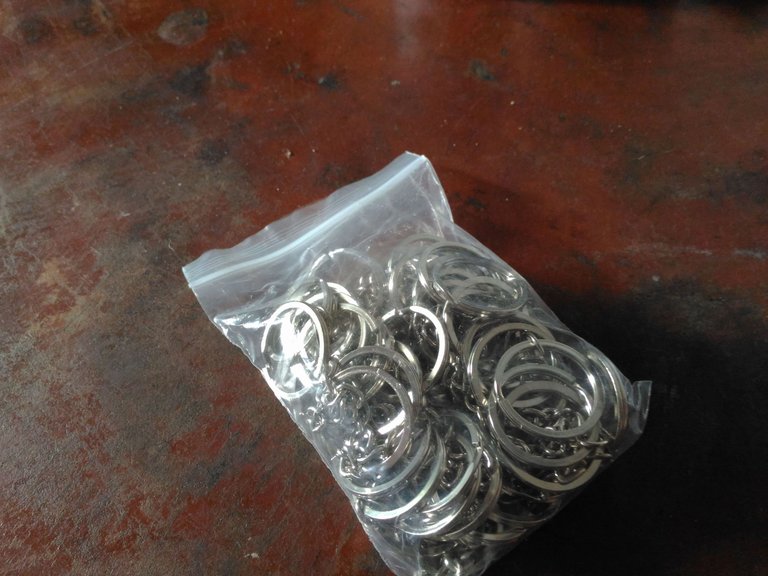
- Eye Pins
- Steel Tray
- Glassine Paper
- Oven
- Mini Plastic Container
- UV Resin
- Plastic Gloves
- Mask
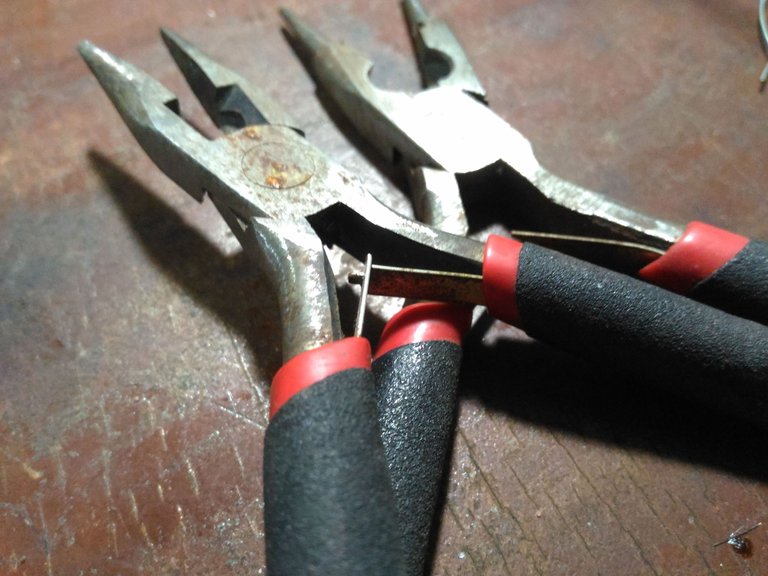
- Pliers
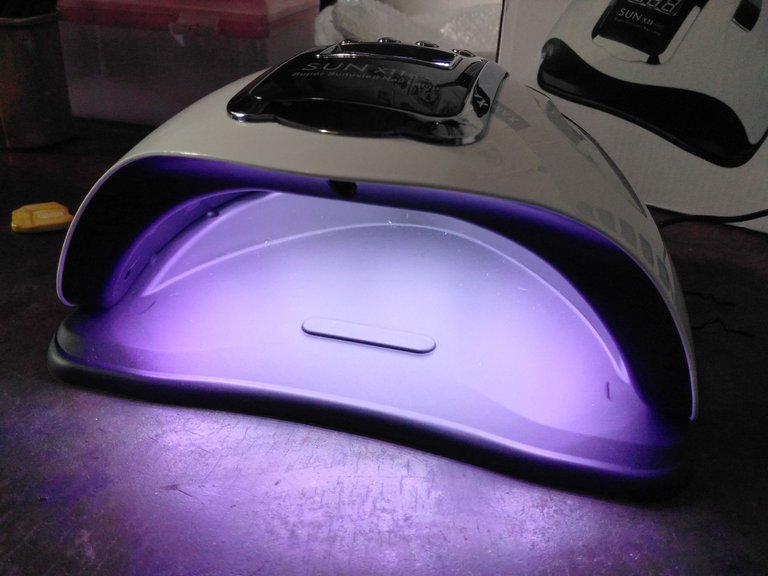
- UV Light Lamp
- Keychains
Conditoning The Polymer Clay:
The first step is I use a glass as my working space you can use thick paper as a working space for clay. And then I do is to condition the polymer clay by using an acrylic roller or just by using a hand. By the way, it is up to the clay how long it needs to be conditioned for my case the clay I bought this time is soft so I condition it easily.
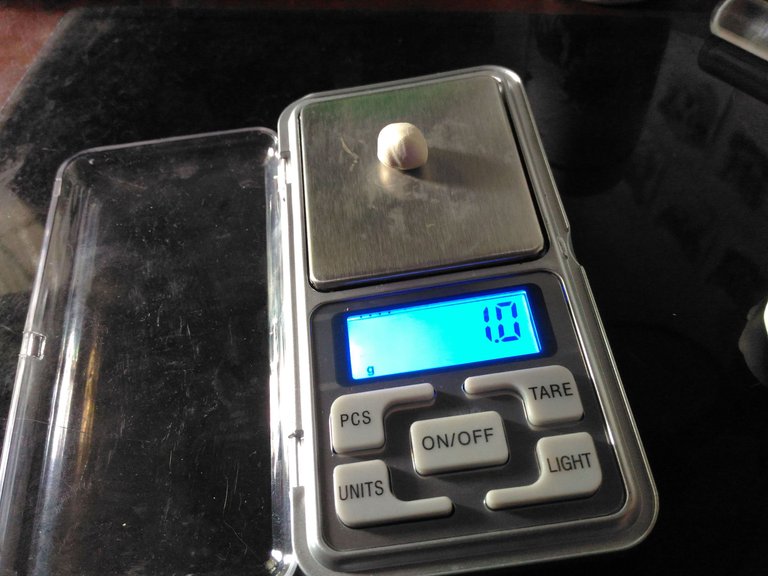
To make the polymer clay size equal I use a weighing scale that I regret not buying before LOL as you can see I need to weigh one gram or more of each clay.
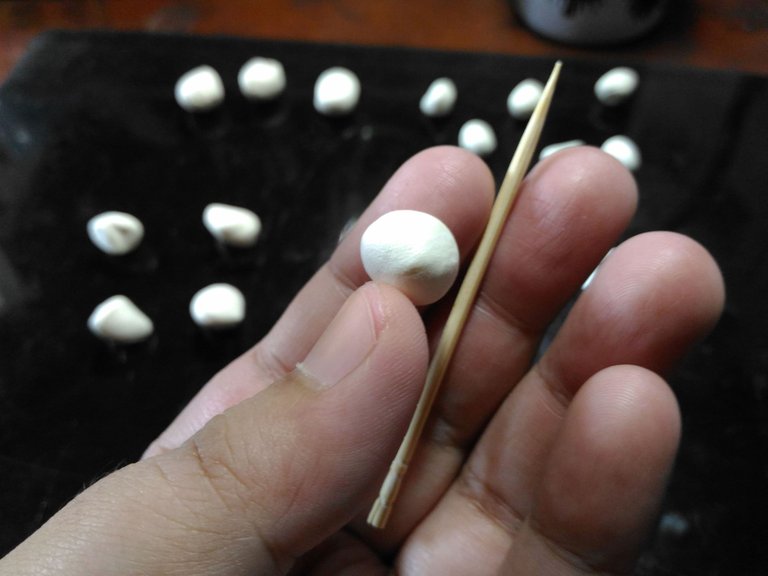
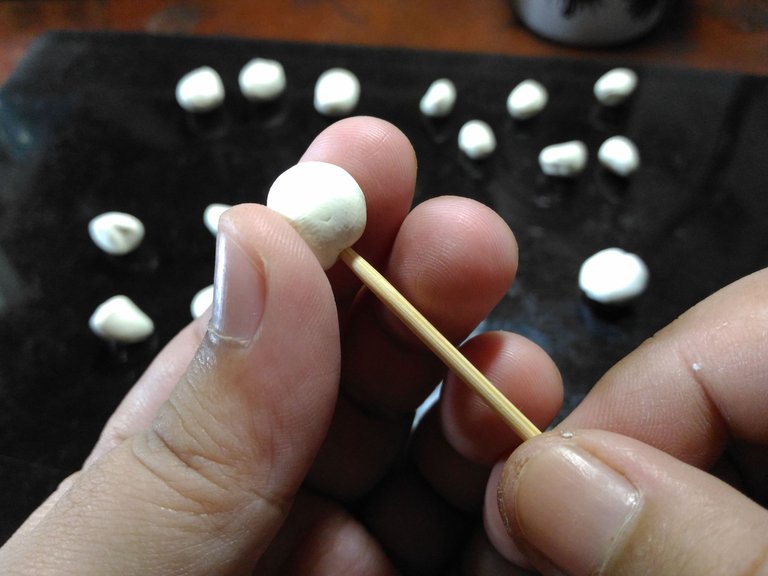
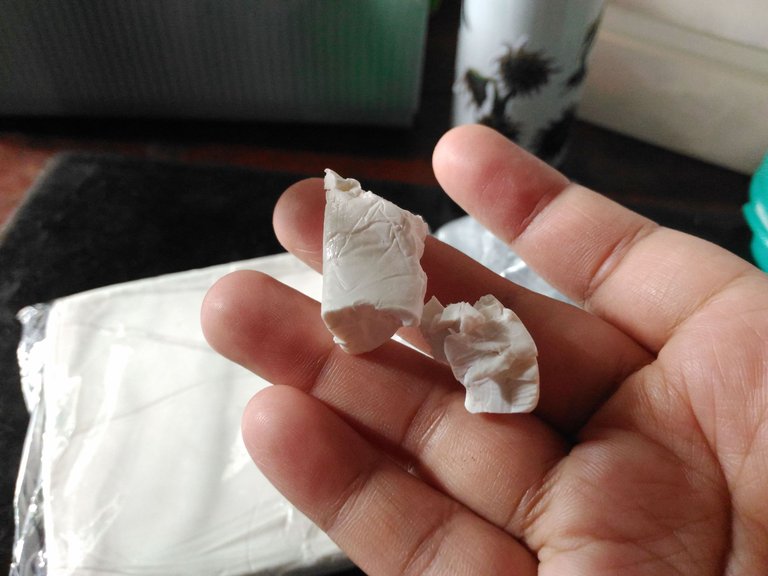
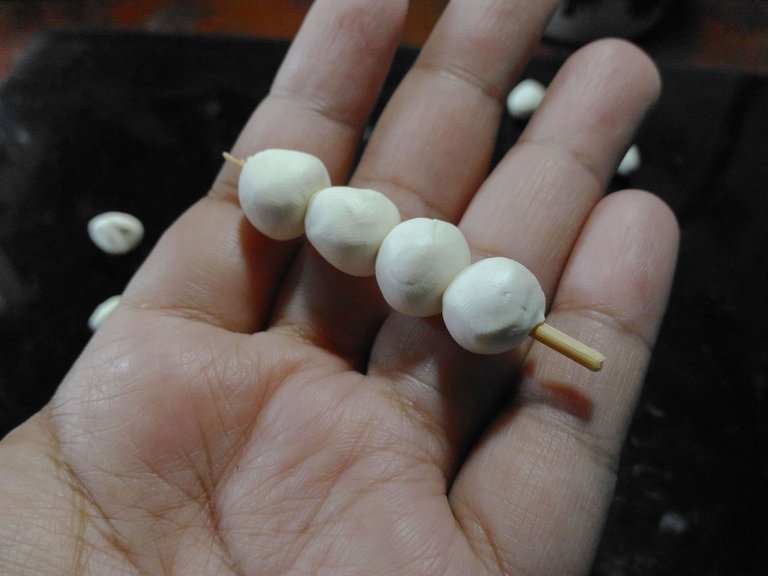
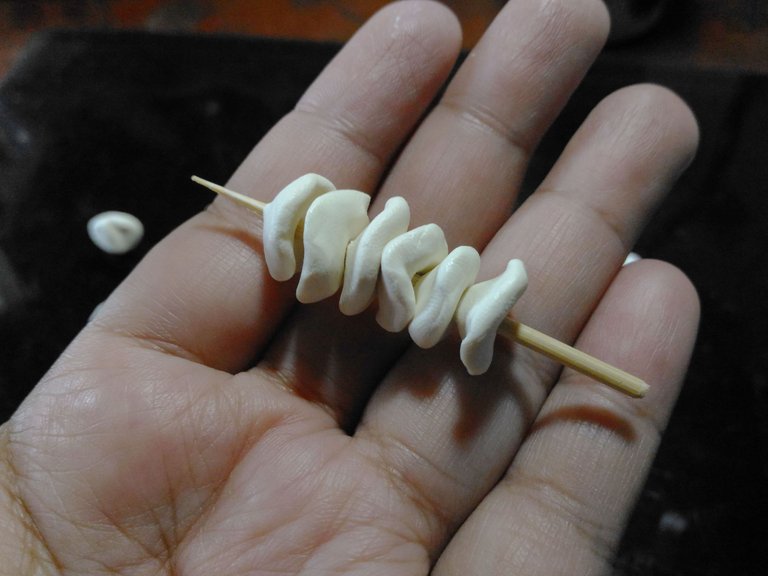
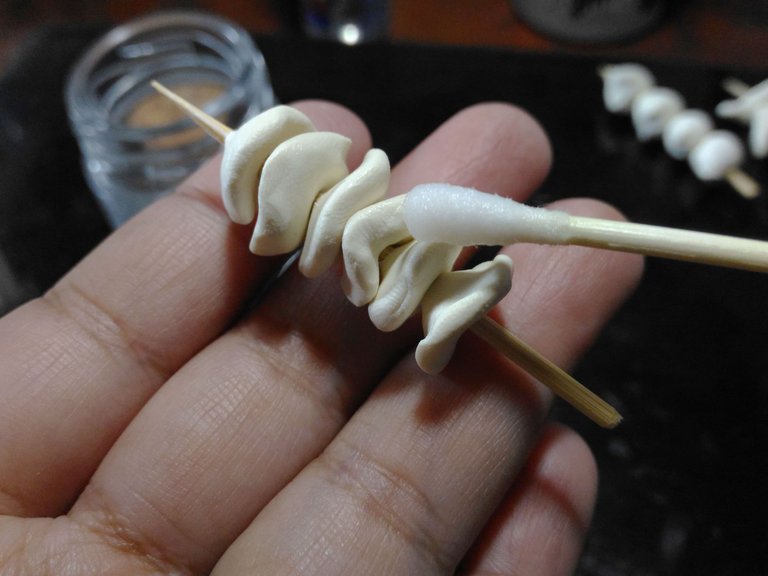
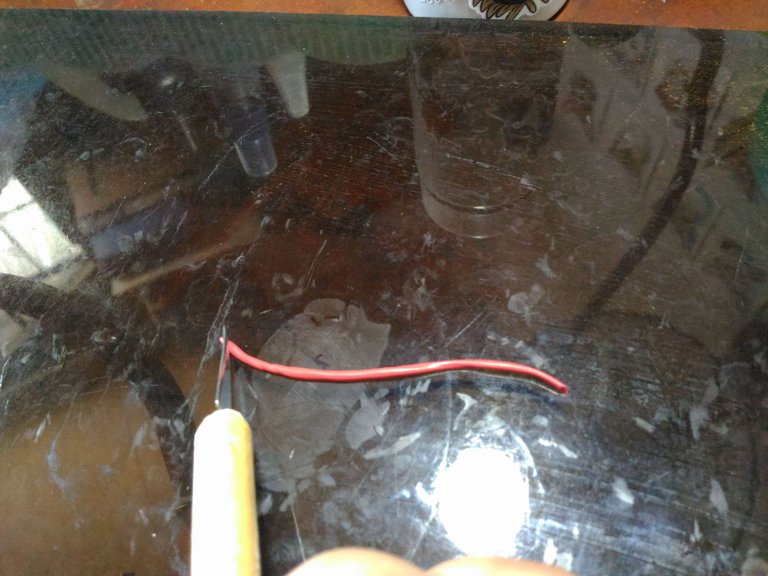
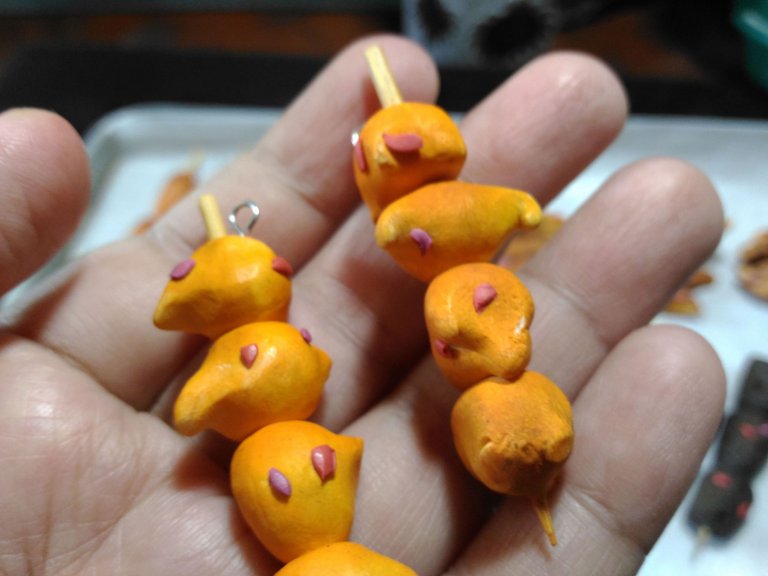
Then I shaped it to what shape I wanted and then I used a toothpick as the BBQ stick for the clay to make it more realistic street food.
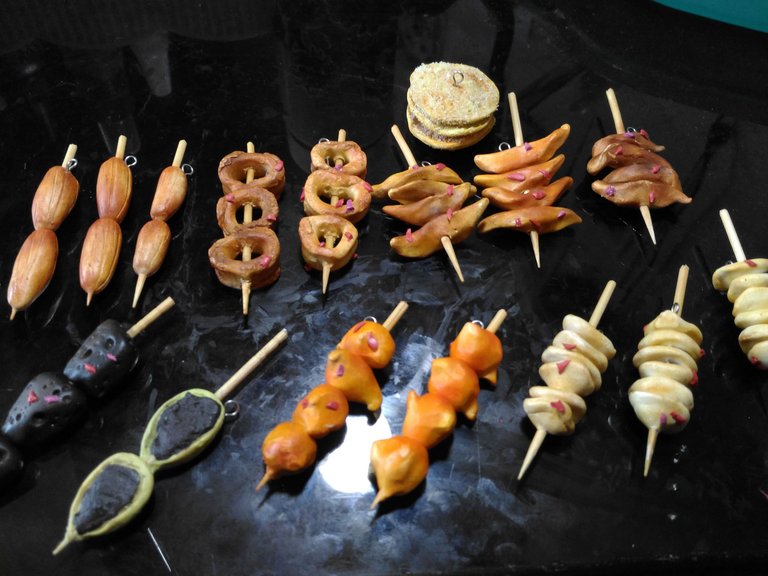
From the left, I am going to make Kwek-Kwek and from the right, I am making fish balls.
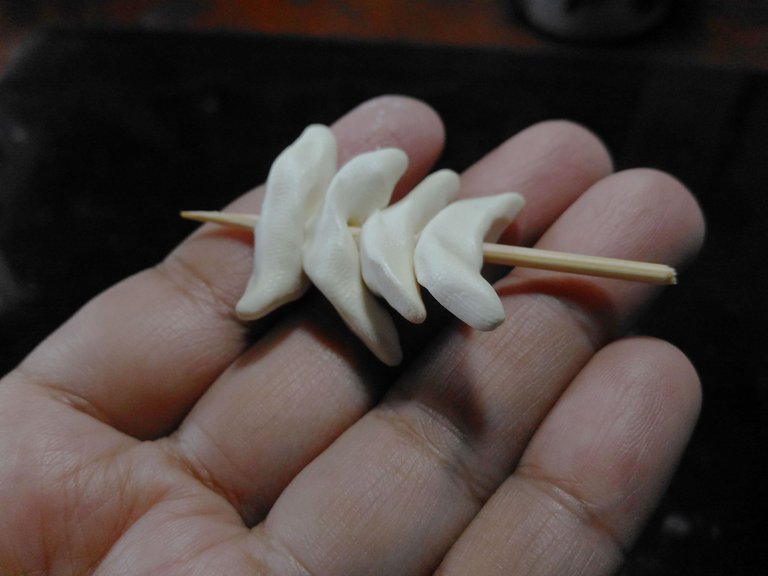
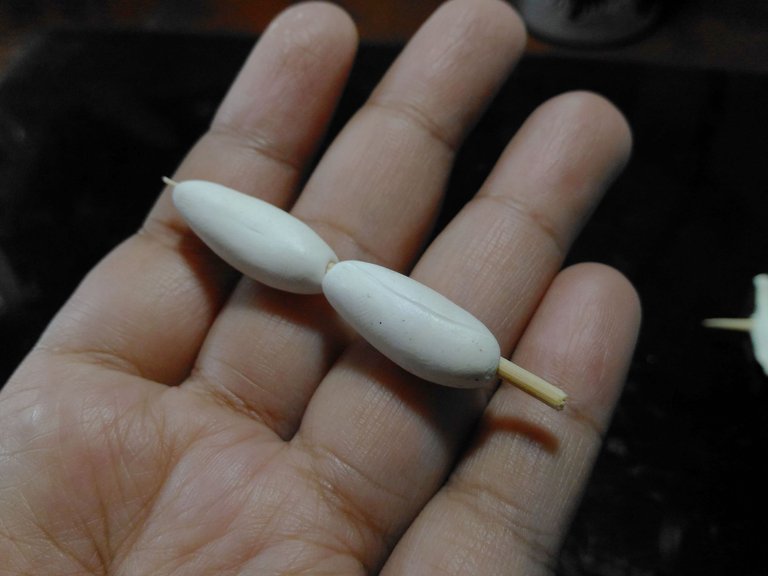
From the left, I am going to make Kikiam and on the left, I am going to make banana cue.
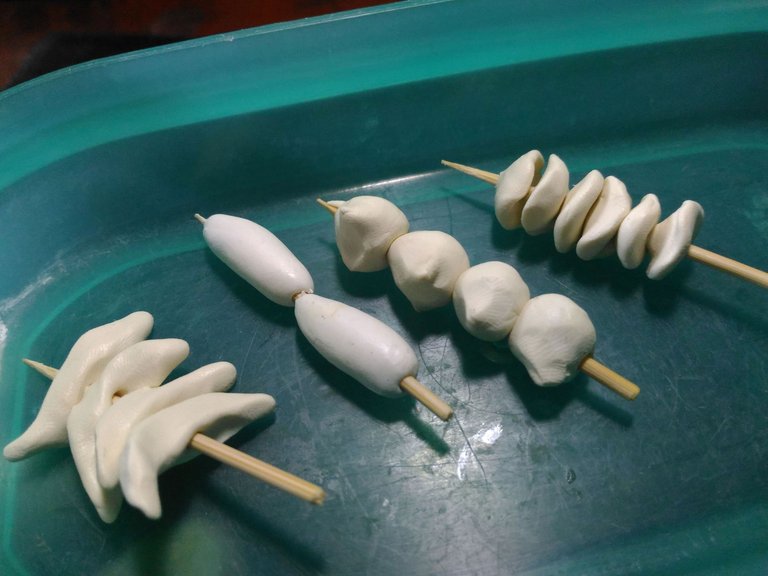
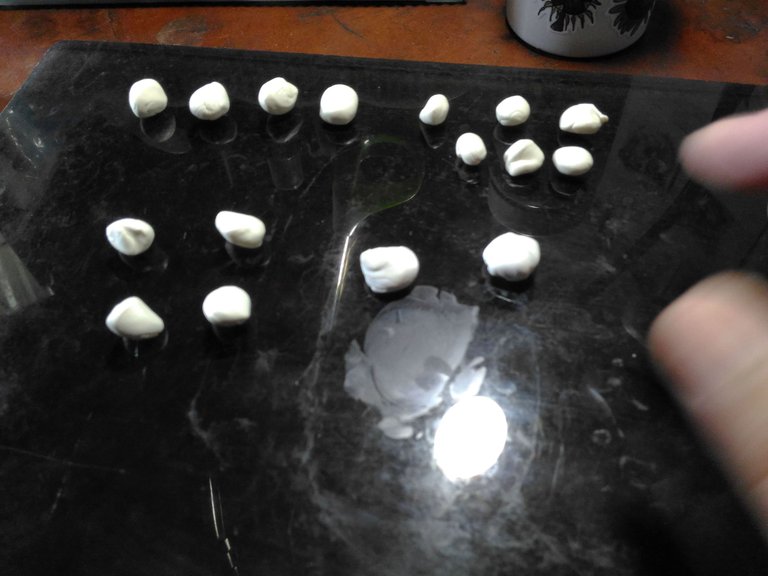
They are ready for the next step.
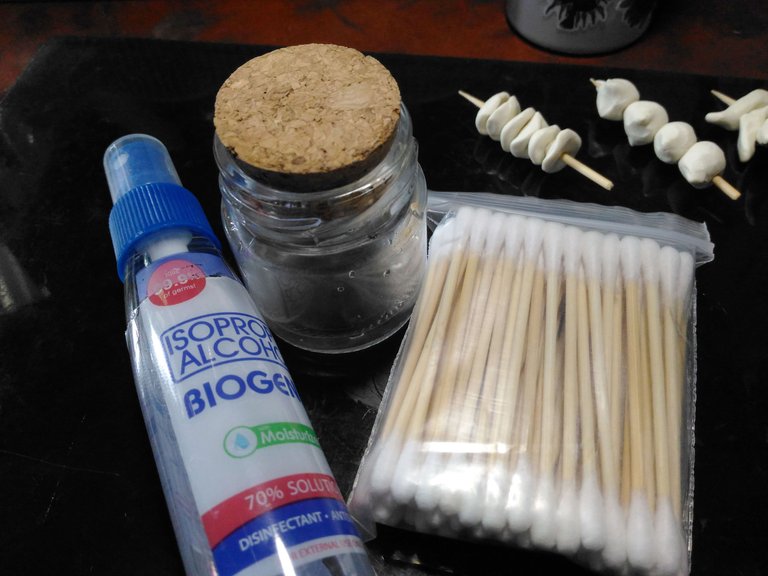
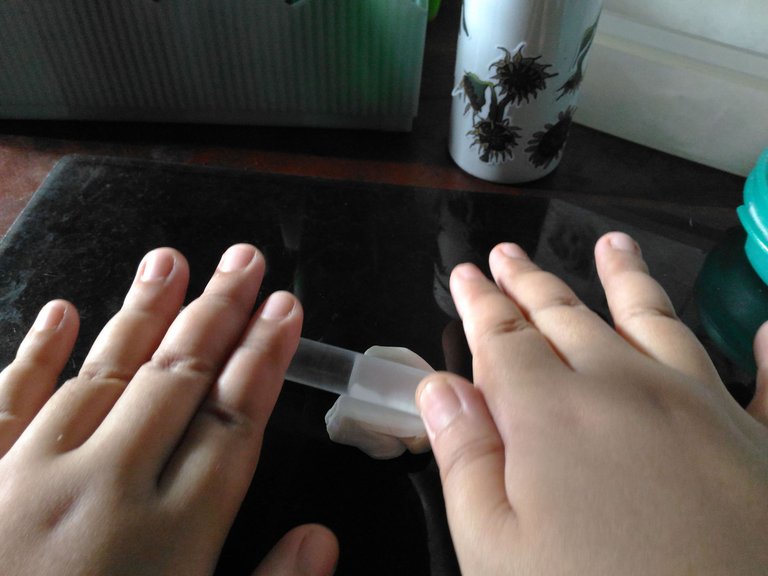
Next, I prepare alcohol, cotton buds, and a container for alcohol. This will make the polymer clean.
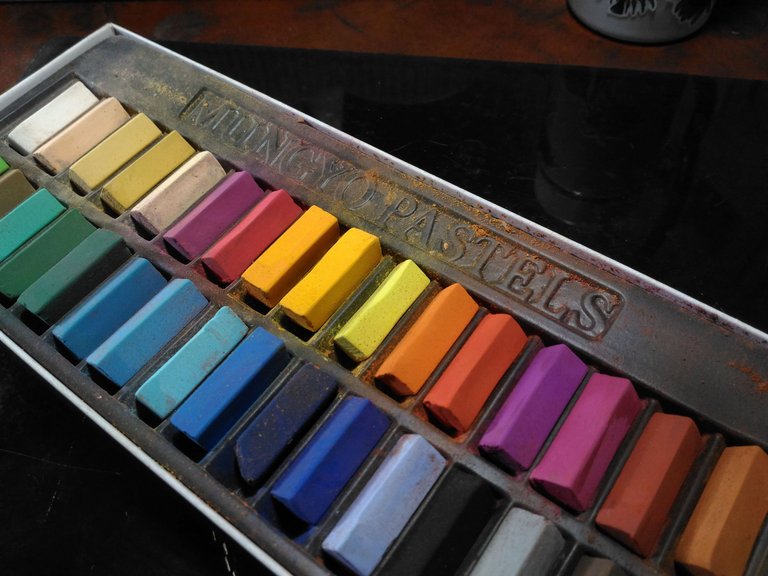
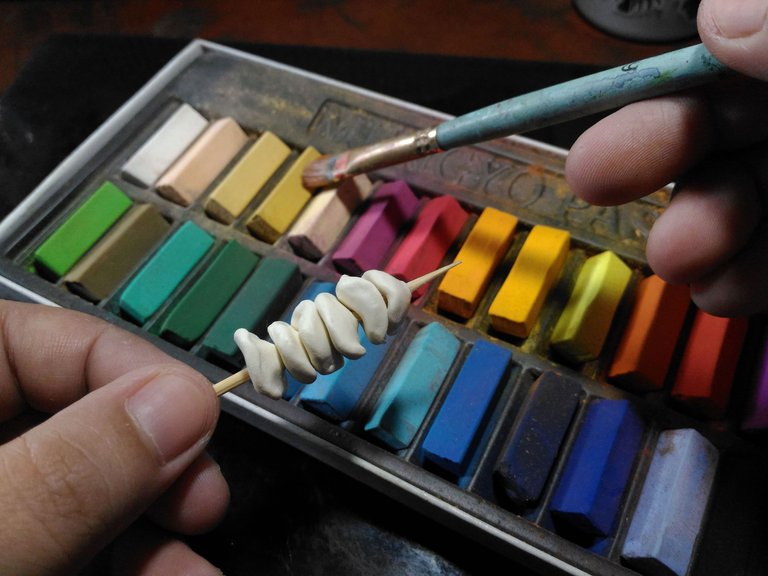
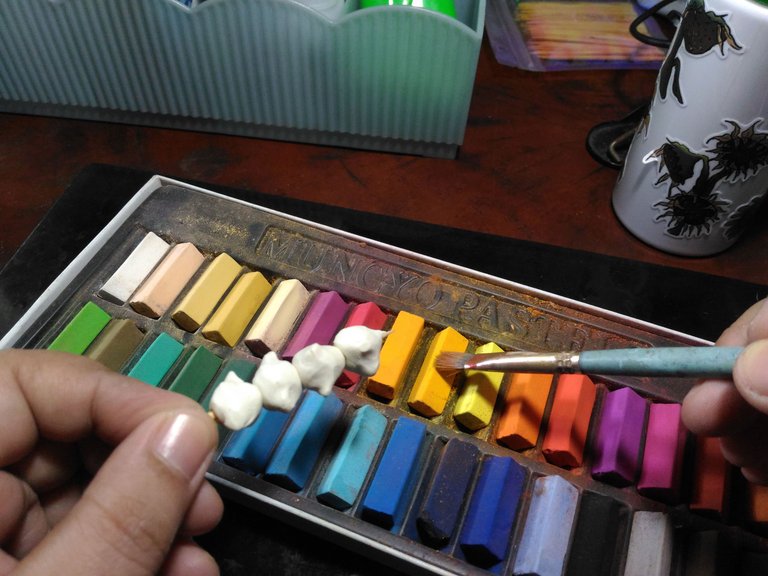
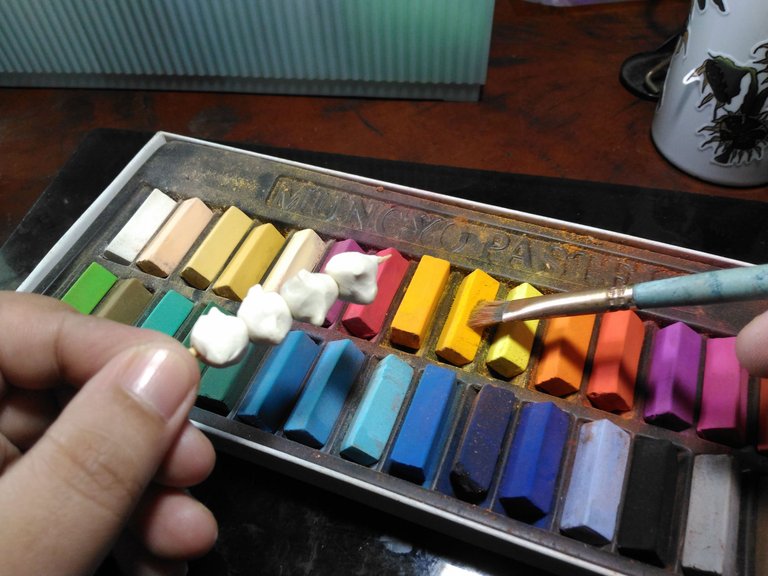
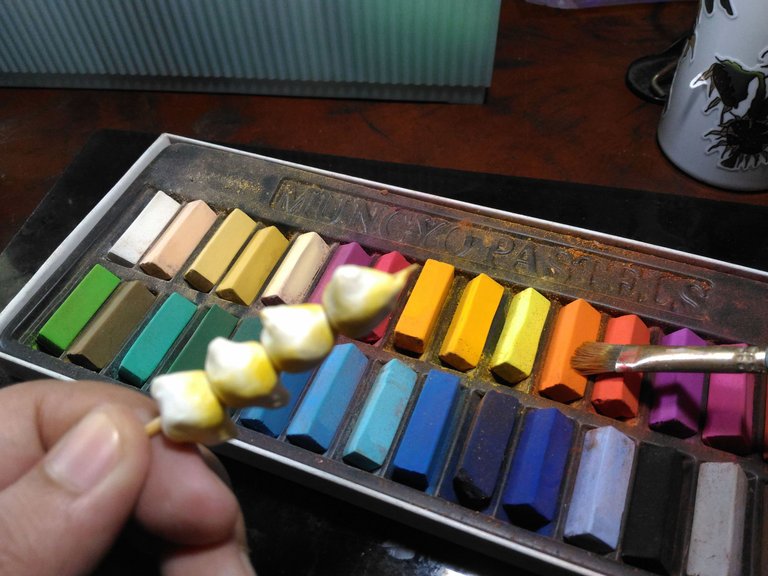
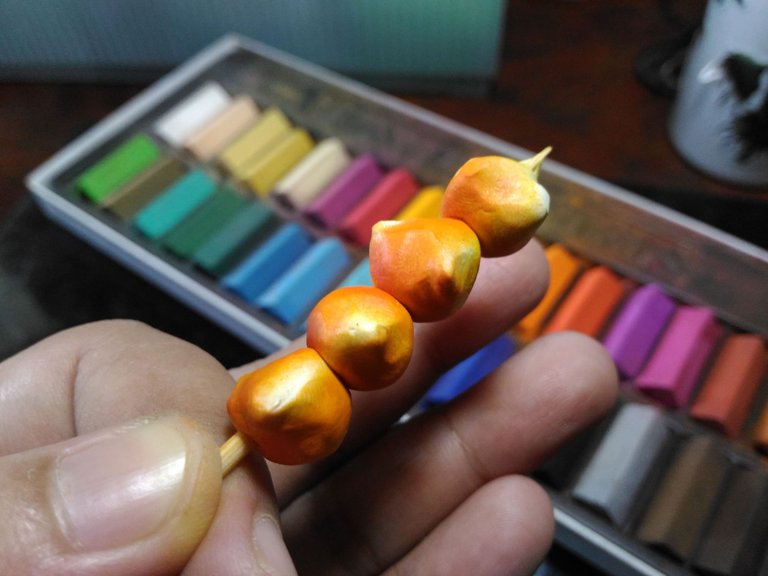
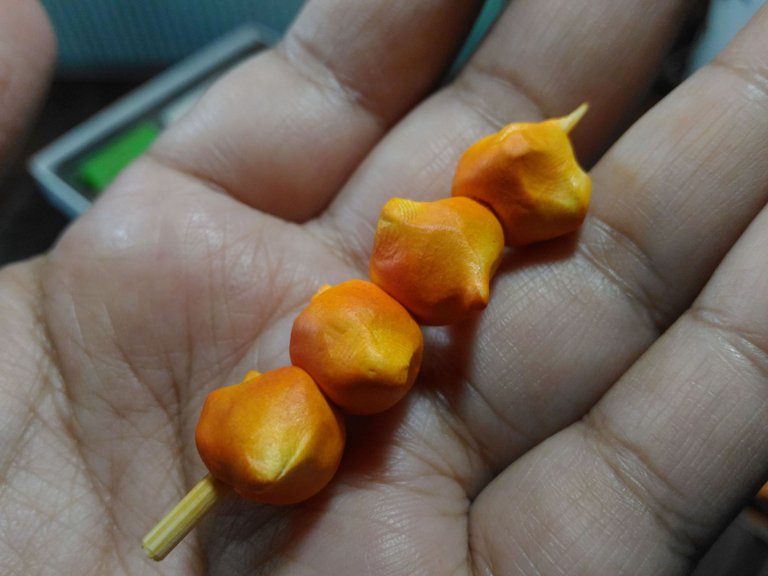
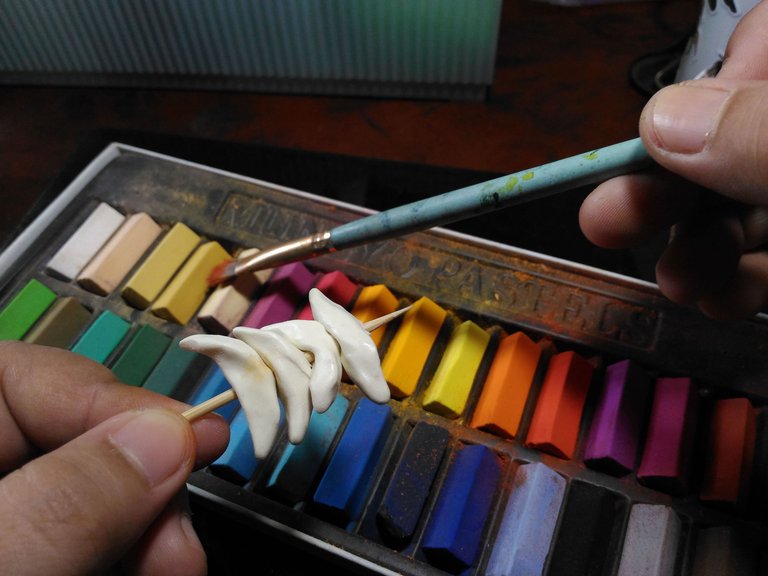
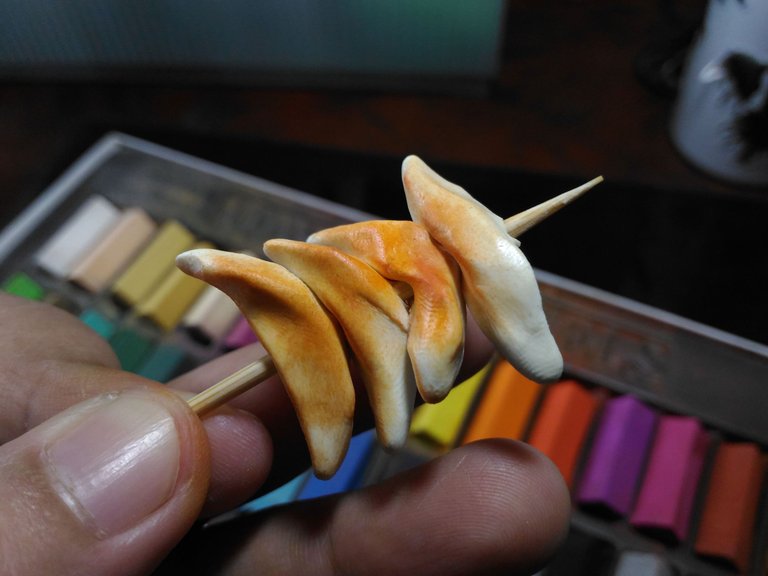
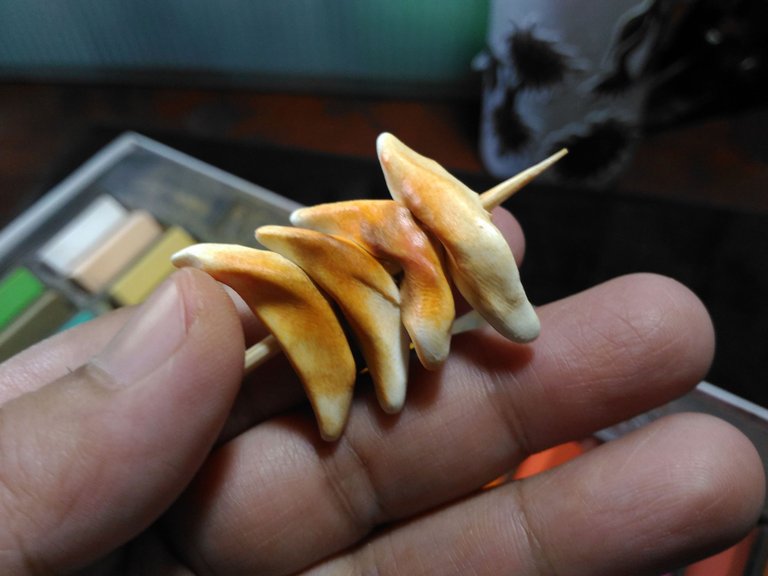
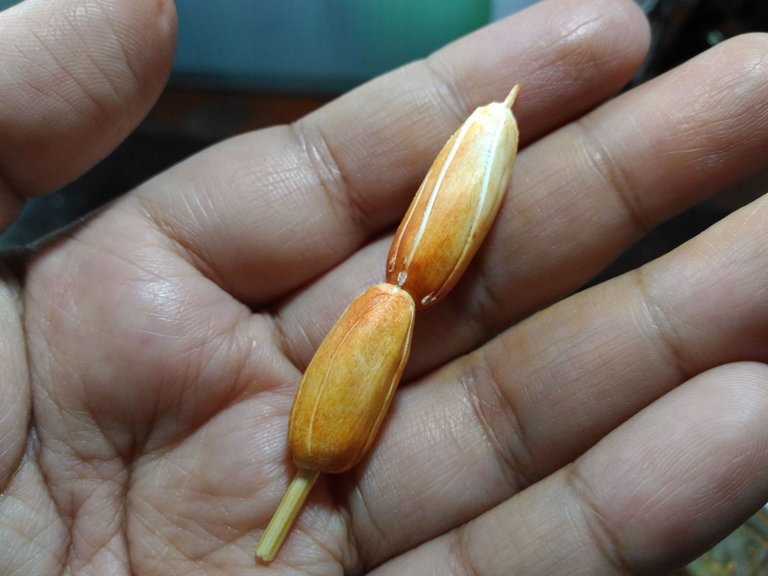
This is the important step in coloring the polymer clay using soft pastels with using brush of course. I let it rest for a while so the color with absorb on the clay.
I got excited I made more LOL.
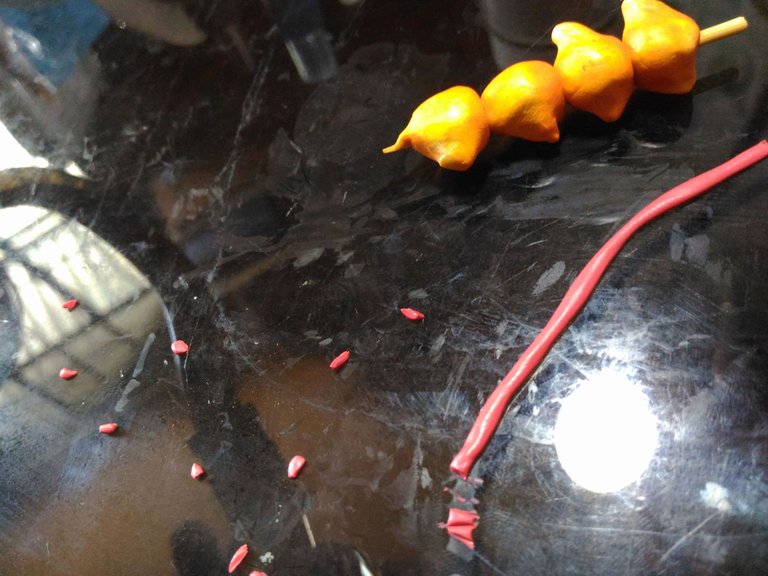
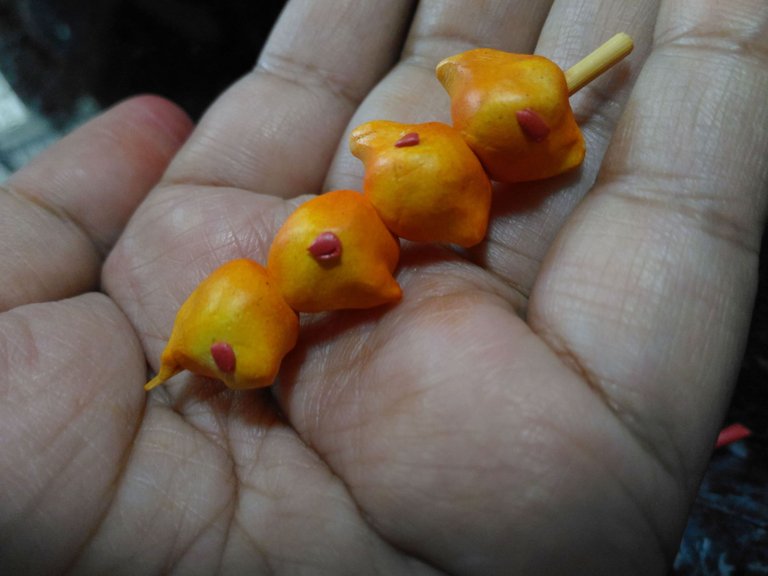
To make it more realistic I added a chili flake and onion cuts on it.
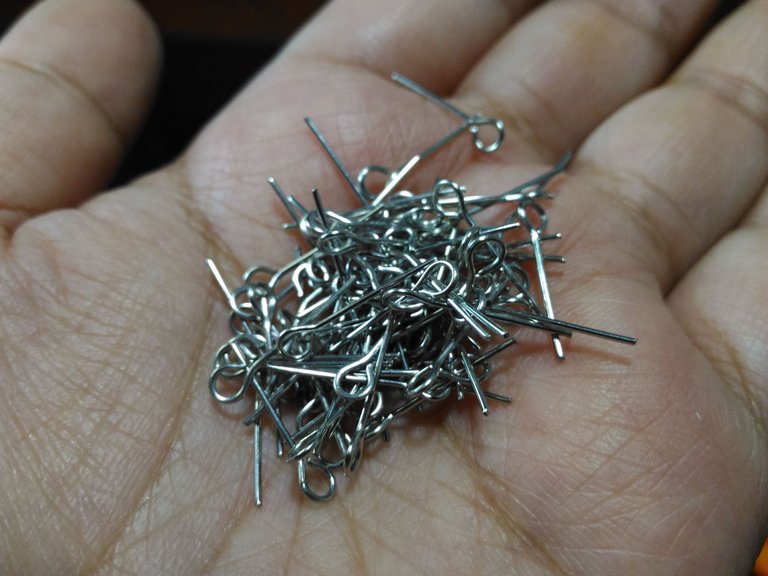
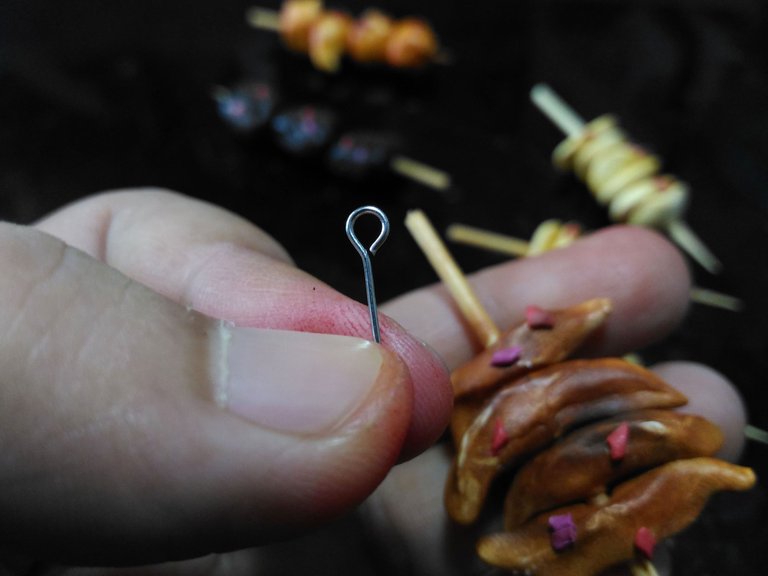
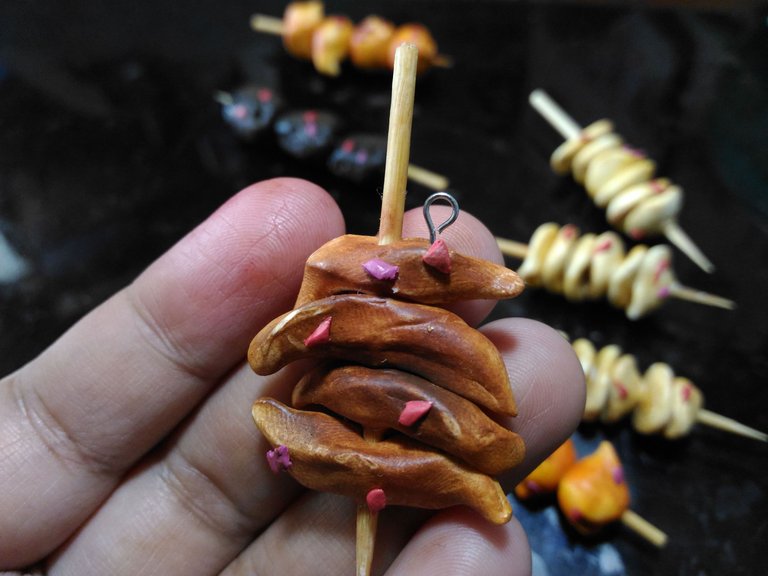
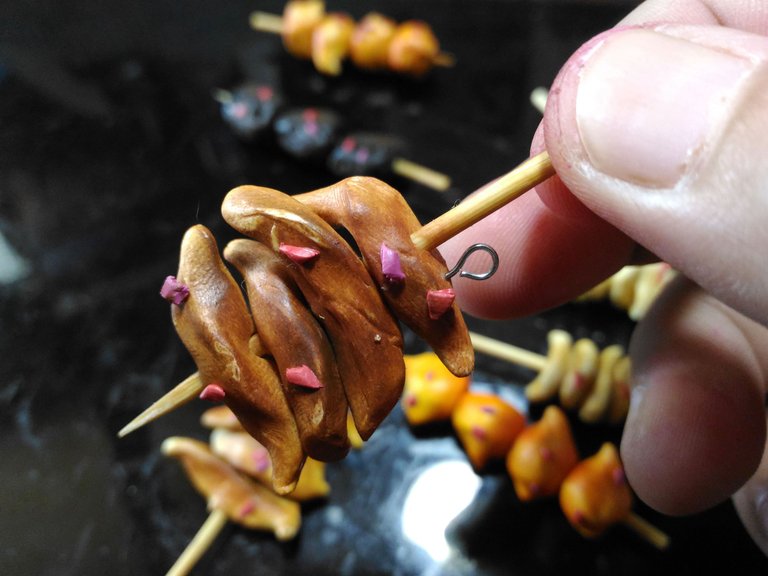
Next, I put an eye pin on the clay.
They are ready to be baked.
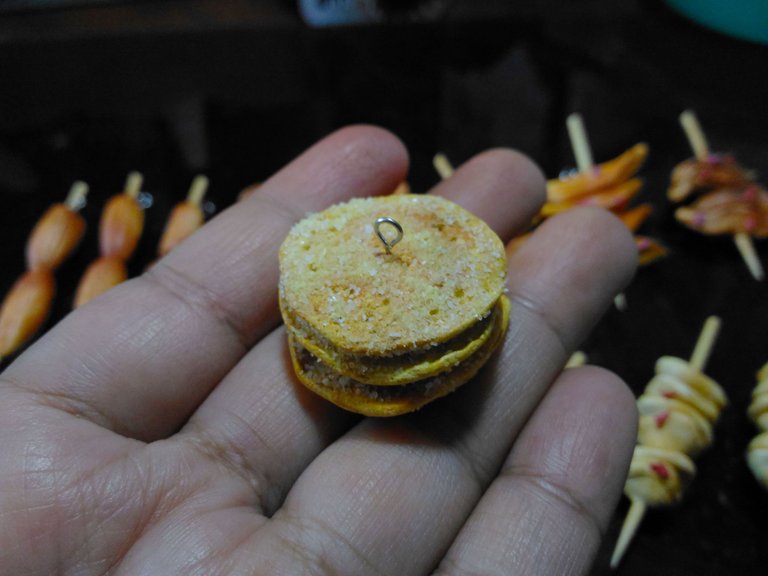
I made hotcakes too!
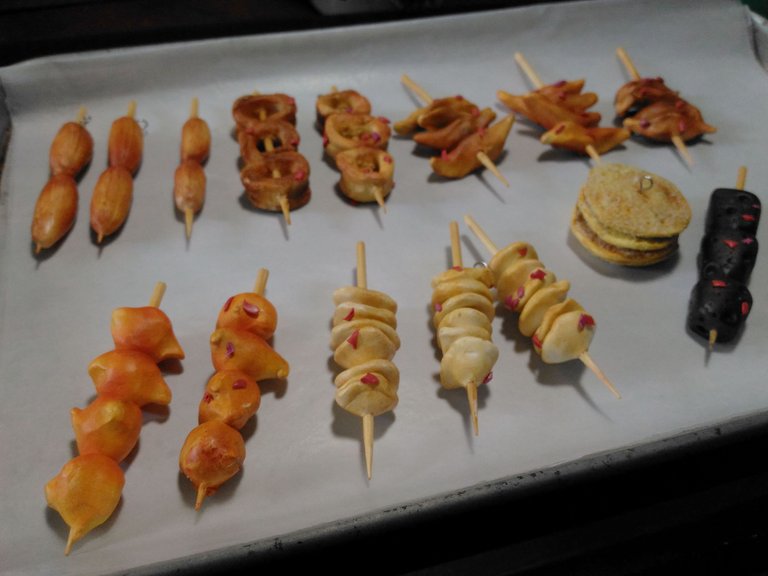

I put glassine paper on the steel tray before putting the clays. They are ready to be baked for real.
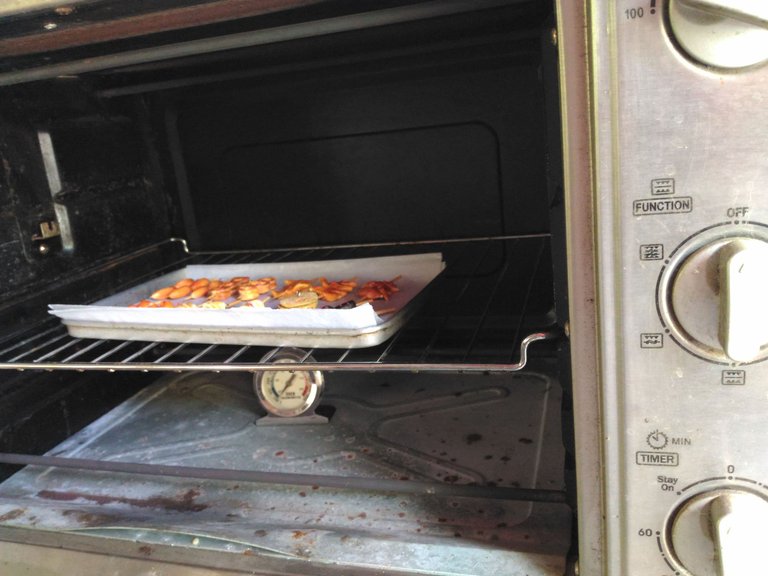
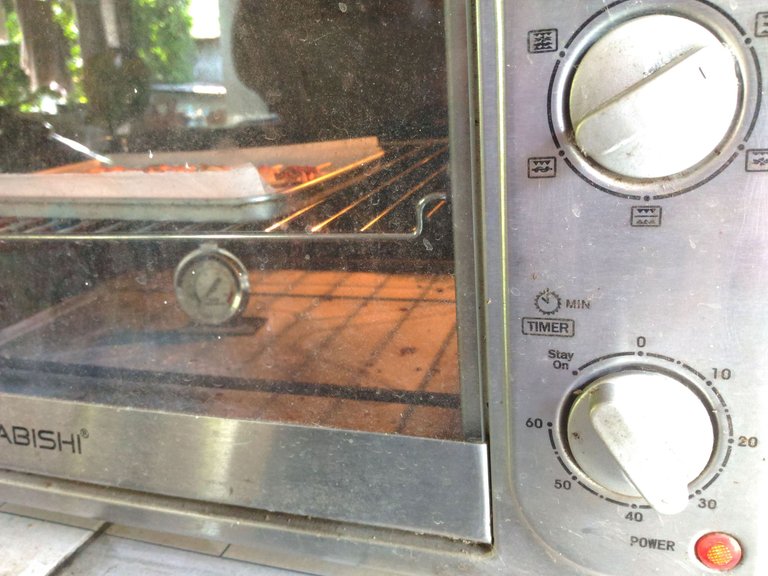
Next, I preheat the oven first to the temperature instructed on the packaging after the preheat I pop in the polymer clay to bake.
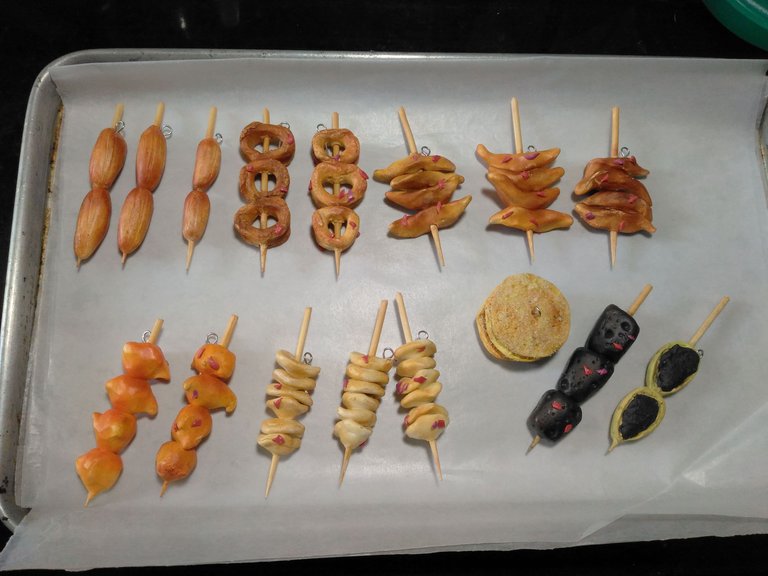
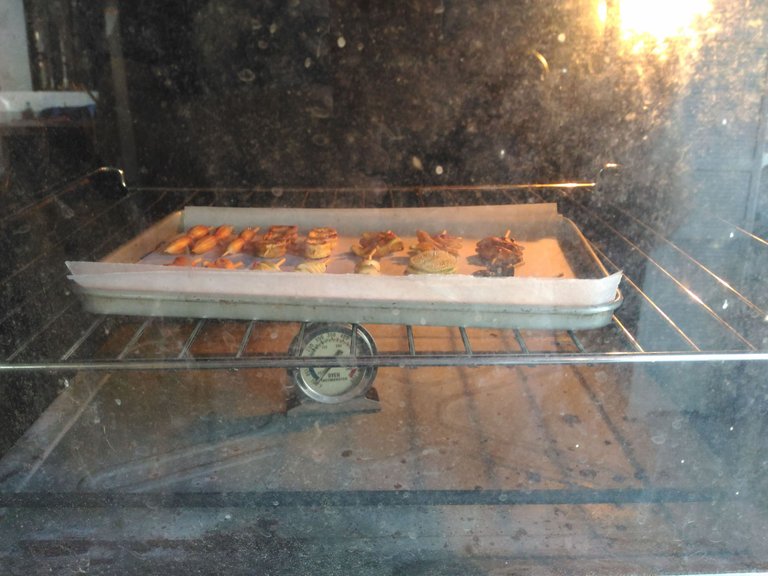
They are baked!
When the clay is baked the texture of it will mattefied.
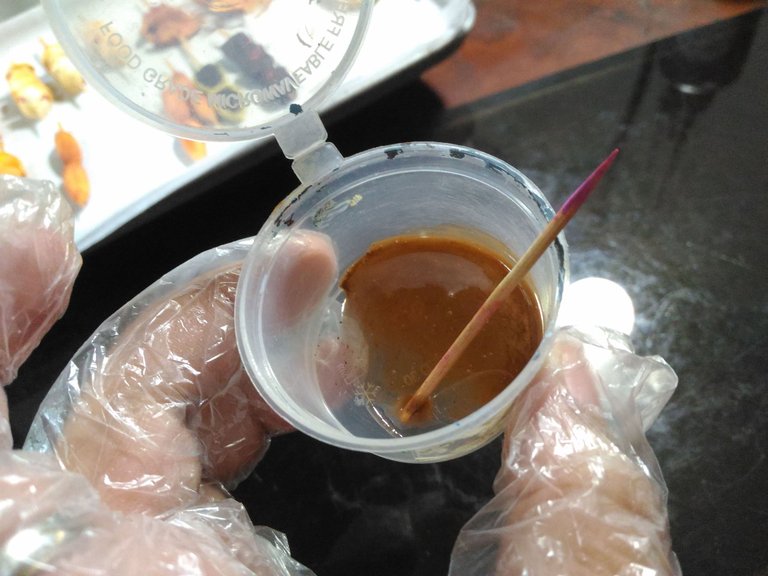
Next, I prepare my protective gear mask and plastic gloves. I am going to add the sauce. What I do is I mix UV Resin and soft pastel in a plastic container and mix it with a toothpick so that after I use it I can just dispose of it instantly.
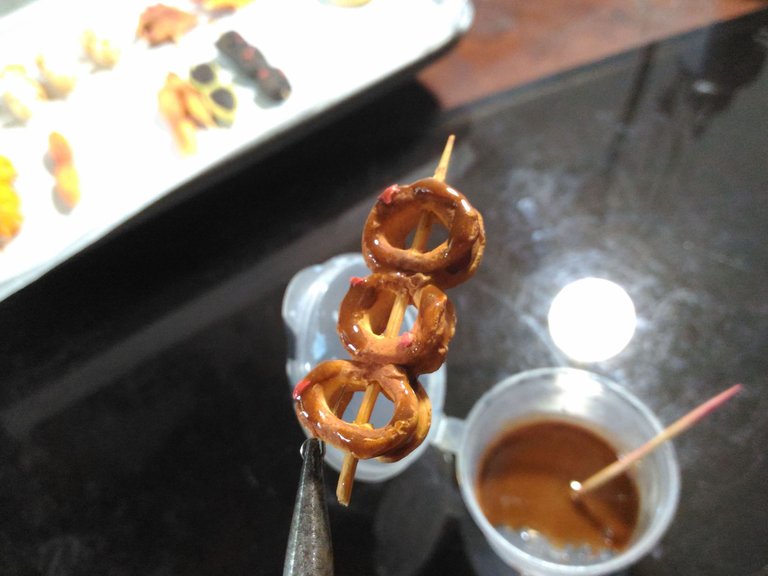
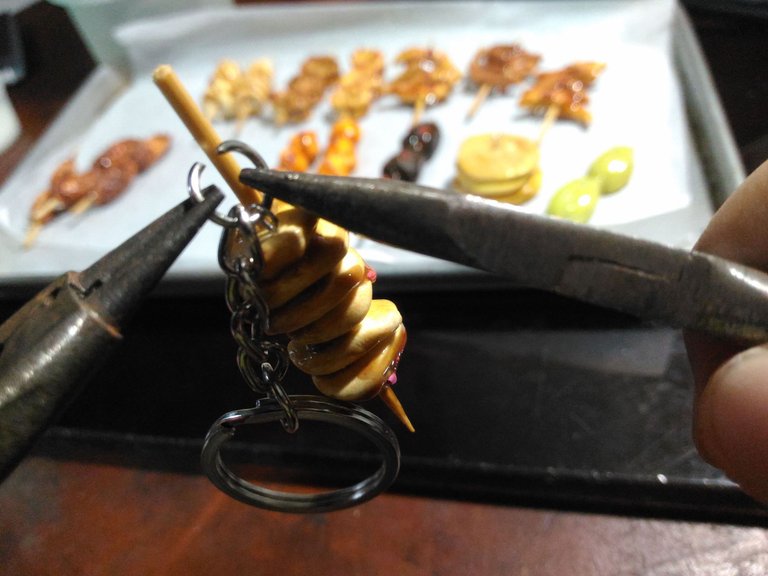
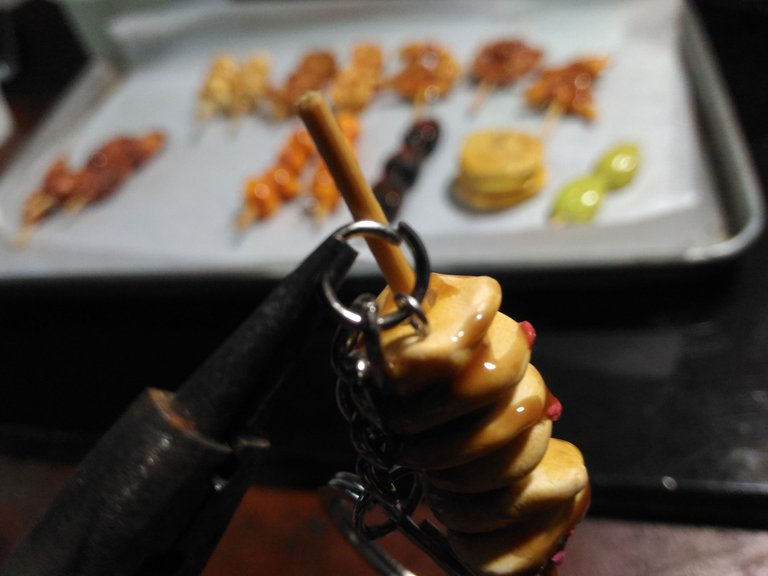
Using the plier I hold the polymer clay by the eyepin I put earlier and then I apply the mixture sauce I made on the clay.
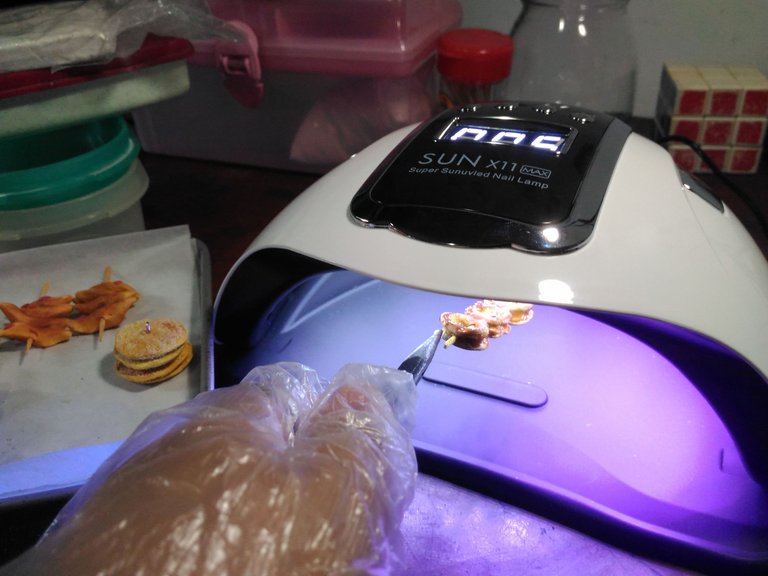
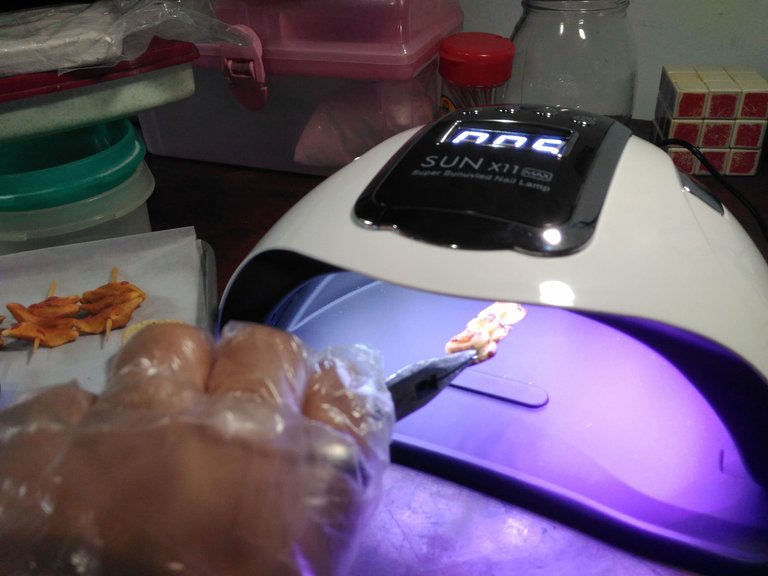

After applying the mixture I then cure it under UV light, because UV resin needs UV light to be cured. What I do is rotate the clay around to cure it evenly.
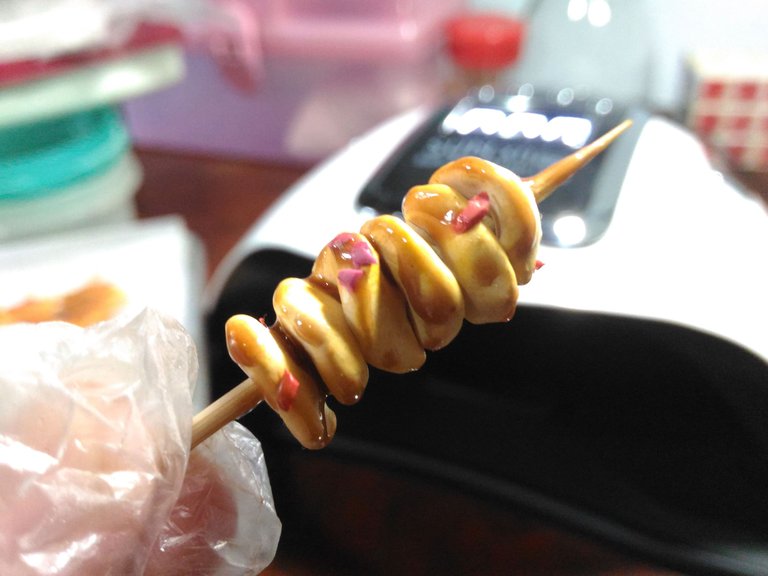
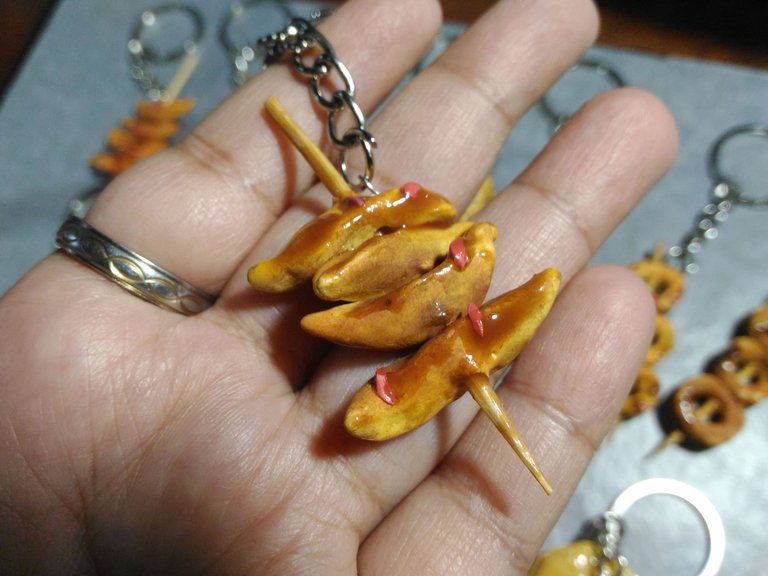
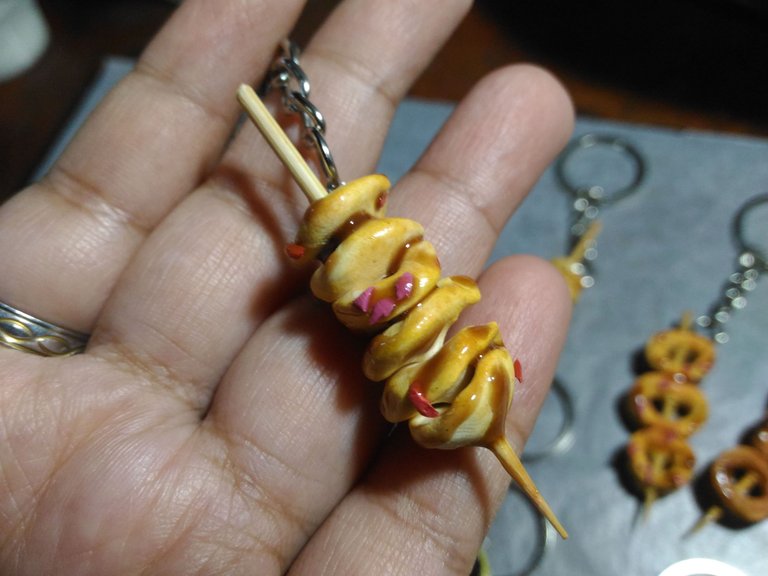
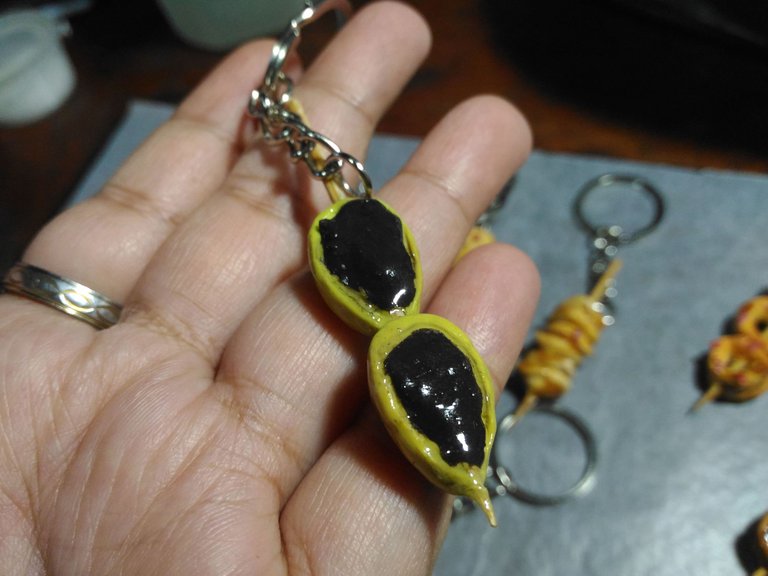
This is how it looks like after curing it looks like sauce.
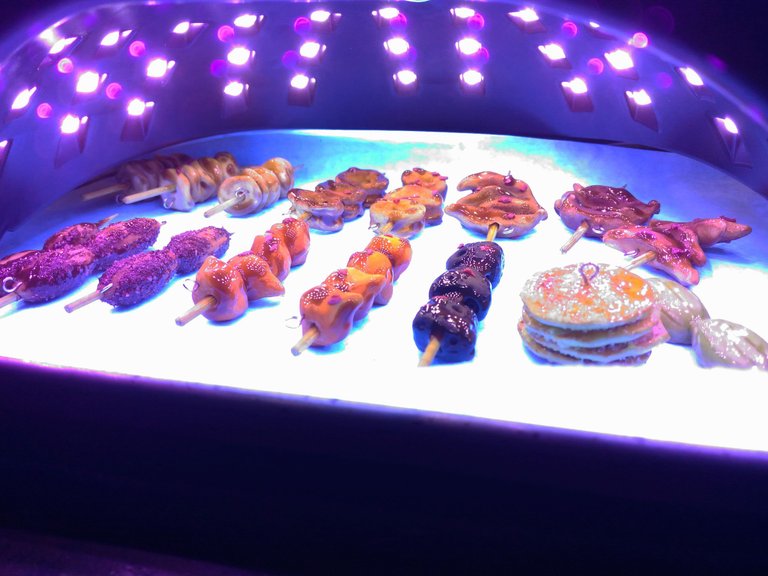

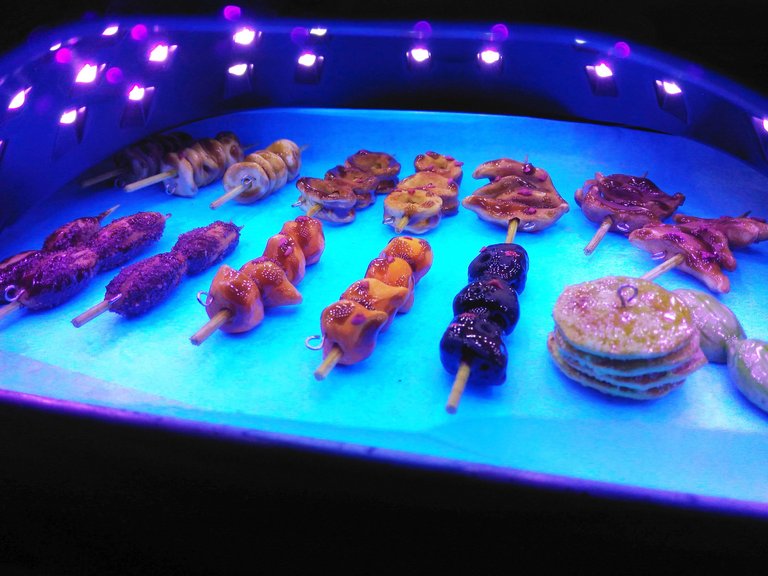
I cure all of them more in the UV Lamp to make sure the UV Resin will be cured completely. They look like on the tanning bed LOL.
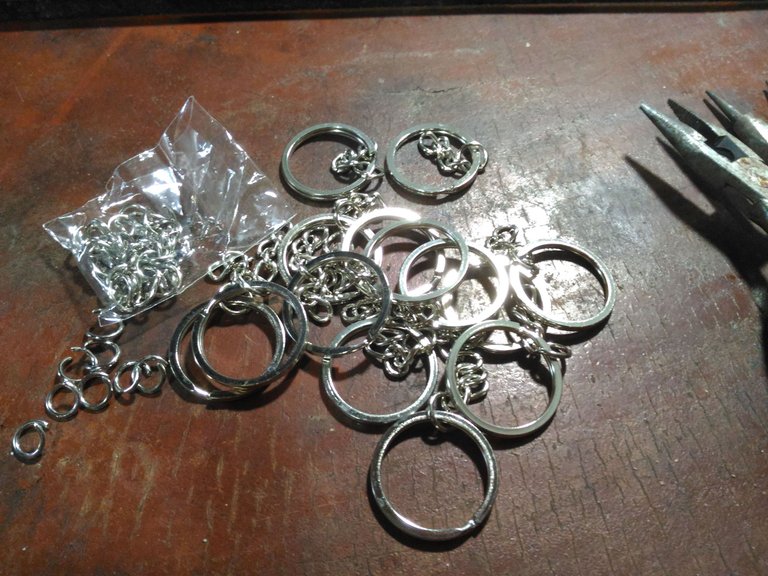
I prepare the Keychains and Pliers.
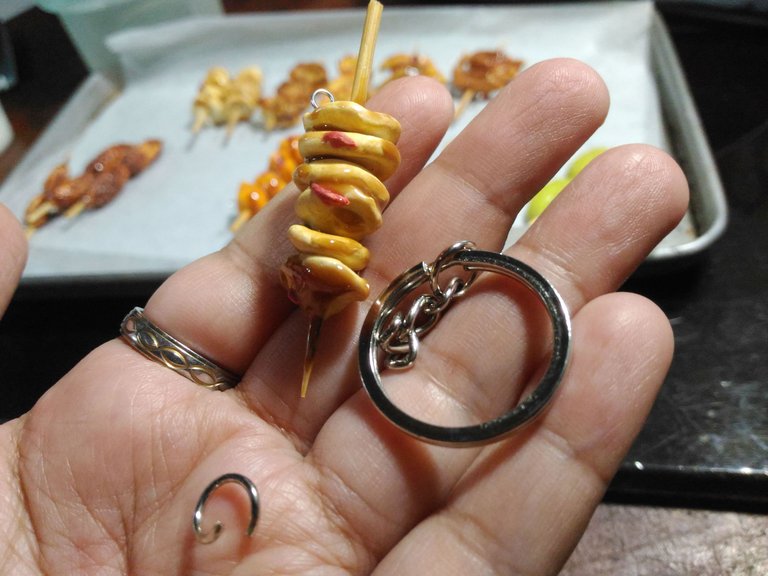
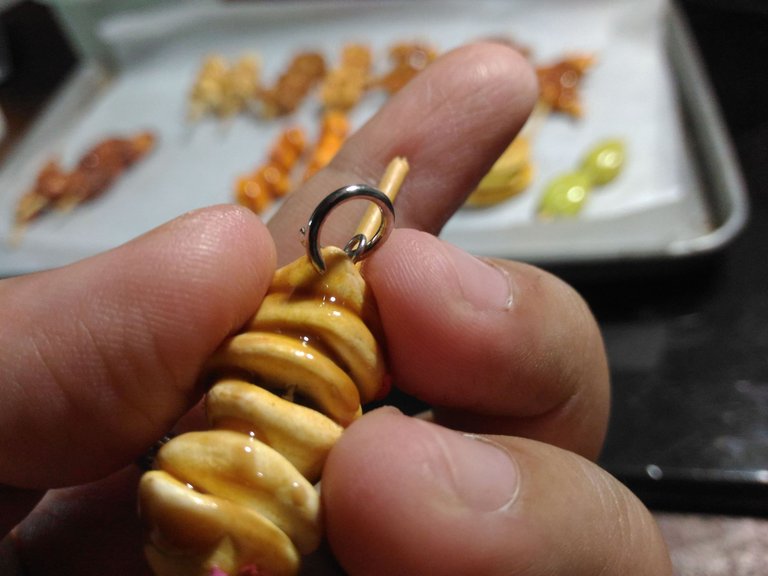
I put the jump ring in the eye pin.
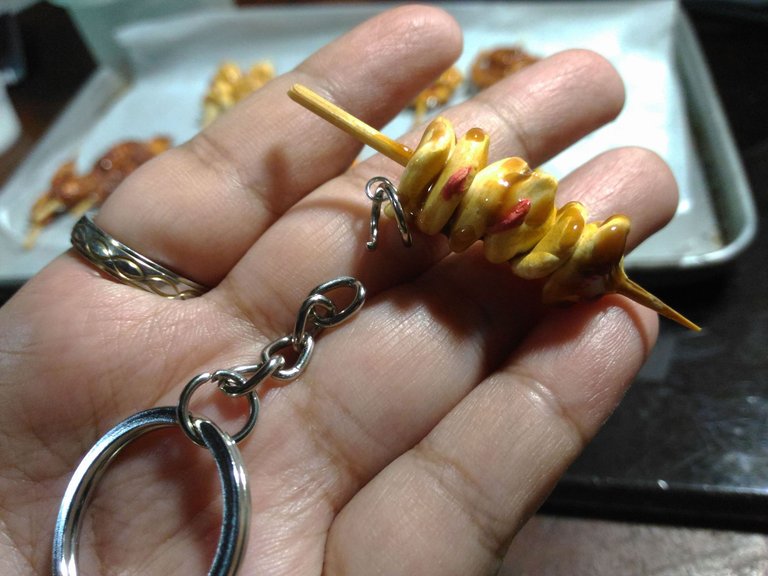
Then the chain in the jump ring and using the two pliers I close the jump ring.
This is what it looks like.

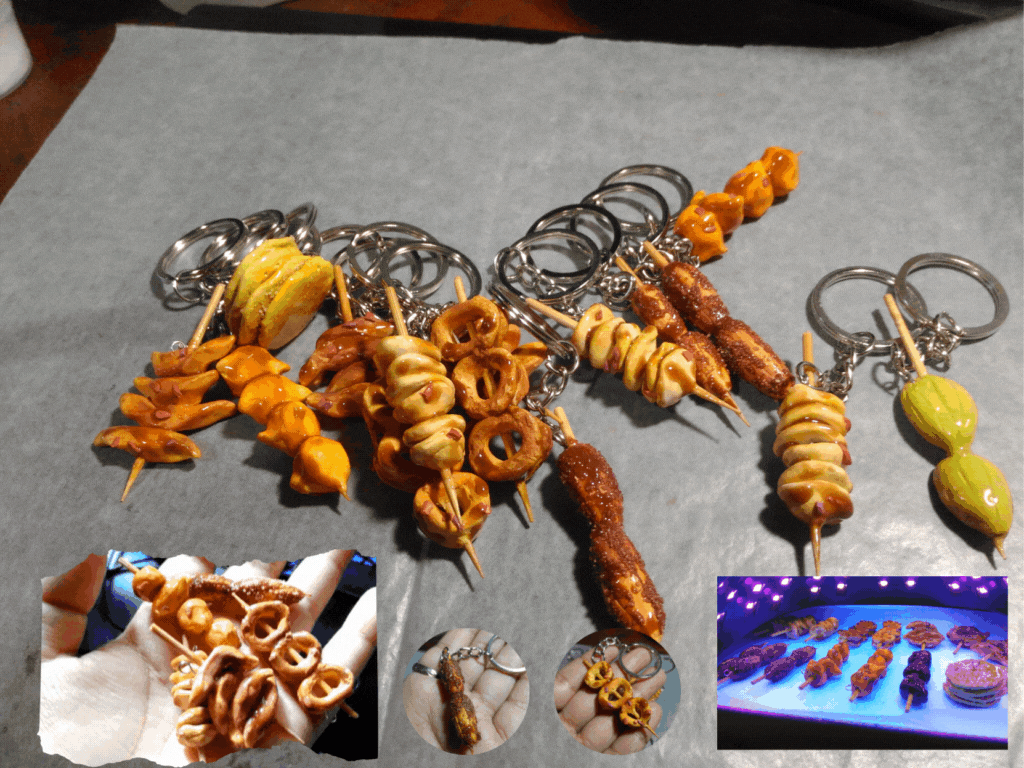
I repeat the process on the other clay. Done! I made a Street Food Polymer Clay Keychain!
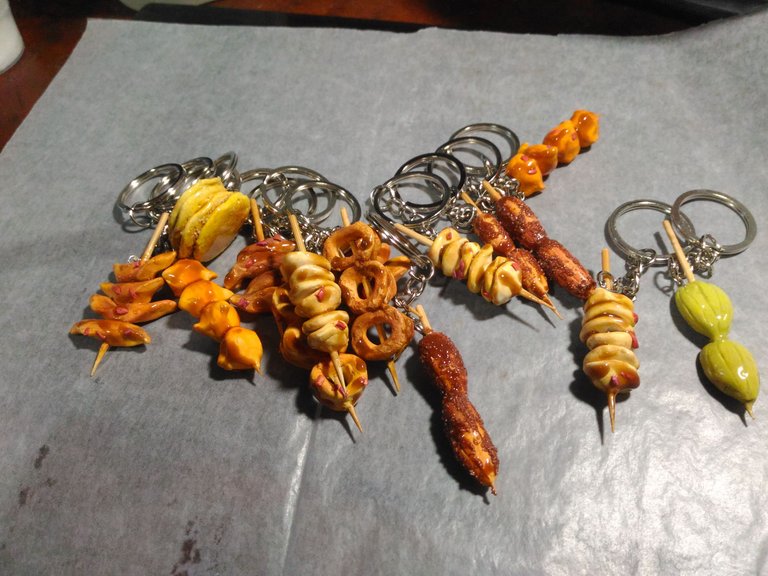
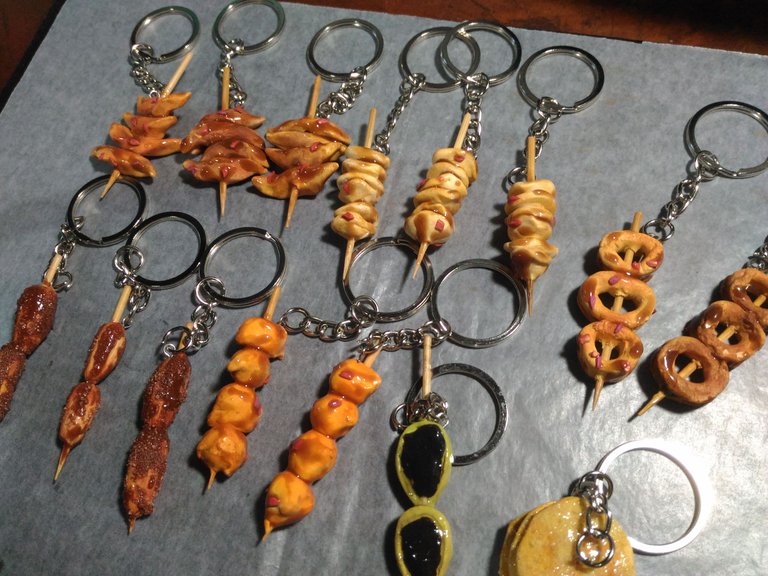
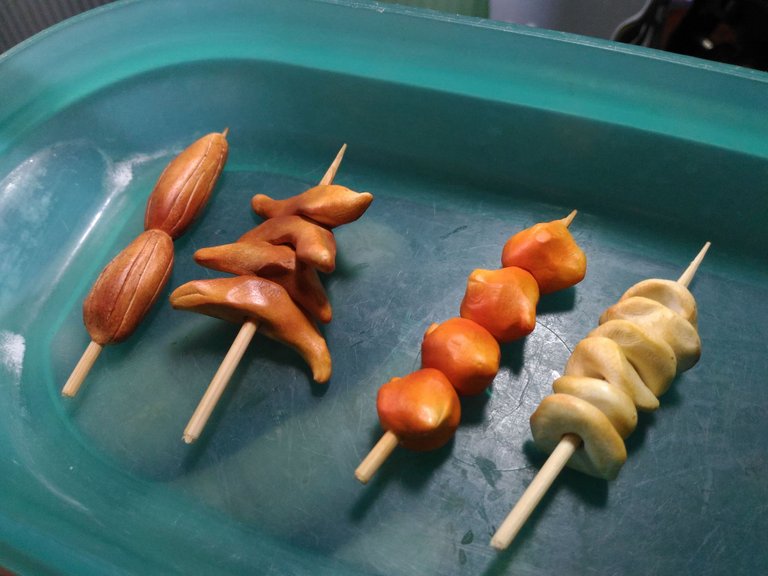
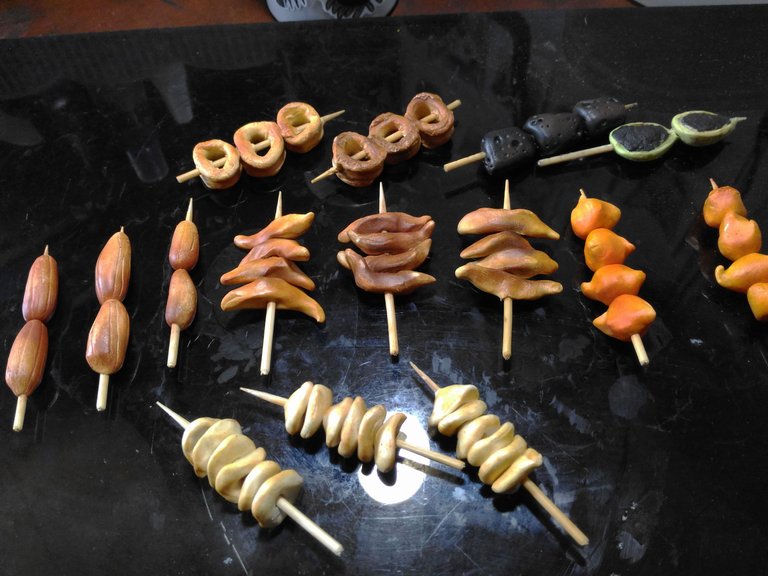
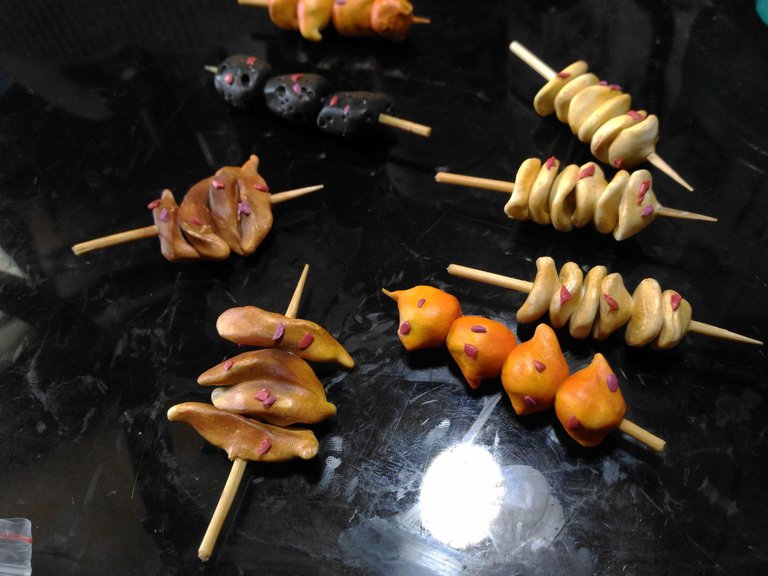
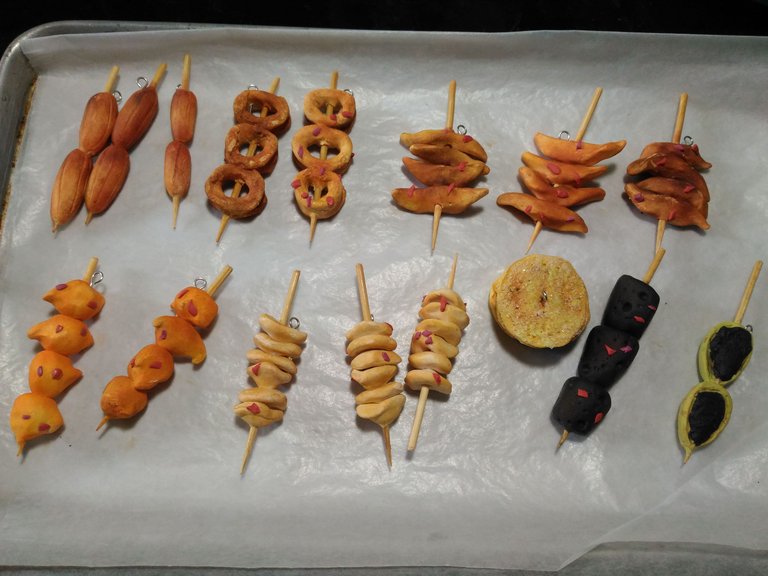
Kikiam.
Fishball.

Calamares.

Kwek-Kwek.
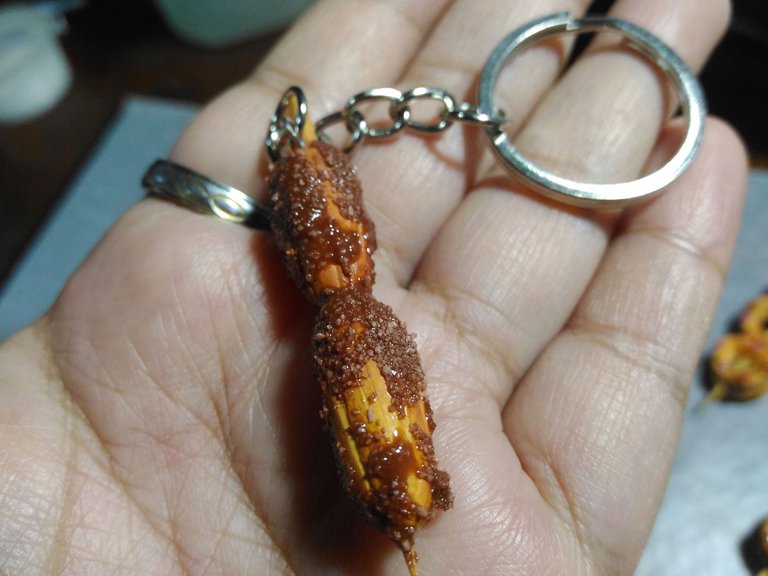
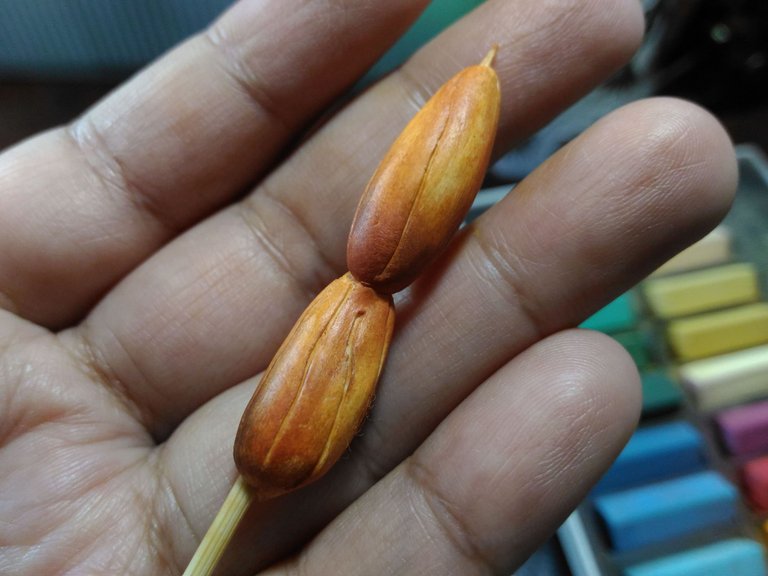
Banana Cue. <3
Manga with alamang.
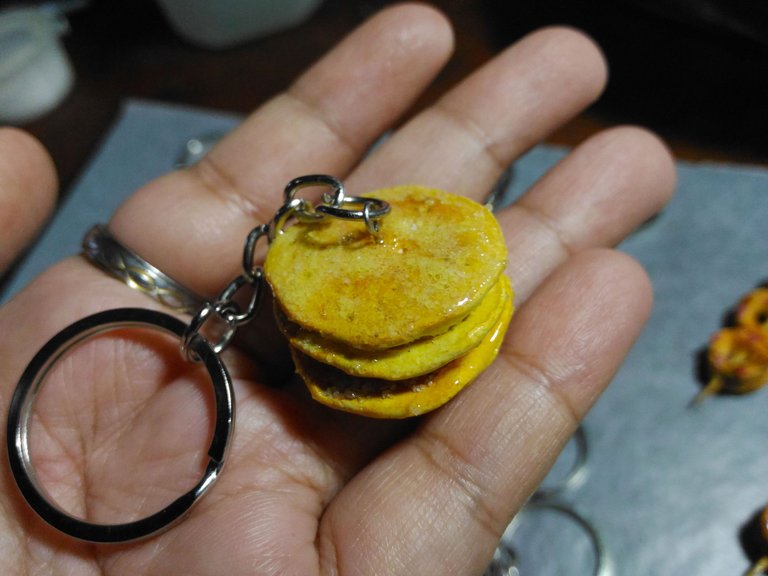
Hot cakes sa peryahan. <3
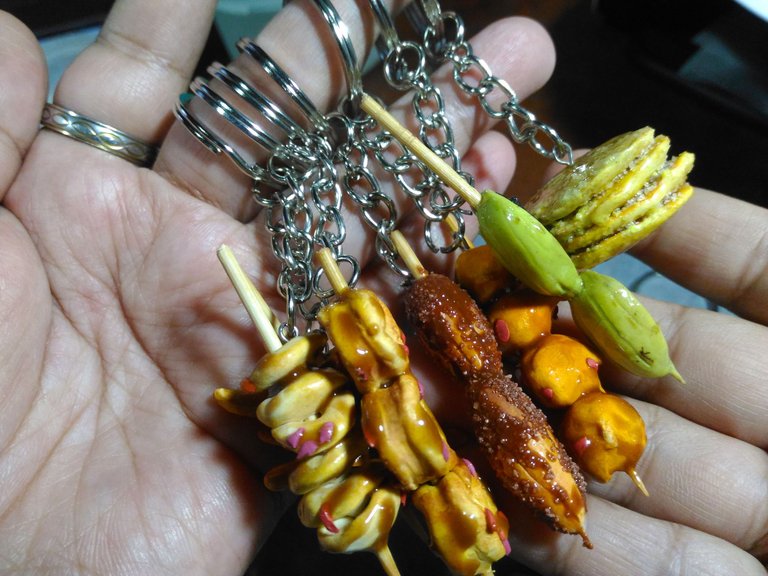
They are so cute I want to take a bite for real! LOL. What street food is your comfort food? Let me know. If you are interested on buying the keychains I made you can message me on my Instagram. :D
Thank you for visiting, see you on my next blog. :D
Please take care of your mental health as well.
I hope you are okay today :))
Please take care of your mental health as well.
I hope you are okay today :))
