English
Greetings, my dear friends of Hive, welcome to my post, today I'm going to show you how to make a backpack made with recycled material, in this case I'm using some scraps of jeans and scraps of upholstery fabric that I got at home.
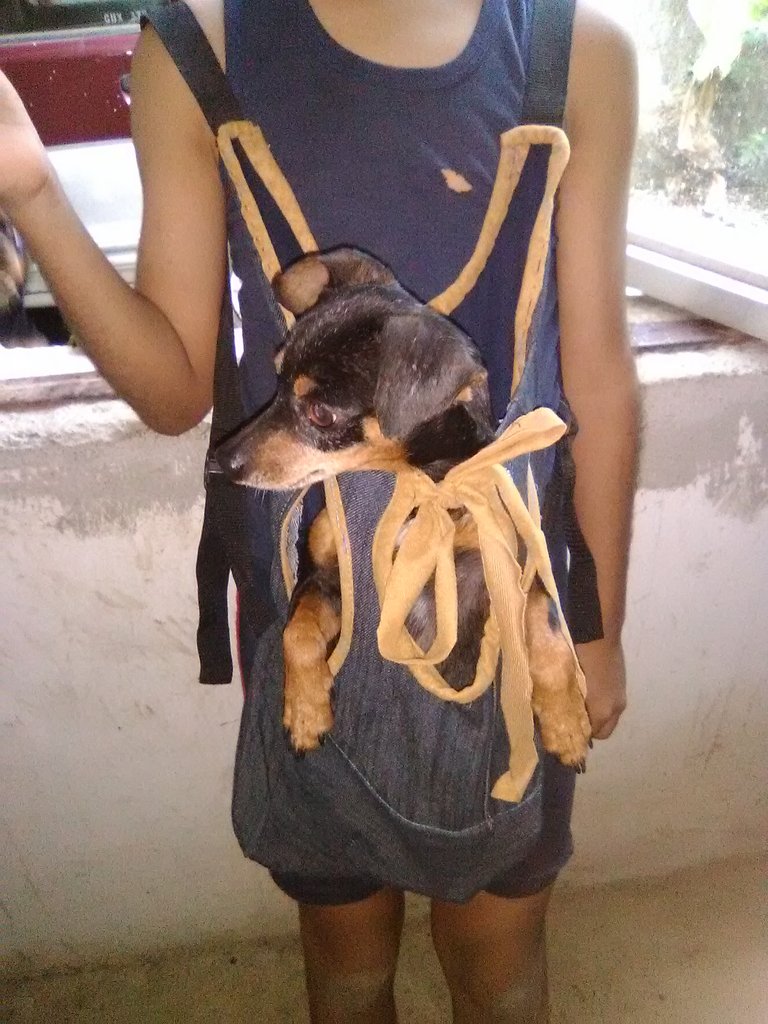
This idea comes to me because I got a puppy and I want to take him with me for a walk, but he is very nervous so I decided to make a comfortable backpack even with the colors of the puppy so he can have more confidence, and adapt to his new home and new owners.

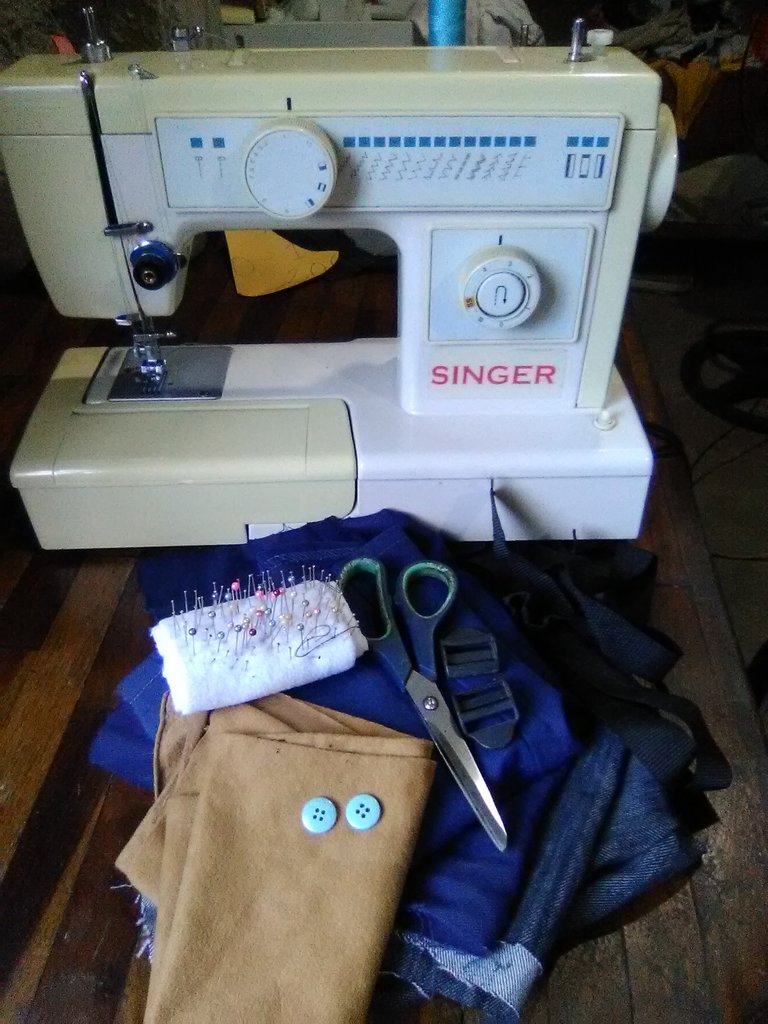
Materials used for this work.
- Singer sewing machine
- Scissors
- Thread
- Pins
- Needle
- Dry soap
- 2 buttons
- 2 pins for suspenders
- 4 suspenders
- Piece of jeans
- Piece of fabric for upholstery
Start our step by step.
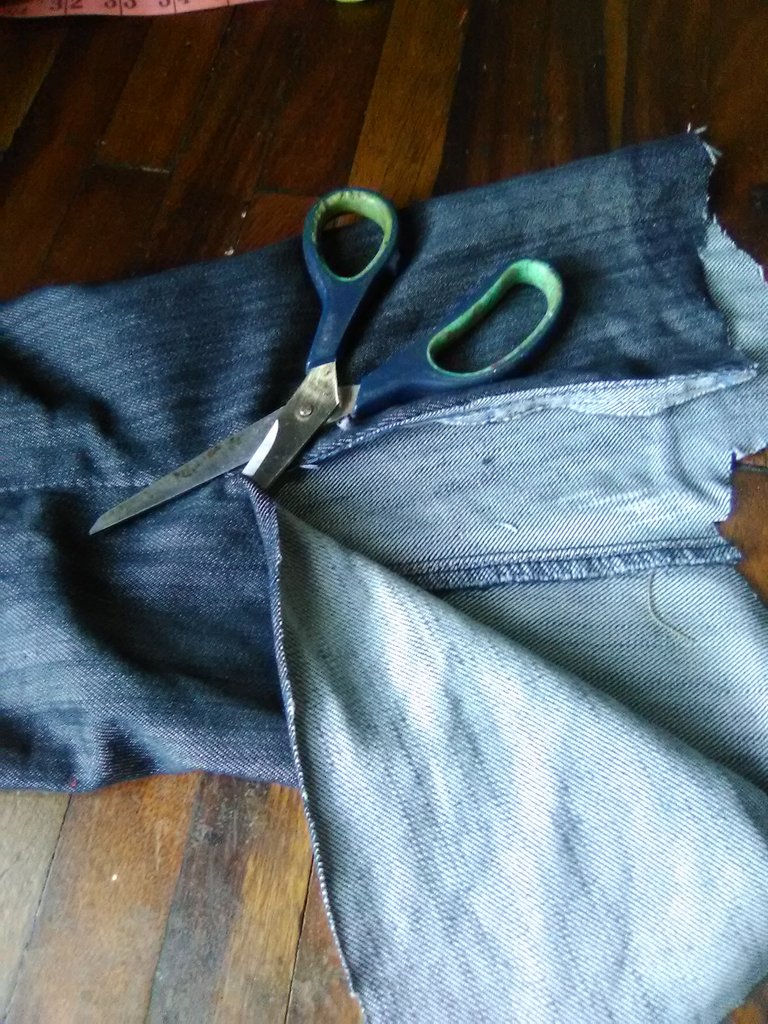
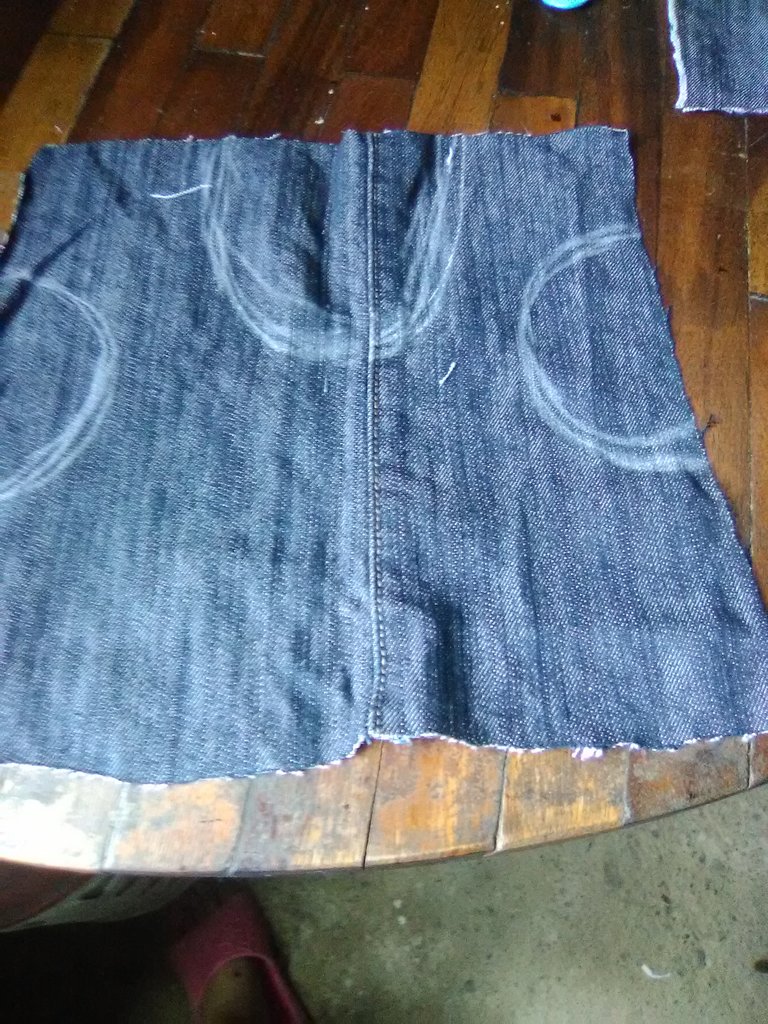
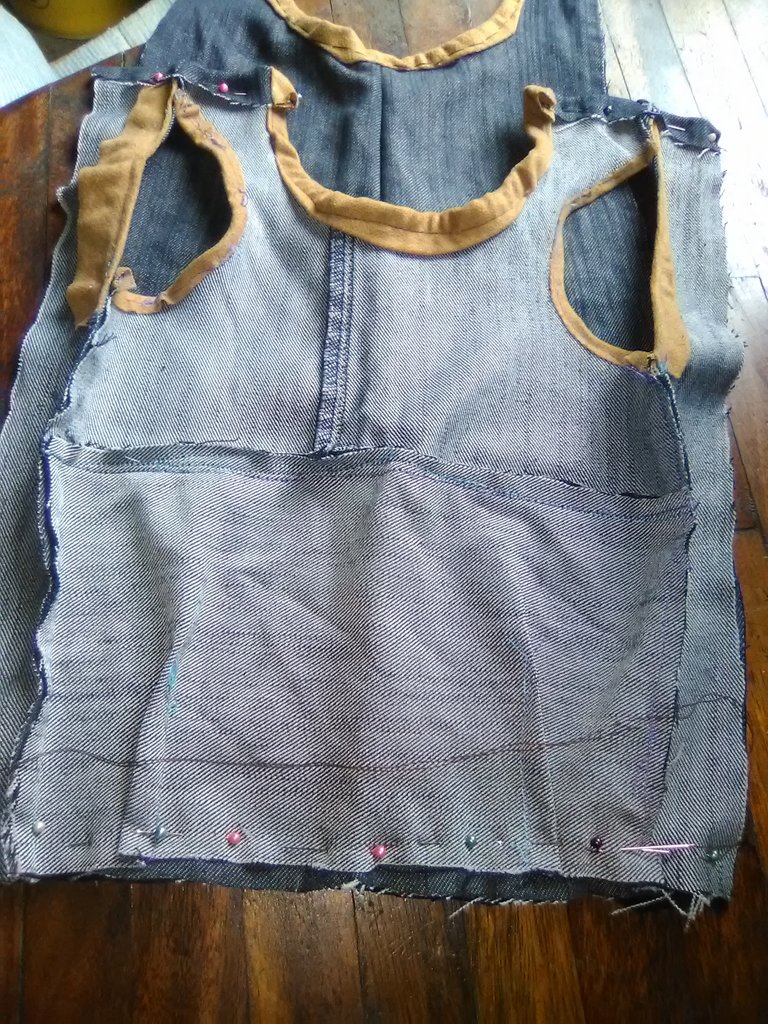
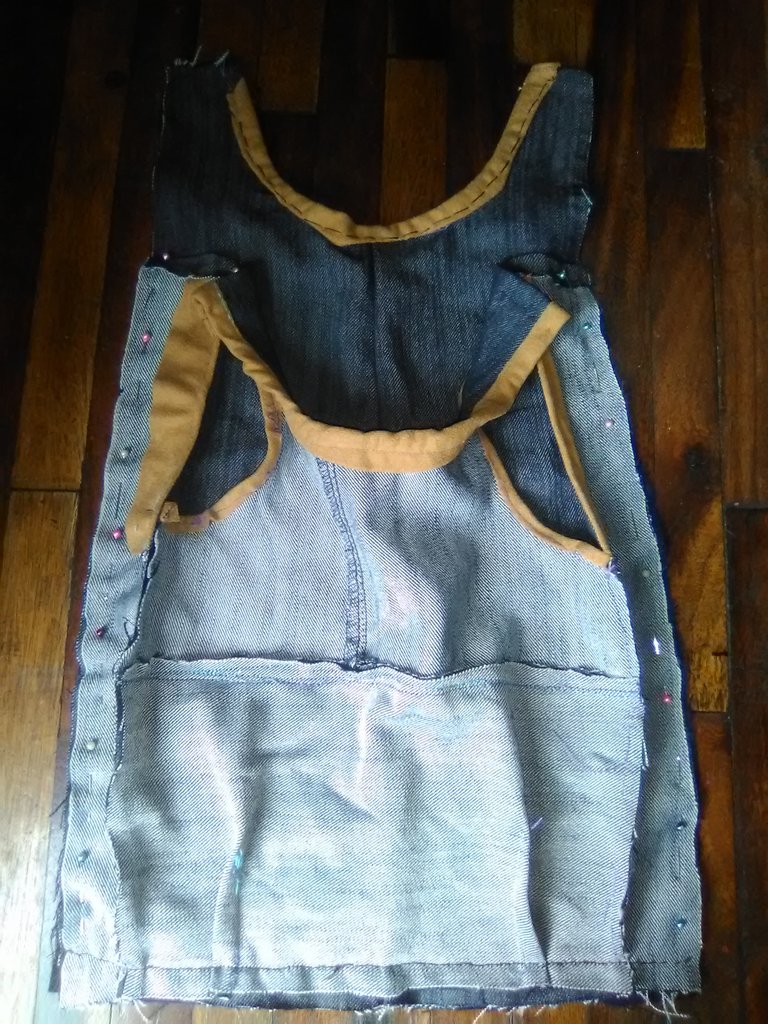
You can see how to cut the fabric to make the first piece that is like a shirt, here is measured height by length depending on the size of the pet, as it can be used for dogs, cats, and rabbits, those spoiled animals, in this case my dog is a pincher and the measures I used for the shirt was 36 cm high, by 25 cm wide, in addition you are going to place some long side strips to make it more loose and the pet feel comfortable, if your pet is larger increase the size by measuring your pet.
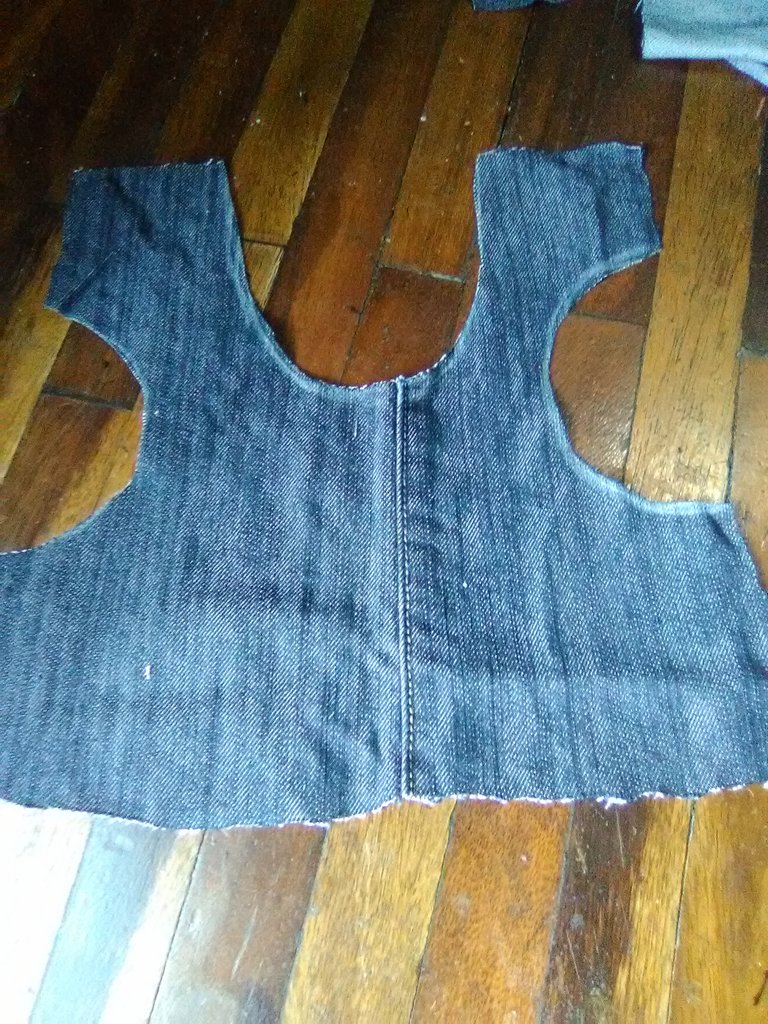
To make the backpack top you mark the part where the front legs and head go and cut it out.

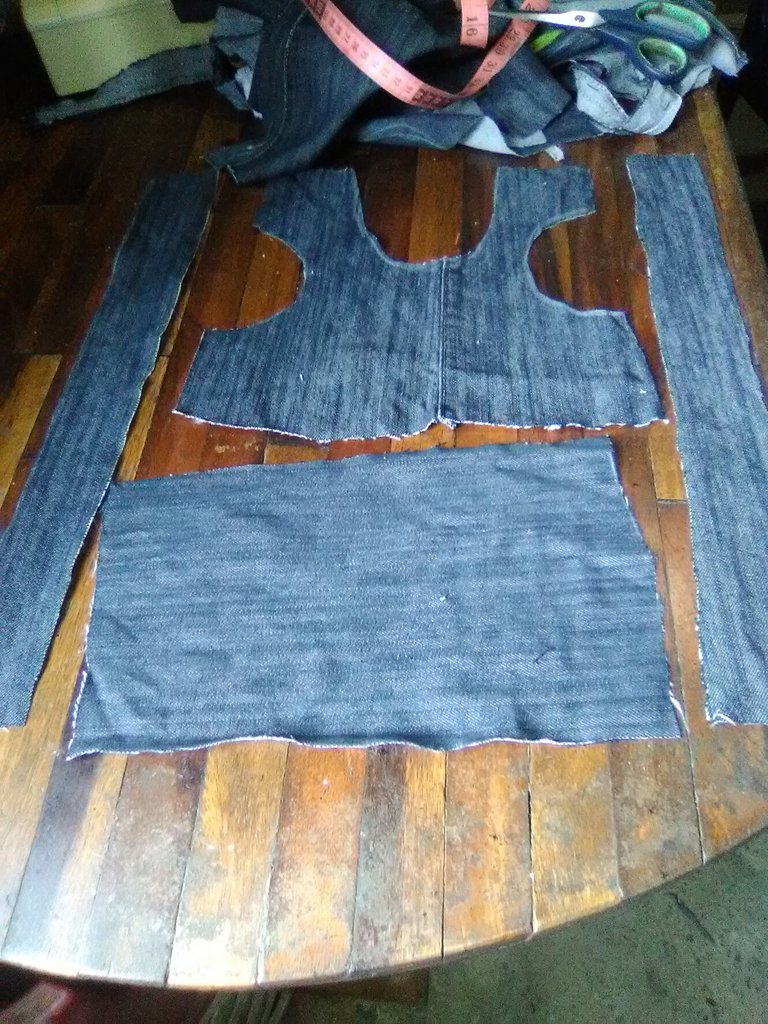
Already cut the shirt you are going to take out 2 strips of 36 cm long by 6 cm wide, plus a piece of fabric for the bottom of the shirt, you measure 16 cm high by 26 cm wide, you can see it in the photo on the right side.
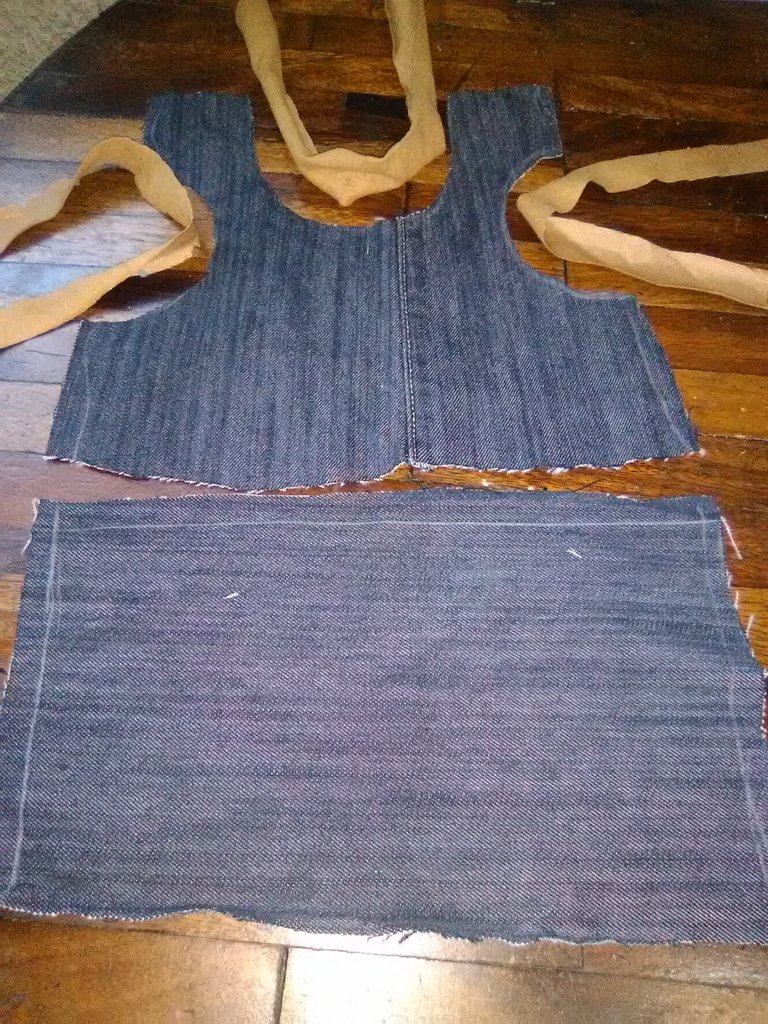
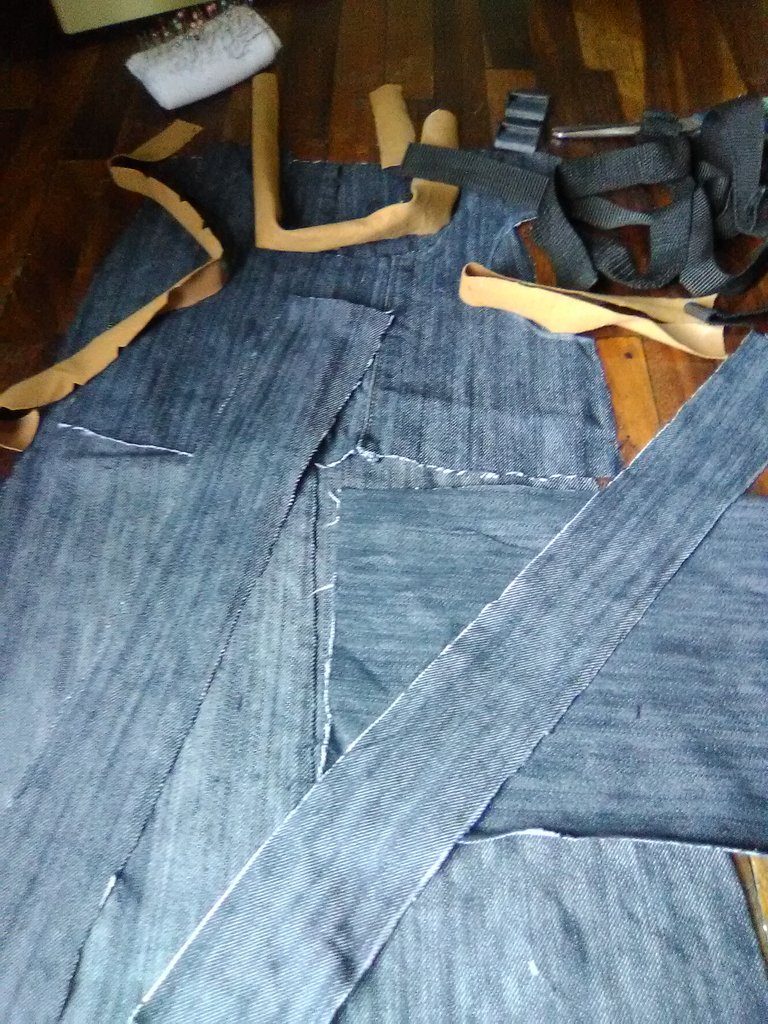
The strips are cut to decorate all parts of the shirt and the joining of each piece begins.
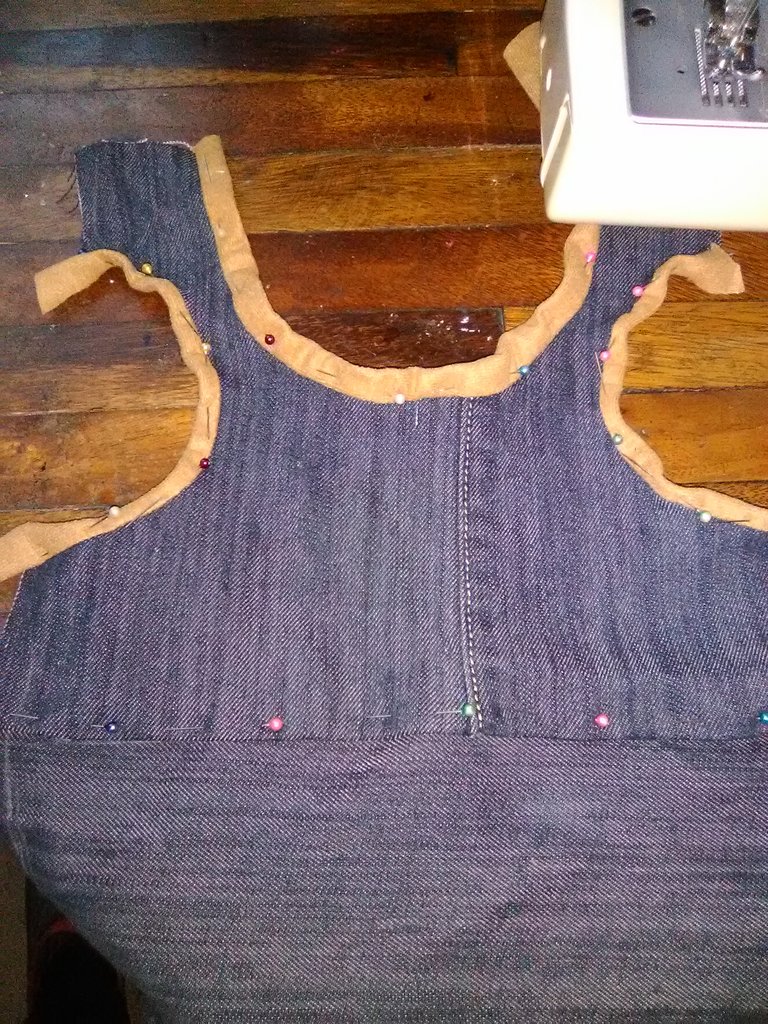
Join each piece with the pins, make a few cuts to the brown strips as shown in the left photo, this will help you to give it a better fit when using the machine or needle to glue the edges of the backpack.
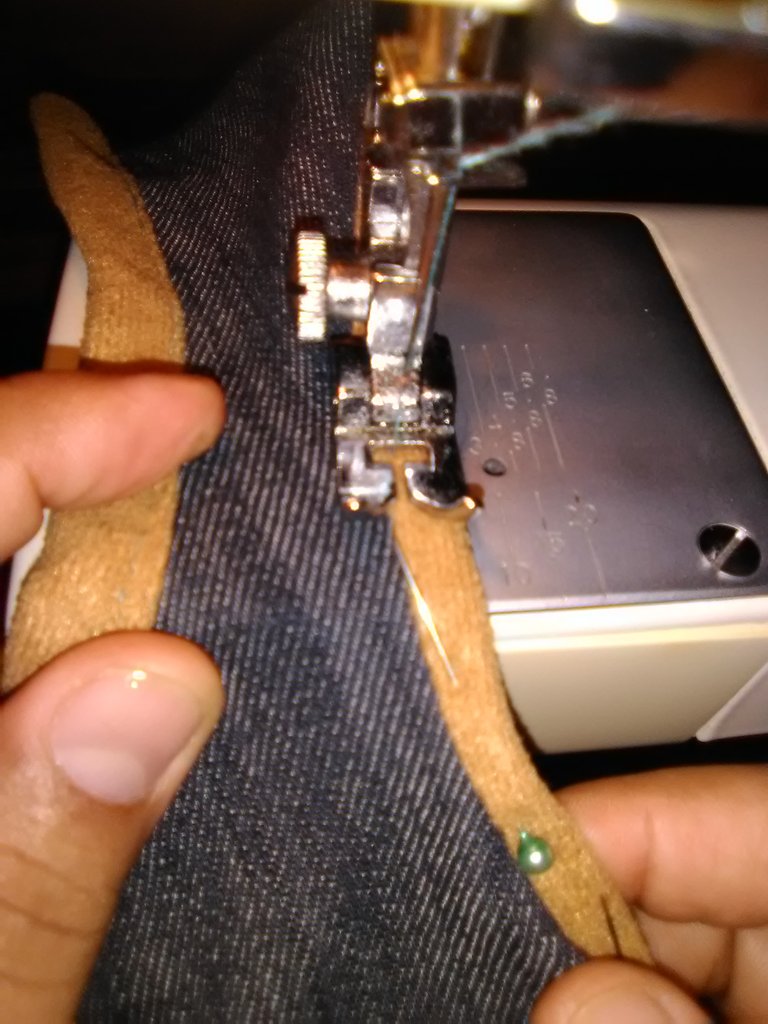

Start gluing each of the parts properly arranged with the pins.
In this step you are going to make some clips to the shirt to give it volume, and finish the details on the top of the shirt where the pins are in the right photo.

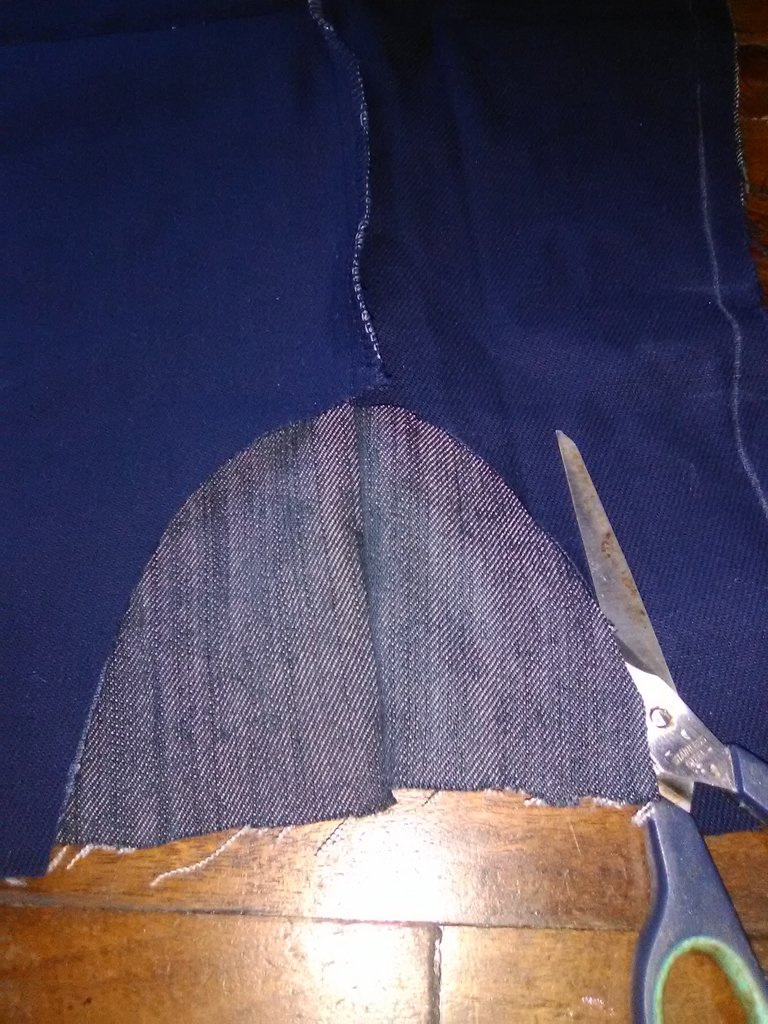
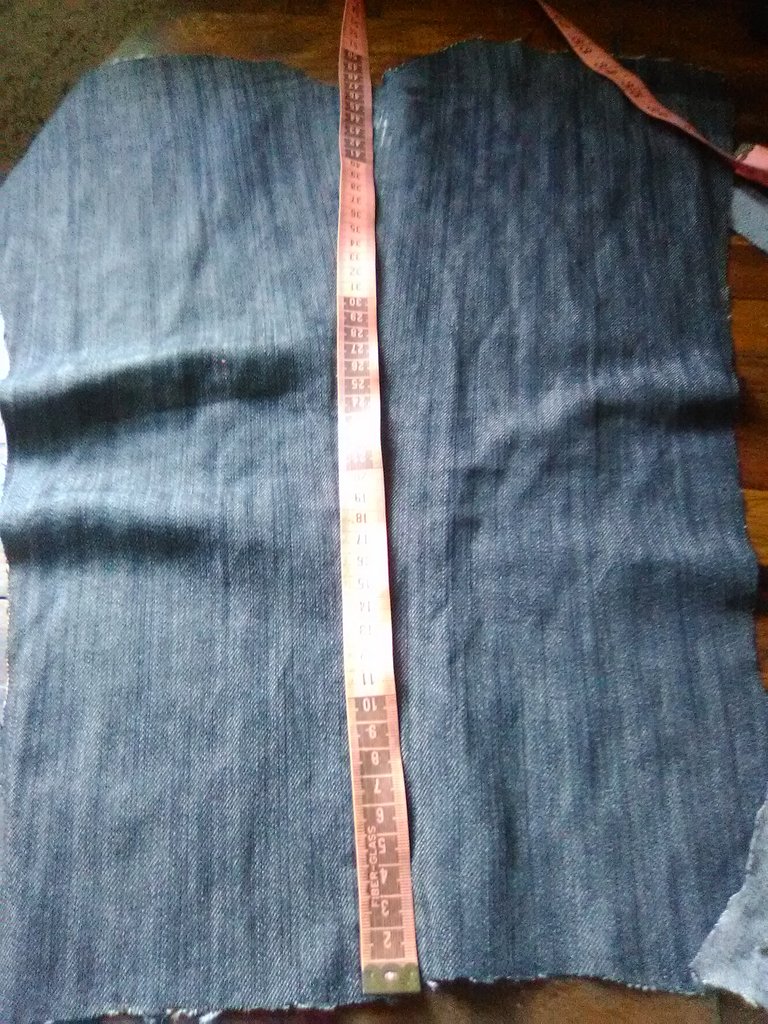
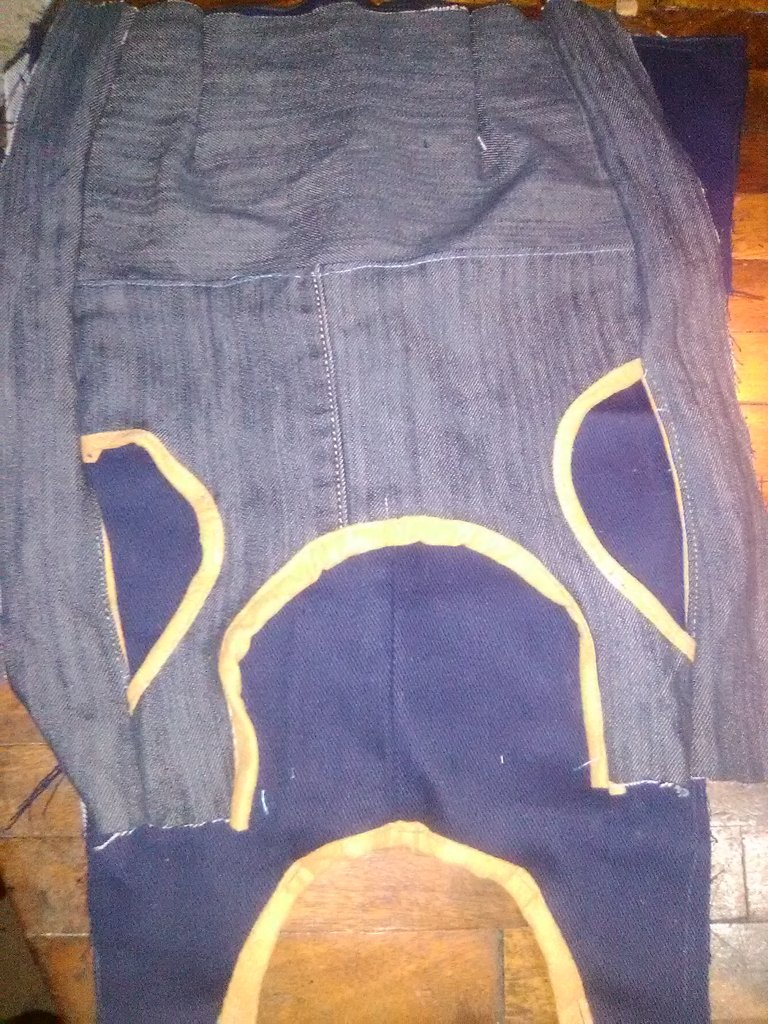
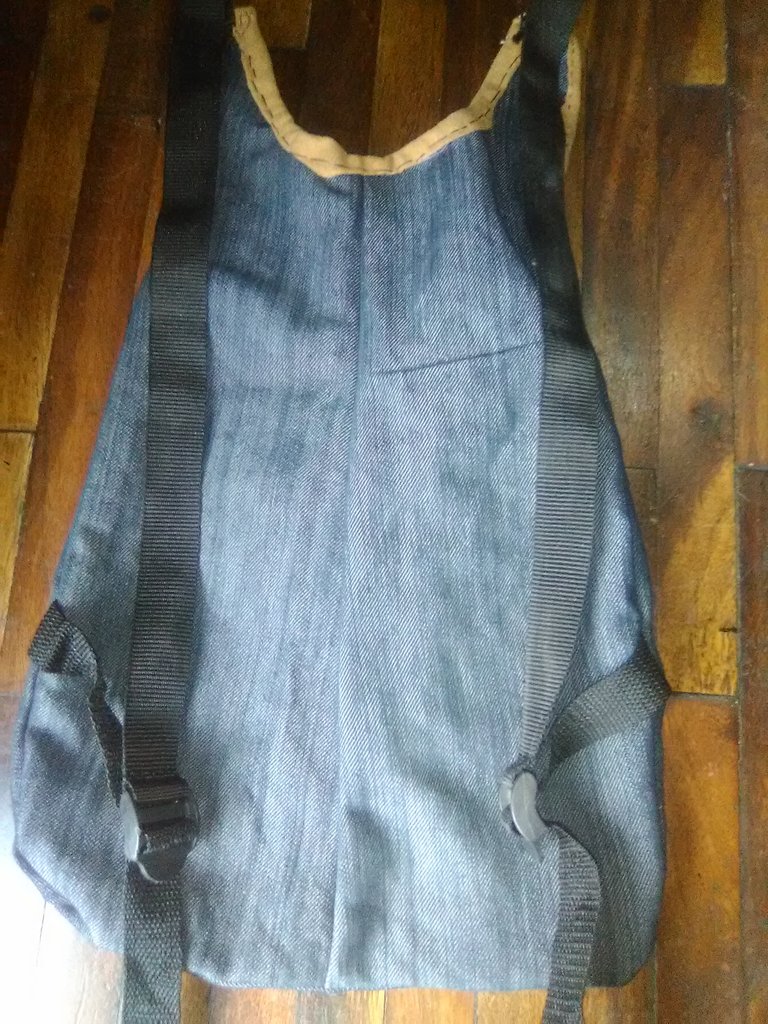
We continue with the back of this backpack, you cut 2 layers to make it more resistant backpack, then measure with the tape measure and cut a piece of jeans 51 cm high by 27 cm wide at the top middle, and 31 cm at the bottom, making the backpack wider at the bottom, so after measuring you proceed to cut the top shape which is also like cutting a t-shirt in style (U), first you mark the shape and then cut, you can also cut style (V)
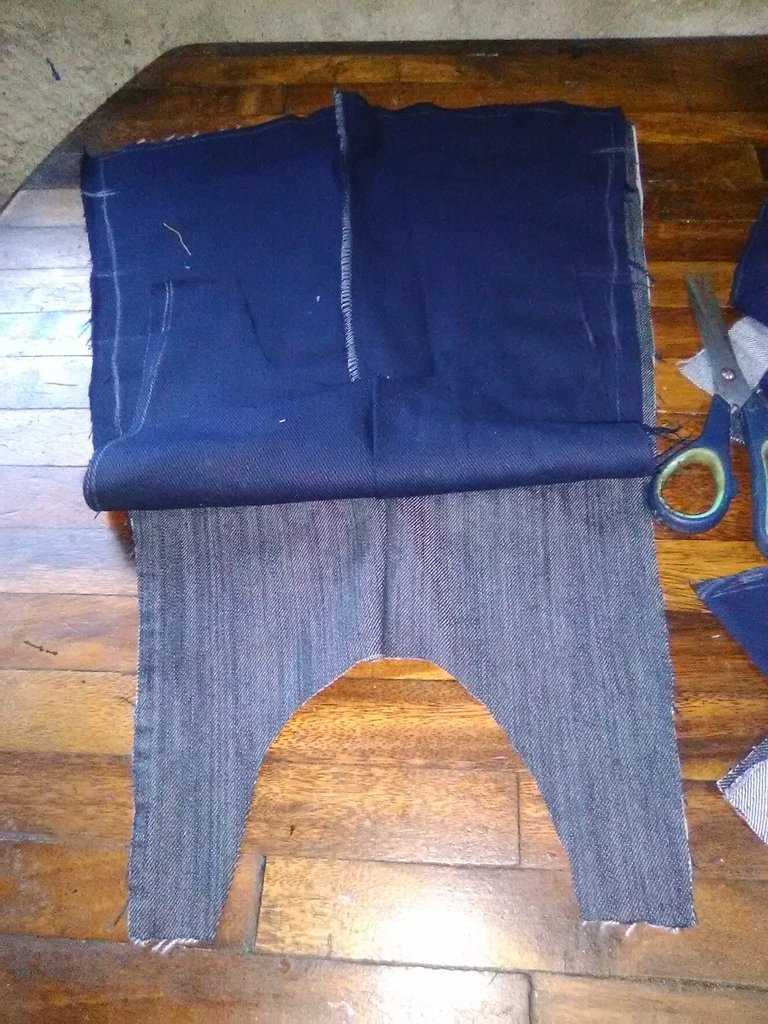
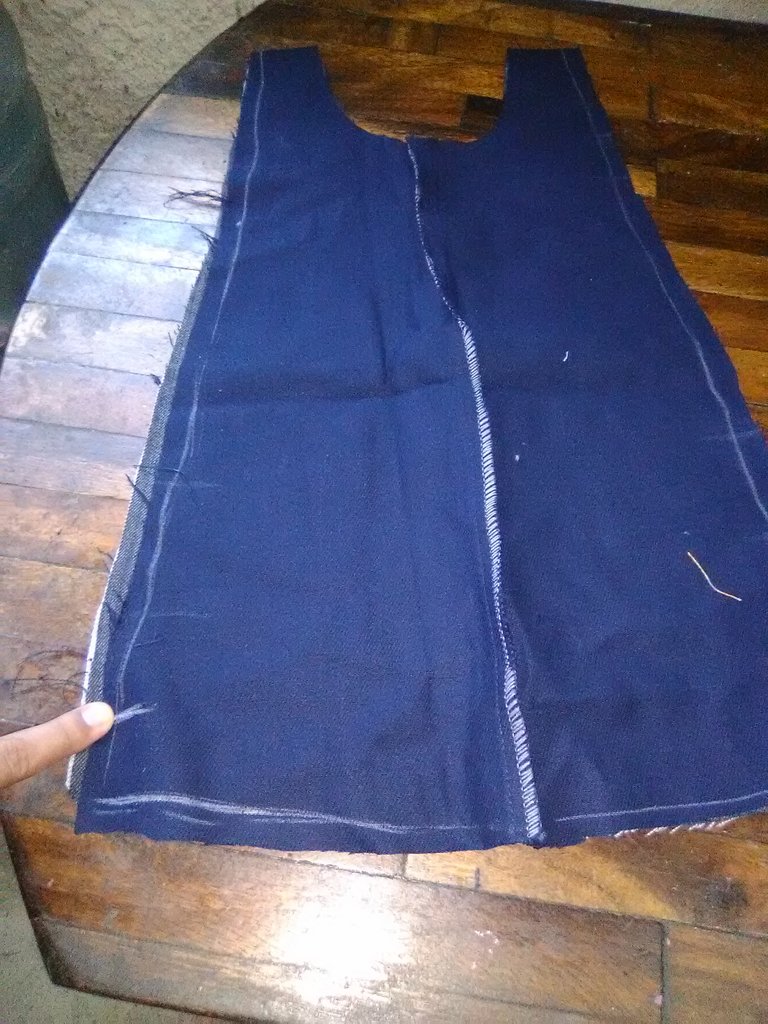
Here you can see how this piece is getting, to then glue all the edges and flip, before joining the layers leave a hole where I point you in the right photo, that hole is to place the suspenders.

Paste the sides and flip
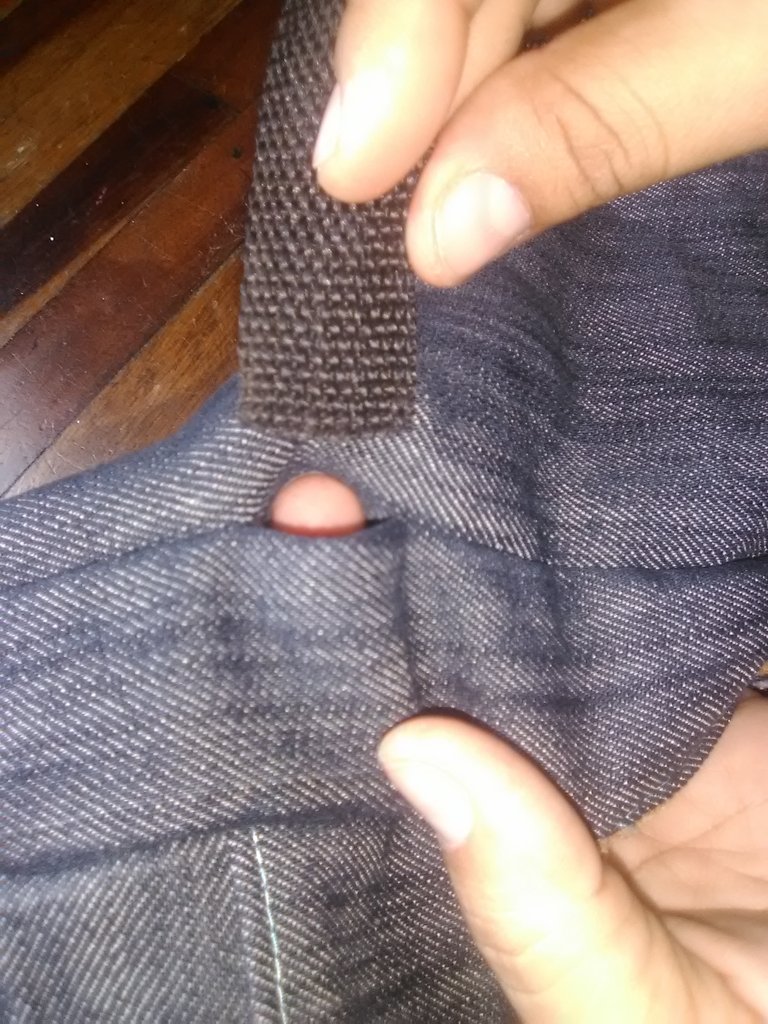
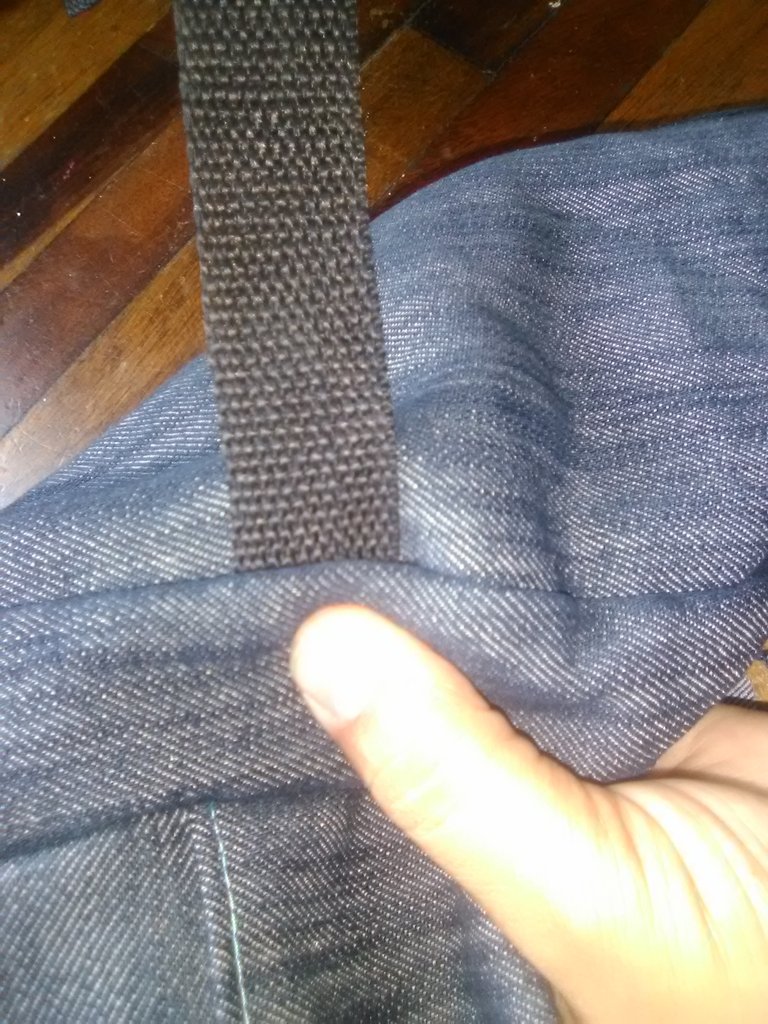
You place the straps that go at waist height, you glue them on the inside so that the seam is not visible.
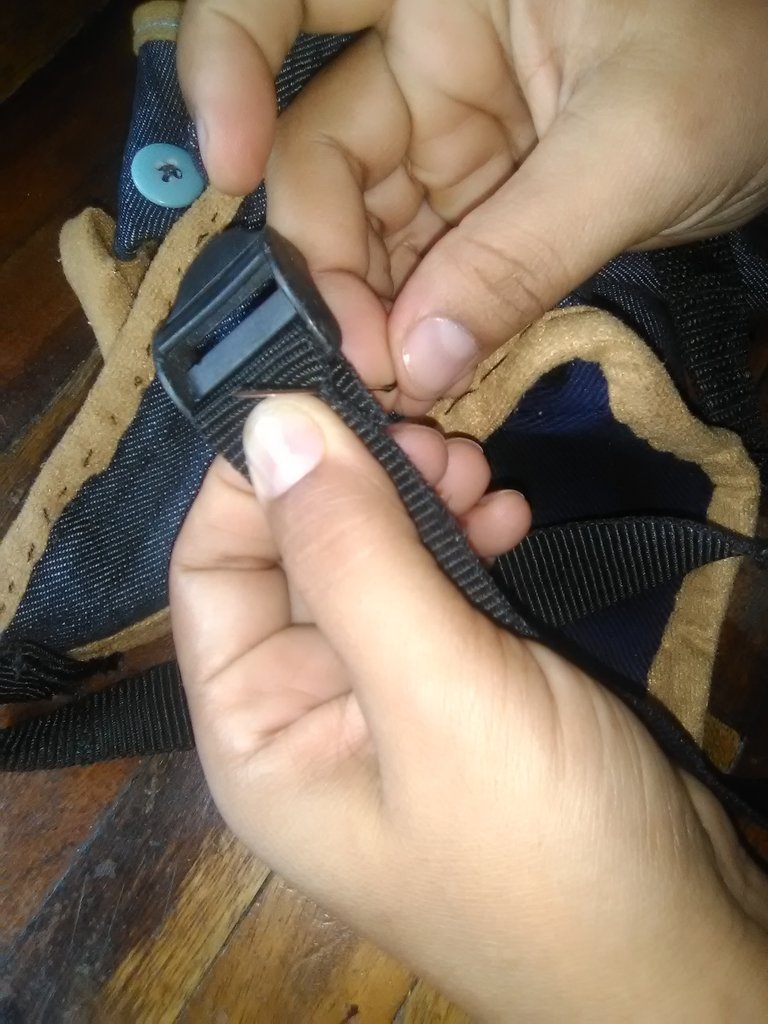
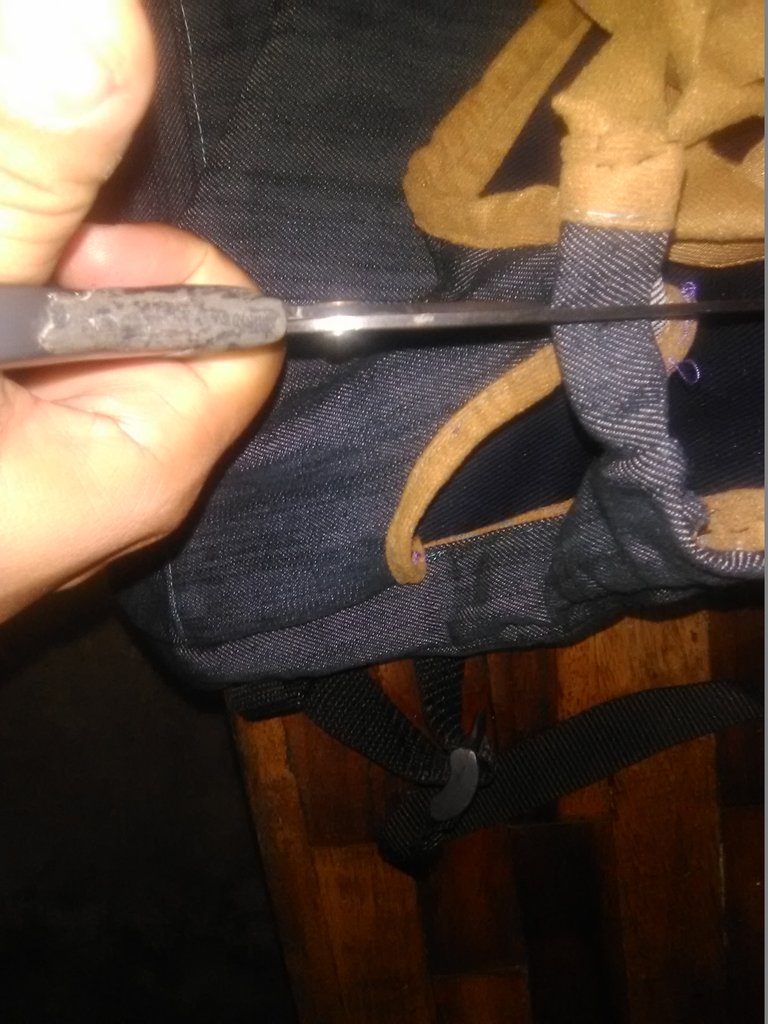
Place the 2 pins for the straps, remember they are 4 straps, 2 at the top and 2 at the bottom at waist height, you can glue with the machine or with a needle as in my case.
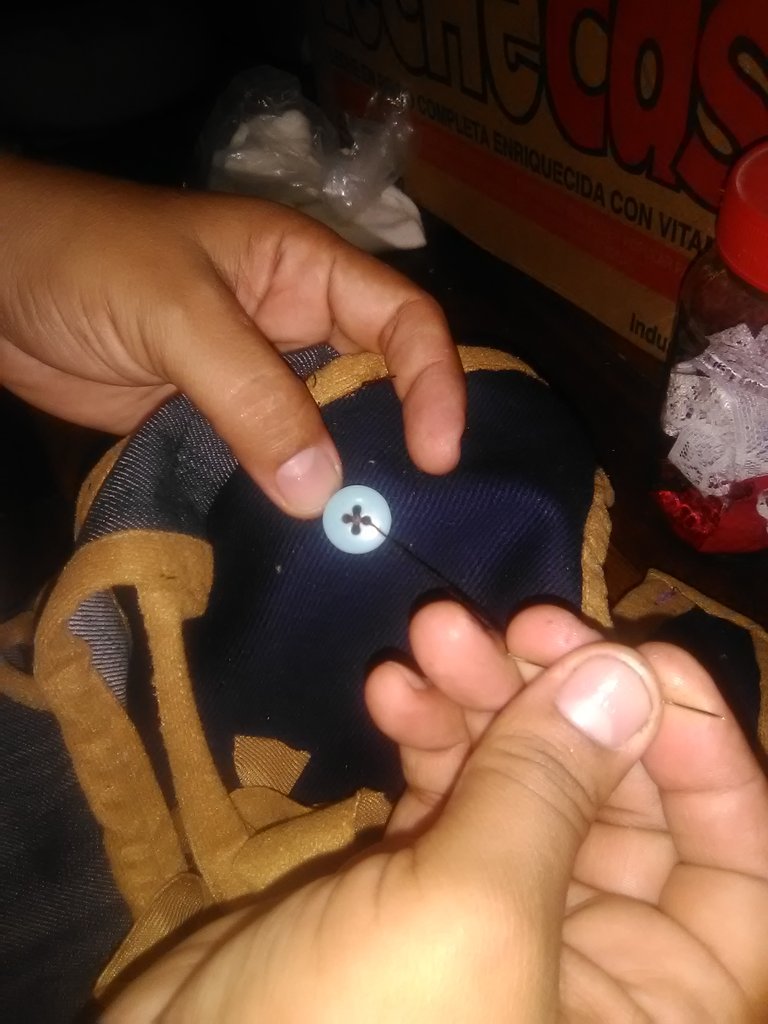
Place the 2 buttons on the top of the shirt, but first cut to make a buttonhole then glue the buttons under the buttonhole at each end of the backpack
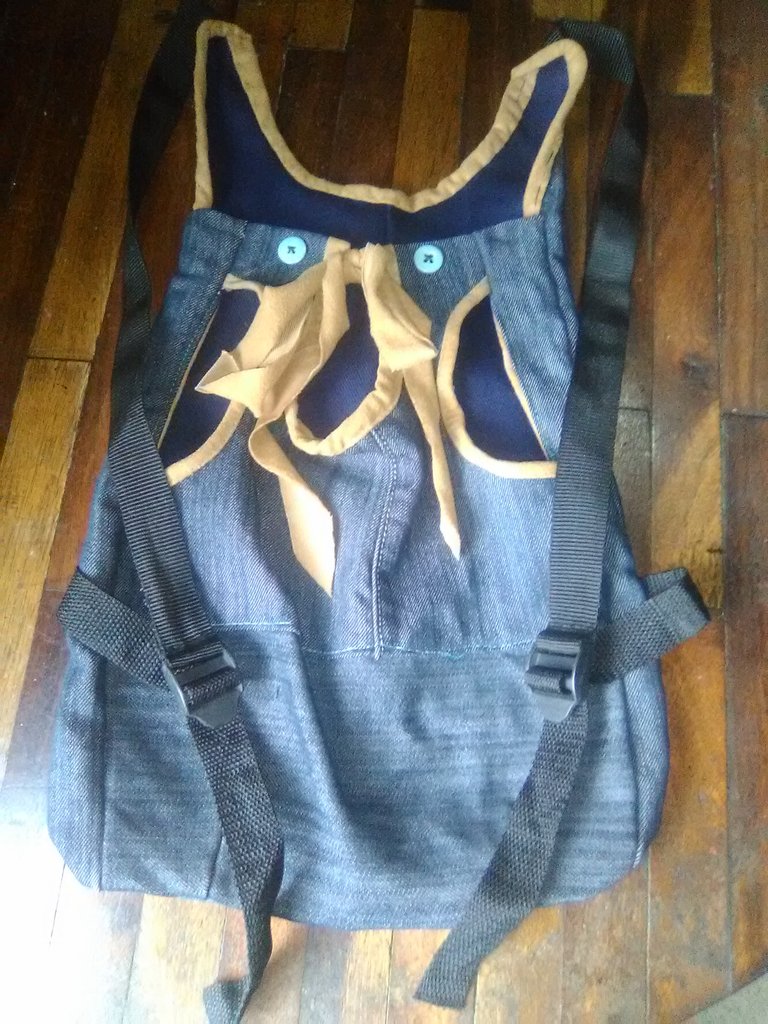
Already this ready the backpack to be used by our puppies, I hope you liked it and encourage you to make one with lots of love for your pets.
social networks
![]()
![]()
Spanish
Saludos, mis queridos amigos de Hive, bienvenidos a mi post, hoy les voy a enseñar hacer una mochila elaborada con material reciclado, en este caso estoy utilizando unos retazos de jeans y retazos de tela de tapizar que conseguí en casa.
Esta idea me surge porque me regalaron un cachorro y quiero llevarlo conmigo a pasear, pero él es muy nervioso así que decidí hacer una mochila cómoda incluso con los colores del perrito para que pueda tener más confianza, y se adapte a su nuevo hogar y nuevos dueños.
Materiales utilizados para este trabajo.
- Máquina de coser marca singer
- Tijera
- Hilo
- Alfileres
- Aguja
- Jabón seco
- 2 Botones
- 2 pasadores para los tirantes
- 4 tirantes
- Retazo de jeans
- Retazo de tela para tapizar
Inicia nuestro paso a paso.
Puedes ver como se corta la tela para hacer la primera pieza que es como una camisa, aquí se mide alto por largo dependiendo el tamaño de la mascota, ya que puede utilizarse para perros, gatos, y conejos, esos animales consentidos, en este caso mi perro es un pincher y las medidas que utilicé para la camisa fue de 36 cm de alto, por 25 cm de ancho, adicional le vas a colocar unas tiras largas laterales para que sea más holgada y la mascota se sienta cómoda, si tu mascota es más grande aumenta la talla midiendo tu mascota.
Para hacer la camiseta de la mochila se marca la parte donde van las patitas delanteras y la cabeza y lo cortas.
Ya cortada la camisa vas a sacar 2 tiras de 36 cm de largo por 6 cm de ancho, más un trozo de tela para la parte baja de la camisa, mides 16 cm de alto por 26 de ancho, lo puedes ver en la foto de lado derecho.
Se cortan las tiras para decorar todas las partes de la camisa e inicia la unión de cada pieza.
Une cada pieza con los alfileres, haz unos cortes a las tiras marrón como se muestra en la foto izquierda, esto te va a ayudar a darle mejor ajuste al momento de utilizar la máquina o la aguja para pegar los bordes de la mochila.
Comienza a pegar cada una de las partes debidamente ordenadas con los alfileres.
En este paso vas a hacer unas pinzas a la camisa para darle volumen, y terminas los detalles de la parte superior de la misma donde están los alfileres en la foto derecha.
Continuamos con la parte posterior de esta mochila, se cortan 2 capas para que sea más resistente la mochila, luego mide con la cinta métrica y corta un trozo de jeans de 51 cm de alto por 27 cm de ancho en la parte media superior, y 31 cm en la parte inferior, haciendo que la mochila quede más ancha en la parte de abajo, así que luego de medir se procede a cortar la forma superior que también es como cortar una camiseta en estilo (U), primero marcas la forma y luego cortas, también puedes cortar estilo (V)
Aquí se puede ver como esta quedando esta pieza, para luego pegar por todos los bordes y voltear, antes de unir las capas deja un orificio donde te señalo en la foto derecha, ese orificio es para colocar los tirantes.
Pega los laterales y volteas
Colocas los tirantes que van a la altura de la cintura, los pegas por la parte interna para que no se vea la costura.
Coloca los 2 pasadores para los tirantes, recuerda son 4 tirantes, 2 en la parte superior y 2 en la parte inferior a la altura de la cintura, puedes pegar con la máquina o con una aguja como en mi caso.
Coloca los 2 botones en la parte superior de la camisa, pero primero corta para hacer un ojal luego pegas los botones debajo del ojal a cada extremo de la mochila
Ya esta lista la mochila para ser utilizada por nuestros cachorros, espero les haya gustado y se animen hacer una con mucho amor para sus mascotas.
redes sociales
![]()
![]()
Las fotografias fueron tomadas con la ayuda de mi telefono Alcatel 5044R.
pictures were taken with the help of my Alcatel 5044R phone.
Traductor Deepl
Translated Deepl
Ediciones Canva
Editions Canva
Separador de textos Freepik
Text separator Freepik

Your content has been voted as a part of Encouragement program. Keep up the good work!
Use Ecency daily to boost your growth on platform!
Support Ecency
Vote for Proposal
Delegate HP and earn more
Congratulations @lauracraft! You have completed the following achievement on the Hive blockchain and have been rewarded with new badge(s) :
Your next payout target is 250 HP.
The unit is Hive Power equivalent because your rewards can be split into HP and HBD
You can view your badges on your board and compare yourself to others in the Ranking
If you no longer want to receive notifications, reply to this comment with the word
STOPCongratulations, your post has been upvoted by @dsc-r2cornell, which is the curating account for @R2cornell's Discord Community.
Enhorabuena, su "post" ha sido "up-voted" por @dsc-r2cornell, que es la "cuenta curating" de la Comunidad de la Discordia de @R2cornell.
Te la comiste con esa bolsa, sobre todo con el perro allí metido, que bello se ve, felicidades.
Que gran trabajo! Felicitaciones
Thank you for sharing this amazing post on HIVE!
Your content got selected by our fellow curator @stevenson7 & you just received a little thank you via an upvote from our non-profit curation initiative!
You will be featured in one of our recurring curation compilations and on our pinterest boards! Both are aiming to offer you a stage to widen your audience within and outside of the DIY scene of hive.
Join the official DIYHub community on HIVE and show us more of your amazing work and feel free to connect with us and other DIYers via our discord server: https://discord.gg/mY5uCfQ !
If you want to support our goal to motivate other DIY/art/music/homesteading/... creators just delegate to us and earn 100% of your curation rewards!
Stay creative & hive on!