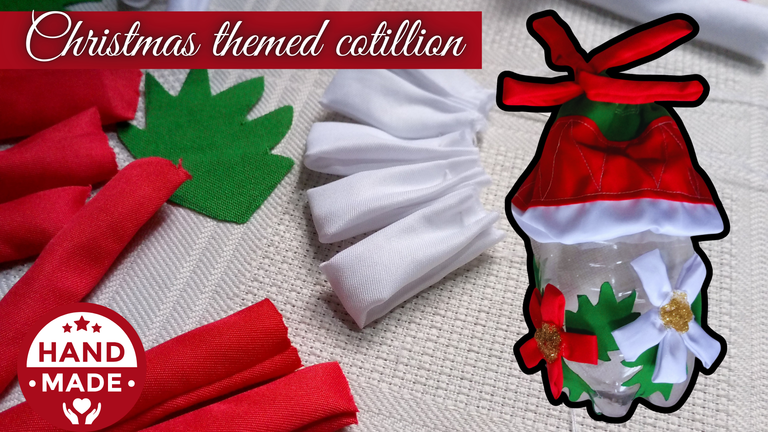
Hello beautiful people, lover of handicrafts and recycling, today I share with you a very nice and simple tutorial to fill it with candy and give it to family and friends who will soon be visiting us, as we are about to arrive those 2 months of creativity to receive Christmas, it is a cotillion decorated with those colors, leaves and Christmas flowers that we like so much, in addition to taking advantage of the many uses we can give the recycling of plastic bottles this use is one of the many that we can think of these days and every day.
Motivated by my neighbor who is already making decorations, I am collaborating with her in these cotillions, which will have different decorations, I started with this one to see what you think, I know that as I go elaborating they will be even more striking, but I already have clear ideas.
I hope you like it too, this first attempt, my neighbor loved the idea, because it is of little investment, and can be done with what we have, it is a matter of gathering ideas.
The pictures you will see below, were taken with my phone model TECNO SPARK GO 2024.
Hola gente linda, amante de las artes manuales, y del reciclaje, el día de hoy les comparto un tutorial muy bonito y sencillo para llenarlo de dulces y obsequiárselo a los familiares y amigos que pronto nos estarán visitando, ya que aproximante llegaran esos 2 meses de creatividad para recibir la Navidad, se trata de un cotillón decorado con esos colores, hojas y flores de Navidad que tanto nos gusta, además de aprovechar los múltiples usos que podemos darle al reciclaje de botellas de plástico este uso es uno de los muchos que se nos pueden ocurrir en estos días y todos los días.
Motivada por mi vecina que ya anda haciendo adornos, estoy colaborando con ella en estos cotillones, que tendrán diferentes decoraciones, empecé con este para ver que les parece, sé que a medida que vaya elaborando serán aún más llamativos, pero ya tengo las ideas claras.
Espero que les guste también, este primer intento, a mi vecina le encanto la idea, porque es de poca inversión, y se puede hacer con lo que tengamos, es cuestión de reunir las ideas.
Las fotografías que verán a continuación, fueron tomadas con mi teléfono modelo TECNO SPARK GO 2024.

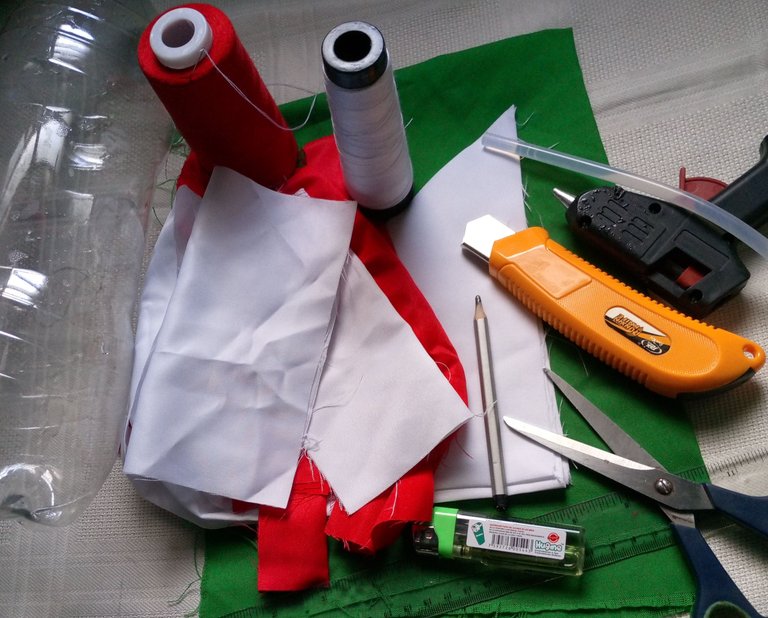
Materials and tools:
- Green, white and red fabric.
- Threads
- Plastic bottle
- Gold frosting
- Silicone stick
- Scissors
- Pin
- Needle
- Pencil
- Ruler
- Lighter
- Cutter
- Sewing machine
Materiales y herramientas:
- Tela verde, blanca y roja.
- Hilos
- Botella de plástico
- Escarcha dorada
- Silicona en barra
- Tijera
- Alfiler
- Aguja
- Lápiz
- Regla
- Encendedor
- Cúter
- Máquina de coser
 |  |  |
|---|
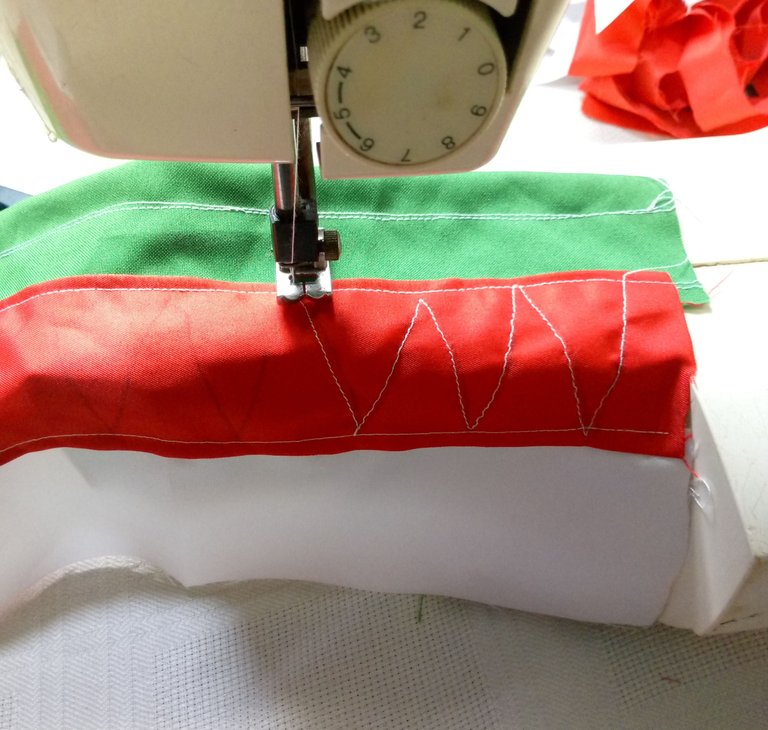
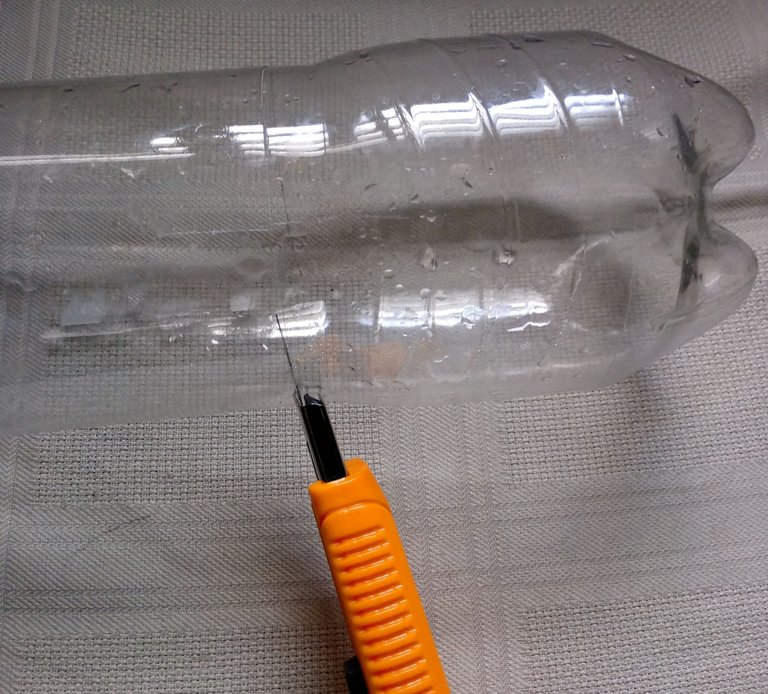
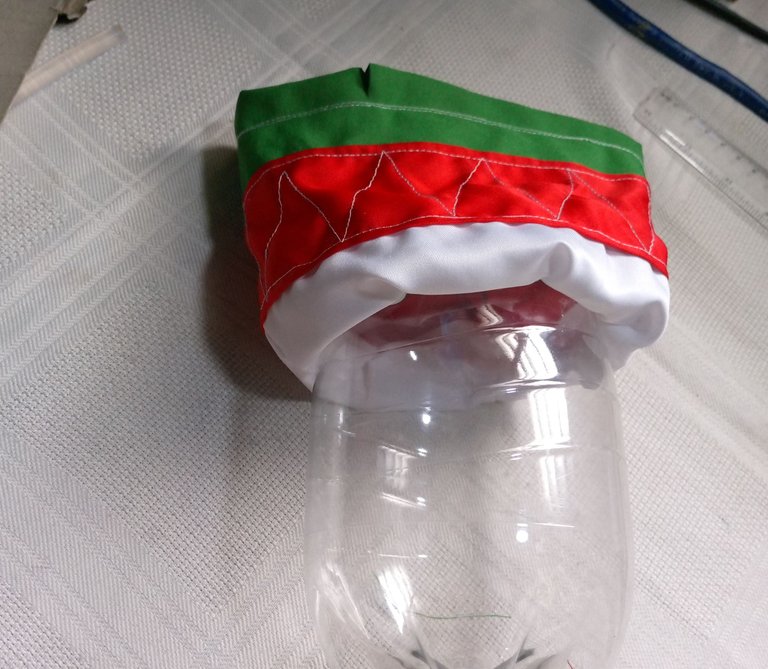
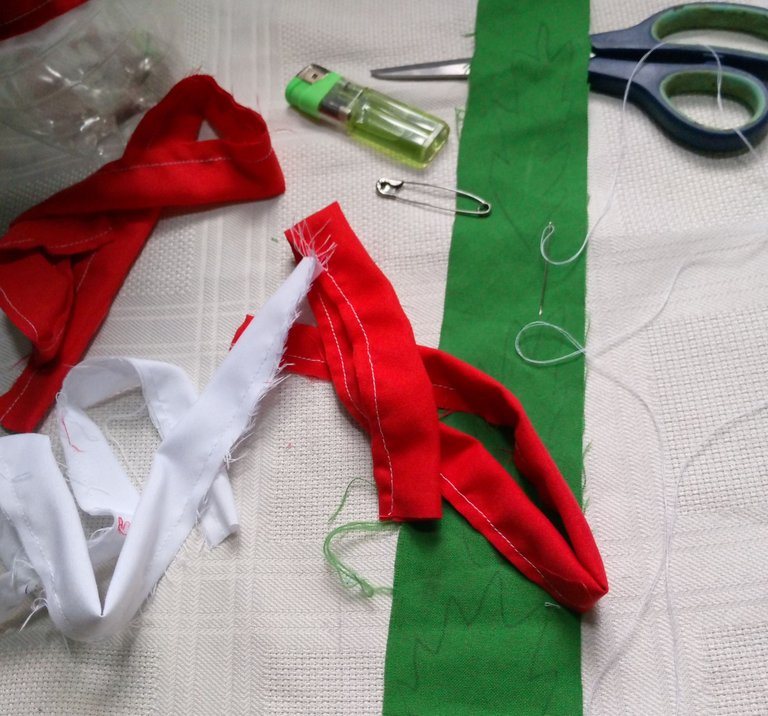
I started by taking the plastic bottle, and with the use of the cutter I made a circular cut, then I measured with the use of a ruler the length and width of the ribbons of 35 x 8 cm one of each color, I sewed in the machine, with the straight seam and white thread, which I liked more because it stands out among the fabrics, at this moment I made a hem of 2 cm to place a ribbon that will serve to close the cotillion.
I immediately thought of drawing decorative zigzags on the red fabric and sewed them in a straight seam.
I really liked the effect this detail gave to the fabric.
Di inicio tomando la botella de plástico, y con el uso del cúter hice un corte circular, enseguida medí con el uso de una regla el largo y ancho de las cintas de 35 x 8 cm una de cada color, cosí en la máquina, con la costura recta e hilo de color blanco, que me gusto más porque resalta entre las telas, en este momento hice un dobladillo de 2 cm para colocarle una cinta que servirá para cerrar el cotillón.
Enseguida se me ocurrió dibujar sobre la tela roja, zigzag decorativos y cosí los mismos en costura recta.
Me gusto mucho el efecto que le dio a la tela este detalle.
 |  |  |
|---|
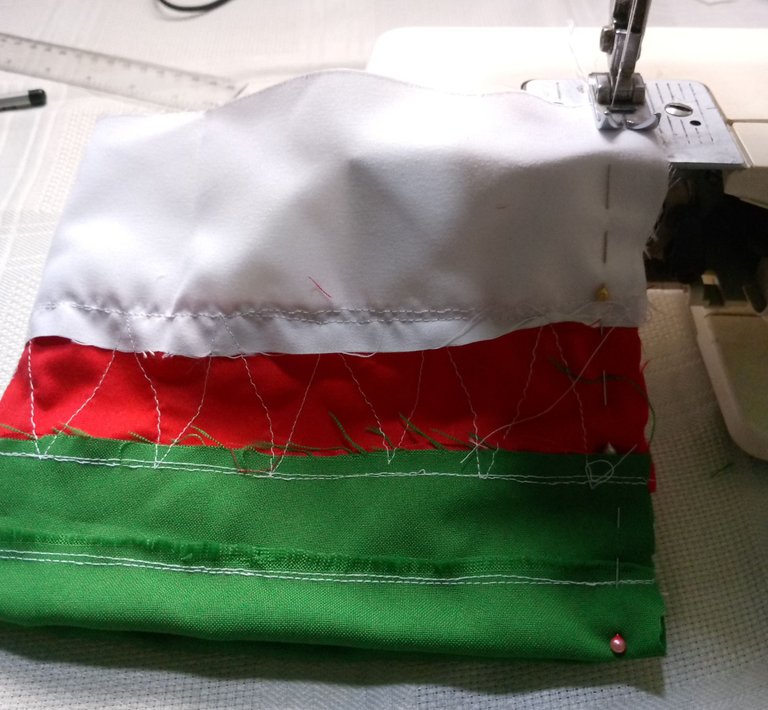
I turned and sewed all the pieces together on one side, then I centered this sewn side to make an opening to insert the ribbon to close the cotillion.
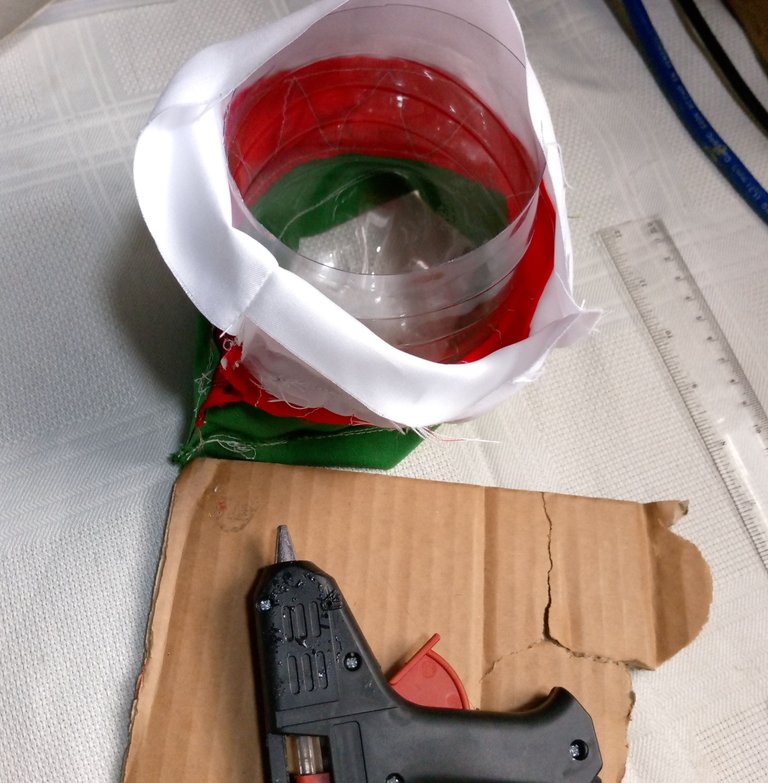
With this piece of fabric ready and placing it on the plastic piece with the right side facing in, I glued the edge with hot silicone, making some floors, since I wanted a cotillion with more volume at the top for the candy bags.
Unidas todas las piezas, le di la vuelta y cosí, por un lado, luego este lado cosido lo centre para hacer una abertura para introducir la cinta que cerrara el cotillón.
Con esta pieza de tela lista y colocándola en la pieza de plástico con el lado derecho hacia dentro, pegue por el borde con silicona caliente, haciendo algunos pisos, ya que quería un cotillón con más volumen en la parte superior para las bolsitas de chucherías.
 |  |  |
|---|
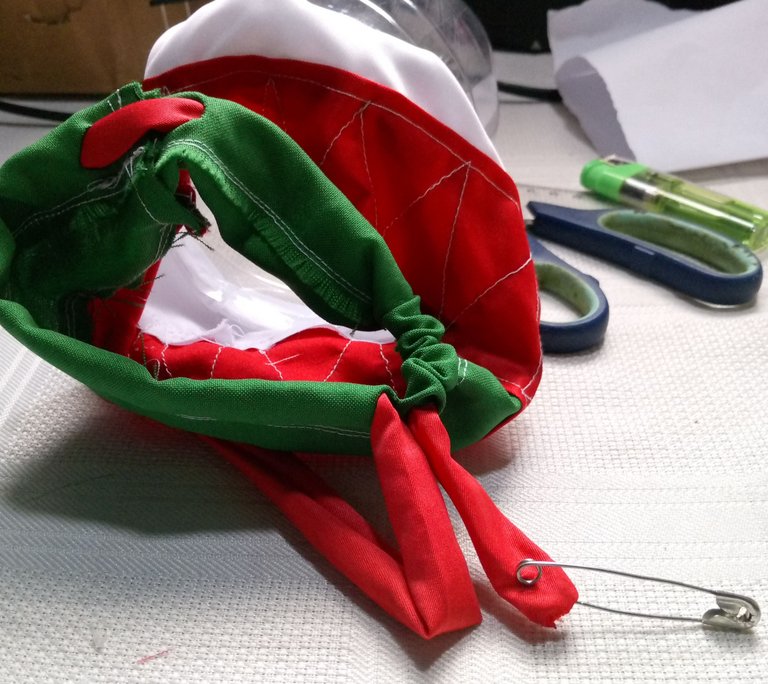
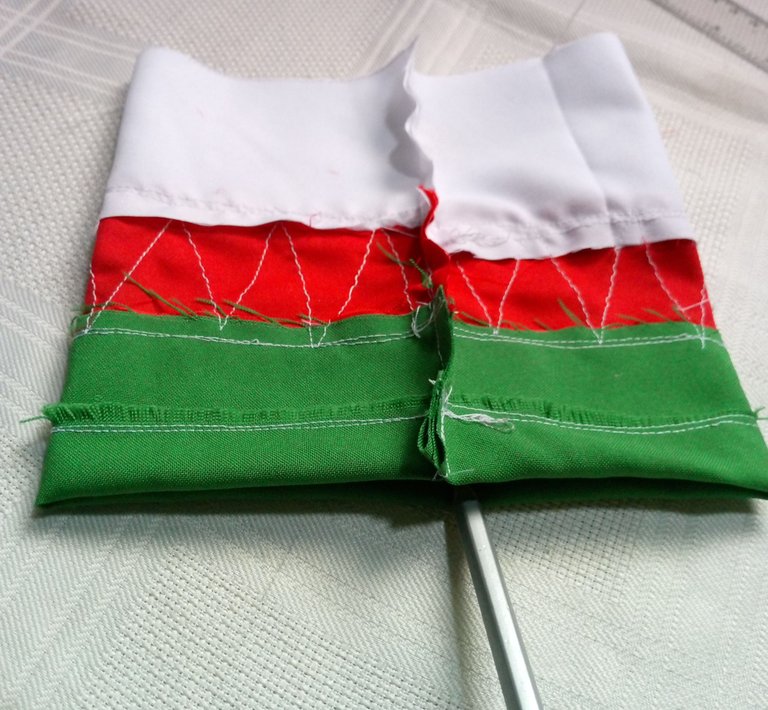
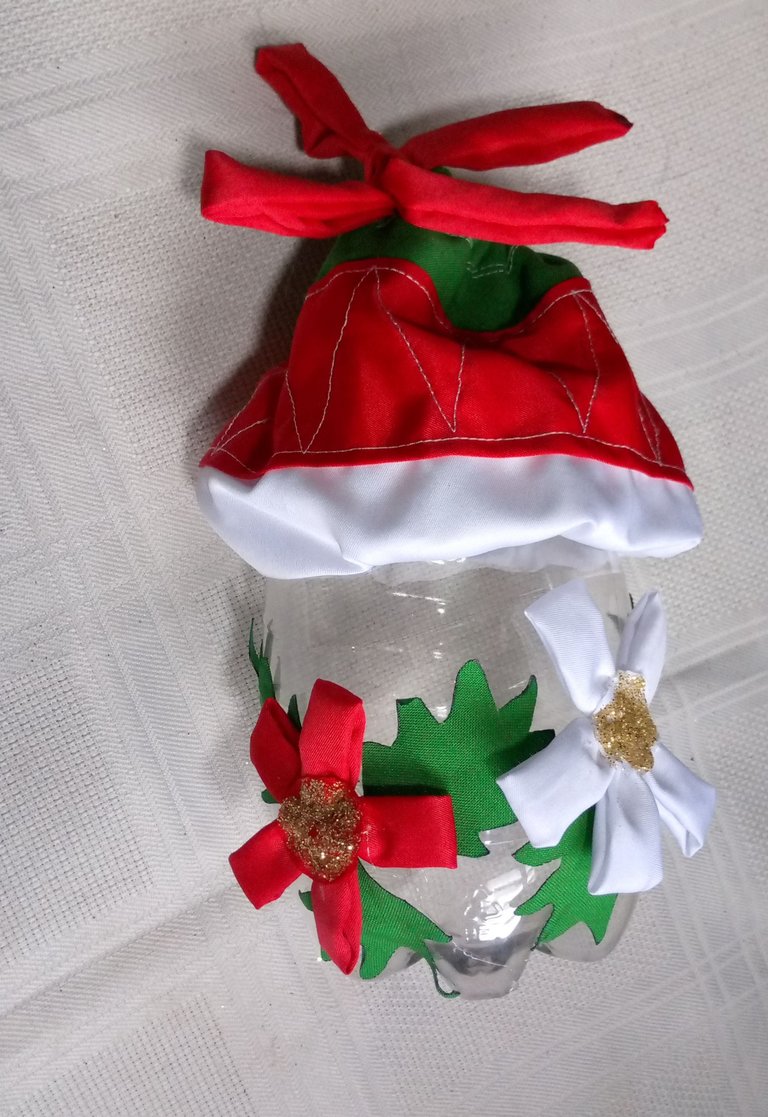
Then I just pulled up the fabric, and inserted the ribbon with the use of a pin. On the back I made two cuts to pass the ribbon through because I got careless and closed everything; however, it doesn't look bad and it goes on the inside, so I have no problems on that, but I'll keep an eye on those details on the next one.😊
Luego solo subí la tela, e introduje la cinta con el uso de un alfiler. En la parte de atrás hice dos cortes para pasar la cinta porque me descuide y cerré todo; sin embargo, no luce mal y va por la parte interna, así que no tengo problemas en eso, pero estaré atenta en esos detalles en el próximo.😊
 |  |  |
|---|
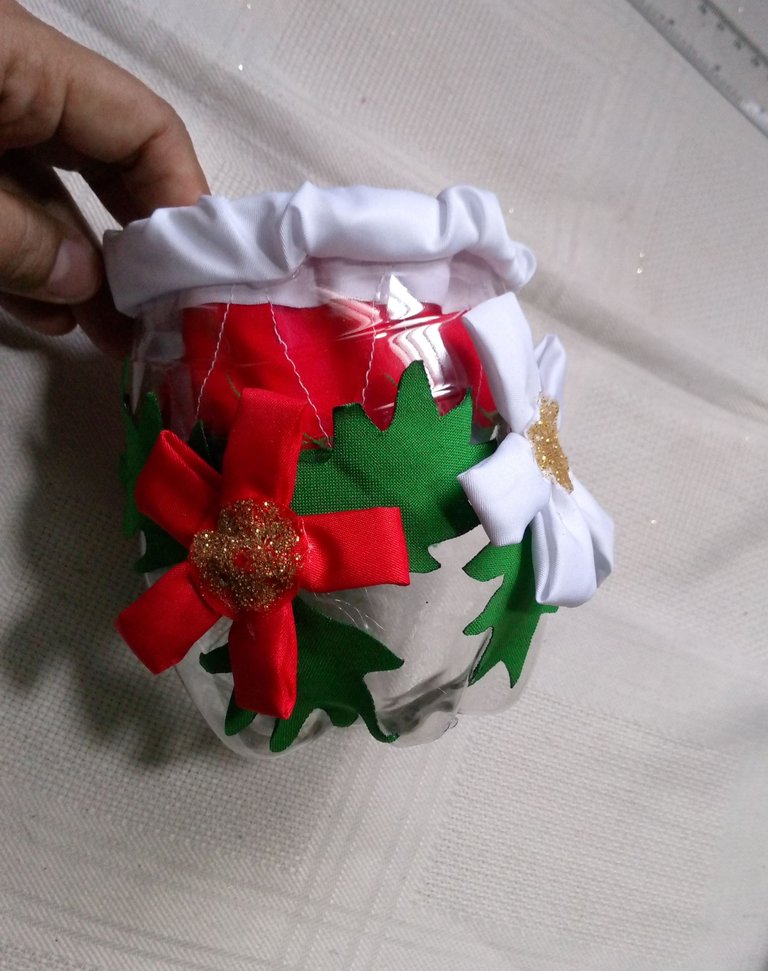
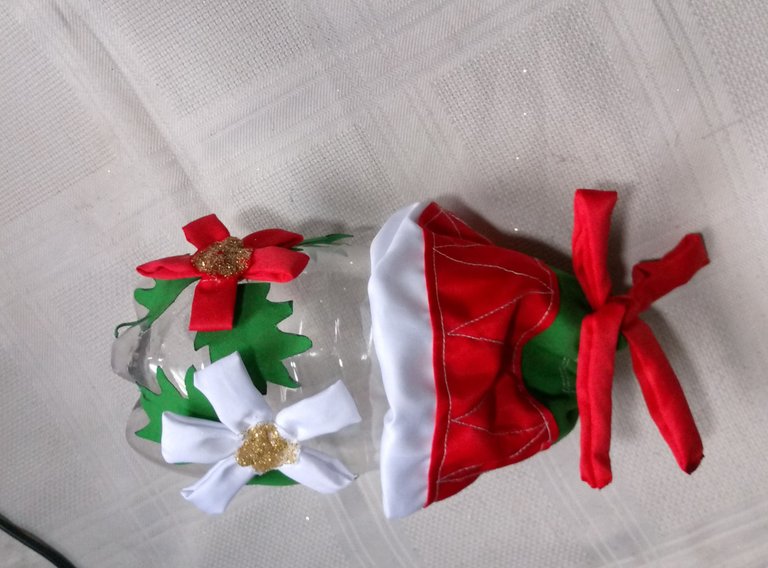
Finish by gluing the flowers and leaves on the plastic base, leaving a splendid cotillion, to surprise everyone in the house on those special Christmas days.
I hope you find it a nice and creative idea to encourage you to make your own, it is a job where everyone in the house can participate, it is encouraging for children.
A hug to all, always wishing you all well.
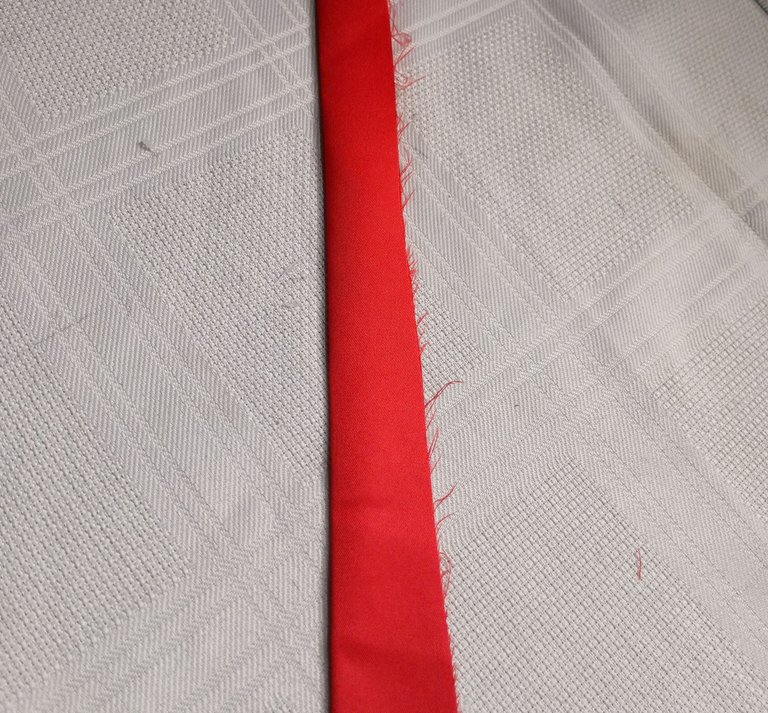
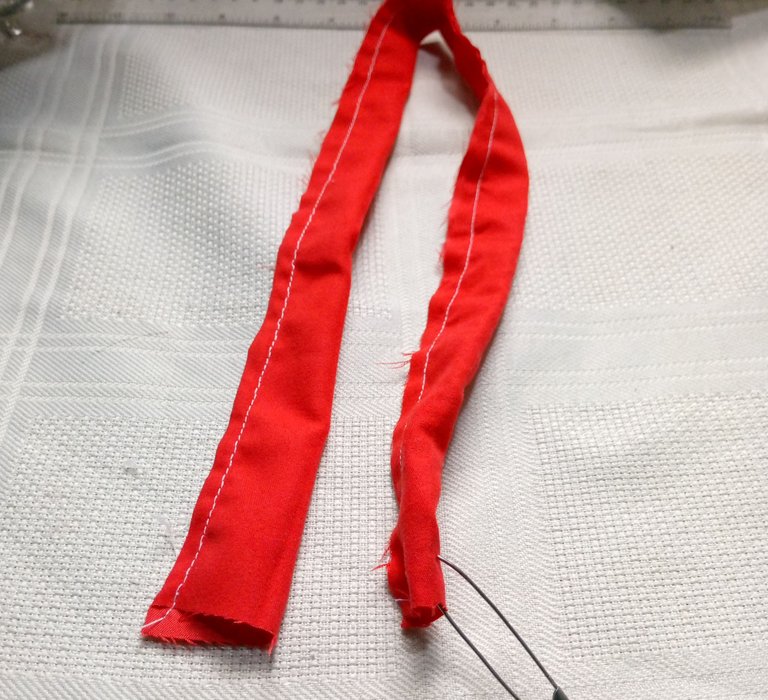
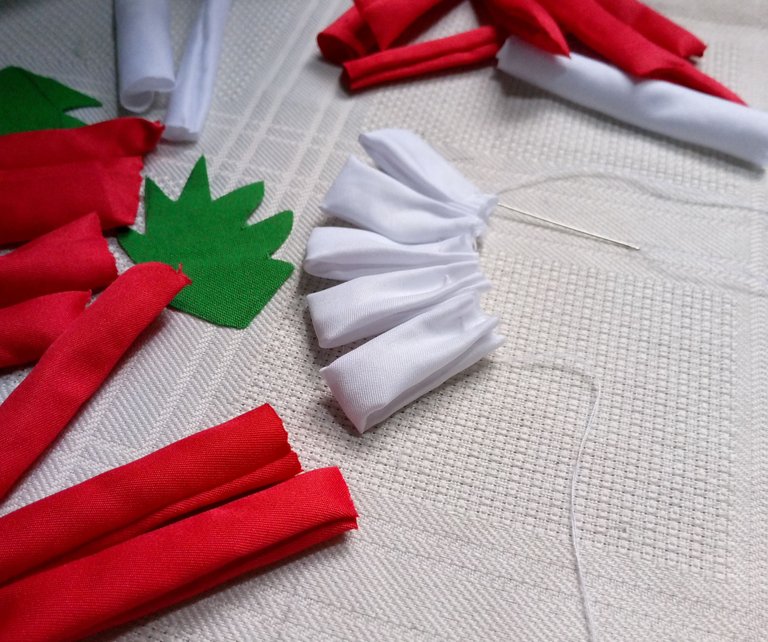
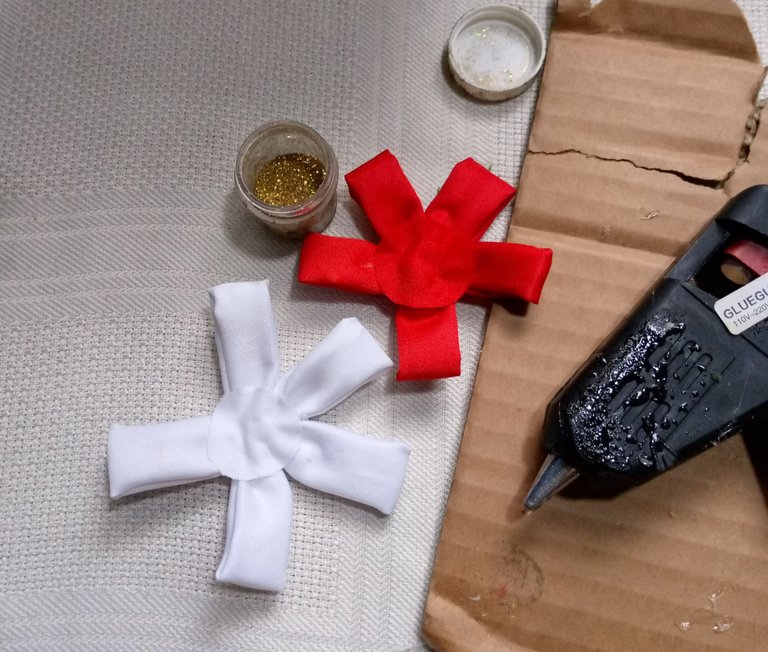
To make the flower decoration, I sewed several ribbons that I then turned over and cut 10 pieces of 3 cm each to form 2 flowers, one in white and one in red, cut small circles that I glued in the center of the flowers with hot silicone, then I glittered them with gold frosting.
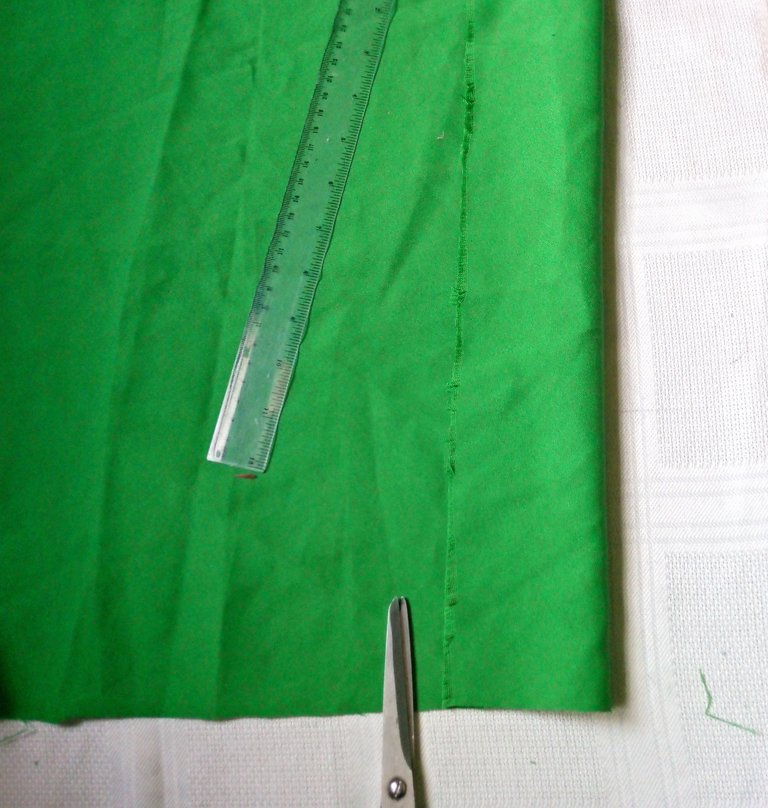
To make the leaves, take the pencil and draw them on green fabric, cut them out and with the lighter, seal the edges of the leaves to prevent them from fraying.
Para hacer la decoración con flores cosí varias cintas que luego le di la vuelta y corte 10 piezas de 3 cm cada uno para formar 2 flores, una en color blanco y una en rojo, corte unos pequeños círculos que pegue en el centro de las flores con silicona caliente, luego le di brillo con escarcha dorada.
Para hacer las hojas, tome el lápiz y las dibuje sobre tela verde, recorte y con el encendedor, selle las orillas de las hojas para evitar que se deshilen.
Finalice pegando las flores y hojas sobre la base de plástico, quedando un cotillón espléndido, para esos días especiales de Navidad sorprender a todos en la casa.
Espero que les parezca una bonita y creativa idea para que se animen hacer los suyos, es un trabajo donde pueden participar todos en la casa, es animador para los niños.
Un abrazo para todos, deseando siempre, que se encuentren bien.
social networks / redes sociales
![]()
![]()
Traductor Deepl
Translated Deepl
Ediciones Canva
Editions Canva


Posted Using InLeo Alpha
awww que bello <3
Gracias querida @equipodelta un abrazo.🤗
Hats off to these creative hands! Indeed, christmas is coming!
Thank you, precious, for such a nice and flattering comment. A big hug.🤗
@lauracraft, thank you for supporting the HiveBuzz project by voting for our witness.
Click on the badge to view your board.
Once again, thanks for your support!
Thanks to you too, I am happy to support you and be supported by you.
Thank you! May the infinite successes continue @hivebuzz 😊💙💞
Tus ideas son geniales amiga, el cotillón está hermoso, los arbolitos me gustaron, un gran proyecto para navidad, también se puede usar para guardar los accesorios del cabello. 😍🤗🌷
Saludos!
Gracias amiga, son muy útiles, para guardar varias cositas, te invito a que realices los tuyos, y para que le muestres a tu clienta exquisita para ver si le gustan, para sus colitas y lazos del cabello.
También para las pinzas de ropa, lápices y algo más.😁
Saludos!!
I love this post. I have been able to learn from you. Thanks for sharing
Thank you very much, I am very flattered that you have learned from my work.😀