
Español
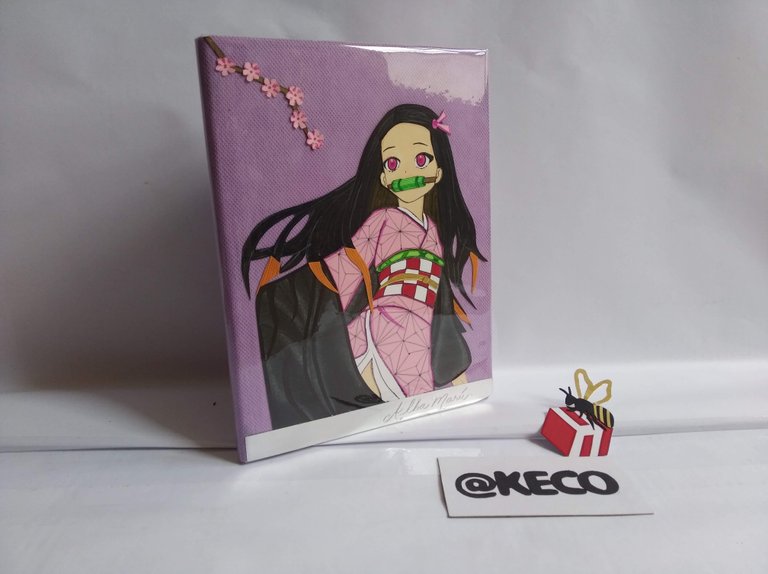
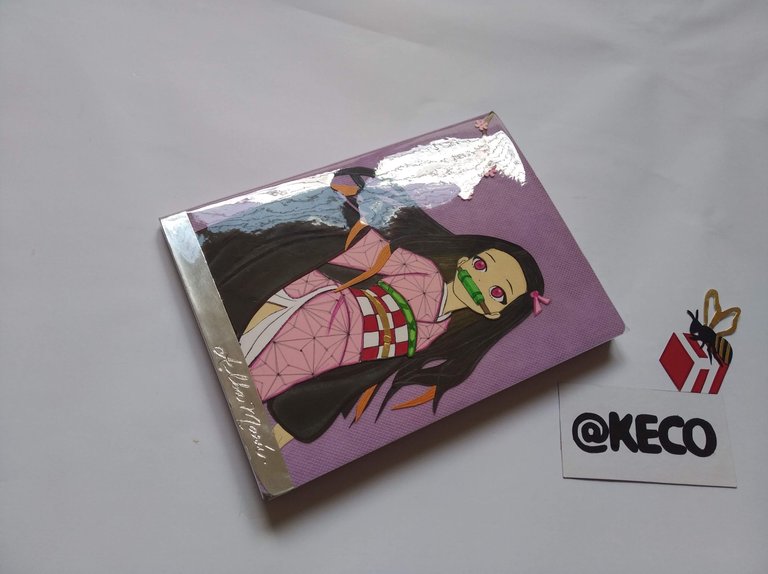
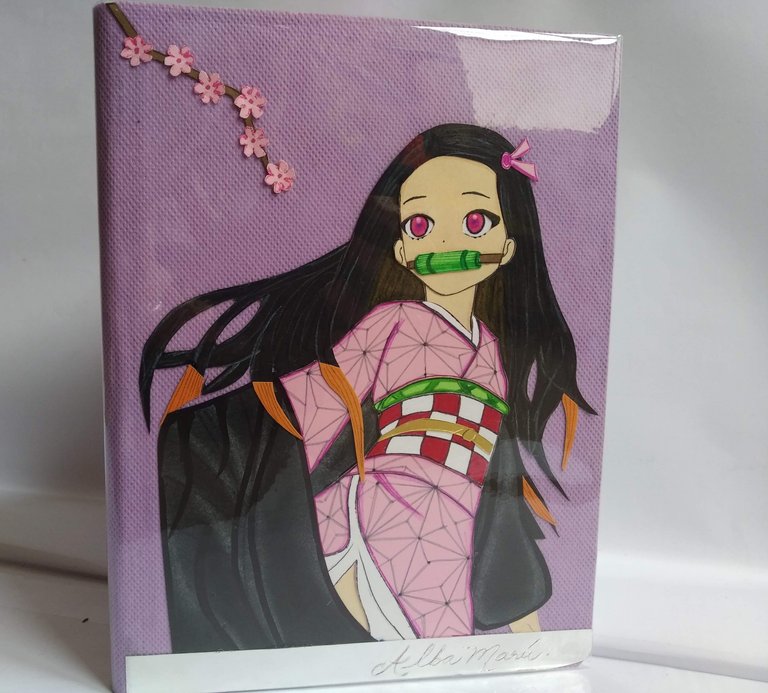
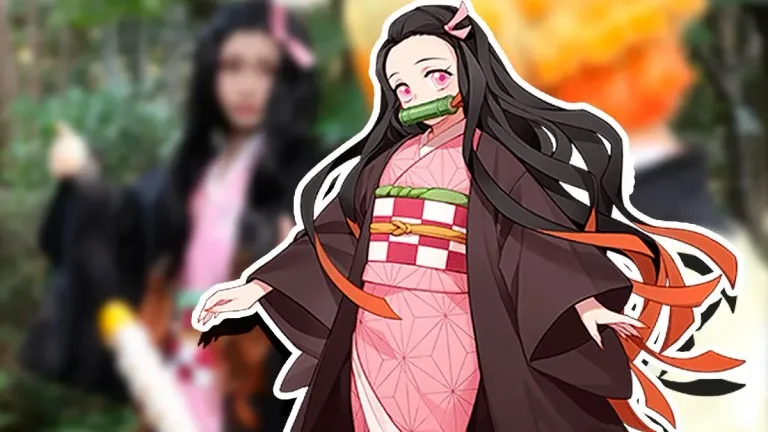
Este trabajo que hoy les presento, es el complemento perfecto a la publicación anterior relacionado con el mismo personaje. Esta libreta fue el regalo que consideré adecuado para regalarle a Alba en la celebración de su nacimiento.
Como les mencioné Alba adora el personaje y nada mejor que regalar algo donde se puedan plasmar sueños, pensamientos y anhelos. Es un regalo que sin duda le gustó mucho y al cual estoy segura atesorará con el corazón.
Sin más, y esperando disfruten del trabajo realizado les dejo los materiales utilizados, el proceso y las imágenes para que se animen a crear cosas personalizadas con mucho amor.

- Libreta grande de 120 hojas
- Tela POP color morado claro
- Plati-Cristal fino
- Cartulinas de colores de acuerdo al personaje (crema, rosada, roja, negra, verde, naranja y marrón)
- Cartulina tipo espejo dorada
- cartulina tipo espejo Plateada
- Silicón Frio
- Cinta de embalar transparente
- Marcadores de Colores
- Lapices de Colores y de Grafito
- Tijeras
- Cutter
- Sobre color craft
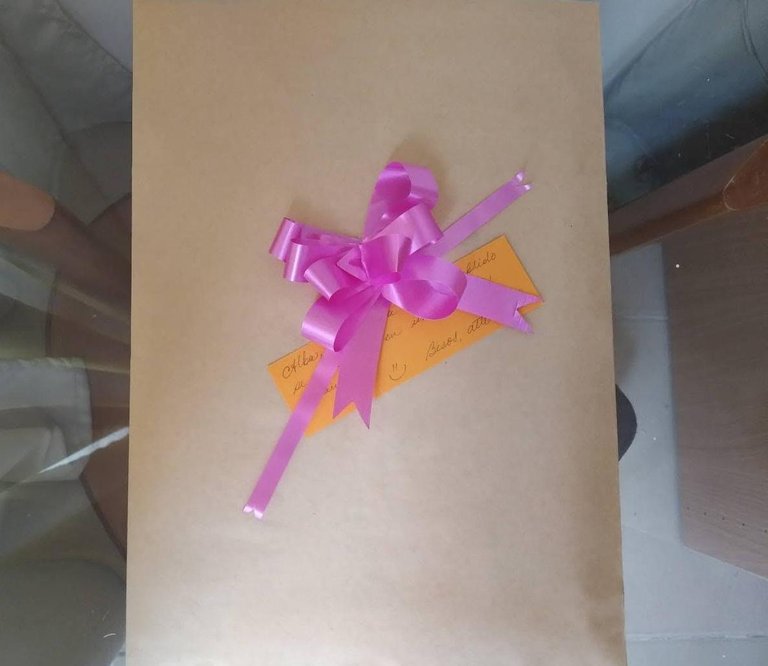
- Lazo rosado y dedicatoria
- Hoja blanca
- Papel Carbón.

English
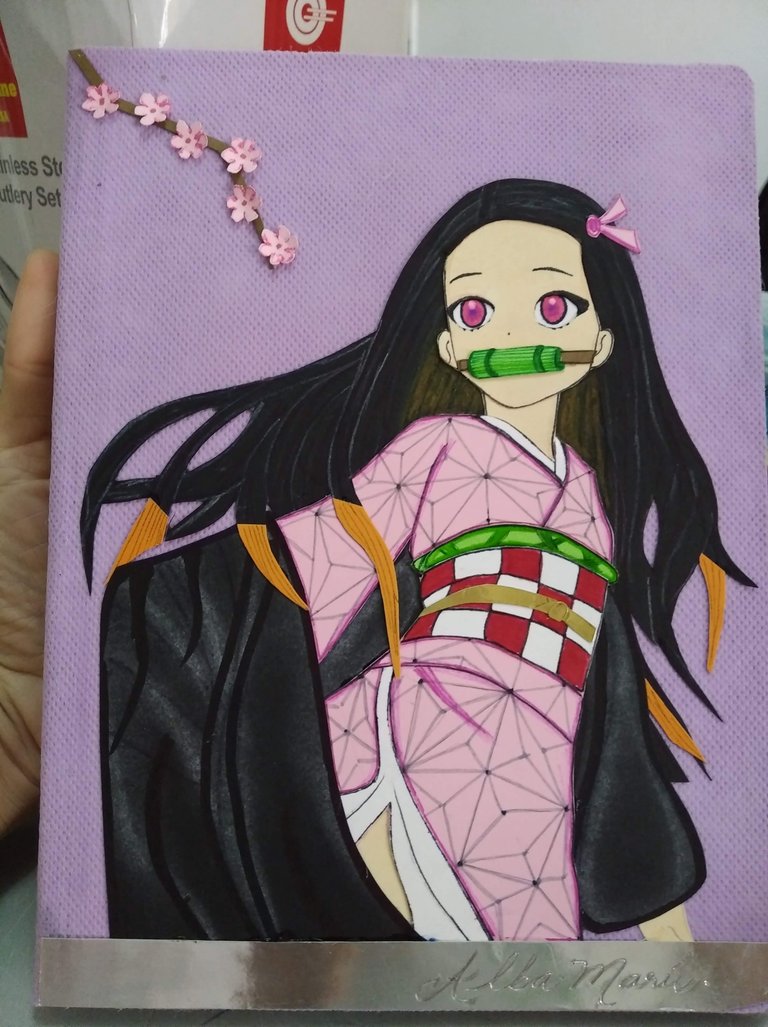
This work that I present to you today is the perfect complement to the previous publication related to the same character. This notebook was the gift that I considered appropriate to give to Alba in celebration of her birth.
As I mentioned, Alba loves the character and there is nothing better than giving her something where she can capture her dreams, thoughts and desires. It is a gift that no doubt she loved and which I am sure she will treasure with her heart.
Without further ado, and hoping you enjoy the work done, I leave you the materials used, the process and the images so that you can create personalized things with lots of love.

- Large notebook of 120 sheets
- Light purple POP cloth
- Fine Plati-Crystal
- Color cards according to the character (cream, pink, red, red, black, green, orange and brown)
- Gold mirror cardboard
- Silver mirror cardboard
- Cold Silicone
- Transparent packing tape
- Color markers
Colored and graphite pencils * Scissors - Scissors
- Cutter
- Craft colored envelope
- Pink ribbon and dedication
- White sheet
- Carbon paper.

1.- Elegir el diseño a realizar y crear una plantilla en hoja la blanca. Es importante señalar que la medida del personaje deberá estar ajustado a la libreta, de forma que no quede ni muy grande ni muy pequeño.
1.- Choose the design to be made and create a template on a white sheet. It is important to note that the size of the character should be adjusted to the notebook, so that it is neither too big nor too small.
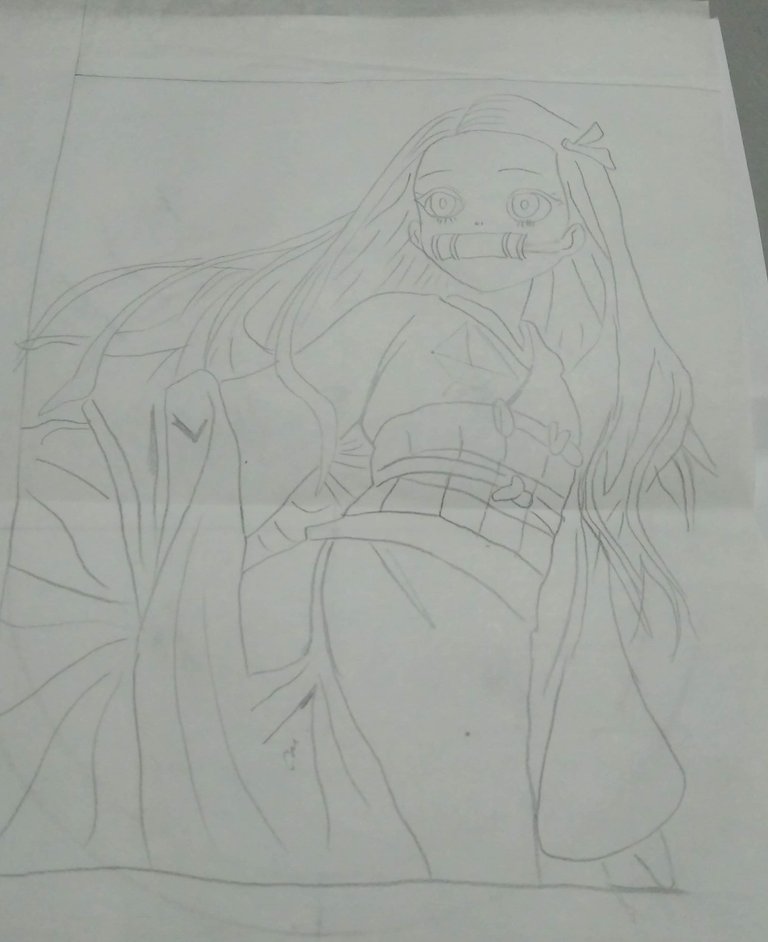
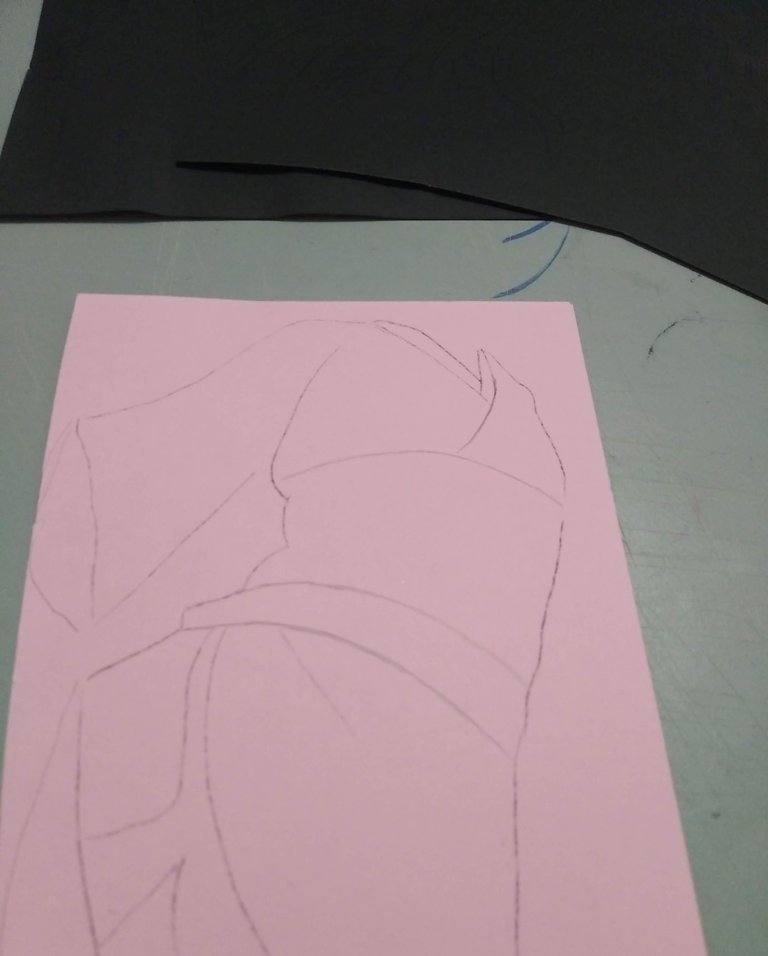
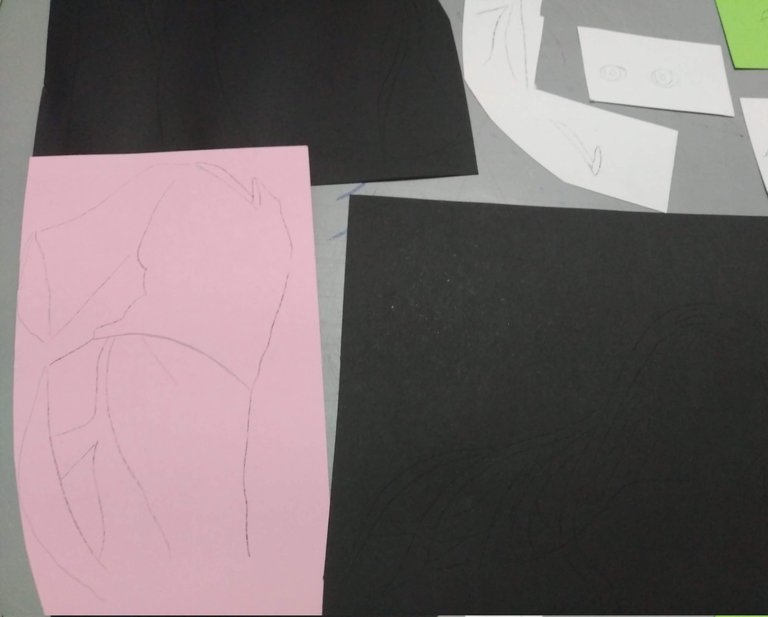
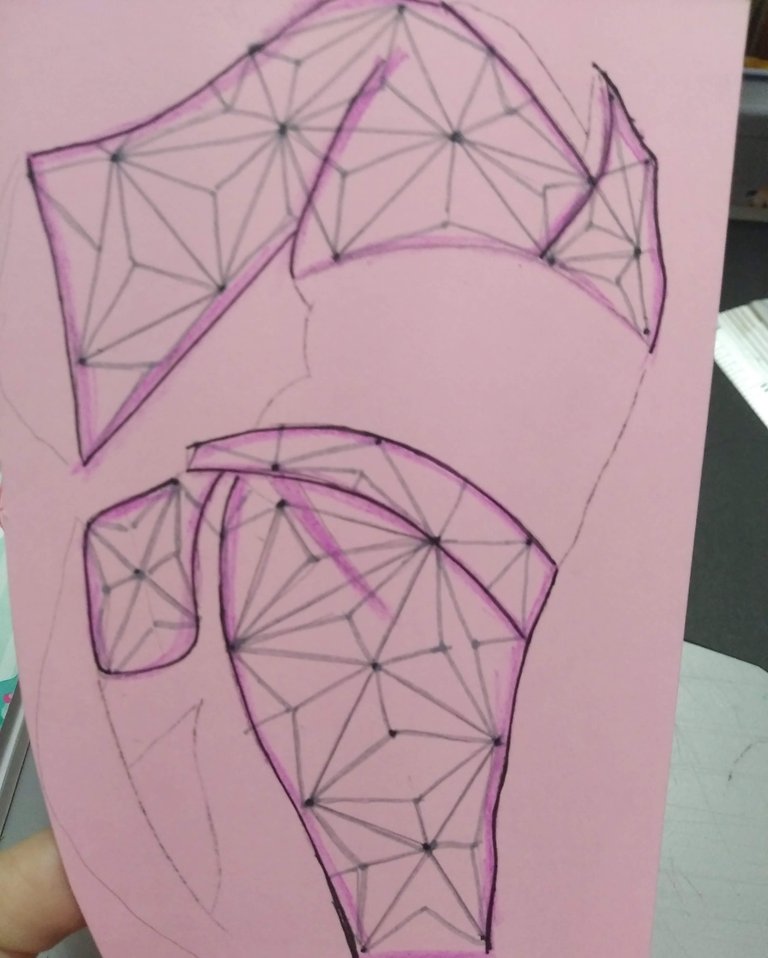
2.- Una vez listo la plantilla, las distintas secciones del dibujo se van marcando en las cartulinas de colores correspondientes. Para ello se ubica debajo del dibujo la cartulina y el papel carbón. Es importante que al momento de remarcar las piezas se hagan con suavidad para evitar queden muy negras y ensucien la cartulina.
2.- Once the template is ready, the different sections of the drawing are marked on the corresponding colored cardboard. To do this, the cardboard and carbon paper are placed under the drawing. It is important that at the moment of marking the pieces it is done gently to avoid leaving them too black and dirtying the cardboard.
 |  |
|---|
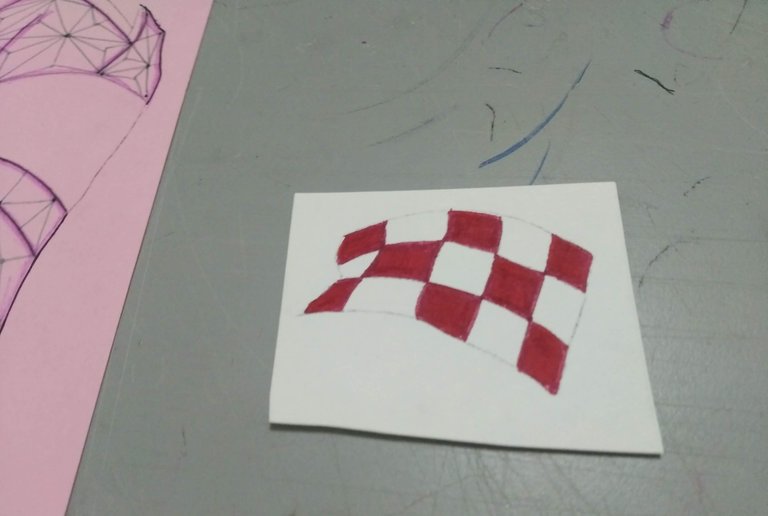
3.- Al tener todas las piezas en los colores que correspondan, según el diseño, darle dinamismo con el uso de lapices y marcadores de colores. Estos pueden ser de agua o permanentes. Lo importante acá es que cada pieza cobre vida con sombras y luces.
3.- Having all the pieces in the corresponding colors, according to the design, give it dynamism with the use of colored pencils and markers. These can be water-based or permanent. The important thing here is that each piece comes to life with shadows and lights.
 |  |
|---|
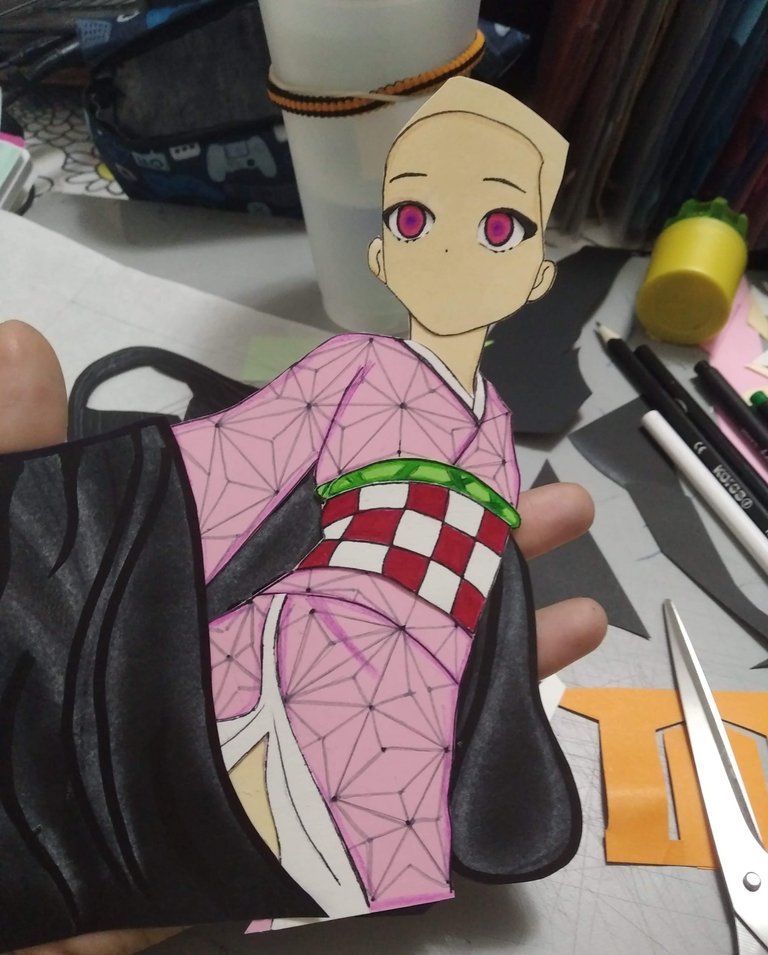
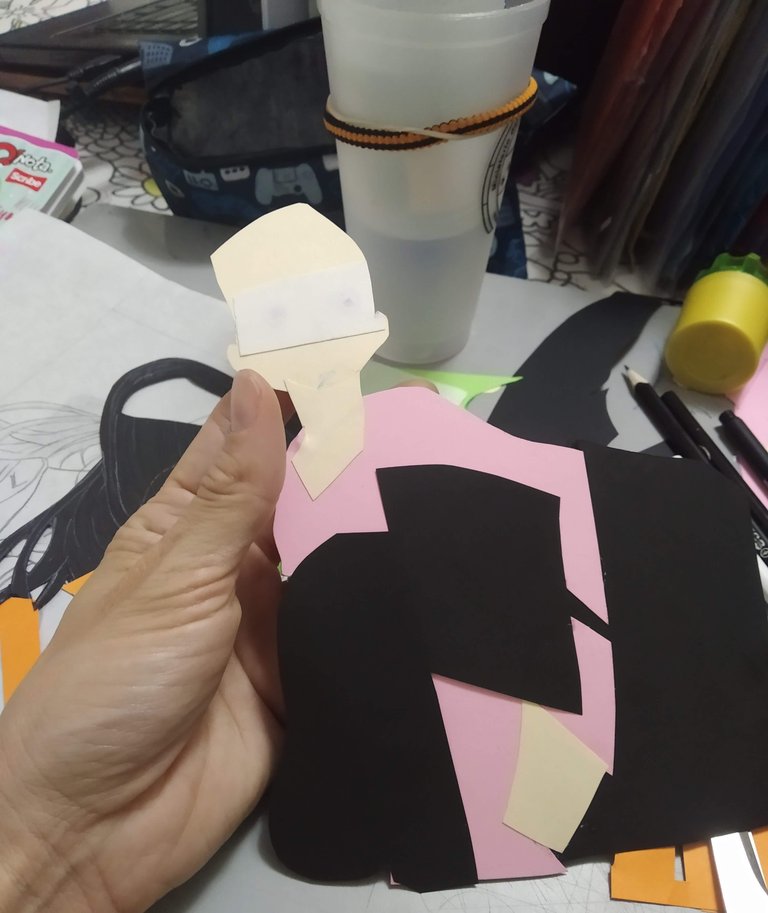
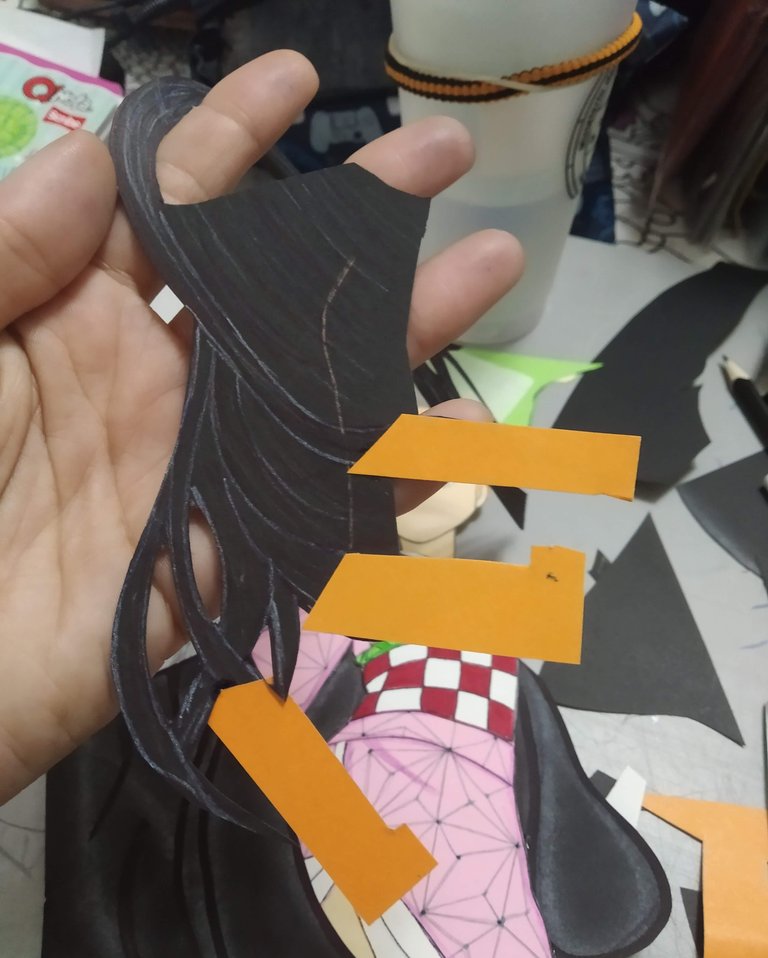
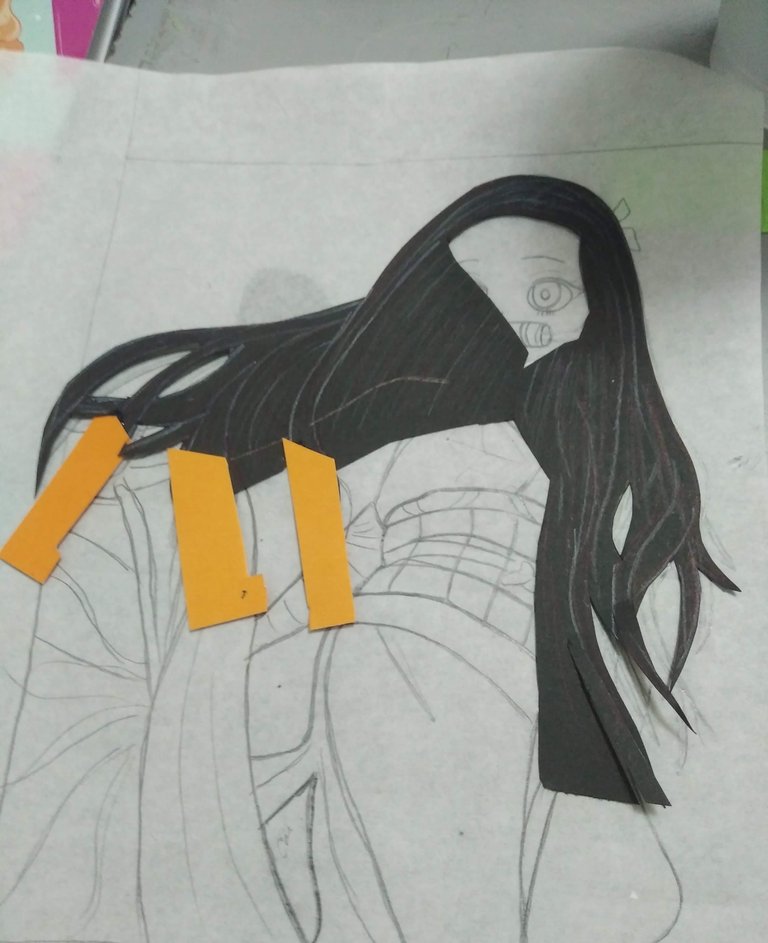
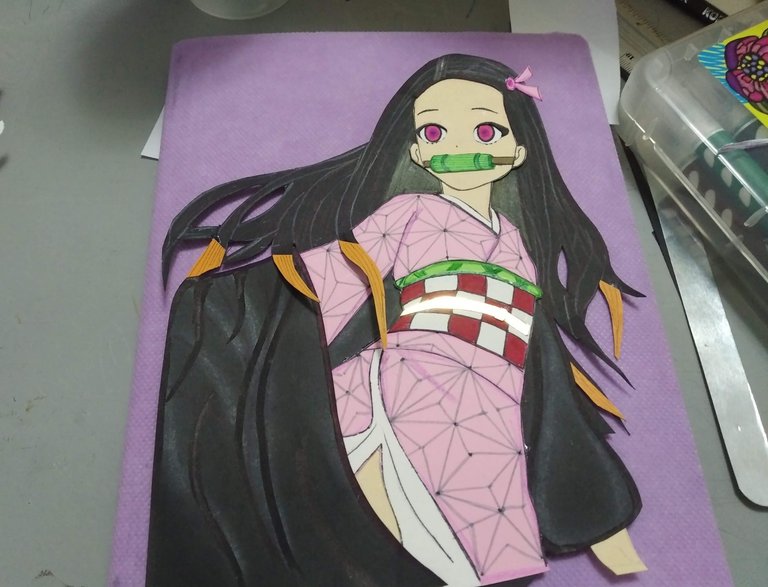
4.- Cuando se hayan mejorado las piezas con color, se deberán recortar cuidando de dejar un borde o pestaña adicional que sirva para unir las piezas entre si. Las mismas deben pegar con silicón frio cuidando de no aplicar demasiado.
4.- When the pieces have been improved with color, they should be trimmed taking care to leave an additional edge or flange that serves to join the pieces together. They should be glued with cold silicone taking care not to apply too much.
 |  |
|---|
 |  |
|---|
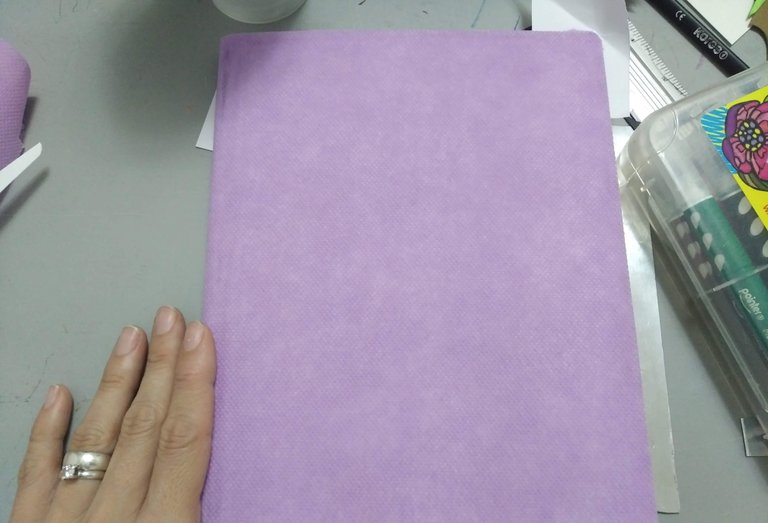
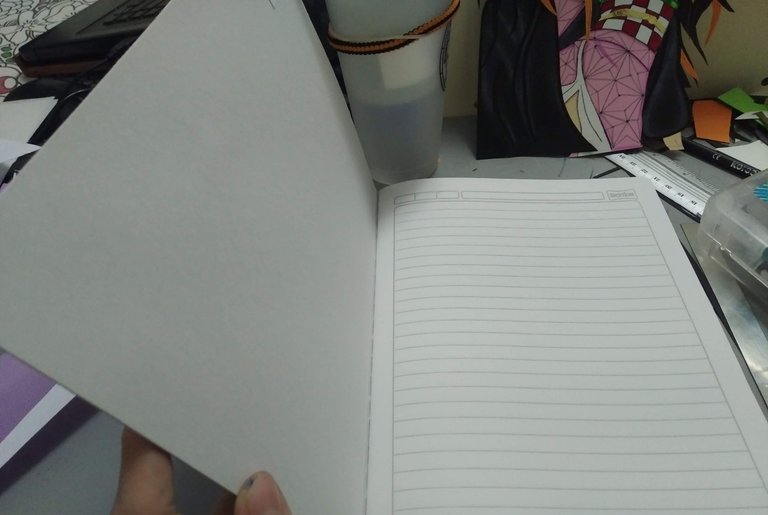
5.- La Libreta: Se toma la libreta, se le aplica silicón frio cuidando de no manchar las hojas, se le coloca la tela por arriba y se deja secar. Una vez seca, se recorta la tela sobrante de los bordes de la caratula con una tijera o cutter (yo prefiero el cutter).
5.- The Notebook: Take the notebook, apply cold silicone, taking care not to stain the pages, place the fabric on top and let it dry. Once dry, trim the excess fabric from the edges of the cover with a scissors or cutter (I prefer the cutter).
 |  |
|---|
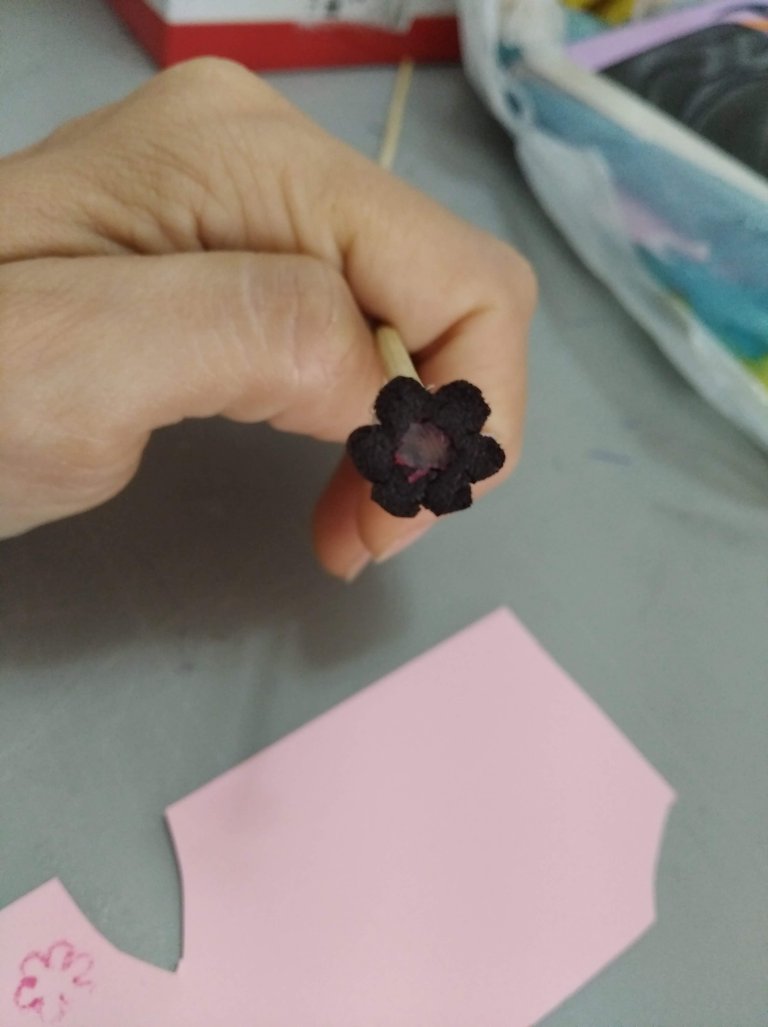
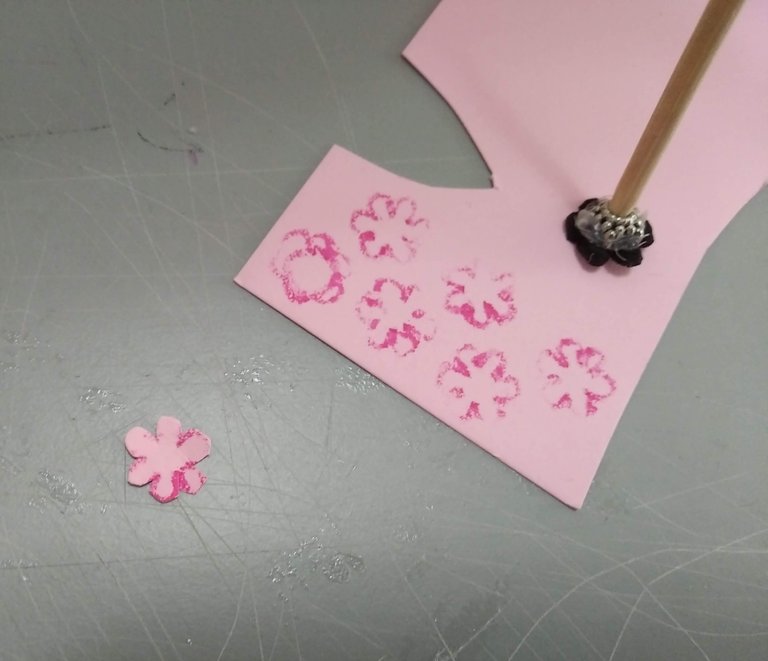
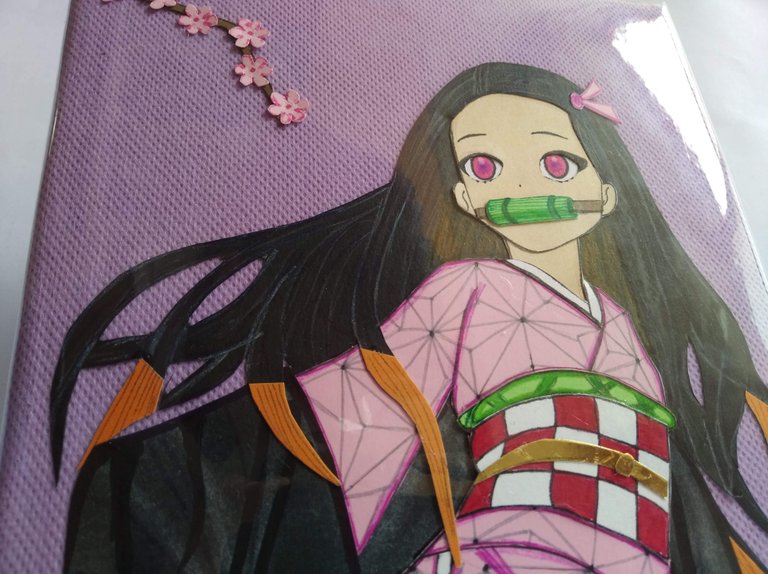
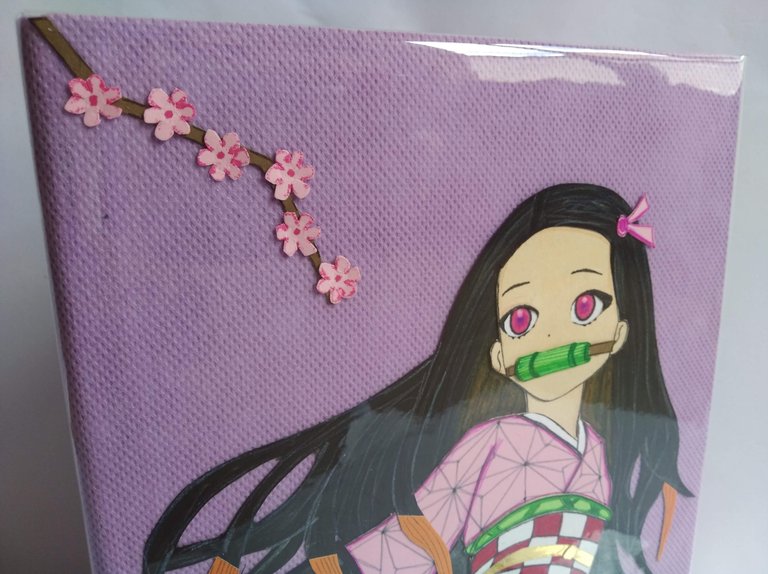
6.- El personaje elaborado se pega con silicón frio a la tela POP y se termina de decorar el cuaderno con los detalles que gusten. En este caso, realicé una pequeñas flores para simular una rama floreada y coloqué el nombre de Alba en cartulina espejo color plateado.
6.- The character is glued with cold silicone to the POP fabric and the notebook is decorated with the details of your choice. In this case, I made small flowers to simulate a flowery branch and placed Alba's name on silver colored mirror cardboard.
 |  |
|---|
 |  |
|---|
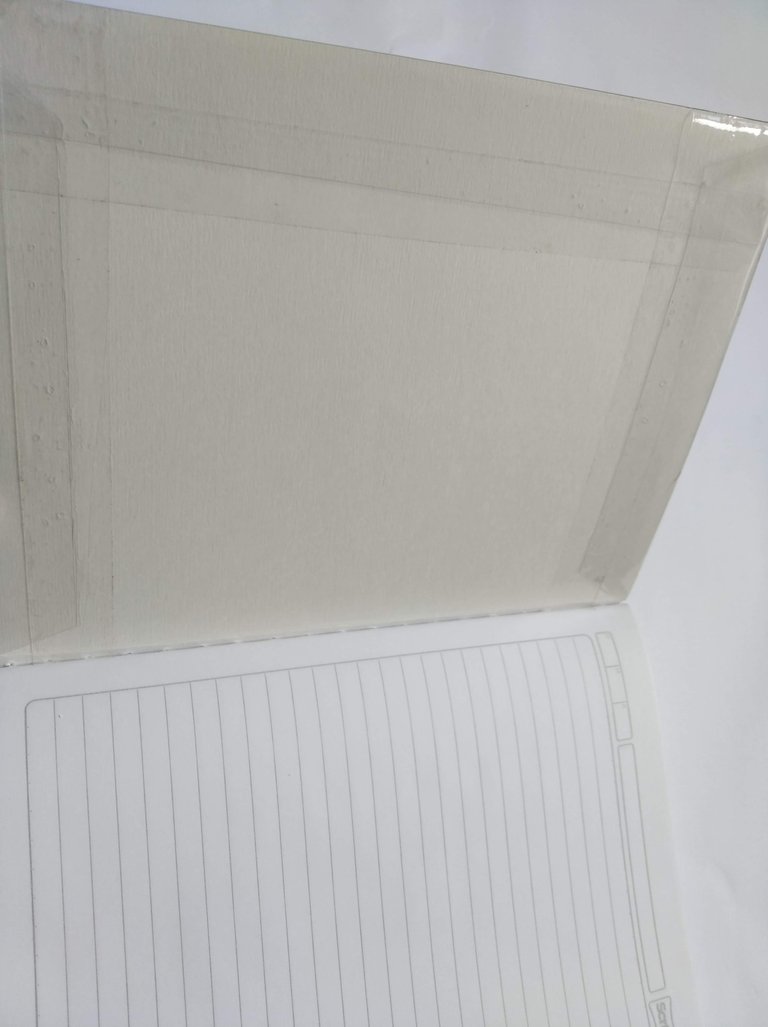
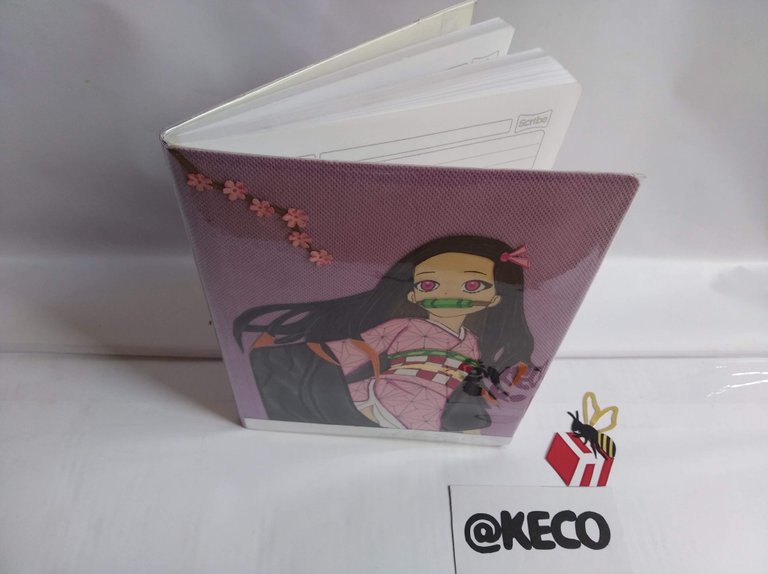
7.- Para terminar la libreta y proteger el diseño creado, se forró con plasti-cristal fino. El cual se recortó de forma que se generara un doblé hacia adentro y el mismo se fijó con cinta adhesiva transparente que se pegó mitad en el plástico, mitad en la caratula interna de la libreta.
7.- To finish the notebook and protect the design created, it was lined with thin glass-plastic. This was cut in such a way as to generate an inward fold and fixed with transparent adhesive tape that was glued half on the plastic, half on the inner cover of the notebook.
Espero les haya gustado y sobre todo se entusiasmen a crear algo parecido para sorprender a familiares y amigos.
I hope you liked it and, above all, I hope you get excited to create something similar to surprise your family and friends.
 |  | |||
|---|---|---|---|---|
 |  | - | - |
 |  |
|---|

Fuente

SALUDOS / REGARDS

Todas las Fotos fueron tomadas con mi teléfono
Contenido original de @keco (fotos y texto) - Todos los derechos reservados para ser Publicado en HIVE así como en mis distintas redes: Instagram y X
All photos were taken with my phone
Original content by @keco (photos and text) - All rights reserved to be posted on HIVE as well as on my various networks: Instagram and X
Que belleza, realmente es sorprendente lo que haces con cartulina, queda bien original, muero por seguir viendo más creaciones. 😍🙏🏻
Gracias @karoly
Que cuchi quedó tu libreta amiga . me encantó.
gracias @evelin71
Saludos, bendiciones y éxitos
Wow! This is breathtaking. You walked us through the creative process of your personalized notebook and it’s safe to say that we enjoyed the journey and we love your work.
Gracias @diyhub por tan alentadoras palabras... estos días estaré muy presente en la plataforma, mostrando trabajitos varios.
Saludos, bendiciones y éxitos.
Thank you @diyhub for such encouraging words... these days I will be very present on the platform, showing various works.
Greetings, blessings and success.
Te quedó preciosa, me encanto como fuiste ubicando cada pieza, se ve impecable, aquí se nota mucha dedicación y amor.
Quedó preciosaaaa ✨😍🌸