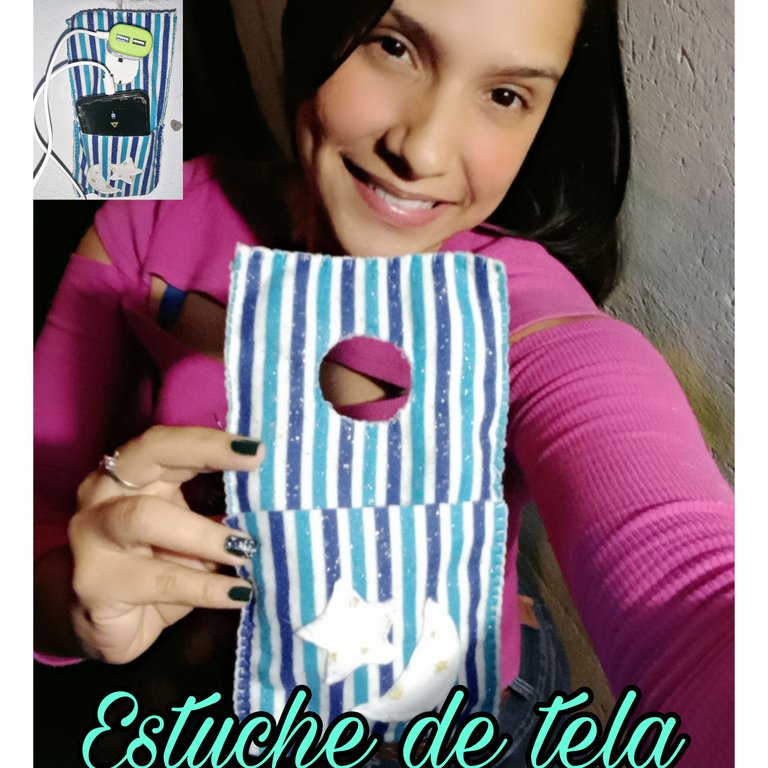
Hello my dear crafty friends of this creative #Hive-Diy community, I wish you are enjoying good health. Today I want to show you how to make a phone case with fabric and cardboard. I hope you like it.


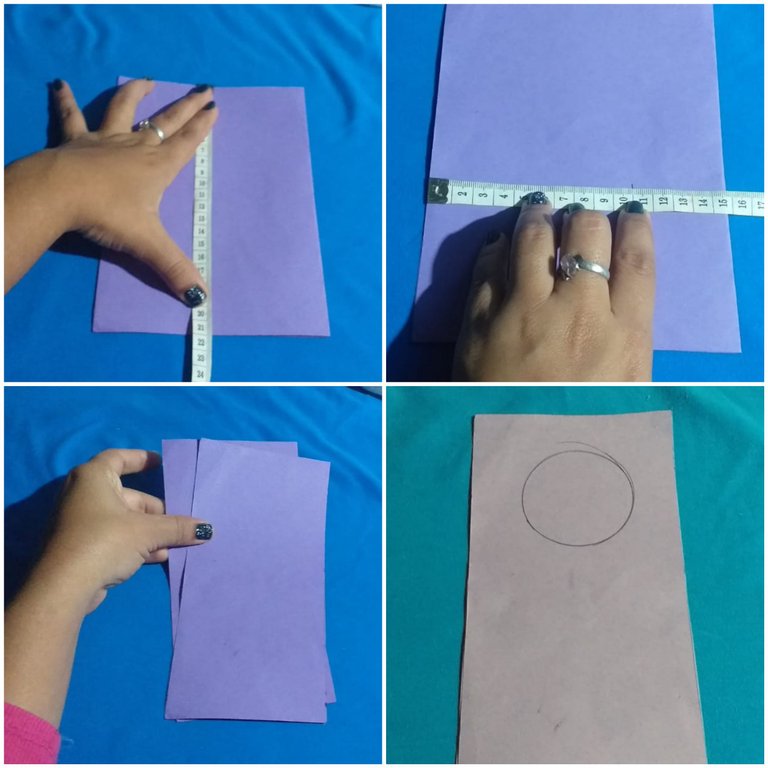
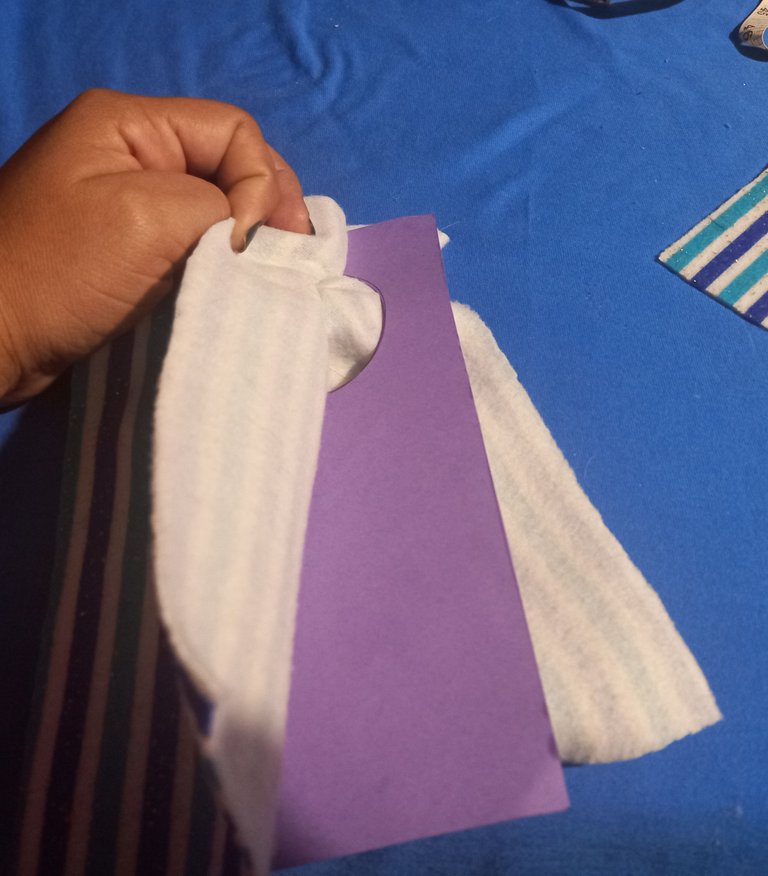
Primero cortaremos 2 rectángulos de cartulina de 23cm de alto y 13cm de ancho y le haremos un agujero en la parte de arriba de tal manera que entre el enchufe del cargador.
First we will cut 2 rectangles of cardboard 23cm high and 13cm wide and we will make a hole in the top so that the plug of the charger will fit through.
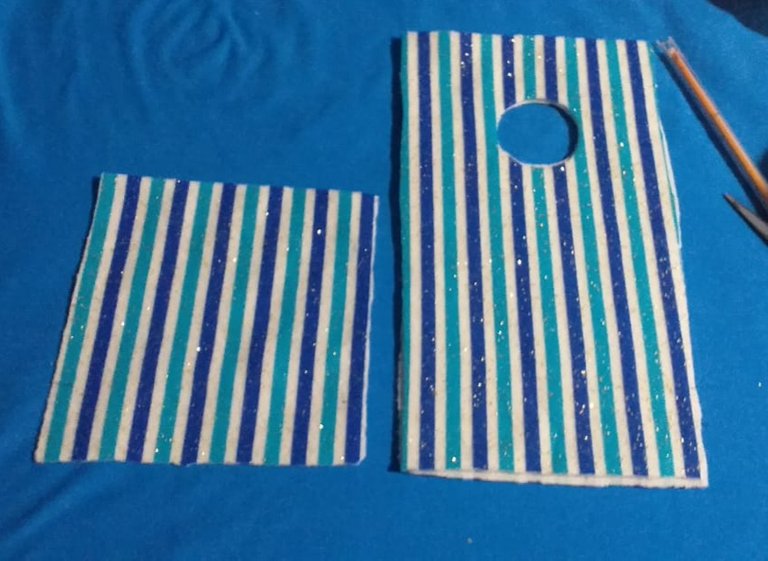
Luego cortaremos dos rectángulos de tela de rayas tomando como guía el rectángulo de cartulina y recortaremos dejando 1cm más por cada lado.
Then we will cut two rectangles of striped fabric taking the cardboard rectangle as a guide and we will cut out leaving 1cm more on each side.

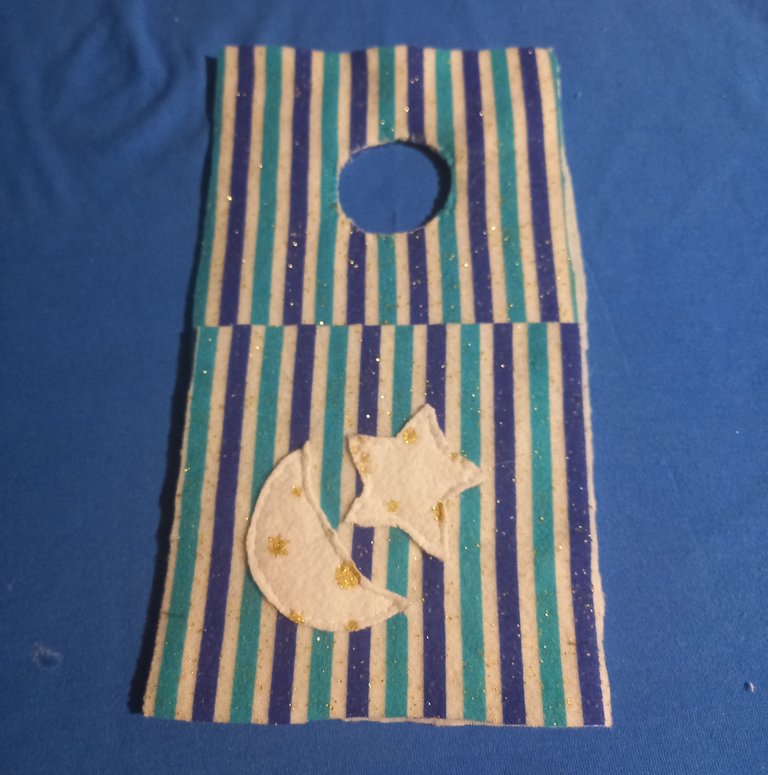
Después cortaremos un cuadrado de tela de rayas de 13×13cm para hacer el bolsillo del estuche.
Then we will cut a 13×13cm square of striped fabric to make the pocket of the case.
Seguidamente haremos una luna y una estrella con tela blanca y la bordamos con un pespunte normal en el bolsillo.
Then we will make a moon and a star with white fabric and embroider it with a normal stitch on the pocket.

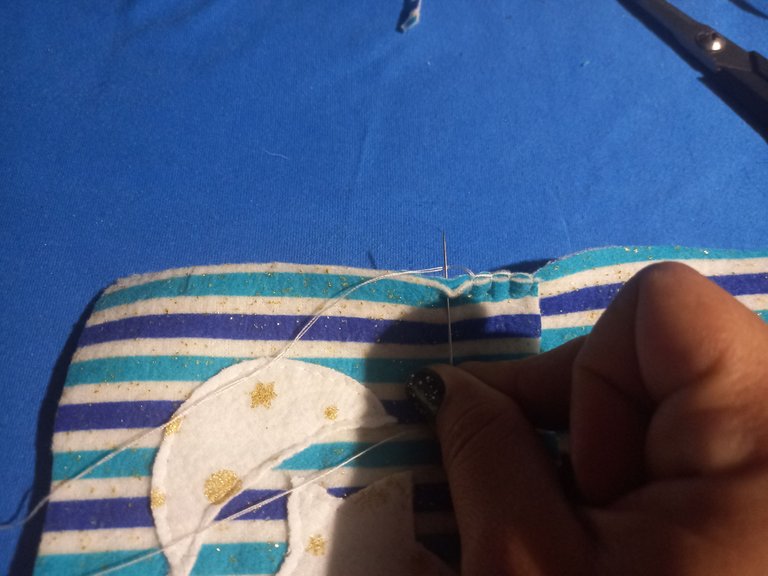
Una vez que hayamos bordado la luna y la estrella, coceremos con punto de Festón el borde del círculo e introducimos en el centro de las dos telas la cartulina.
Once we have embroidered the moon and the star, we stitch the edge of the circle with scallop stitch and insert the cardboard in the center of the two fabrics.
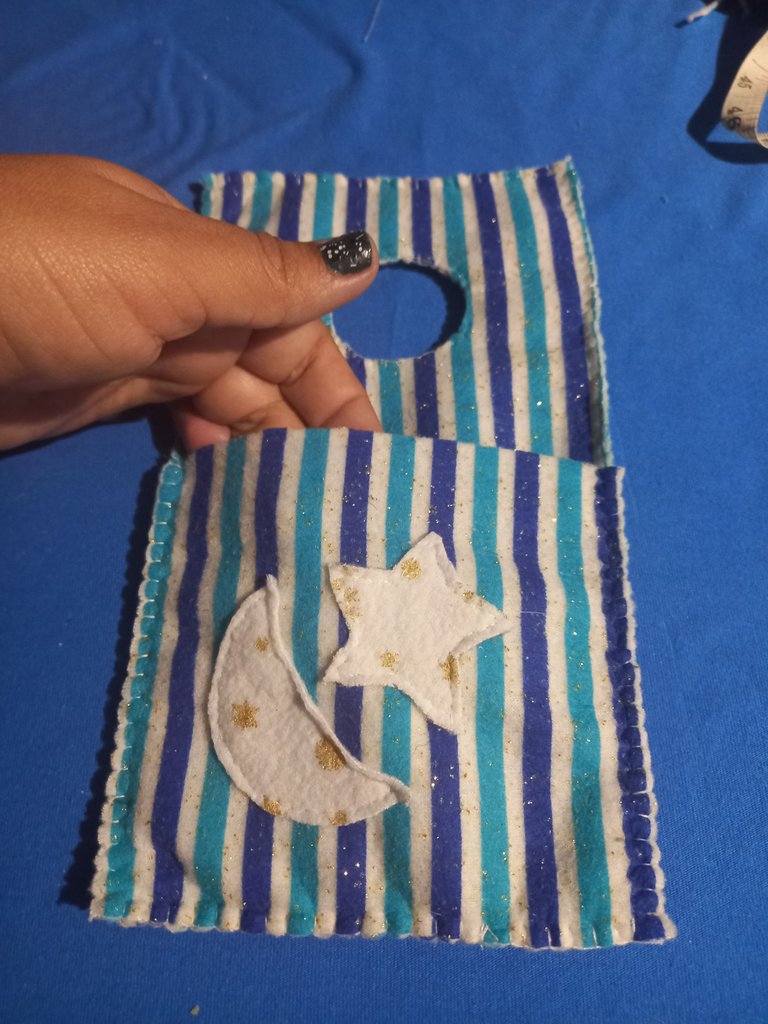
Luego montamos el bolsillo sobre el espaldar del estuche y unimos todos los bordes con costura punto de Festón.
Then we mount the pocket on the back of the case and join all the edges with scallop stitch.

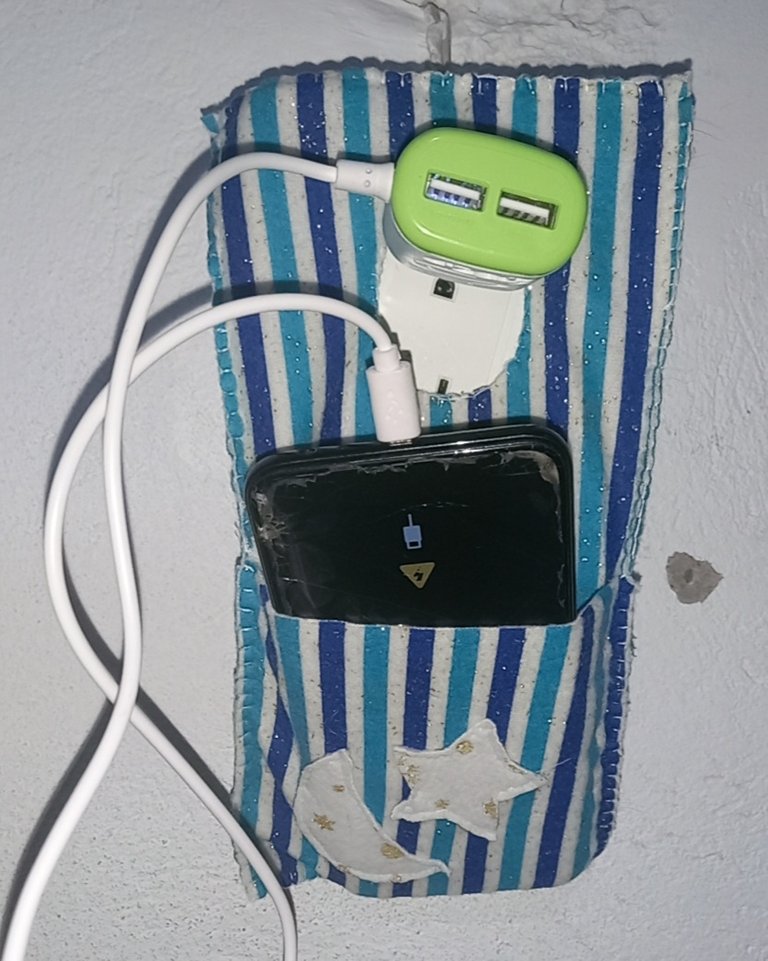
Espero que éste material sea de mucha utilidad para ustedes mis queridos amigos, yo lo usaré en mi habitación para mantenerlo cerca de mi, ya que no tengo mi mesita de noche. Saludos y bendiciones.
I hope this material will be very useful for you my dear friends, I will use it in my room to keep it close to me, since I don't have my bedside table. Greetings and blessings.
Hola mis queridos amigos artesanos de ésta creativa comunidad #Hive-Diy, deseo que estén disfrutando de buena salud. Hoy les quiero mostrar cómo hacer un estuche porta teléfonos con tela y cartulina. Espero les guste.