Feliz inicio de semana amig@s Artistas!🌹💕, ¡Bienvenidos a mi nuevo post! | Happy start to the week friends Artists! Welcome to my new post!
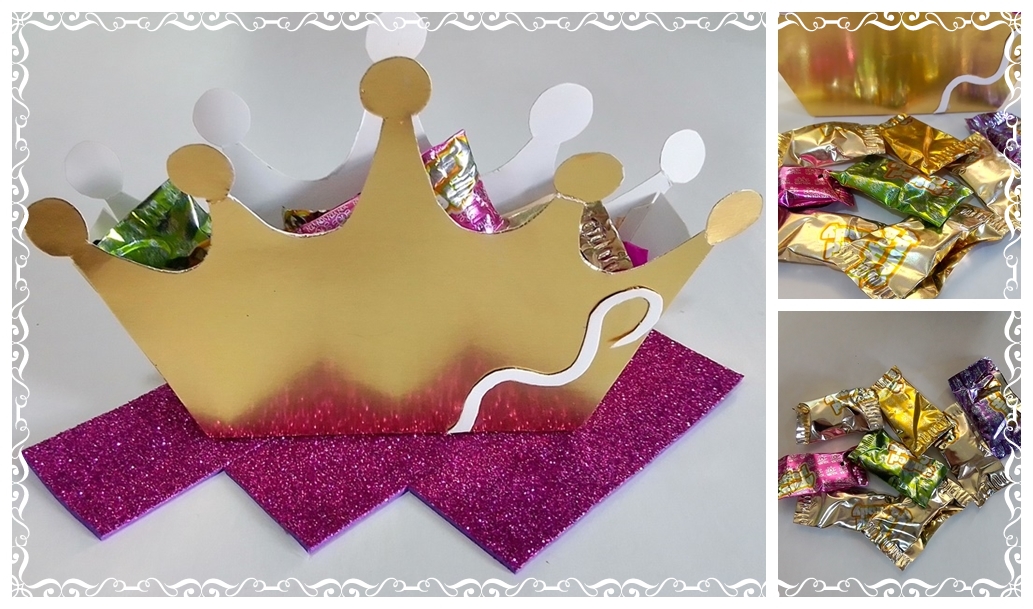
Espero que se encuentren bien y disfrutando de su día! 😄😉✌️...Hace un tiempo que no publicaba en esta comunidad sobretodo disfruto de nuevamente leer sus posts y ver sus obras de arte🎨✨… He decidido ponerme al día y el día de hoy compartiré con ustedes como realice esta cajita de corona, este diseño me encanto ya que es muy atractivo, es super fácil de hacer y podemos darle mucho provecho; este en especial lo he realizado para regalárselo a una amiga asi que aquí esta una corona para una reina 👑💝
I hope you are well and enjoying your day! 😄😉✌️...It's been a while since I posted in this community, I especially enjoy reading your posts and seeing your artwork again 🎨✨... I have decided to catch up and today I will share with you how I made this little crown box, I love this design because it is very attractive, it is super easy to make and we can give it a lot of benefit; I have made this one especially to give it to a friend so here is a crown for a queen👑💝
✄Materiales | Materials✄
-Cartulina metalica
-Cartón
-Lapiz
-Tijera
-Regla
-Pega de silicón
-Dulces 😋
-Metallic cardboard-Cardboard-Pencil-Scissors-Ruler-Silicone glue-Candy😋
⋆Proceso de Creación | Creation Process⋆
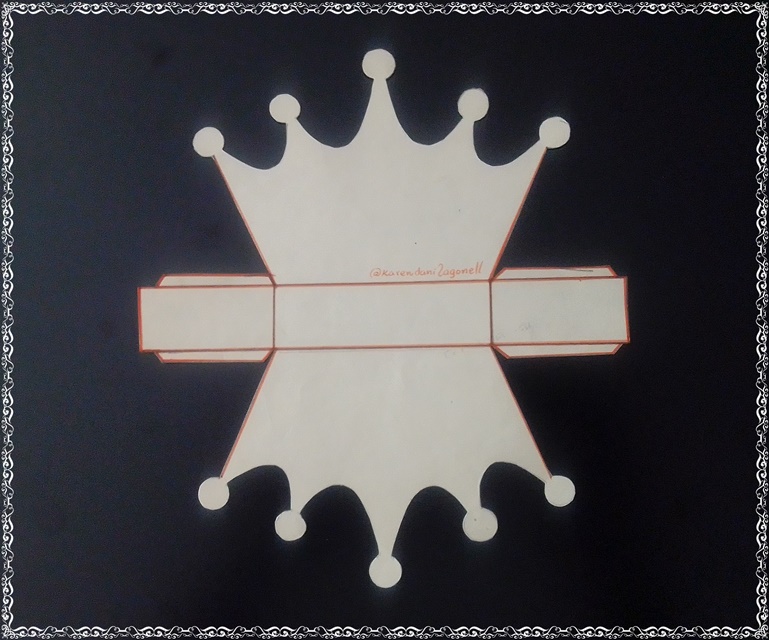
💕Paso 1. Primeramente tome una regla, lápiz y cartón y saque el patrón de la cajita, como esta es la base es importante que el patrón quede bien hecho para que el resultado no nos quede deforme. La verdad me encanta hacer cajas en forma de todo y realmente podemos hacer la forma que queramos solo es cuestión de cuadrar bien la figura y saber hacer el patrón tomando las medidas adecuadas.
💕Step 1. First take a ruler, pencil and cardboard and draw the pattern of the box, as this is the base it is important that the pattern is well done so that the result is not deformed. The truth is that I love making boxes in the shape of everything and we can really make the shape we want, it's just a matter of squaring the figure well and knowing how to make the pattern taking the right measurements.
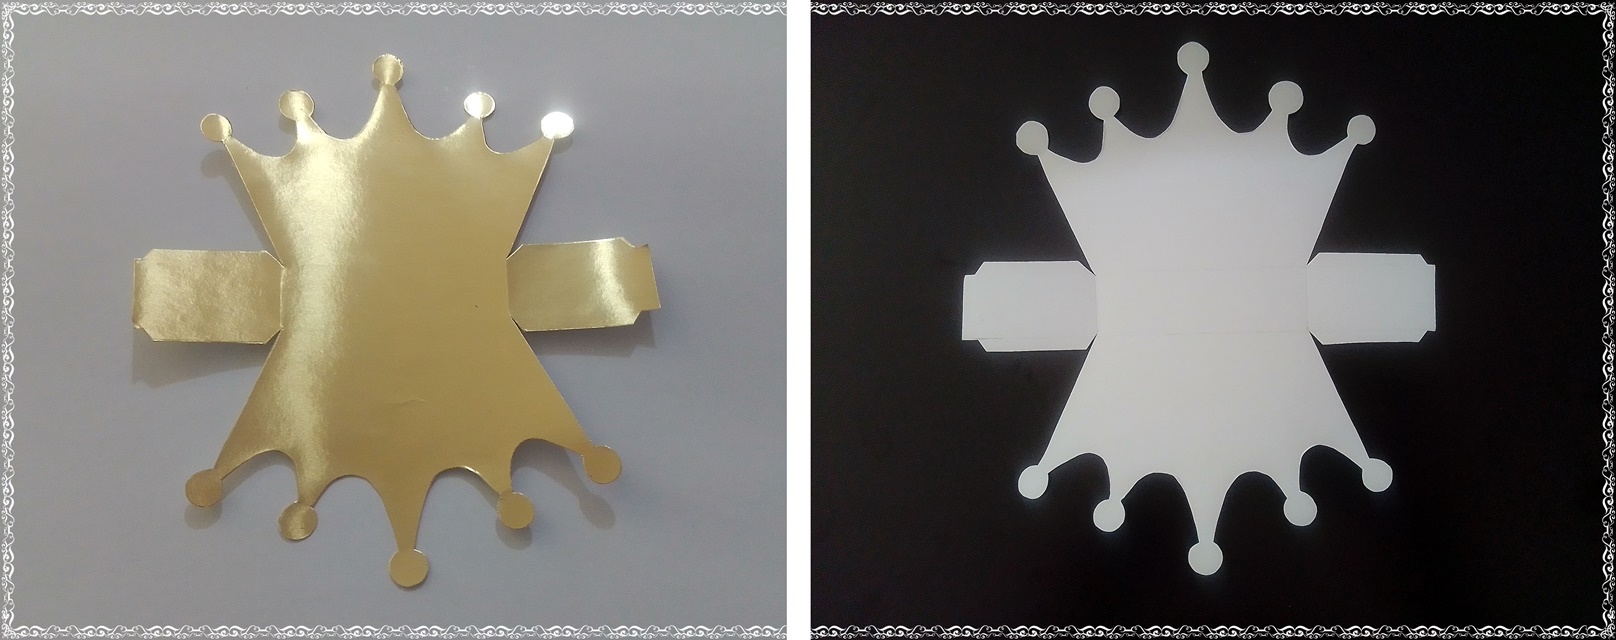
💕Paso 2. Luego transferí el patrón a la cartulina metálica y recorte cuidadosamente ya que este tipo de cartulina es bastante delicada y puede dañarse fácilmente si no tenemos delicadeza al emplearla. Seguidamente, una vez recortada la pieza con la ayuda de una regla y la punta de una tijera marque las líneas guías en la parte que será el interior de la caja, este paso me facilitara hacer los dobleces.
💕Step 2. Then I transferred the pattern to the metallic cardboard and cut it carefully since this type of cardboard is quite delicate and can be easily damaged if we are not careful when using it. Then, once the piece was cut out, with the help of a ruler and the tip of a scissors I marked the guide lines on the part that will be the inside of the box, this step will make it easier for me to make the folds.
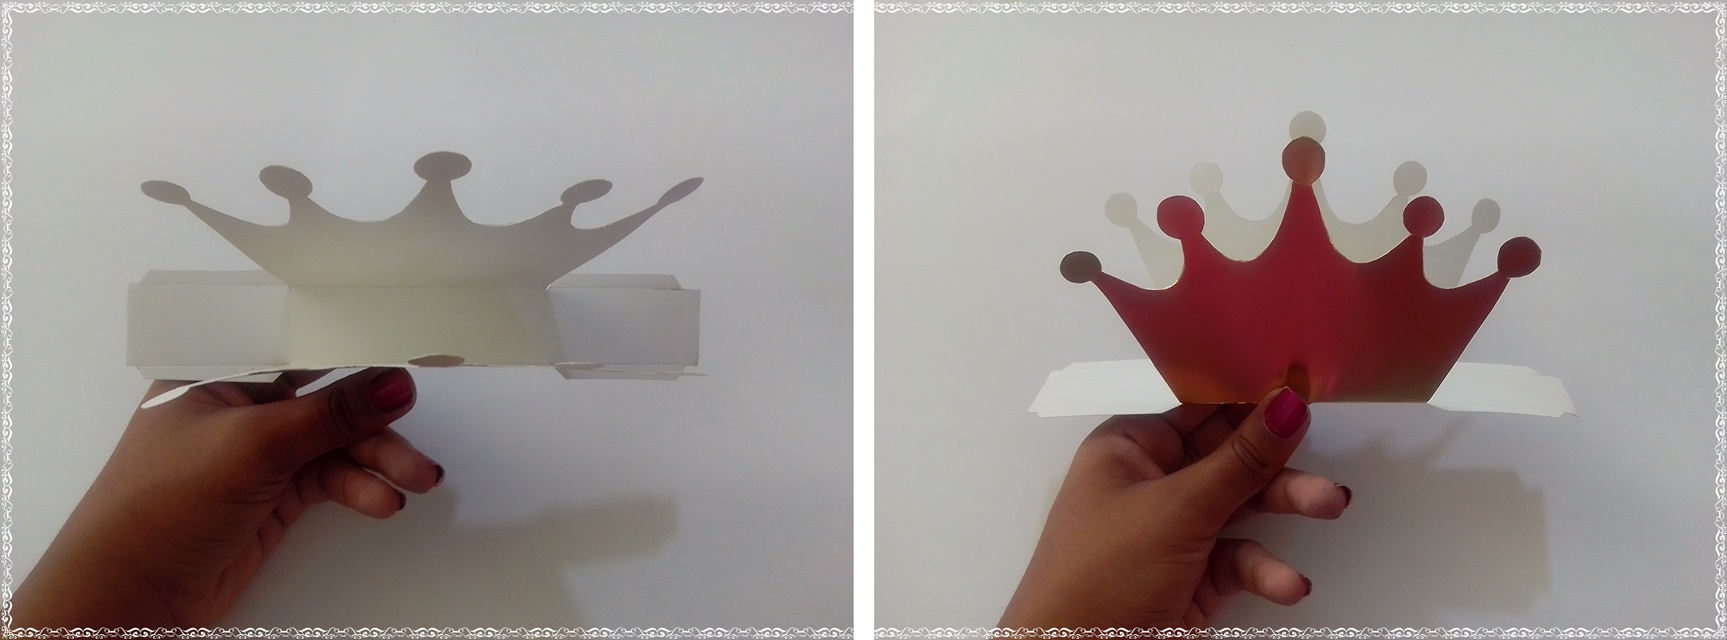
💕Paso 3. A continuación empecé a plegar las piezas de la siguiente manera…
💕Step 3. Next I started folding the pieces as follows...
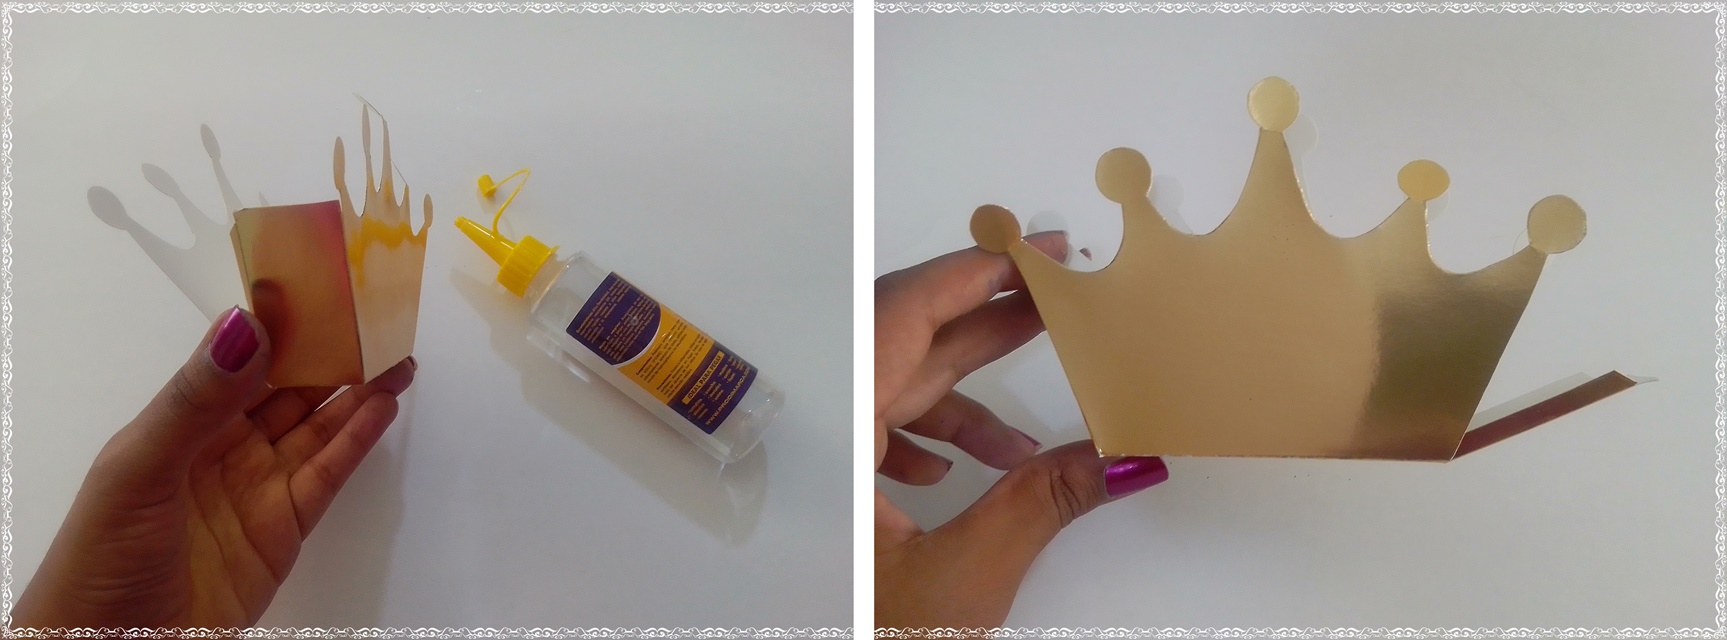
💕Paso 4. Ahora con la ayuda de la pega de silicón uní los laterales de la pieza. Solo necesitamos de un poquito de pegamento no es necesario embarrárselo (como a veces me pasa 😝), aquí menos es más. De esta manera la caja va agarrando forma.
💕Step 4. Now with the help of the silicone glue I joined the sides of the piece. We only need a little bit of glue, it is not necessary to smear it (as sometimes happens to me😝), here less is more. This way the box is taking shape.
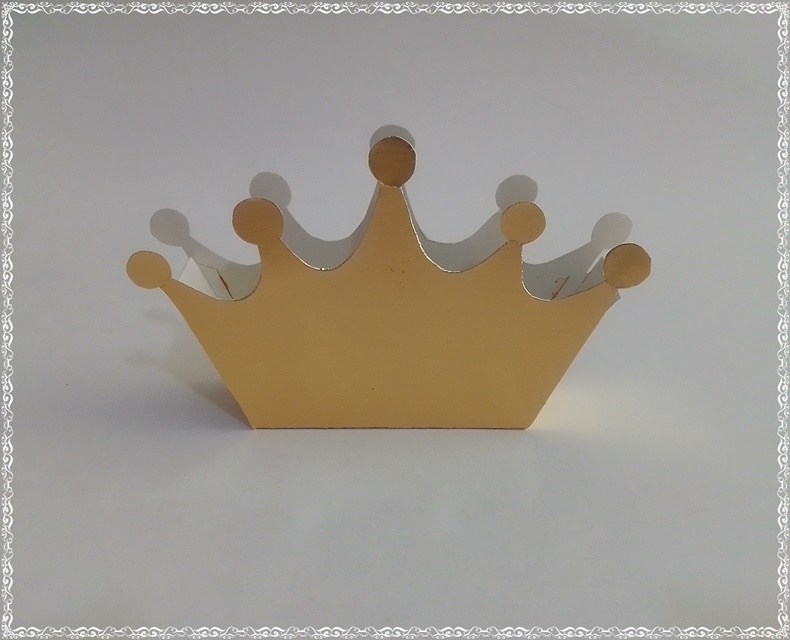
💕Paso 5. Casii listoo! Ahora lo único que falta es decorarla. Aunque me gusta que por si sola sea llamativa y elegante, creo que solo un toque de color y BOOM… Y por supuesto hay que ponerle dentro su respectiva chuchería y Wuaalaa lista para la fiesta🎉🎉🎉
💕Step 5. Almost ready! Now the only thing left to do is to decorate it. Although I like that by itself is striking and elegant, I think just a touch of color and BOOM ... And of course you have to put inside their respective candy and Wuaalaa ready for the party🎉🎉🎉
⋆Resultado final | Final result⋆
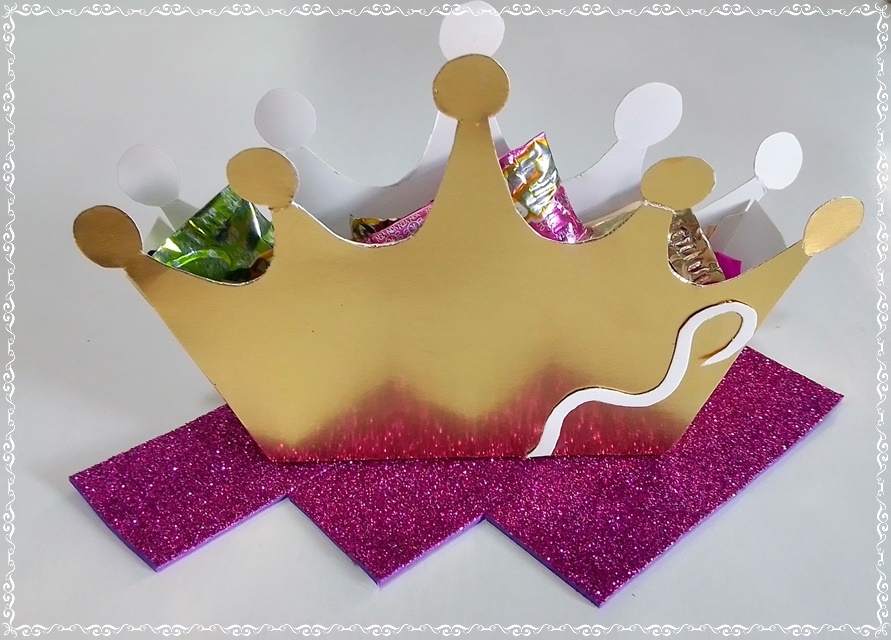
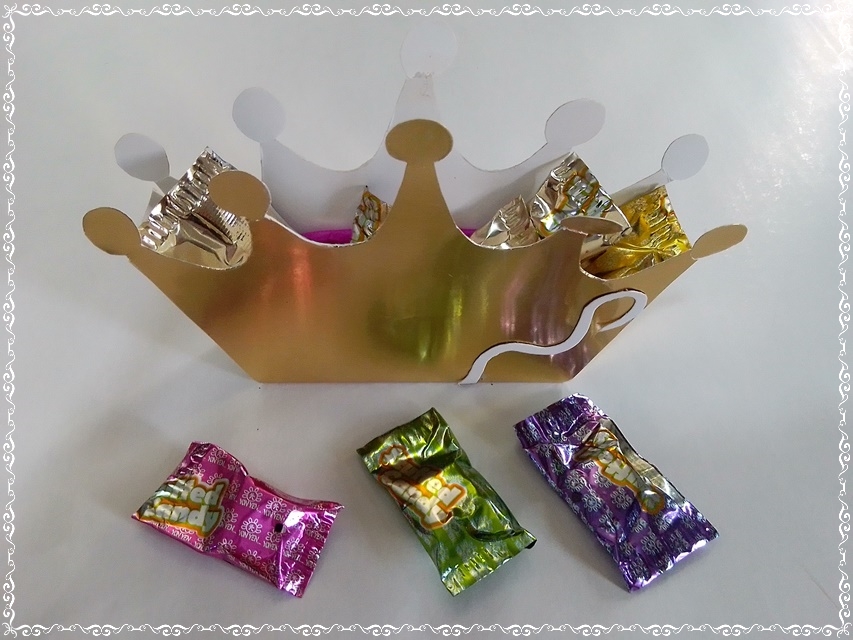
Gracias por tu visita. Nos vemos en la proxima!✌️✌️
Thank you for your visit. See you next time!✌️✌️
Las imágenes fueron tomadas por mí, para la edición utilice PhotoScape y la traducción fue gracias a Deepl/translator🤗
The images were taken by me, for editing I used PhotoScape and the translation was thanks to Deepl/translator🤗
The rewards earned on this comment will go directly to the people sharing the post on Twitter as long as they are registered with @poshtoken. Sign up at https://hiveposh.com.
que hermoso y creativo, me encanta!
Muchas graciaas @divergente1 💋💋
Te quedó muy linda, hace tiempo hice una así pero en rosado y sirve de cotillón, dulcero, o hasta para guardar cosas como la tengo yo, bonito trabajo! 😍
Me alegra que te haya gustado! 🤗 me encanta el rosa debe de verse muy linda en ese color 😍
Gracias por el apoyo reina 🌹💕
Se ve sencilla de hacer gracias a ese paso a paso y los moldes, me encantó lo delicada y elegante, además de los materiales que usaste. Gracias por compartir.
Sii lo bueno es que se hace en poco minutos y el resultado es bonito. Muchas gracias por ver mi post 😘😘, me alegra que te haya gustado💕💕
Congratulations @karenlagonell! You have completed the following achievement on the Hive blockchain and have been rewarded with new badge(s):
Your next target is to reach 4500 upvotes.
You can view your badges on your board and compare yourself to others in the Ranking
If you no longer want to receive notifications, reply to this comment with the word
STOPSupport the HiveBuzz project. Vote for our proposal!