Esp 🇪🇦
Saludos amigos hivers, bienvenidos a mi blog, es un placer y un gusto estar de regreso en esta gran comunidad de #hivediy, se que estuve un poco alejado de la plataforma en si, pues comencé clases presenciales y he estado muy ocupado y full de mis tareas y actividades escolares, les cuento que me encantó volver a la escuela y pasar tiempo con mis compañeros y divertirme con ellos.
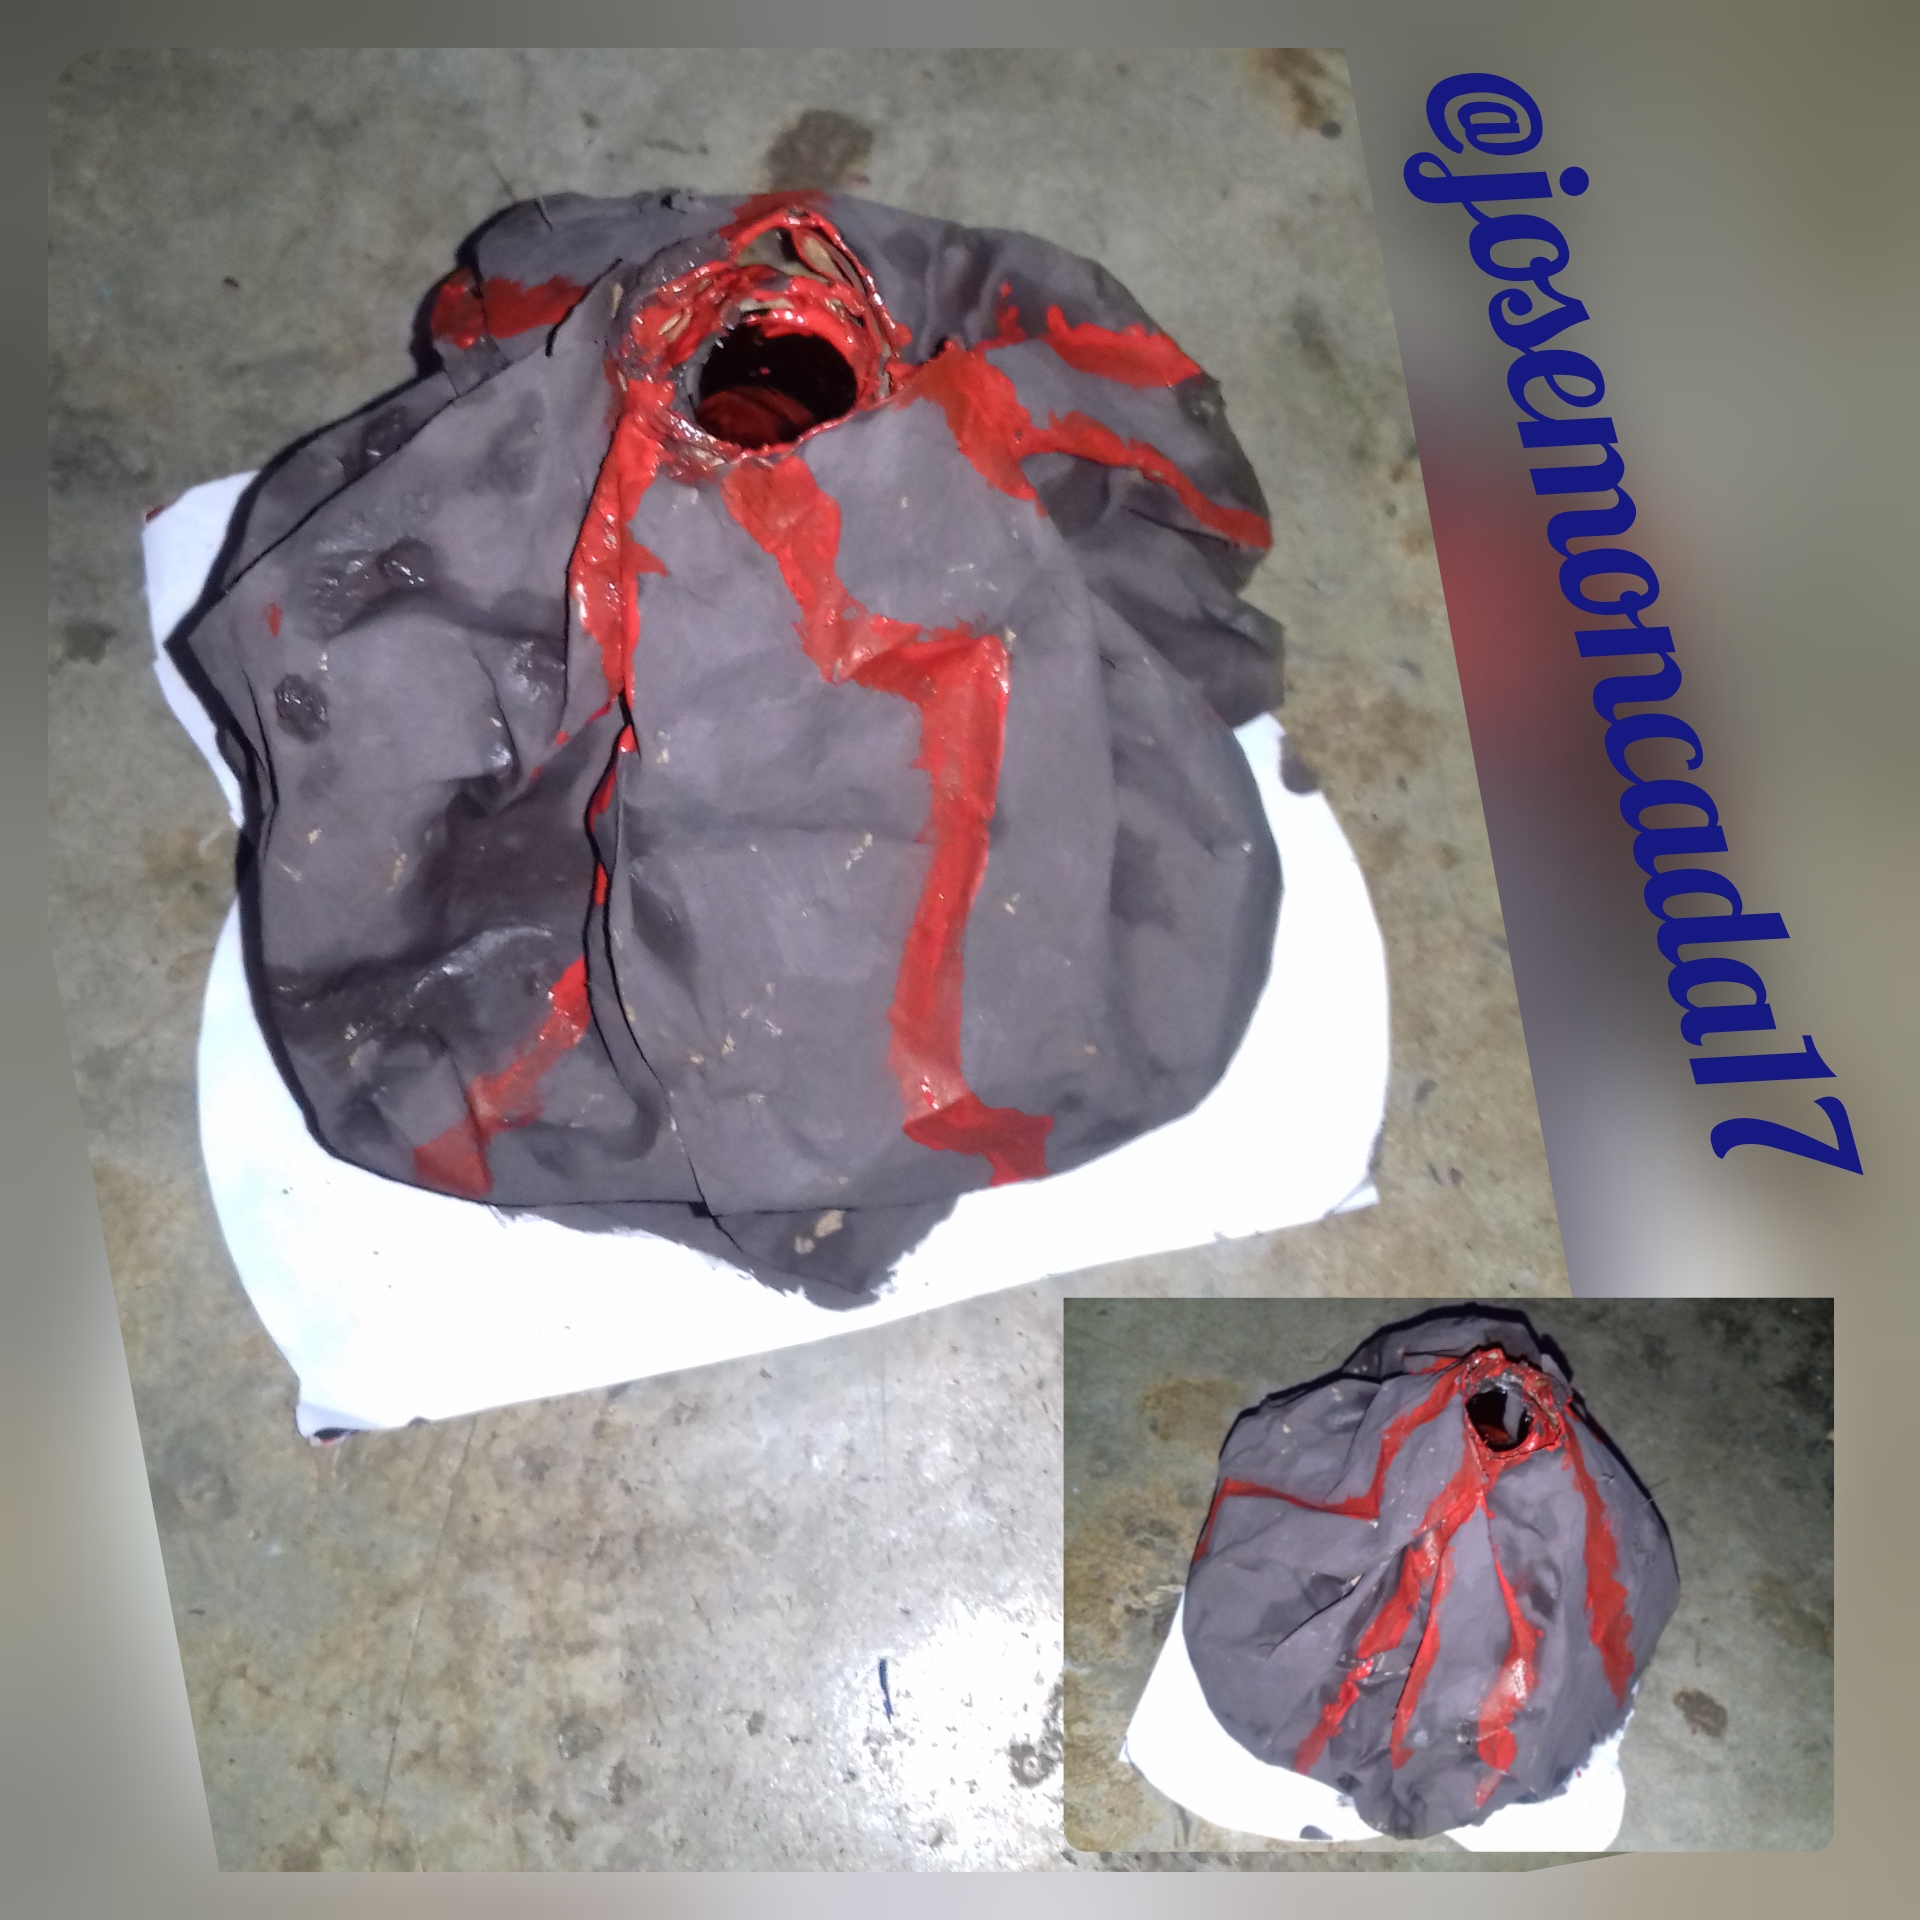
El día de hoy les enseñaré a hacer un volcán con material útil, siendo este mi trabajo final del Proyecto, el cual se tituló "Una Maravilla Volcánica". Durante este periodo estuvimos investigando sobre los volcanes y sus tipos, y las diferentes formas en que podíamos elaborarlo ya que es nuestro proyecto final el cual debemos hacer erupcionar en el salón de clases, me encanta esta idea jejeje. Después de tanto investigar tuvimos que me ponernos manos a la obra y decidí hacer este volcán con material de provecho, ya que me gusta reciclar y darle otra vida útil a los materiales, aquí les dejo el paso a paso de mi trabajo, yo espero que les guste como a mi.
Materiales
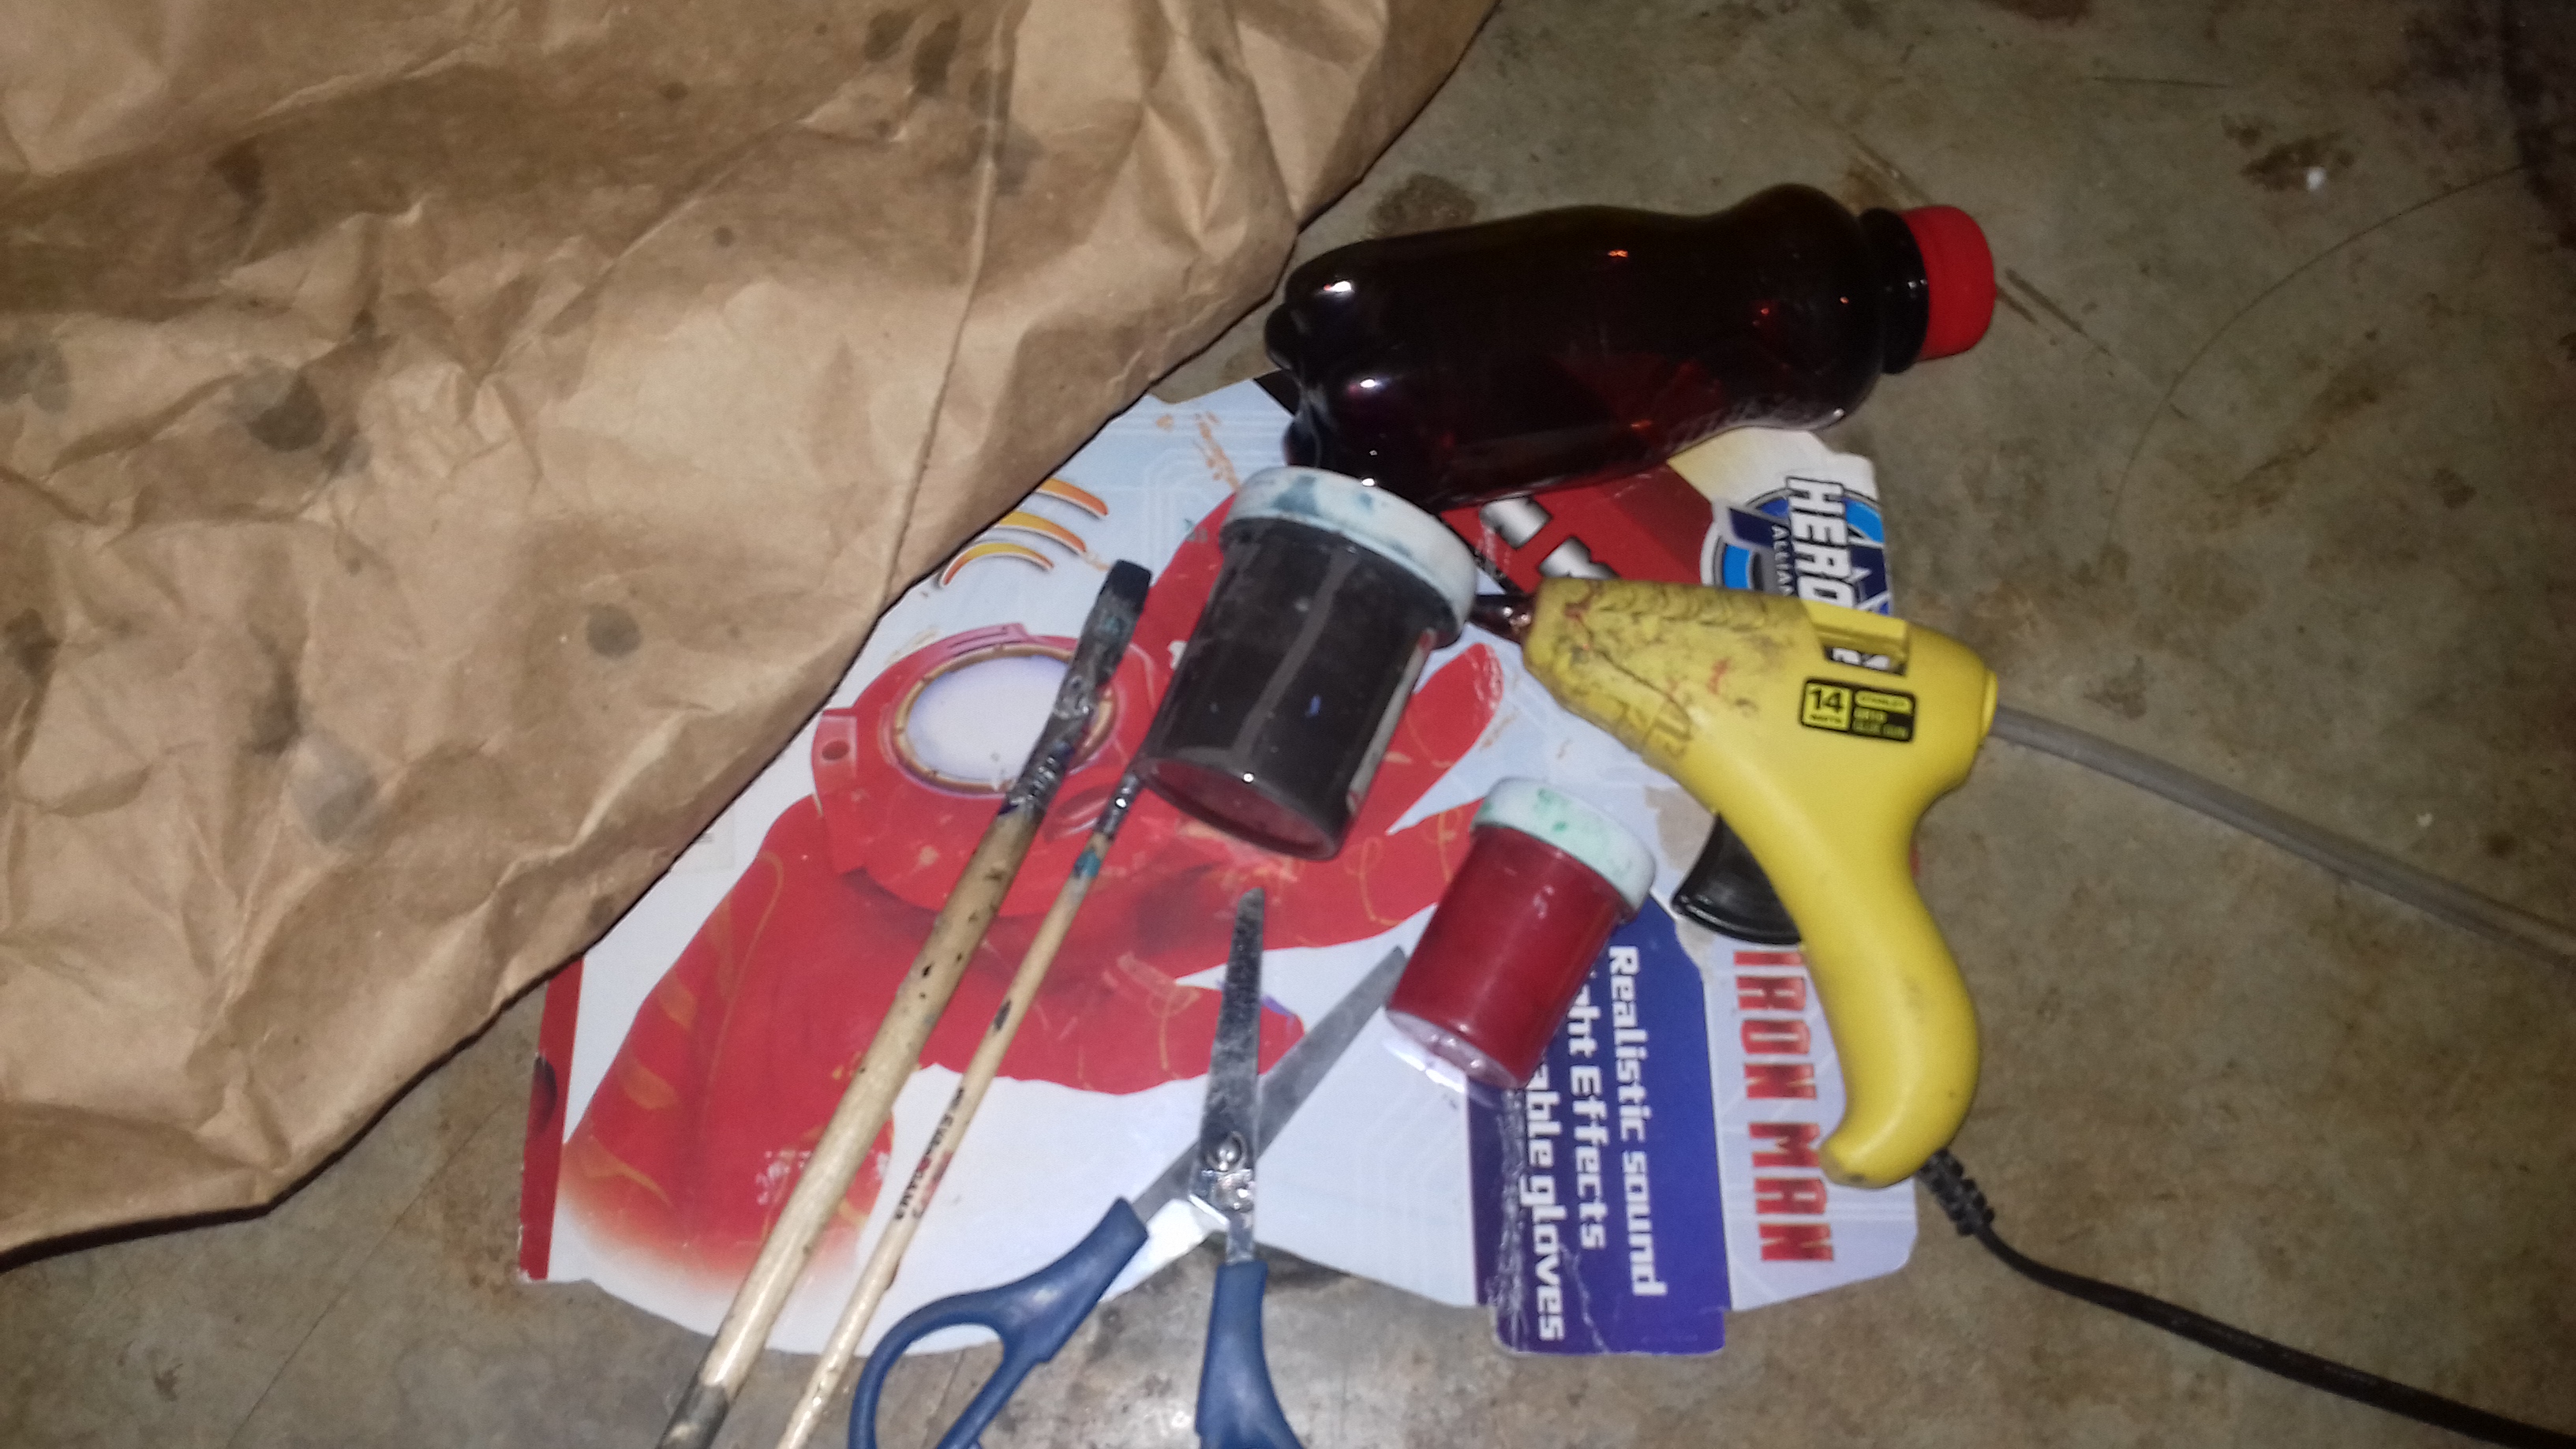
▪️Bolsa de papel
▪️1 botella de plástico pequeña
▪️Pistola y barra de silicona
▪️Pintura roja y marrón
▪️Cartón fino
▪️1 hoja blanca
▪️Par de tijeras
▪️Pinceles y Mi Creatividad.
Paso a paso
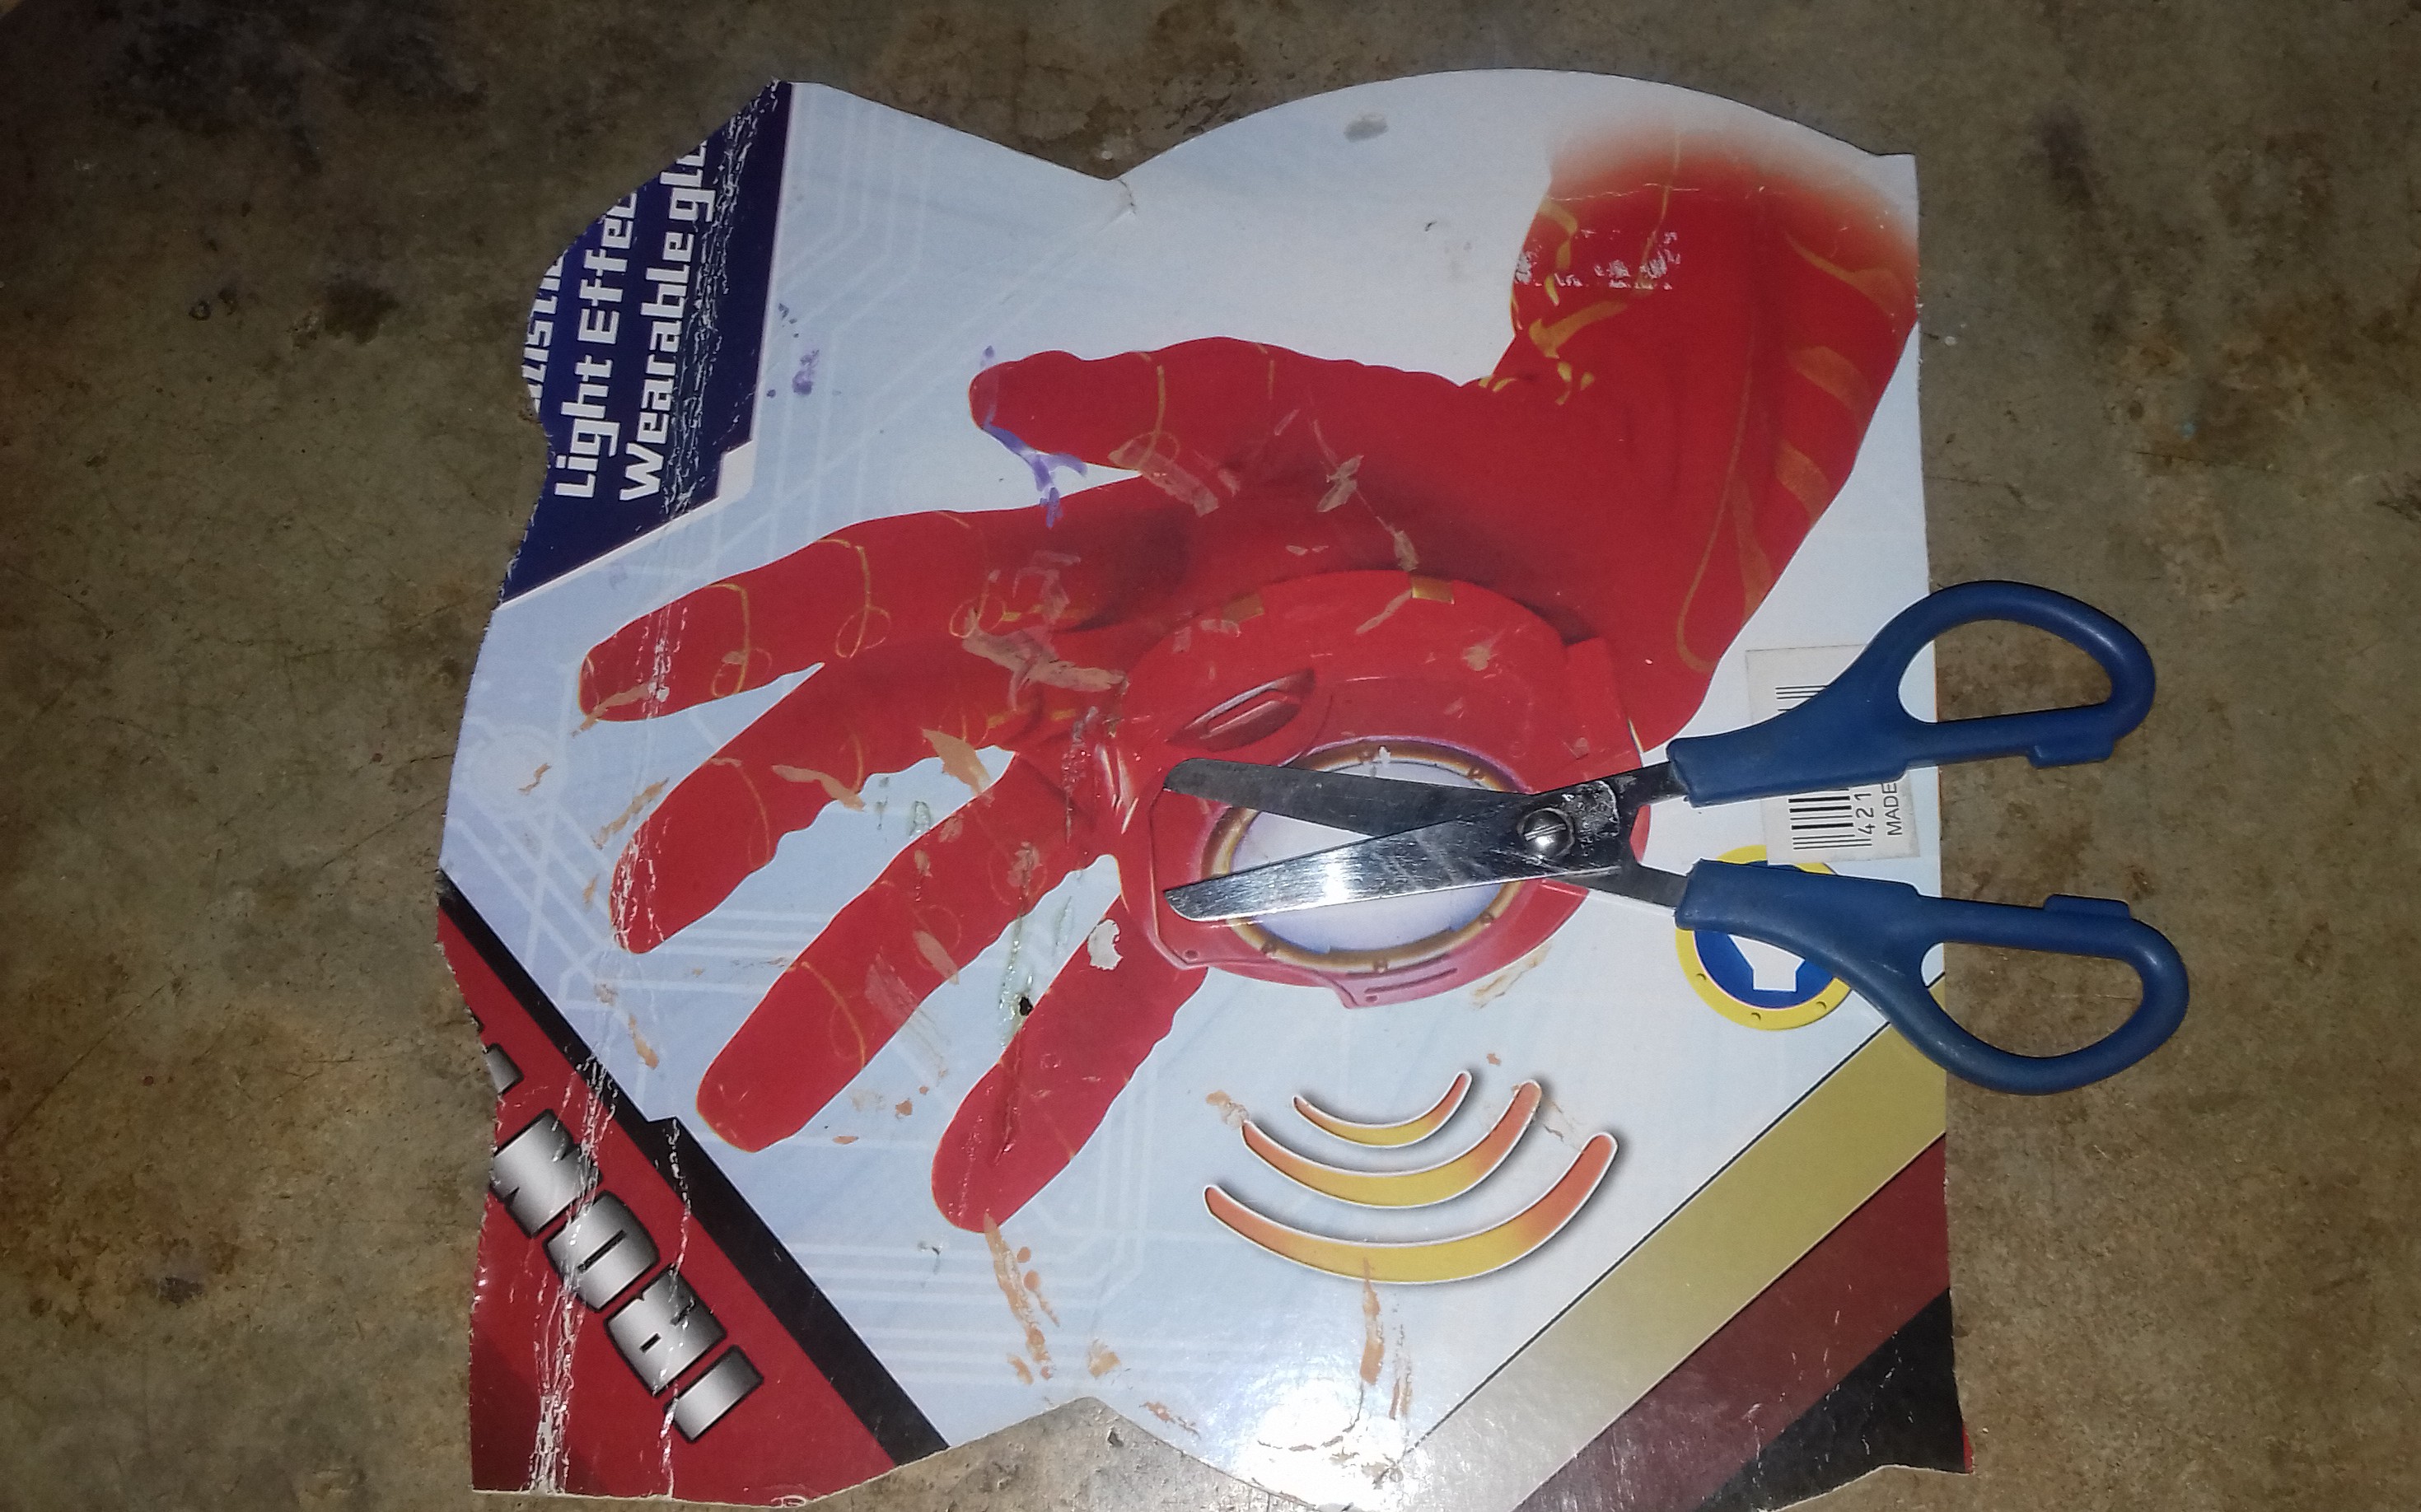
Paso 1. Cortar el cartón fino con ayuda de unas tijeras, para hacer la base del volcán.
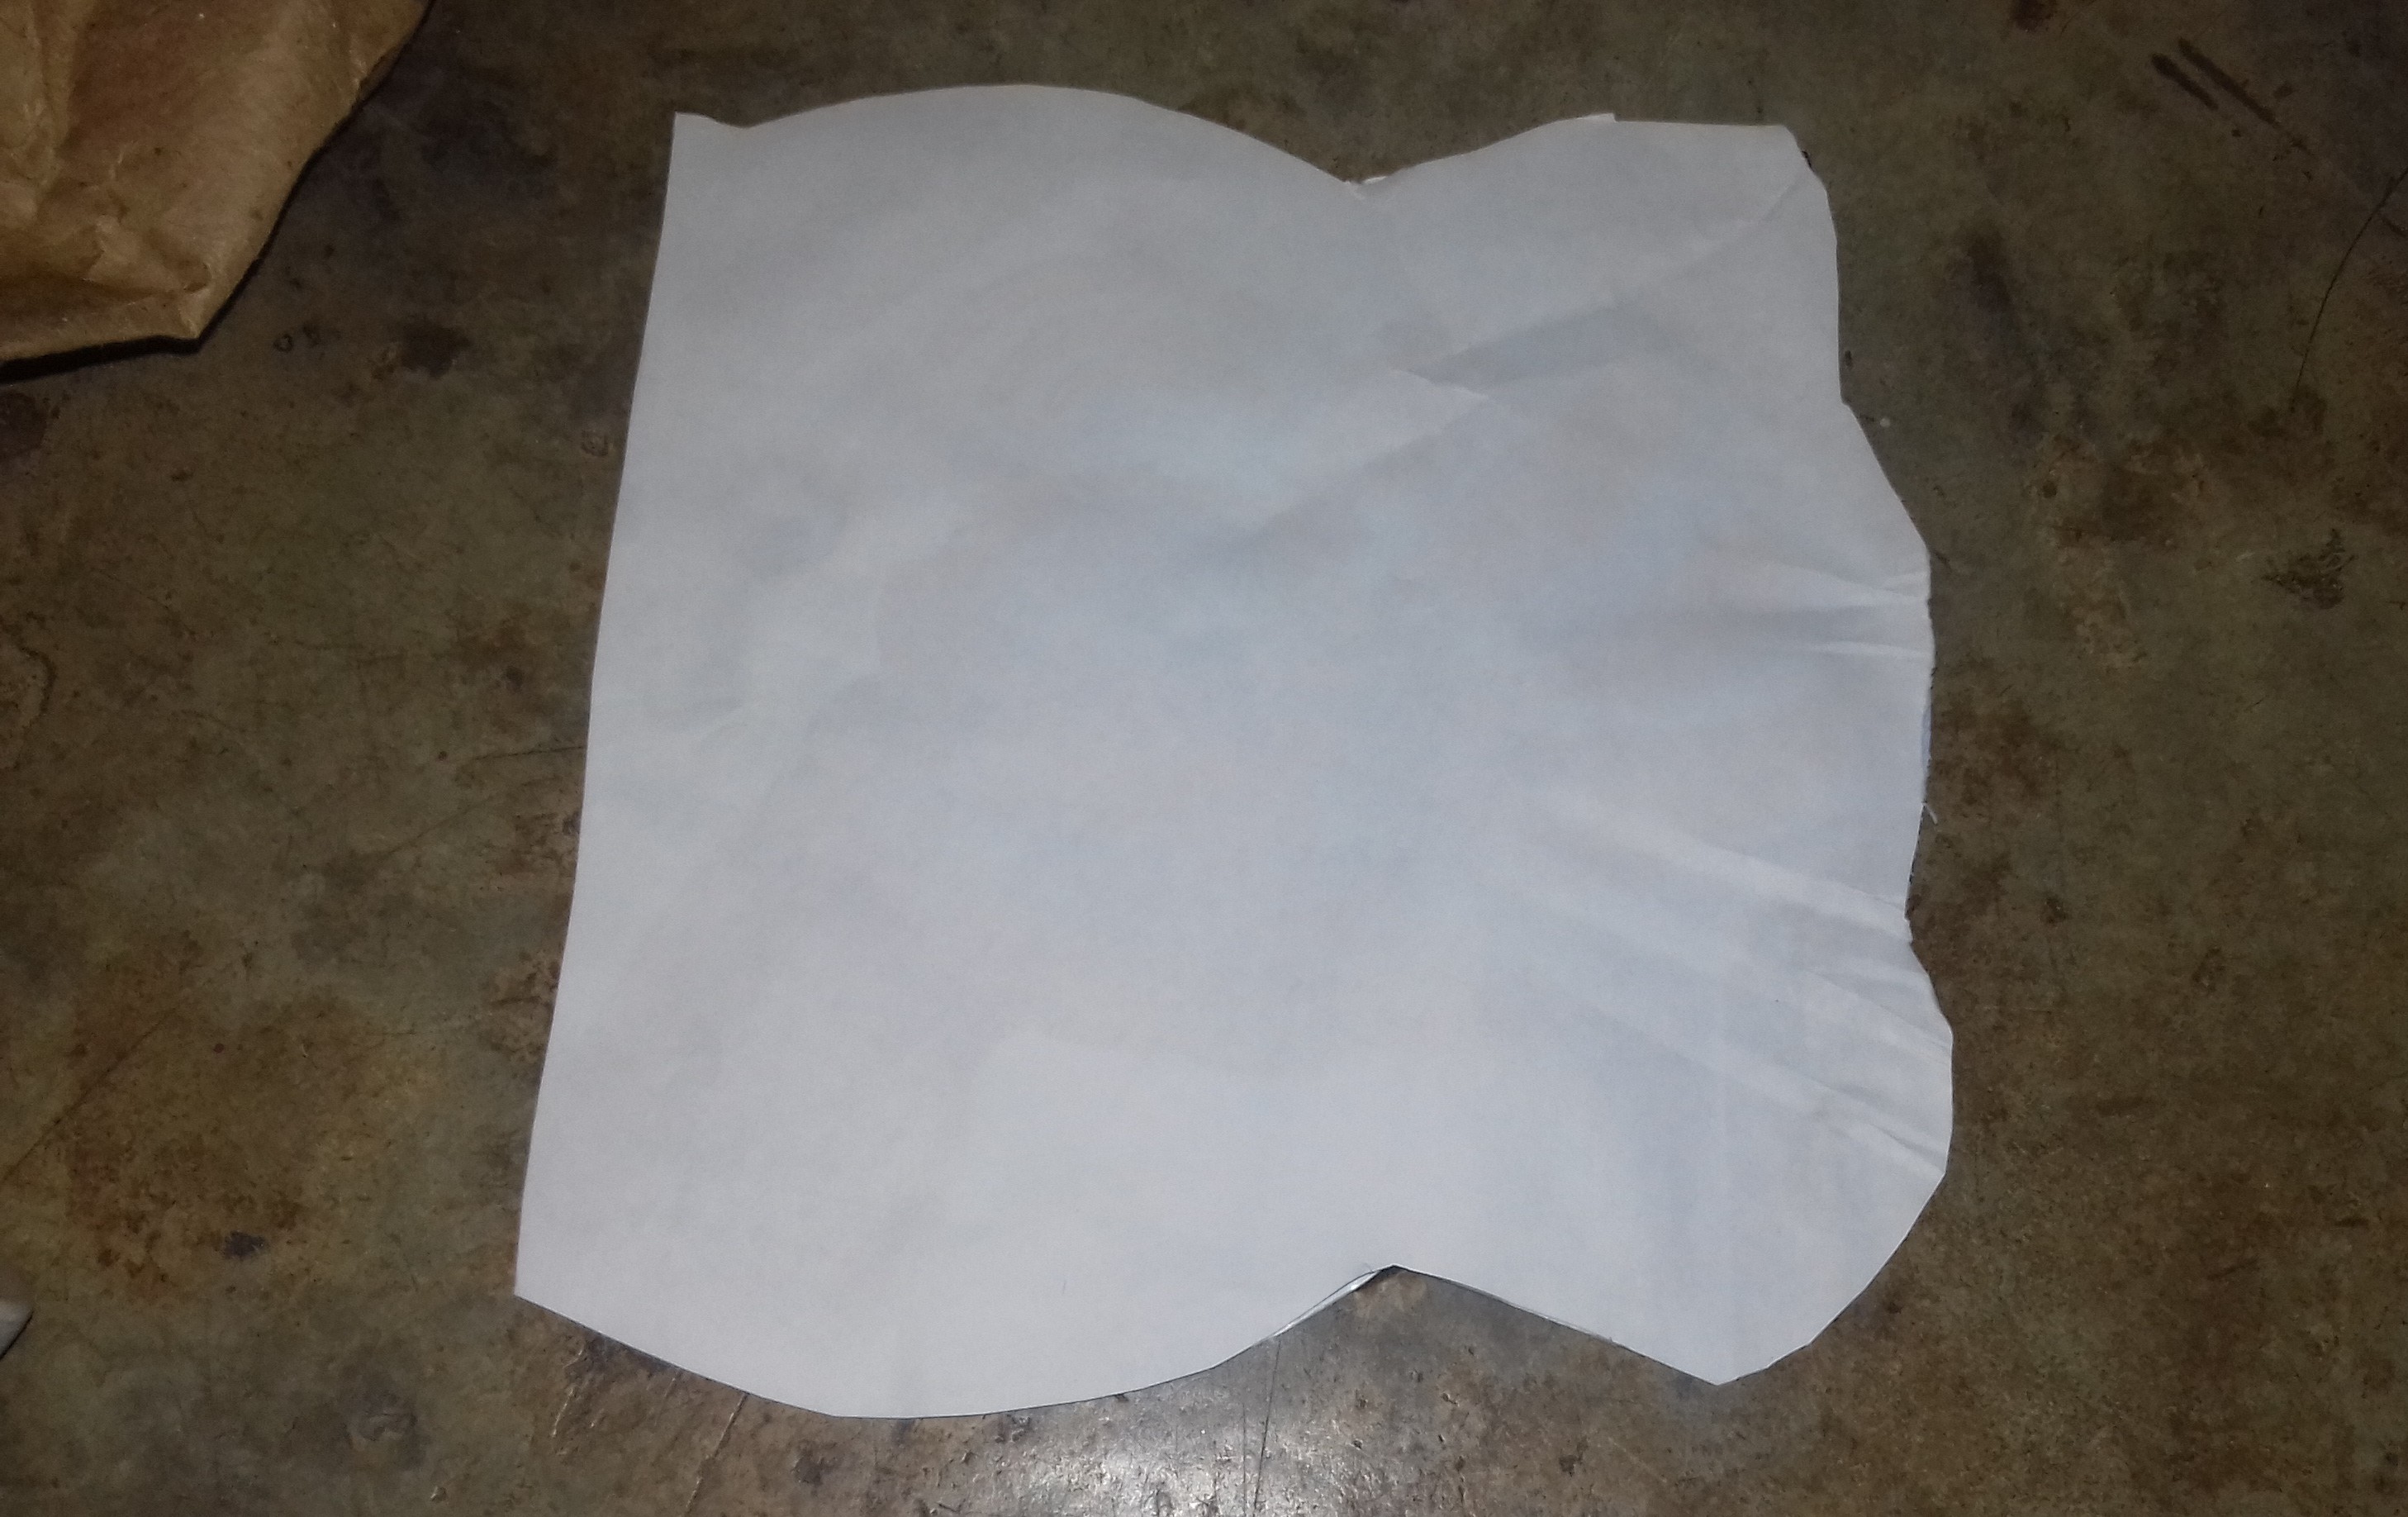
Paso 2. Forra la base con la hoja blanca.
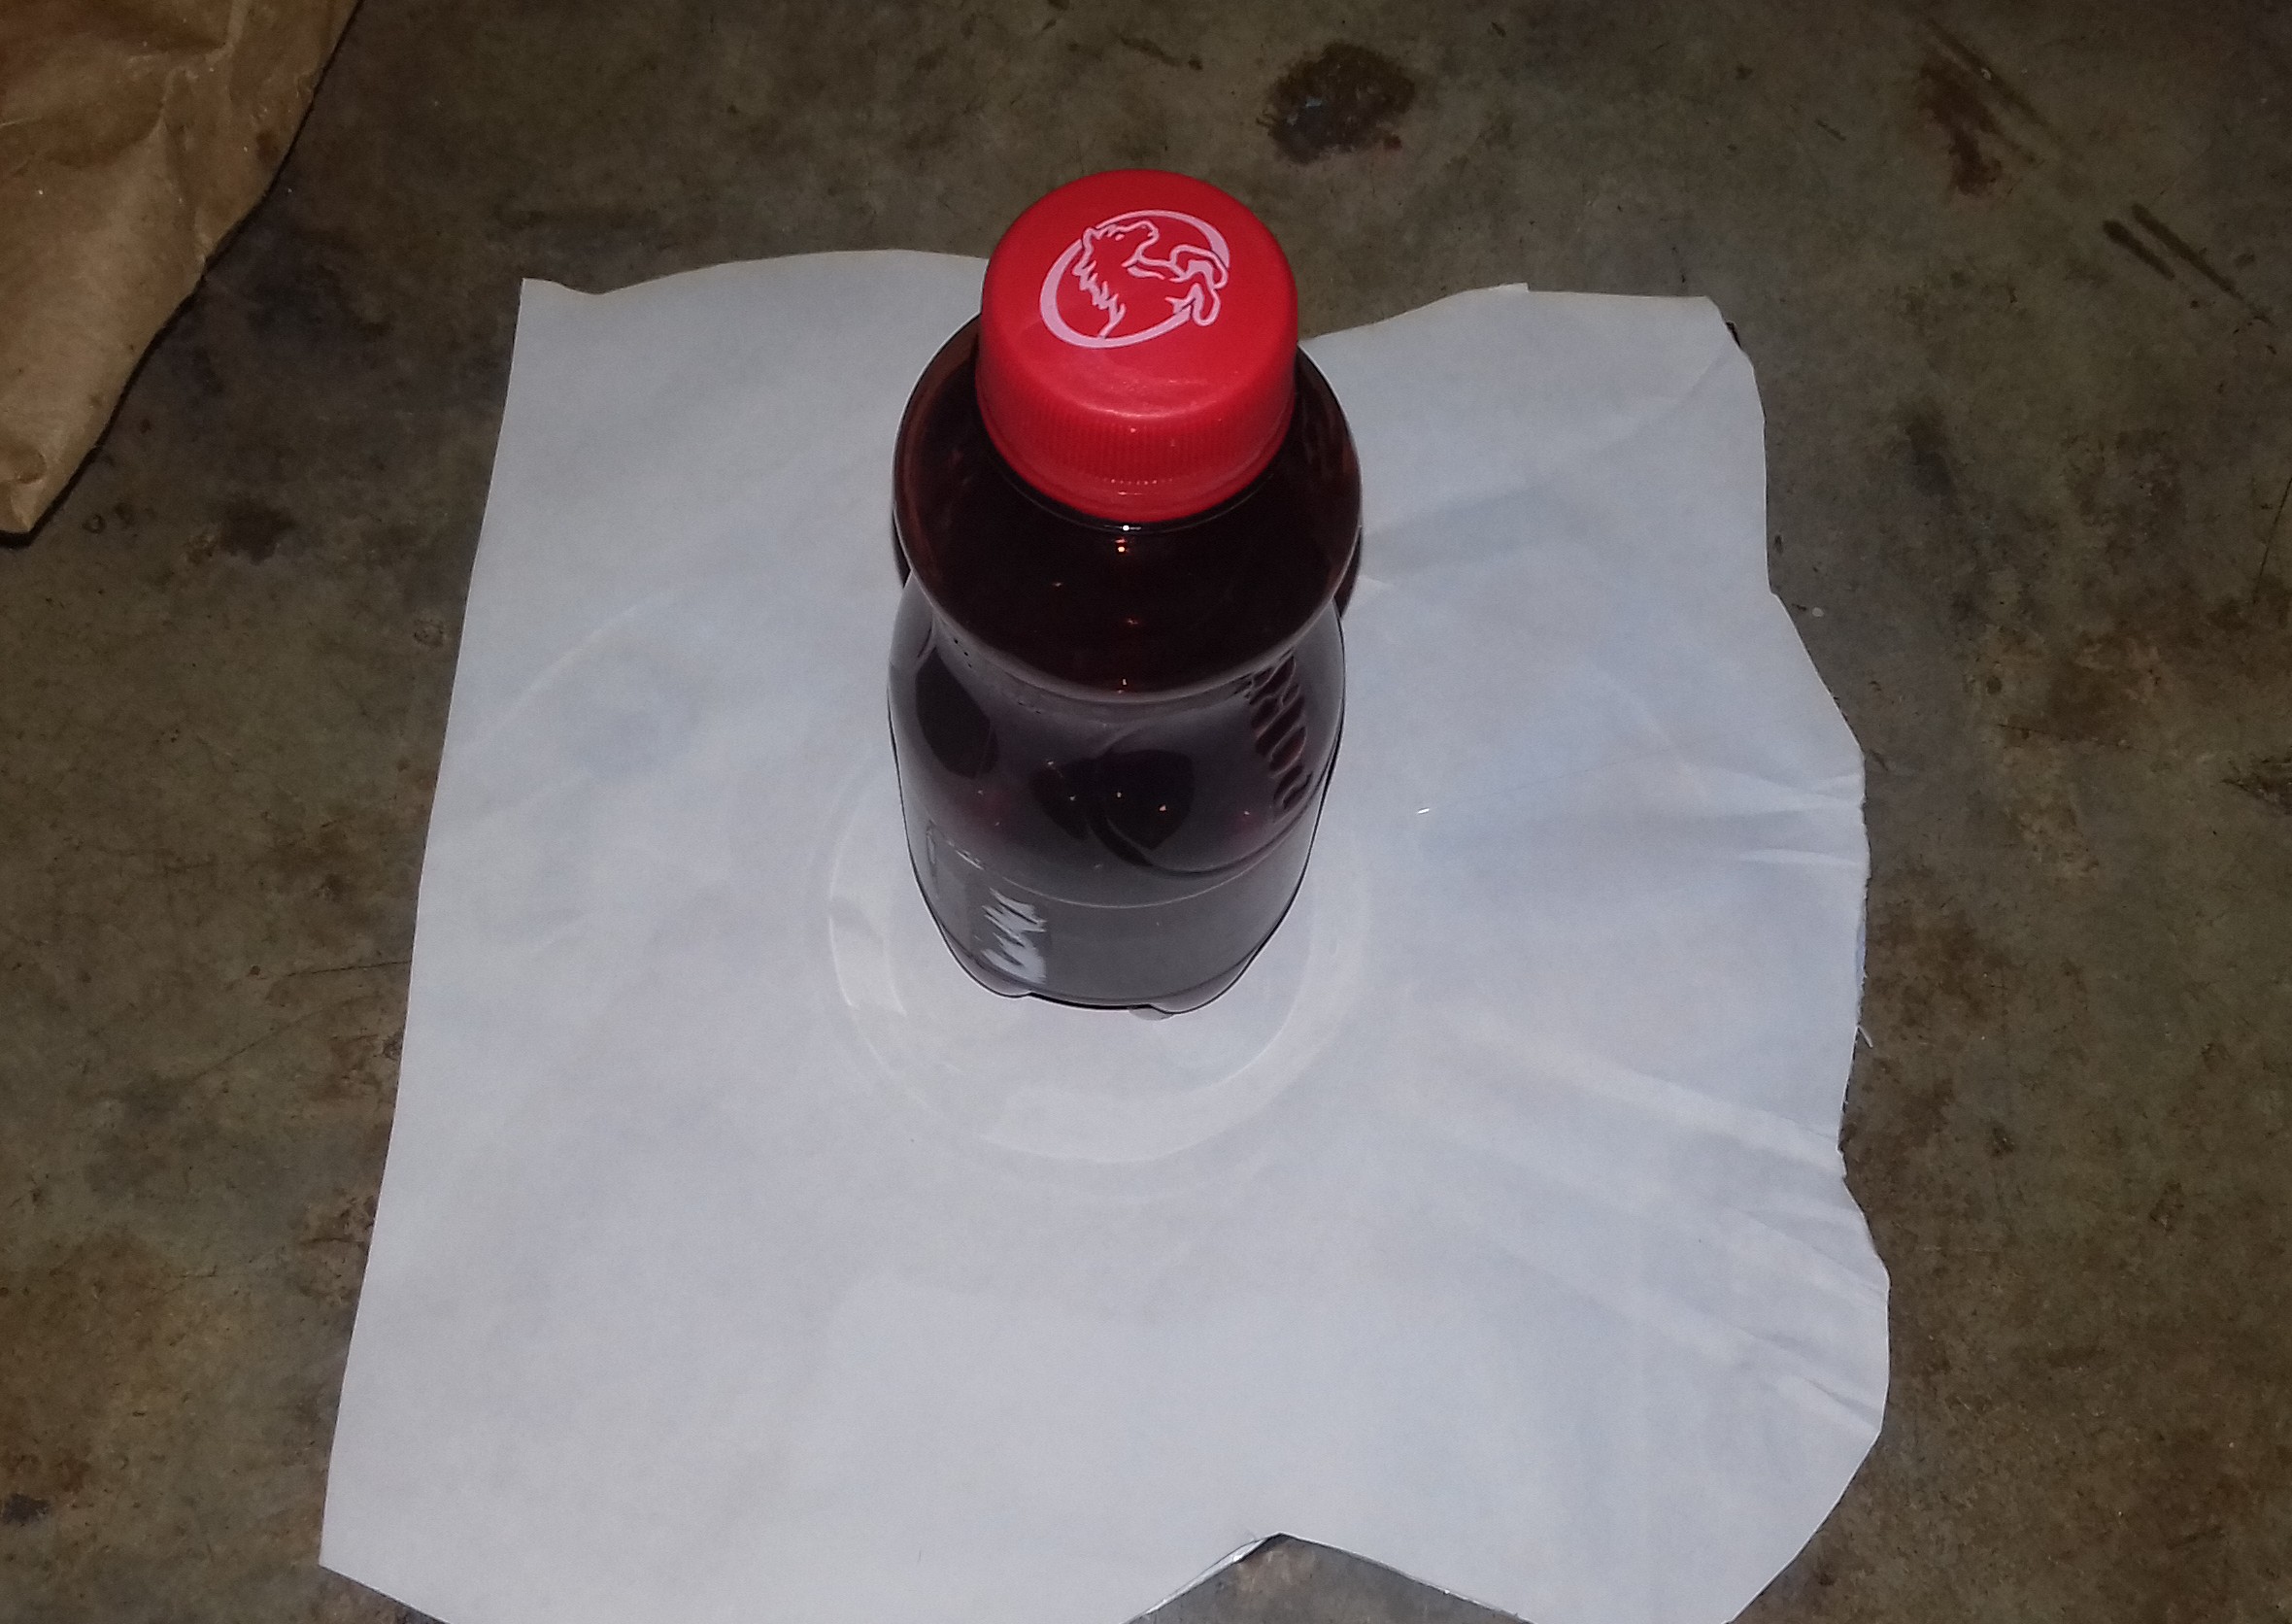
Paso 3. Toma la botella de plástico y pégala en el centro de la base con la ayuda de la pistola y la silicona.
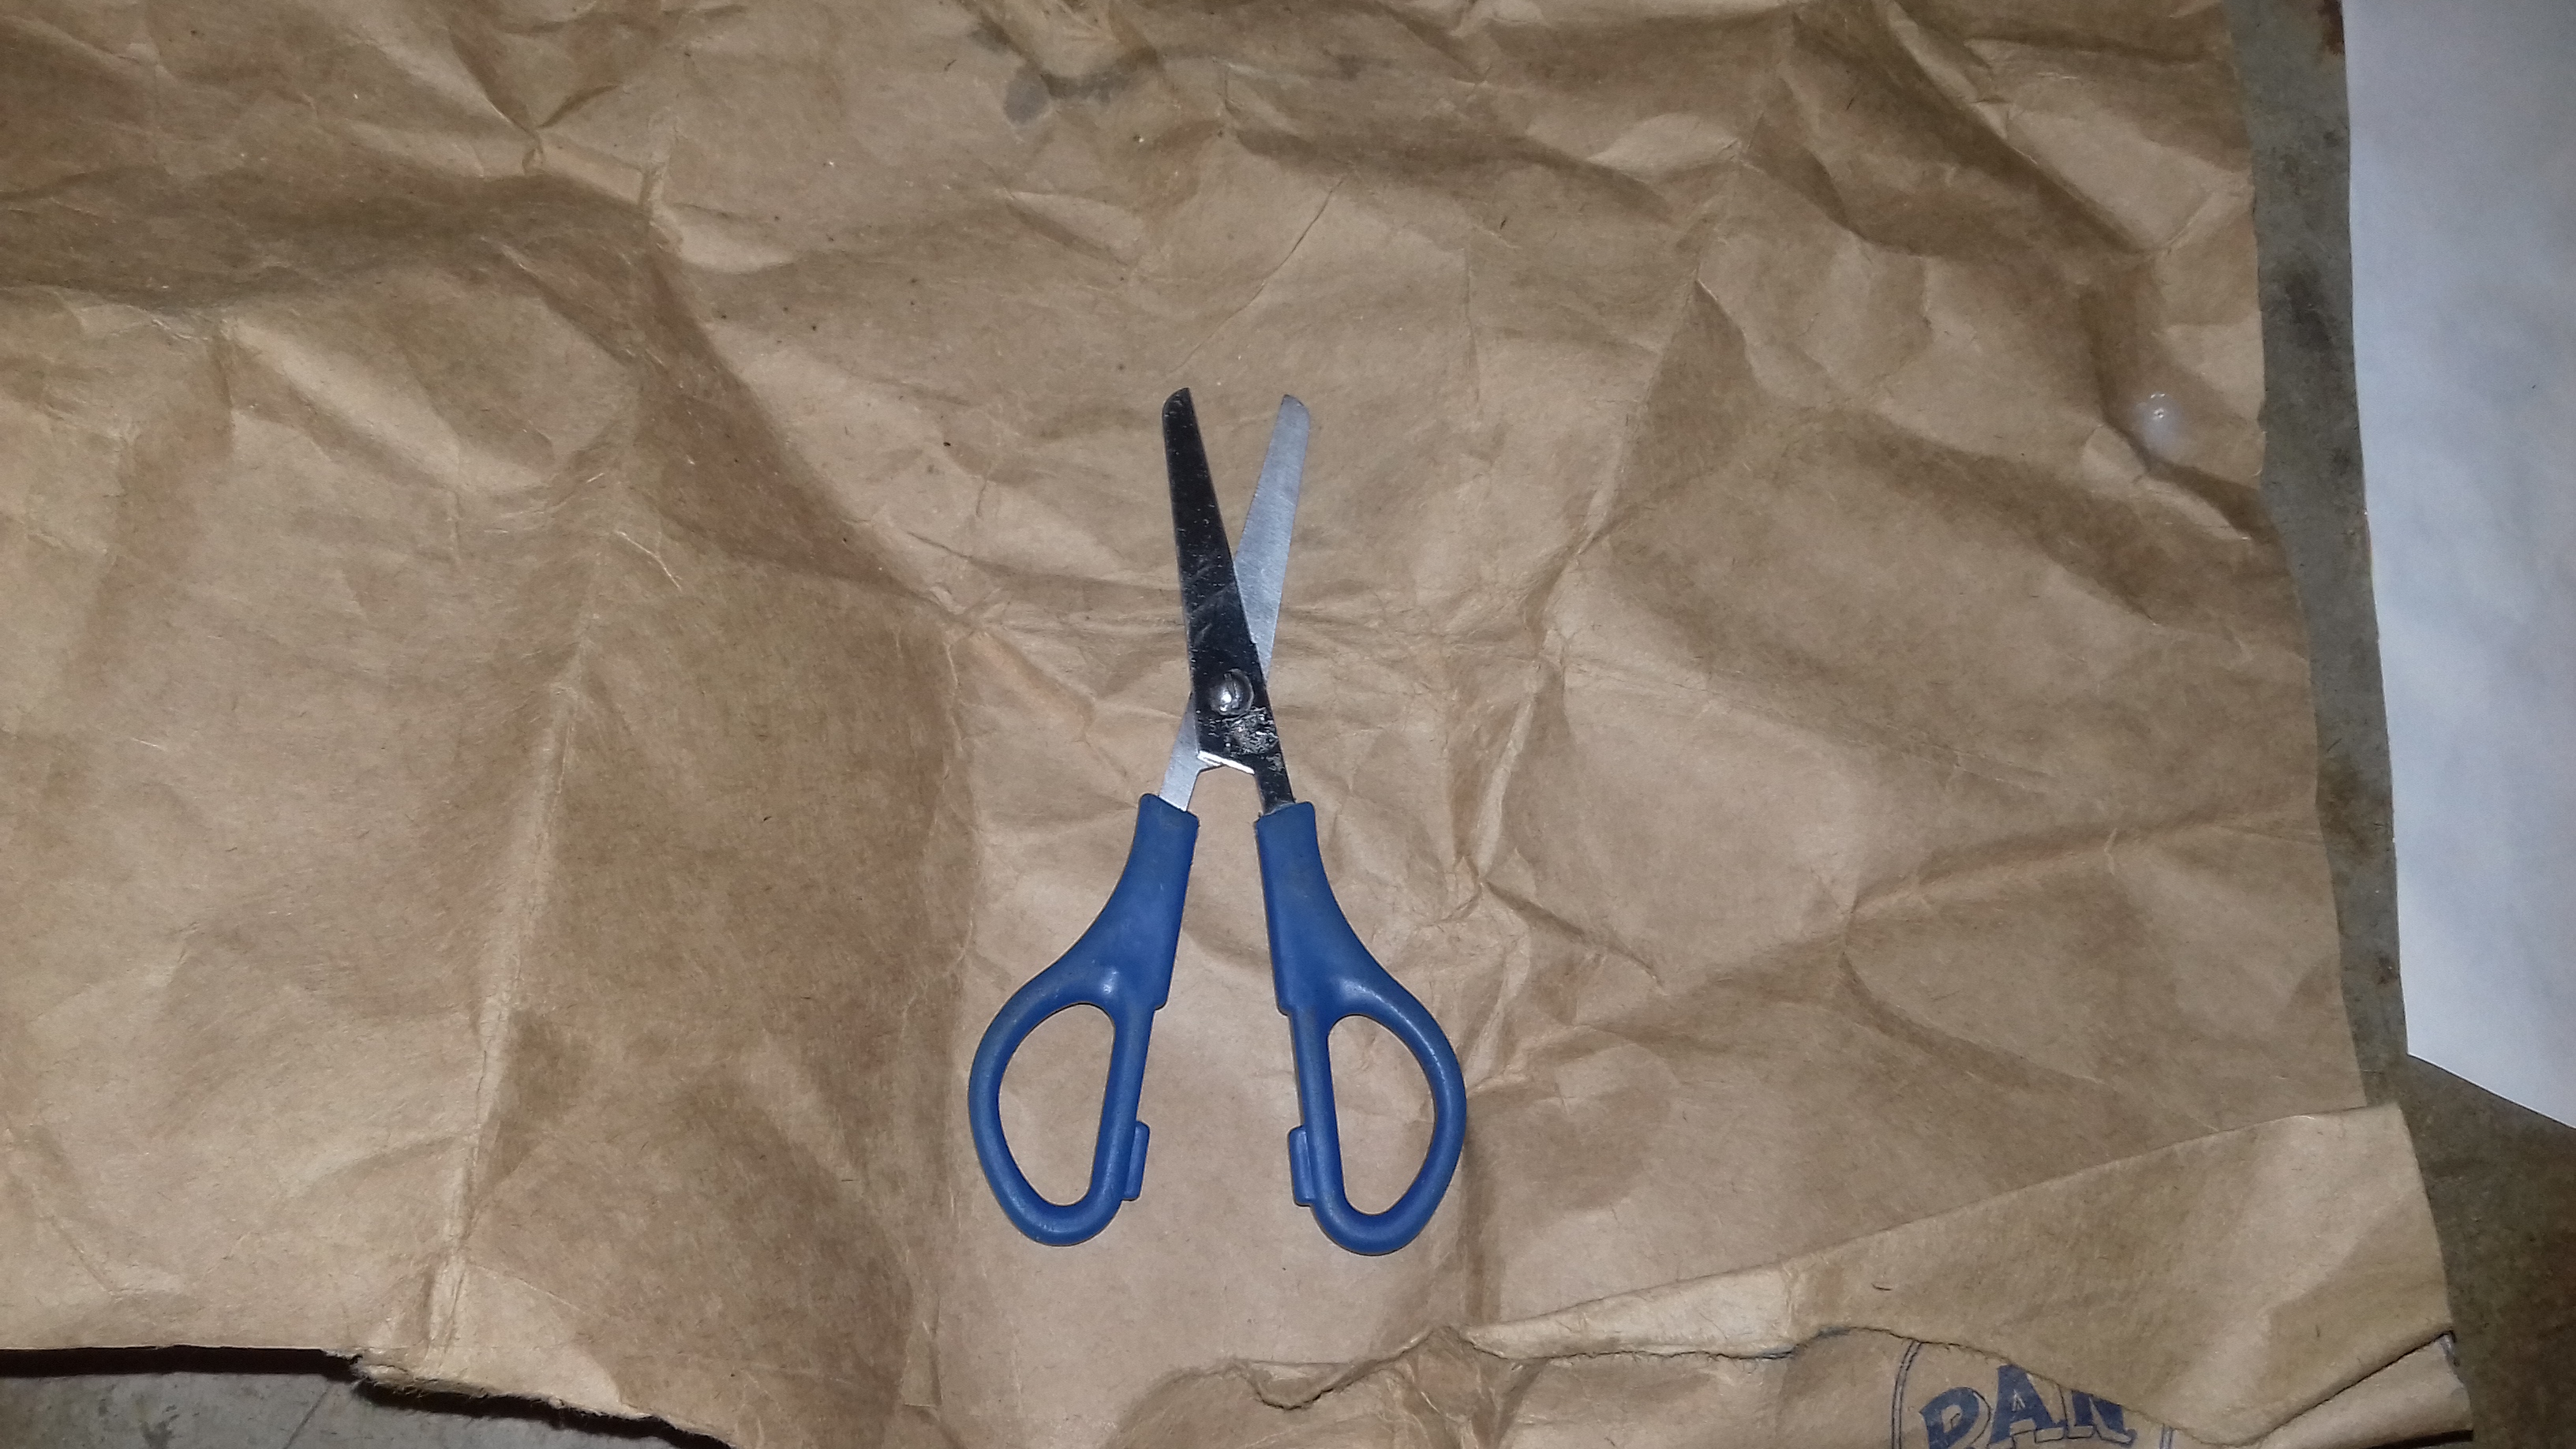
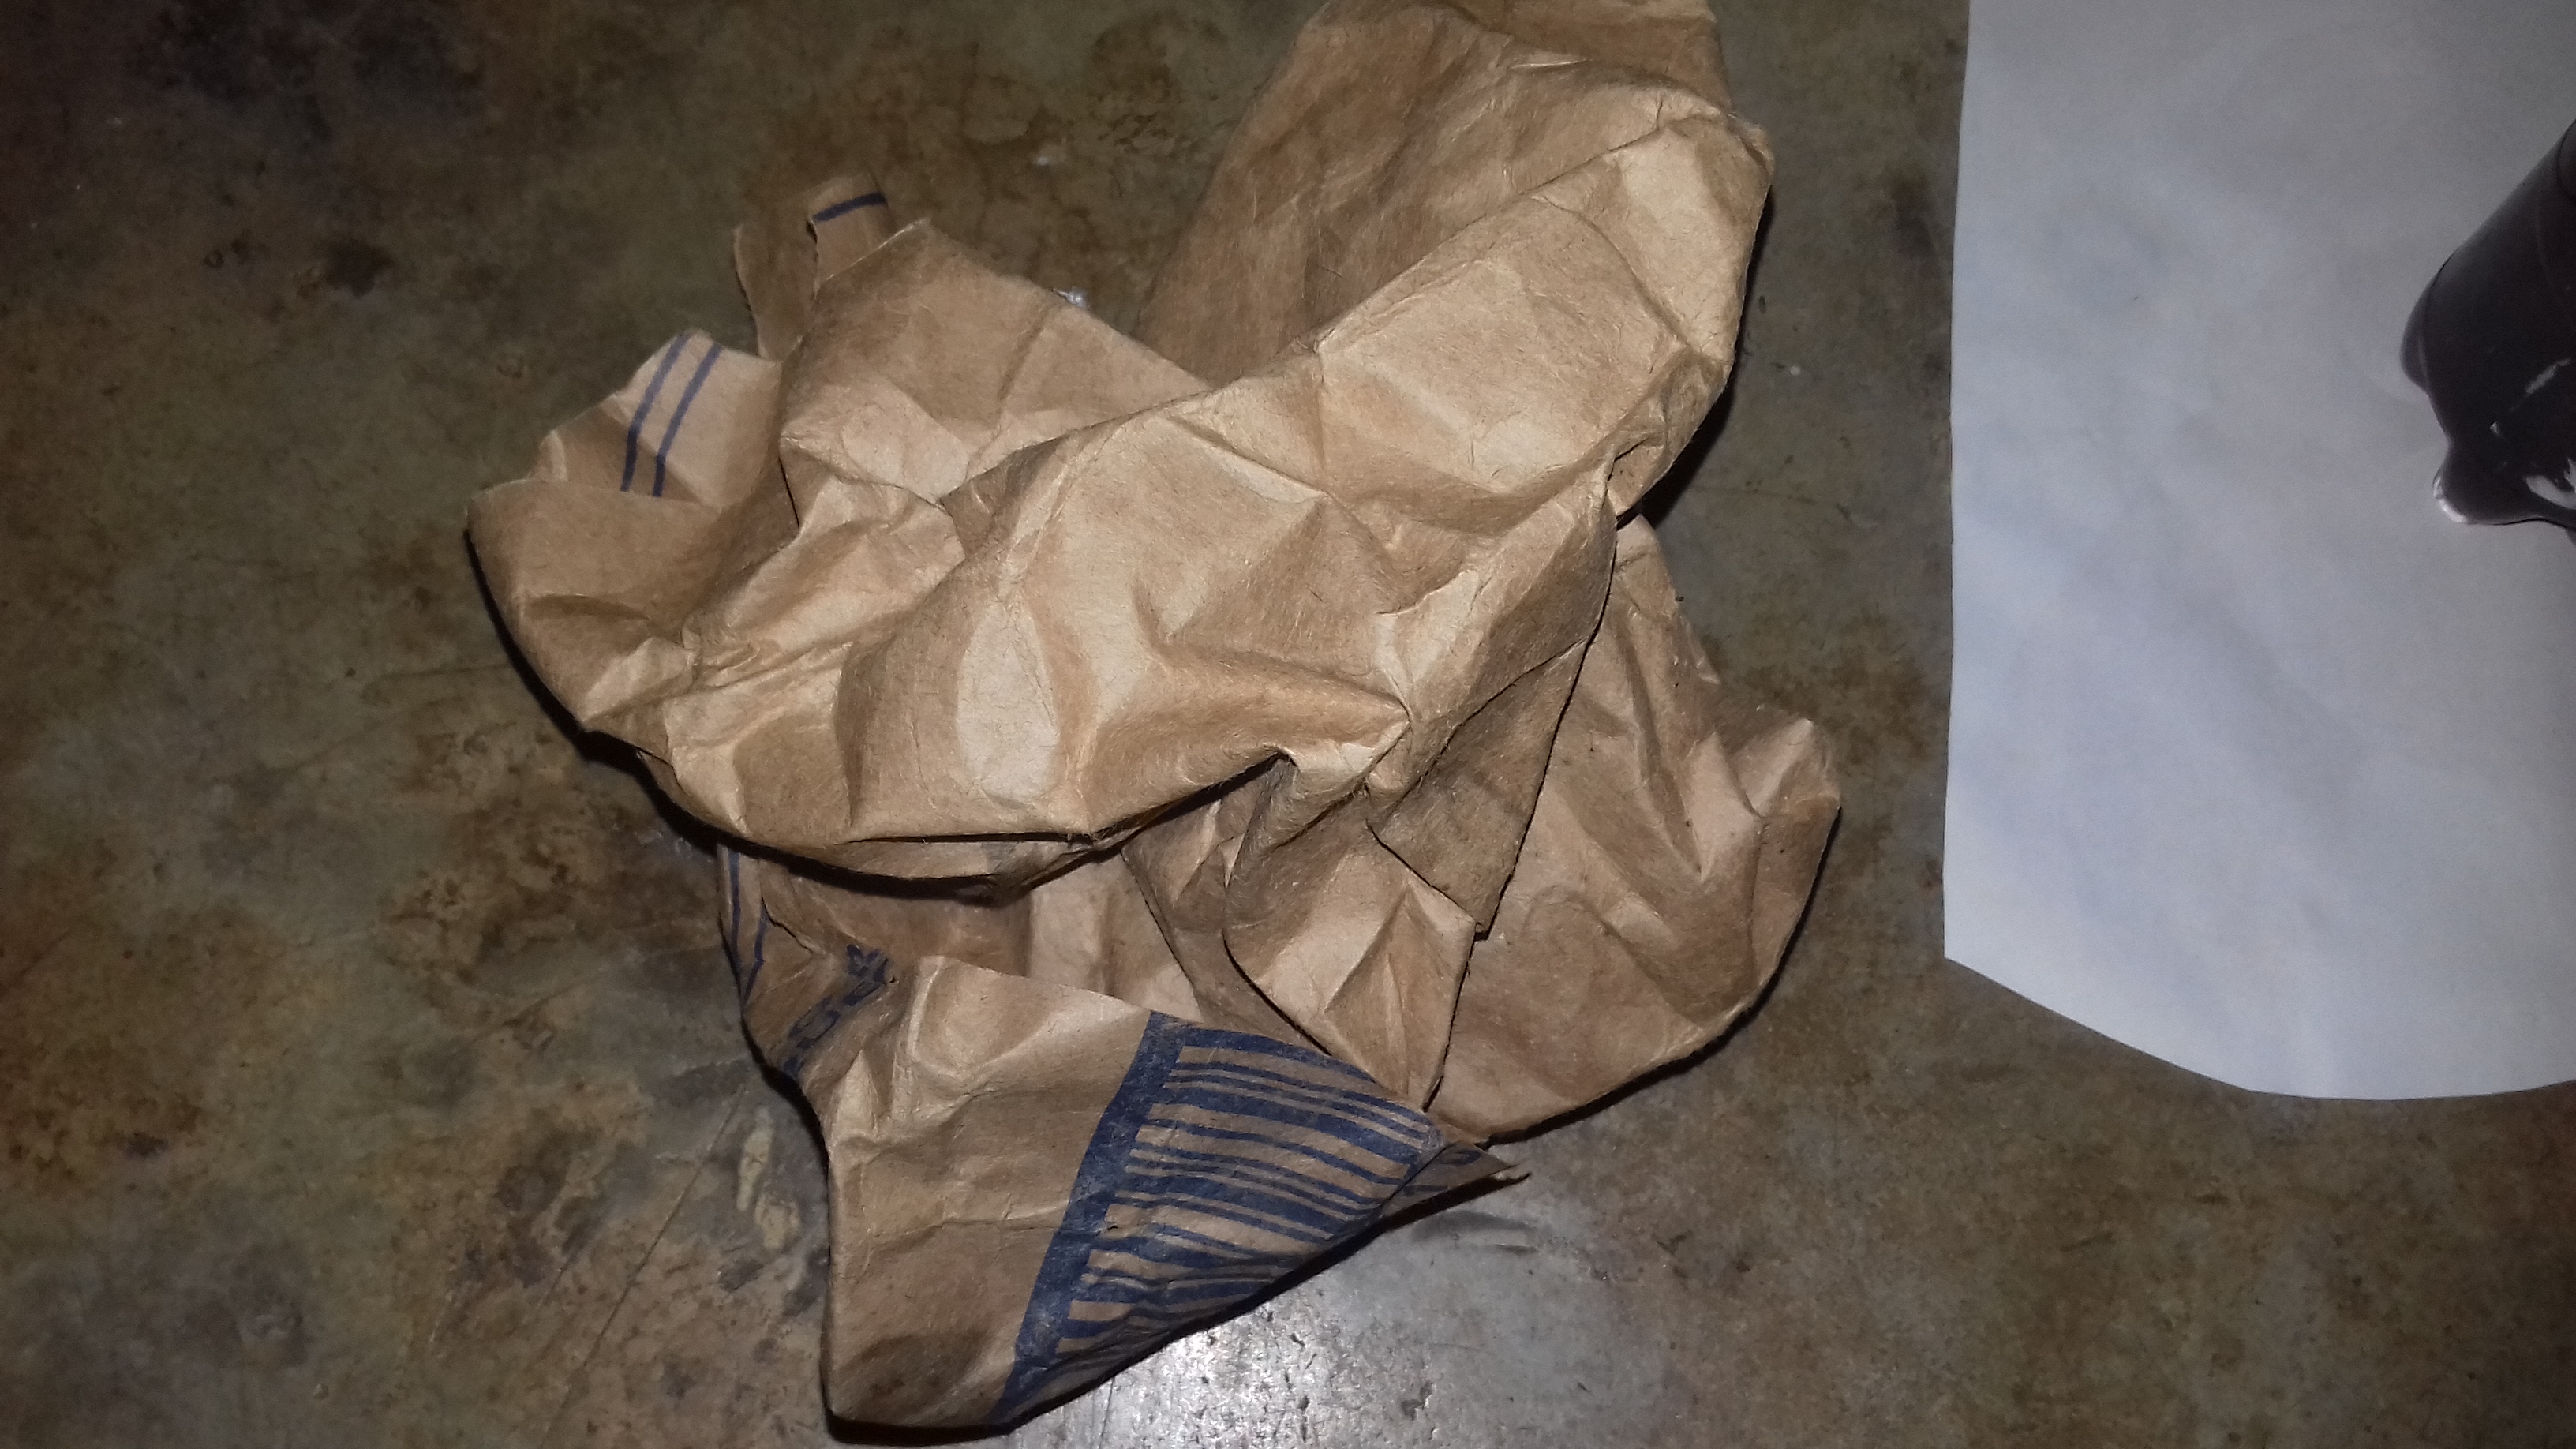
Paso 4. Recorta 2 rectángulos grandes de la bolsa de papel y luego arrúgalos.
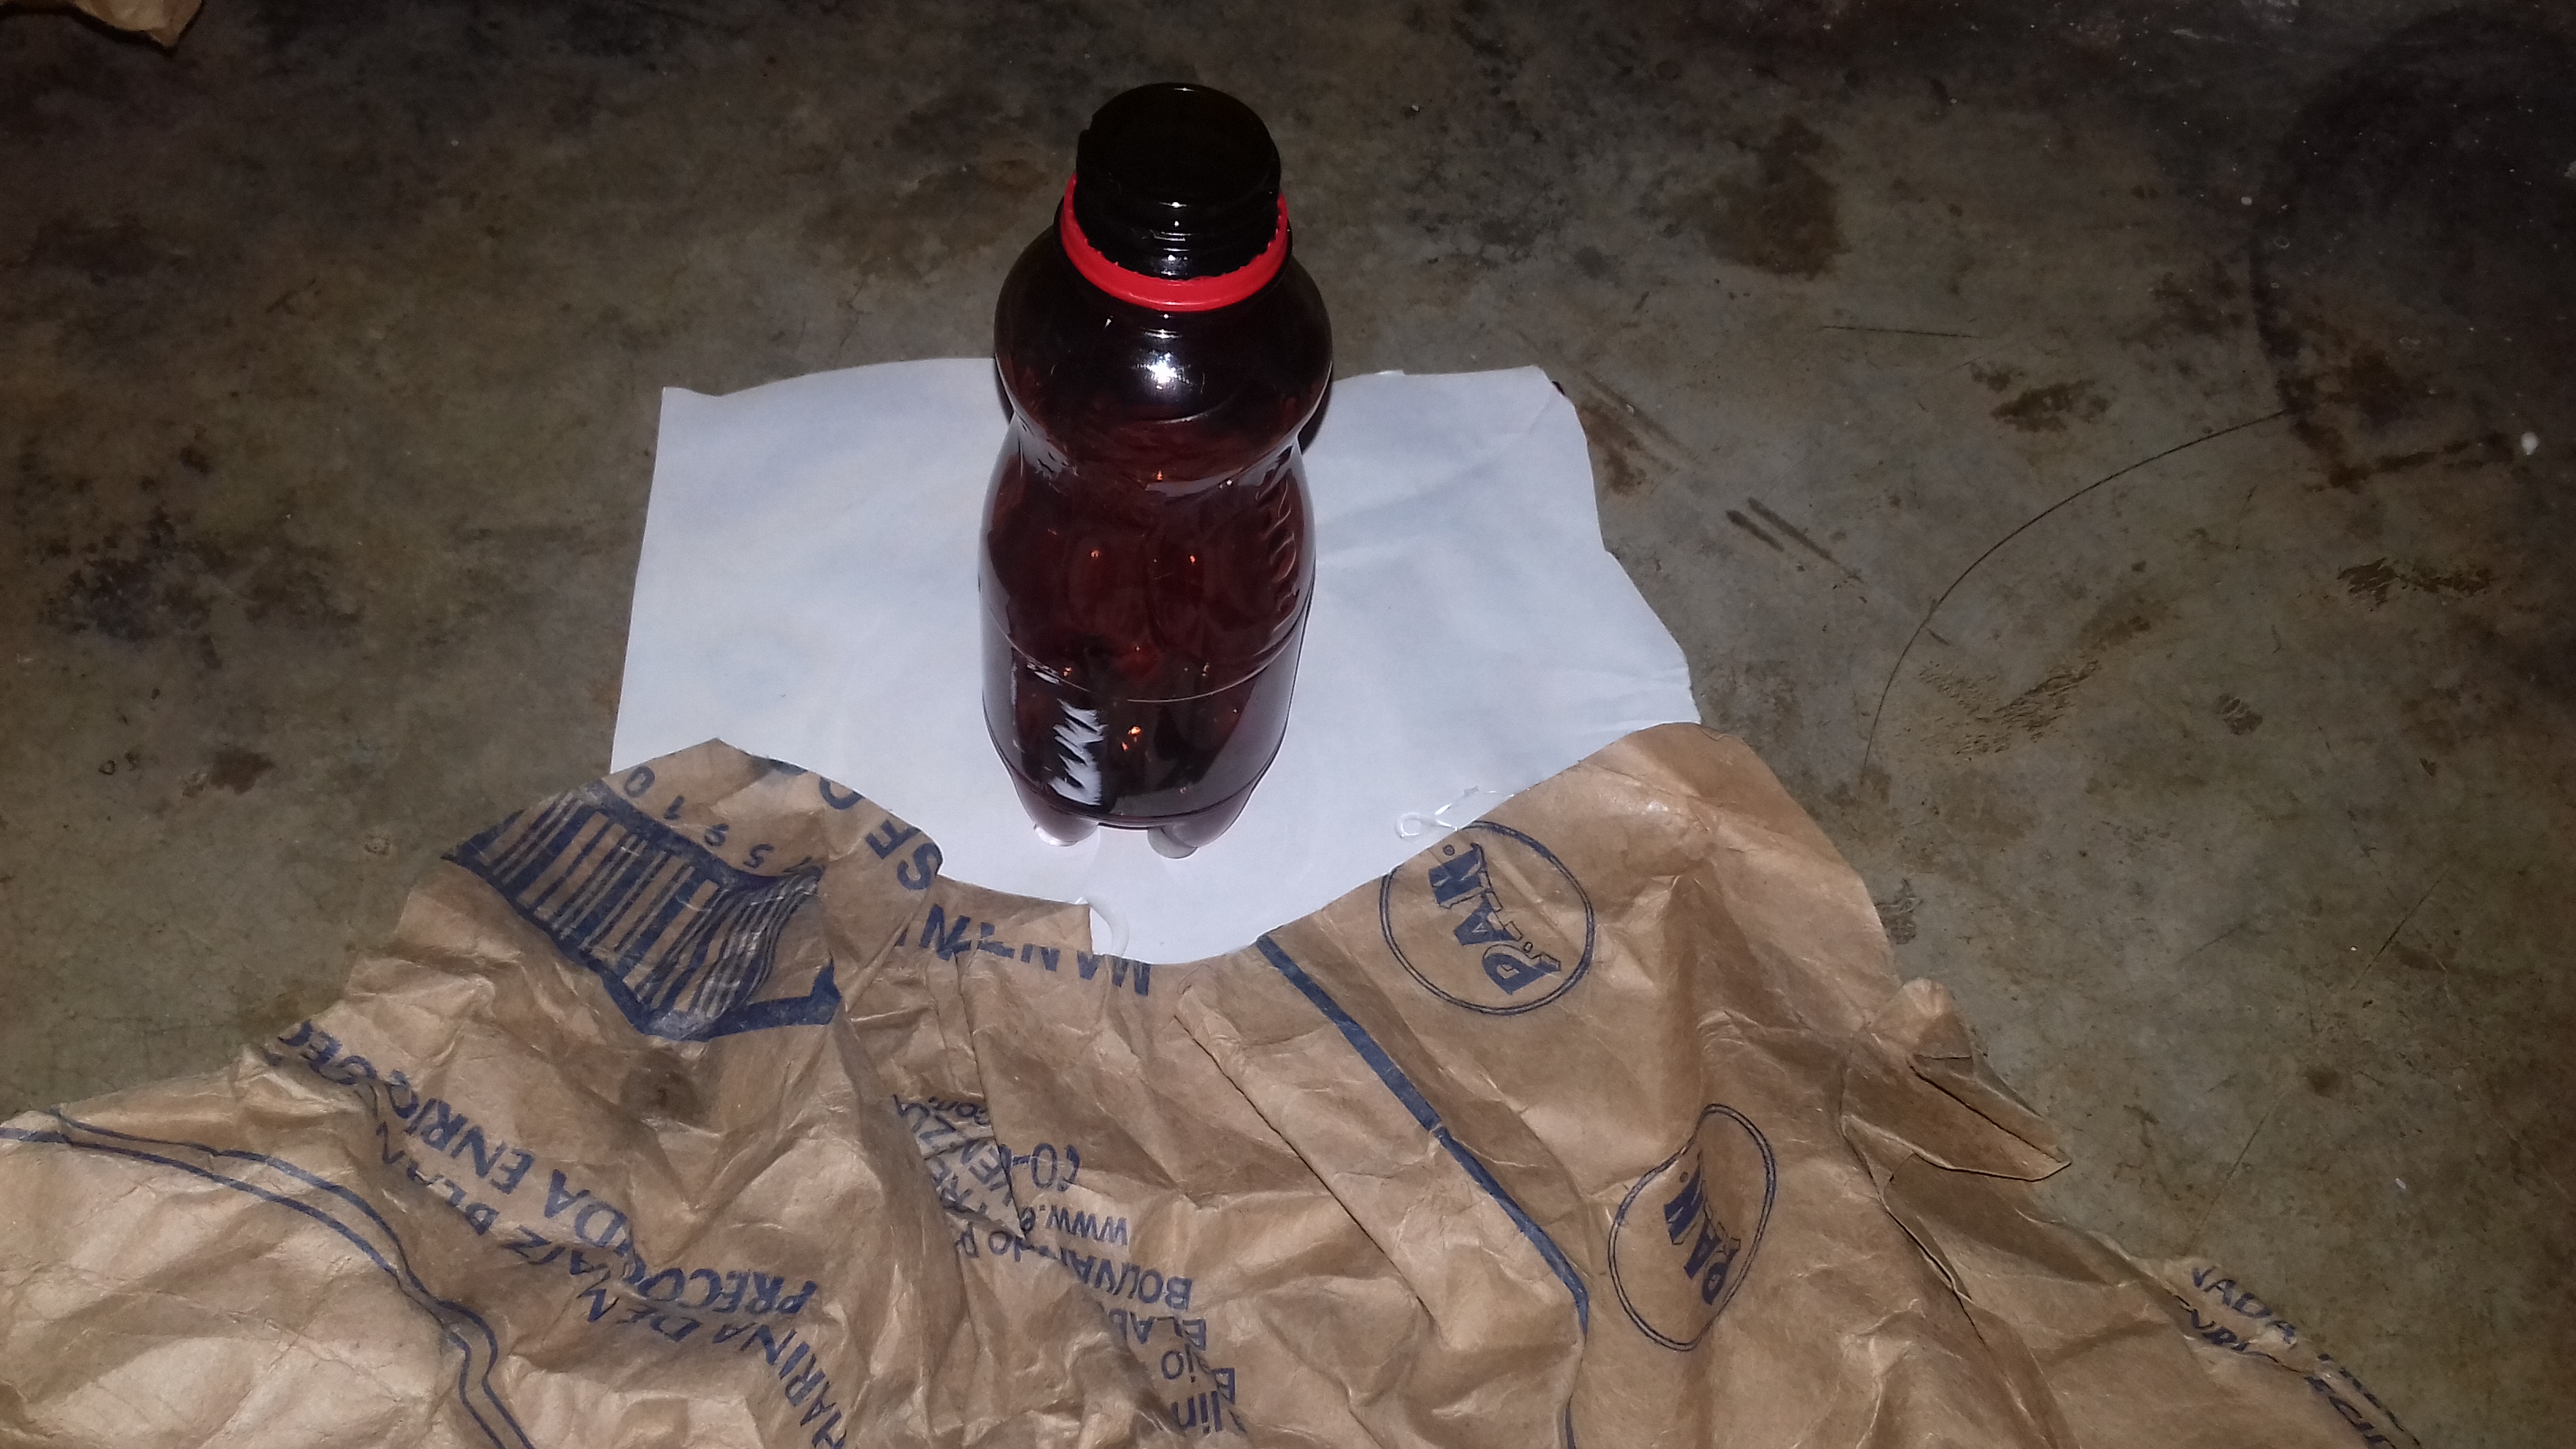
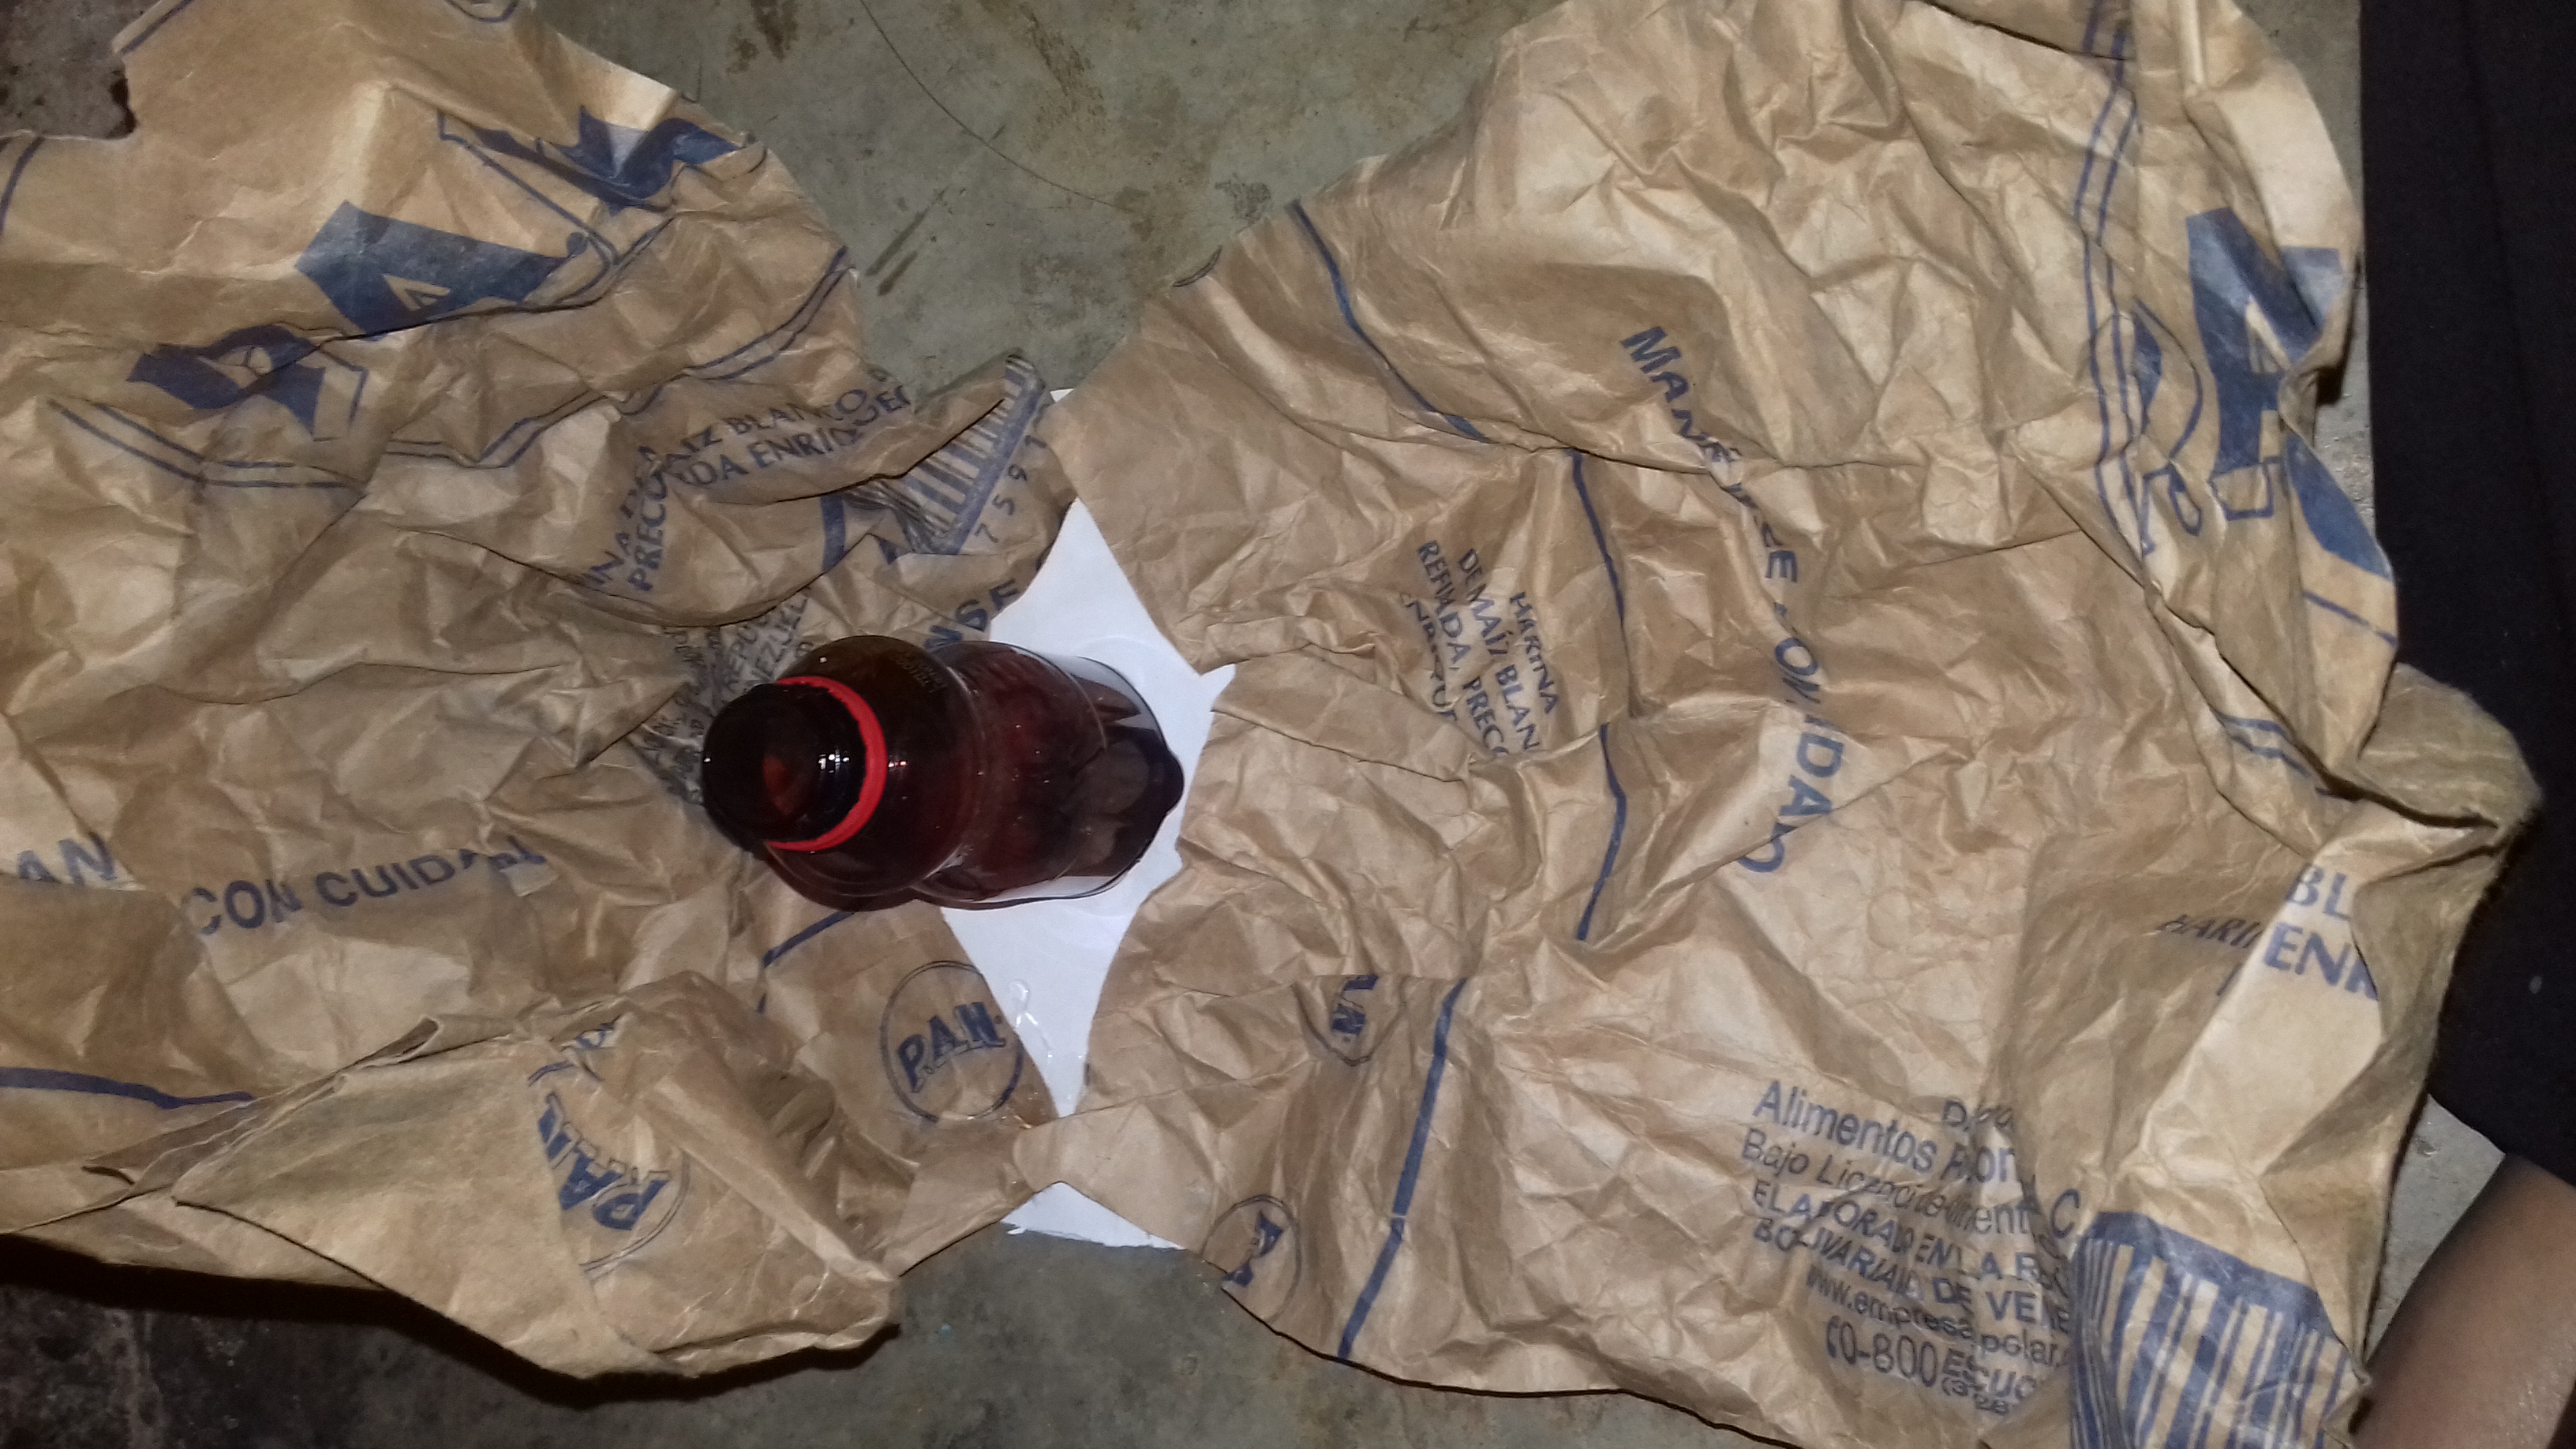
Paso 5. Empiece a pegar los rectángulos de las bolsas de papel a la base alrededor de la botella de plástico.
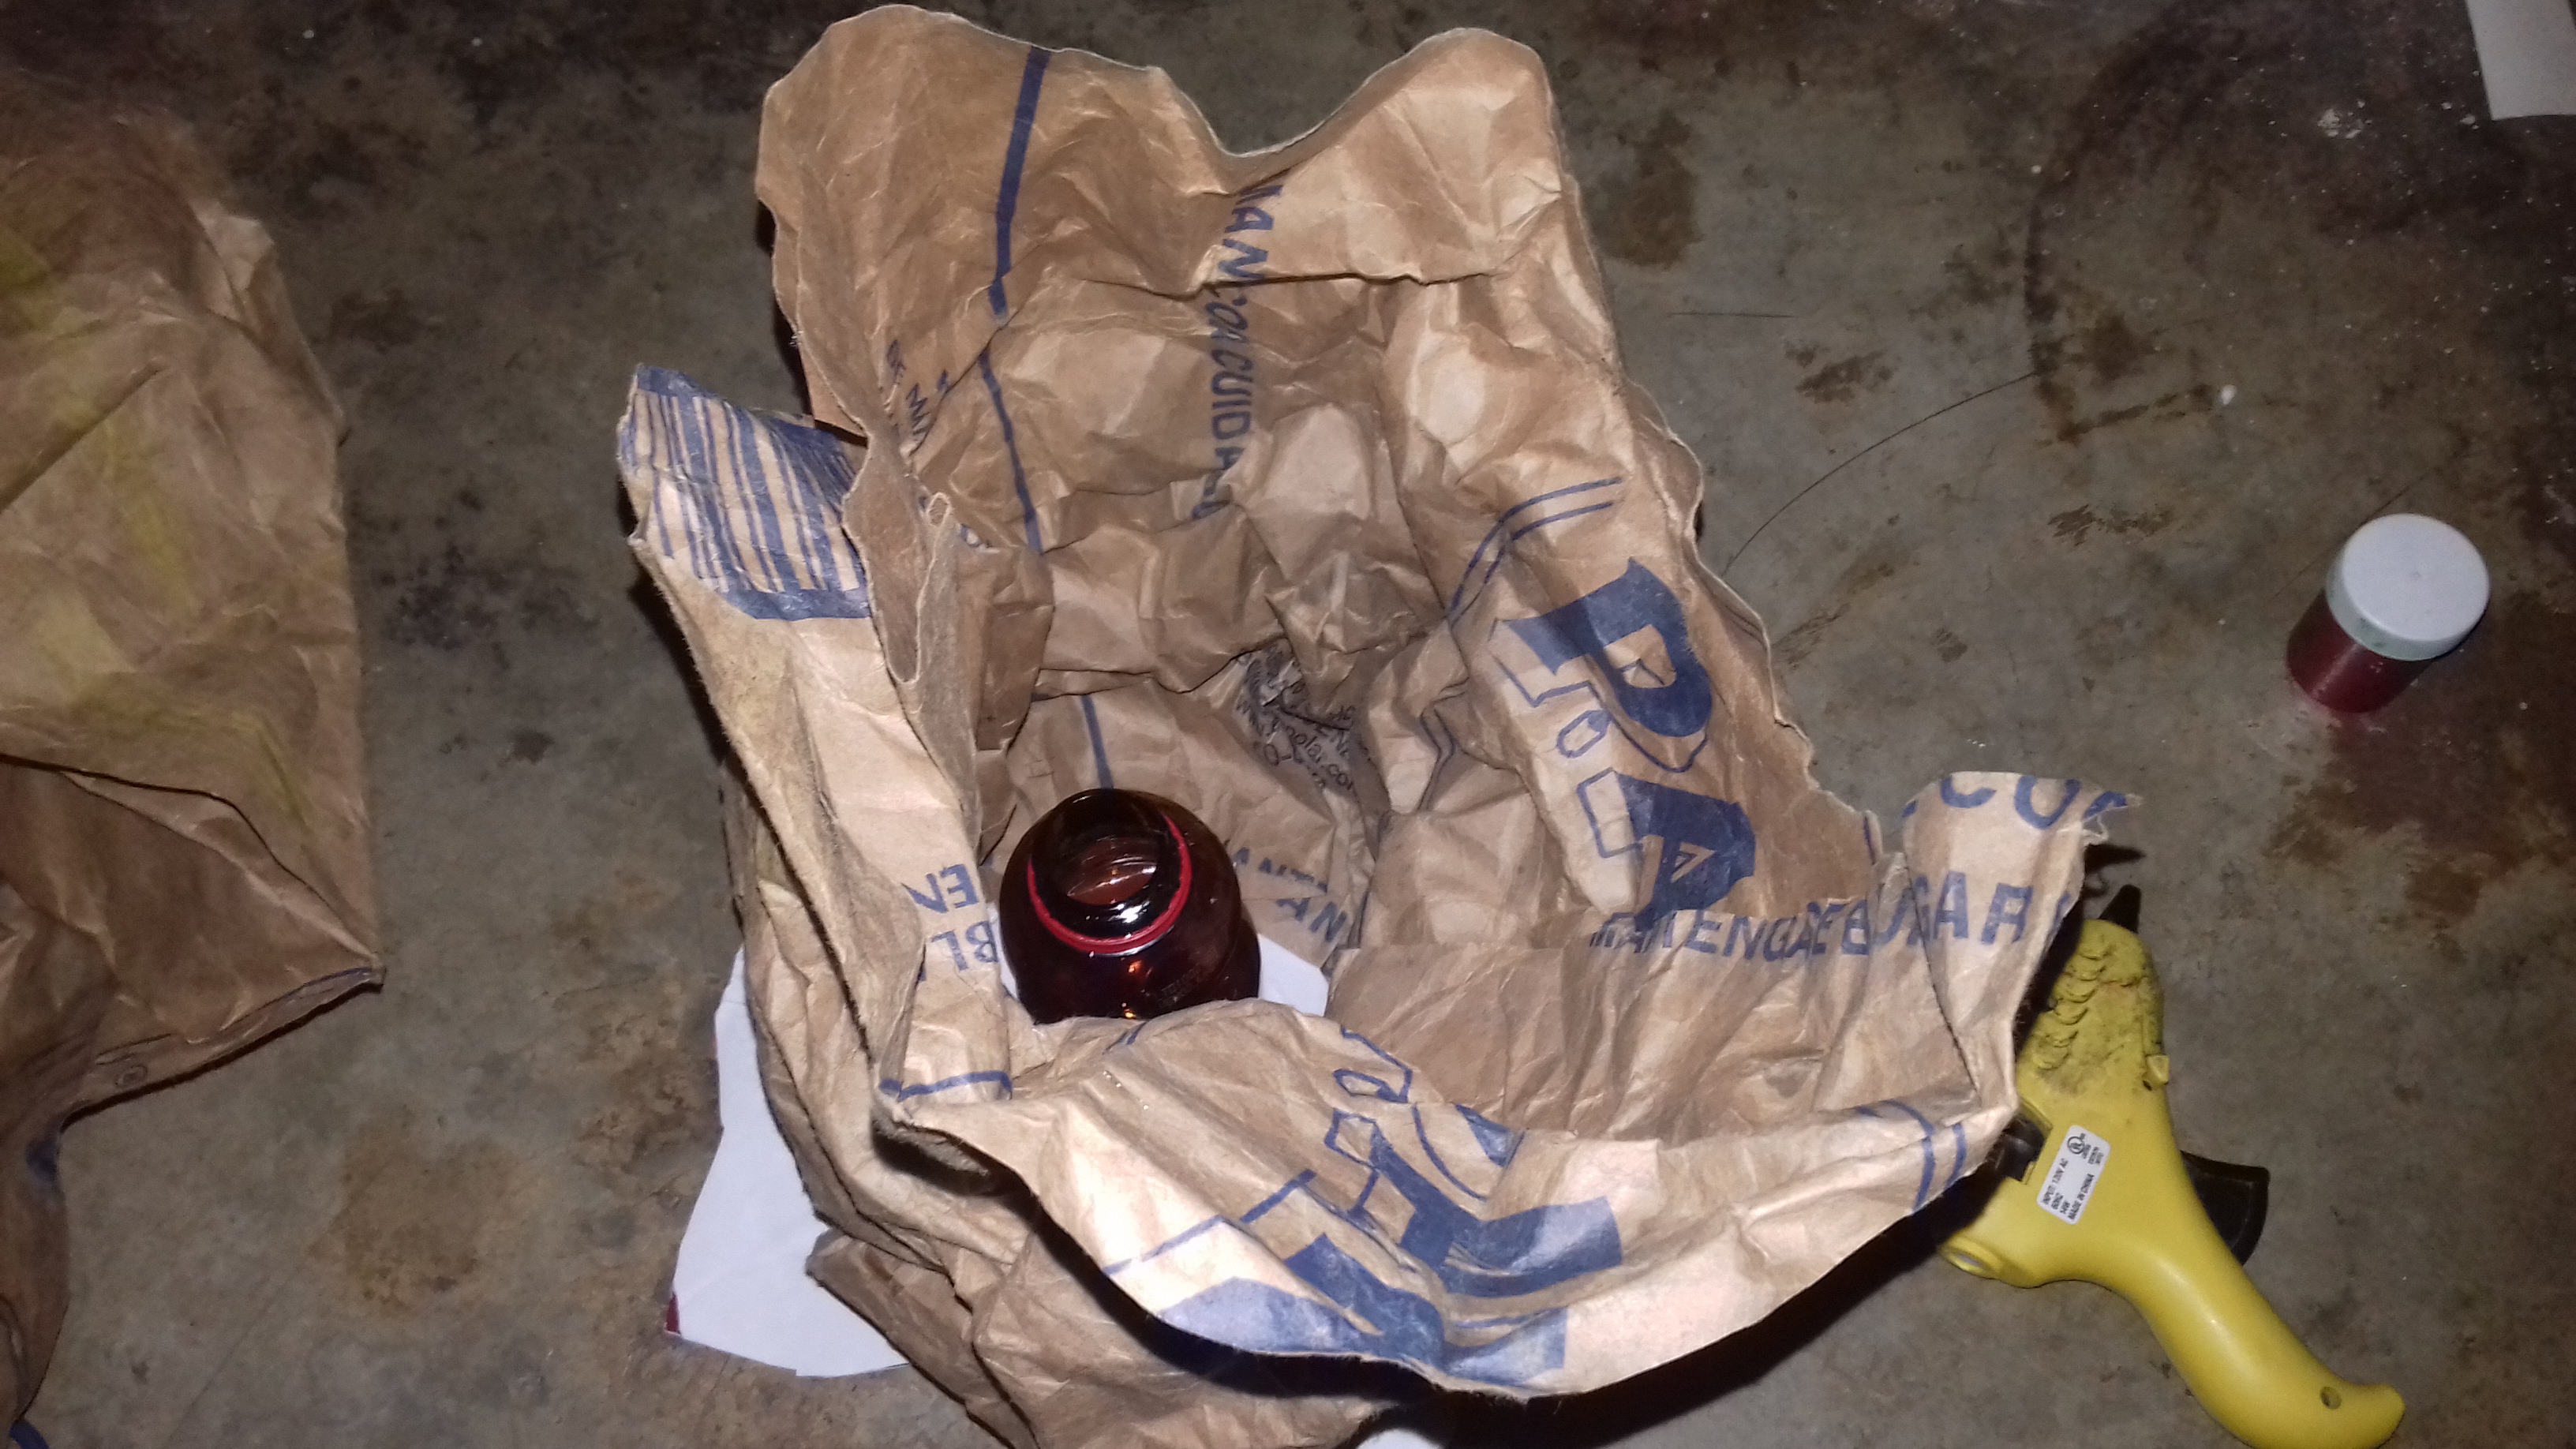
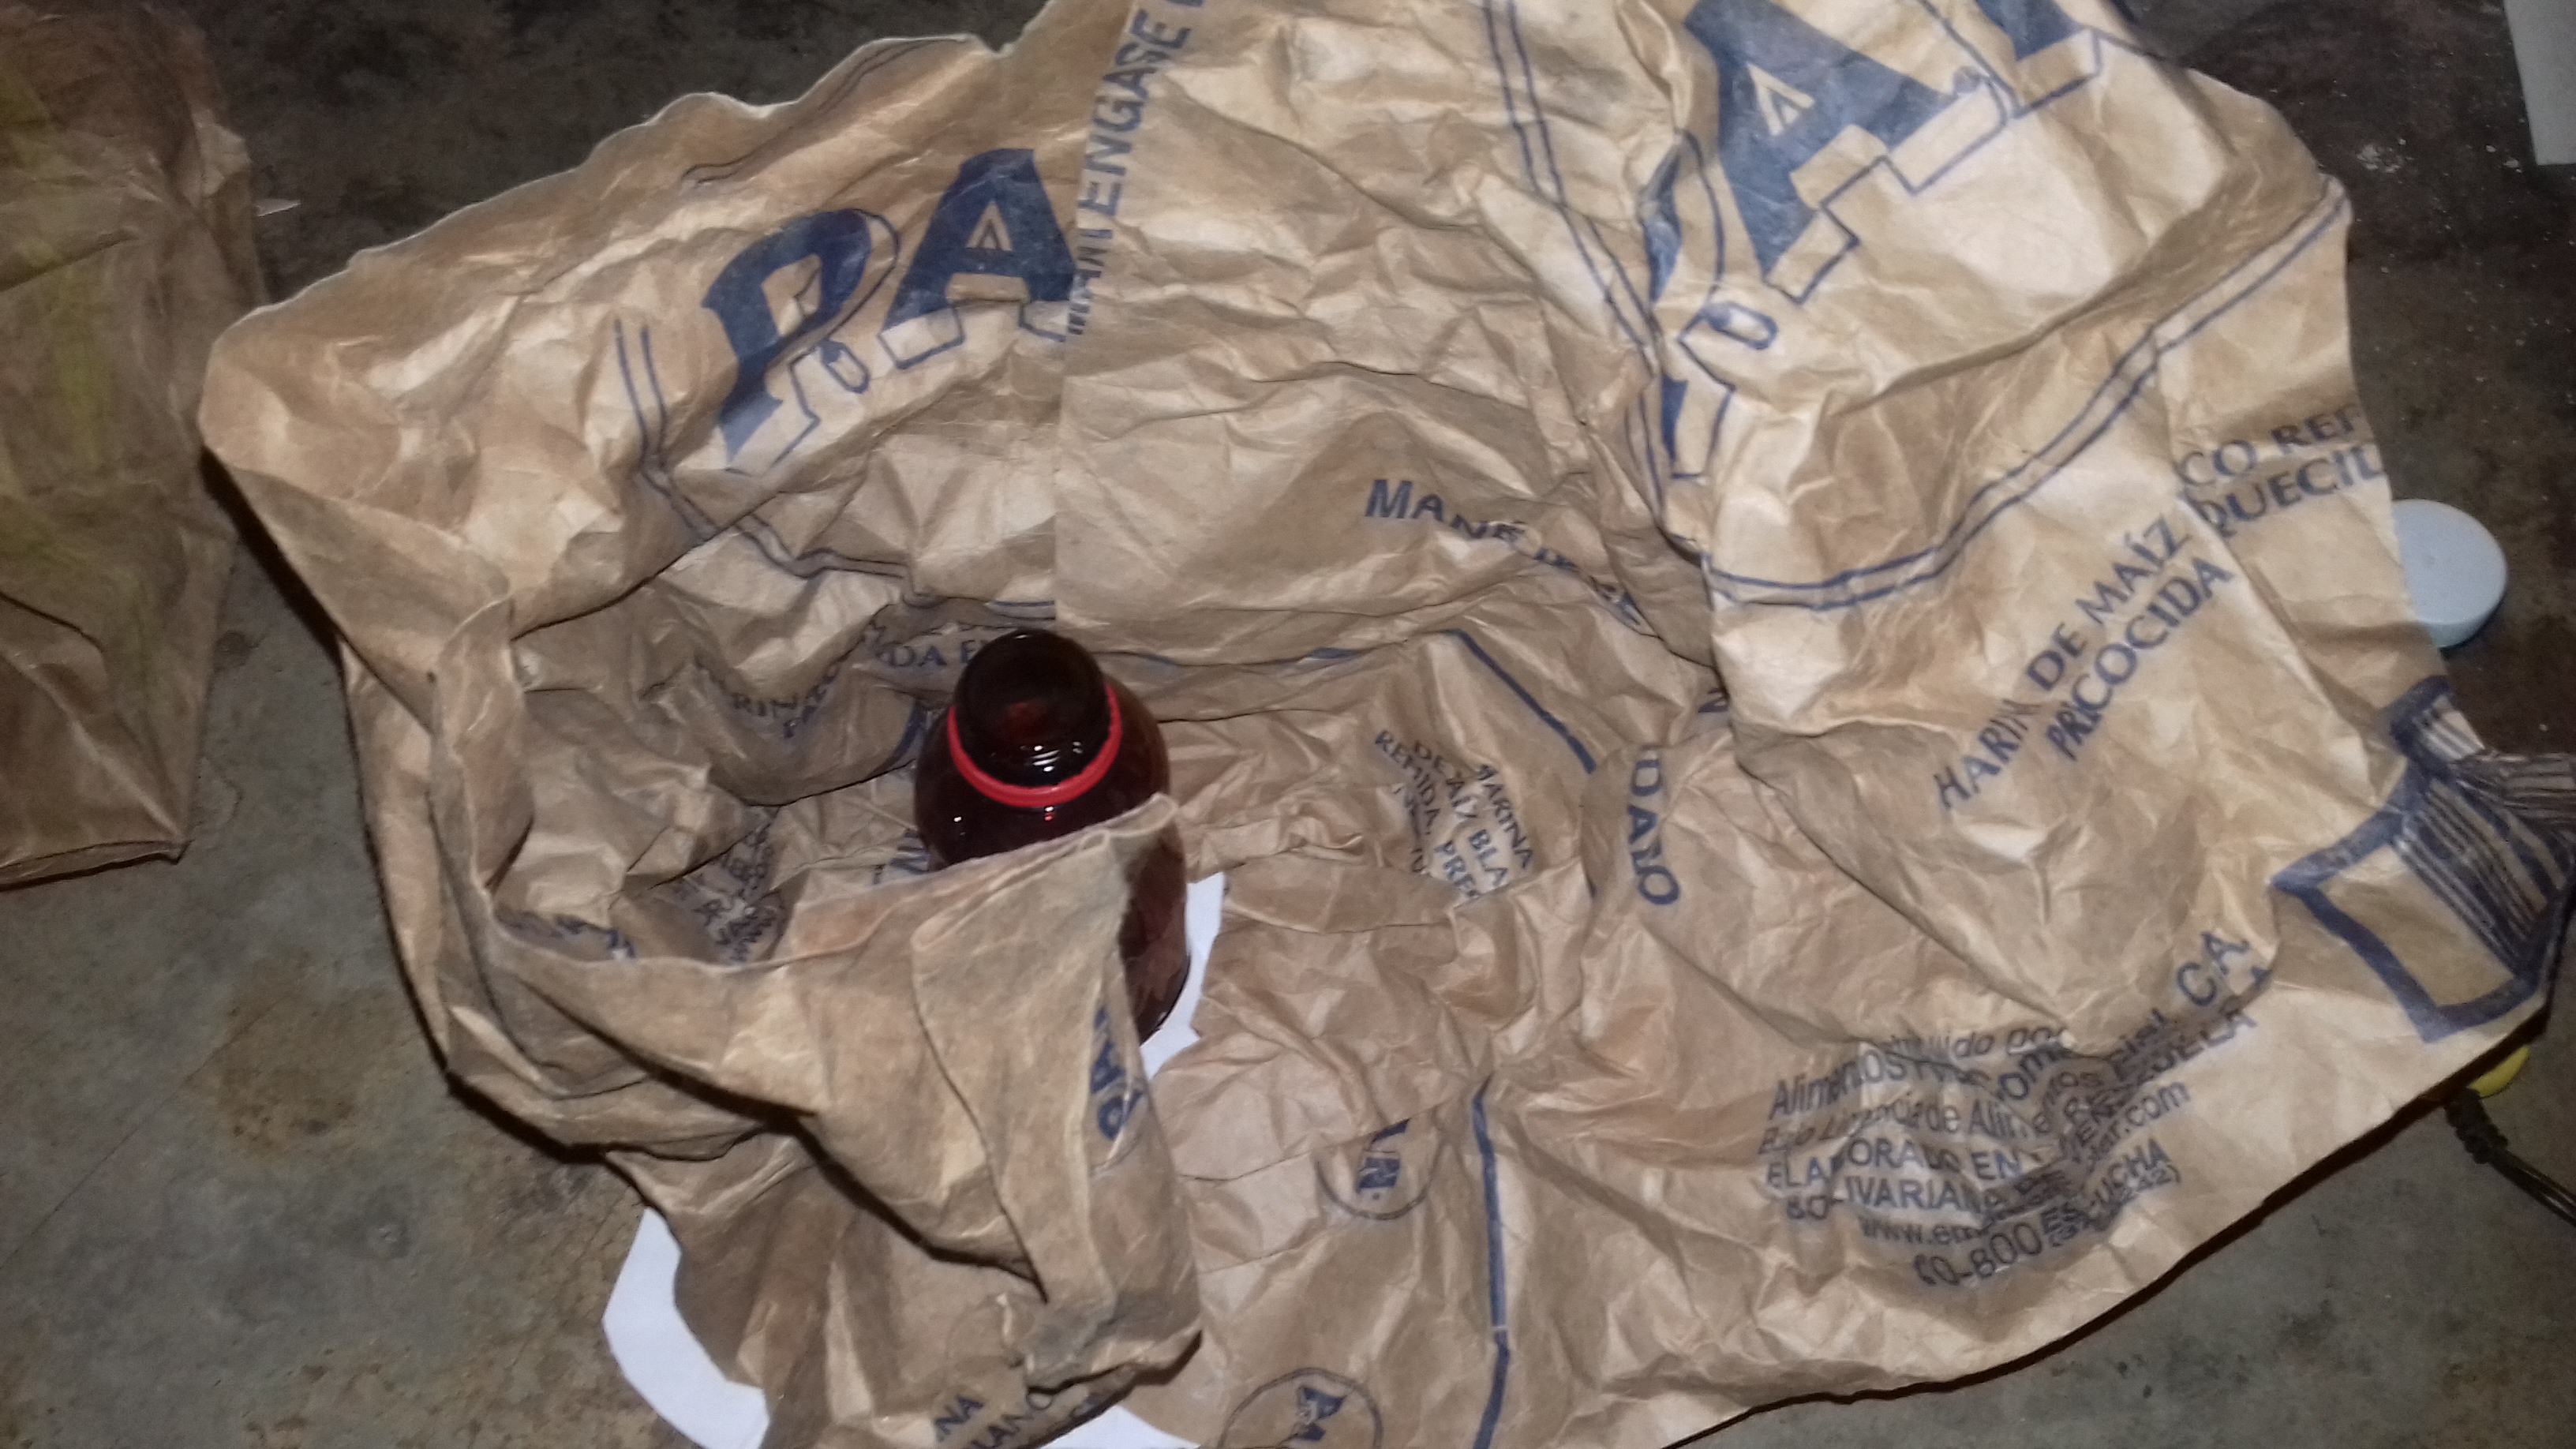
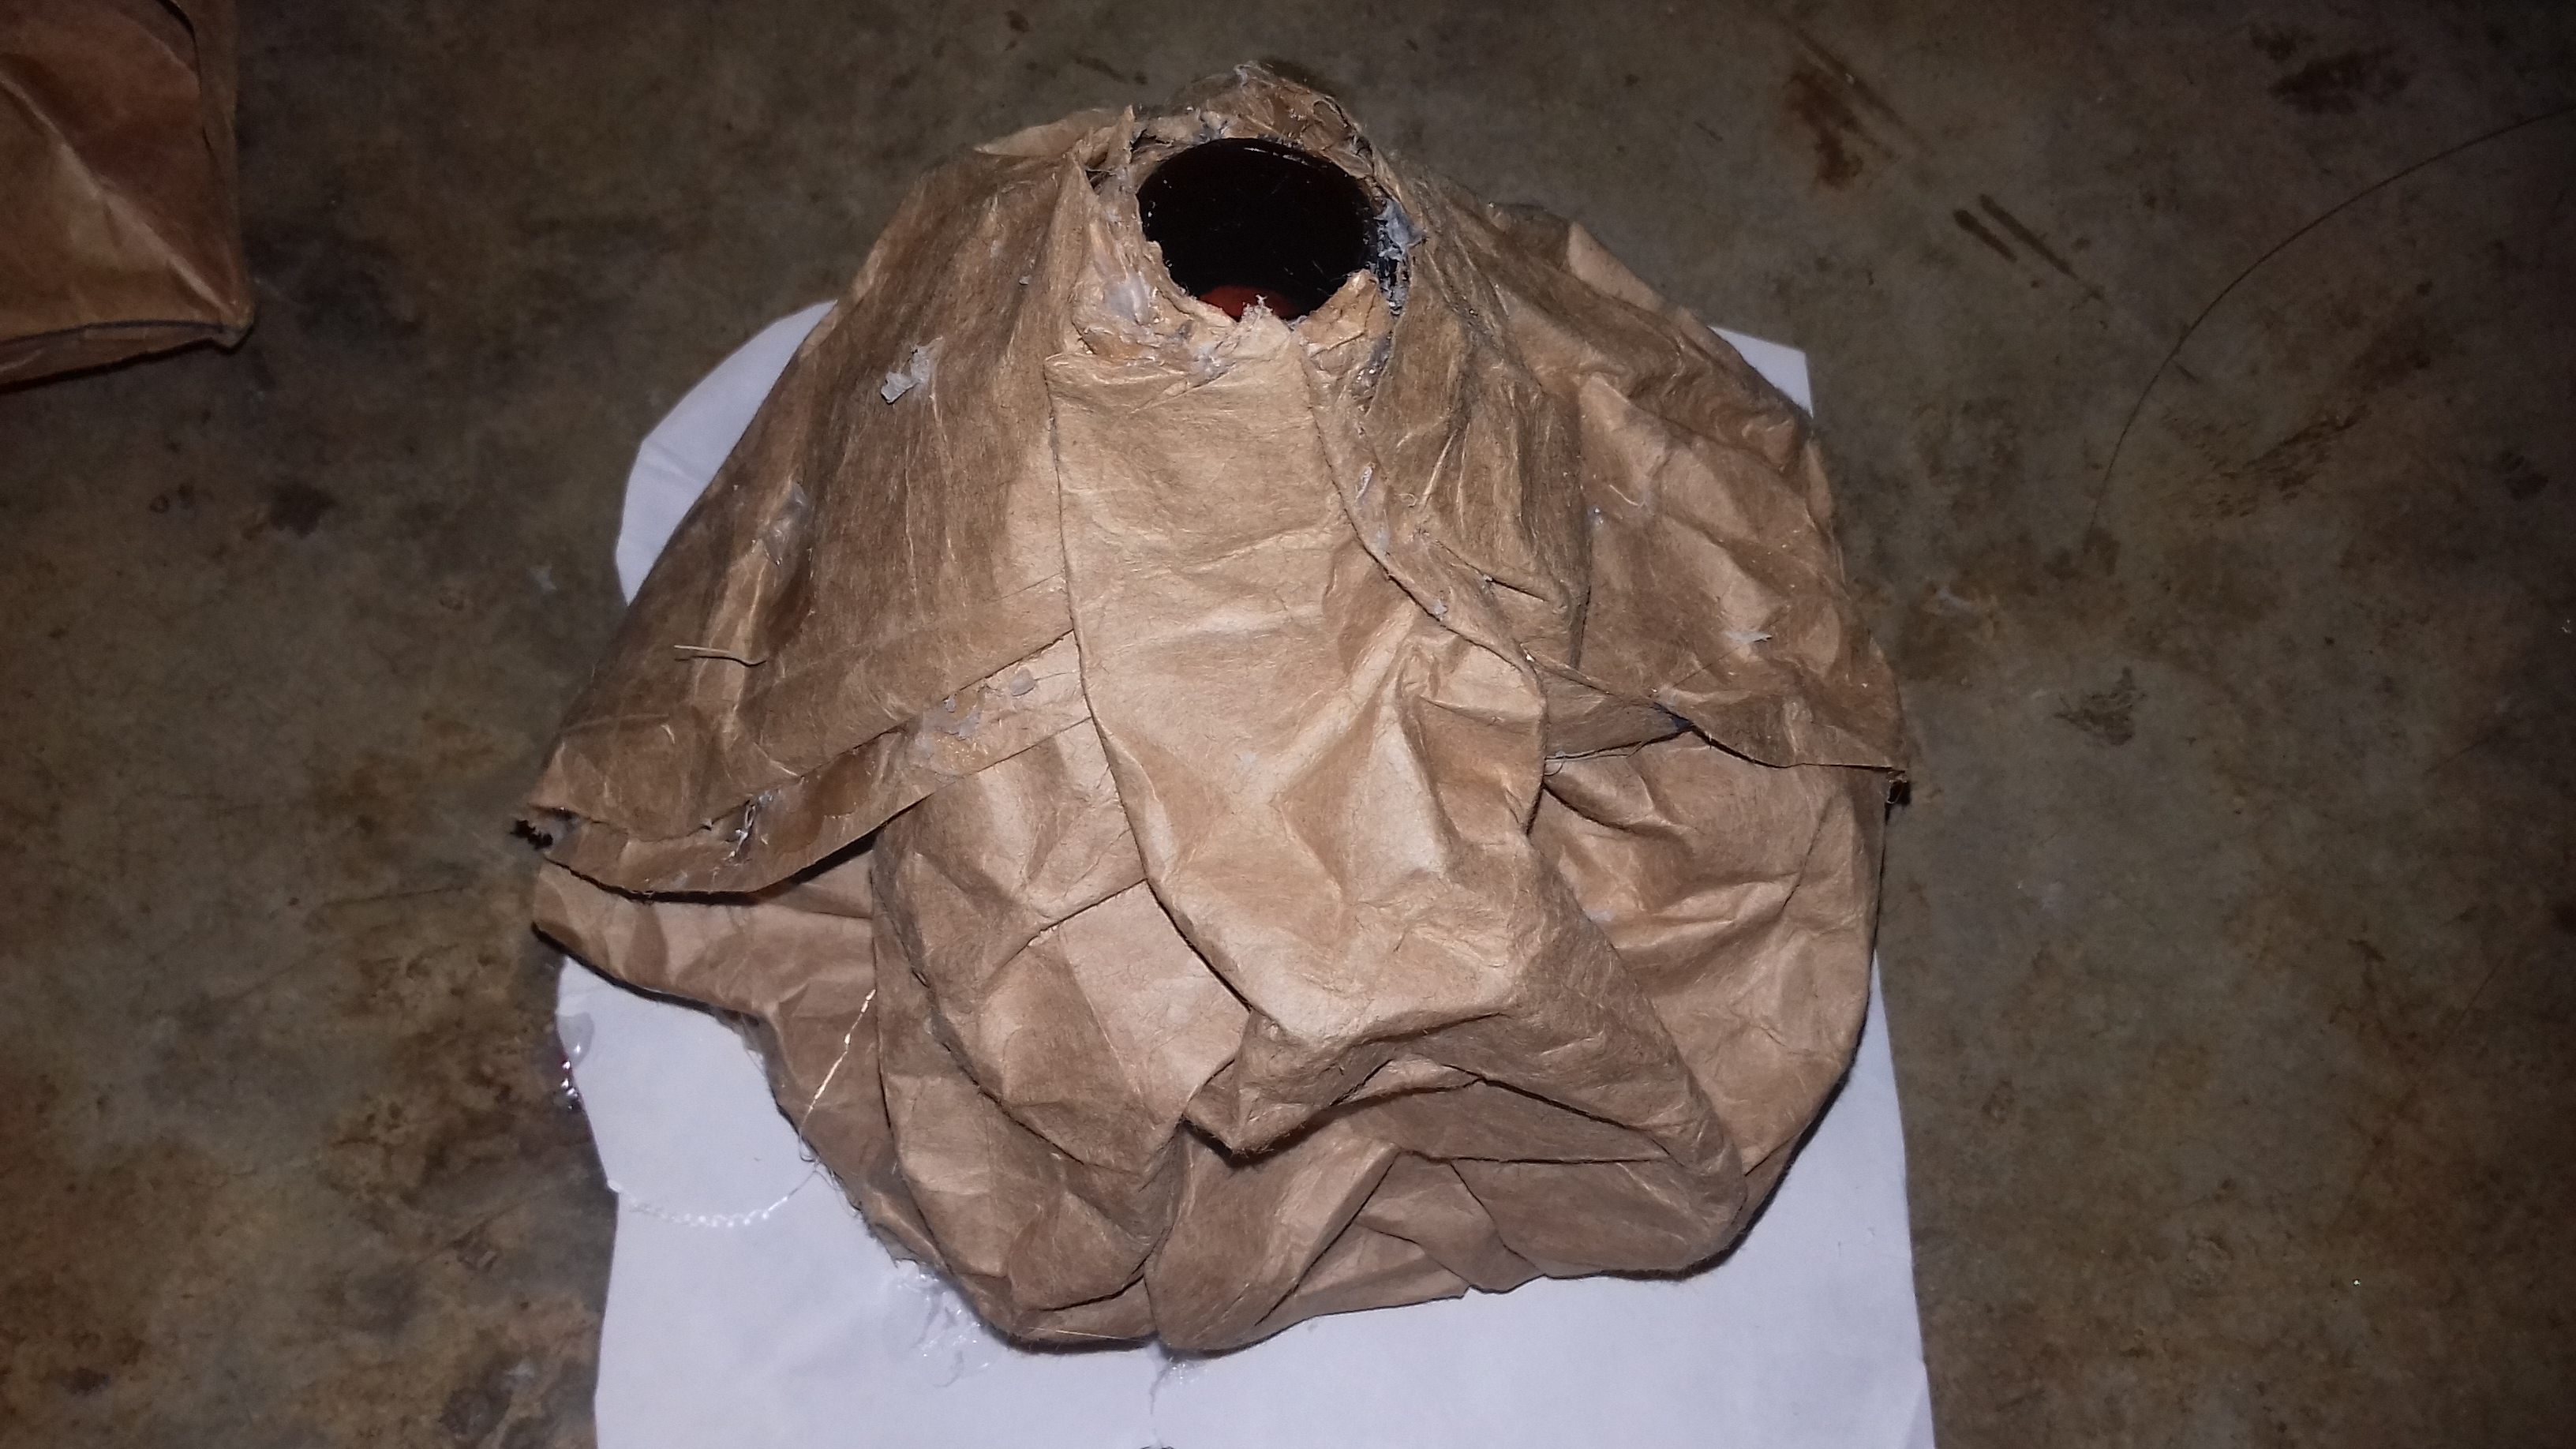
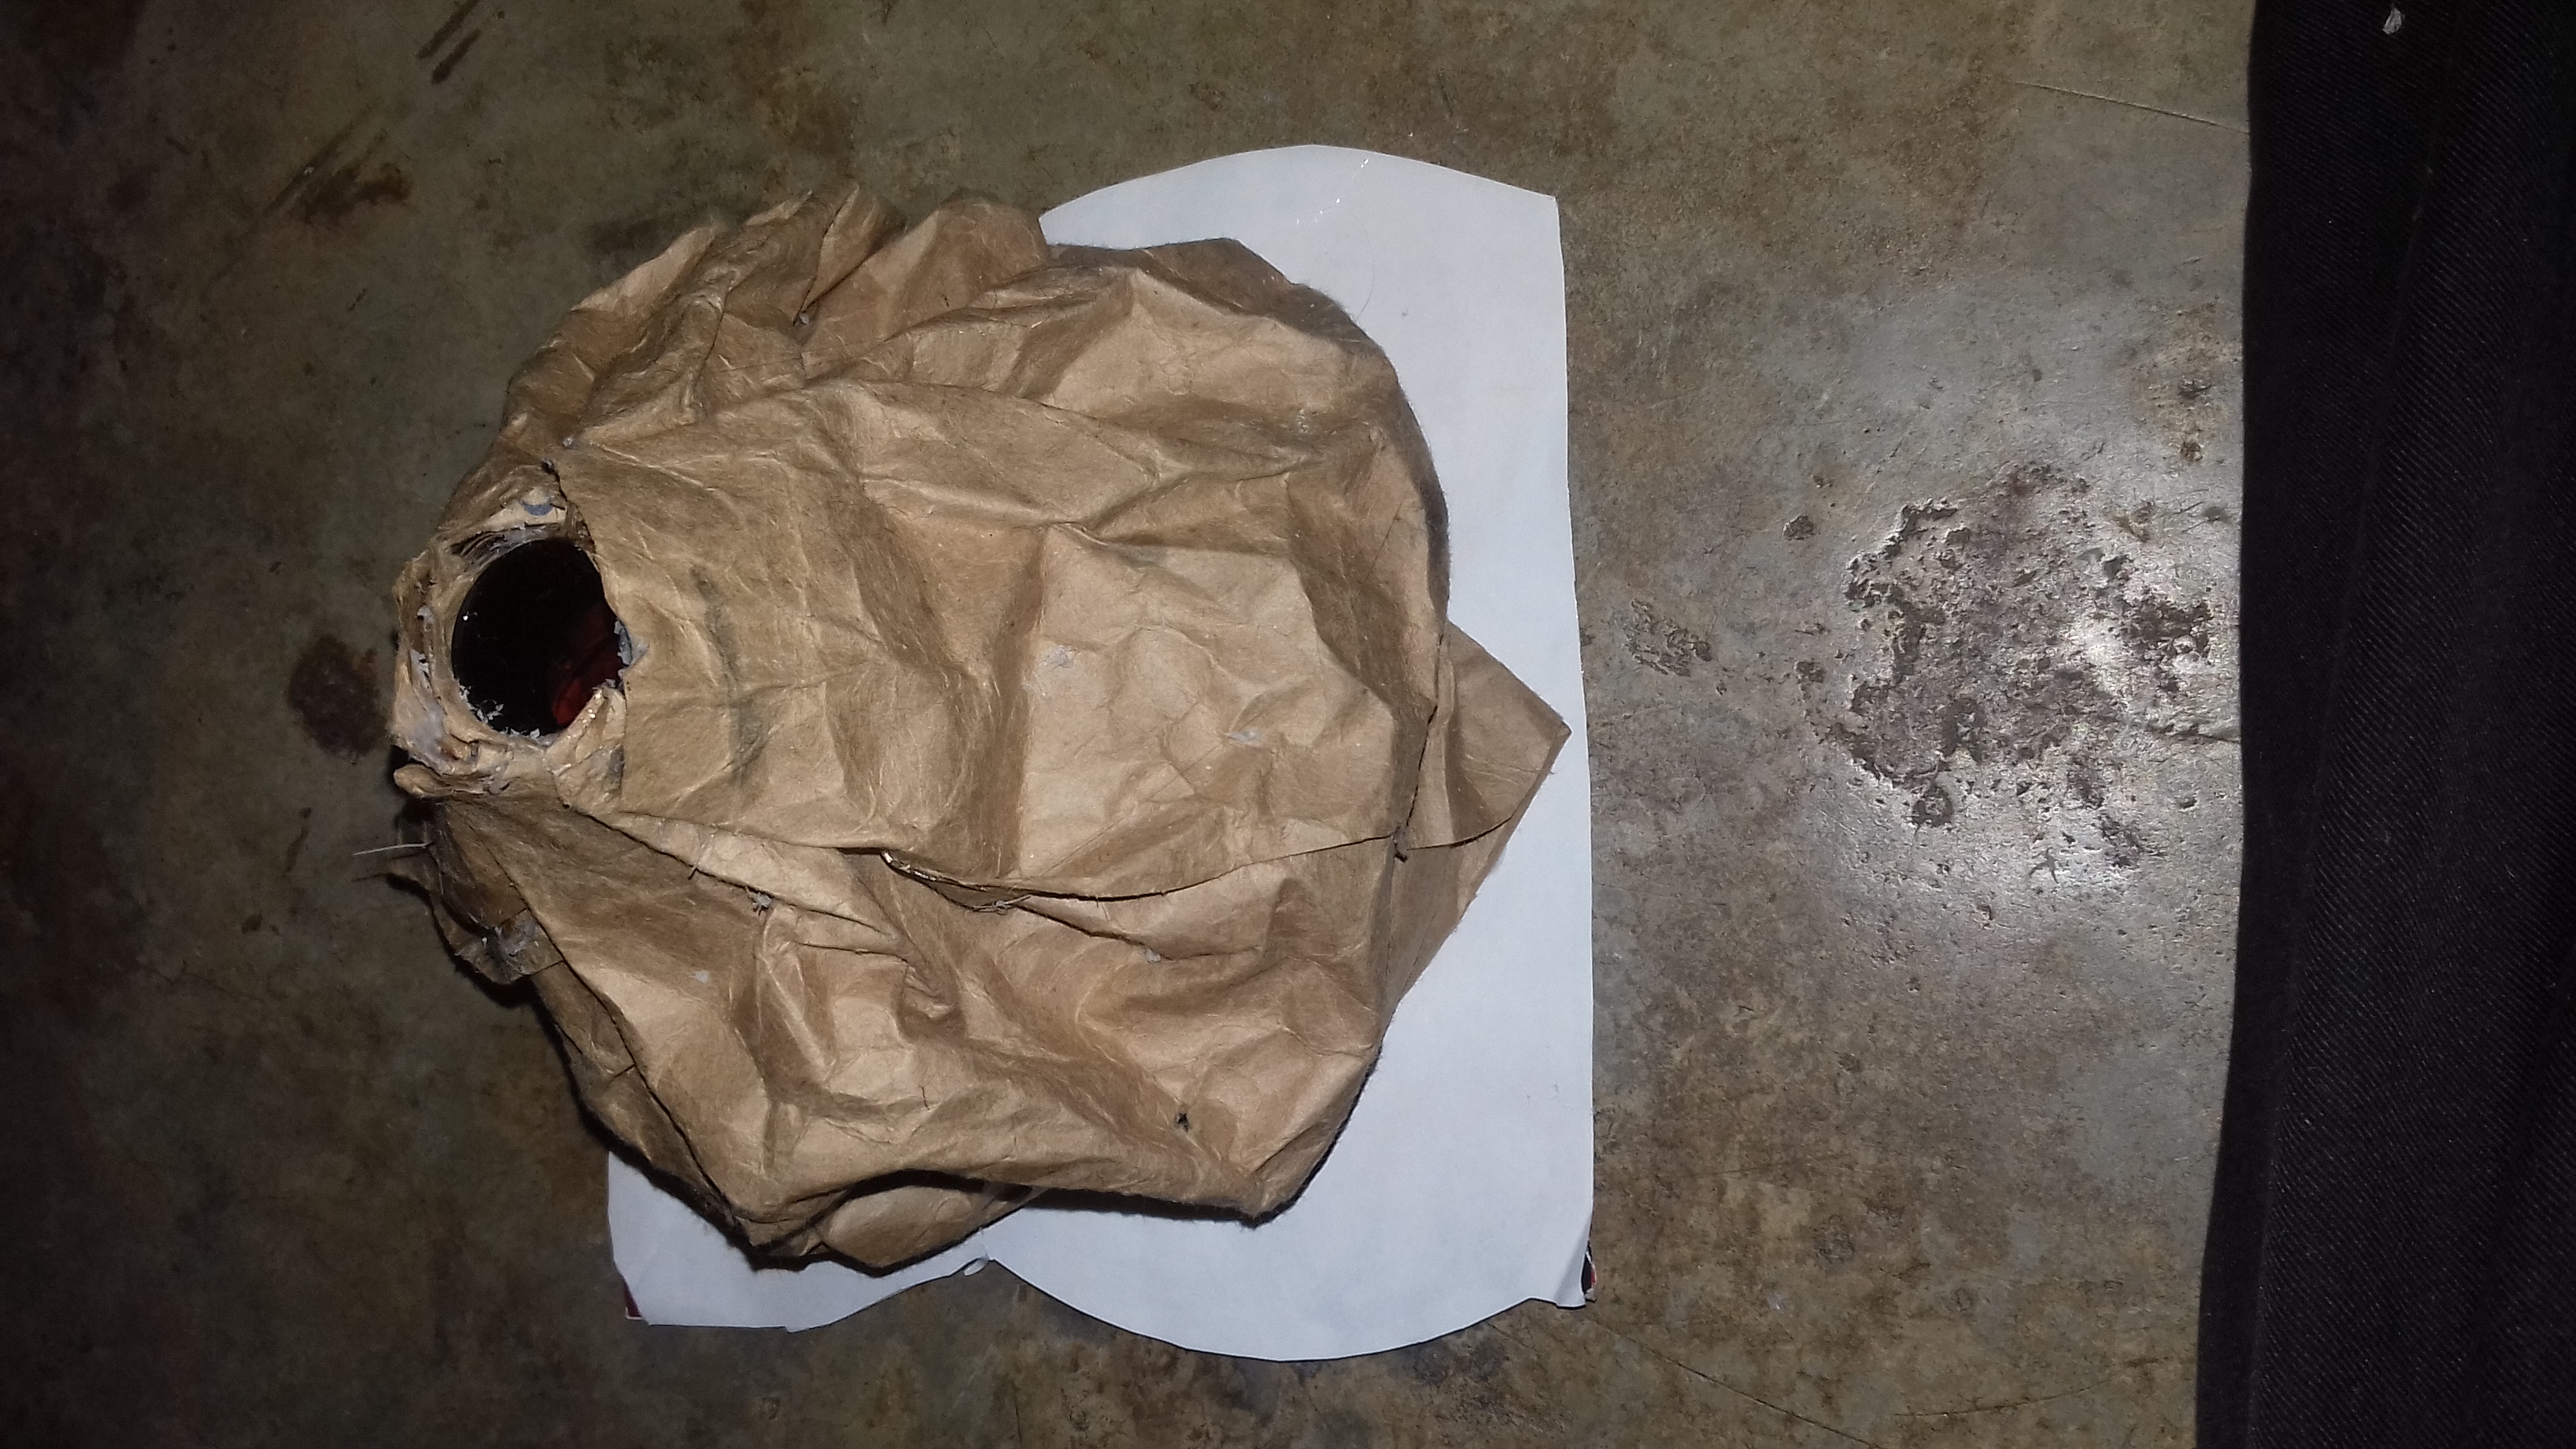
Paso 6. Luego se unen los extremos y se le da forma al volcán pegando la bolsa de papel al pico de la botella de plástico.
Paso 7. Es hora de pintar para darle a la maqueta más efecto de volcán.
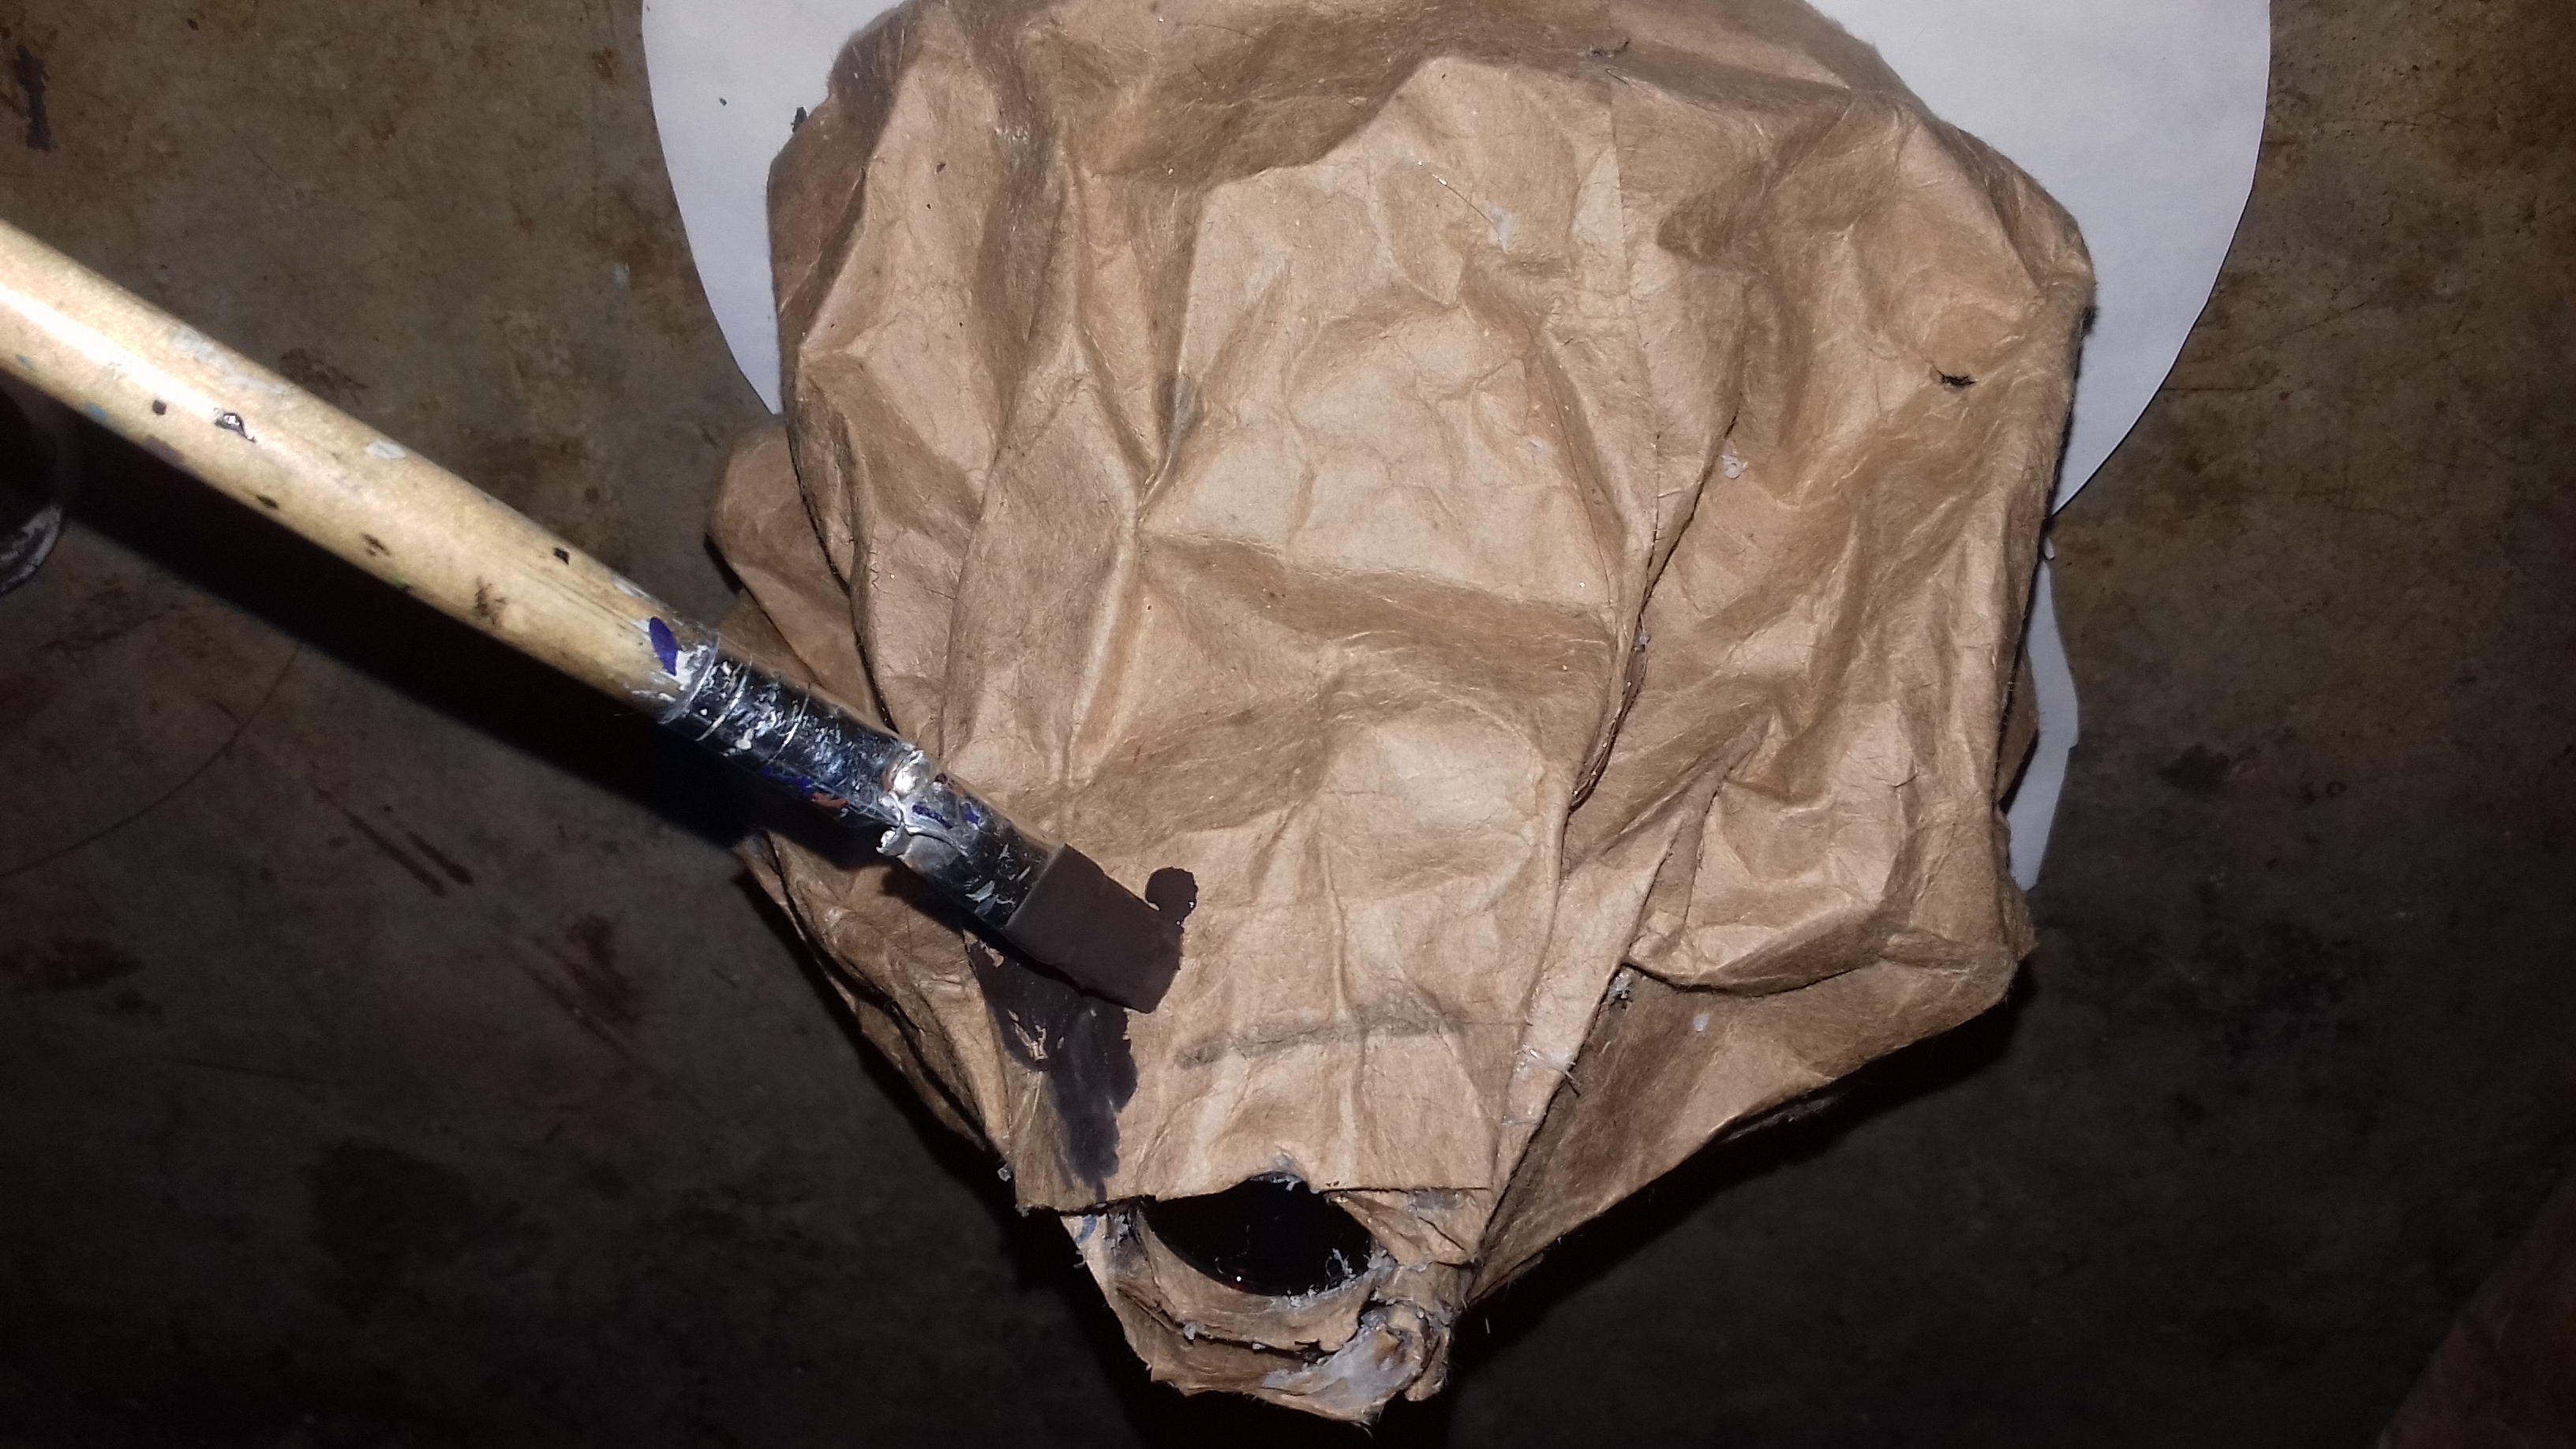
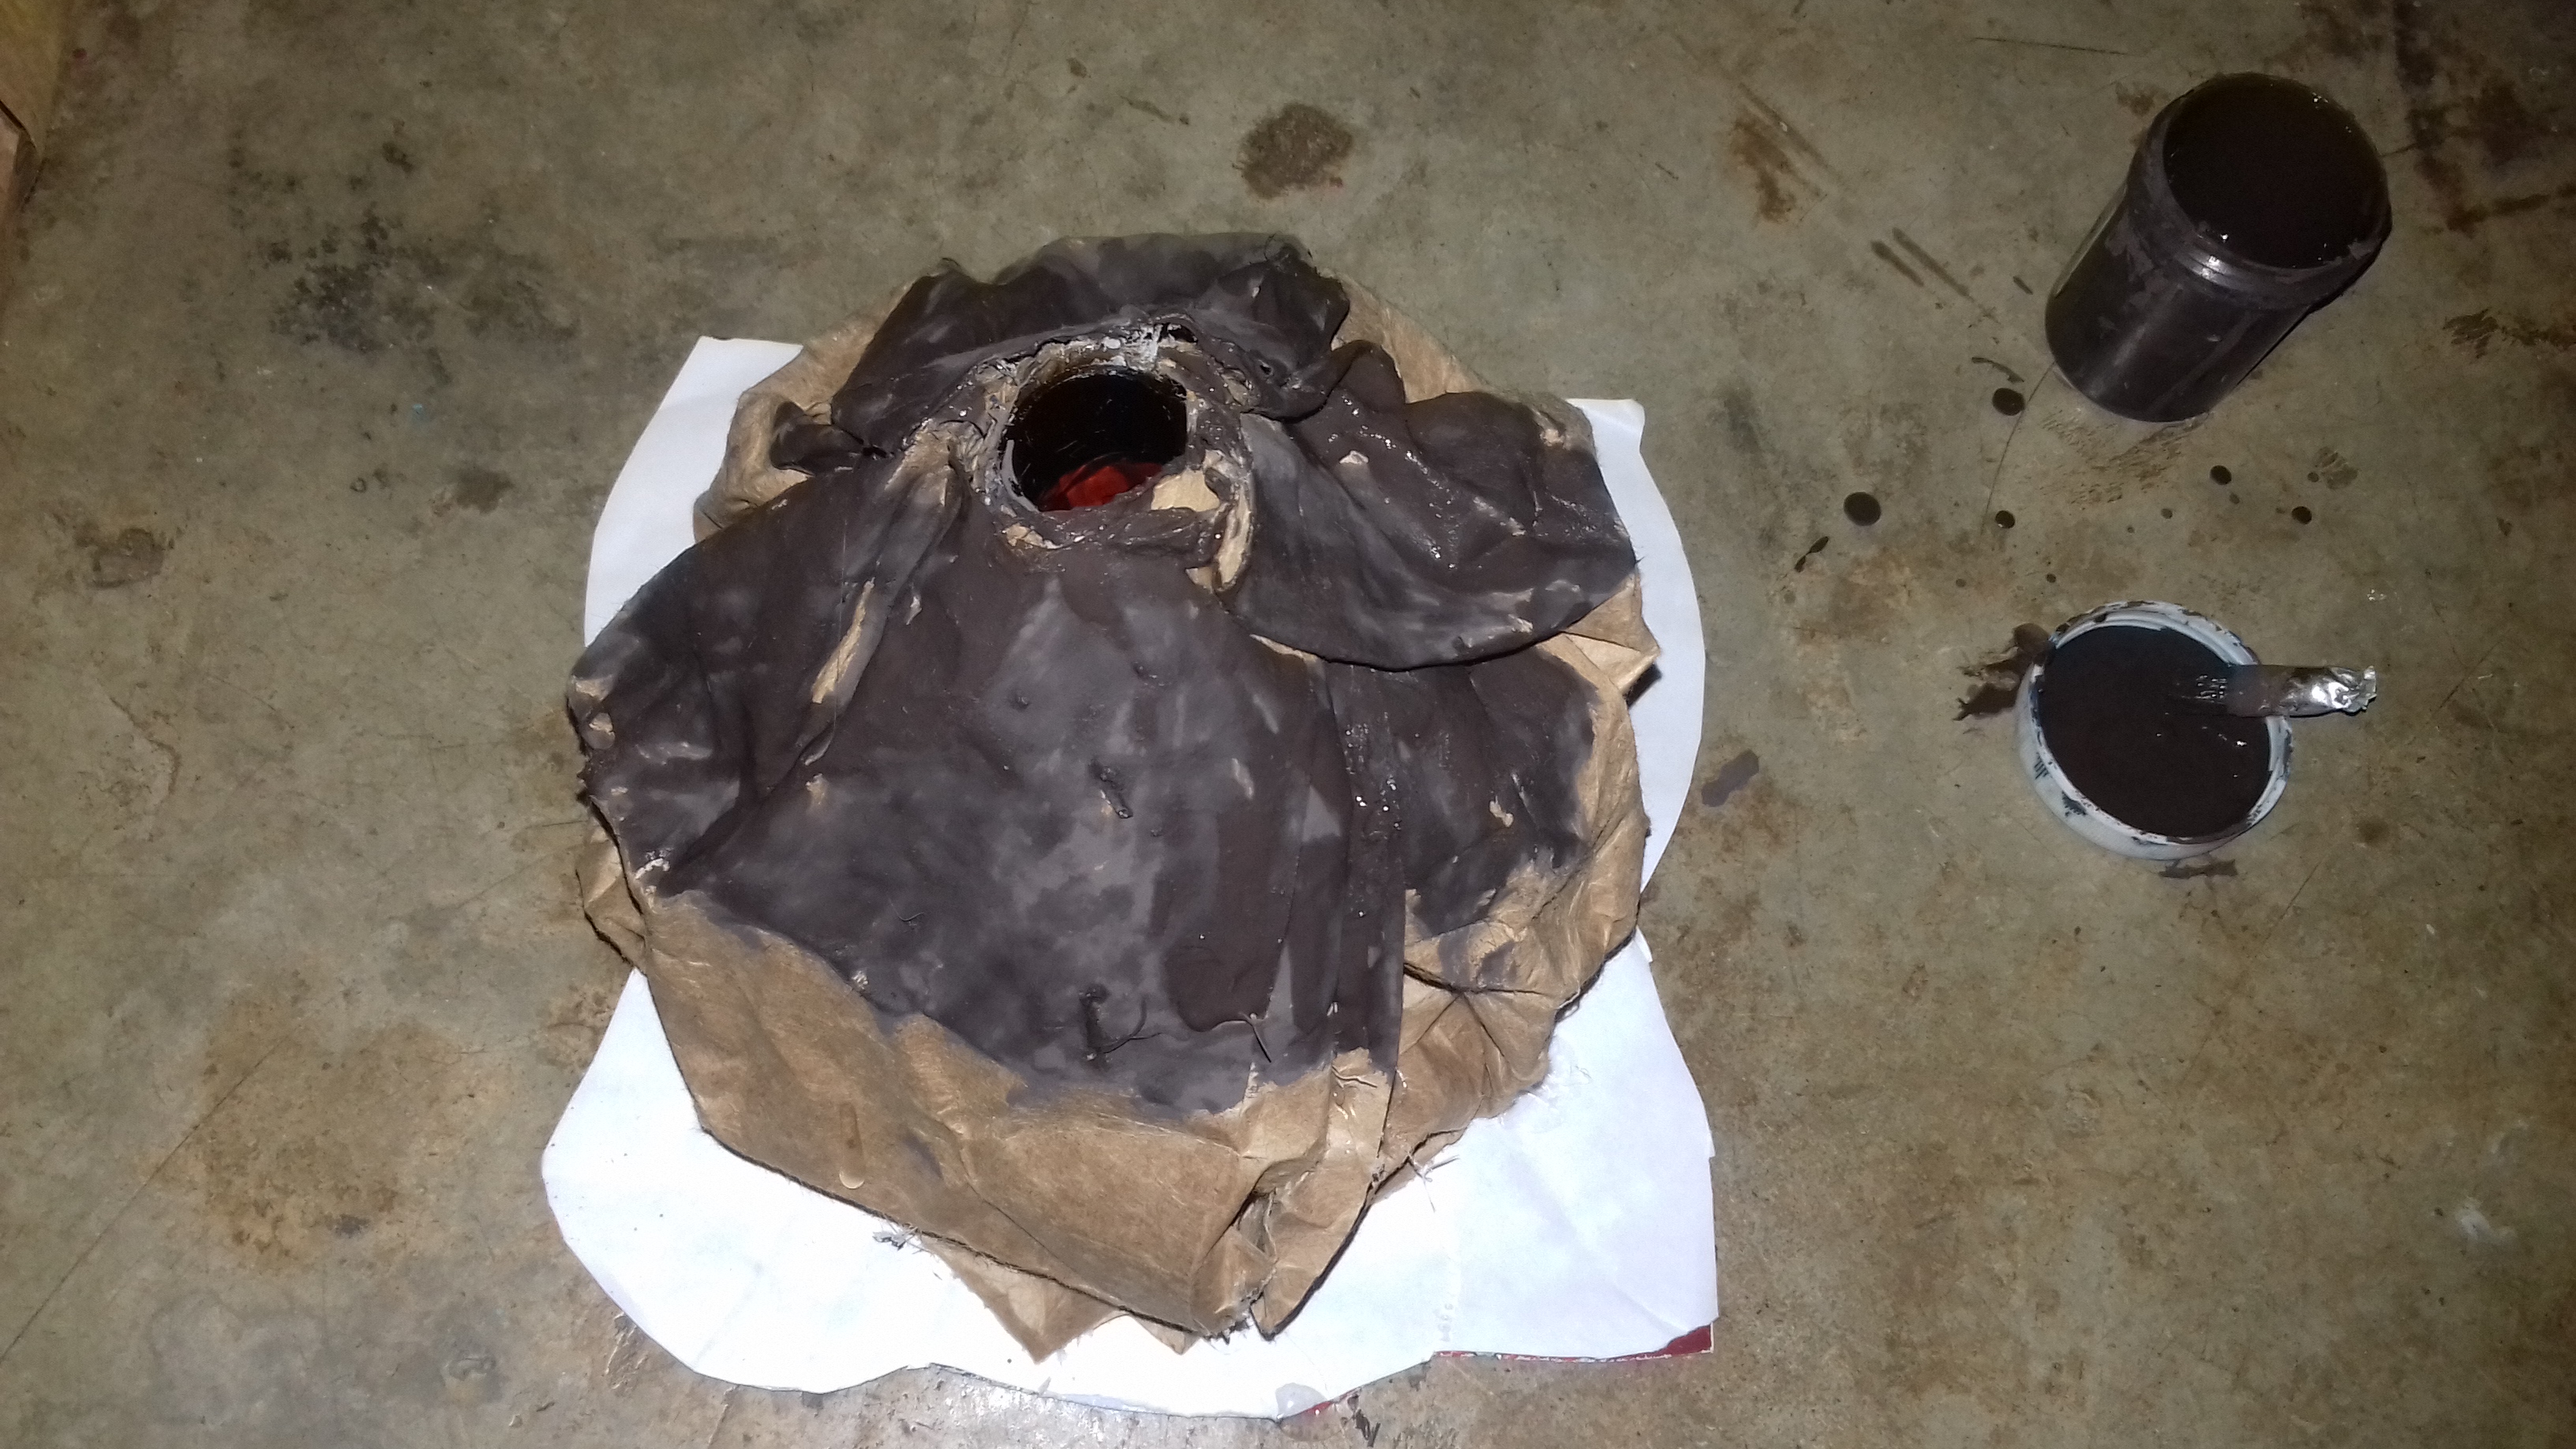
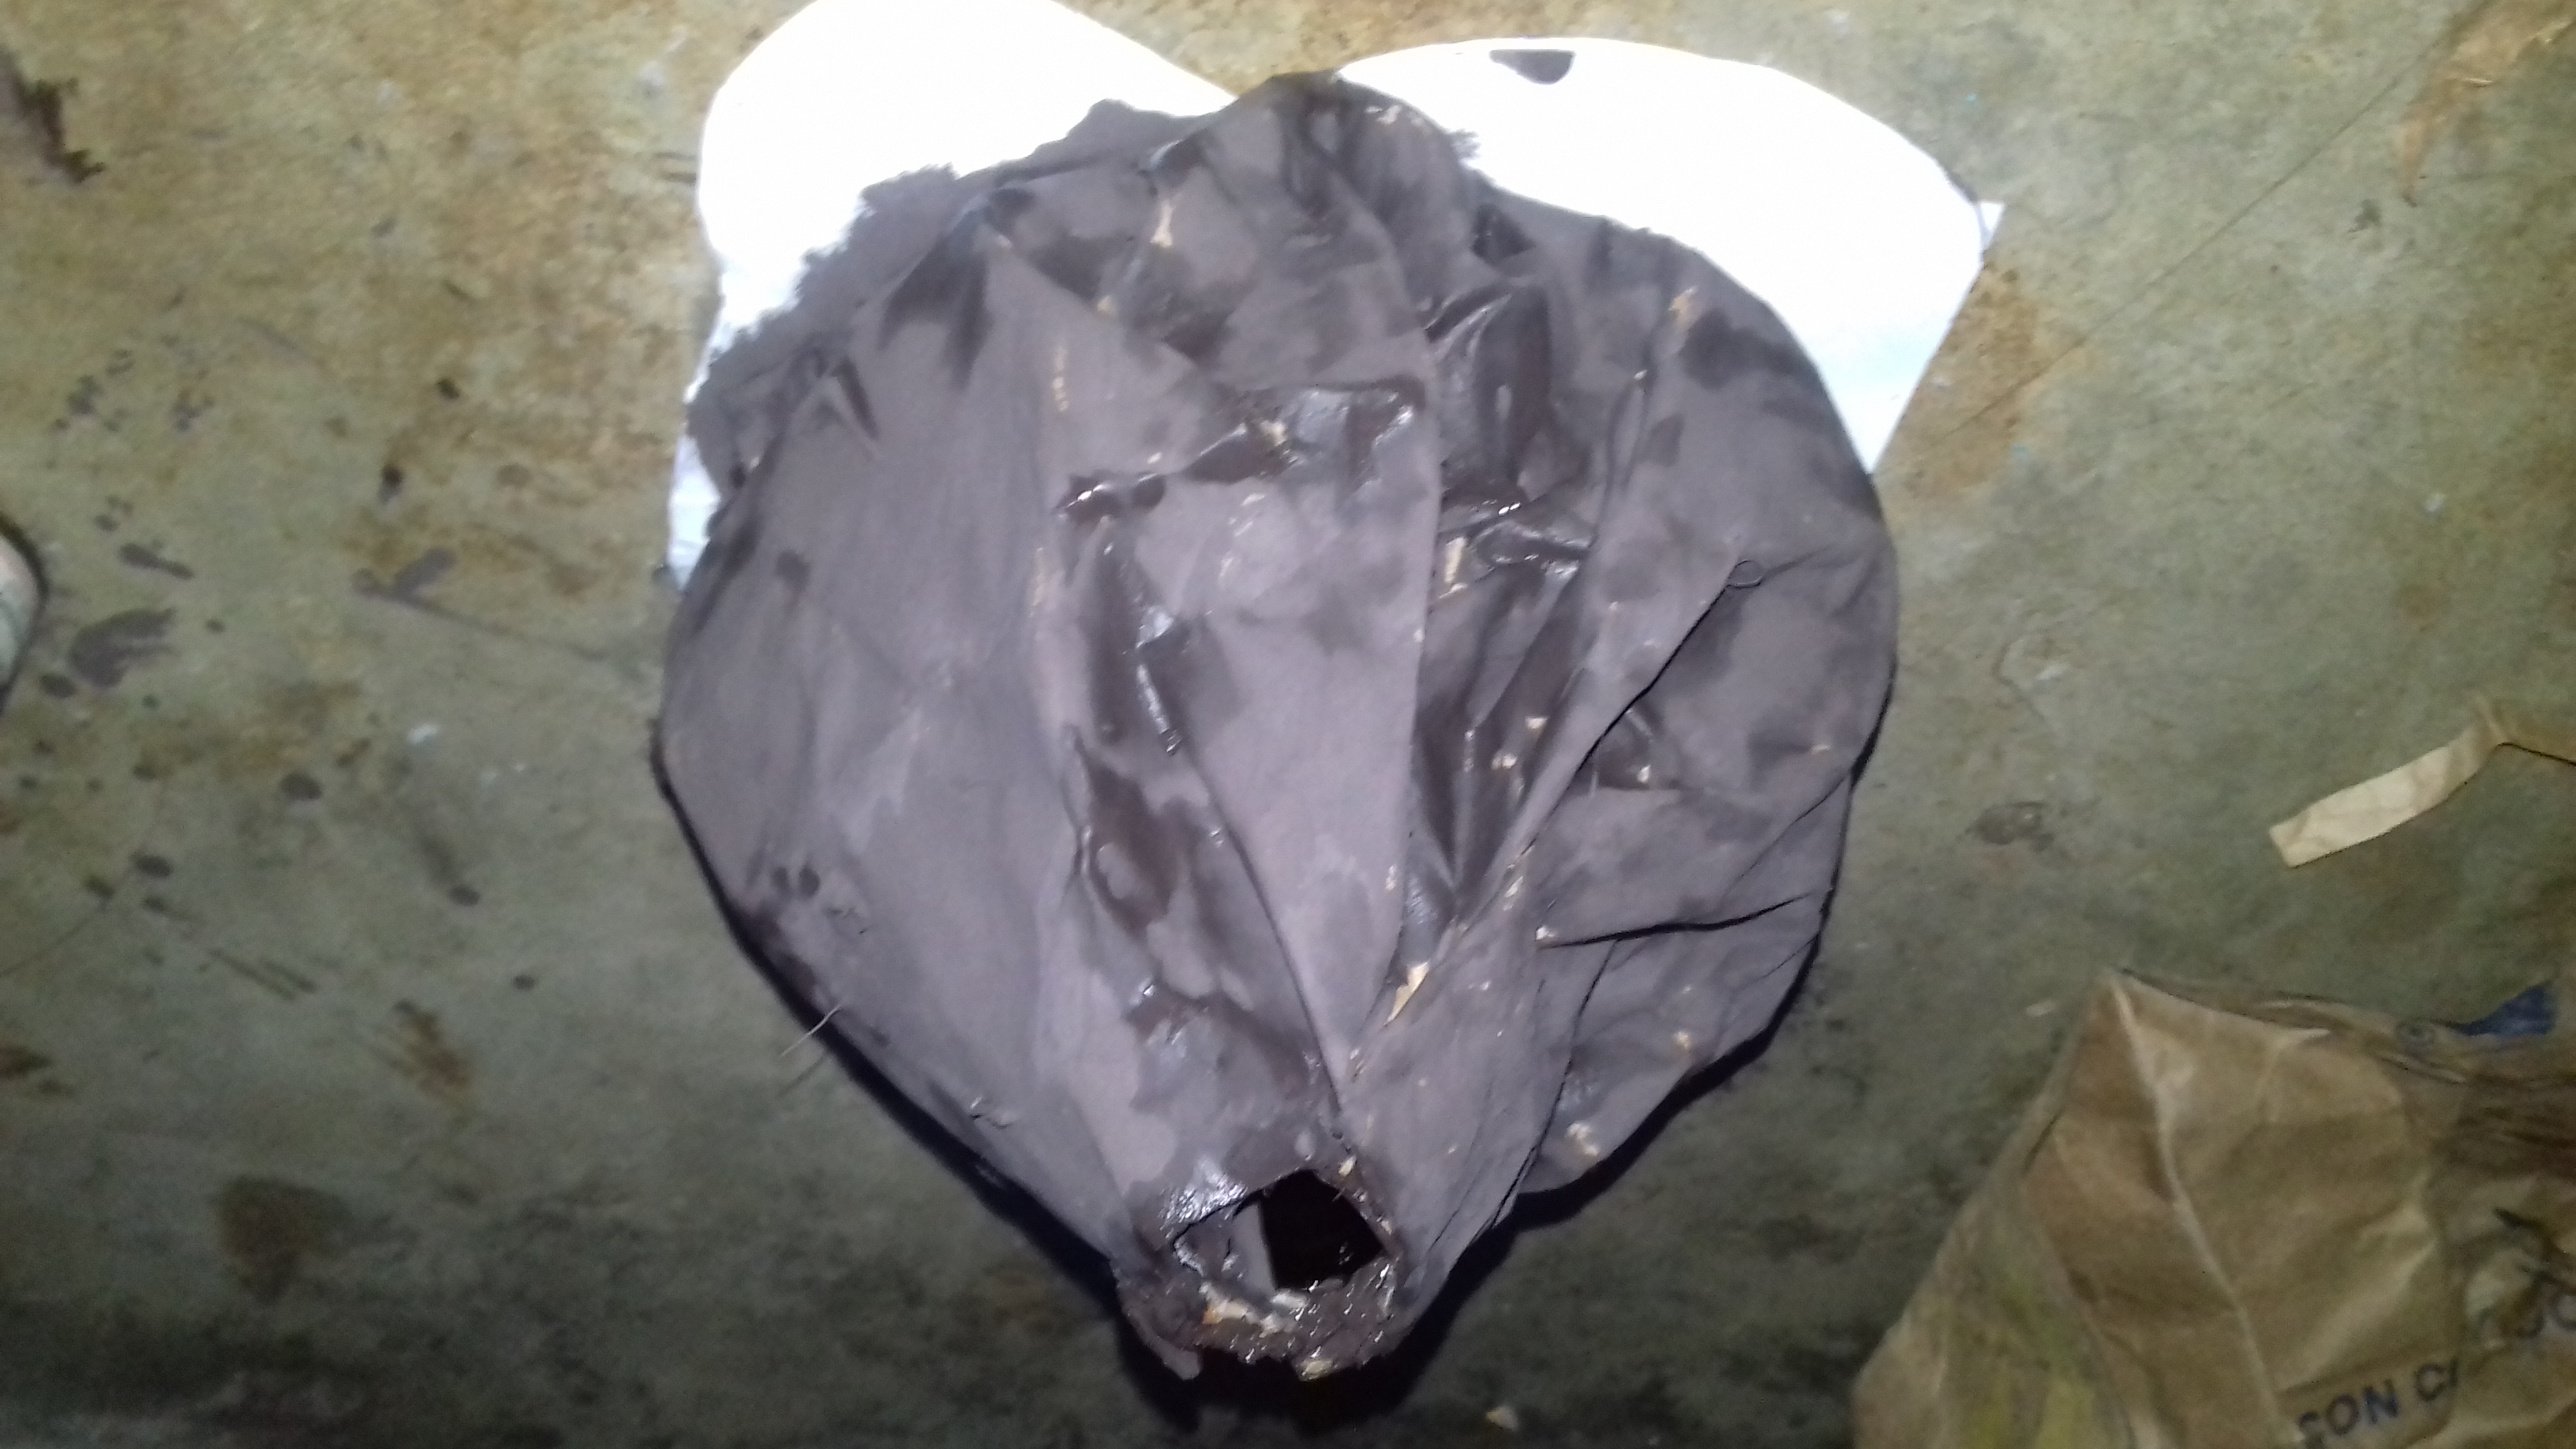
Paso 8. Con ayuda del pincel pintamos todo el volcán de marrón, comenzando por la parte superior.
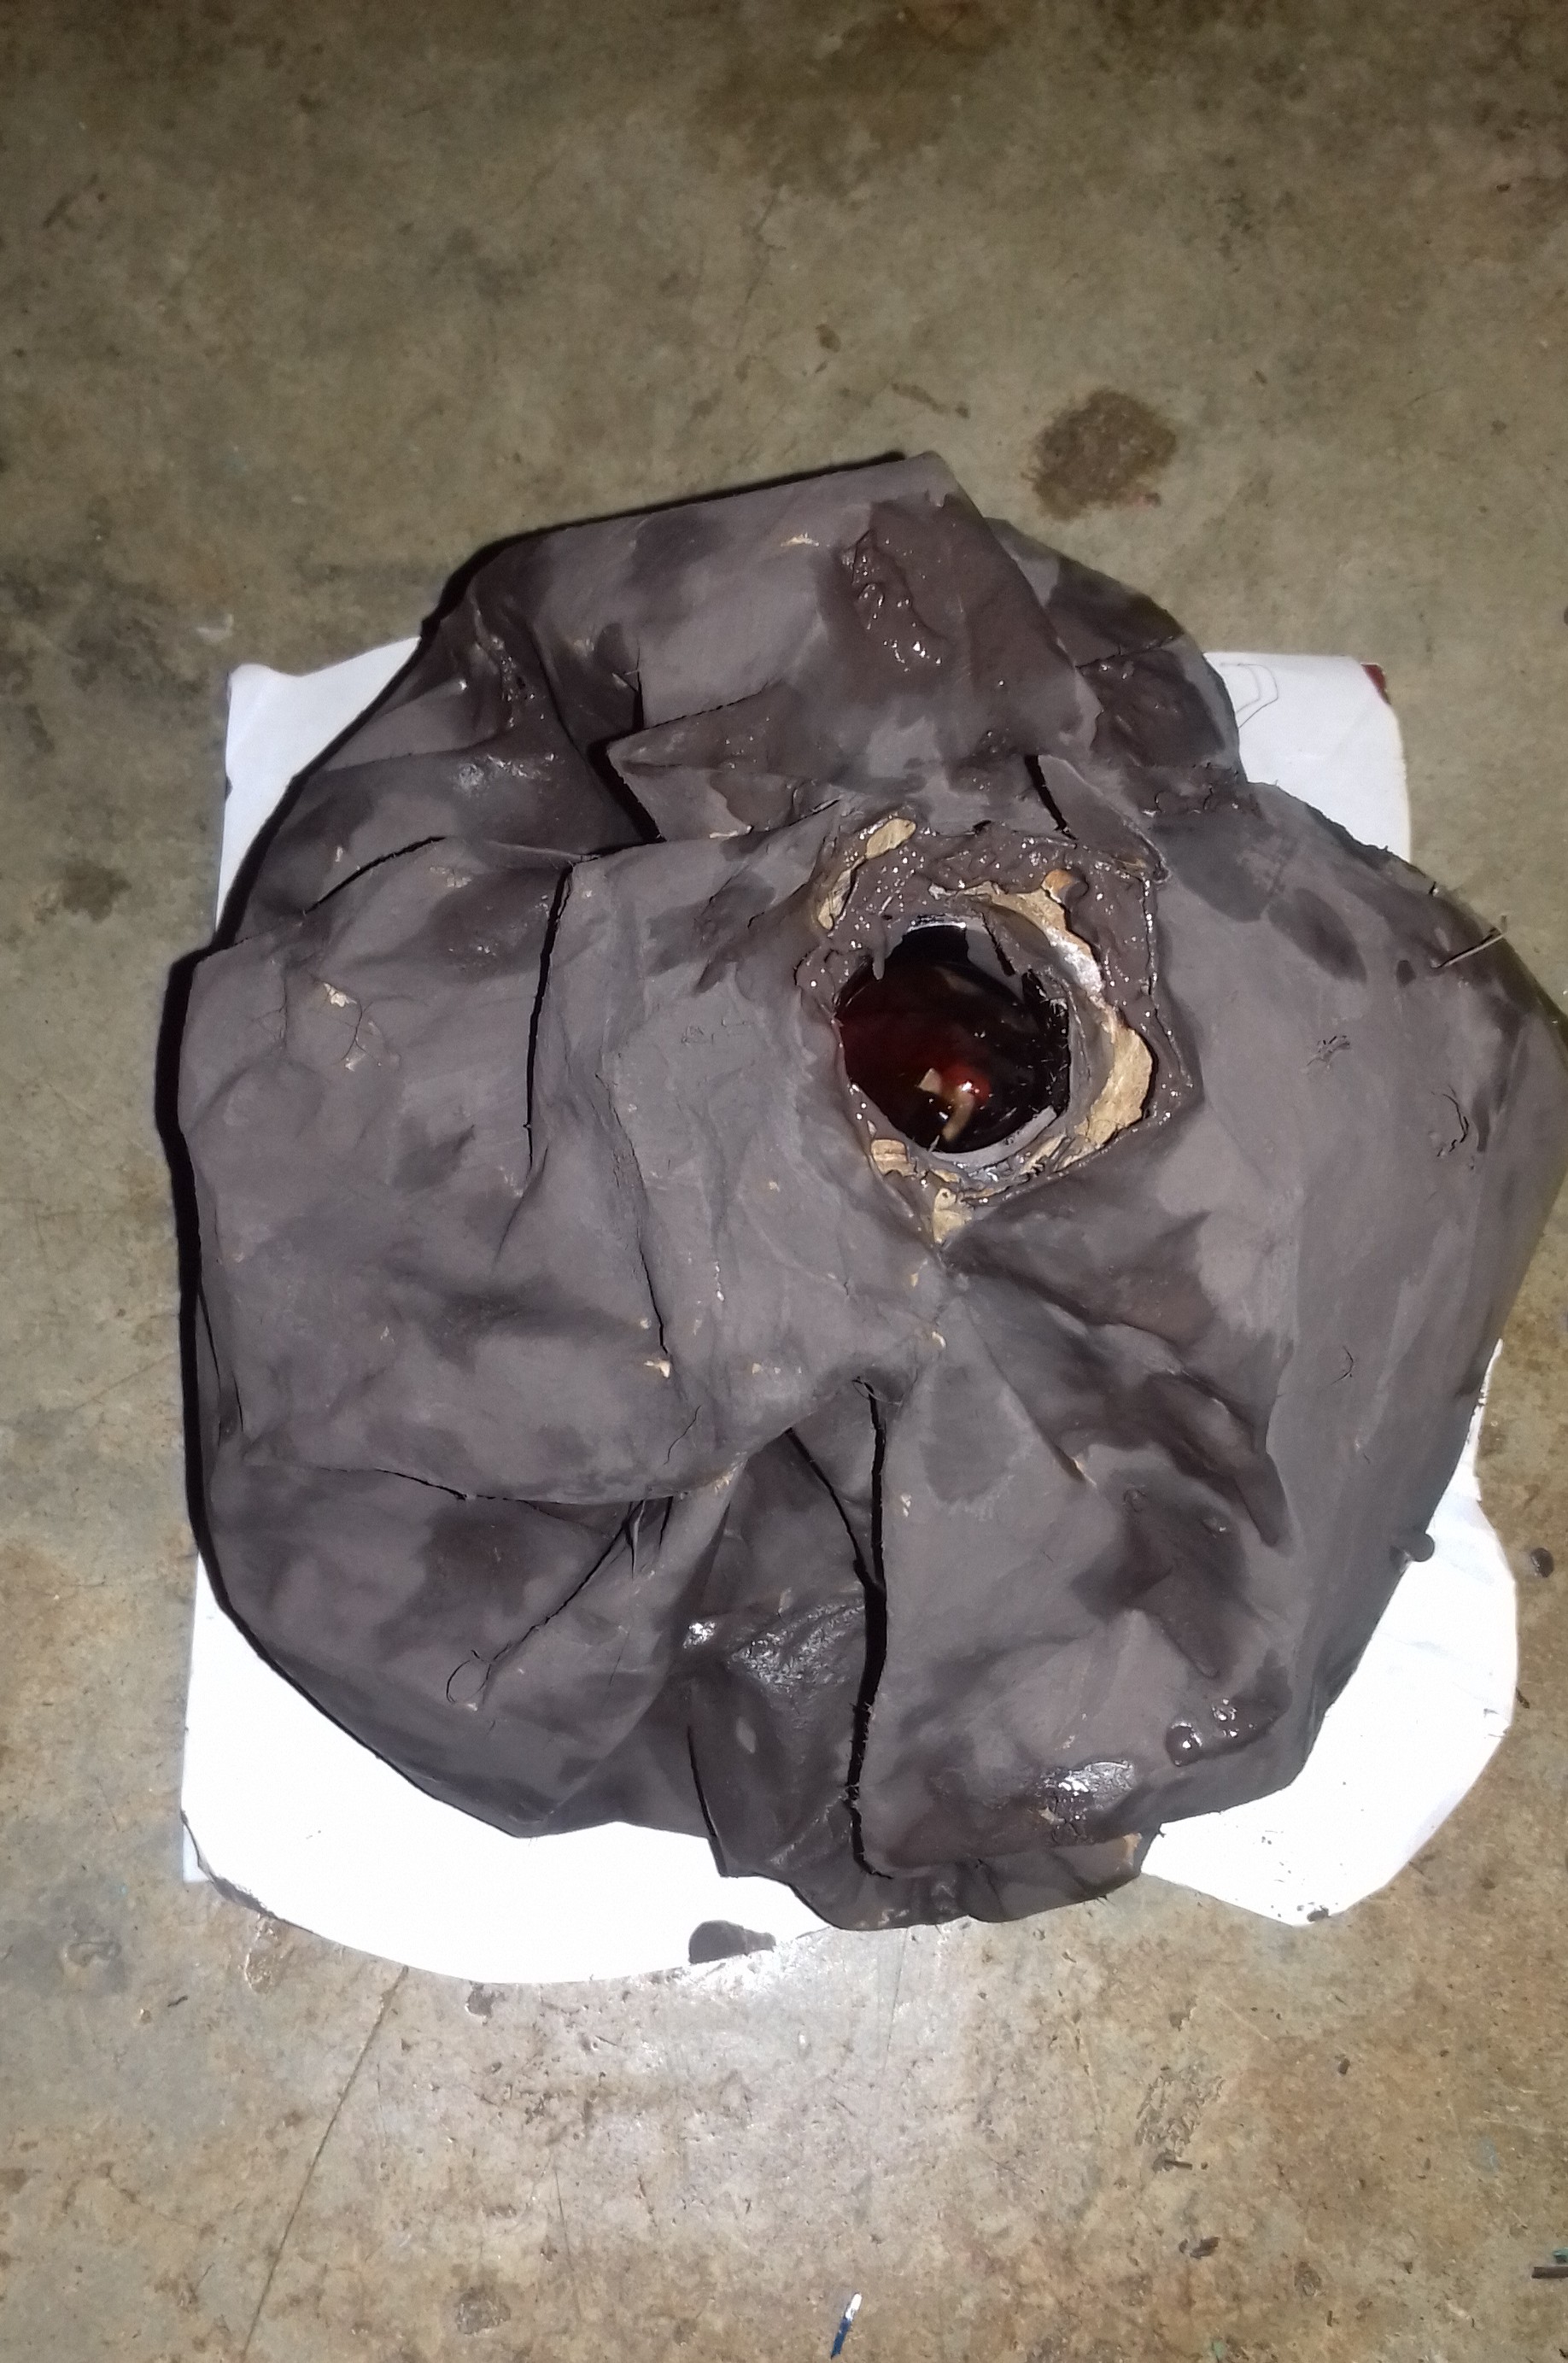
Paso 9. Deja secar la pintura marrón.
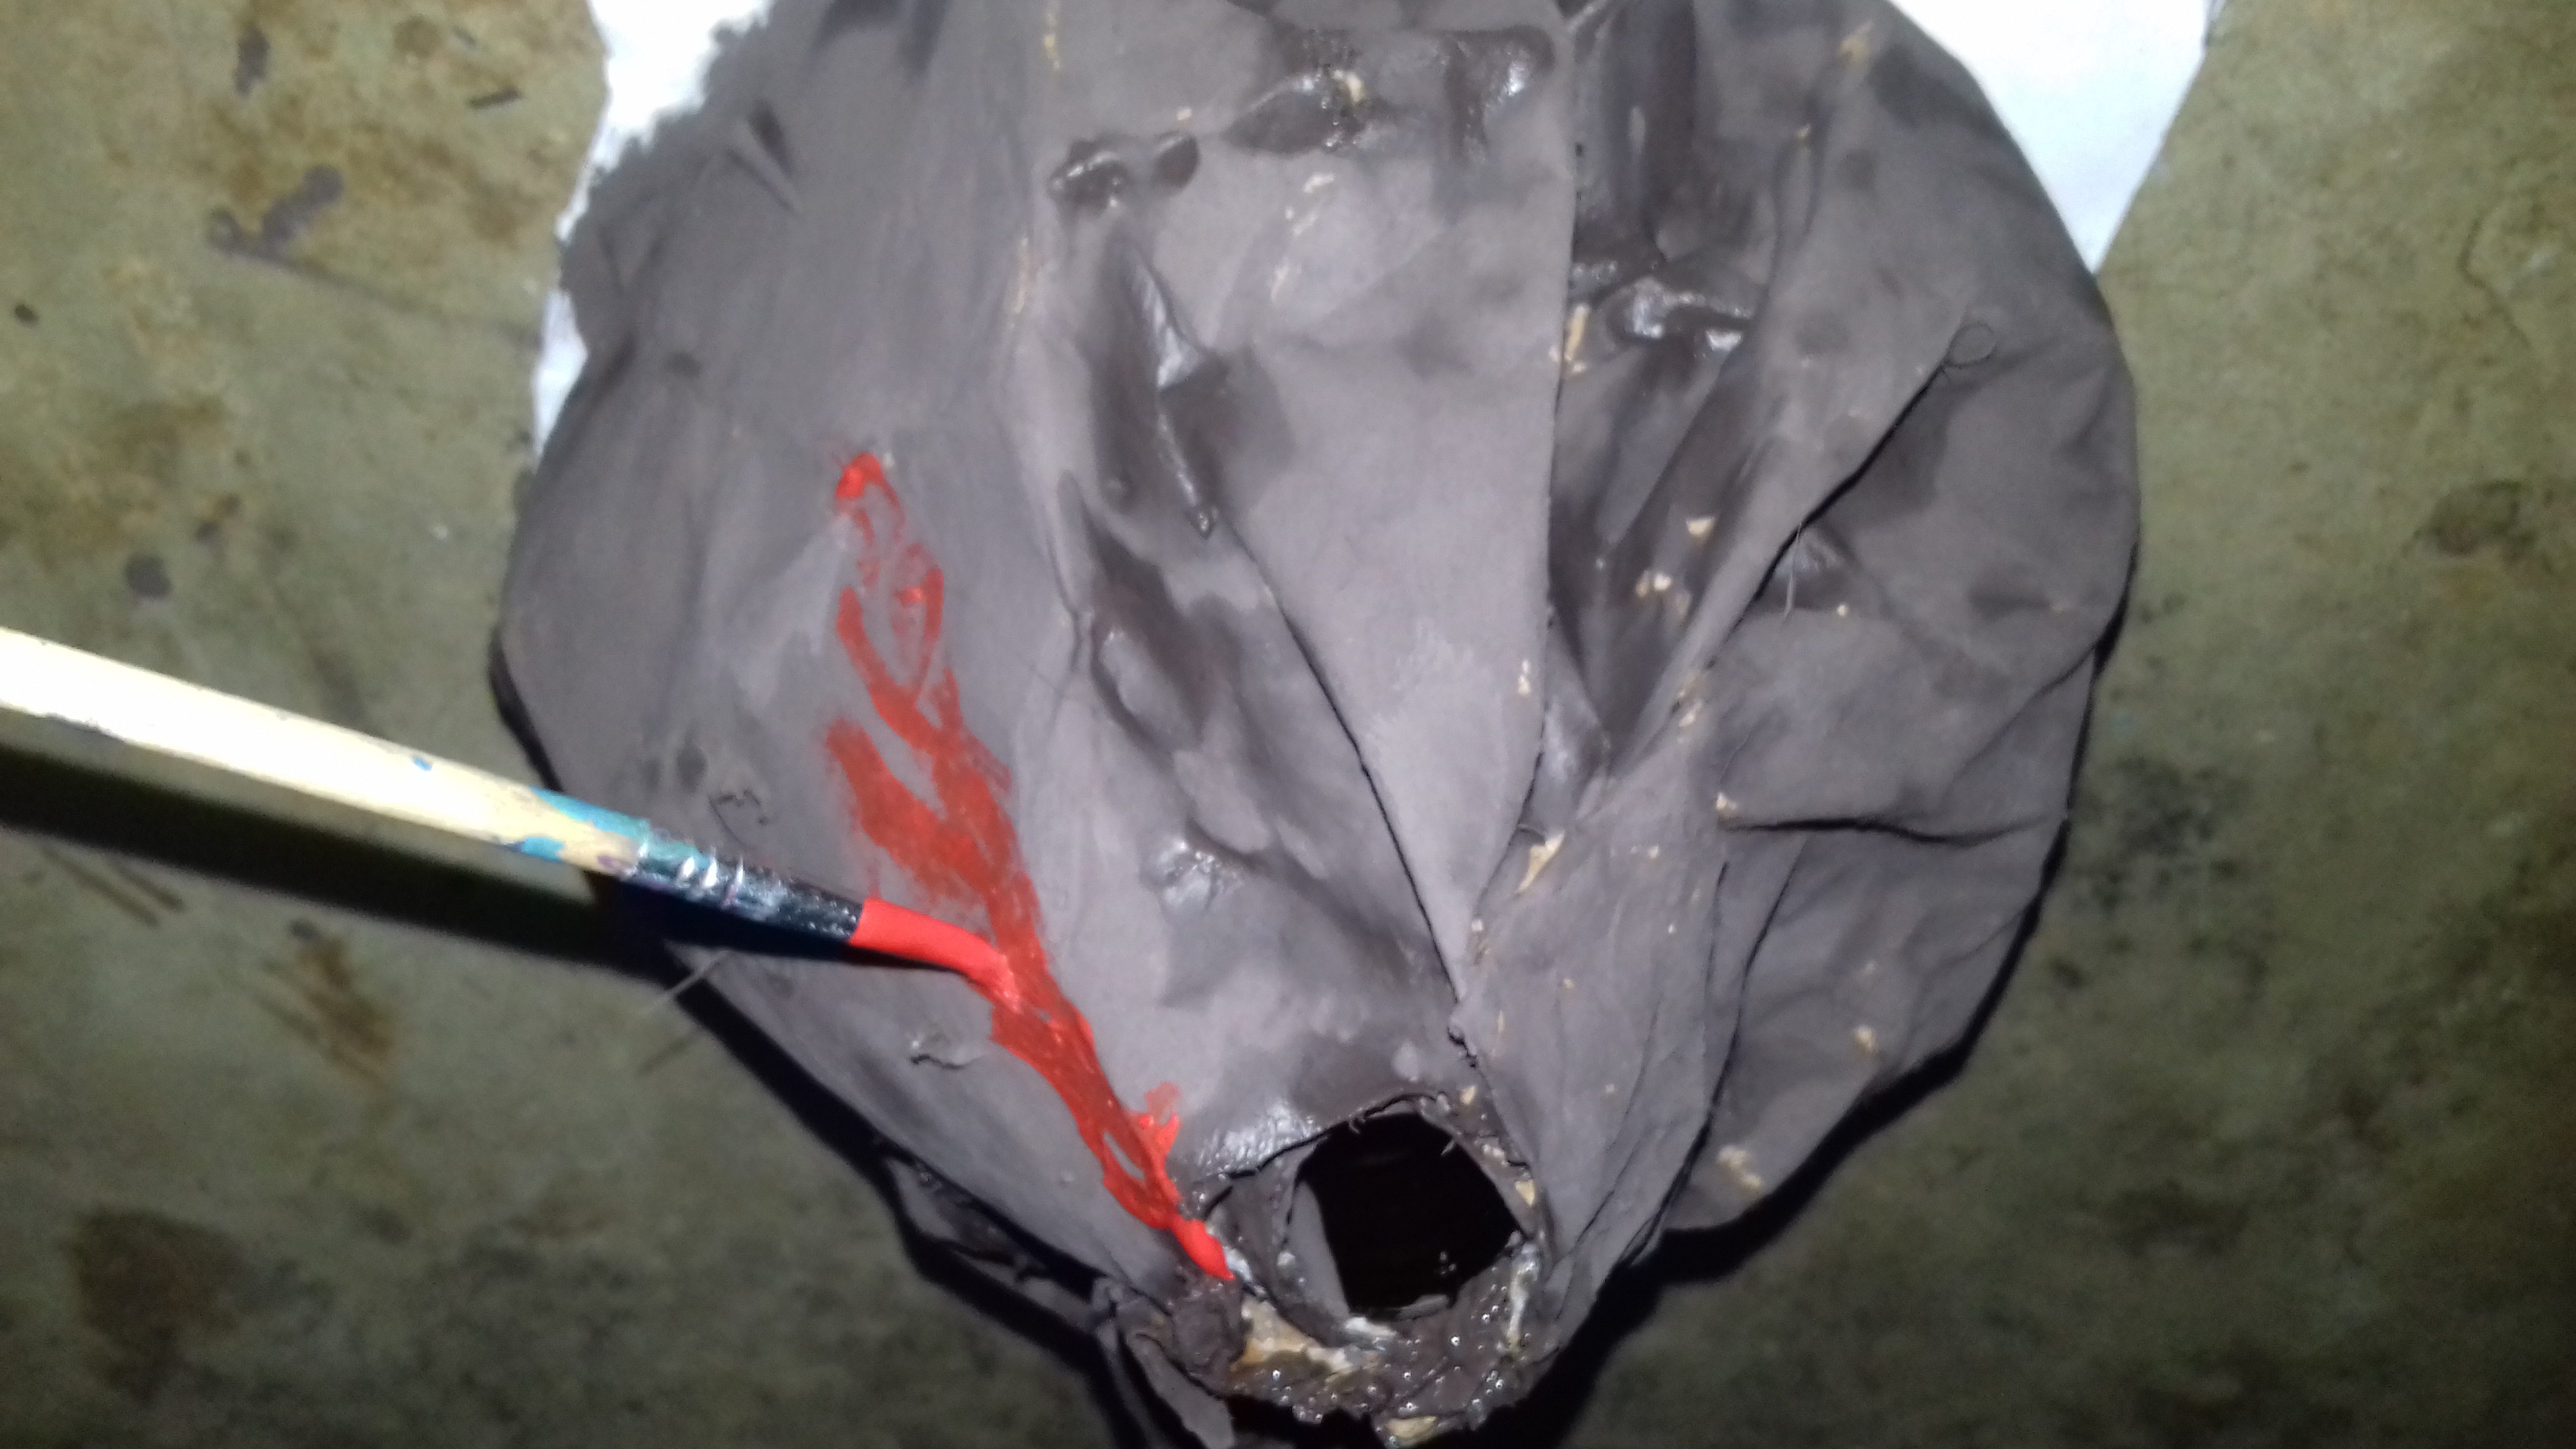
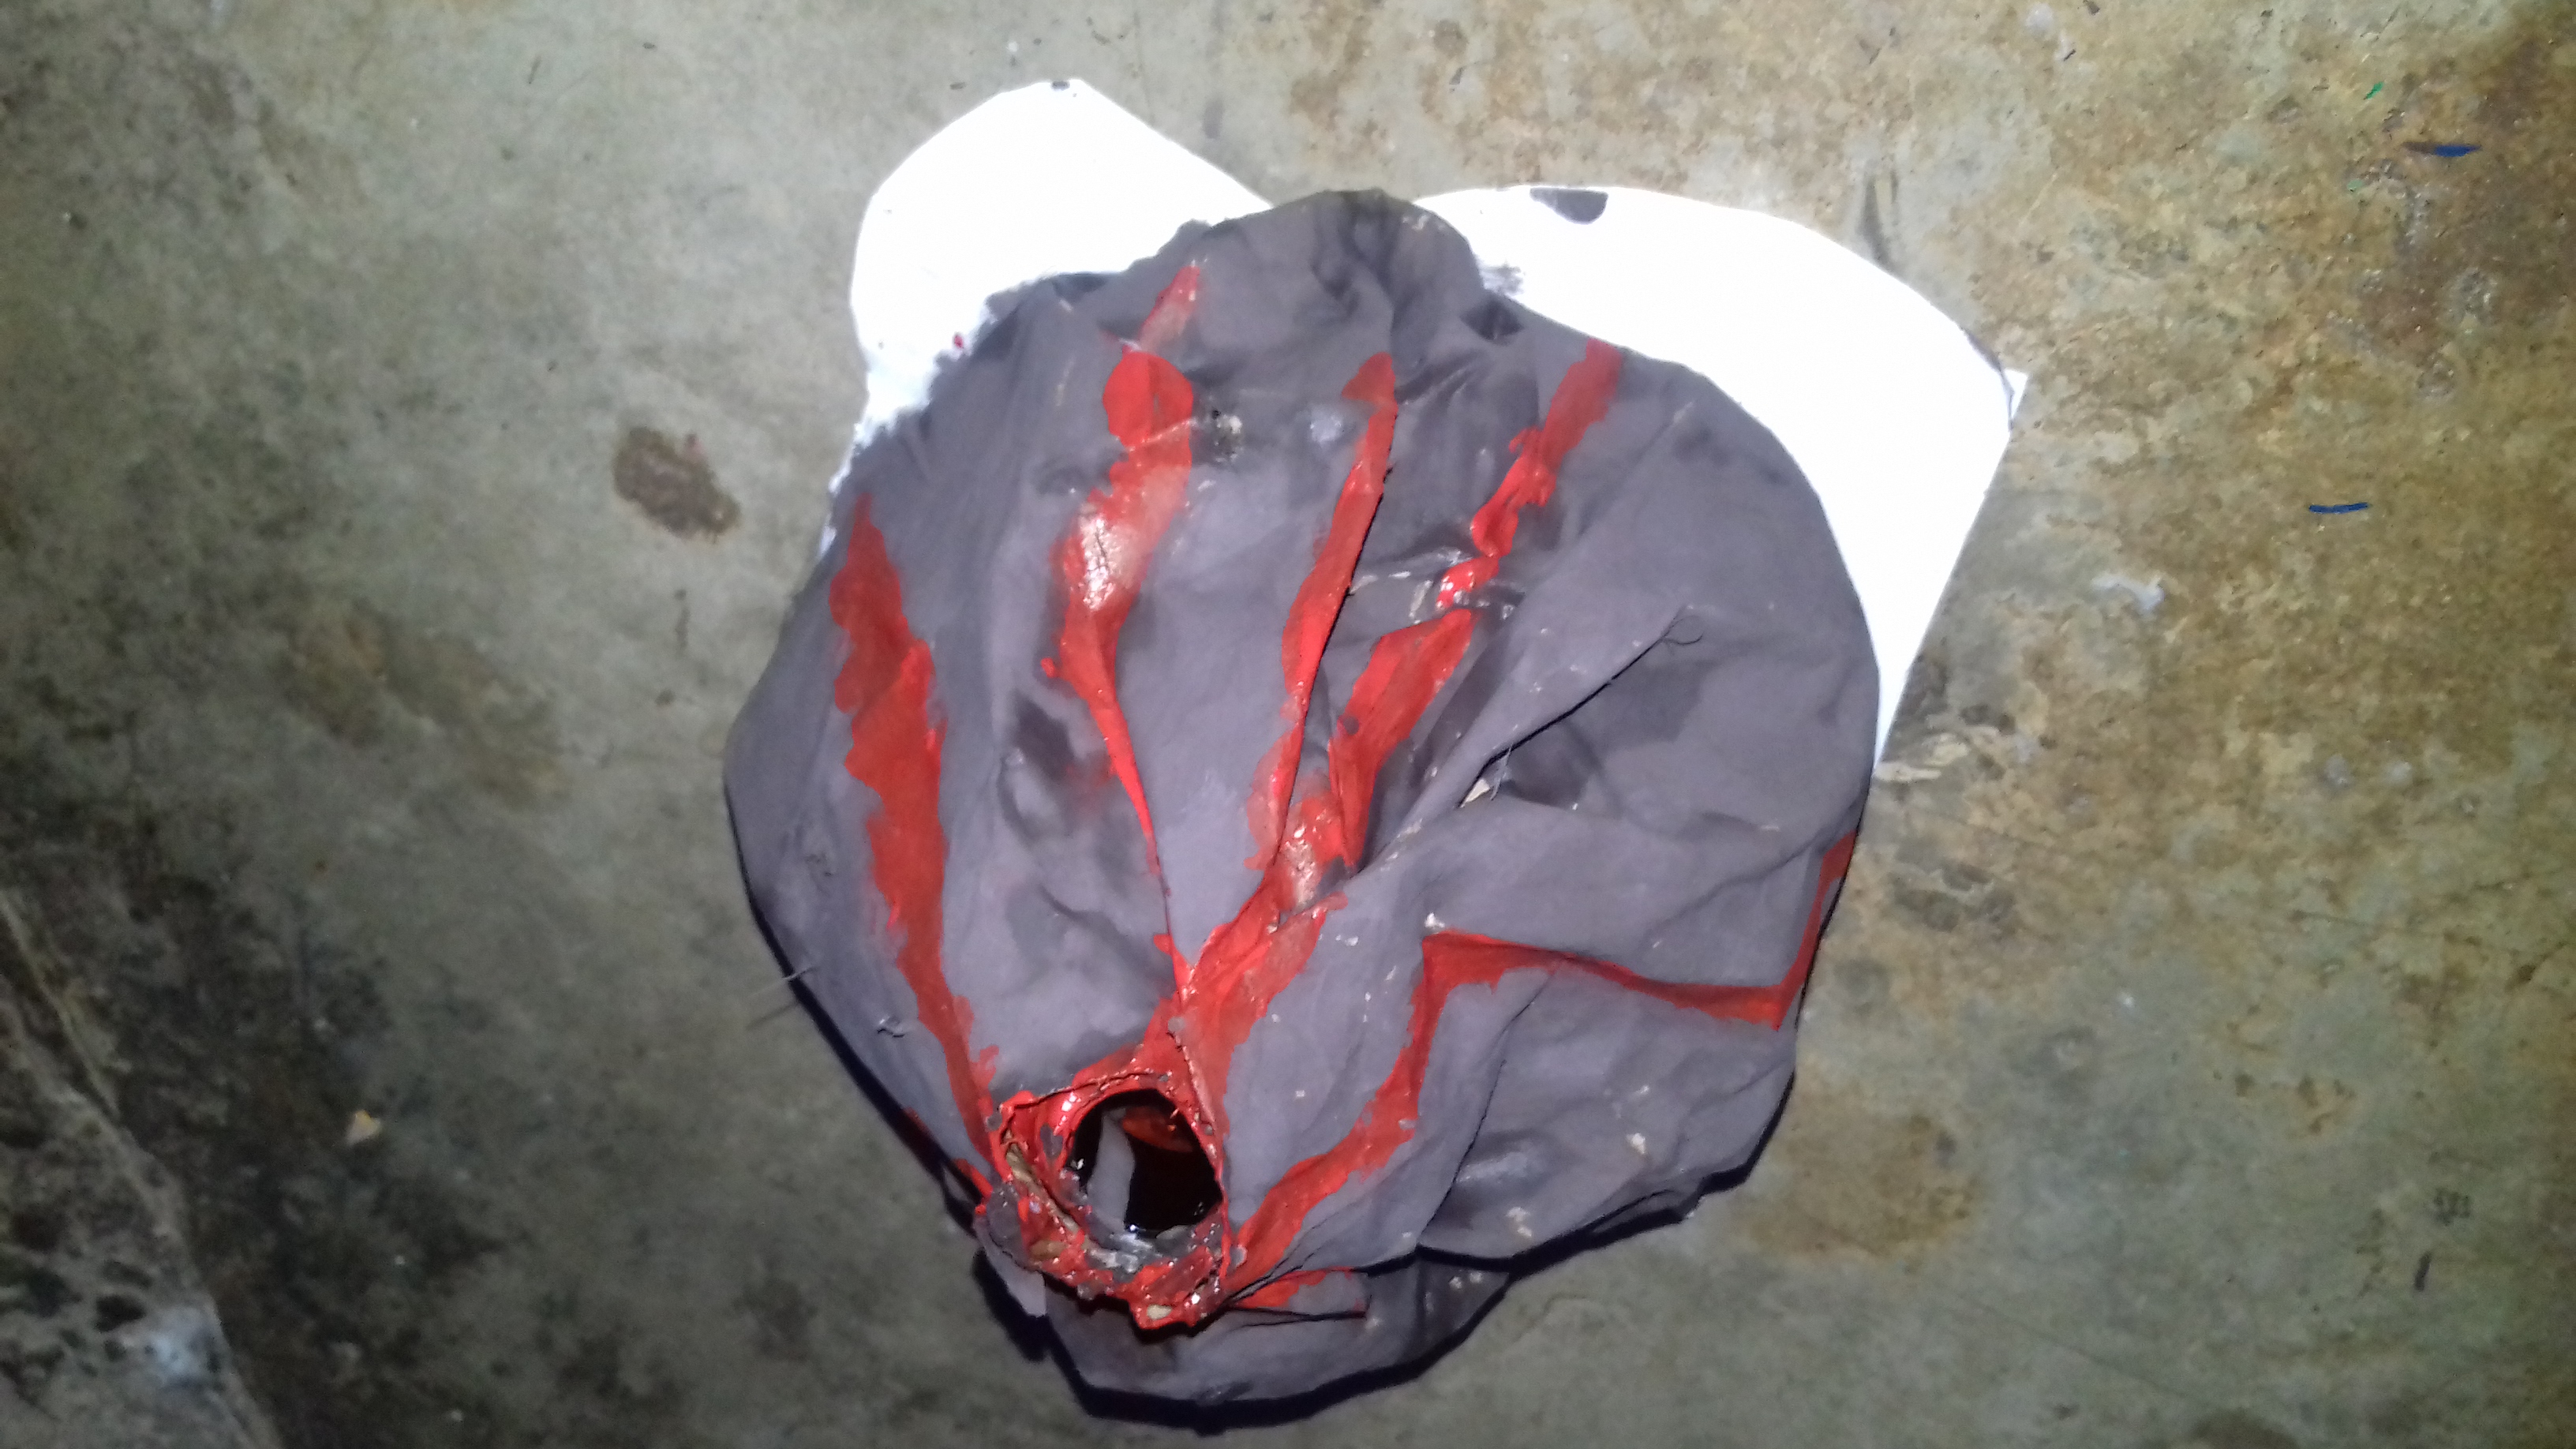
Paso 10. Es hora de pintar con la pintura roja para hacer el efecto de la lava corriendo por el volcán cuando entra en erupción.
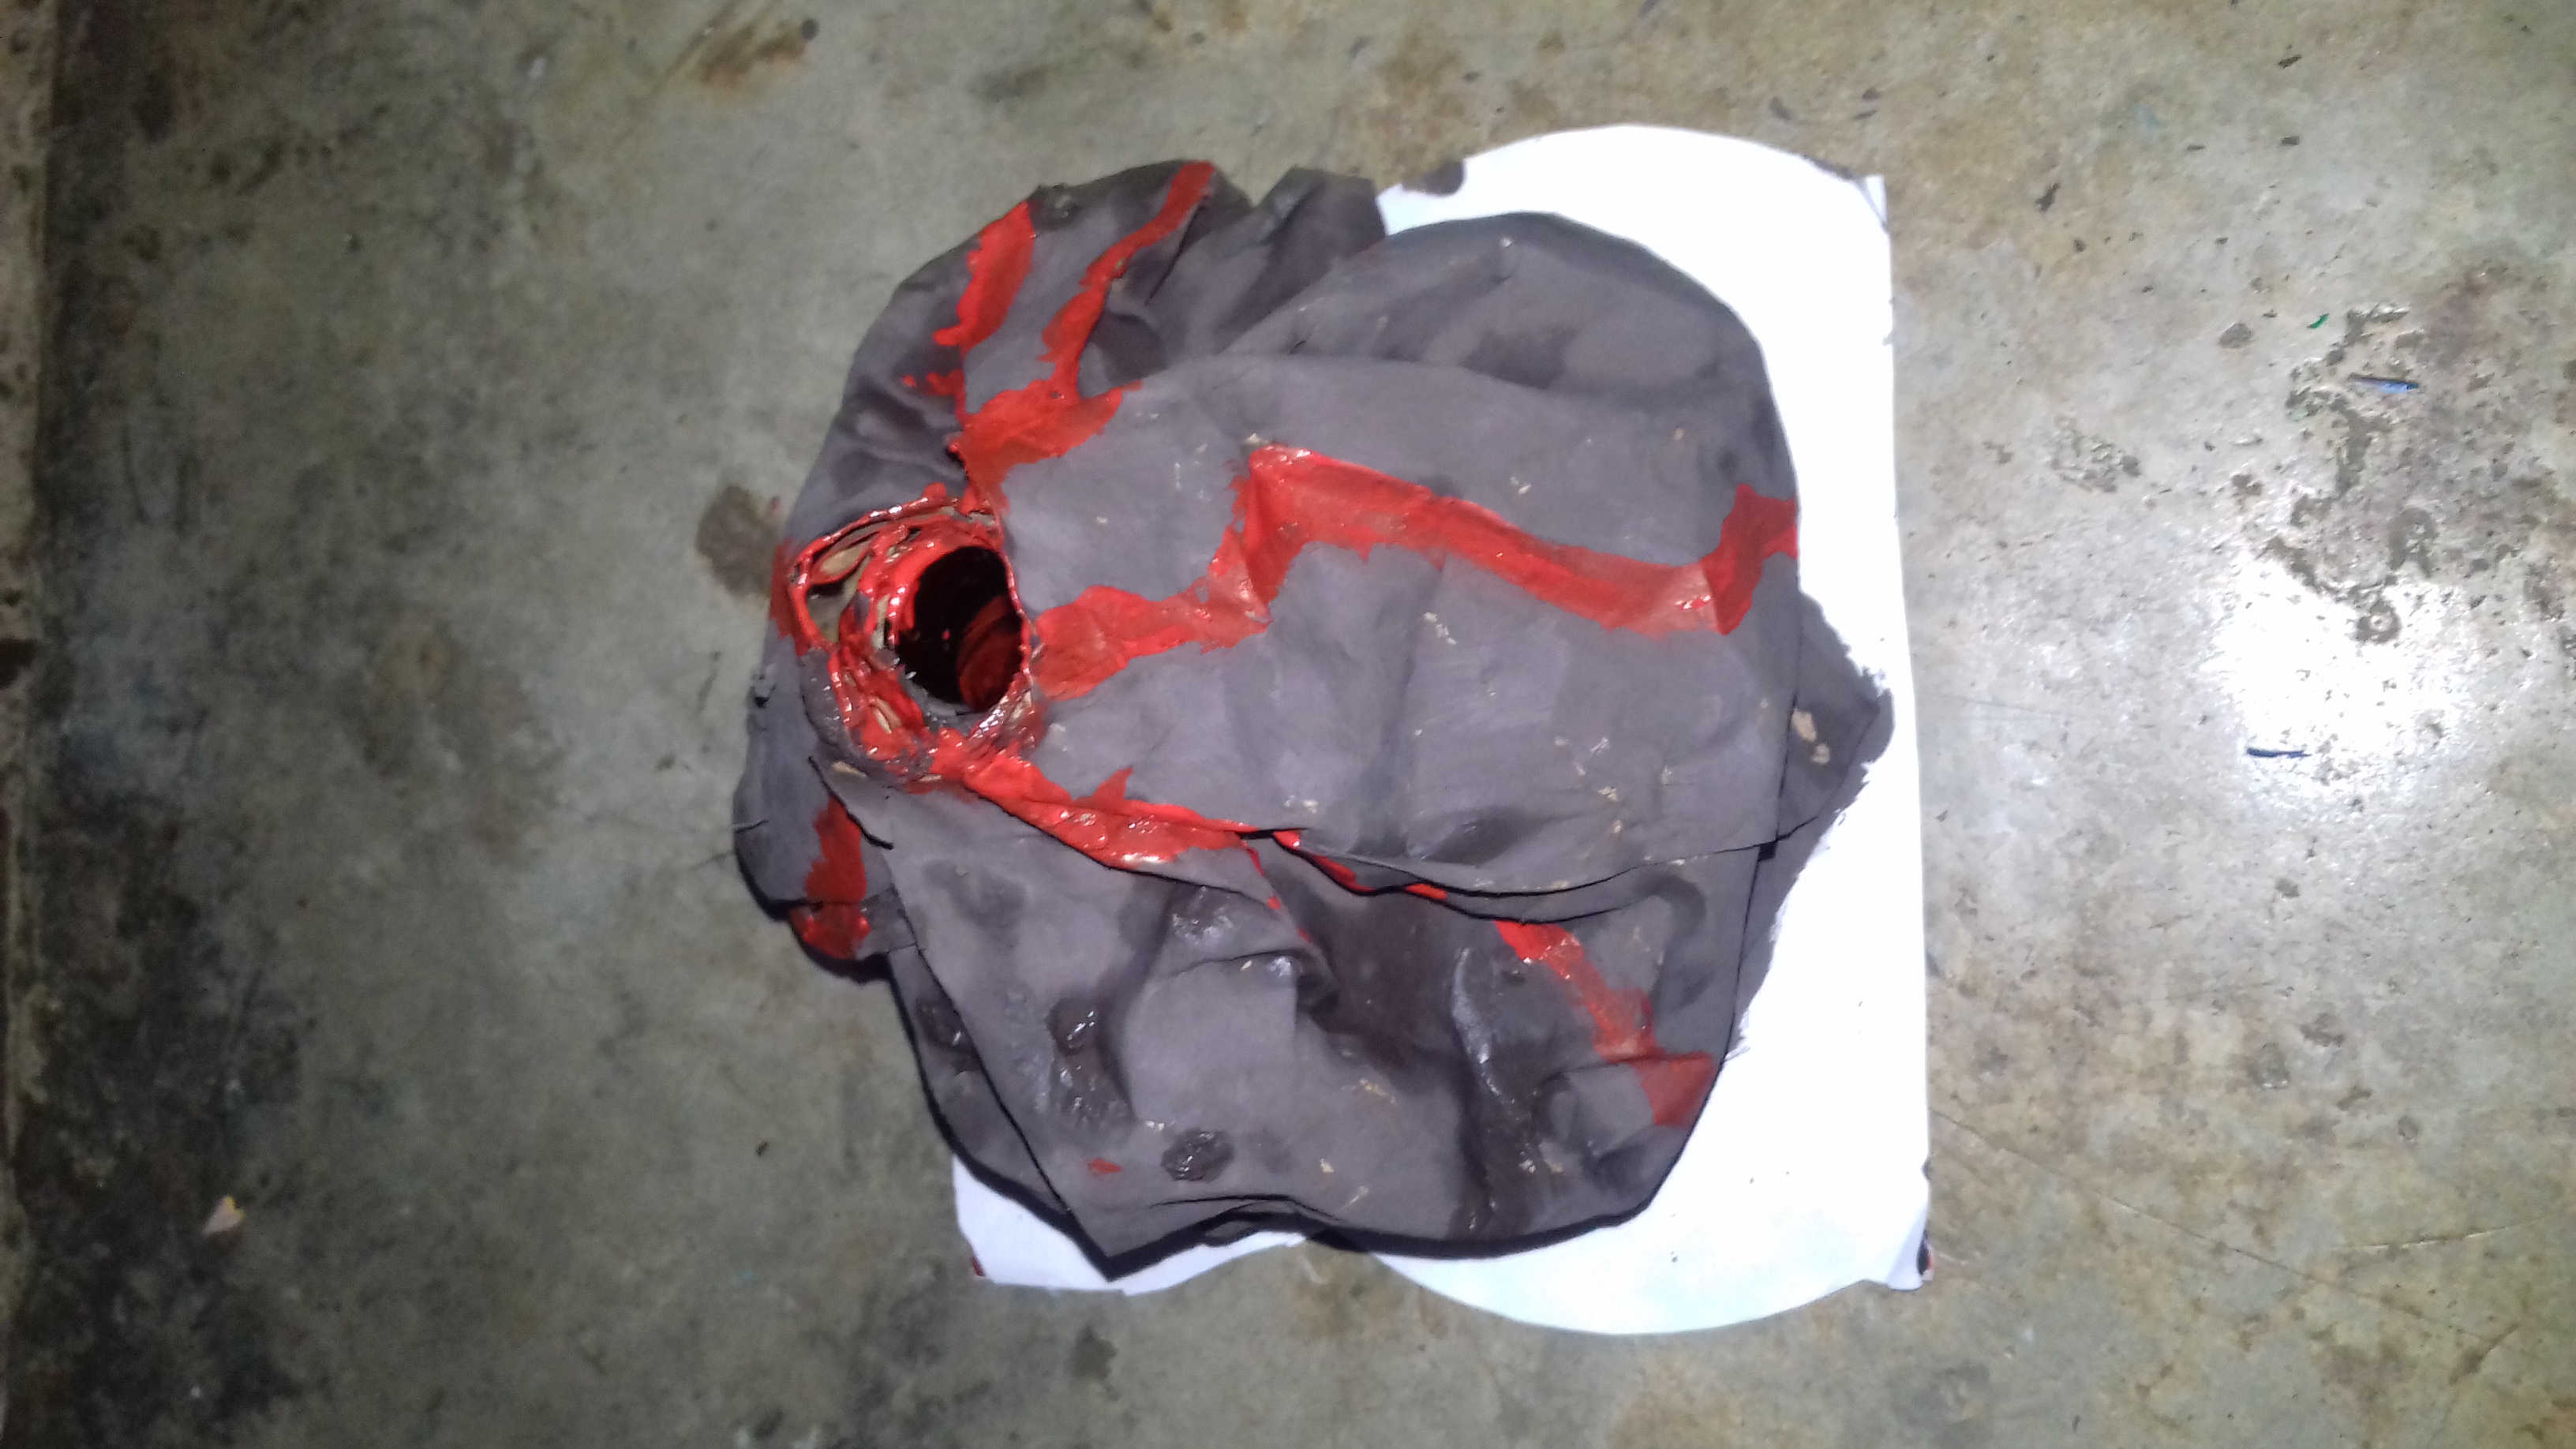
Y así ha quedado mi volcán para el cierre de mi proyecto, que tendré que hacer erupción en el aula, deséenme suerte para poder lograrlo jejeje 😉.
Gracias por acompañarme en esta maravilla volcánica hasta otra oportunidad, les deseo un excelente y maravilloso día 😊.
Fotos tomadas con mi teléfono Samsung Galaxy J3.
Traducido con Google.
@josemoncada17.

Eng 🇺🇲
Greetings hivers friends, welcome to my blog, it is a pleasure and a pleasure to be back in this great community of #hivediy, I know that I was a bit away from the platform itself, because I started face-to-face classes and I have been very busy and full of my homework and school activities, I tell you that I loved going back to school and spending time with my classmates, and enjoying myself with them.
Today I will teach you how to make a volcano with useful material, this being my final work of the Project, which was entitled "A Volcanic Wonder". During this period we were researching about volcanoes and their types, and the different ways in which we could elaborate it since it is our final project which we must make erupt in the classroom, I love this idea hehehe. After so much research that we had, I got down to work and decided to make this volcano with useful material, since I like to recycle and give another useful life to the materials, here I leave you the step by step of my work, I hope you like it like.
Materials

▪️paper bag
▪️1 small plastic bottle
▪️Silicone gun and bar
▪️red and brown paint
▪️thin cardboard
▪️1 white sheet
▪️Pair of scissors
▪️Brushes and my creativity.
Step by Step

Step 1. Cut the cardboard fini with the help of scissors, to make the base of the volcano.

Step 2. Line the base with the white sheet.

Step 3. Take the plastic bottle and stick it in the center of the base with the help of the gun and the silicone.


Step 4. Cut out 2 large rectangles from the paper bag, then crumple them up.


Step 5. Start gluing the paper bag rectangles to the base around the plastic bottle.


Step 6. Then the ends are joined and the volcano is shaped by gluing the paper bag to the spout of the plastic bottle.
Step 7. Time to paint to give the model more of a volcano effect.


Step 8. With the help of the brush we paint the entire volcano brown, starting at the top.

Step 9. Let the brown paint dry.


Step 10. It's time to paint with the red paint to make the effect of the lava running down the volcano when it erupts.

And so my volcano has remained for my project closure, which I will have to erupt in the classroom, wish me luck to be able to achieve it hehehe 😉.
Thank you for joining me in this volcanic wonder until another opportunity, I wish you an excellent and wonderful day 😊.
Photos taken with my Samsung Galaxy J3 phone.
Translated with Google.
Thank you for sharing this amazing post on HIVE!
Your content got selected by our fellow curator @rezoanulvibes & you just received a little thank you via an upvote from our non-profit curation initiative!
You will be featured in one of our recurring curation compilations and on our pinterest boards! Both are aiming to offer you a stage to widen your audience within and outside of the DIY scene of hive.
Join the official DIYHub community on HIVE and show us more of your amazing work and feel free to connect with us and other DIYers via our discord server: https://discord.gg/mY5uCfQ !
If you want to support our goal to motivate other DIY/art/music/homesteading/... creators just delegate to us and earn 100% of your curation rewards!
Stay creative & hive on!