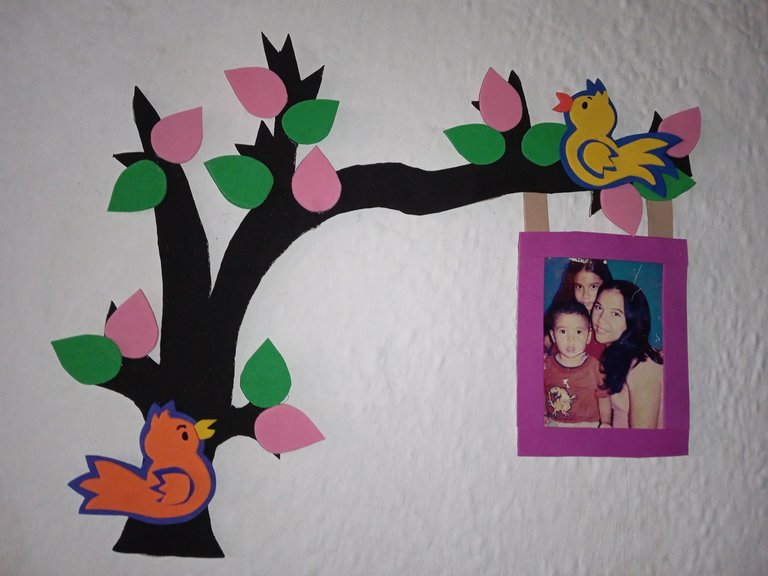
Hola buenas noches mis hermosos amigos lectores ,y creadores de contenido , feliz noche para todos , deseo que hayan tenido un gran día ,que descansen , les quiero compartir un hermoso portaretrato que realice , es muy significativo para mí , se trata de una foto con mi hermano cuando éramos unos niños ,y quiero tener la siempre presente , a continuación les indicaré los pasos que realice
Hello good evening my beautiful friends readers, and content creators, happy evening to all, I hope you have had a great day, rest, I want to share a beautiful portrait that I made, it is very meaningful to me, it is a photo with my brother when we were kids, and I want to have it always present, then I will indicate the steps to perform
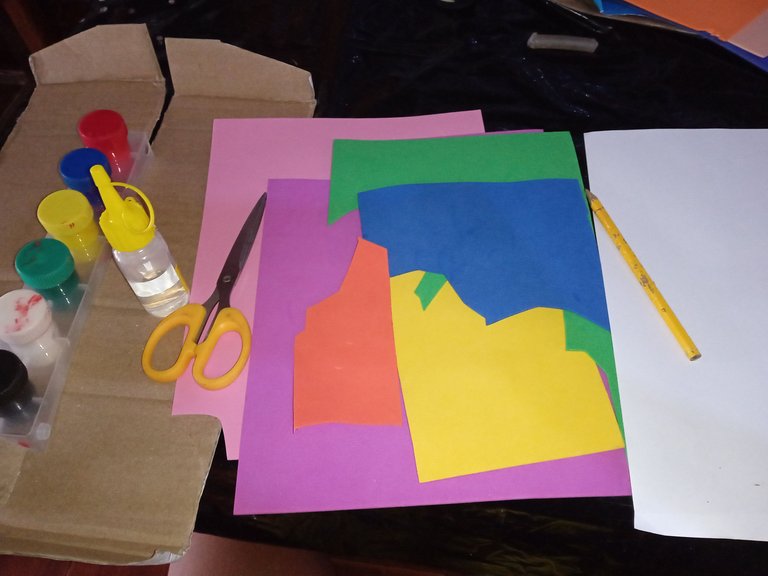
Materiales que utilice para mí portaretrato:
•Cartón
•Foamis
•Tijera
•Pintura
•Silicon
•Hoja en blanco
•Lápiz
Materials I used for my picture frame:
-Cardboard
-Foamis
-Scissors
-Paint
-Silicon
-Blank sheet
-Pencil
A continuación los pasos a seguir :
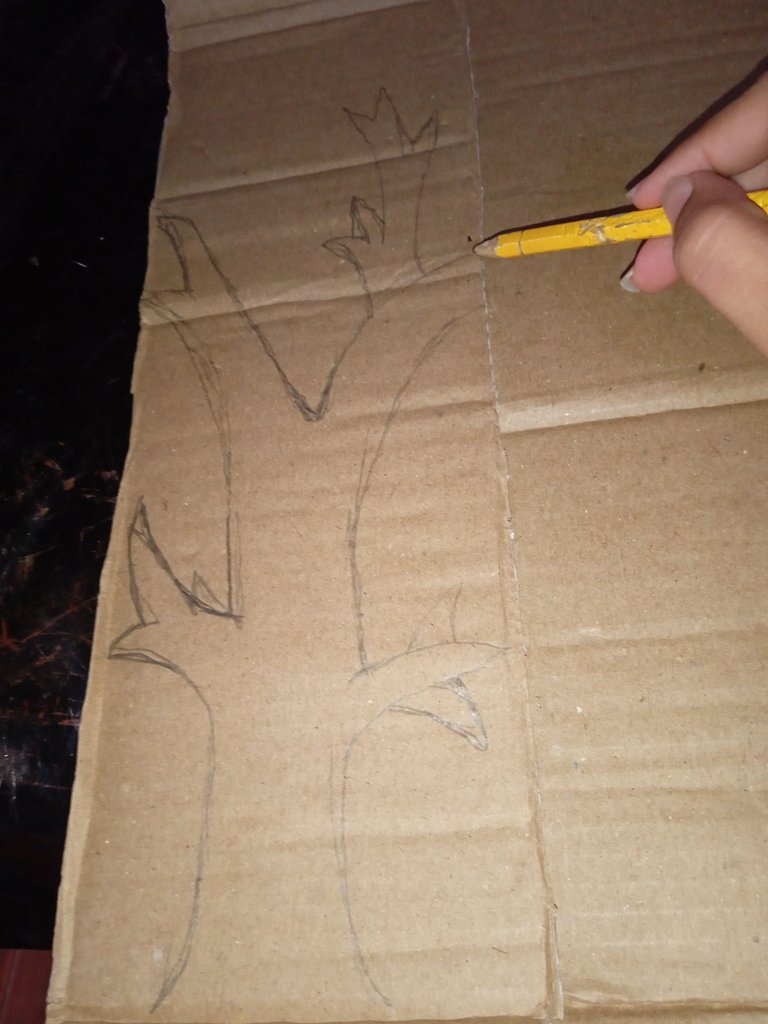
En nuestro primer paso ,iniciaremos tomando el cartón , en el vamos a dibujar un árbol con ramas y ganchos secos ,ya que más adelante nuestro portaretrato colgará de el
Here are the steps to follow:
In our first step, we will start by taking the cardboard, on it we will draw a tree with branches and dry hooks, since later our picture frame will hang from it.
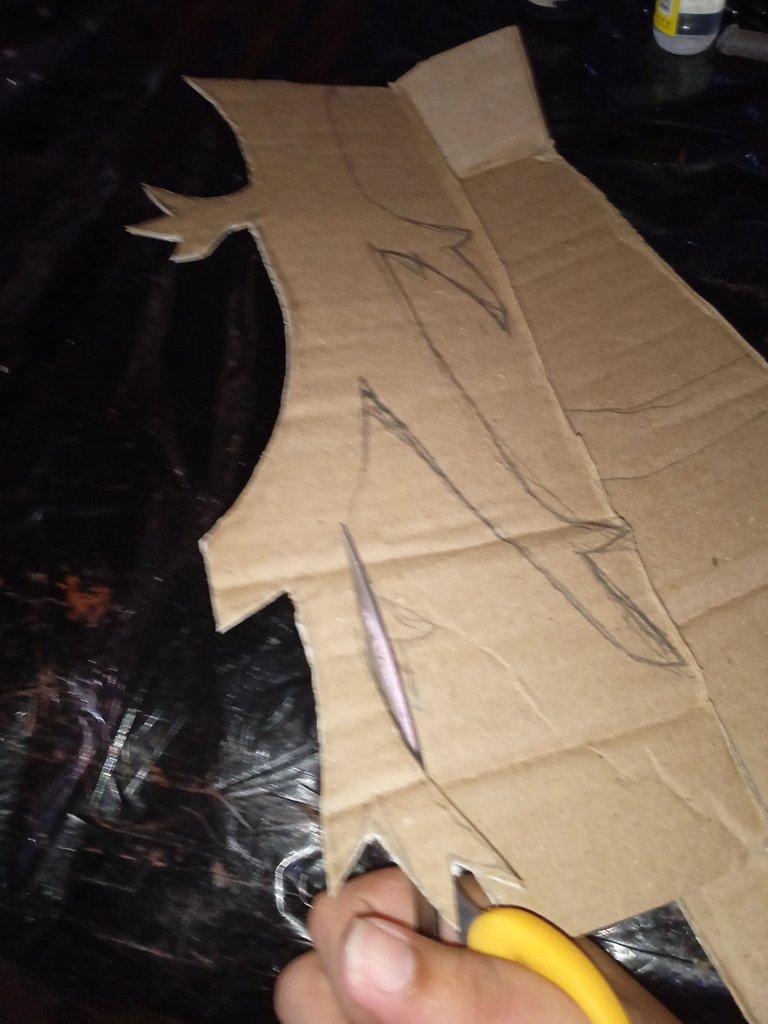
Luego continuaremos tomando nuestra tijera y recortamos el árbol con sus ganchos secos que dibujamos en el paso anterior
Then we will continue by taking our scissors and cut out the tree with its dry hooks that we drew in the previous step.
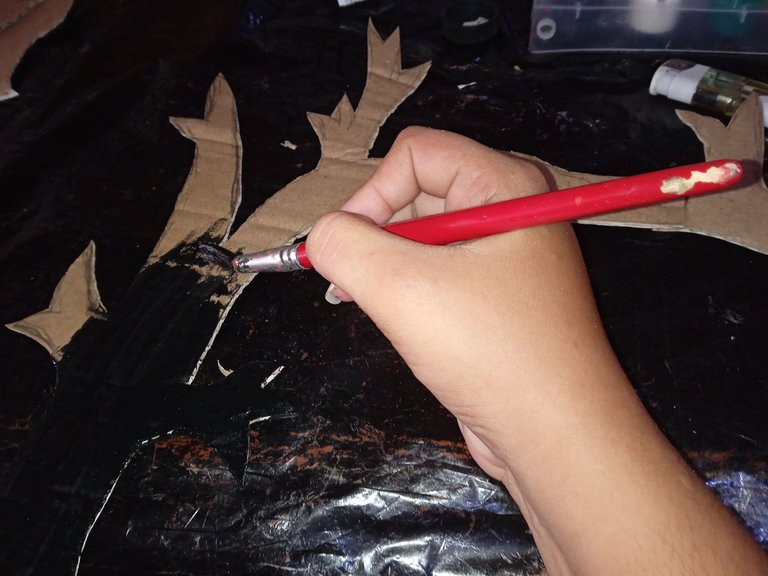
Continuaremos pintando nuestro árbol de ganchos secos , ustedes elijen el color de su preferencia , yo elegí el color negro
We will continue painting our tree of dry hooks, you choose the color of your preference, I chose black.
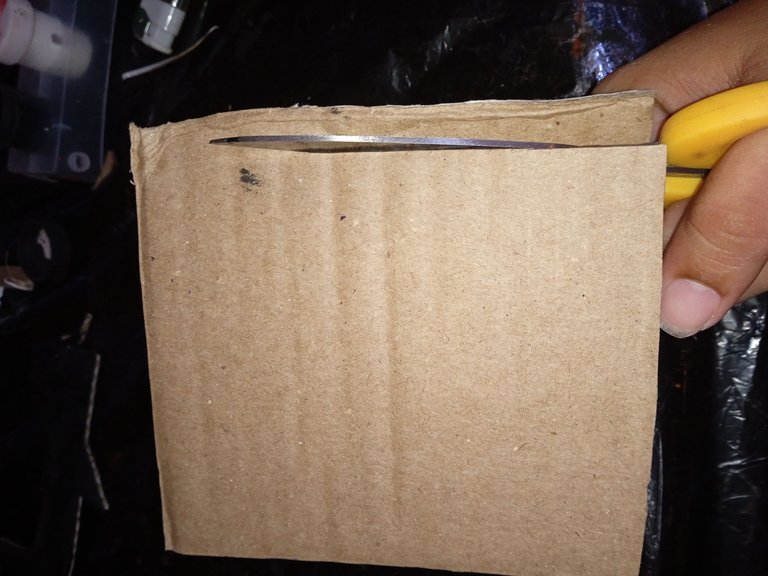
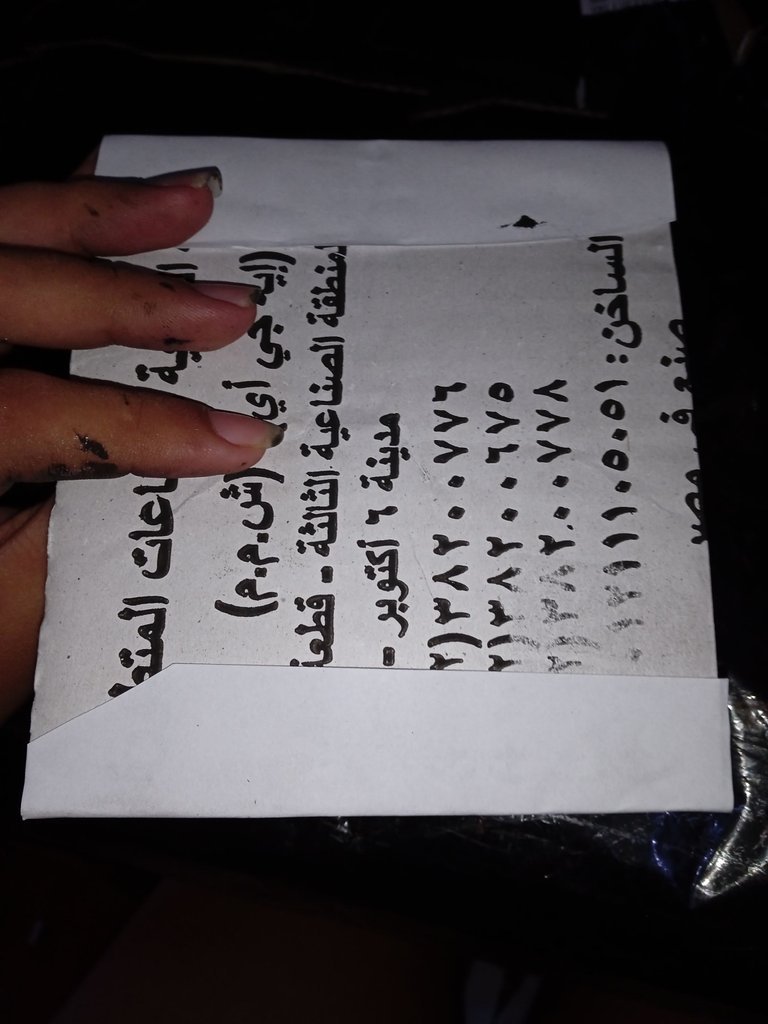
Continuaremos recortando un pequeño cuadro de cartón , debe tener la medida exacta con la foto que vamos a colgar , una vez que nuestro cuadro este listo lo volteamos y forramos con la hoja blanca ,dejando así un excelente fondo a la hora de sacar la foto
We will continue cutting out a small cardboard frame, it must have the exact size with the photo that we are going to hang, once our picture is ready we turn it over and cover it with the white sheet, leaving an excellent background at the time of taking the photo.
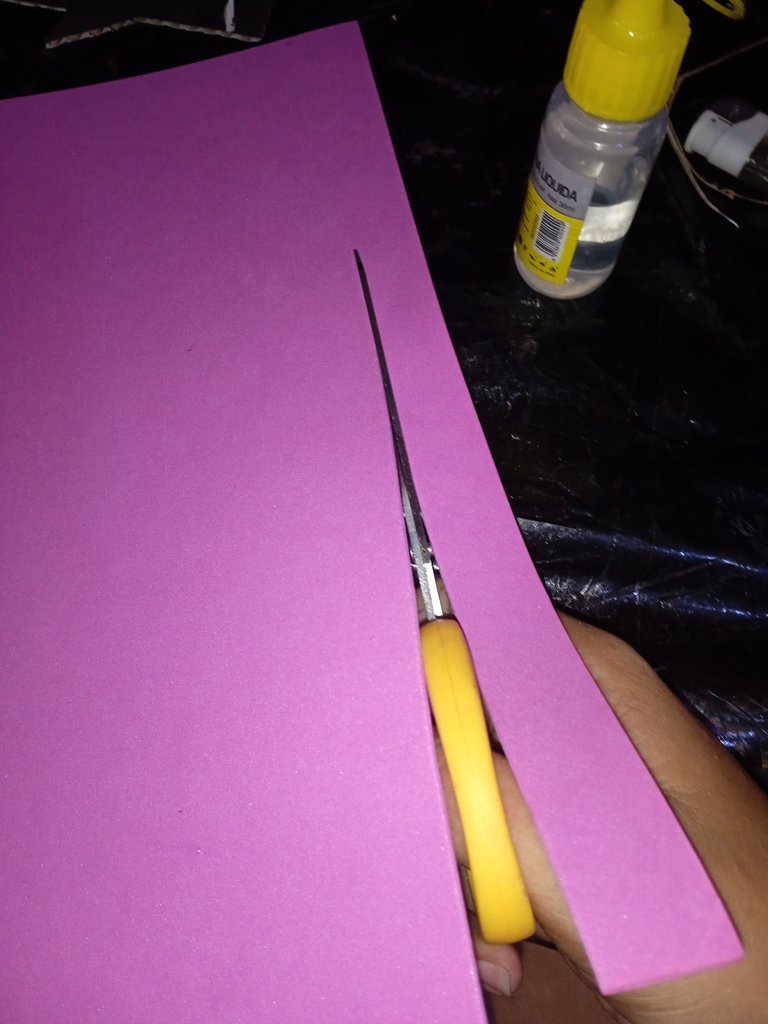
Luego continuaremos recortando varias tiras ,cuatro específicamente , cada tira fue de 2 cm de ancho ,estás tira la utilizaremos para decorar el portaretrato y que no se salga la foto
Then we will continue cutting several strips, four specifically, each strip was 2 cm wide, these strips will be used to decorate the picture frame and that the photo does not come off.
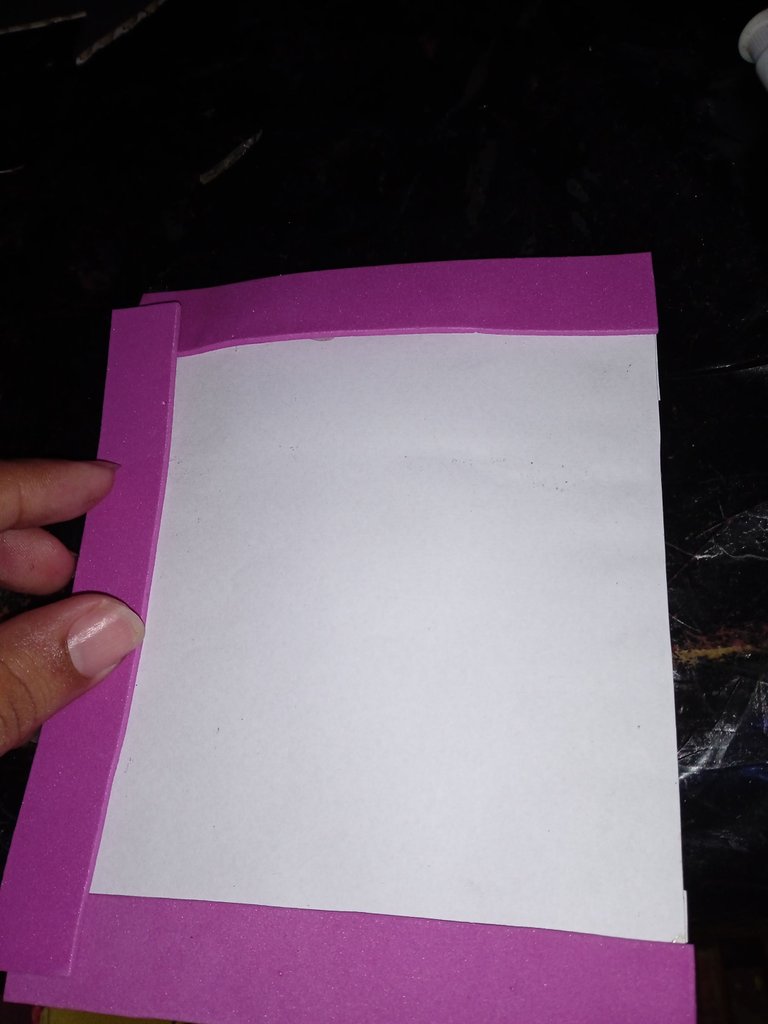
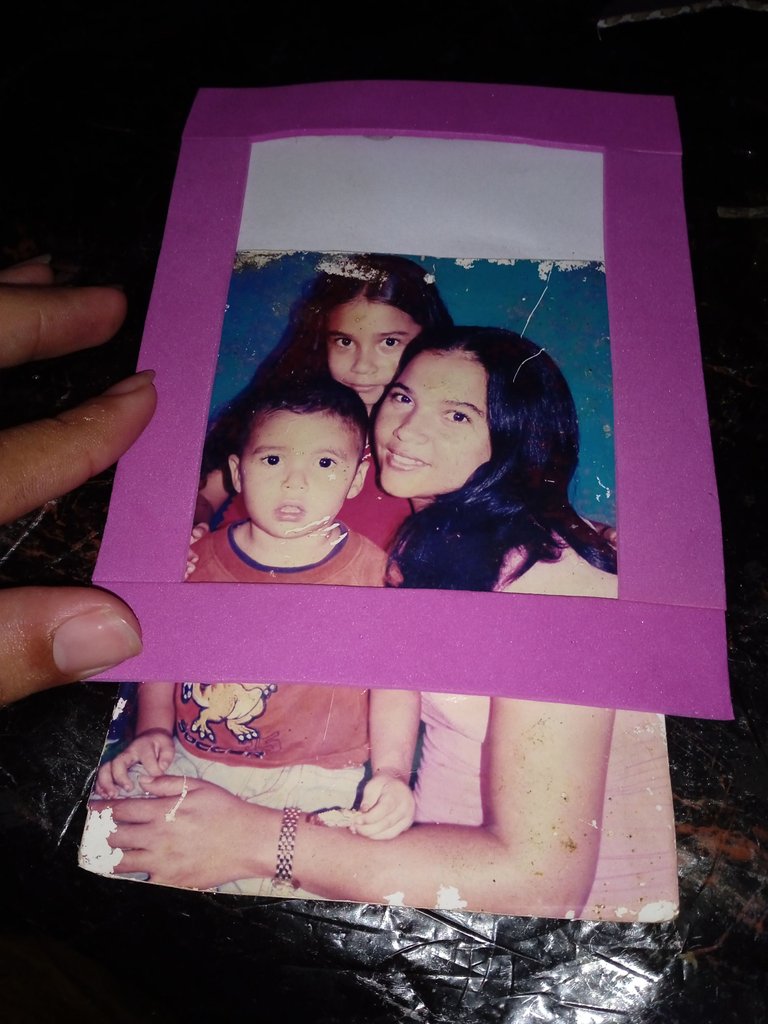
Luego continuaremos pegando las tiras en el cuadro o marco dónde irá nuestra foto , pegamos las dos tiras de los lados , y luego la de arriba , la tira que va en la parte de abajo solo la vamos a pegar en las esquina , de modo que cuando vayamos a introducir la foto entre sin ningún inconveniente
Then we will continue gluing the strips in the picture or frame where our photo will go, we glue the two strips on the sides, and then the one on top, the strip that goes on the bottom we will only glue it in the corner, so that when we are going to introduce the photo enters without any inconvenience.
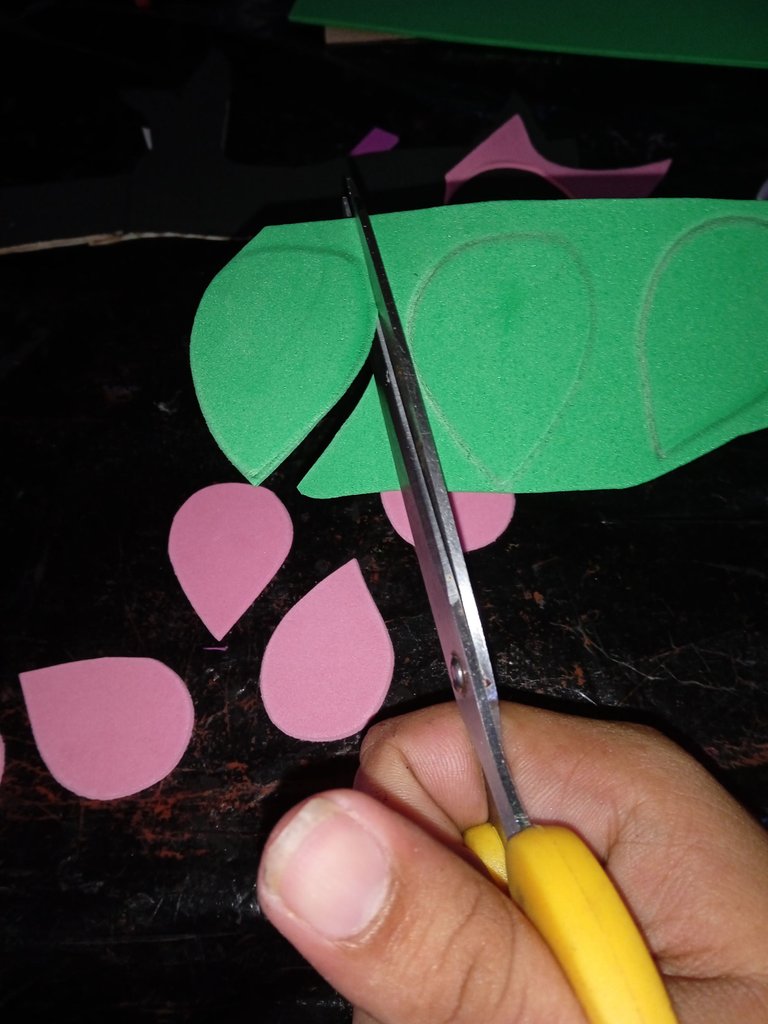
Una vez que nuestro árbol de ganchos secos se le haya secado la pintura , procedimos a recortar varias hojas entre rosa y verde (ocho de cada color )
Once our tree of dry hooks has dried the paint, we proceed to cut out several leaves between pink and green (eight of each color).
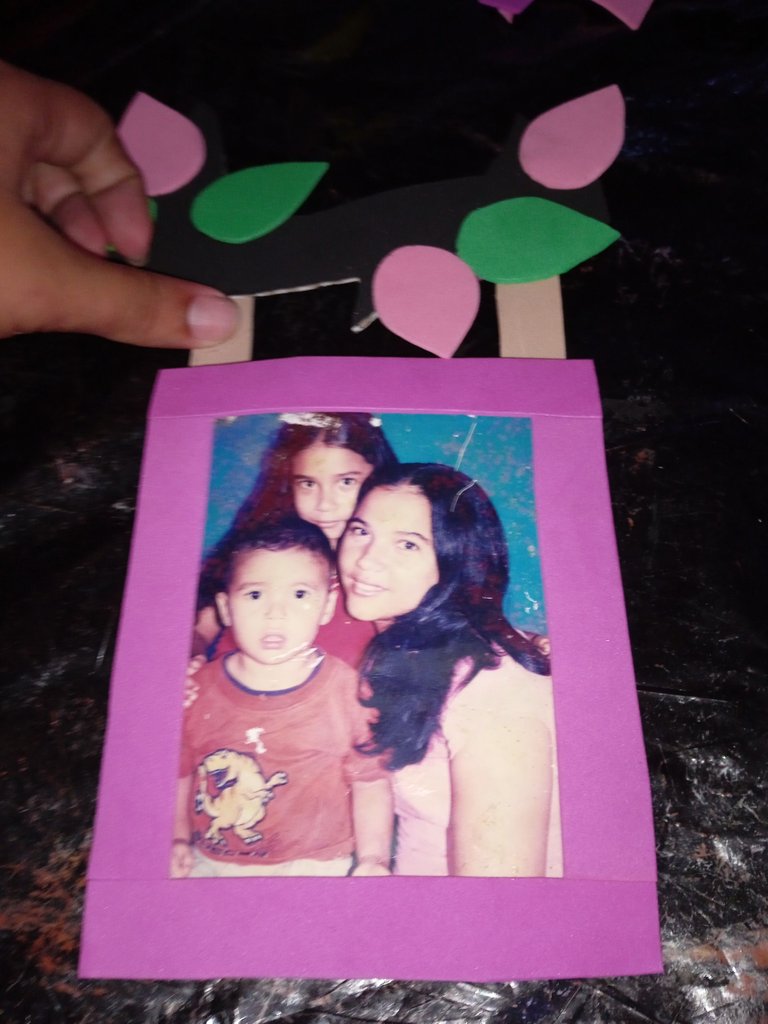
Continuamos colocando dos tiras en cada esquina del portaretrato y la pegamos en la esquina de nuestro árbol
We continue by placing two strips on each corner of the picture frame and glue it to the corner of our tree.
Para culminar nuestro hermoso y significativo portaretrato , realice dos pajaritos , uno azul con amarillo ,y el otro naranja con morado , recorte la silueta y pegue ambos en colores distintos
To complete our beautiful and meaningful picture frame, make two little birds, one blue with yellow, and the other orange with purple, cut out the silhouette and glue both in different colors.
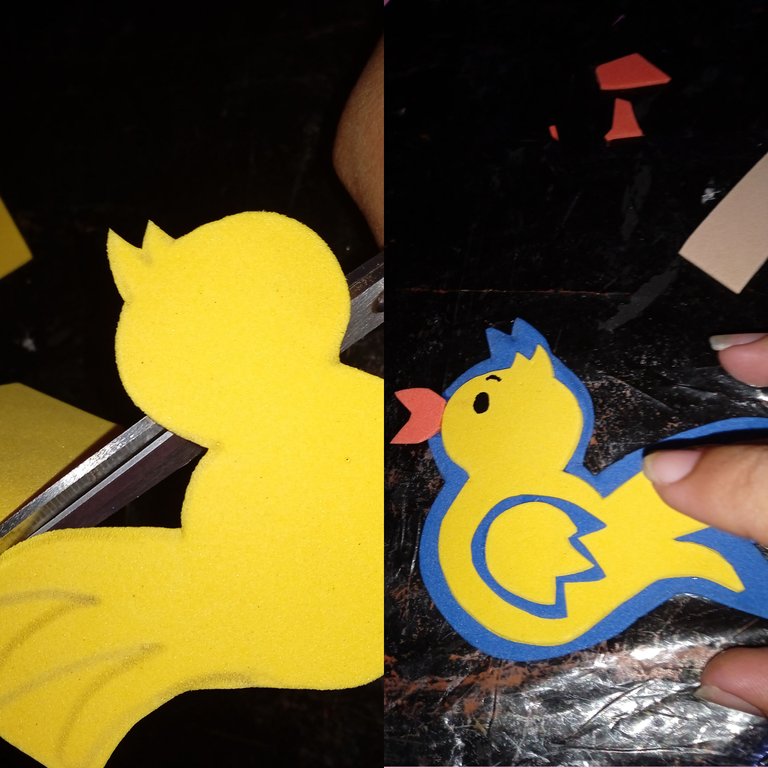
Por último pegamos un pajarito en la parte de arriba de la rama y el otro en el tallo del árbol ,y asi culmine mi lindo portaretrato
Finally we glued a bird on the top of the branch and the other one on the stem of the tree, and thus culminate my nice picture frame.
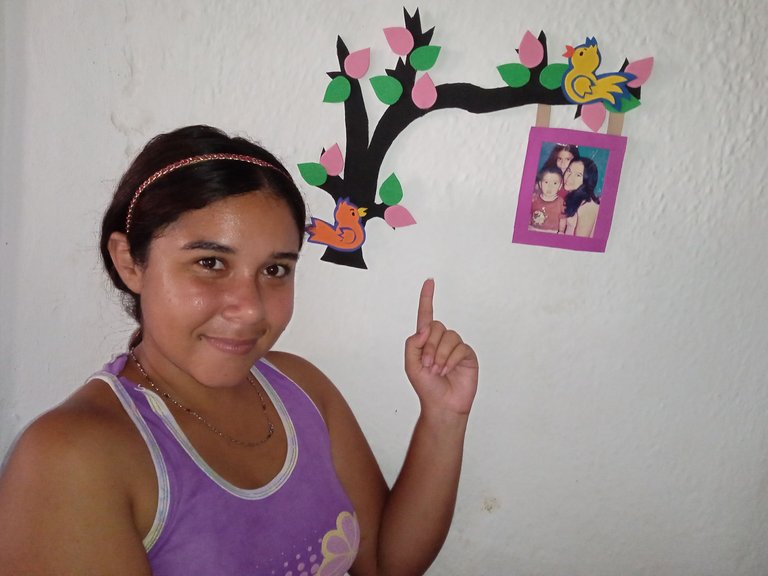
Que lindo portarretrato EPA
Gracias buen día
😍😍😍😍🥰
Thank you for sharing this amazing post on HIVE!
non-profit curation initiative!Your content got selected by our fellow curator @rezoanulvibes & you just received a little thank you via an upvote from our
You will be featured in one of our recurring curation compilations and on our pinterest boards! Both are aiming to offer you a stage to widen your audience within and outside of the DIY scene of hive.
Join the official DIYHub community on HIVE and show us more of your amazing work and feel free to connect with us and other DIYers via our discord server: https://discord.gg/mY5uCfQ !
If you want to support our goal to motivate other DIY/art/music/homesteading/... creators just delegate to us and earn 100% of your curation rewards!
Stay creative & hive on!