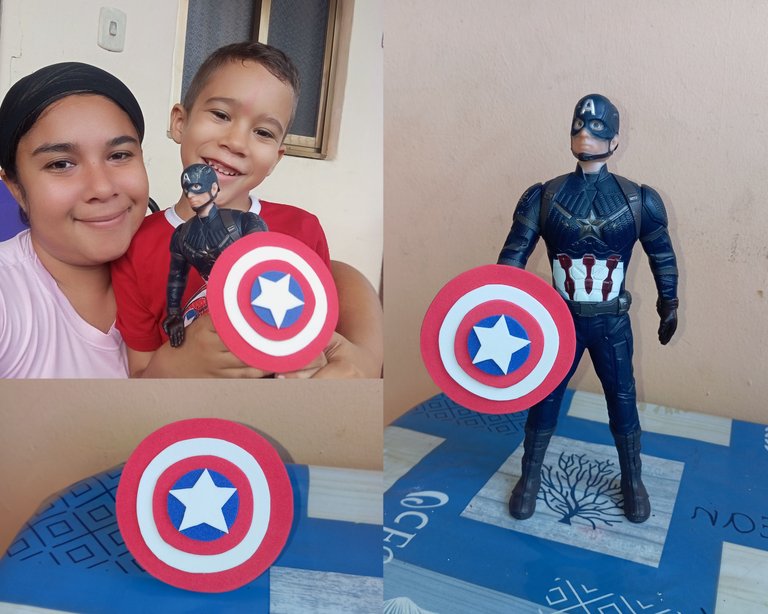
Hola muy buenas noches tengan todos mis amigos lectores y creadores de contenidos espero que se encuentren bien , hoy les quiero compartir un escudo del capitán América que realicé para mi hijo , les cuento que su tío le obsequio un muñeco del capitán América resulta que dicho muñeco no trajo su escudo y mi hijo insistió que le faltaba, que todos los traían , por ese motivo decidí realizarle uno
Hello very good evening have all my friends readers and content creators I hope you are well, today I want to share a shield of Captain America that I made for my son, I tell you that his uncle gave him a Captain America doll turns out that the doll did not bring his shield and my son insisted that he was missing, that all brought them, for that reason I decided to make him one.
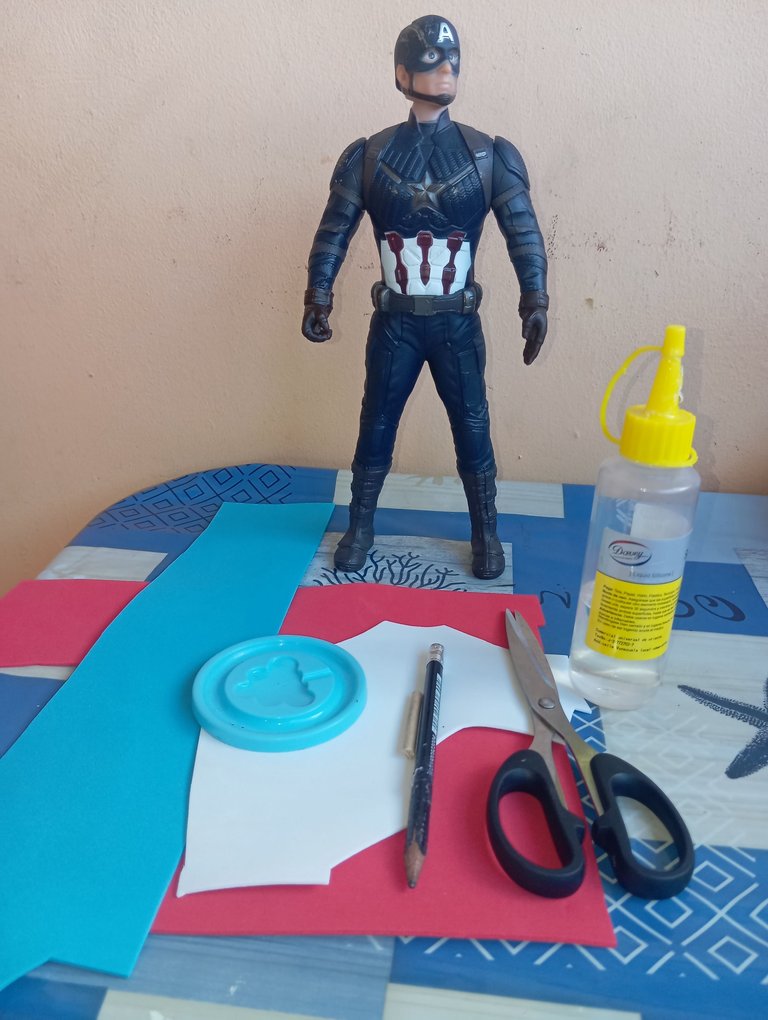
Materiales qué utilice para elaborar el escudo del capitán América:
-Foamis colores:Rojo,Blanco y azul oscuro, (a principio no conseguía azul oscuro)
-Tijera
-Silicon
-Palito de madera
Materials I used to make the Captain America shield:
-Foamis colors: red, white and dark blue (at the beginning I could not get dark blue).
-Scissors
-Silicon
-Wooden stick
A continuación los pasos para elaborar nuestro escudo del capitán América:
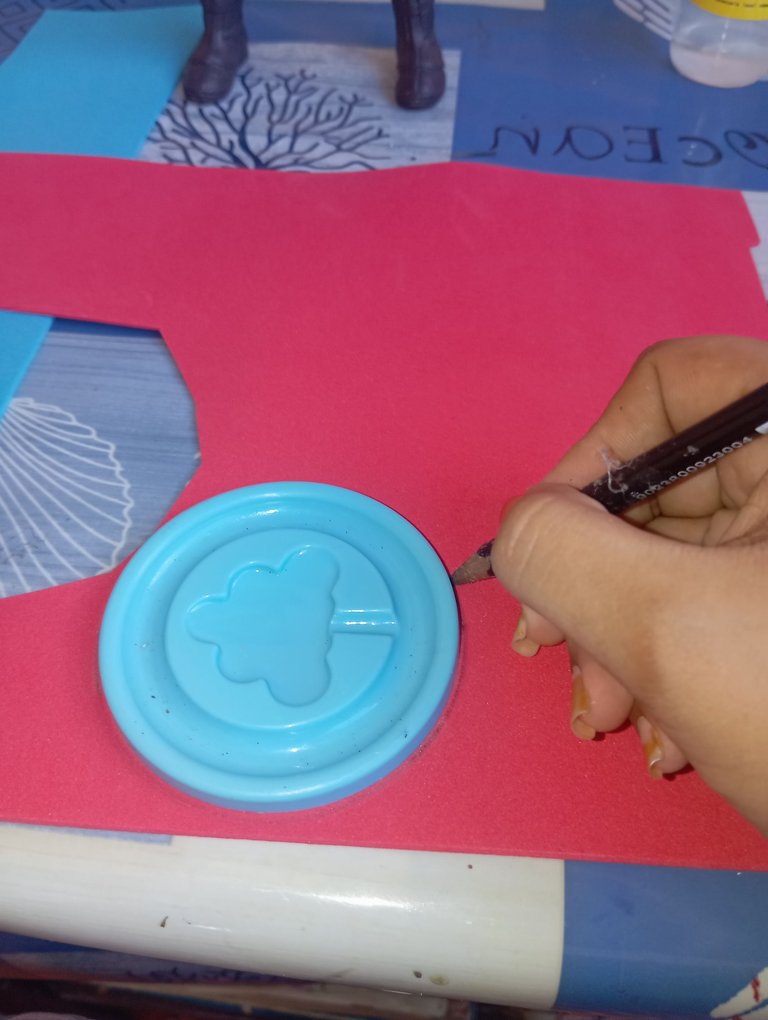
Paso número 1: iniciaremos tomando una base redonda el cuál será la base del escudo, el tamaño va a depender de nuestro gusto o específicamente del tamaño del muñeco , vamos a marcar con el nuestro primer círculo color rojo el más grande
Here are the steps to make our Captain America shield:
Step number 1: we will start by taking a round base which will be the base of the shield, the size will depend on our taste or specifically the size of the doll, we will mark with our first red circle the largest one.
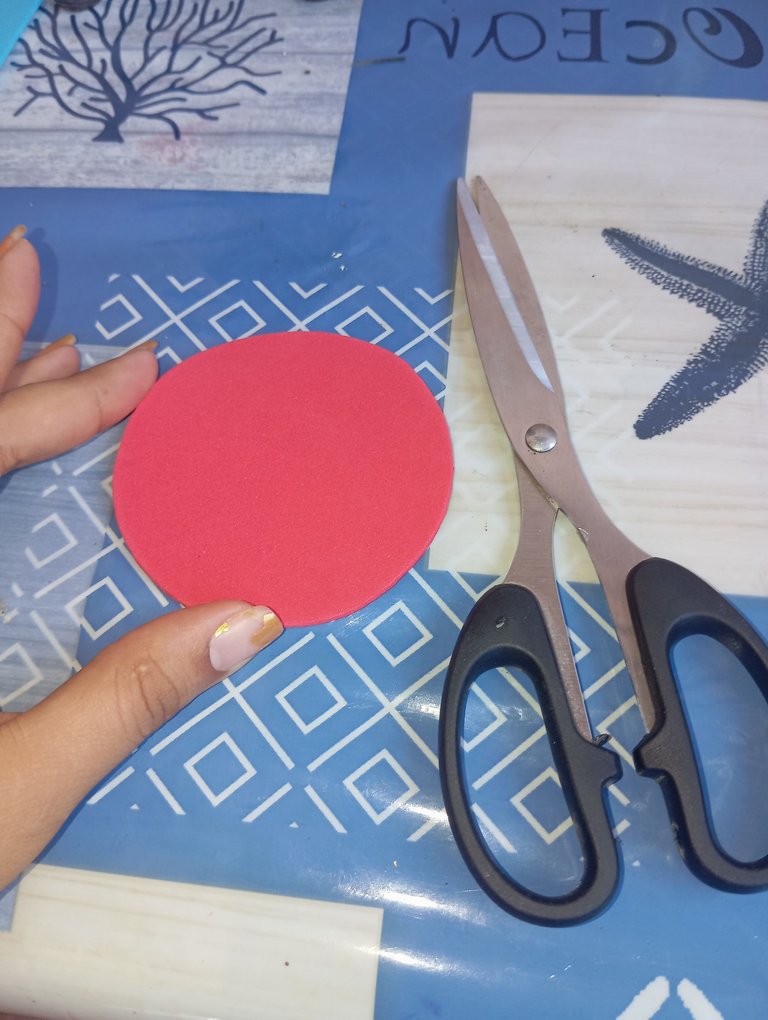
Paso número 2: una vez que marcamos nuestro círculo en el primer paso ,vamos a continuar recortando nuestro círculo con la ayuda de una tijera
Step number 2: once we marked our circle in the first step, we will continue cutting our circle with the help of a scissors.
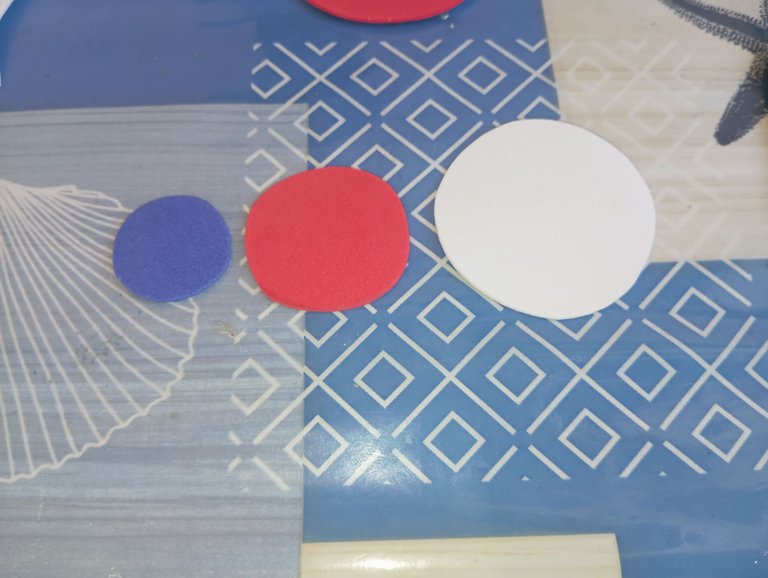
Paso número 3: seguidamente en nuestro tercer paso vamos a continuar recortando tres círculos más , en forma de mayor a menor es decir , primero blanco , segundo rojo y por último azul , ya que los colores van tipo escala , primero el grande luego mediano , pequeño y chiquito
Step number 3: then in our third step we will continue cutting out three more circles, in the form of larger to smaller that is, first white, second red and finally blue, as the colors go scale type, first the large then medium, small and tiny.
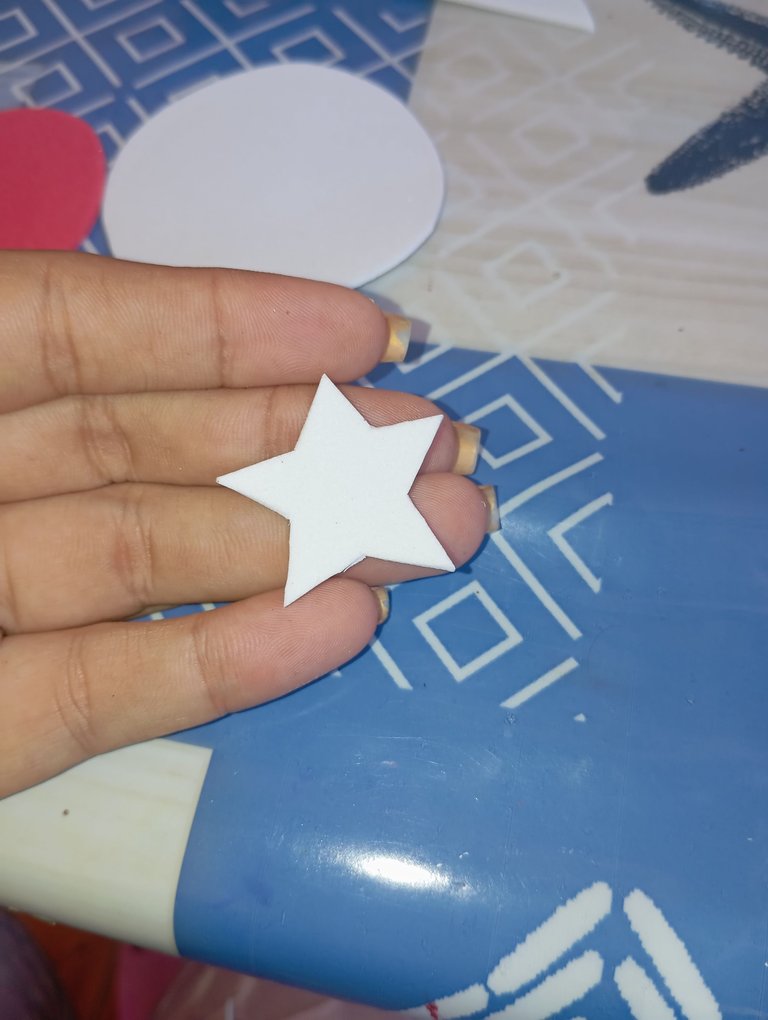
Paso número 4: luego en nuestro cuarto paso vamos a continuar recortando una estrella la cuál irá en todo el centro del escudo, está debe ser color blanco como pueden detallar
Step number 4: then in our fourth step we will continue cutting out a star which will go around the center of the shield, it should be white as you can detail.
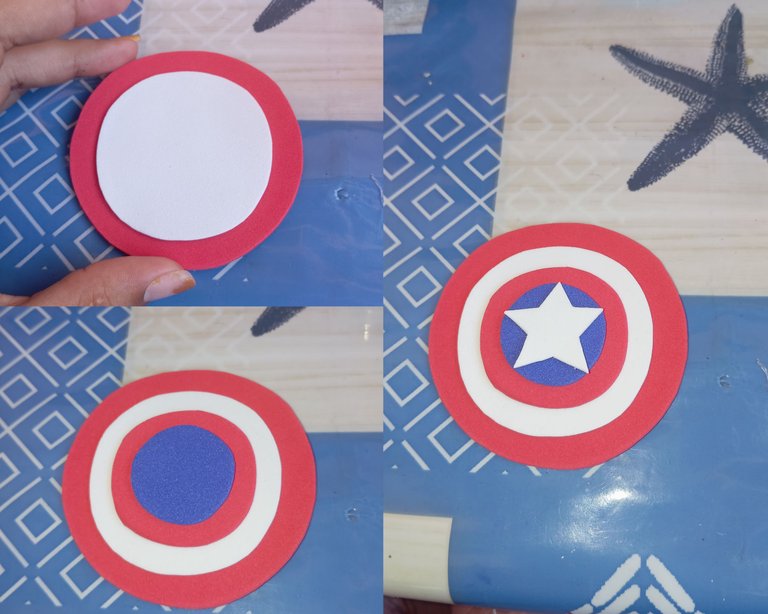
Paso número 5: a continuación una vez listas nuestras piezas vamos a proceder pegando y formando nuestro escudo , iniciaremos primeramente pegando el círculo blanco en el centro del rojo , luego continuamos pegando el rojo y por último finalizamos pegando el azul el círculo más pequeño, seguidamente vamos a finalizar nuestro escudo pegando la estrella en todo el centro
Step number 5: then once ready our pieces we will proceed by gluing and forming our shield, we will start by first pasting the white circle in the center of the red, then continue pasting the red and finally we finish pasting the blue the smallest circle, then we will finish our shield pasting the star around the center.
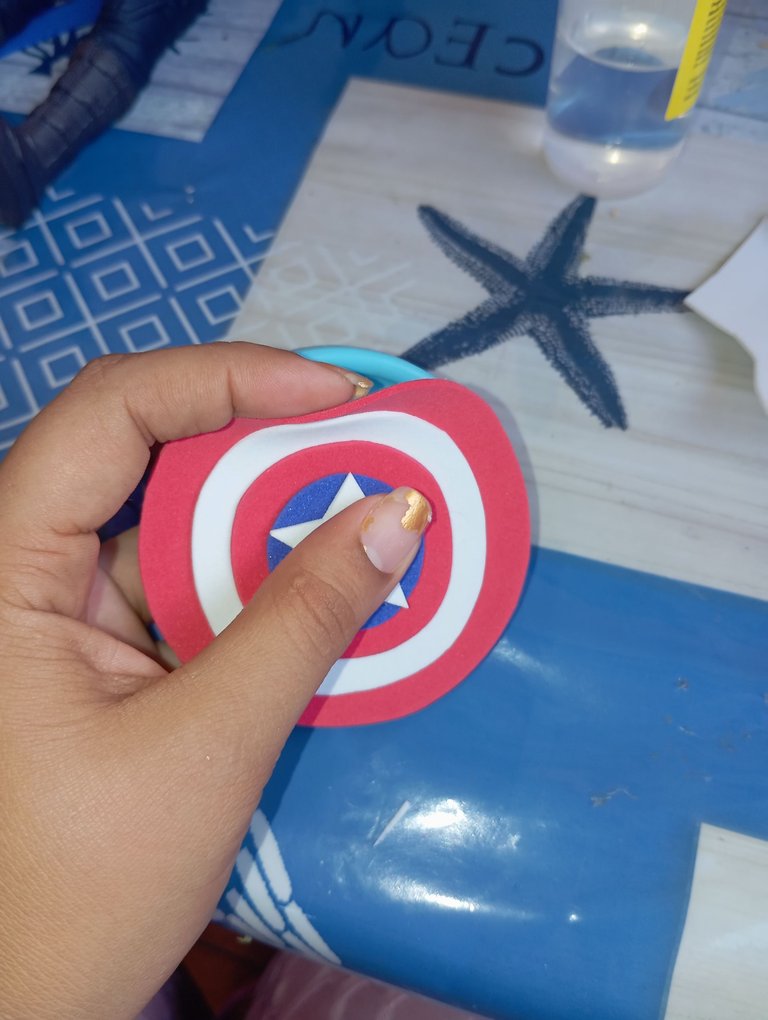
Paso número 6: una vez listo nuestro escudo, en todo el centro de la tapa o base plástica vamos a pegar el escudo para que esté quede más fuerte y firme
Step number 6: once our shield is ready, in the center of the lid or plastic base we will glue the shield to make it stronger and firmer.
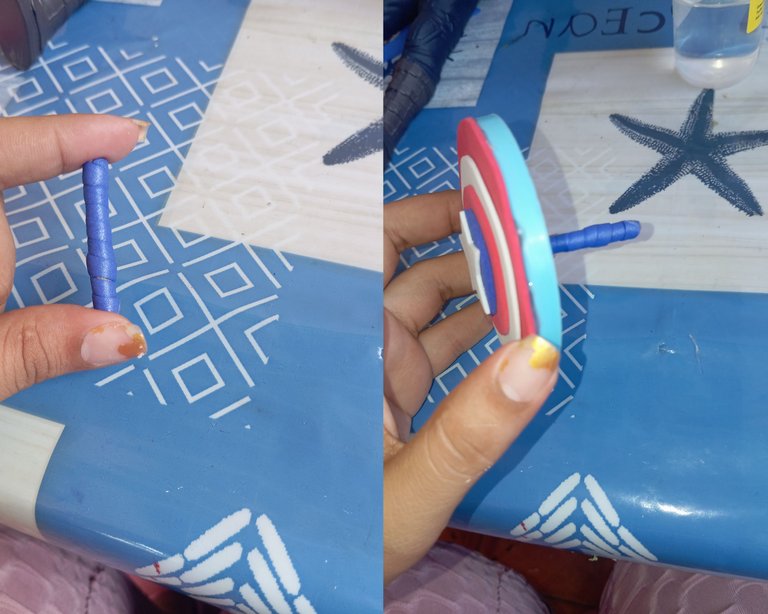
Paso número 7: finalmente medí un palito de madera con el espacio de la mano del muñeco capitán América y lo decore con foamis , este mismo lo pegue en todo el centro de la parte de atrás del escudo para que de esta manera el muñeco pueda sostener su escudo y no se le caiga
Step number 7: finally I measured a wooden stick with the space of the hand of the Captain America doll and decorate it with foamis, this same stick it around the center of the center of the back of the shield so that this way the doll can hold his shield and will not fall.
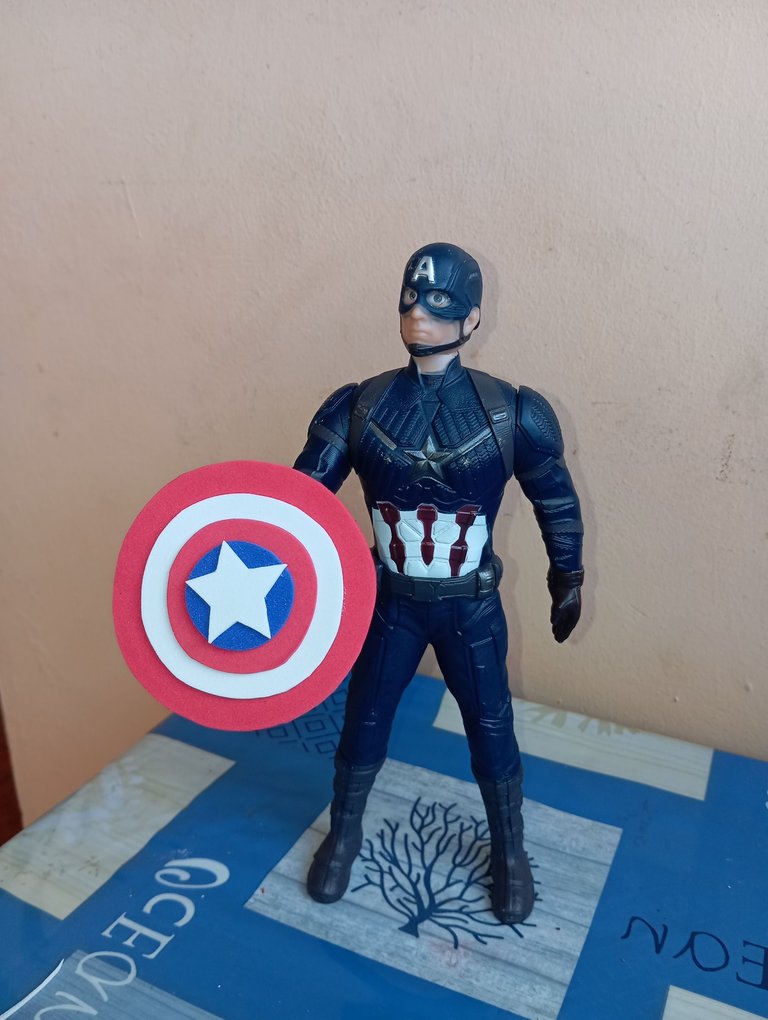
Resultado final : de esta manera tan sencilla pero fuerte elaboré el escudo del capitán América para el muñeco de mi hijo , me siento feliz de poder complacerlo .
Créditos: las fotos las tomé con mi redmi 12 y traduje los textos con el traductor deepl, feliz noche amigos
Final result: in this simple but strong way I made Captain America's shield for my son's doll, I am happy to be able to please him.
Credits: the photos were taken with my redmi 12 and I translated the texts with deepl translator, happy evening friends.
Excelente uso de los materiales par acrear el esudo del capitan américa!
Muchas gracias