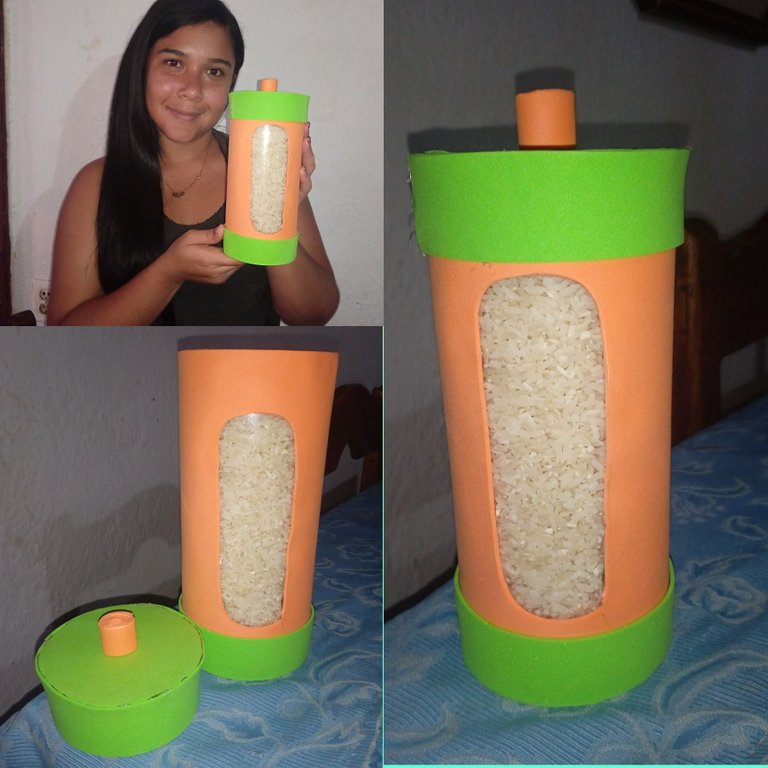
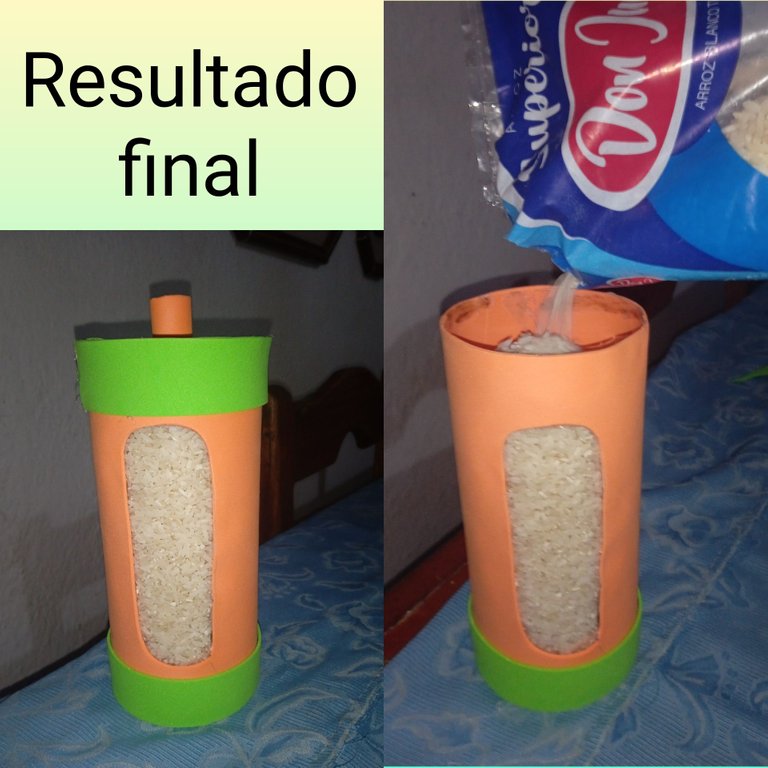
Hola buen día a todos mis amigos , feliz noche ,un abrazo desde la distancia ,espero se encuentren bien ,el día de hoy les traigo un tutorial para decorar Potes de cocina,es útil para guardar (azúcar ,café ,pasta,sal y en este caso arroz como lo hice yo ) a continuación les mostraré los pasos y materiales que utilice
Hello good morning to all my friends, happy evening, a hug from afar, I hope you are well, today I bring you a tutorial to decorate kitchen pots, it is useful for storing (sugar, coffee, pasta, salt and in this case rice as I did) then I will show you the steps and materials used
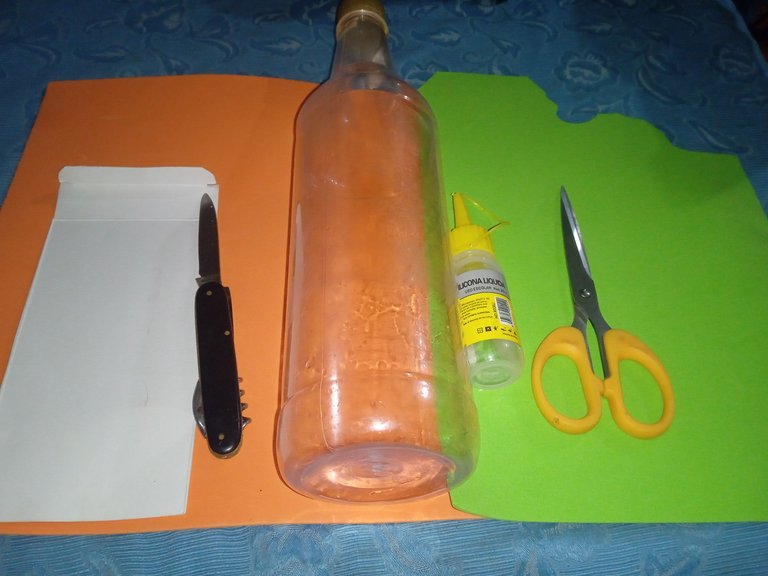
Materiales:
-Botella de 1 litro
-Foamis
-Tijera
-Silicon
-Navaja o exacto
-Carton
Materials:
-1 liter bottle
-Foamis
-Scissors
-Silicon
-Razor or exacto
-Cardboard
Pasos a seguir:
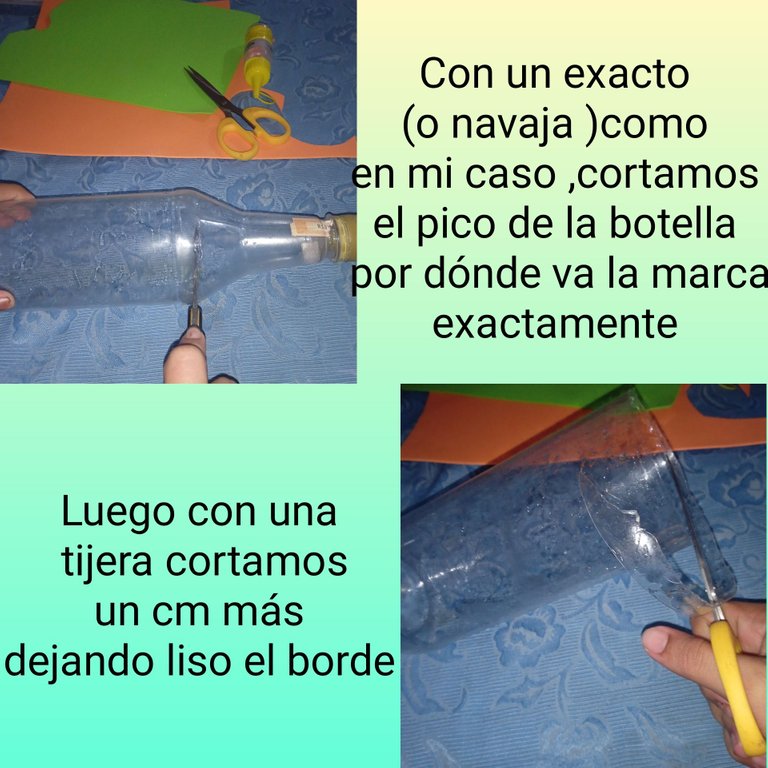
Iniciaremos cortando la botella del tamaño que deseamos , en este caso corte por la raya que marca hacia el pico ,luego con mi tijera me asegure de que el borde del envase quedara liso cortando un centímetro más
Steps to follow:
We will start by cutting the bottle to the size we want, in this case cut along the line that marks towards the spout, then with my scissors I made sure that the edge of the bottle was smooth by cutting a centimeter more.
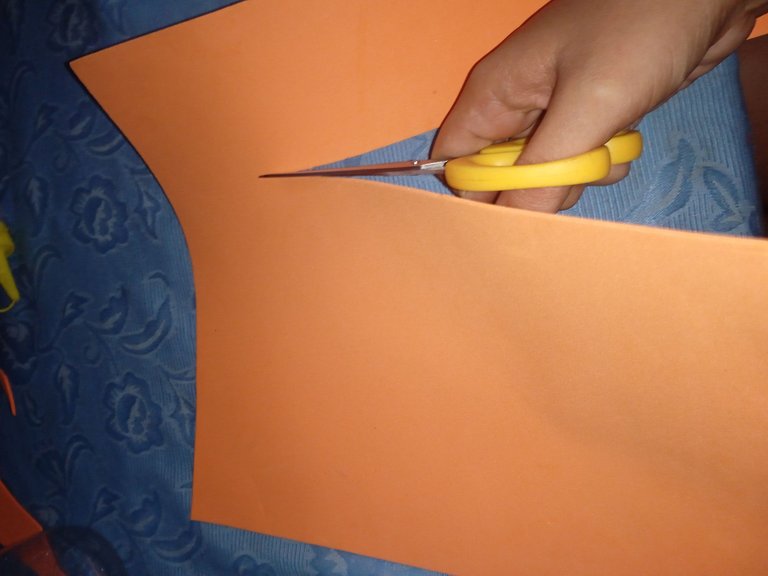
Cómo tenía un foamis grande,continúe cortando el foamis a la medida del envase,para luego forrarlo
As I had a large foamis, I continued cutting the foamis to the size of the container, and then lined it.
Luego en un cartón dibuje un patrón para marcarlo en el foamis y de ese modo quedara a la vista lo que lleva el envase dentro ,una vez que lo dibuje lo recorte con una tijera
Then I drew a pattern on a cardboard to mark it on the foamis and that way it will be visible what is inside the container, once I drew it, I cut it out with scissors.
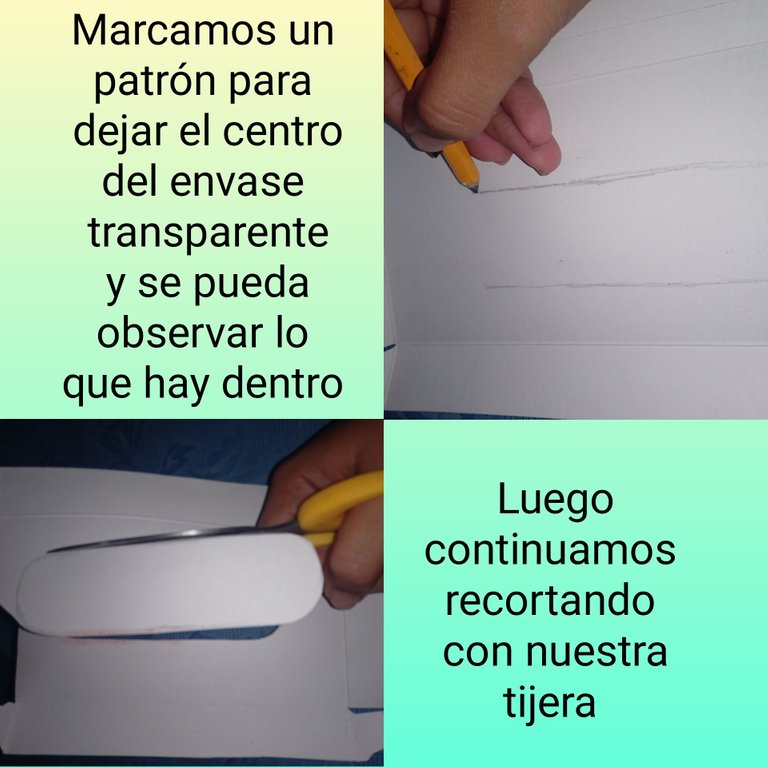
Tomé el patrón que dibuje y lo marque en todo el centro del foamis para que quedara al centro del envase cuando lo fuera a decorar
I took the pattern I drew and marked it all over the center of the foamis so that it would be in the center of the container when I was going to decorate it.
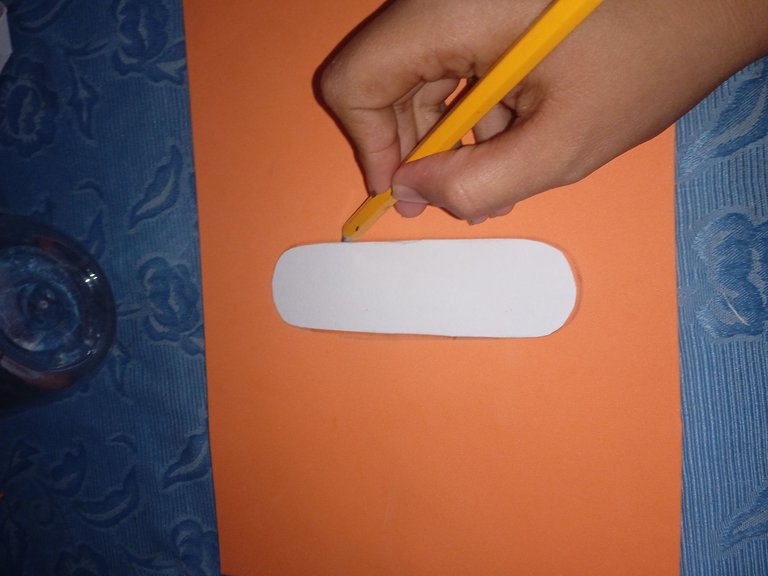
Una vez que marcamos ,continuaremos recortando lo con una tijera guiando nos por todo el borde
Once marked, we will continue trimming it with a scissors guiding us all along the edge.
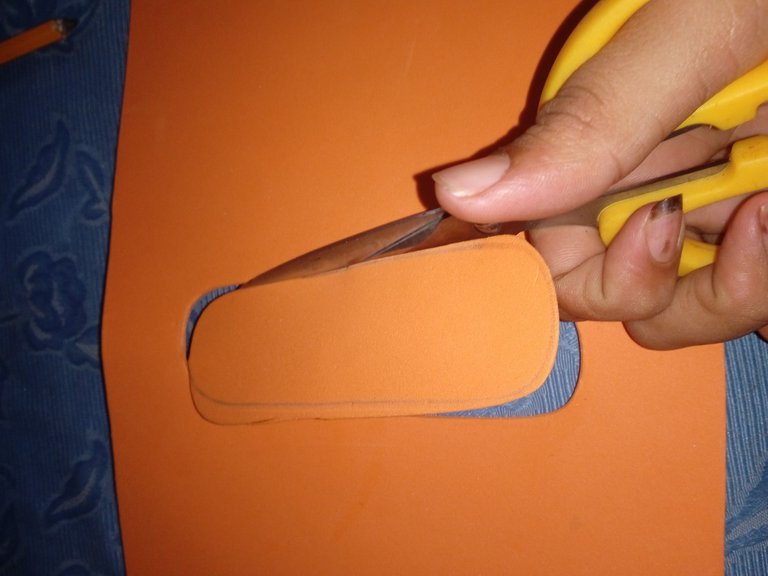
Listo nuestro foamis para decorar , continuaremos cubriendo todo el envase con el , añadimos silicón y al mismo tiempo pegamos
Ready our foamis to decorate, we will continue covering the entire container with it, add silicone and at the same time we glue it.
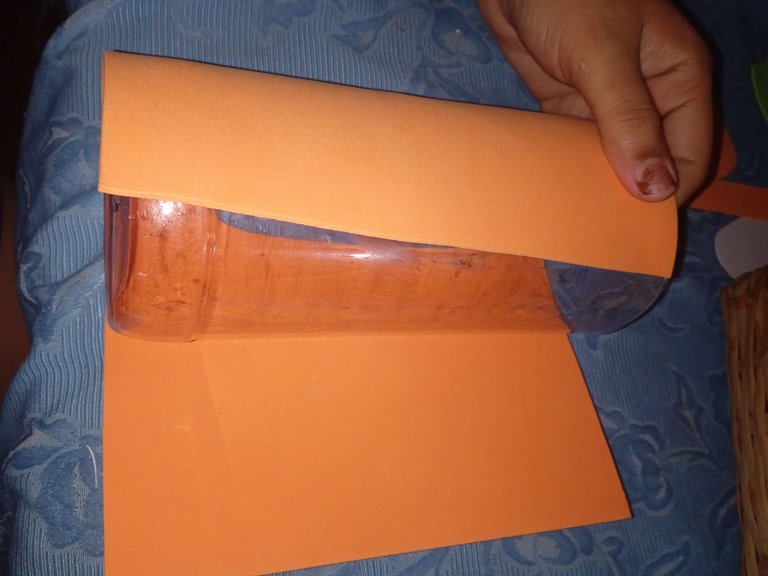
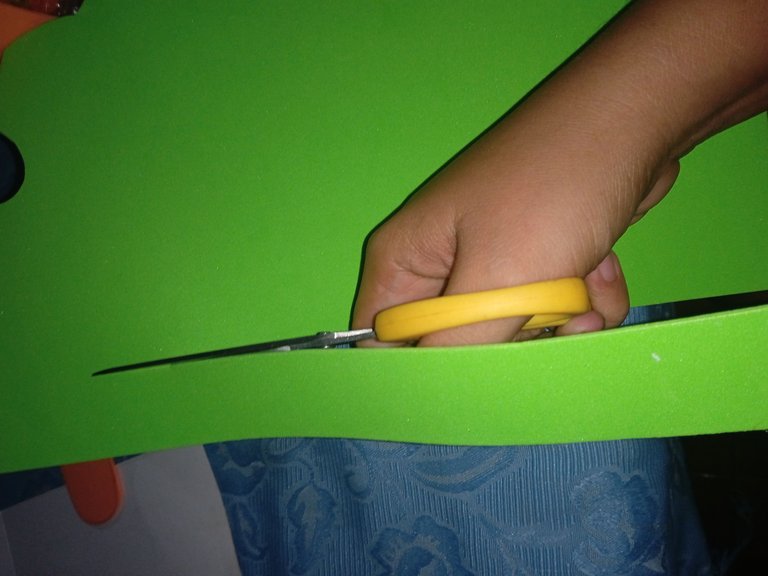
Luego continuaremos recortando una tira de 7cm de ancho del color verde para hacer una combinación más admirable
Then we will continue cutting a 7cm wide strip of green to make a more admirable combination.
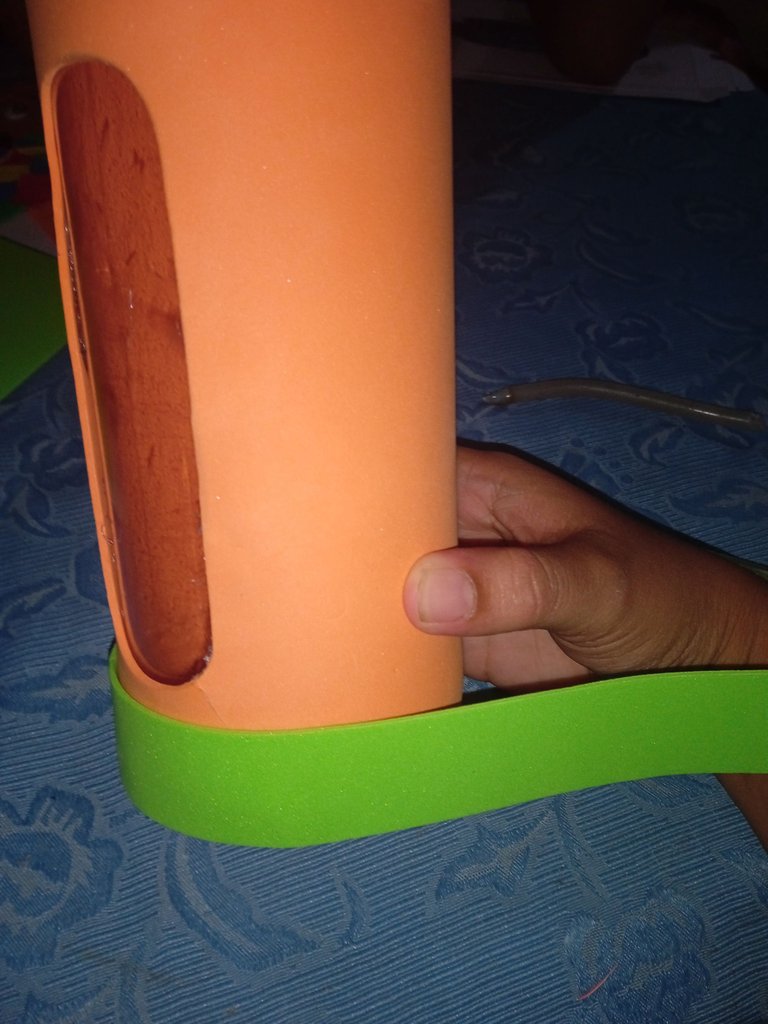
A continuación tomamos la tira que recortamos en el paso anterior y pegamos en el borde de la parte de abajo del envase
Next, we take the strip we cut out in the previous step and glue it to the edge of the bottom of the container.
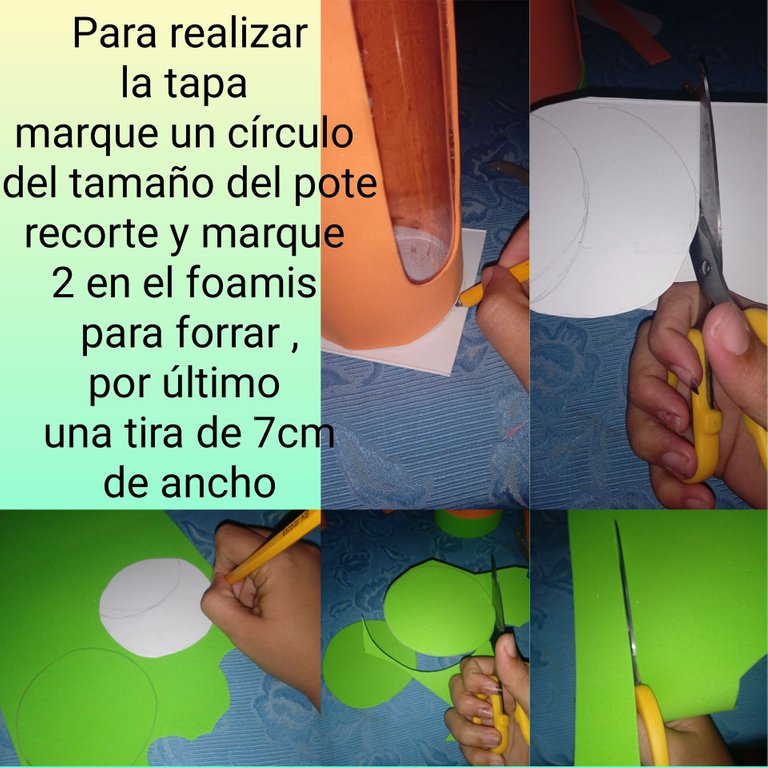
Una vez listo el envase , continuaremos realizando la tapa , para eso necesitaremos sacar un círculo del mismo tamaño del envase en un cartón, luego continuaremos recortando dos círculos más en el foamis que vamos a forrar ,seguido de este paso recortaremos una tira de 7cm de ancho para cubrir el círculo y así realizar la tapa
Once the container is ready, we will continue making the lid, for that we will need to cut a circle of the same size of the container in a cardboard, then we will continue cutting two more circles in the foamis that we are going to cover, followed by cutting a strip of 7cm wide to cover the circle and thus make the lid.
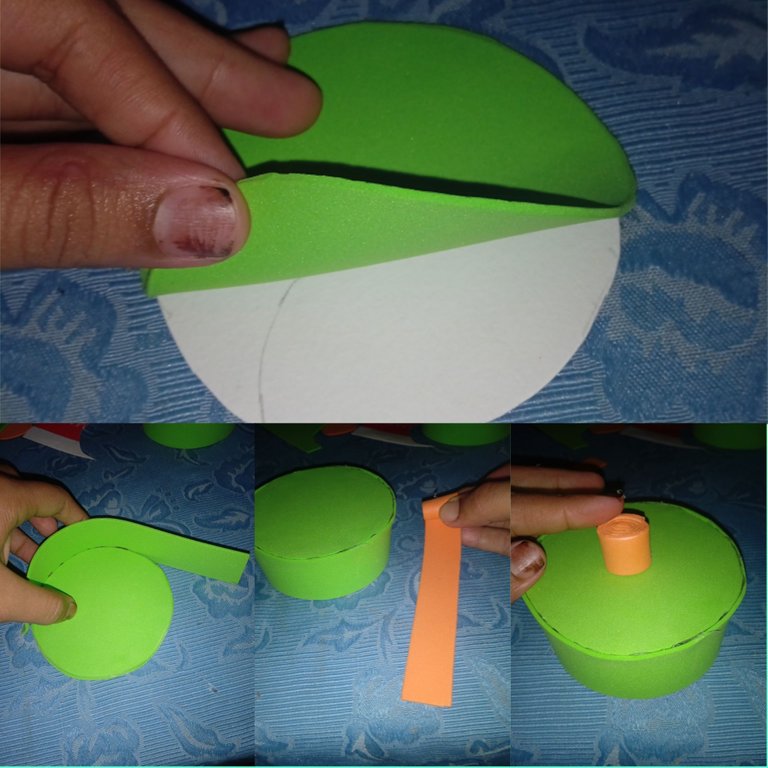
Finalmente para realizar la tapa, tomé los dos círculos de foamis y pegue uno en cada lado cubriendo el cartón ,luego tome la tira y fui pegando por todo el borde del círculo , una vez lista la tapa ,con una tira reciclada realice un rollito y pegue en la parte de arriba de la tapa para así tener facilidad de abrir y cerrar
Finally to make the lid, I took the two circles of foamis and glued one on each side covering the cardboard, then I took the strip and was gluing around the edge of the circle, once the lid was ready, with a recycled strip I made a roll and glued on the top of the lid to have ease of opening and closing.
De este modo finalice mi envase de cocina para guardar arroz , traduci mis textos con el traductor DeepL y tome mis fotos con mi Redmi 9C ,Dios les bendiga ,gracias por su atención
In this way I finished my kitchen container for storing rice, I translated my texts with the translator DeepL and took my photos with my Redmi 9C, God bless you, thank you for your attention.
Thank you for sharing this amazing post on HIVE!
Your content got selected by our fellow curator @rezoanulvibes & you just received a little thank you via an upvote from our non-profit curation initiative!
You will be featured in one of our recurring curation compilations and on our pinterest boards! Both are aiming to offer you a stage to widen your audience within and outside of the DIY scene of hive.
Join the official DIYHub community on HIVE and show us more of your amazing work and feel free to connect with us and other DIYers via our discord server: https://discord.gg/mY5uCfQ !
If you want to support our goal to motivate other DIY/art/music/homesteading/... creators just delegate to us and earn 100% of your curation rewards!
Stay creative & hive on!
Que buena idea para guardar nuestros granos. Bendecido dia mi bella
Gracias amiga ,igualmente