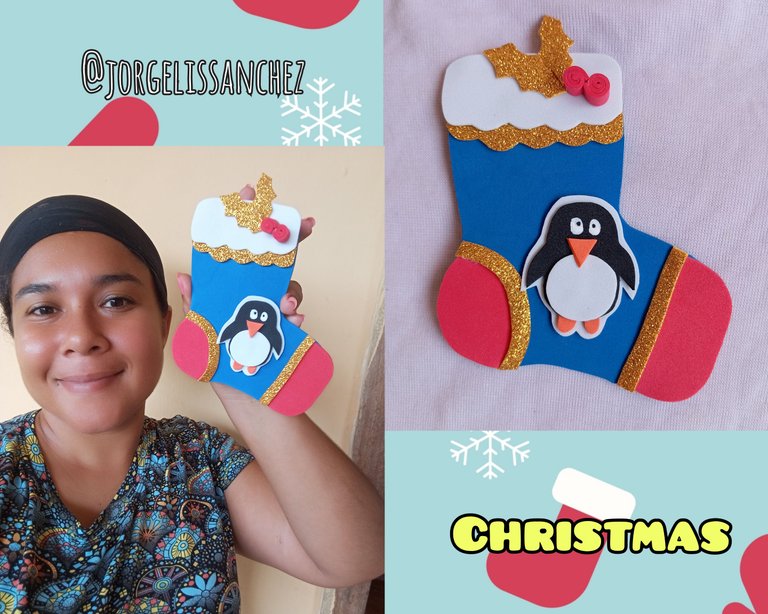
Hola buenos días mis apreciados amigos espero que se encuentren bien , feliz fin de semana para todos , hoy les quiero compartir una linda bota navideña que realicé para colocar en mi nevera y adornar todos los espacios posibles de mi hogar ya que me gusta estás épocas y todo lo que tenga que ver con ella
Hello good morning my dear friends I hope you are well, happy weekend for everyone, today I want to share a nice Christmas boot that I made to place on my fridge and decorate all possible spaces in my home because I like these times and everything that has to do with it.
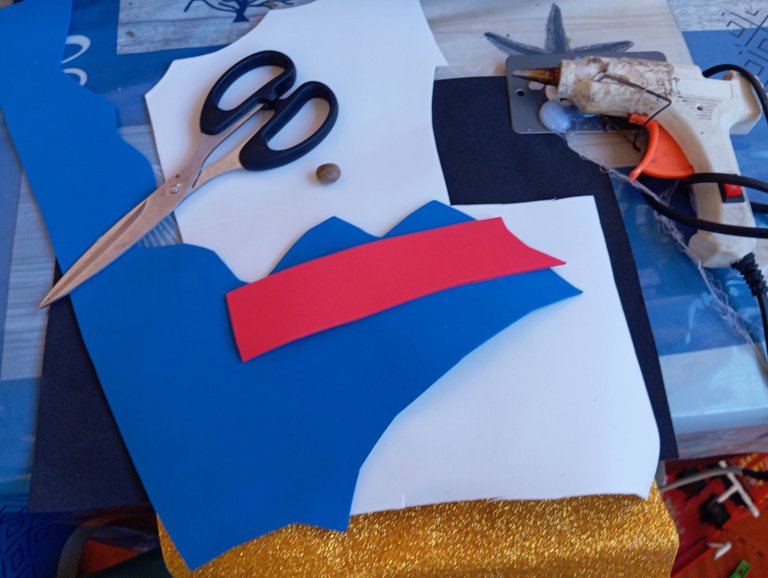
Materiales qué utilice para realizar mi bota navideña:
-Foamis
-Tijera
-Silicon
-Imán
Materials I used to make my Christmas boot:
-Foamis
-Scissors
-Silicon
-Iman
A continuación los pasos a seguir:
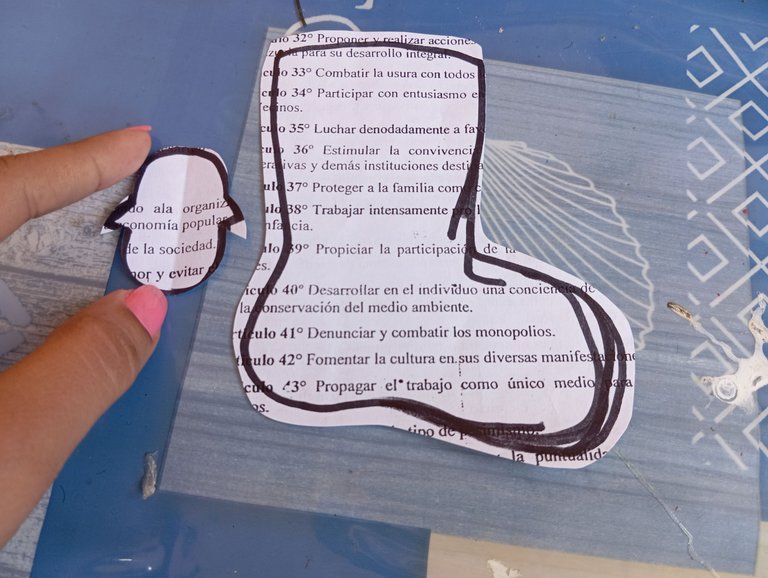
Primer paso : iniciaremos tomando un recorte de papel y realizaremos nuestro patrón con el que vamos a trabajar la temática de nuestra preferencia, en este caso una bota y el cuerpo de un pingüino
Here are the steps to follow:
First step: we will start by taking a paper cutout and we will make our pattern with which we will work on the theme of our preference, in this case a boot and the body of a penguin.
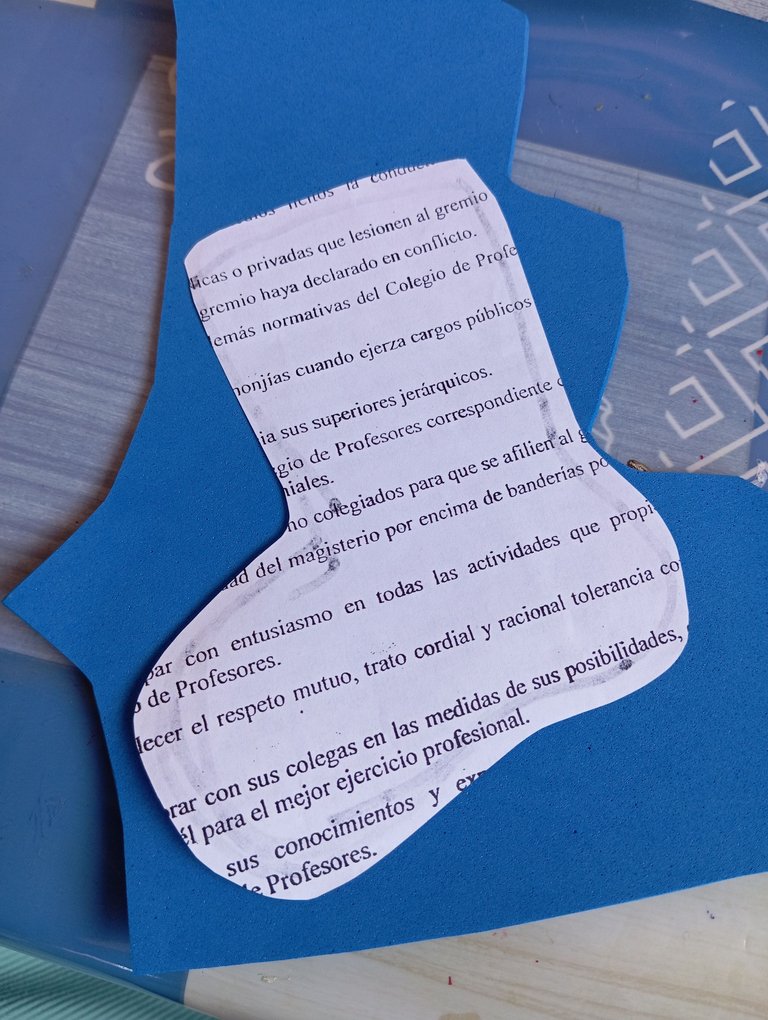
Segundo paso: seguidamente vamos a continuar tomando nuestra bota y marcando la en el foamis del color de nuestra preferencia, sin olvidar que el color debe ser alusivo a la navidad
Second step: then we will continue taking our boot and marking it on the foamis of the color of our preference, without forgetting that the color must be allusive to Christmas.
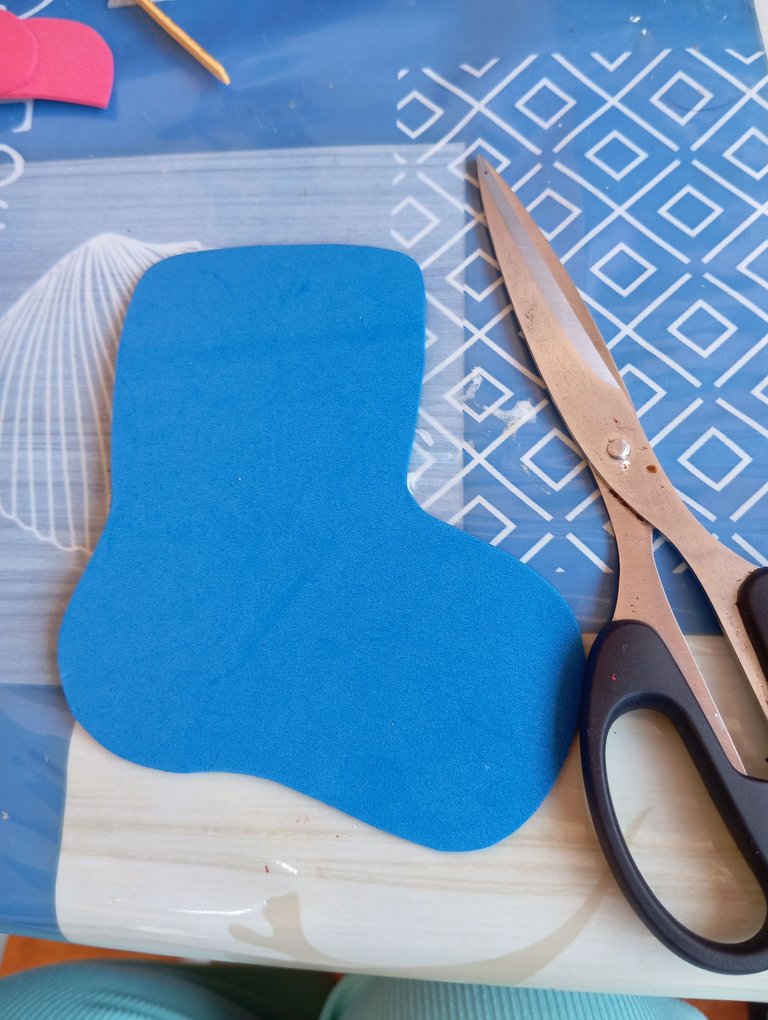
Tercer paso : luego vamos a proceder tomando nuestra tijera en nuestro tercer paso y recortando la bota que marcamos en el paso anterior
Third step: then we will proceed by taking our scissors in our third step and cutting out the boot we marked in the previous step.
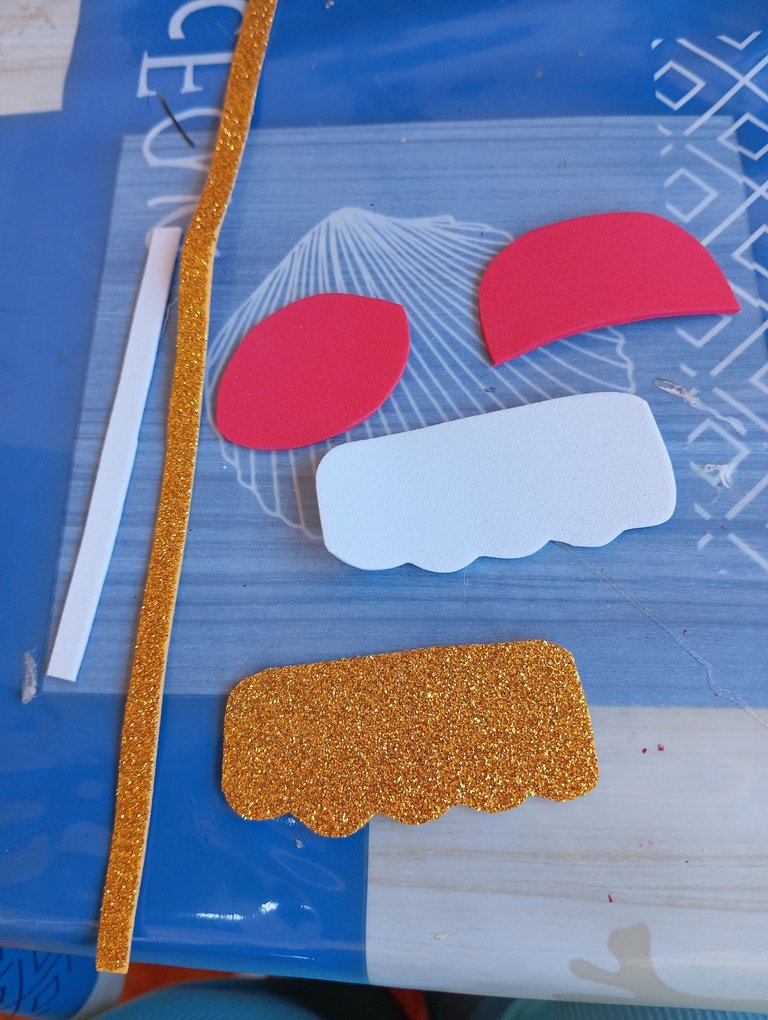
Cuarto paso: seguidamente vamos a recortar unos accesorios o piezas para hacer diseños a nuestra bota , en esta ocasión recorté bordes blanco y dorado , rojo para las partes de abajo de la bota
Fourth step: next we are going to cut out some accessories or pieces to make designs to our boot, this time I cut out white and gold borders, red for the bottom parts of the boot.
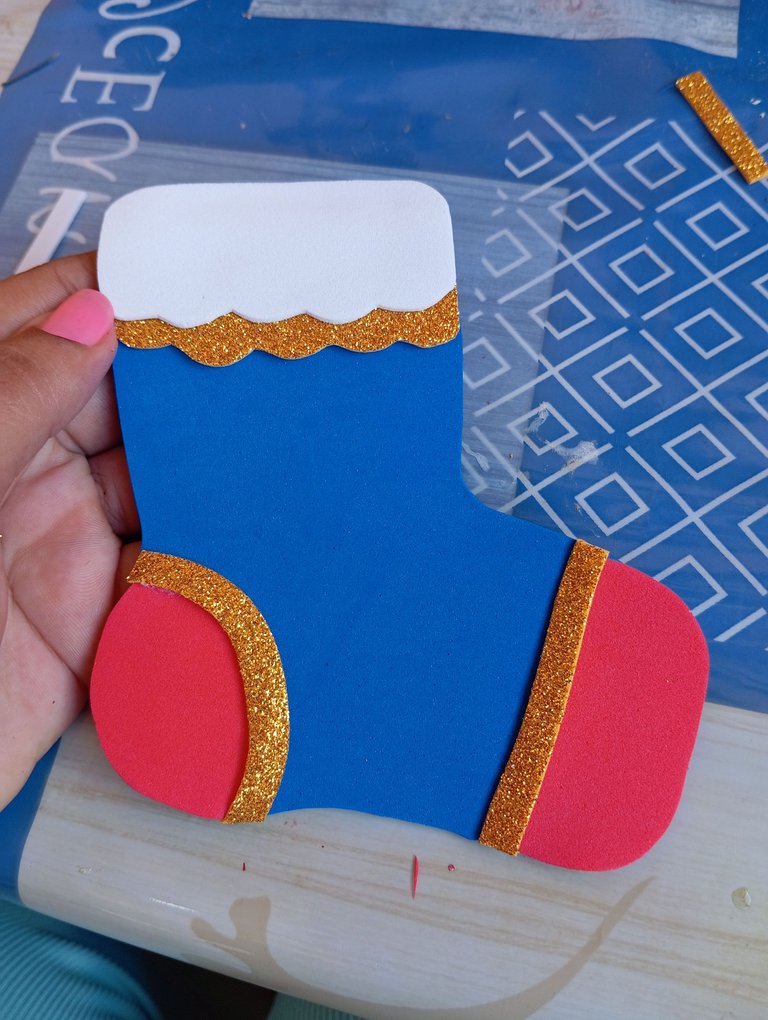
Quinto paso: a continuación vamos a proceder decorando nuestra bota , iniciaremos pegando en la parte de arriba los bordes dorados y blancos , en la parte donde se ubica el talón y el frente de la bota irá color rojo con bordes dorados como pueden apreciar
Fifth step: next we are going to proceed decorating our boot, we will start by gluing the gold and white borders on the upper part, in the part where the heel and the front of the boot are located will be red with gold borders as you can see.
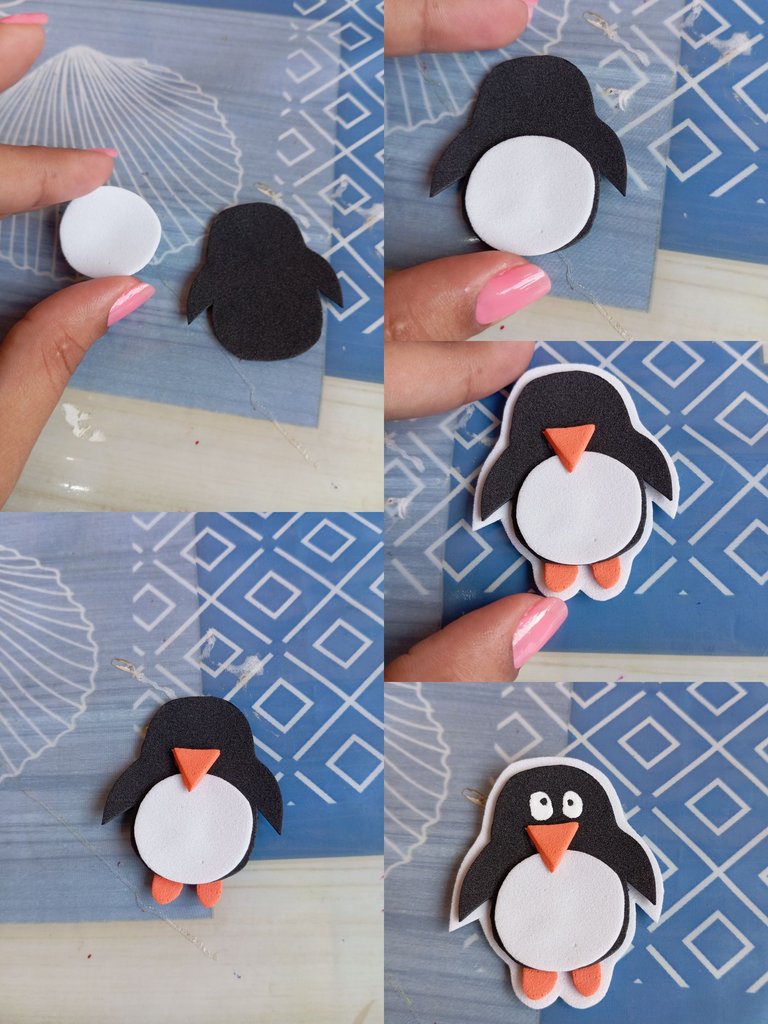
Sexto paso: seguidamente vamos a continuar realizando un pingüino para adorar el centro, comenzamos recortando el cuerpo y su barriga blanca , luego continuamos pegando su pico y sus patas naranjas , seguidamente pegaremos una base blanca para que resalte el cuerpo del pingüino y por último vamos a realizar su rostro dos grandes ojos
Sixth step: next we will continue making a penguin to worship the center, we begin by cutting out the body and its white belly, then we continue gluing its beak and orange legs, then we will glue a white base to highlight the penguin's body and finally we will make its face two big eyes.
Séptimo paso : finalmente vamos a continuar pegando el pingüino en todo el centro de la bota , y en la parte de atrás de ella pegaremos nuestro imán para así poder colgar en la nevera o refrigerador
Seventh step: finally we will continue gluing the penguin around the center of the boot, and on the back of it we will glue our magnet so we can hang it on the fridge or refrigerator.
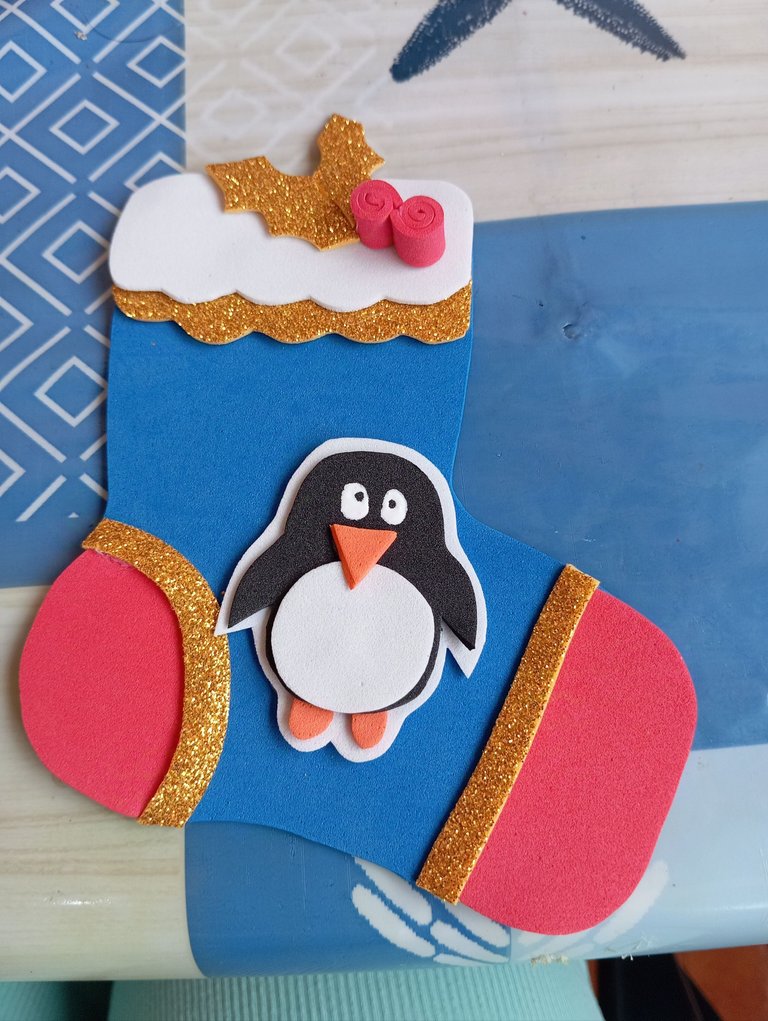
Resultado final: así fue como realicé mi linda bota navideña, ideal para esta maravillosa época , espero les sea de utilidad, gracias por su atención
Créditos: las fotos las tomé con mi redmi 12 y traduje los textos con el traductor deepl, feliz día
Final result: this is how I made my cute Christmas boot, ideal for this wonderful season, I hope you find it useful, thank you for your attention.
Credits: the photos were taken with my redmi 12 and I translated the texts with the deepl translator, happy day.
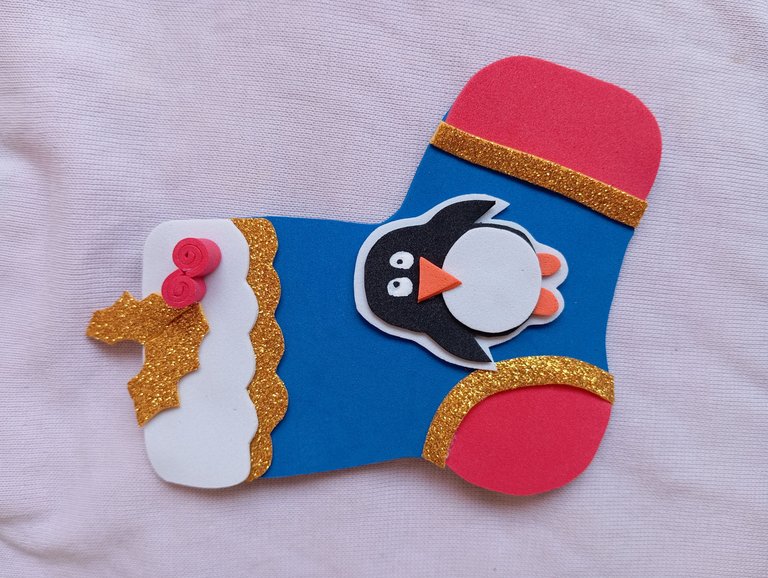
Christmas boot to hang on the fridge
Making a Christmas boot was such a brilliant idea and placing it on your fridge would definitely be a game changer. As a community, we are proud of your work and we can’t wait to see your future projects. Well done and thanks for sharing.