Hola amigos crafters! Espero tengan un buen día.
Hello fellow crafters! I hope you have a nice day.
Se acerca el carnaval y a mí en lo particular me gustan estas fechas por que podemos poner a volar nuestra creatividad con mascaras y disfraces. Si tu eres una de esas personas que quiere lucir una linda mascara ya sea para fiestas de la escuela, reuniones de amigos o simplemente para unas buenas fotos en el desfile de tu ciudad, en este post te quiero enseñar una manera súper fácil y rápida de hacerla y que de seguro te va gustar el resultado.
Carnival is coming and I particularly like these dates because we can put our creativity to fly with masks and costumes. If you are one of those people who want to wear a nice mask either for school parties, friends gatherings or just for some good pictures in the parade of your city, in this post I want to show you a super easy and quick way to do it and you will surely like the result.
Para realizarlas solo vamos a necesitar los siguientes materiales:
To make them we will only need the following materials:
MATERIALES
Cartón
Tijeras
Papel blanco
Pega escolar
Silicón líquido
Lápiz y borra
Marcador negro
Palillo de altura
Escarcha roja y negra
MATERIALS
Cardboard
Scissors
White paper
School glue
Liquid silicone
Pencil and eraser
Black marker
Height stick
Red and black frosting
PASOS
STEPS
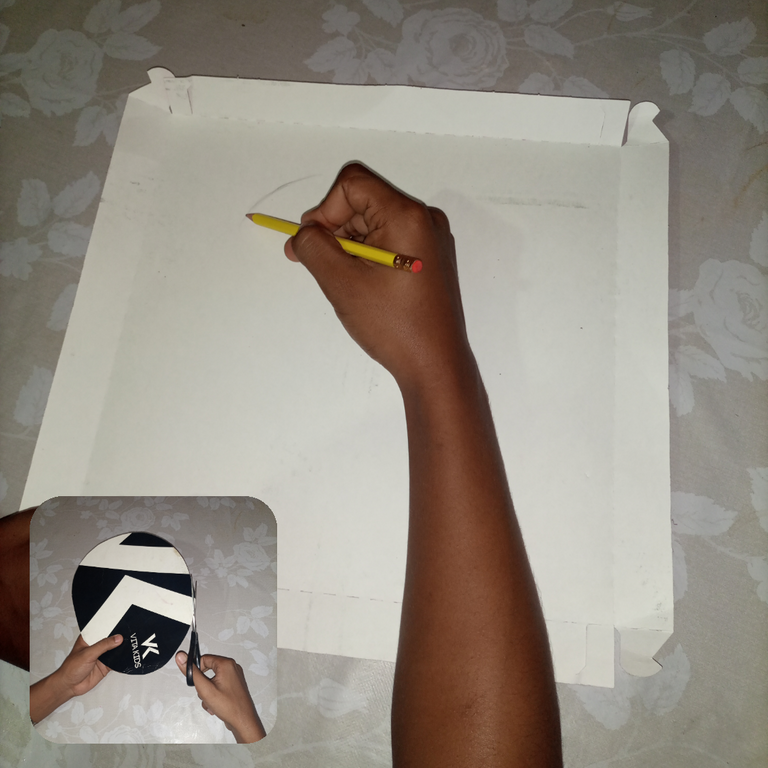
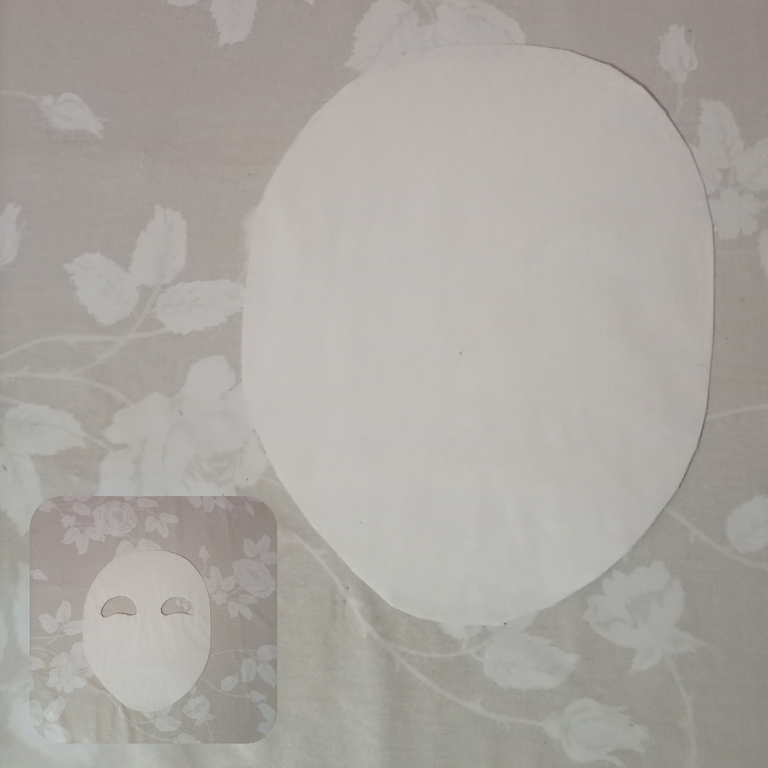
1- Dibujamos la silueta de una cara en el cartón (puede ser de una caja de zapato,caja de pastel,cualquier cartón que tengas a mano, si es delgado mejor) y recortamos con ayuda de las tijeras
1- We draw the silhouette of a face on the cardboard (it can be from a shoe box, cake box, any cardboard you have at hand, if it is thinner the better) and cut it out with the help of the scissors.
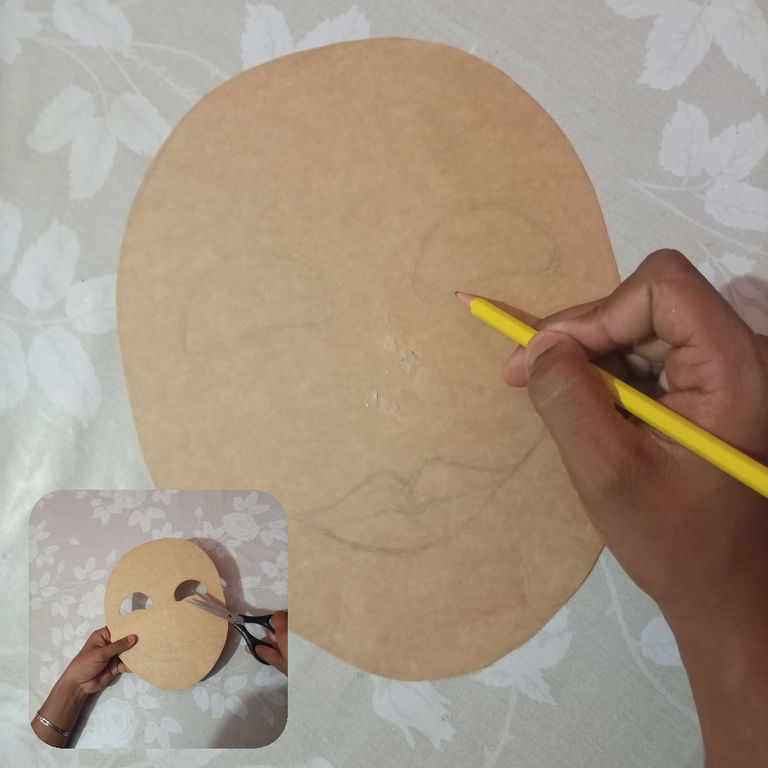
2- Dibujamos los ojos y con la tijera o ayuda de un cuter los recortamos.
2- We draw the eyes and with the scissors or the help of a cutter we cut them out.
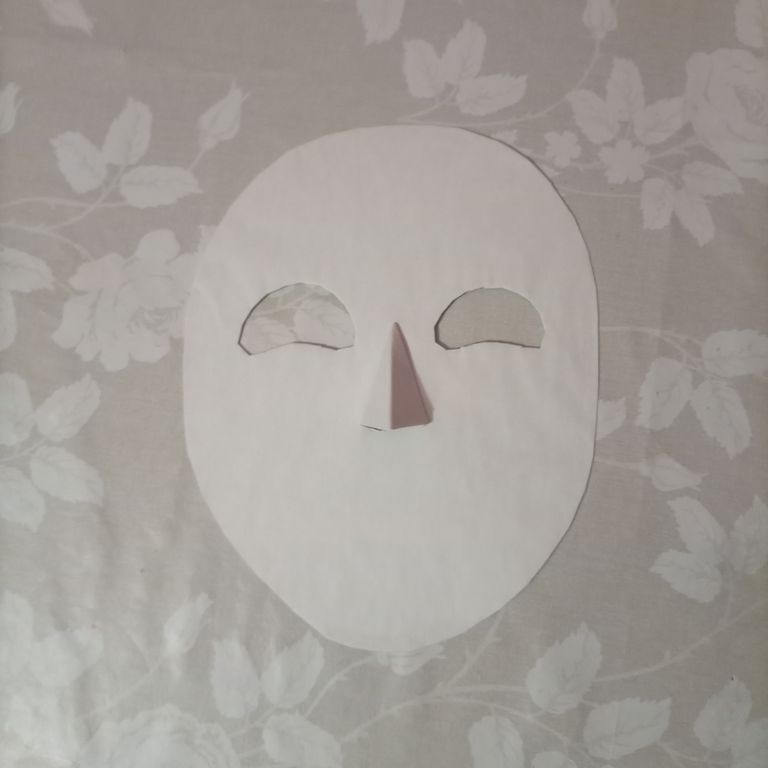
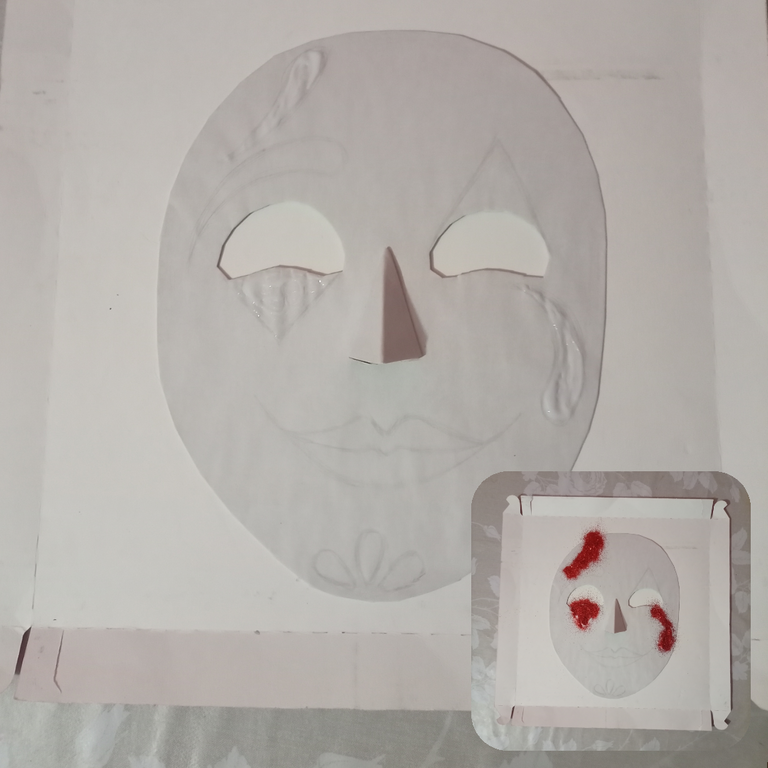
3- Colocamos la silueta de cartón sobre el papel,recortamos la silueta en papel y haciendo pestañitas,con ayuda de silicon líquido la pegamos al cartón
3- We place the cardboard silhouette on the paper, cut the silhouette in paper and making tabs, with the help of liquid silicone we glue it to the cardboard.
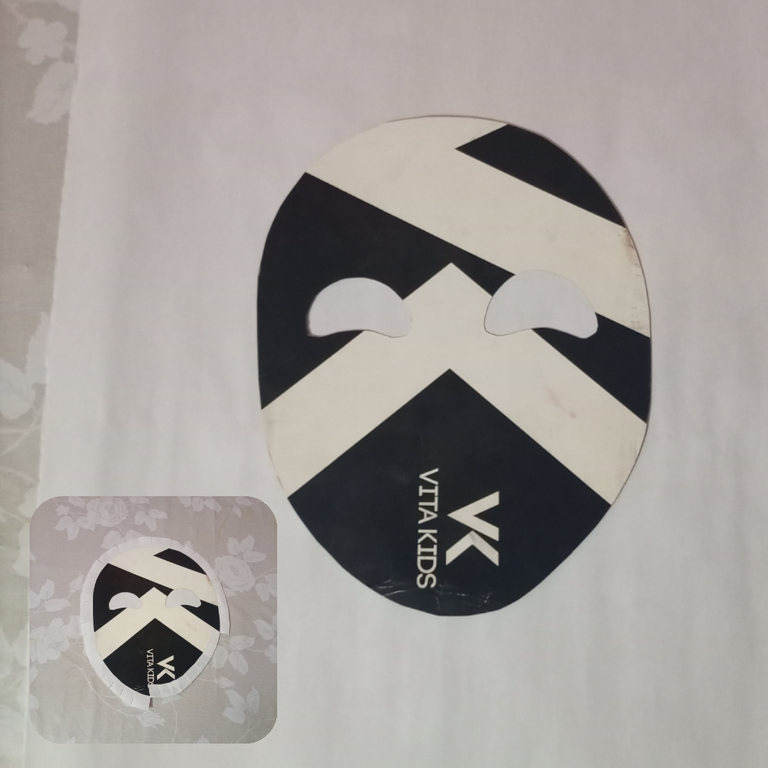
4- Una vez tengamos la silueta, recortamos el orificio de los ojos
4- Once we have the silhouette, we cut out the hole for the eyes.
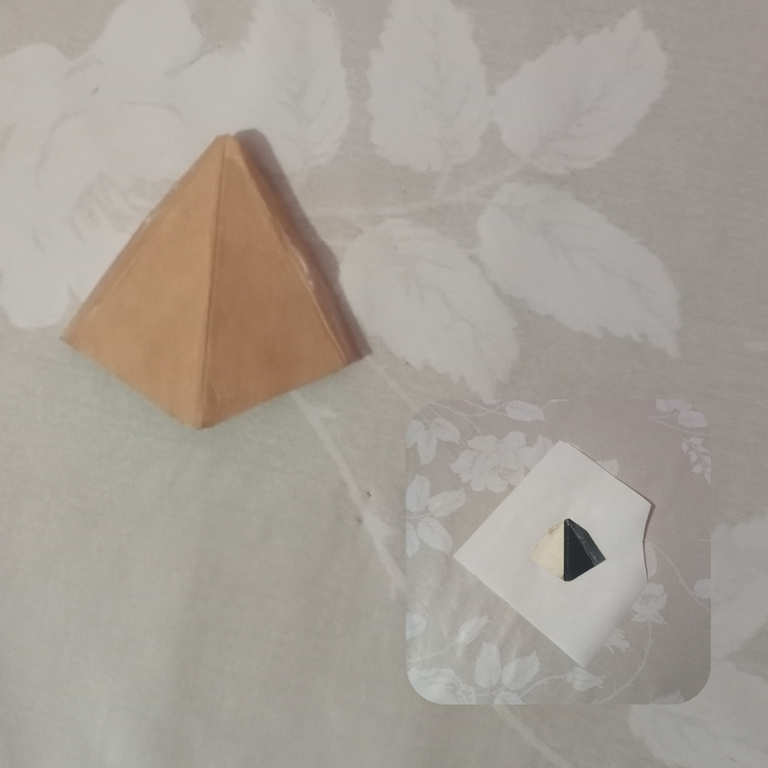
5- En un trozo de cartón, recortamos un triangulo con unas pestañas que será nuestra nariz y la forramos con papel.
5- On a piece of cardboard, cut out a triangle with tabs that will be our nose and line it with paper.
6- Echando un poco de silicón liquido a las pestañas, pegamos nuestra nariz.
6- Applying a little liquid silicone to the eyelashes, we glue our nose.
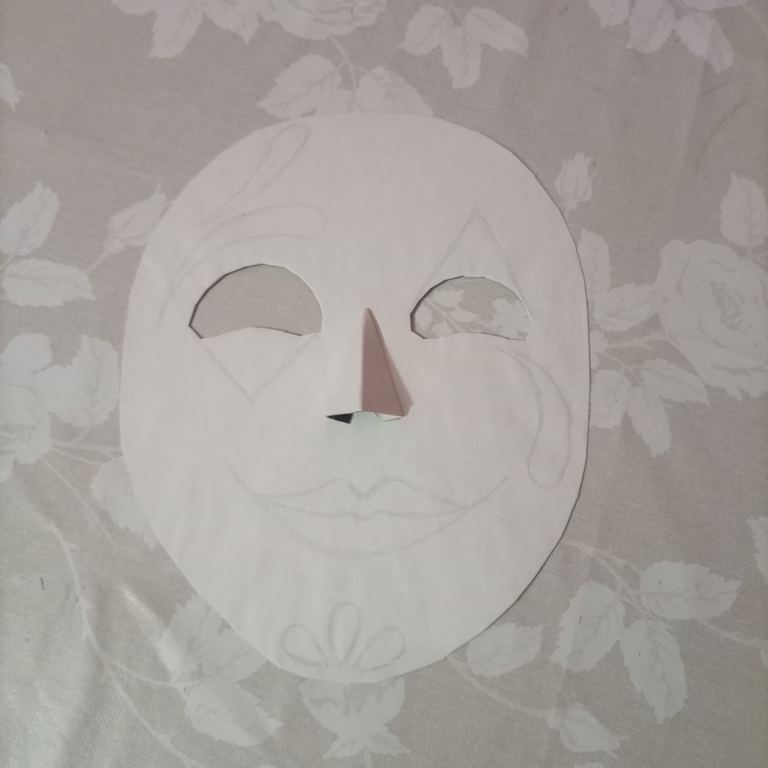
7- Con el lápiz, dibujamos el diseño que queremos que tenga nuestra mascara.
7- With the pencil, we draw the design we want our mask to have.
Si no sabes que diseño haecer te invito a buscar "máscaras de arlequines" en Google Imagenes, te pueden servir de inspiración.
If you don't know what design to make, I invite you to search for "harlequin masks" in Google Images, it can be an inspiration for you.
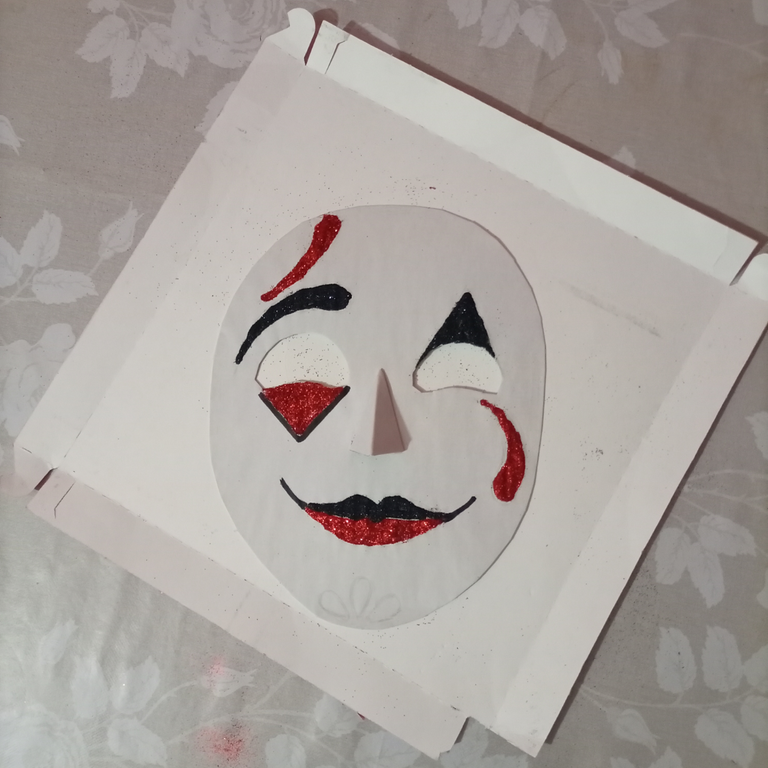
8- Con la ayuda de la pega escolar, empezamos a escarchar las partes que queremos vayan en rojo.
8- With the help of the school glue, we start to frost the parts we want to go red.
Dato: te recomiendo que escarches sobre un papel o cartón, para que luego te sea más fácil recoger la escarcha.
**I recommend that you frost on a piece of paper or cardboard, so that it will be easier to collect the frost later.
9- Ahora hacemos el mismo proceso, pero con las partes negras.
9- Now we do the same process, but with the black parts.
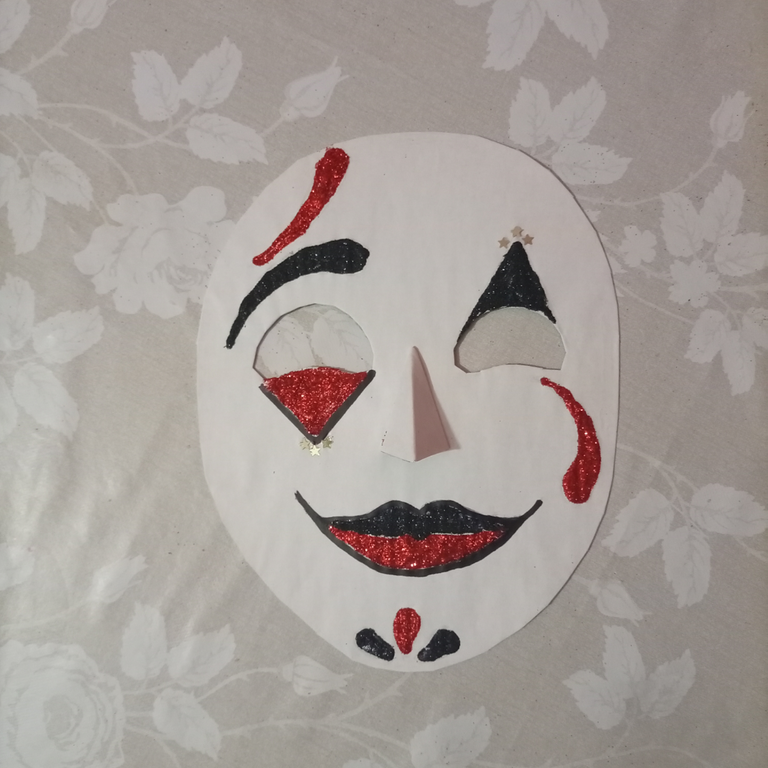
10- Con el marcador podemos repasar los bordes que queramos resaltar y agregamos los detalles finales.
10- With the marker we can go over the edges we want to highlight and add the final details.
Le pegamos el palito de altura para poder sostenerla, y listo!
We glue the height stick to be able to hold it, and that's it!
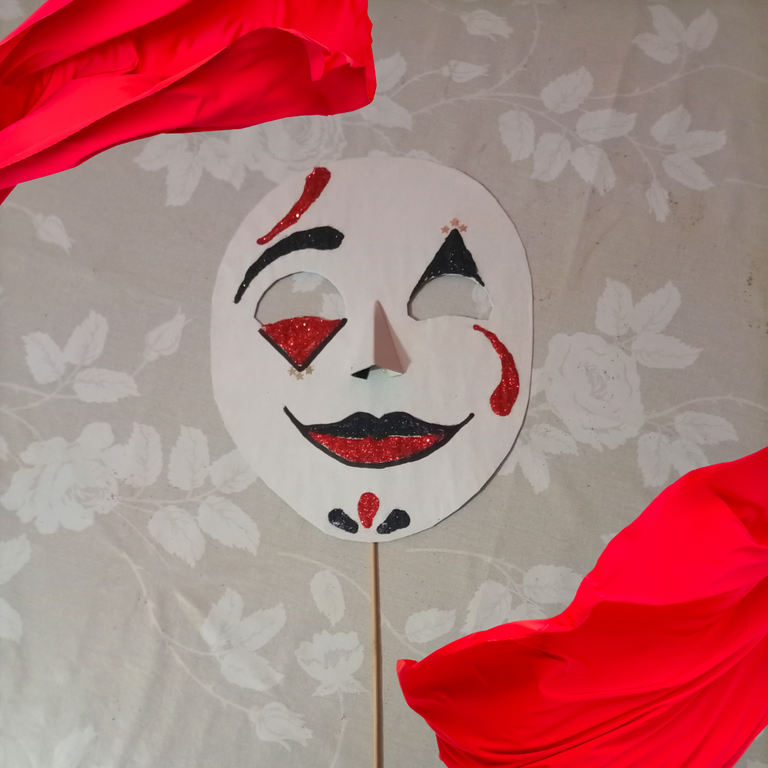
Espero de verdad te guste mucho; te invito hacerla en otros colores y diseños y seas al centro de atracción con tu mascara estos carnavales.
I really hope you like it very much; I invite you to make it in other colors and designs and be the center of attraction with your mask this carnival.
Hasta el próximo post!
See you next post!
Your content has been voted as a part of Encouragement program. Keep up the good work!
Use Ecency daily to boost your growth on platform!
Support Ecency
Vote for new Proposal
Delegate HP and earn more
Congratulations @jesusfermin! You have completed the following achievement on the Hive blockchain and have been rewarded with new badge(s):
Your next target is to reach 1250 upvotes.
You can view your badges on your board and compare yourself to others in the Ranking
If you no longer want to receive notifications, reply to this comment with the word
STOPCheck out the last post from @hivebuzz:
Support the HiveBuzz project. Vote for our proposal!