Hola mis amigos, deseo estén bien.
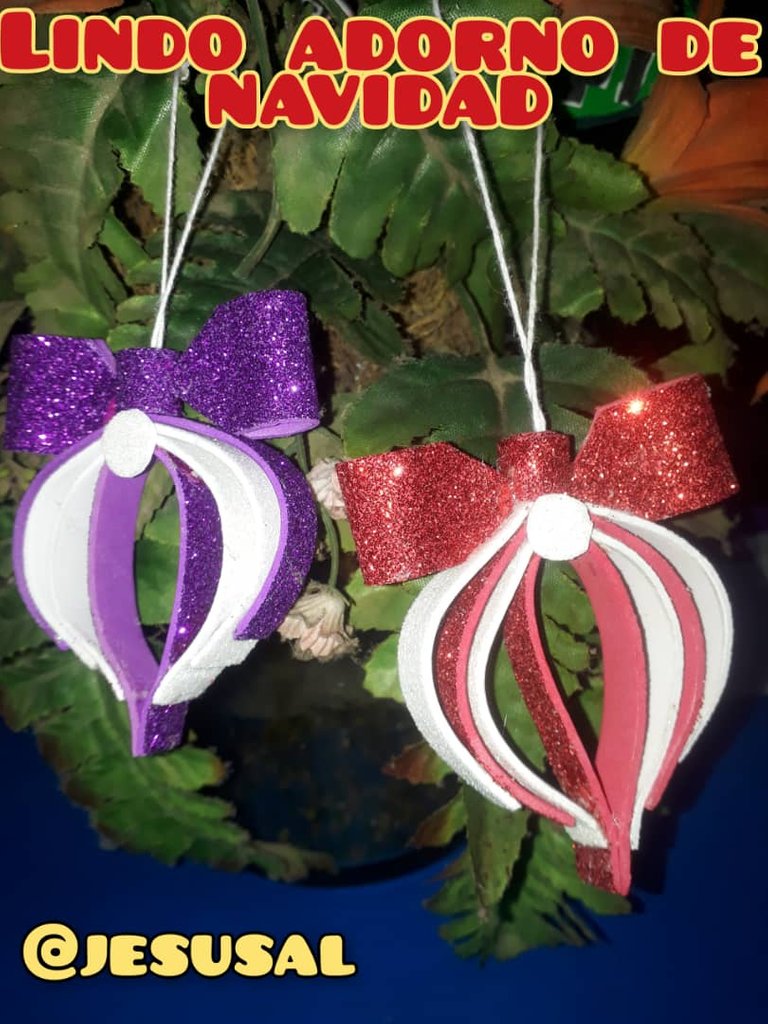
Hoy compartiré con ustedes, un lindo adorno de navidad.
Con estos, el arbolitos quedará hermosos y llamará la atención de todos.
Fácil de hacer,rápido y económico.
Hello my friends, I hope you are well.
Today I will share with you, a nice Christmas ornament.
With these, the tree will be beautiful and will attract everyone's attention.
Easy to make, quick and inexpensive.
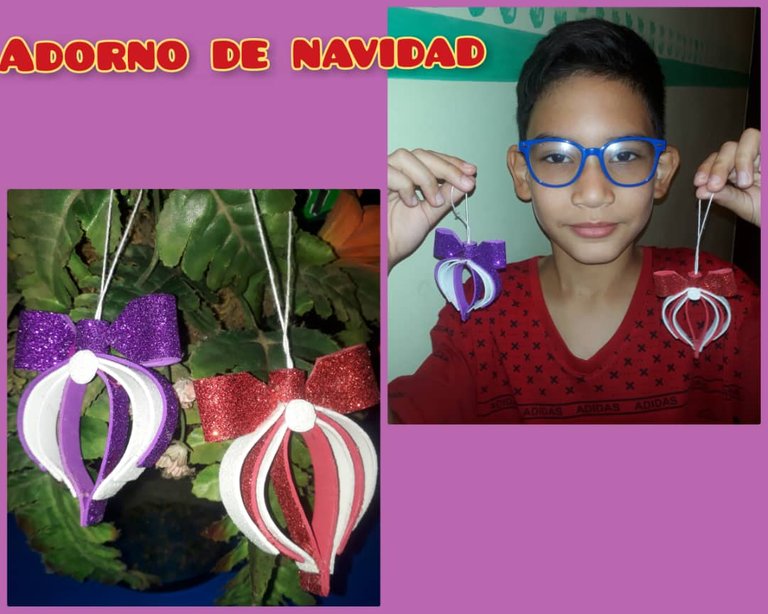
Lindos y llamativos adornos de navidad.
Cute and eye-catching Christmas ornaments.
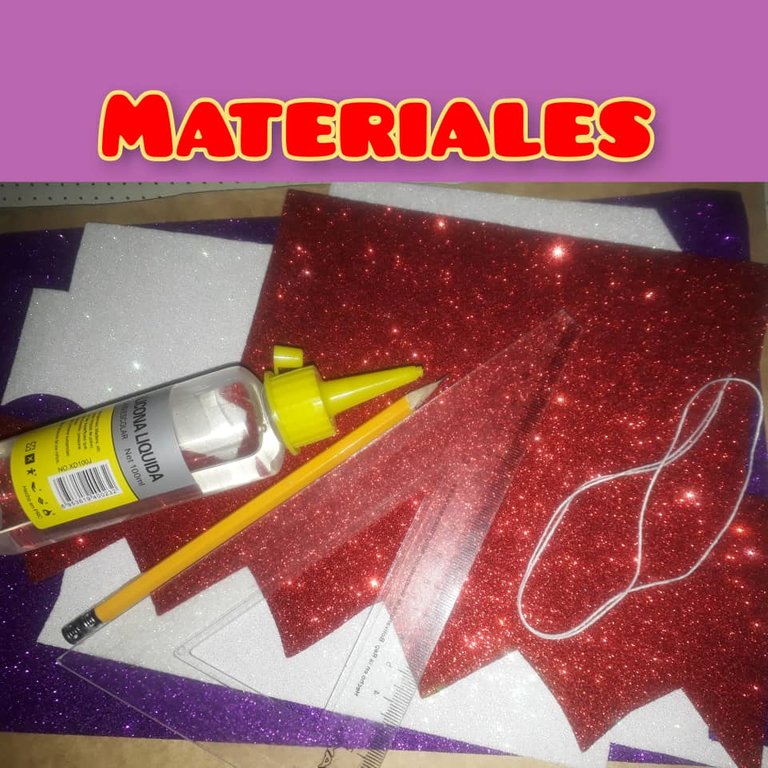
Materiales:
Foami escarchado o goma eva de colores: blanco, rojo y morado.
Silicona líquida.
Lápiz.
Regla.
Hilo.
Materials:
Frosted foami or colored eva rubber: white, red and purple.
Liquid silicone.
Pencil.
Ruler.
Thread.
Procedimiento:
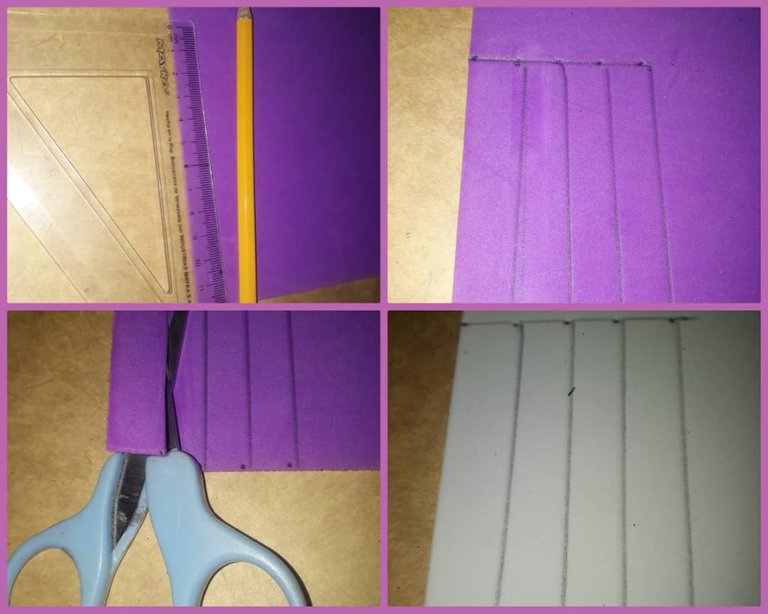
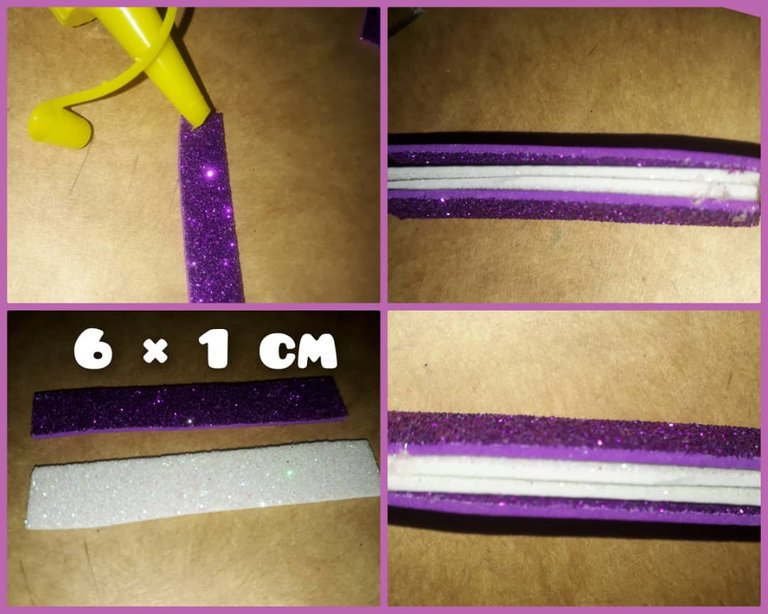
Marcar en el foami un rectángulo de : 6 x 1 cm,recortar con la tijera.
Marque y recorte 4 , color blanco y 4 color rojo, en total son 8 rectángulos.
Procedure:
Mark on the foami a rectangle of: 6 x 1 cm, cut out with the scissors.
Mark and cut out 4, white color and 4 red color, in total there are 8 rectangles.
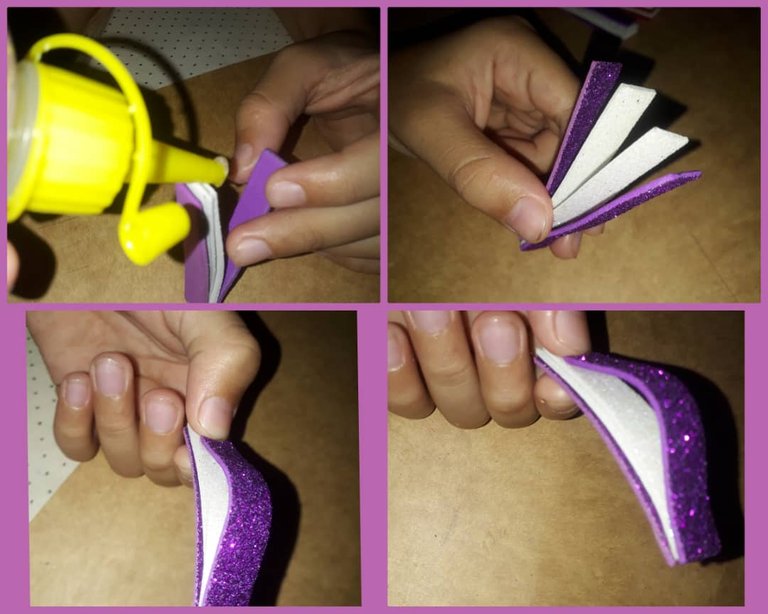
Ahora debes pegar con silicona líquida, cada rectángulo en la punta, uno sobre de otro, como muestra la imagen.
Debes hacer un par.
Now you must glue with liquid silicone, each rectangle at the tip, one on top of the other, as shown in the image.
You should make a pair.
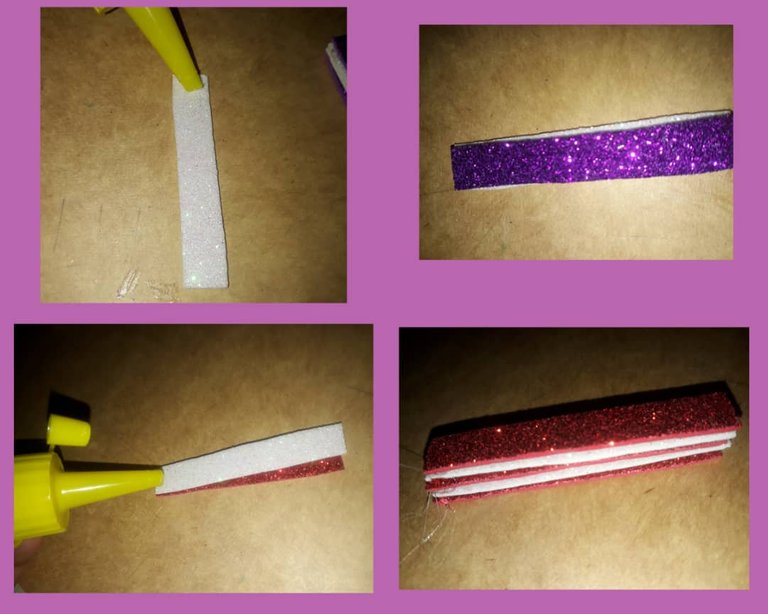
Luego pegas con silicona el primer rectángulo, dejando un centímetro en la parte de abajo, seguidamente el rectángulo que le sigue, dejando siempre un centímetro, así como se muestra en la imagen
Then you glue with silicone the first rectangle, leaving one centimeter at the bottom, then the next rectangle, always leaving one centimeter, as shown in the image.
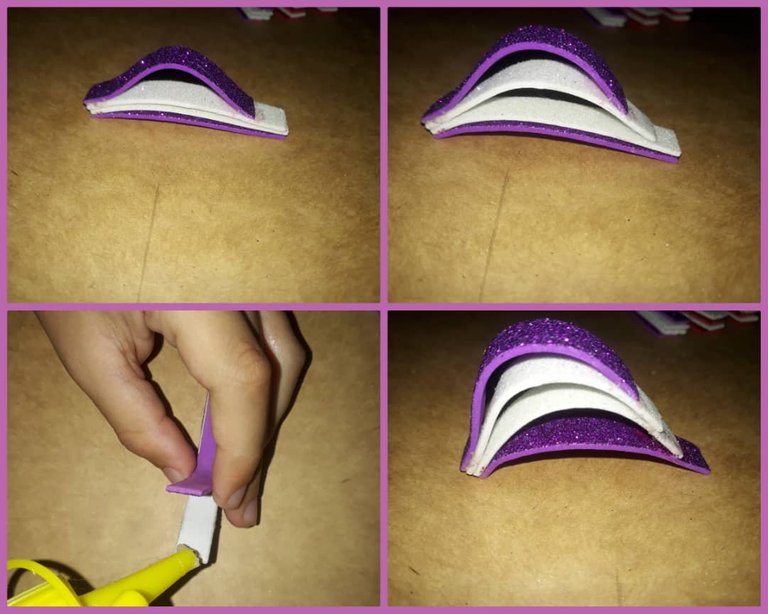
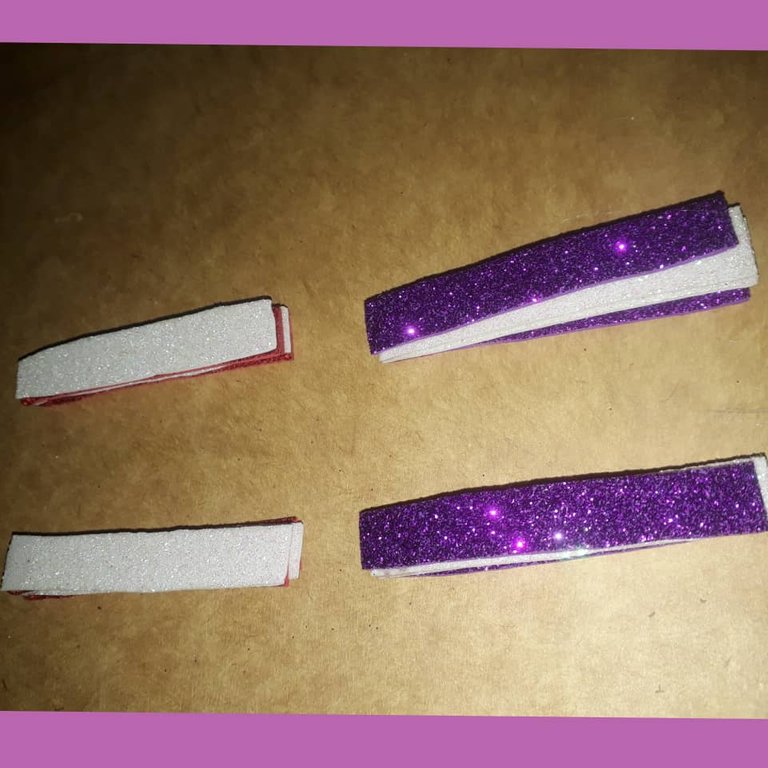
Así deben quedar las partes.
This is how the parts should look.
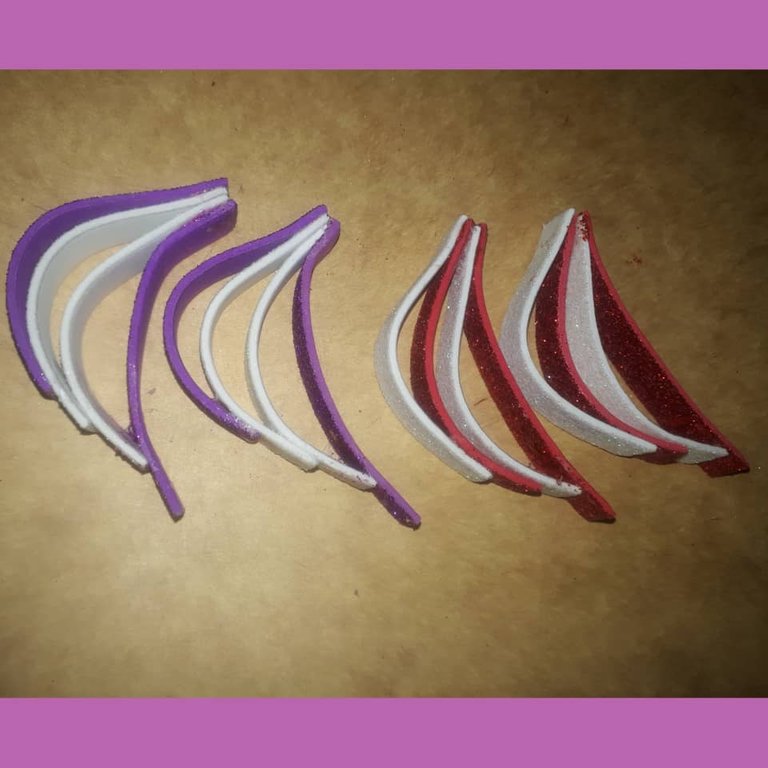
Luego pegar con silicona por la parte de arriba. como muestra la imagen.
Then glue with silicone on the top as shown in the picture.
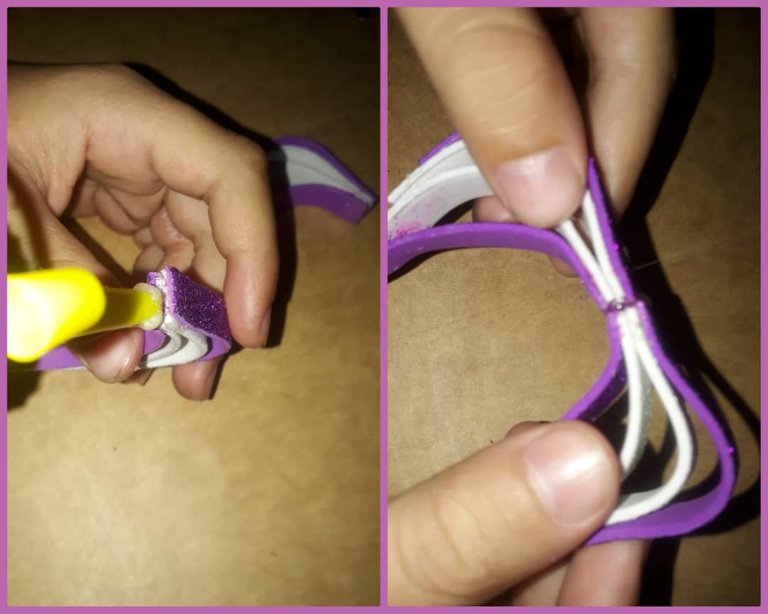
Y pegar las dos puntas de abajo con silicona.
And glue the two bottom ends with silicone.
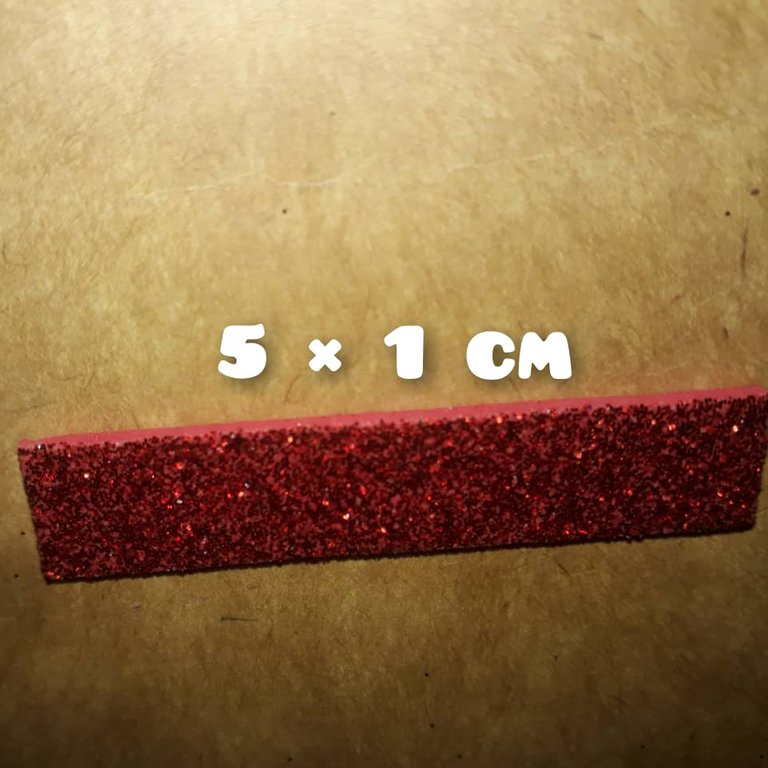
Ahora recorta un rectángulo de 5 x 1 cm.
Now cut out a 5 x 1 cm rectangle.
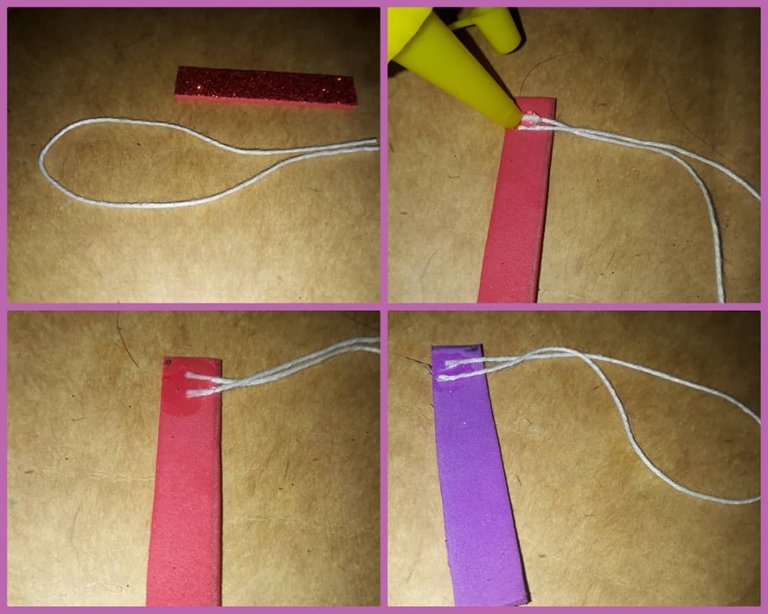
Pegar el hilo con silicon al foami y enrrollar , para formar lo que va permitir guindar el adorno.
Glue the thread with silicone to the foami and roll it up, to form what will allow the ornament to hang.
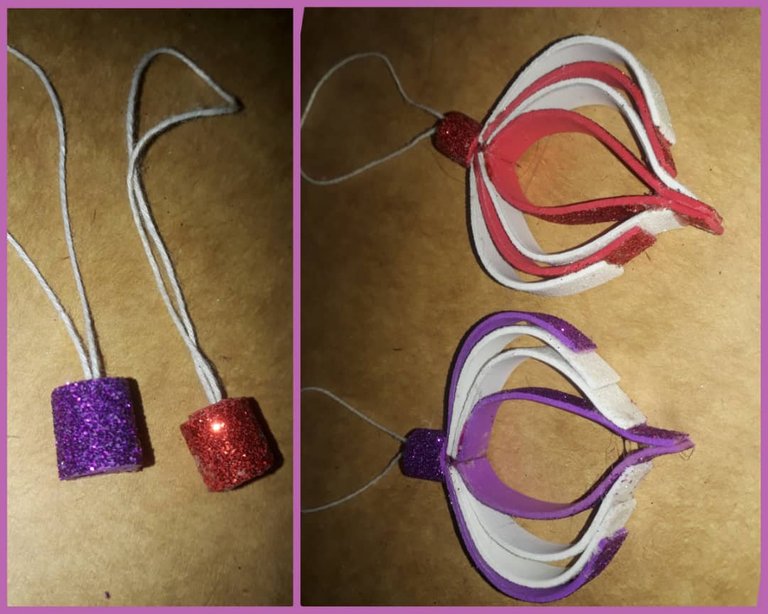
Pegar la parte para guindar del resto del adorno.
Glue the hanging part to the rest of the ornament.
Ahora para formar el lazo, recortar un pedazo de foami o goma eva de 6 x 2 cm.
Now to form the bow, cut out a 6 x 2 cm piece of foami or eva rubber.
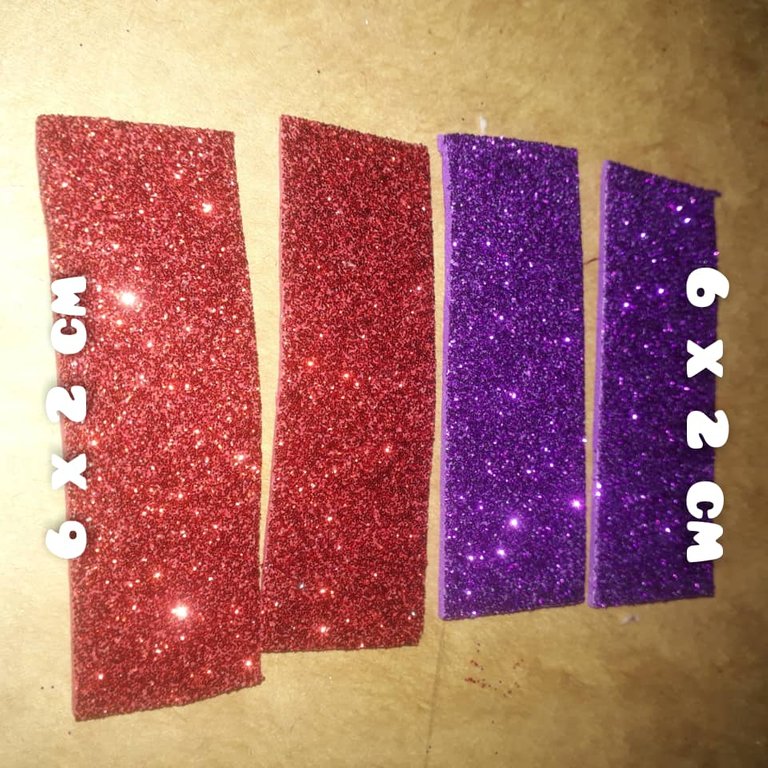
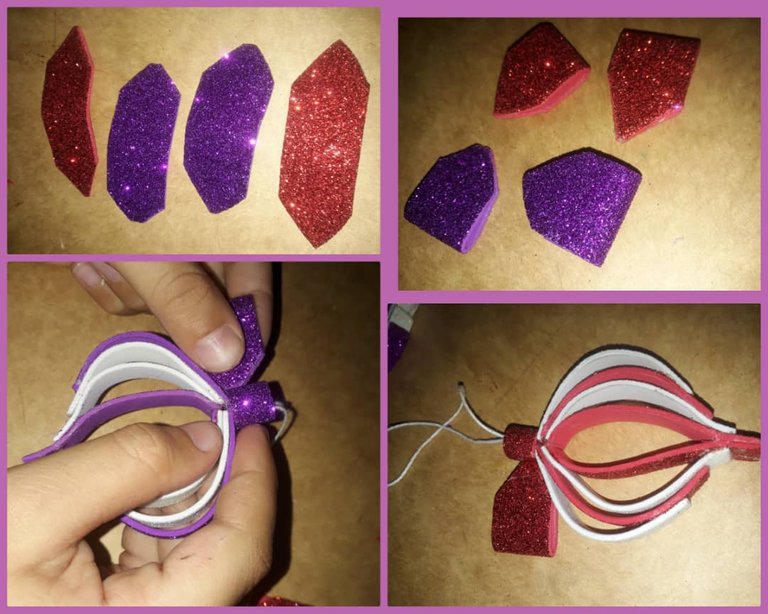
Luego dobla y recorta un pedazo en la punta, así como indica la imagen.
Agrega silicona y pega a cada lado
Then fold and cut out a piece at the tip, as shown in the picture.
Add silicone and glue on each side.
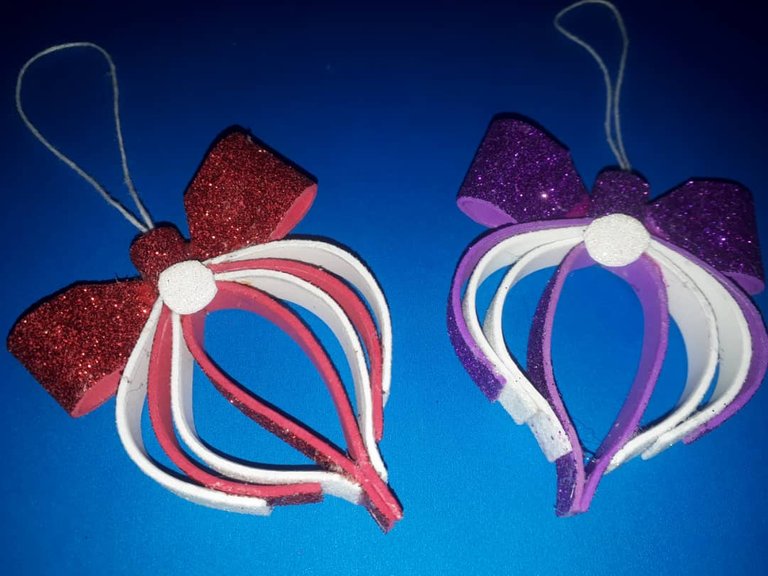
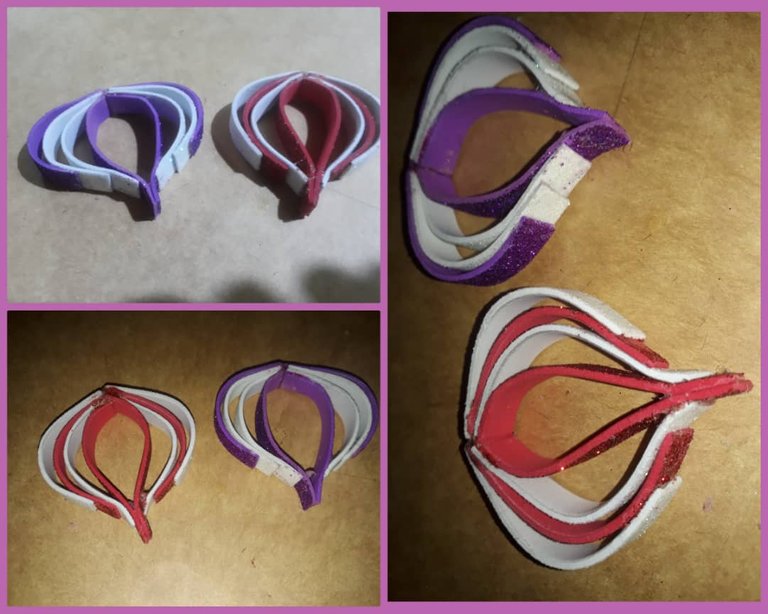
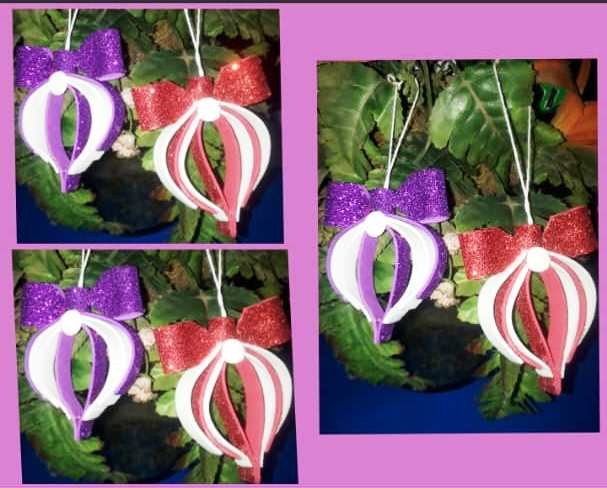
RESULTADO FINAL UN LINDO ADORNO DE NAVIDAD.
FINAL RESULT A NICE CHRISTMAS ORNAMENT.
Espero que les haya gustado ,gracias por leer y votar amigos queridos.
I hope you liked it and thank you fo reading and voting dear friends.

Congratulations @jesusal! You have completed the following achievement on the Hive blockchain and have been rewarded with new badge(s):
Your next payout target is 500 HP.
The unit is Hive Power equivalent because your rewards can be split into HP and HBD
You can view your badges on your board and compare yourself to others in the Ranking
If you no longer want to receive notifications, reply to this comment with the word
STOPCheck out the last post from @hivebuzz: