ENGLISH VERSION
Again, creating a little, taking into account my new markers, I have to take them out of their box, and it is a little uncomfortable, so I decided to make a new organizer for these markers, as always with my recycled material, looking through clippings and scraps.
The materials I used were
- Paper roll
- Pink cardboard
- Silicone
- Scissors
- Graphite pencil
- Marker pencils
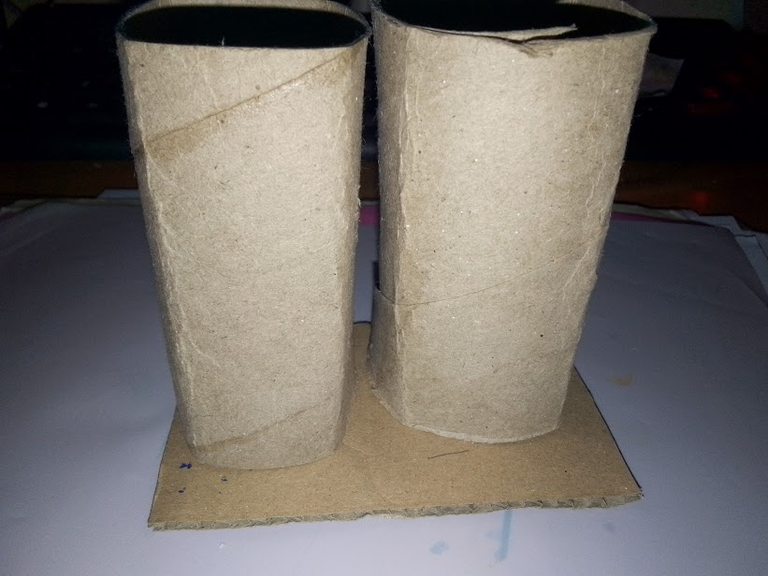
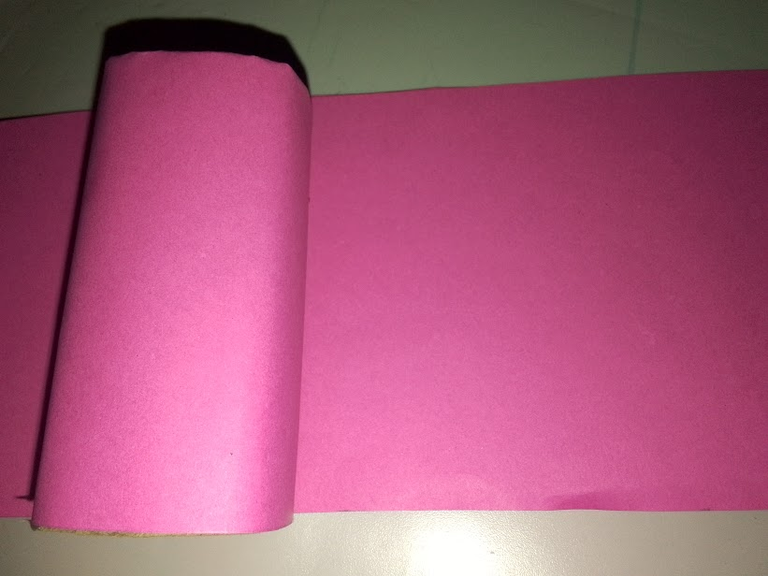
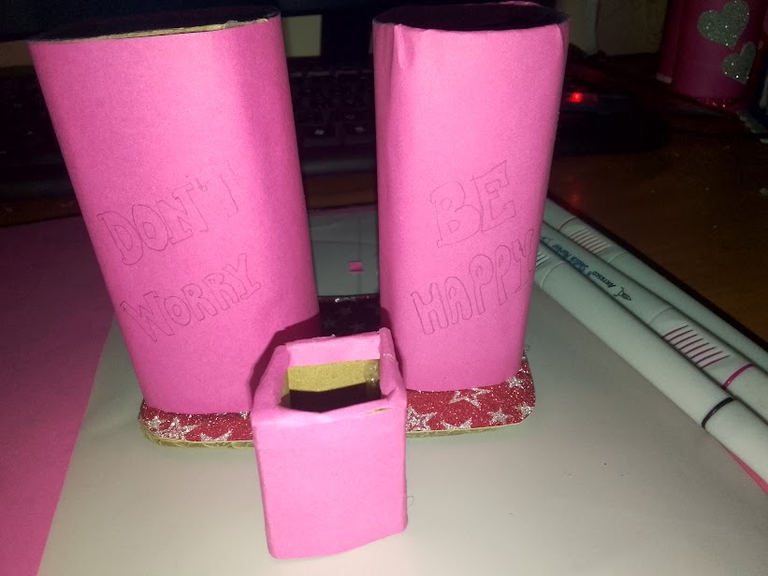
Giving again a little use to these rolls of paper, the truth is very practical, and if you can use for various things, for the moment I have served to make my organizer, in this case, bend a little, to give it a rectangular shape, take a piece of pink cardboard, molding it to the size of the roll, to line it with the same, as there are 12 markers, I decided to take two rolls.
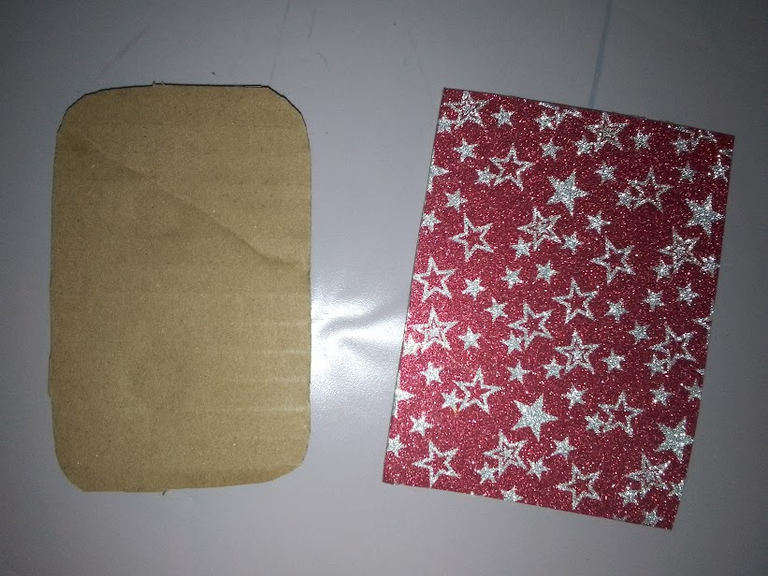
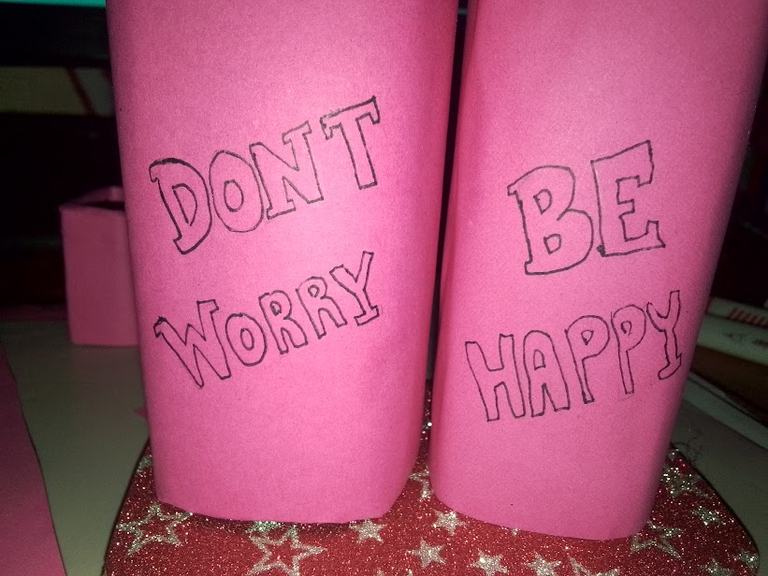
As a base, I took a piece of cardboard, cut it, and glued this piece of decorative cardboard, then, once lined my two rolls, I thought as in the previous organizer, place some drawing or motivational phrase, so I just came up with this one: Dont worry, be Happy.
Of course using my markers, but remember that I also have the ones that my friend gave me, these are perfect for drawing, especially the background of each word; I don't know if I can also make an organizer for them, since they came in their case, and for the moment, they are fine there.
Maybe later, I will make a more elaborate organizer, that will include all my colors, markers, rulers, pencils, eraser, in short, all my art tools, I was looking, looking for several ideas, and well, if it is possible, but I need another type of material, or gather more rolls of paper hahaha, well, we'll see.
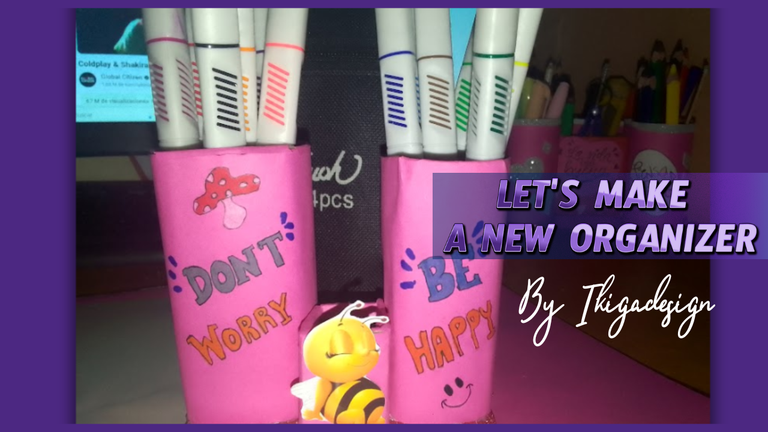
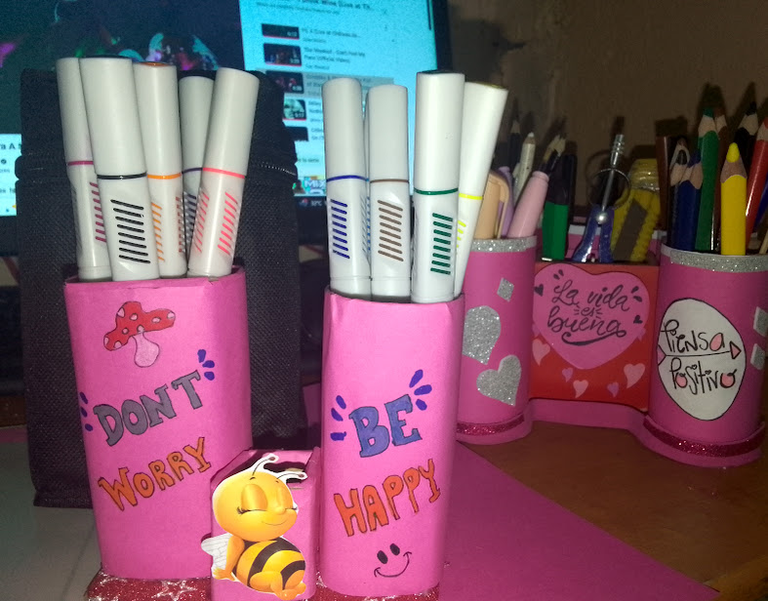
Meanwhile, I have it like this, separated, but at the same time organized, I find it a little more comfortable, to take it out, to use them, definitely, compared to the box where they came, this way, it is more accessible.
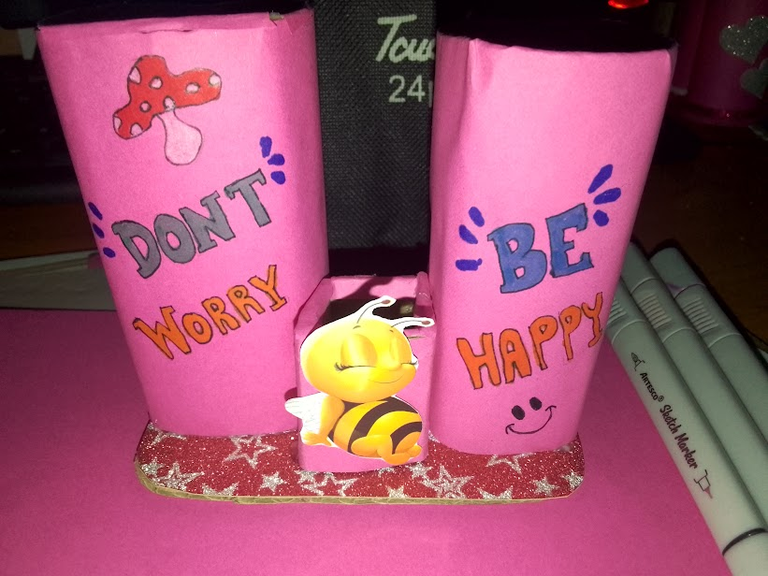
As you can see, the only thing I had left was to glue it on the base, but I saw that I had a small space between both rolls, so I decided to put this little box, or I don't know what to call it, it will still have a function, I can put the eraser or the pencil, since I use these markers a lot to create my lettering words, so as you know, I use the pencil for the outline, which means that here I have everything at hand.
Without a doubt, I found this new organizer very nice, small and practical, we should always try to work as comfortable as possible, and have our tools at hand; and as you can see I put a little bee in the middle, as a decoration, it's really cute 😍.
Well my friends, a pleasure to share with you again, I feel that this week will be very creative for me, doing what you like is always the best, don't you think?
Thanks for the support always, see you next time.
💝Every day is a new opportunity to create, your imagination, is the best tool!💝

De nuevo, creando un poco, tomando en cuenta mis nuevos marcadores, tengo que sacarlo de su caja, y me es algo incomodo, por ello decidí hacer un nuevo organizador para estos marcadores, como siempre con mi material reciclado, buscando entre recortes y retazos.
Los materiales que utilice fueron:
- Rollo de papel
- Cartulina Rosada
- Silicon
- Tijera
- Lápiz grafito
- Marcadores
Dándole de nuevo un poco de uso, a estos rollos de papel, la verdad resulta muy prácticos, y si puede usar para diversas cosas; por los momentos me han servido para hacer mi organizador, en este caso, doble un poco, para darle forma como rectangular, tomé un pedazo de cartulina rosada, amoldándola al tamaño del rollo, para forrarlo con el mismo, como son 12 marcadores, decidí tomar dos rollos.
 |  |
|---|

Como base, tome un pedazo de cartón, lo recorte, y le pegue este retazo de cartulina decorativa, seguidamente, una vez forrados mis dos rollos, pense como en el anterior organizador, colocarle algun dibujo o frase motivacional, asi que solo se me ocurrio esta: Dont worry, be Happy.

Por supuesto haciendo uso de mis marcadores, pero recuerden que tengo también los que me regalo mi amiga, estos son perfectos, para dibujar, sobre todo el fondo de cada palabra; a ellos no se si hacerles un organizador, ya que los mismos vinieron en su estuche, y por los momentos, quedan bien allí.
Quizás más adelante, haga un organizador mejor elaborado, que abarque todos mis colores, marcadores, reglas, lápices, borrador, en fin, todas mis herramientas de arte, estuve viendo, buscando varias ideas, y bueno, si se puede, pero necesito otro tipo de material, o reunir más rollos de papel jajaja., en fin, ya veremos.
Mientras, lo tengo así, separados, pero a la vez organizados, me resulta un poco más cómodo, el sacarlo, para utilizarlos, definitivamente, comparado con la cajita donde venían, de esta forma, es más accesible.
Como ven, lo único que me quedaba, era pegarlo en la base, pero vi que tenía un pequeño espacio, entre ambos rollos, por lo que decidí poner este pequeño cajetín, o no sé cómo llamarlo, igual tendrá una función, puedo meter el borrador, o el lápiz, ya que estos marcadores, los uso bastante para crear mis palabras de lettering, entonces como bien saben, uso el lápiz para el contorno, lo que significa, que aquí tengo todo a la mano.
Sin duda, me resulto muy bien este nuevo organizador, pequeño y practico, siempre debemos buscar trabajar lo más cómodo posible, y tener nuestras herramientas a la mano; y como ven coloque una pequeña abejita en el medio, como decoración, quedo linda verdad.😍

Bien mis amigos, un gusto compartir con ustedes nuevamente, siento que esta semana será muy creativa para mí, hacer lo que a uno le gusta, siempre es lo mejor, no creen. 😉
Gracias por el apoyo siempre, nos vemos en una próxima oportunidad.
💝¡Cada día es una nueva oportunidad para crear, tu imaginación, es la mejor herramienta!💝
Edición Banner y Portada con CANVA/ Banner and Cover Edition with CANVA
