¡Hola comunidad de Hive Diy!
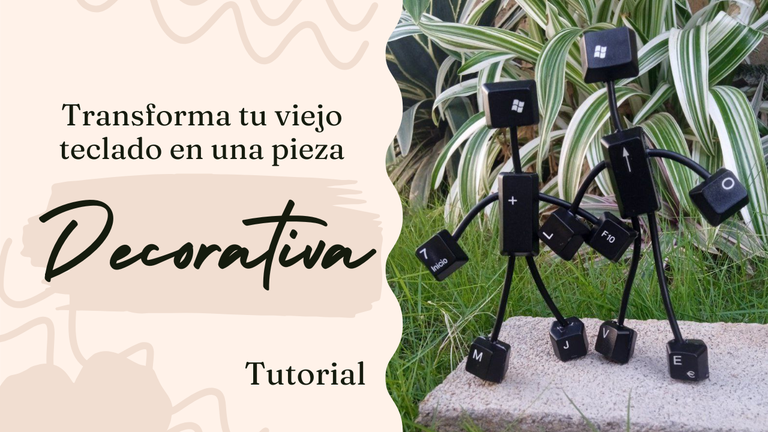
En este tutorial quiero enseñarles cómo convertí dos teclados dañados de PC que tenía en mi casa, en un adorno bastante bonito para regalar, sobre todo si quieres darle un detalle a tu pareja, algún amigo o a alguien especial para ti. Para esto, utilicé las fichas (letras) de los mismos, pues estaban en buen estado. Cabe resaltar, que había visto esta idea gracias a una imagen en Pinterest, y como tenía los materiales a la mano, me animé a realizar las mías propias. Creo que es algo bonito regalar un detalle echo por nuestras propias manos, ya que de esta manera podemos darle nuestro toque personal.
Sin más que agregar, ¡manos a la obra!
Hello Hive Diy community!
In this tutorial I want to show you how I converted two damaged PC keyboards that I had at home, in a pretty nice ornament to give as a gift, especially if you want to give a detail to your partner, a friend or someone special to you. For this, I used the chips (letters) of the same, because they were in good condition. It should be noted that I had seen this idea thanks to an image on Pinterest, and since I had the materials at hand, I decided to make my own. I think it's nice to give a gift made by our own hands, because this way we can give it our personal touch.
Without further ado, let's get to work!
Materiales
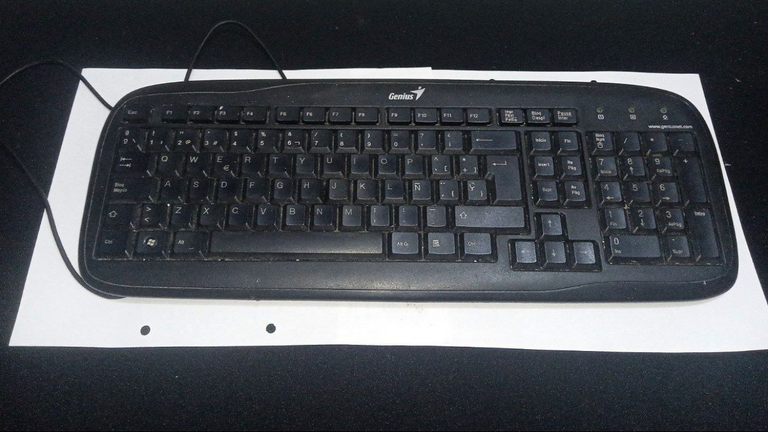
- Teclado dañado.
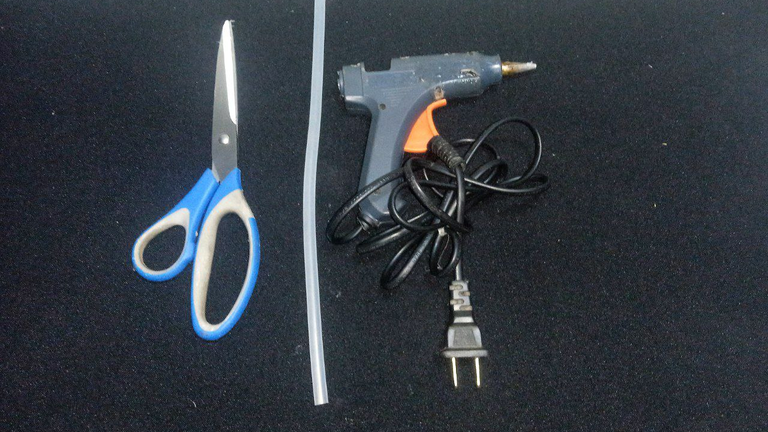
- Pegamento fuerte (Silicona caliente).
- Tijeras y pinzas.
- Alambre (viene incorporado en el teclado).
Materials
- Damaged keyboard.
- Strong glue (Hot Silicone).
- Scissors and tweezers.
- Wire (comes incorporated in the keyboard).
 |  |
|---|
Procedimiento
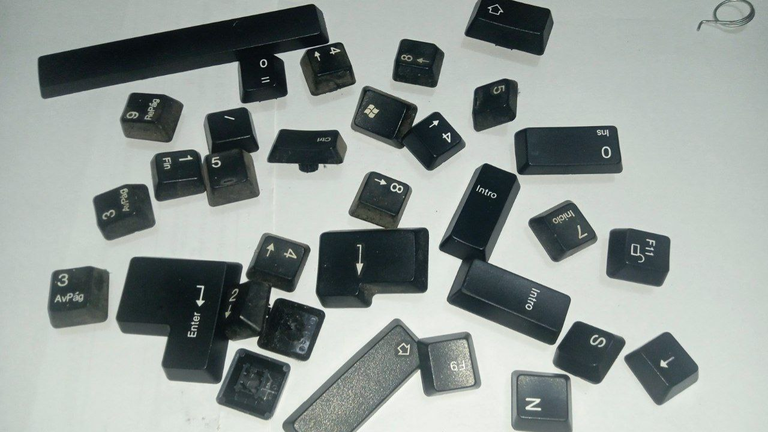
Desarma el teclado; para esto retírale todas las teclas. Recuerda seleccionar las que estén en buen estado. Luego, ¡Convierte tu teclado en un personaje! Diseña tu figura antes de pegar las piezas, imagina la forma que quieres darle a tu figura. En este caso haremos dos personas, sin embargo, también puede inspirarte en animales u objetos.
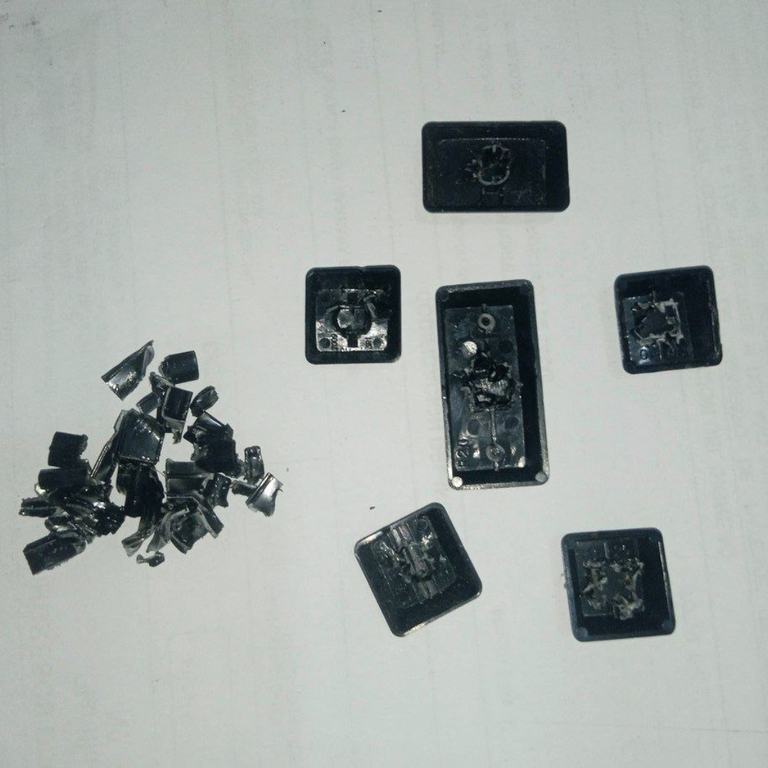
Para construir el cuerpo utilizaremos doce teclas, seis teclas por ambos lados. La distribución de las piezas será de la siguiente manera:
- El torso se realizará con teclas grandes.
- La cabeza estará formada por una tecla de tamaño mediano.
- Los miembros superiores e inferiores se crearán con teclas más pequeñas.
Procedure
Disassemble the keyboard by removing all the keys. Remember to select the ones that are in good condition. Then, turn your keyboard into a character! Design your figure before gluing the pieces, imagine the shape you want to give to your figure. In this case we will make two people, however, you can also be inspired by animals or objects.
To build the body we will use twelve keys, six keys on both sides. The distribution of the pieces will be as follows:
- The torso will be made with large keys.
- The head will be made with a medium sized key.
- The upper and lower limbs will be created with smaller keys.
 |  |
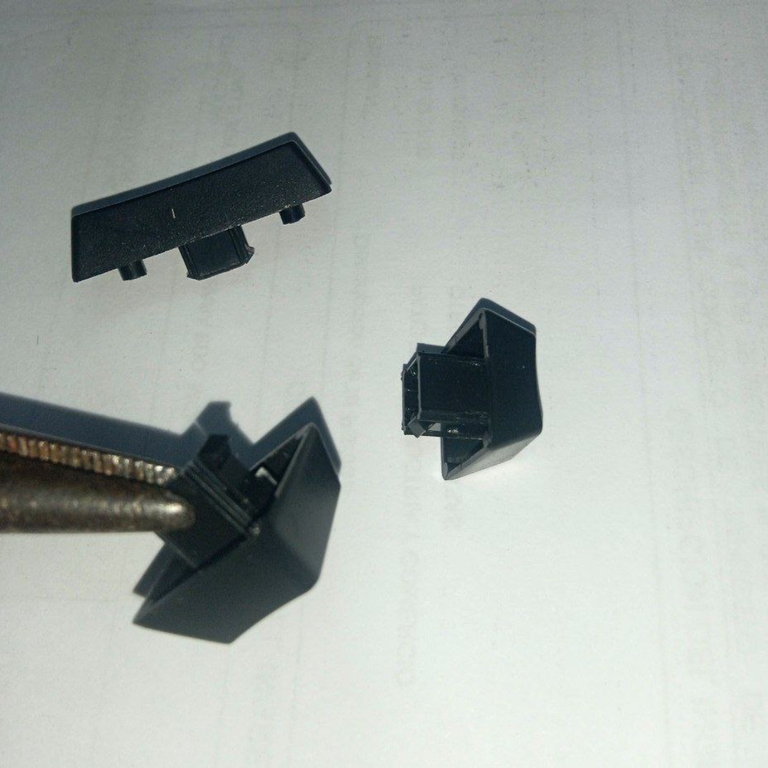
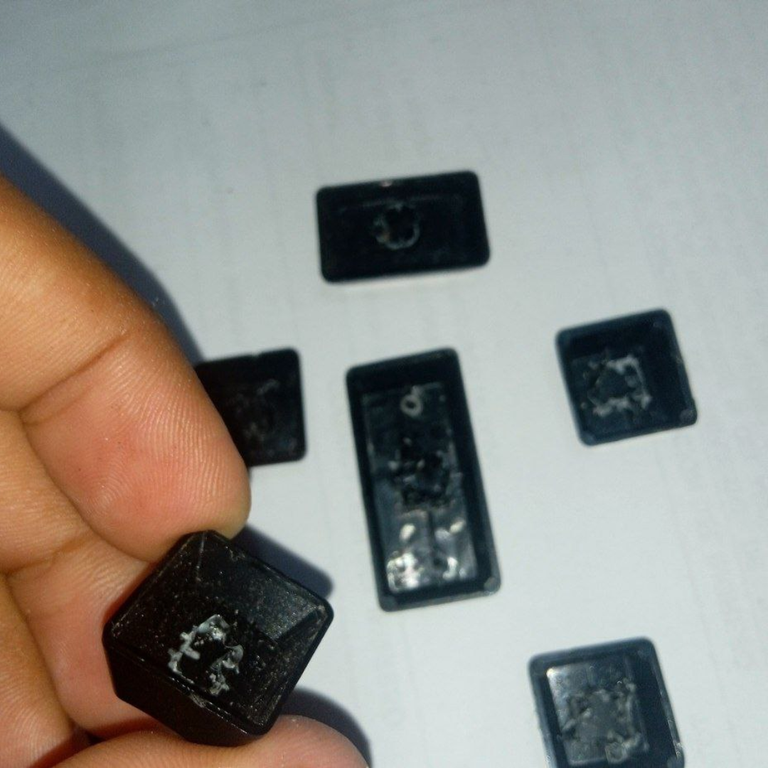
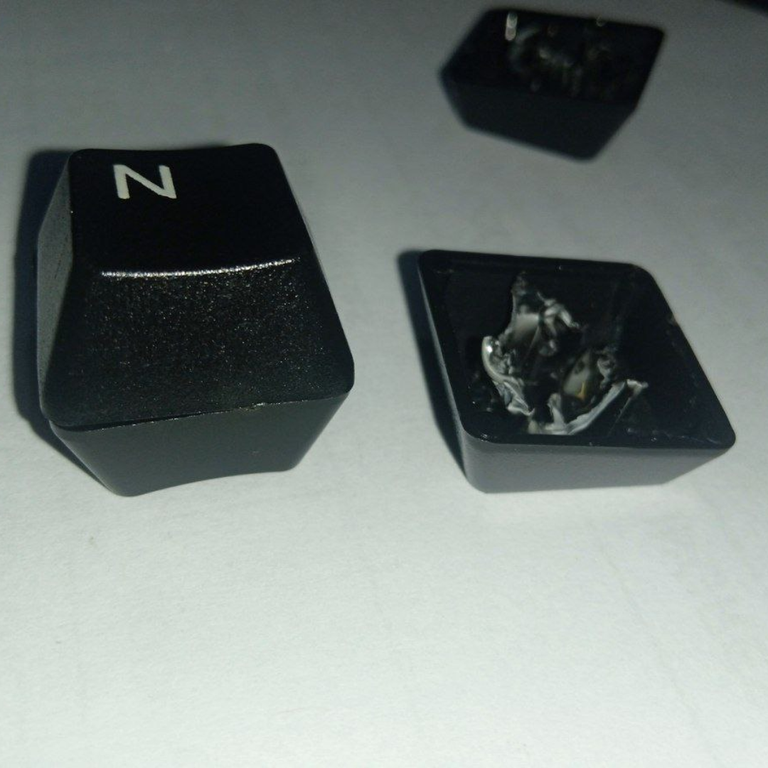
Ya seleccionadas las 12 teclas, Con la ayuda de la tijera o pinzas, retiramos el excedente del interior, como mostraré a continuación:
Once the 12 keys have been selected, with the help of the scissors or tweezers, we remove the excess from the inside, as I will show below:
 |  |  |
|---|
 |  |
|---|
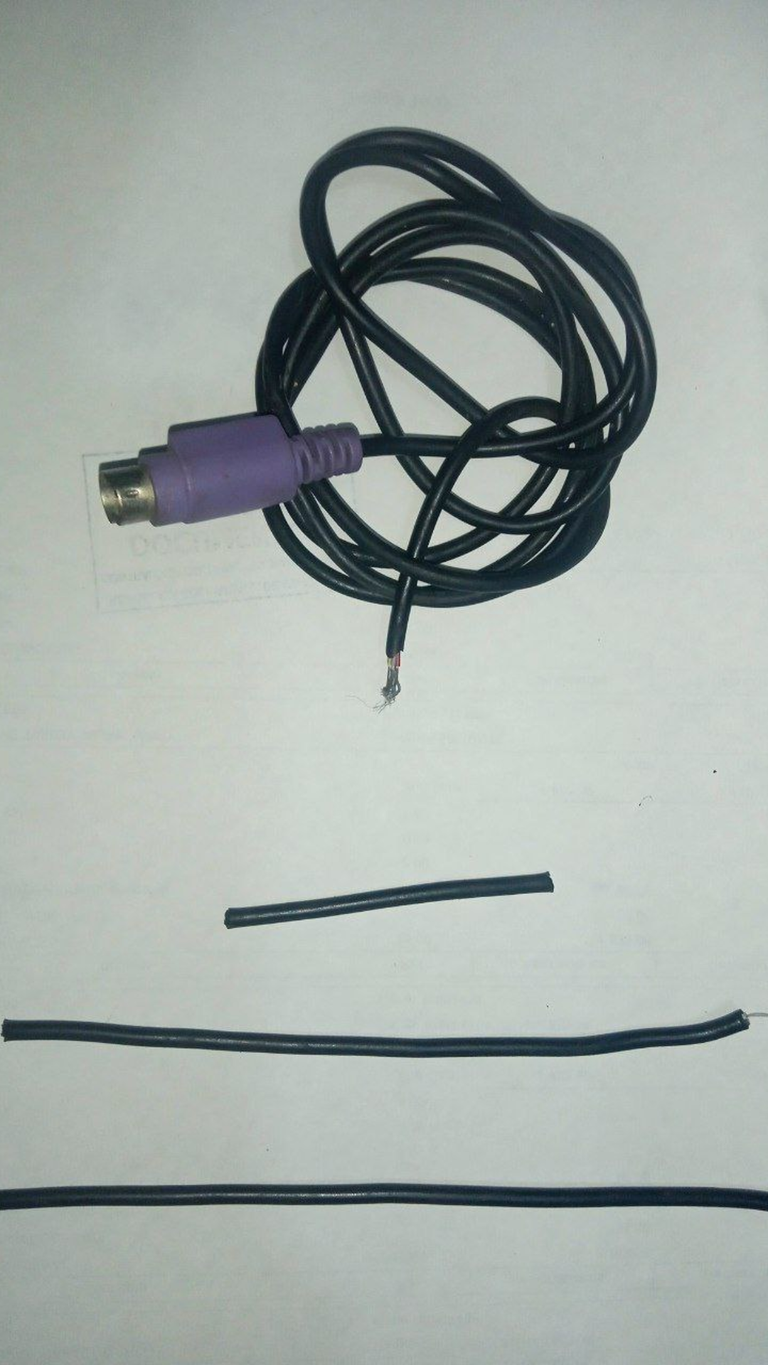
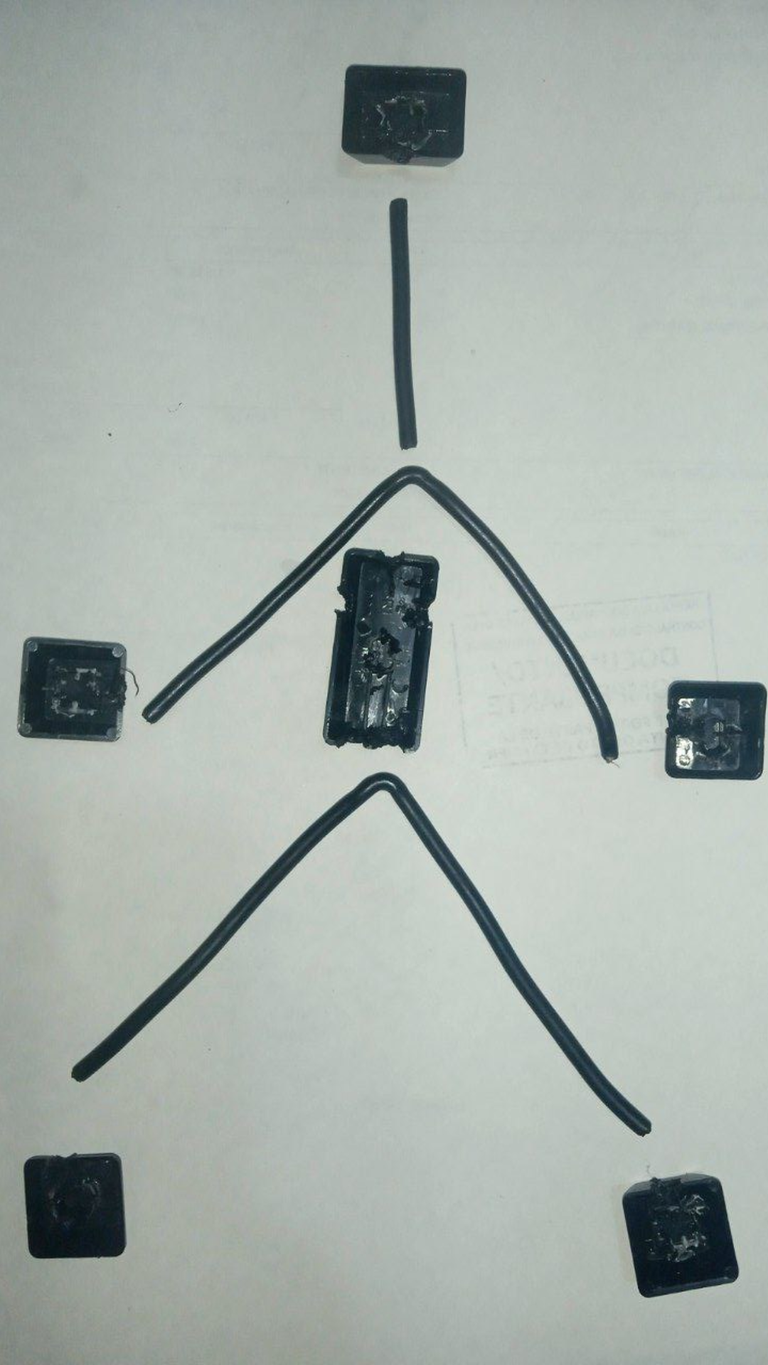
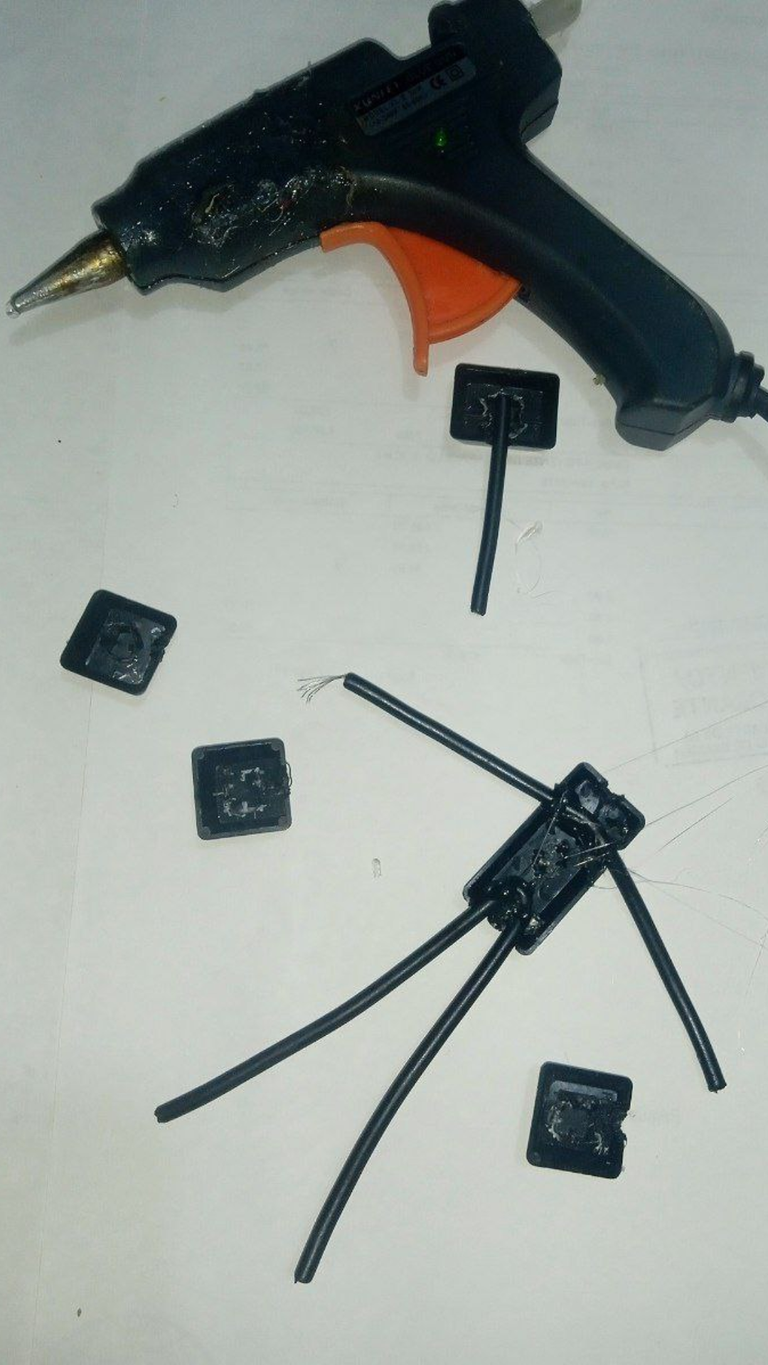
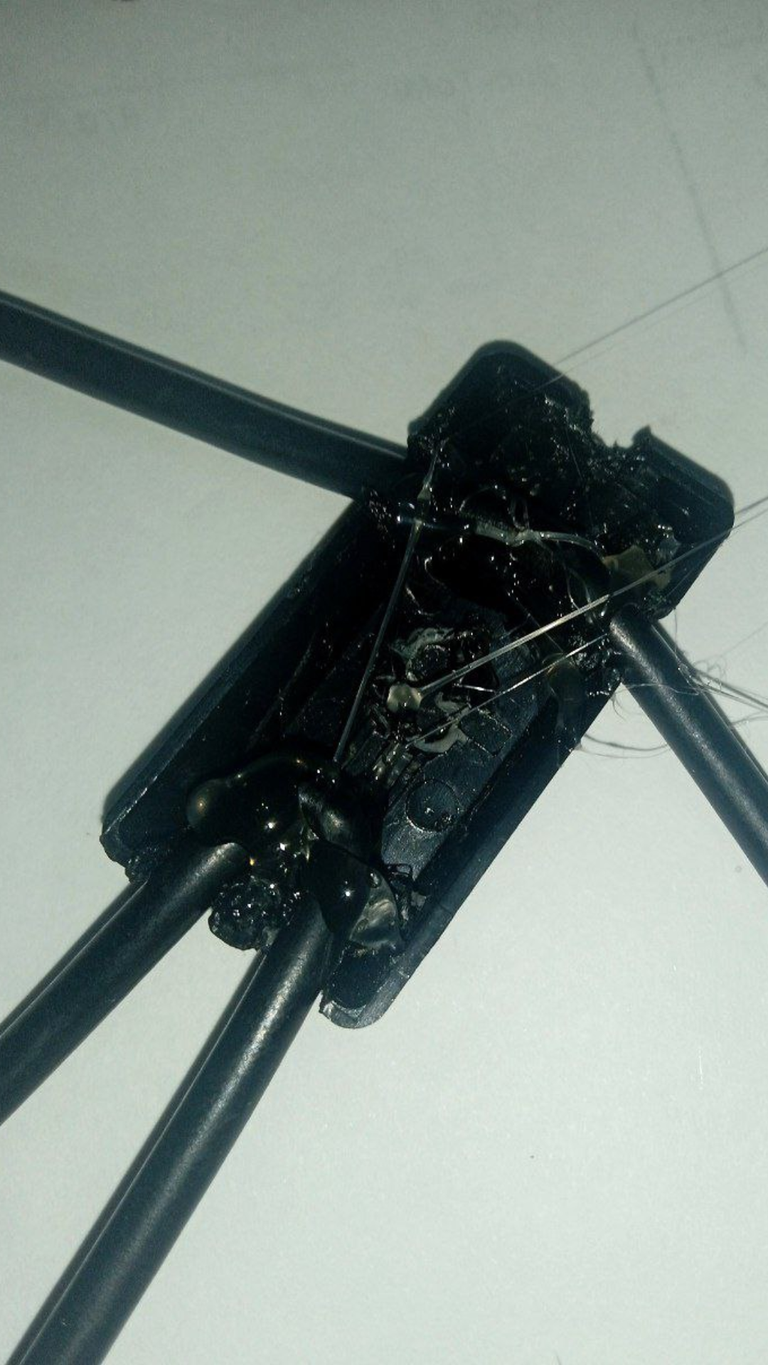
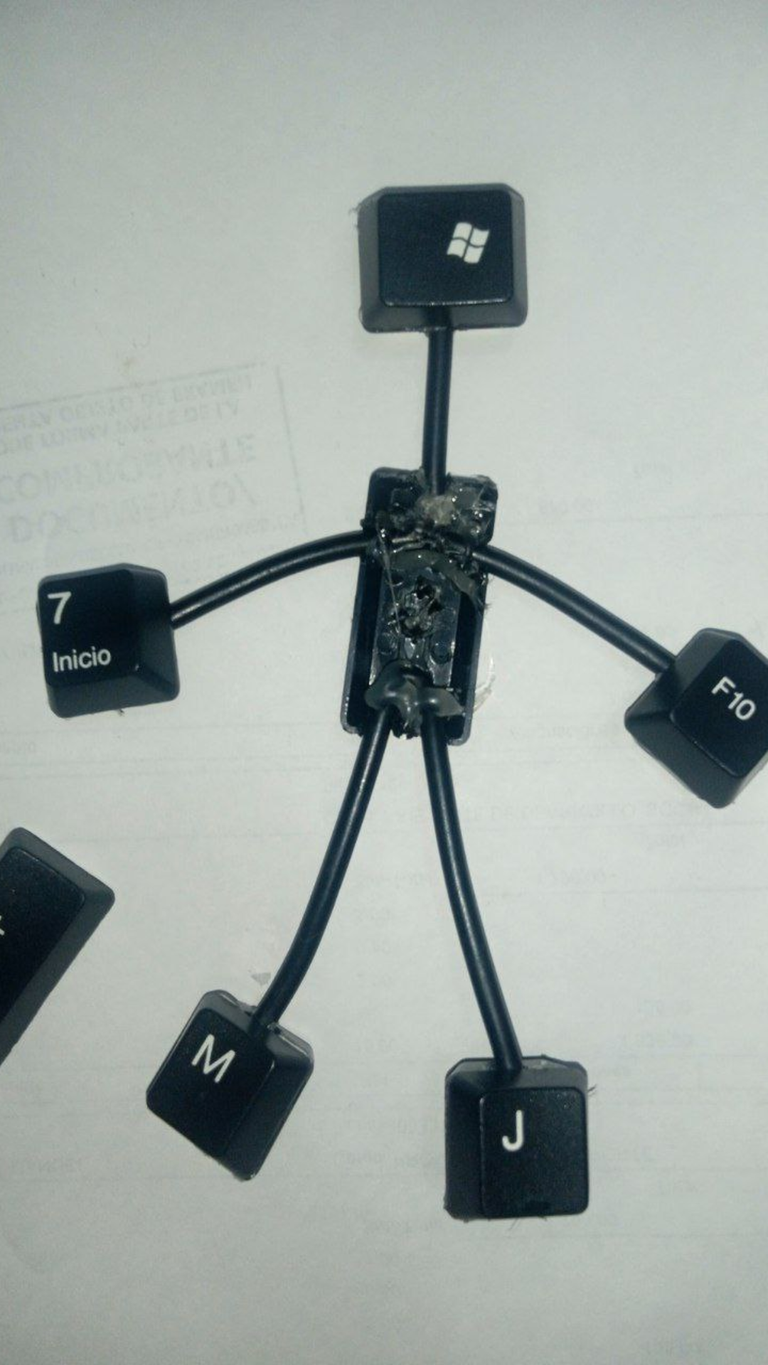
Emplearemos el cable del teclado para dar forma a las extremidades, cortando trozos del tamaño deseado. Tras esto, tomamos las piezas que formarán la parte trasera y le realizamos orificio en cada una de ellas, en el caso del torso serán cinco orificios, dónde introduciremos los cables. Con la silicona caliente, pegamos en el torso los cables que serán las extremidades.
We will use the keyboard cable to shape the extremities, cutting pieces of the desired size. After this, we take the pieces that will form the back part and we make a hole in each one of them, in the case of the torso there will be five holes, where we will introduce the wires. With the hot silicone, we glue the wires that will be the extremities to the torso.
 |  |  |  |  |
|---|
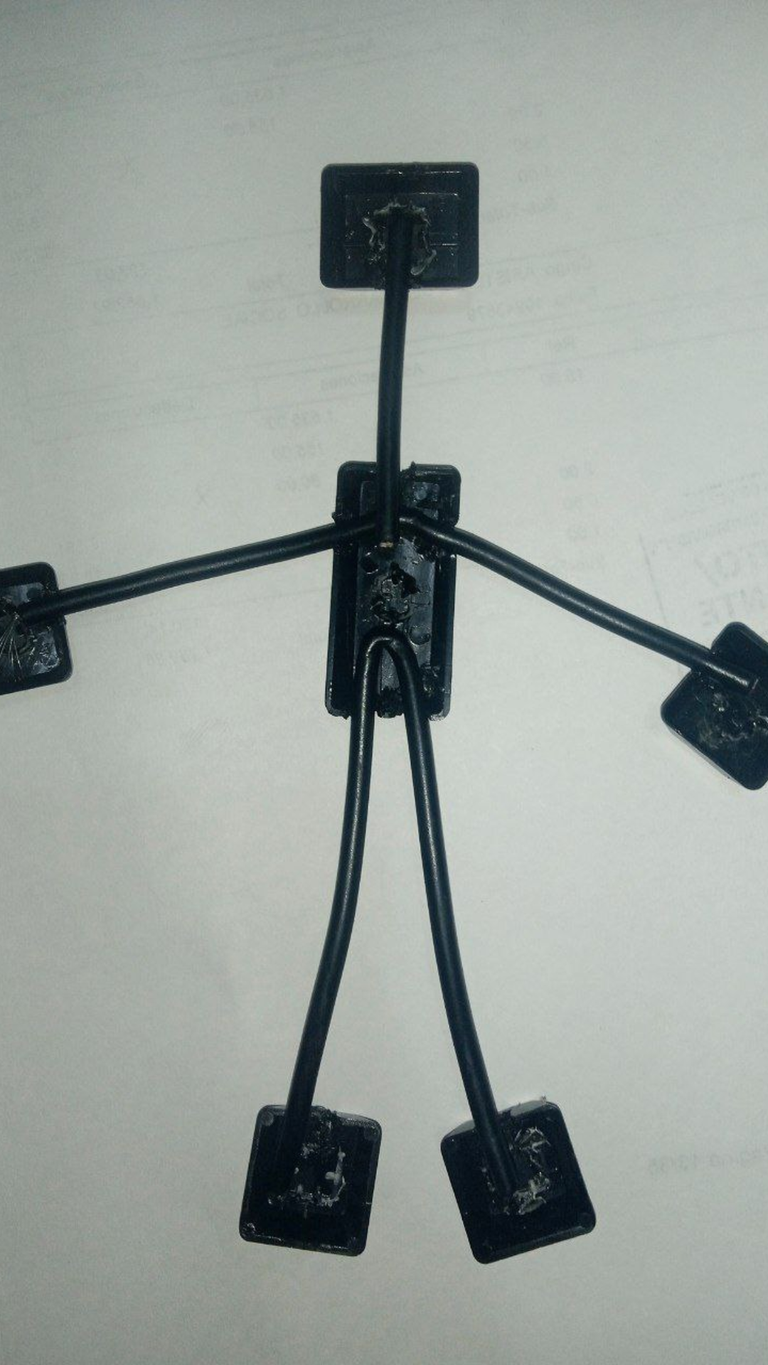
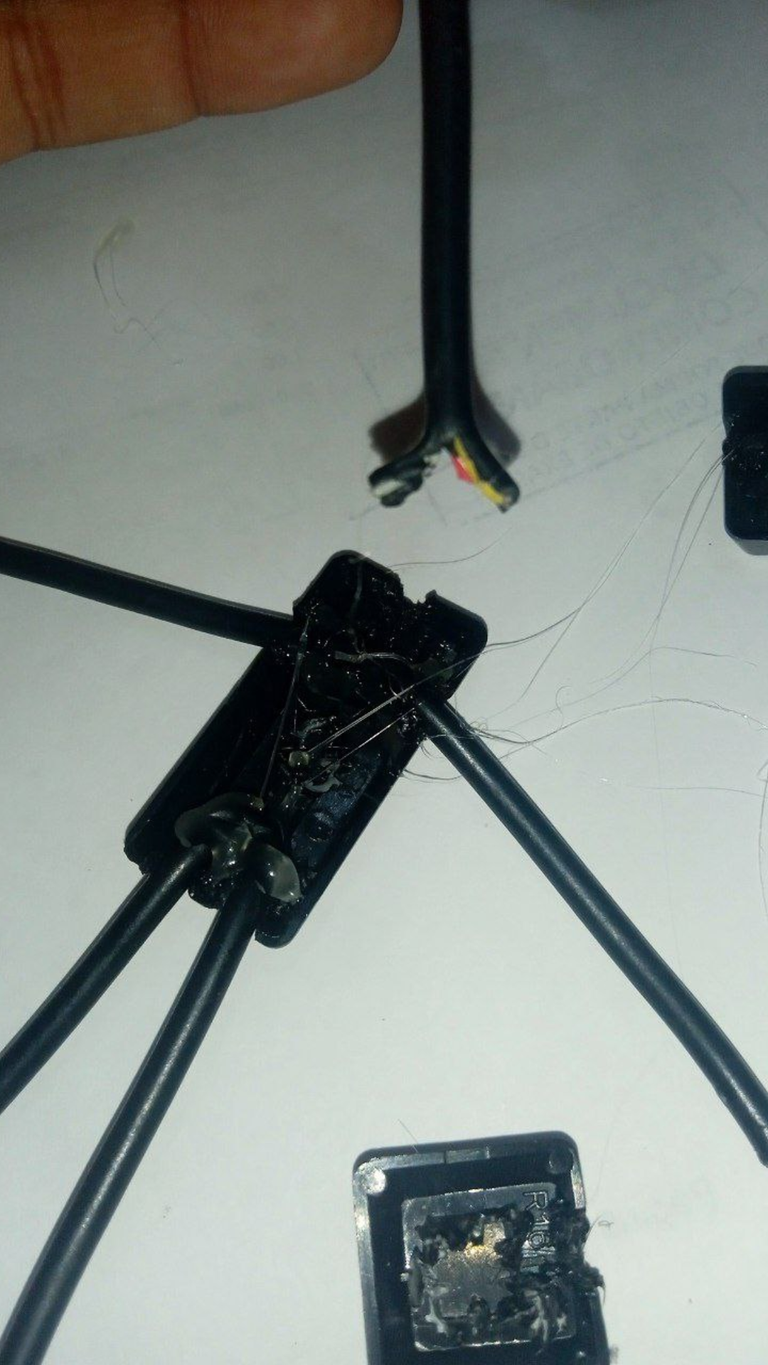
A cada punta de los cables le haremos un pequeño corte, para así tener mayor resistencia. Pega los extremos del cable a las partes correspondientes de la figura.
At each end of the wires we will make a small cut, in order to have more resistance. Glue the ends of the wire to the corresponding parts of the figure.
 |  |  |
|---|
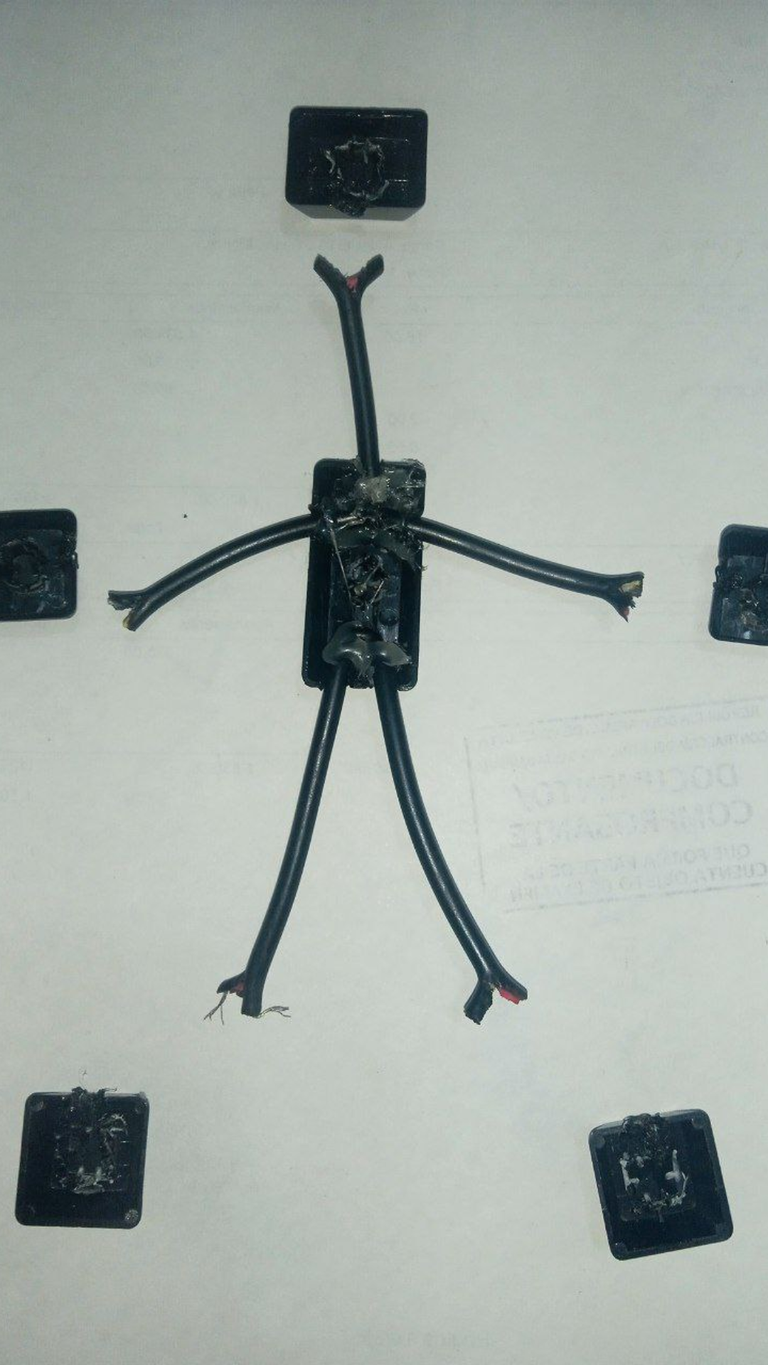
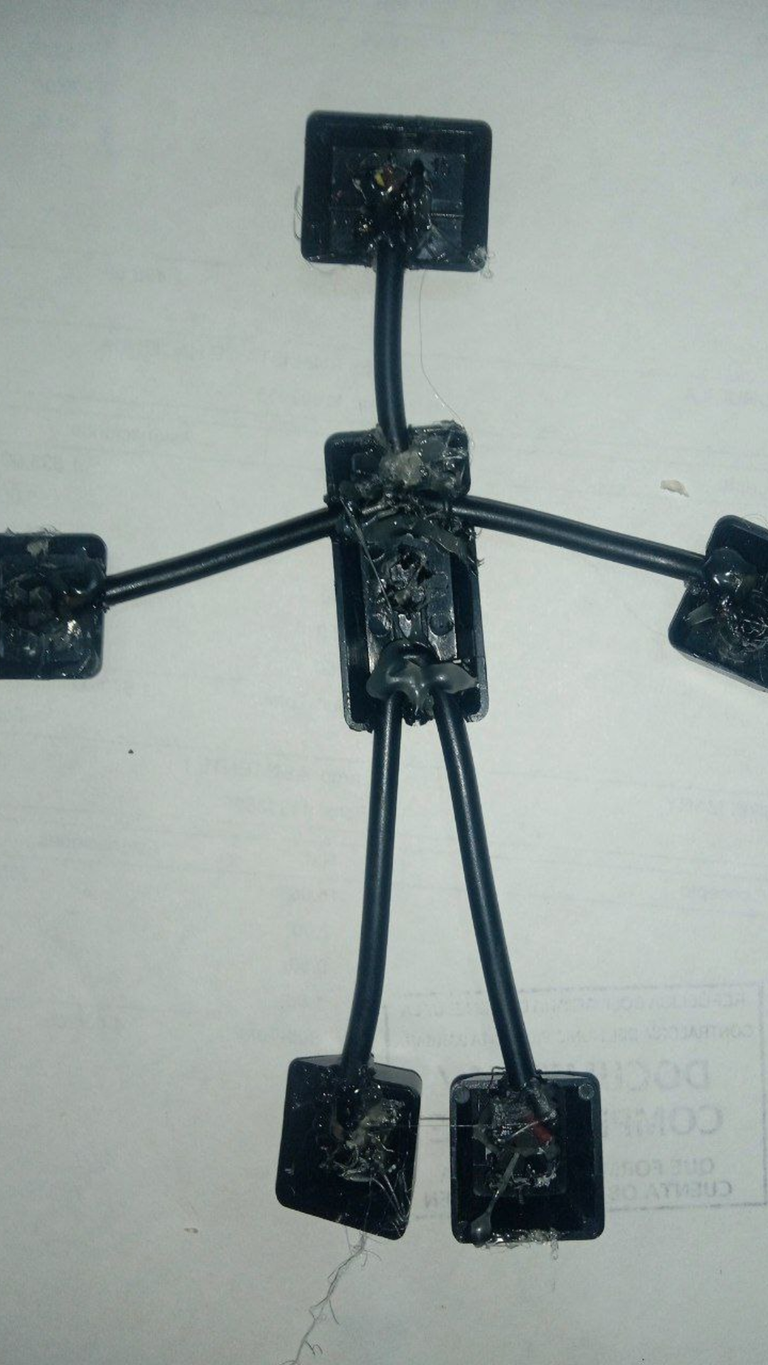
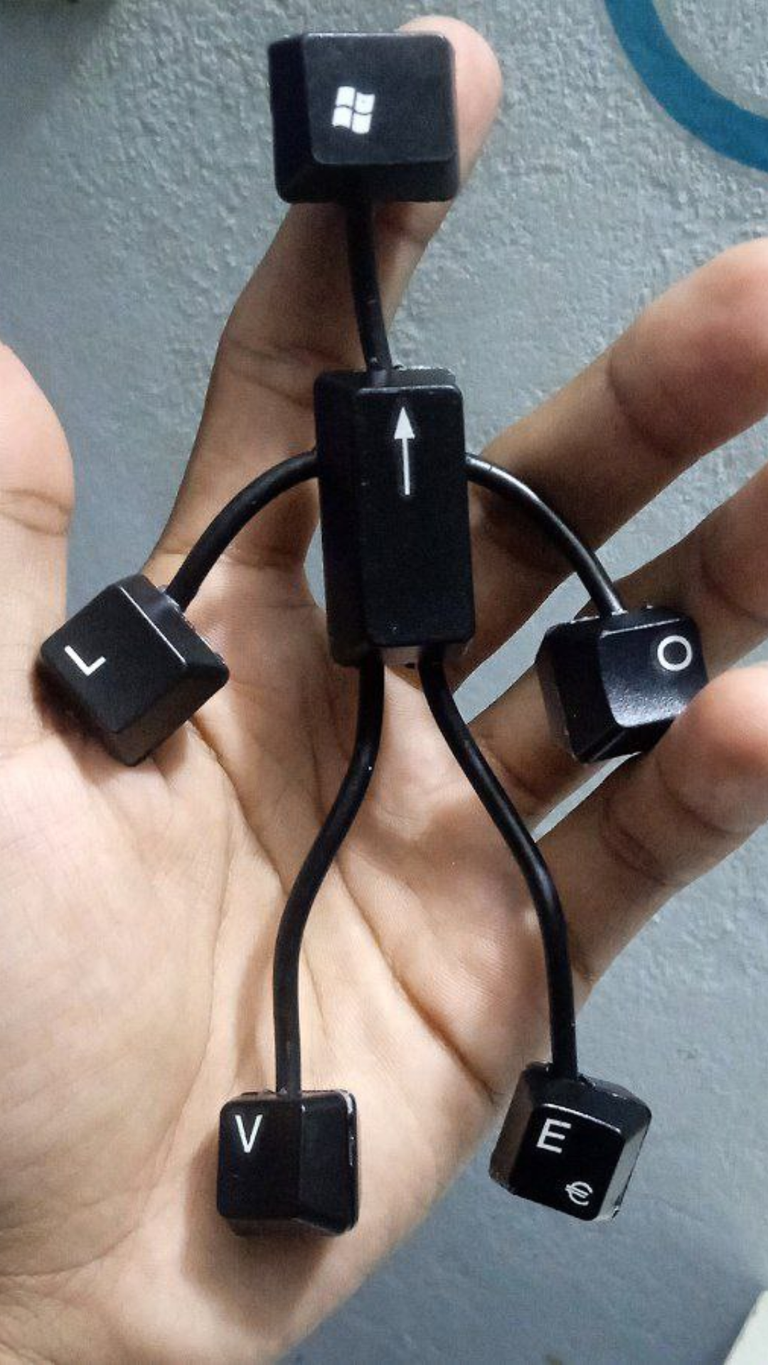
Una vez seca la estructura realizada, incorporamos las teclas restantes. Te recomiendo hacer este paso con mucho cuidado y precisión, para que las fichas encajen de manera correcta unas con respecto a las otras. De esta forma, estarás cuidando que tu adorno sea ideal y atractivo.
Once the structure is dry, we incorporate the remaining keys. I recommend you to do this step with great care and precision, so that the chips fit correctly with respect to each other. In this way, you will be taking care that your ornament is ideal and attractive.
 |  |  |
|---|
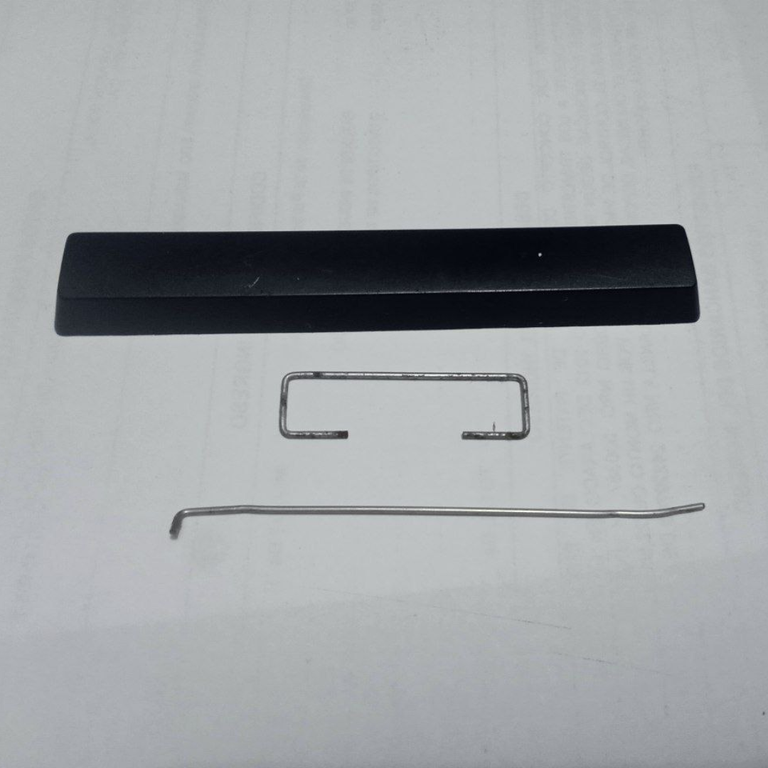
Una vez realizado el primer muñeco con teclados, se realiza el otro con el mismo procedimiento, aunque si deseas ahorrar tiempo, puedes armarlos los dos a la vez. En este caso, decidí agregar una base para que ambos adornos pudieran estar juntos. Para ello empleé la tecla espaciadora y alambre. Este paso es a tu preferencia, ya que puedes convertir tus adornos en llavero en lugar de usar una base.
Para hacer los soportes de los muñecos en la base, calenté el alambre para así perforar los agujeros donde se introdujo el mencionado alambre.
Once the first doll with keyboards is made, the other one is made with the same procedure, although if you want to save time, you can assemble them both at the same time. In this case, I decided to add a base so that both ornaments could be together. To do this I used the space key and wire. This step is up to your preference, as you can turn your ornaments into key chains instead of using a base.
To make the supports for the dolls on the base, I heated the wire to drill holes where the wire was inserted.
 |  |
|---|
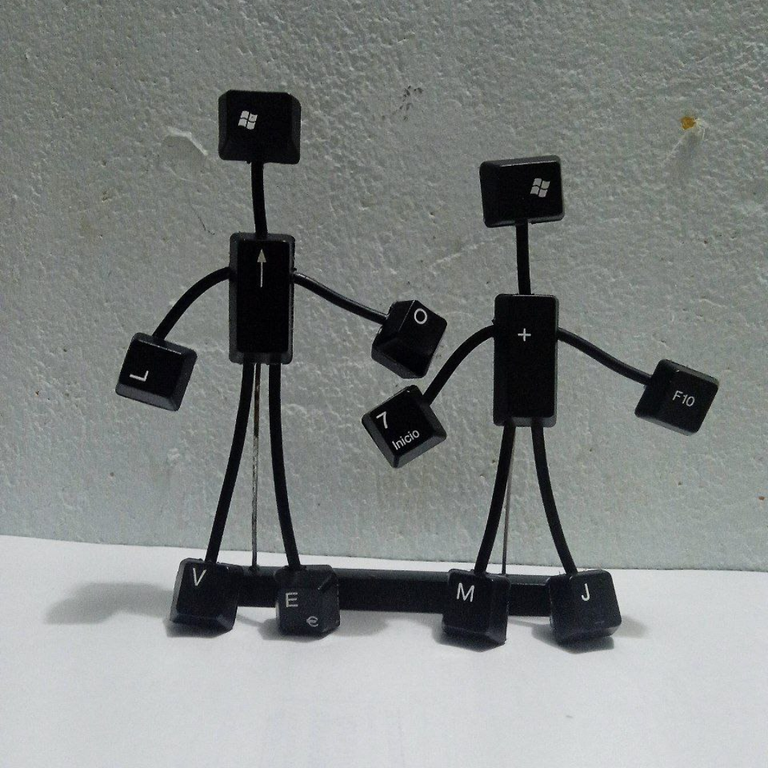
¡Y listo!
De esta manera puedes hacer este obsequio personalizado inspirado en esa persona que es especial para ti. Puedes variar el modelo, o realizarle algunos detalles extras, como pintarlo o adornarlos con la temática que más se ajuste a tus preferencias. Con estos simples materiales puedes crear un regalo hermoso, con el ingrediente especial de la creatividad y el amor.
And that's it!
This way you can make this personalized gift inspired by that person who is special to you. You can vary the model, or make some extra details, such as painting or decorating it with the theme that best suits your preferences. With these simple materials you can create a beautiful gift, with the special ingredient of creativity and love.
¡Nos vemos en el próximo post!
- La miniatura fue creada en la app de Canva.
- Soy nuevo en Hive y me gusta mucho el arte. Puede conocer más de mí en post de Presentación.
See you in the next post!
- The thumbnail was created in the Canva app.
- I'm new to Hive and I really like art. You can learn more about me in Presentation.
Posted Using INLEO
Congratulations @gsusart! You have completed the following achievement on the Hive blockchain And have been rewarded with New badge(s)
Your next target is to reach 50 comments.
You can view your badges on your board and compare yourself to others in the Ranking
If you no longer want to receive notifications, reply to this comment with the word
STOPAy me encanta! jajajja! me haría varios! Gracias por el tutorial
Hola, De nada!☺️ Me alegro que le haya gustado.
Esto está genial, amigo! Me encantó como le diste una segunda vida a ese teclado convirtiéndolo en una pieza docorativa! 👏👏👏👏☺️
Gracias! Amiga, siempre hay que dar una segunda oportunidad, si puedes observa use letra para formar la para LOVE ☺️
Super creativa esta idea, diria que es hasta simpatica jaja tengo un teclado por ahi abandonado, hay algunas teclas que no funcionan, pero esta idea me parecio muy original y adorable, te quedo muy bonito 😍
Muchas gracias por tu comentario! Te recomiendo usar teclas con letras de las iniciales de las personas especiales para ti.
Que gran idea tuviste, una creación muy original y bonita.
Me encantó.
Muchas gracias por compartirla.
Súper encantado de compartirle mis proyectos! Es un lindo adorno para tu mesa y un lindo detalle para regalar🤩
Genial idea para reutilizar un teclado. Me encantó, muy buen trabajo.
Ey, gracias! Dónde otros ven basura, uno ve un tesoro😊
I have thrown away several keyboards in my life, some time ago I saw a company that makes rings or jewelry with the keys, but I would never have thought of these beautiful characters really are very original and look good, I would definitely have one on my desk.
Hey, thank you very much! I'm glad you like it, now you'll think twice before throwing away a keyboard.
Excelente idea, nunca se me hubiera ocurrido hacer una manualidad como está con equipos de ordenadores, te ha quedado genial.
Ey saludos, Un placer que te haya gustado!😊