¡Buenos días a todos, colmena, feliz viernes!
Good morning everyone, hive, happy Friday!
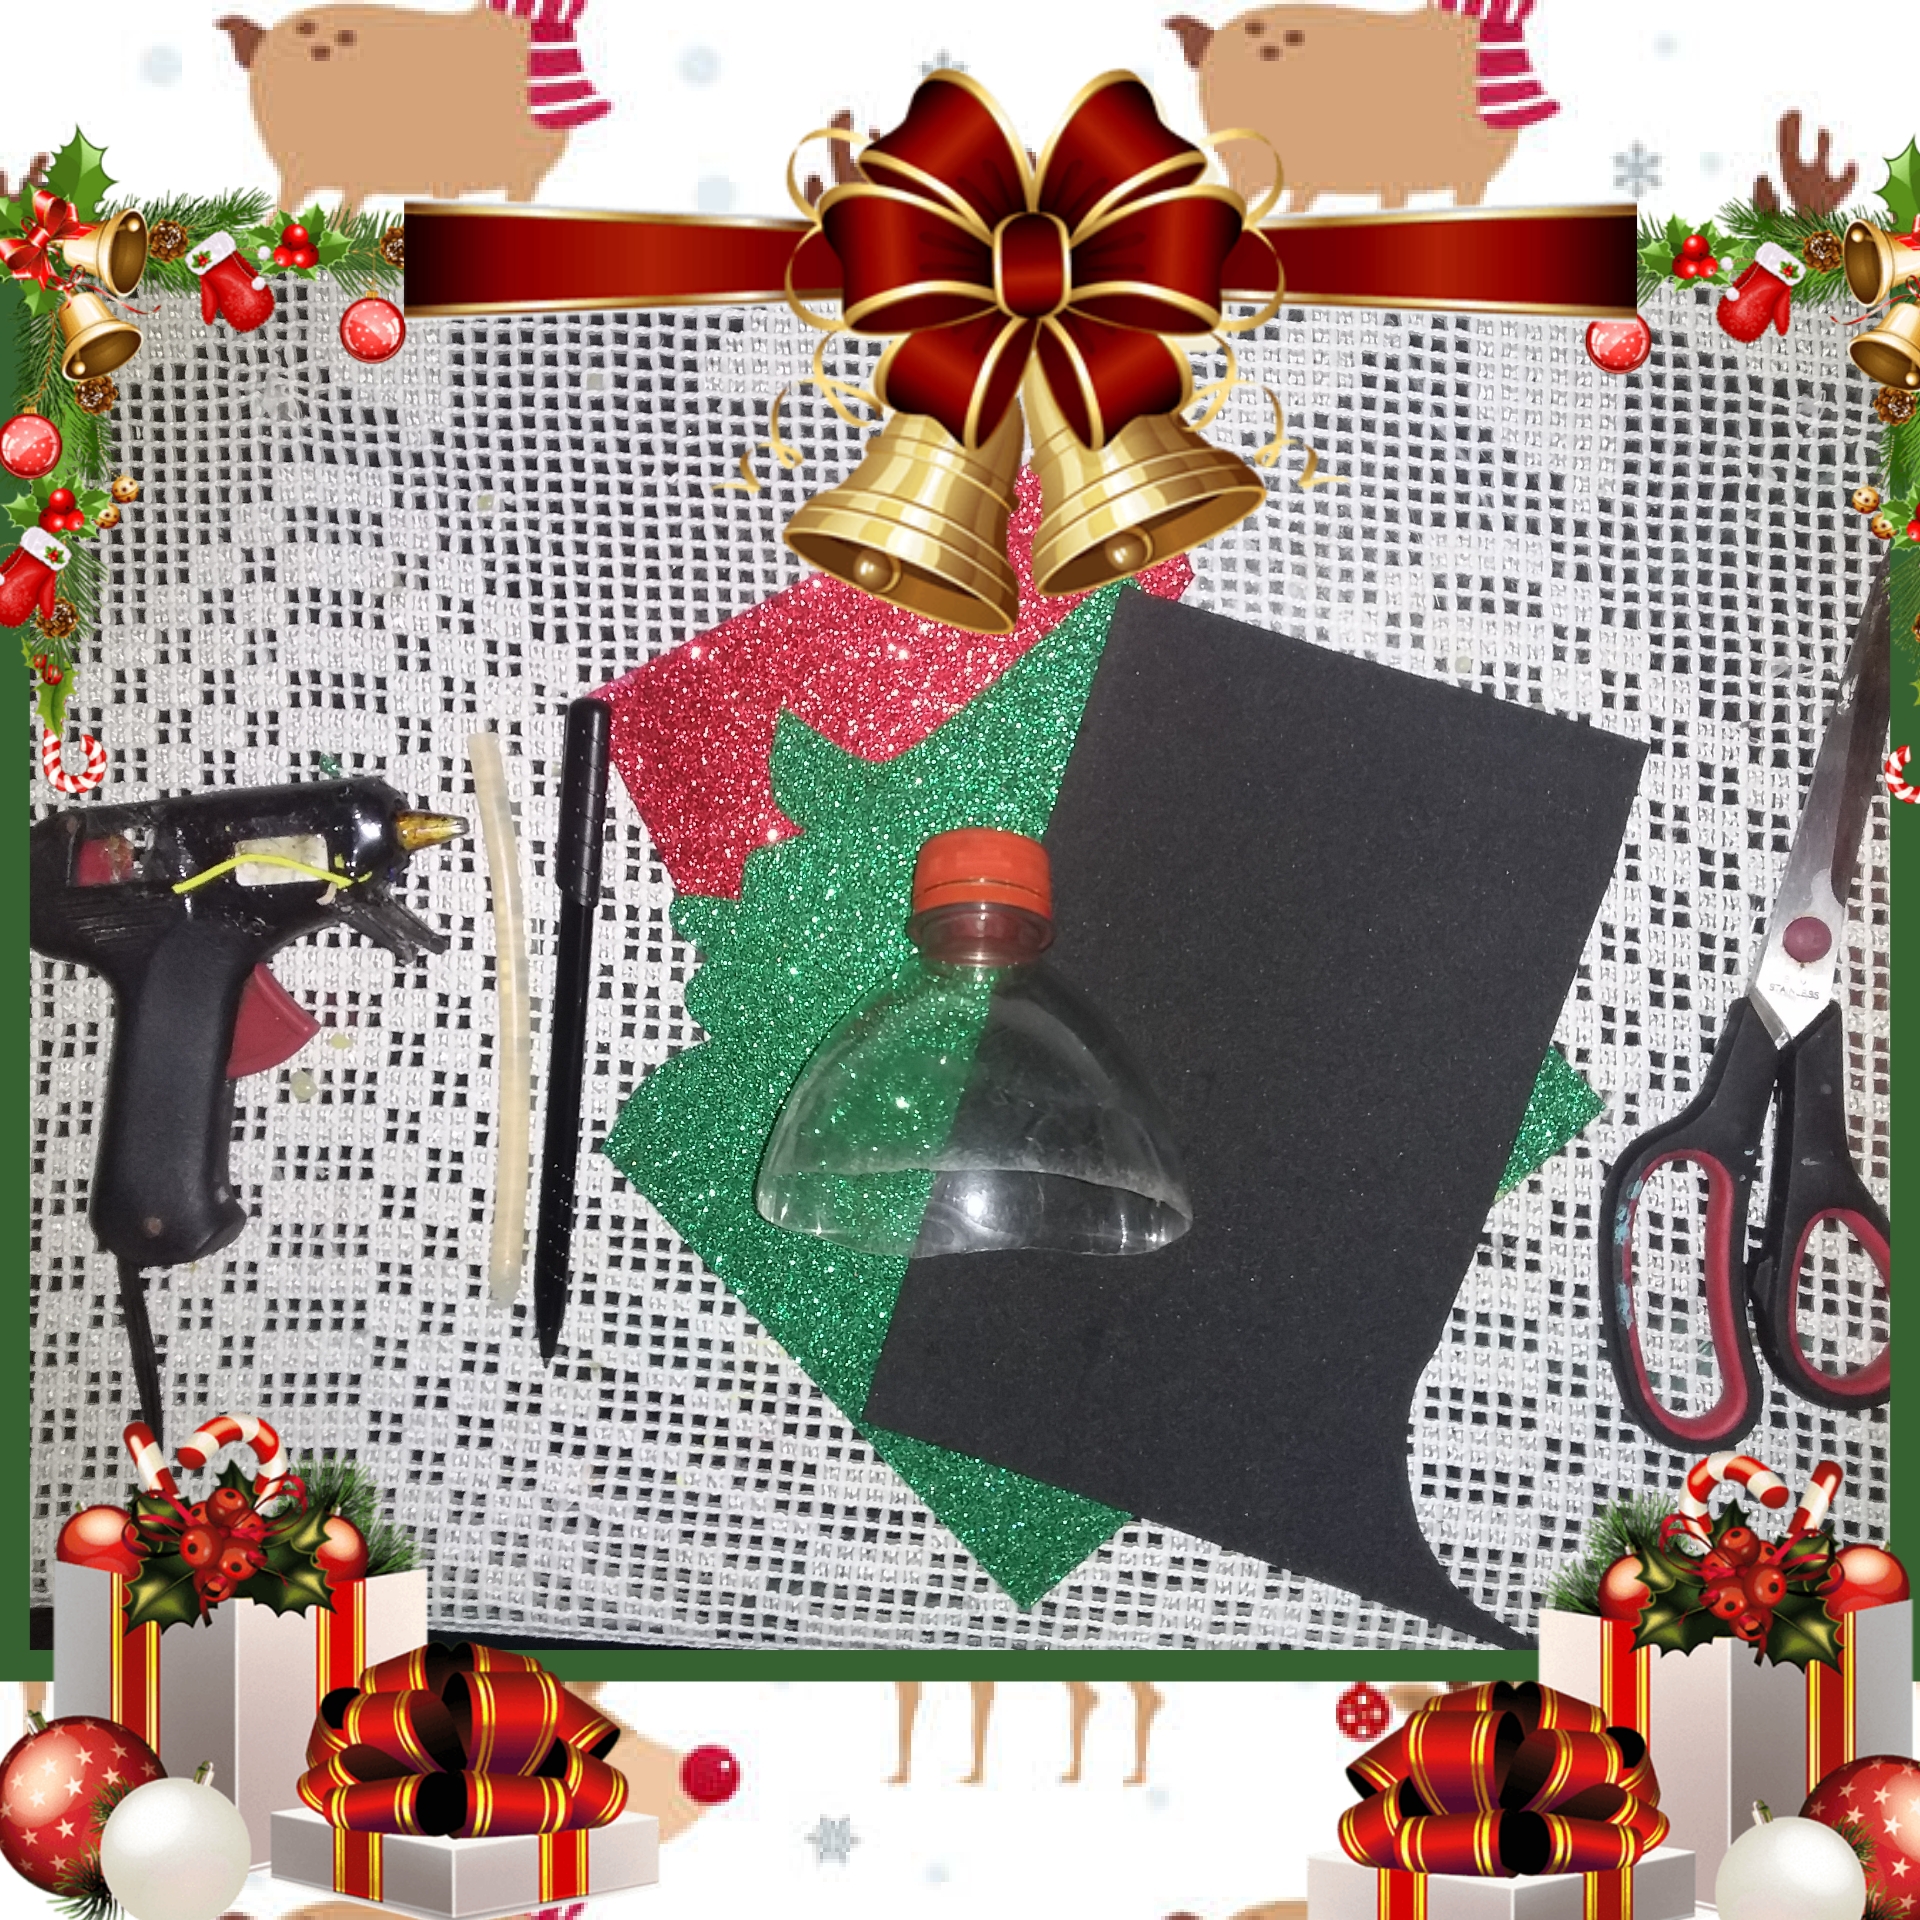
Bienvenidos de nuevo a otro post, en el que les mostraré cómo hacer una campana navideña muy bonita reciclando una botella de jugo o refresco.
Welcome back to another post, in which I will show you how to make a very nice Christmas bell by recycling a bottle of juice or soda.

Materiales:
- Espuma negra.
- Espuma de color verde brillante y rojo.
- Tijera.
- Pistola y barra de silicona.
- Bolígrafo.
- Solo la parte superior de una botella, ya sea de jugo a refresco.
Materials:
- Black foam.
- Bright green and red foam.
- Scissor.
- Gun and silicone bar.
- Ballpoint pen.
- Just the top of a bottle, either from juice to soda.
PASOS A SEGUIR
Paso 1:
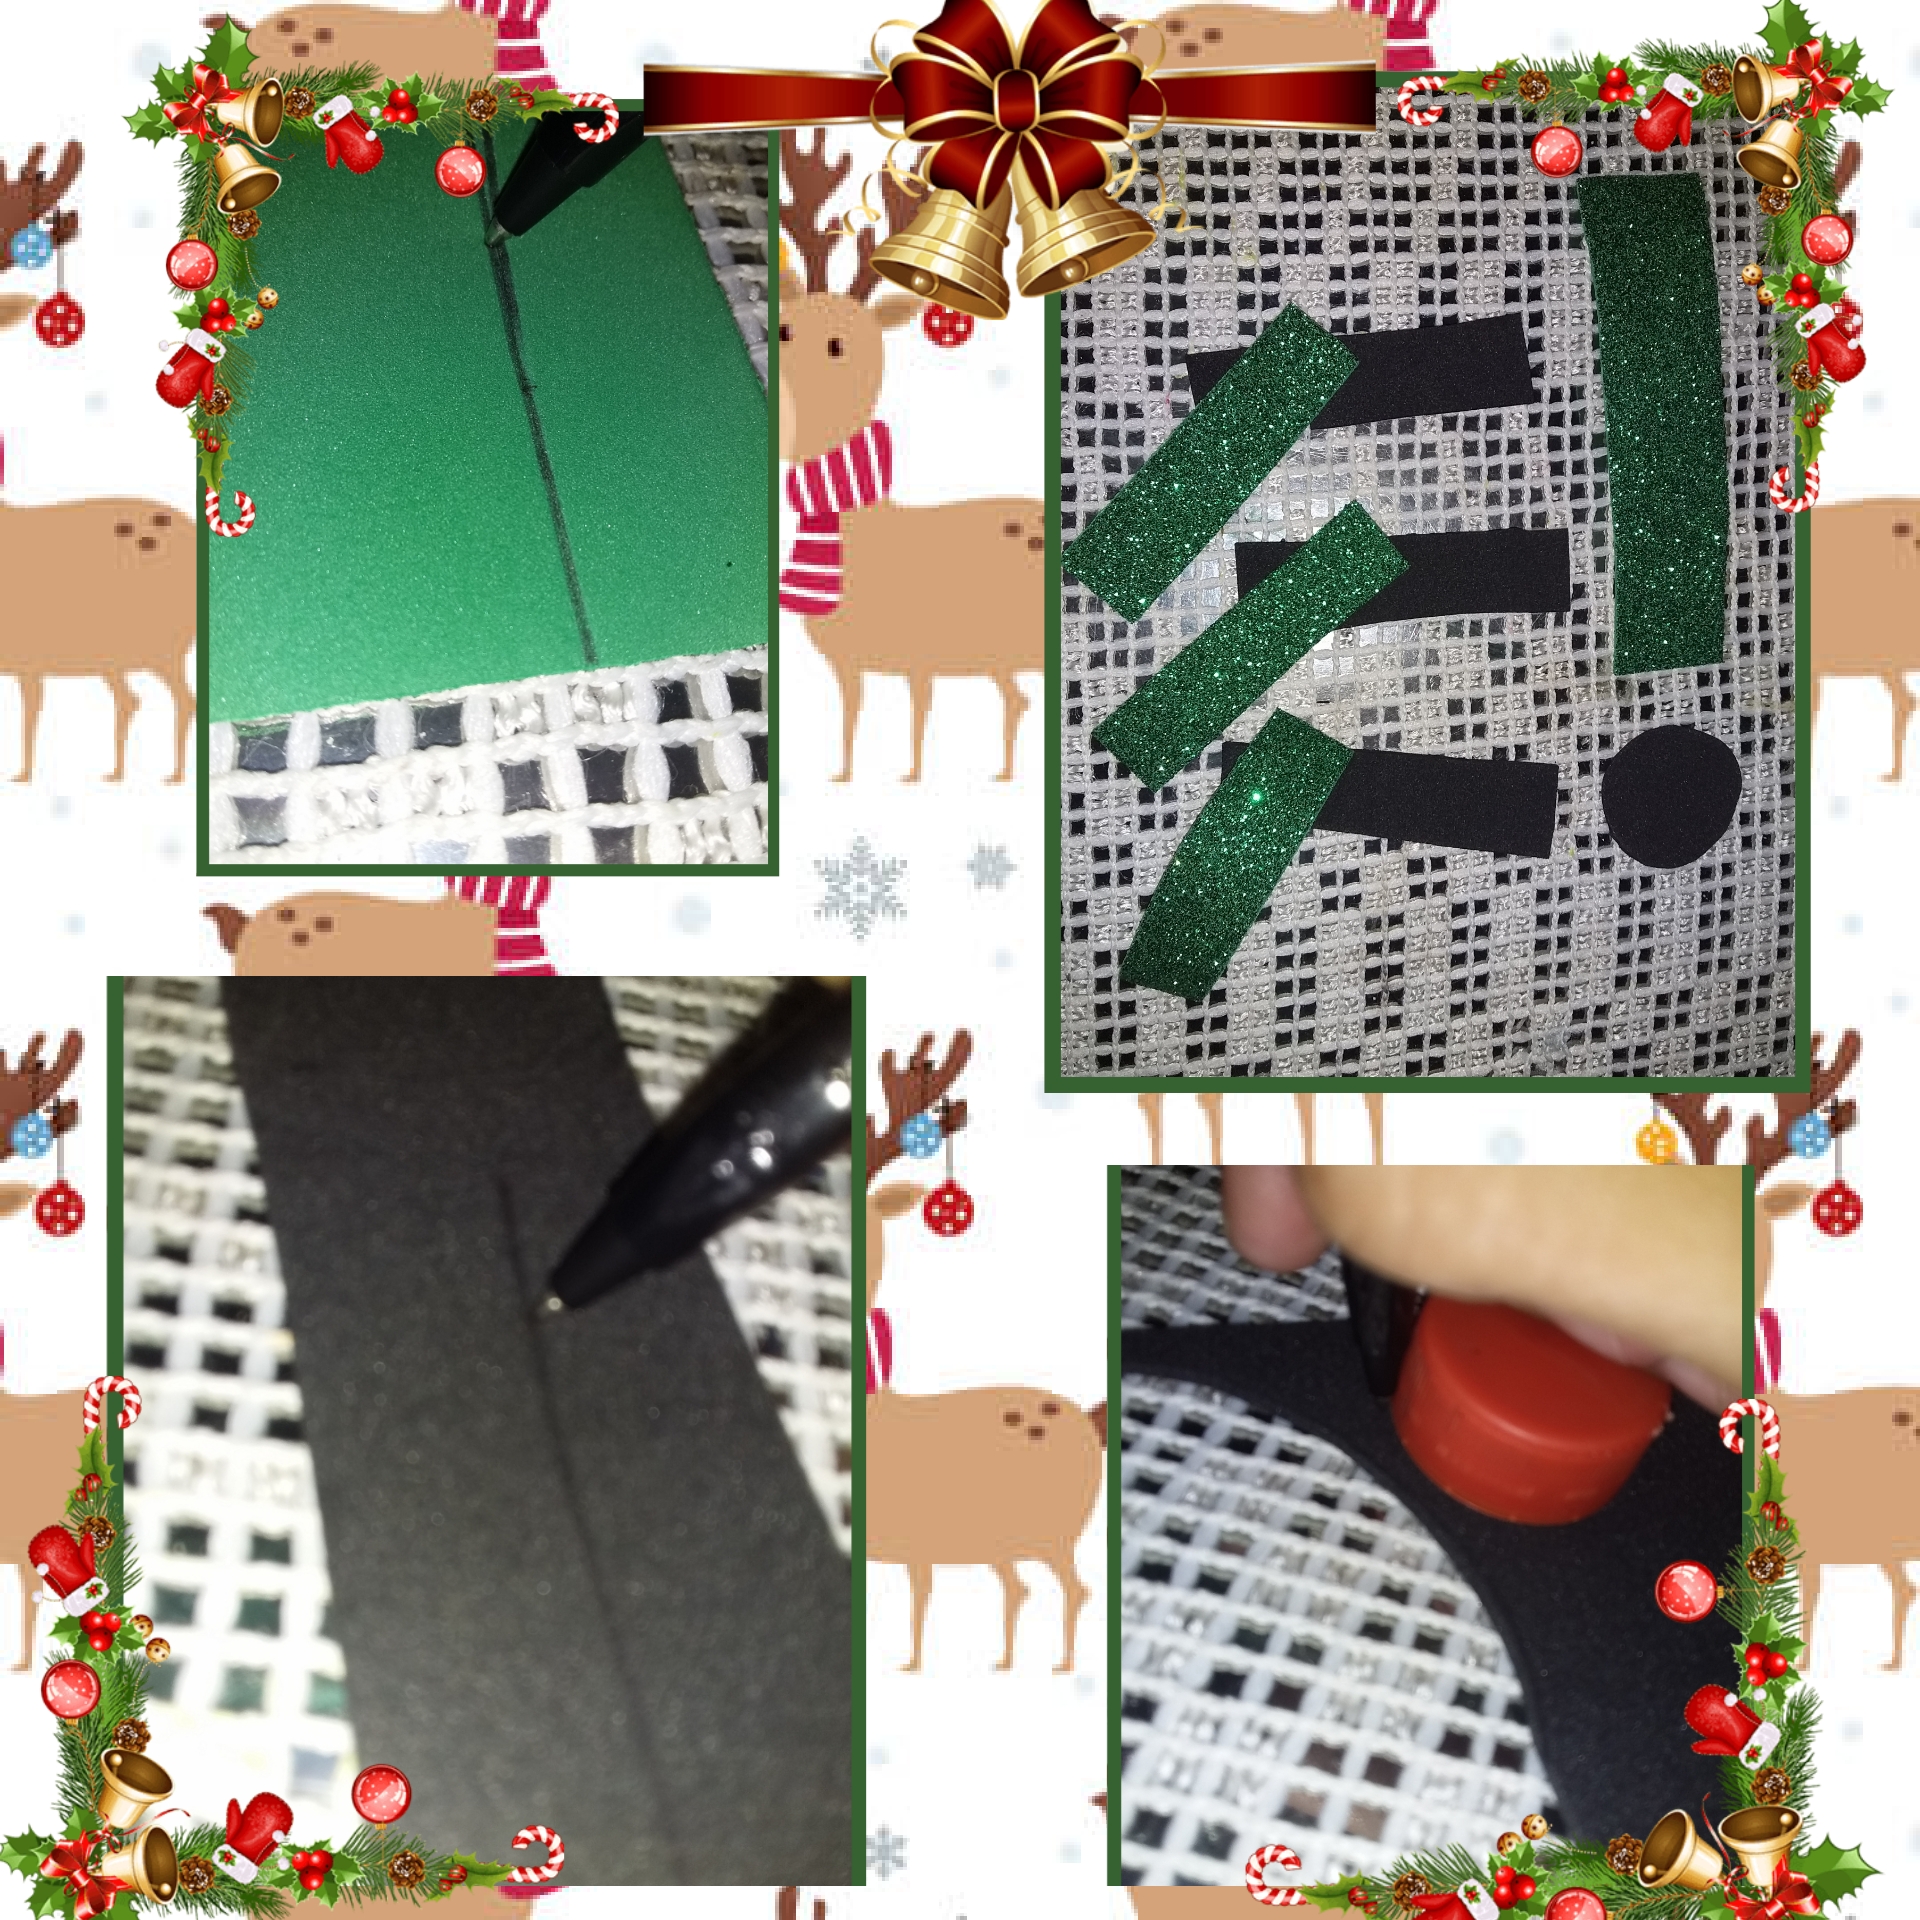
Corta 6 tiras de espuma del grosor de un dedo (la medida dependerá del tamaño de la campana) 3 tiras de espuma verde brillante y 3 de espuma negra. Tomamos la medida de la tapa y cortamos una tira y un círculo negro para cubrir la parte superior. También cogeremos otra tira más fina y más larga para colocarla en la parte inferior.
Step 1:
Cut 6 strips of foam the thickness of a finger (the measurement will depend on the size of the bell) 3 strips of bright green foam and 3 of black foam. We take the measurement of the lid and cut a strip and a black circle to cover the upper part. We will also take another thinner and longer strip to place it at the bottom.
Paso 2:
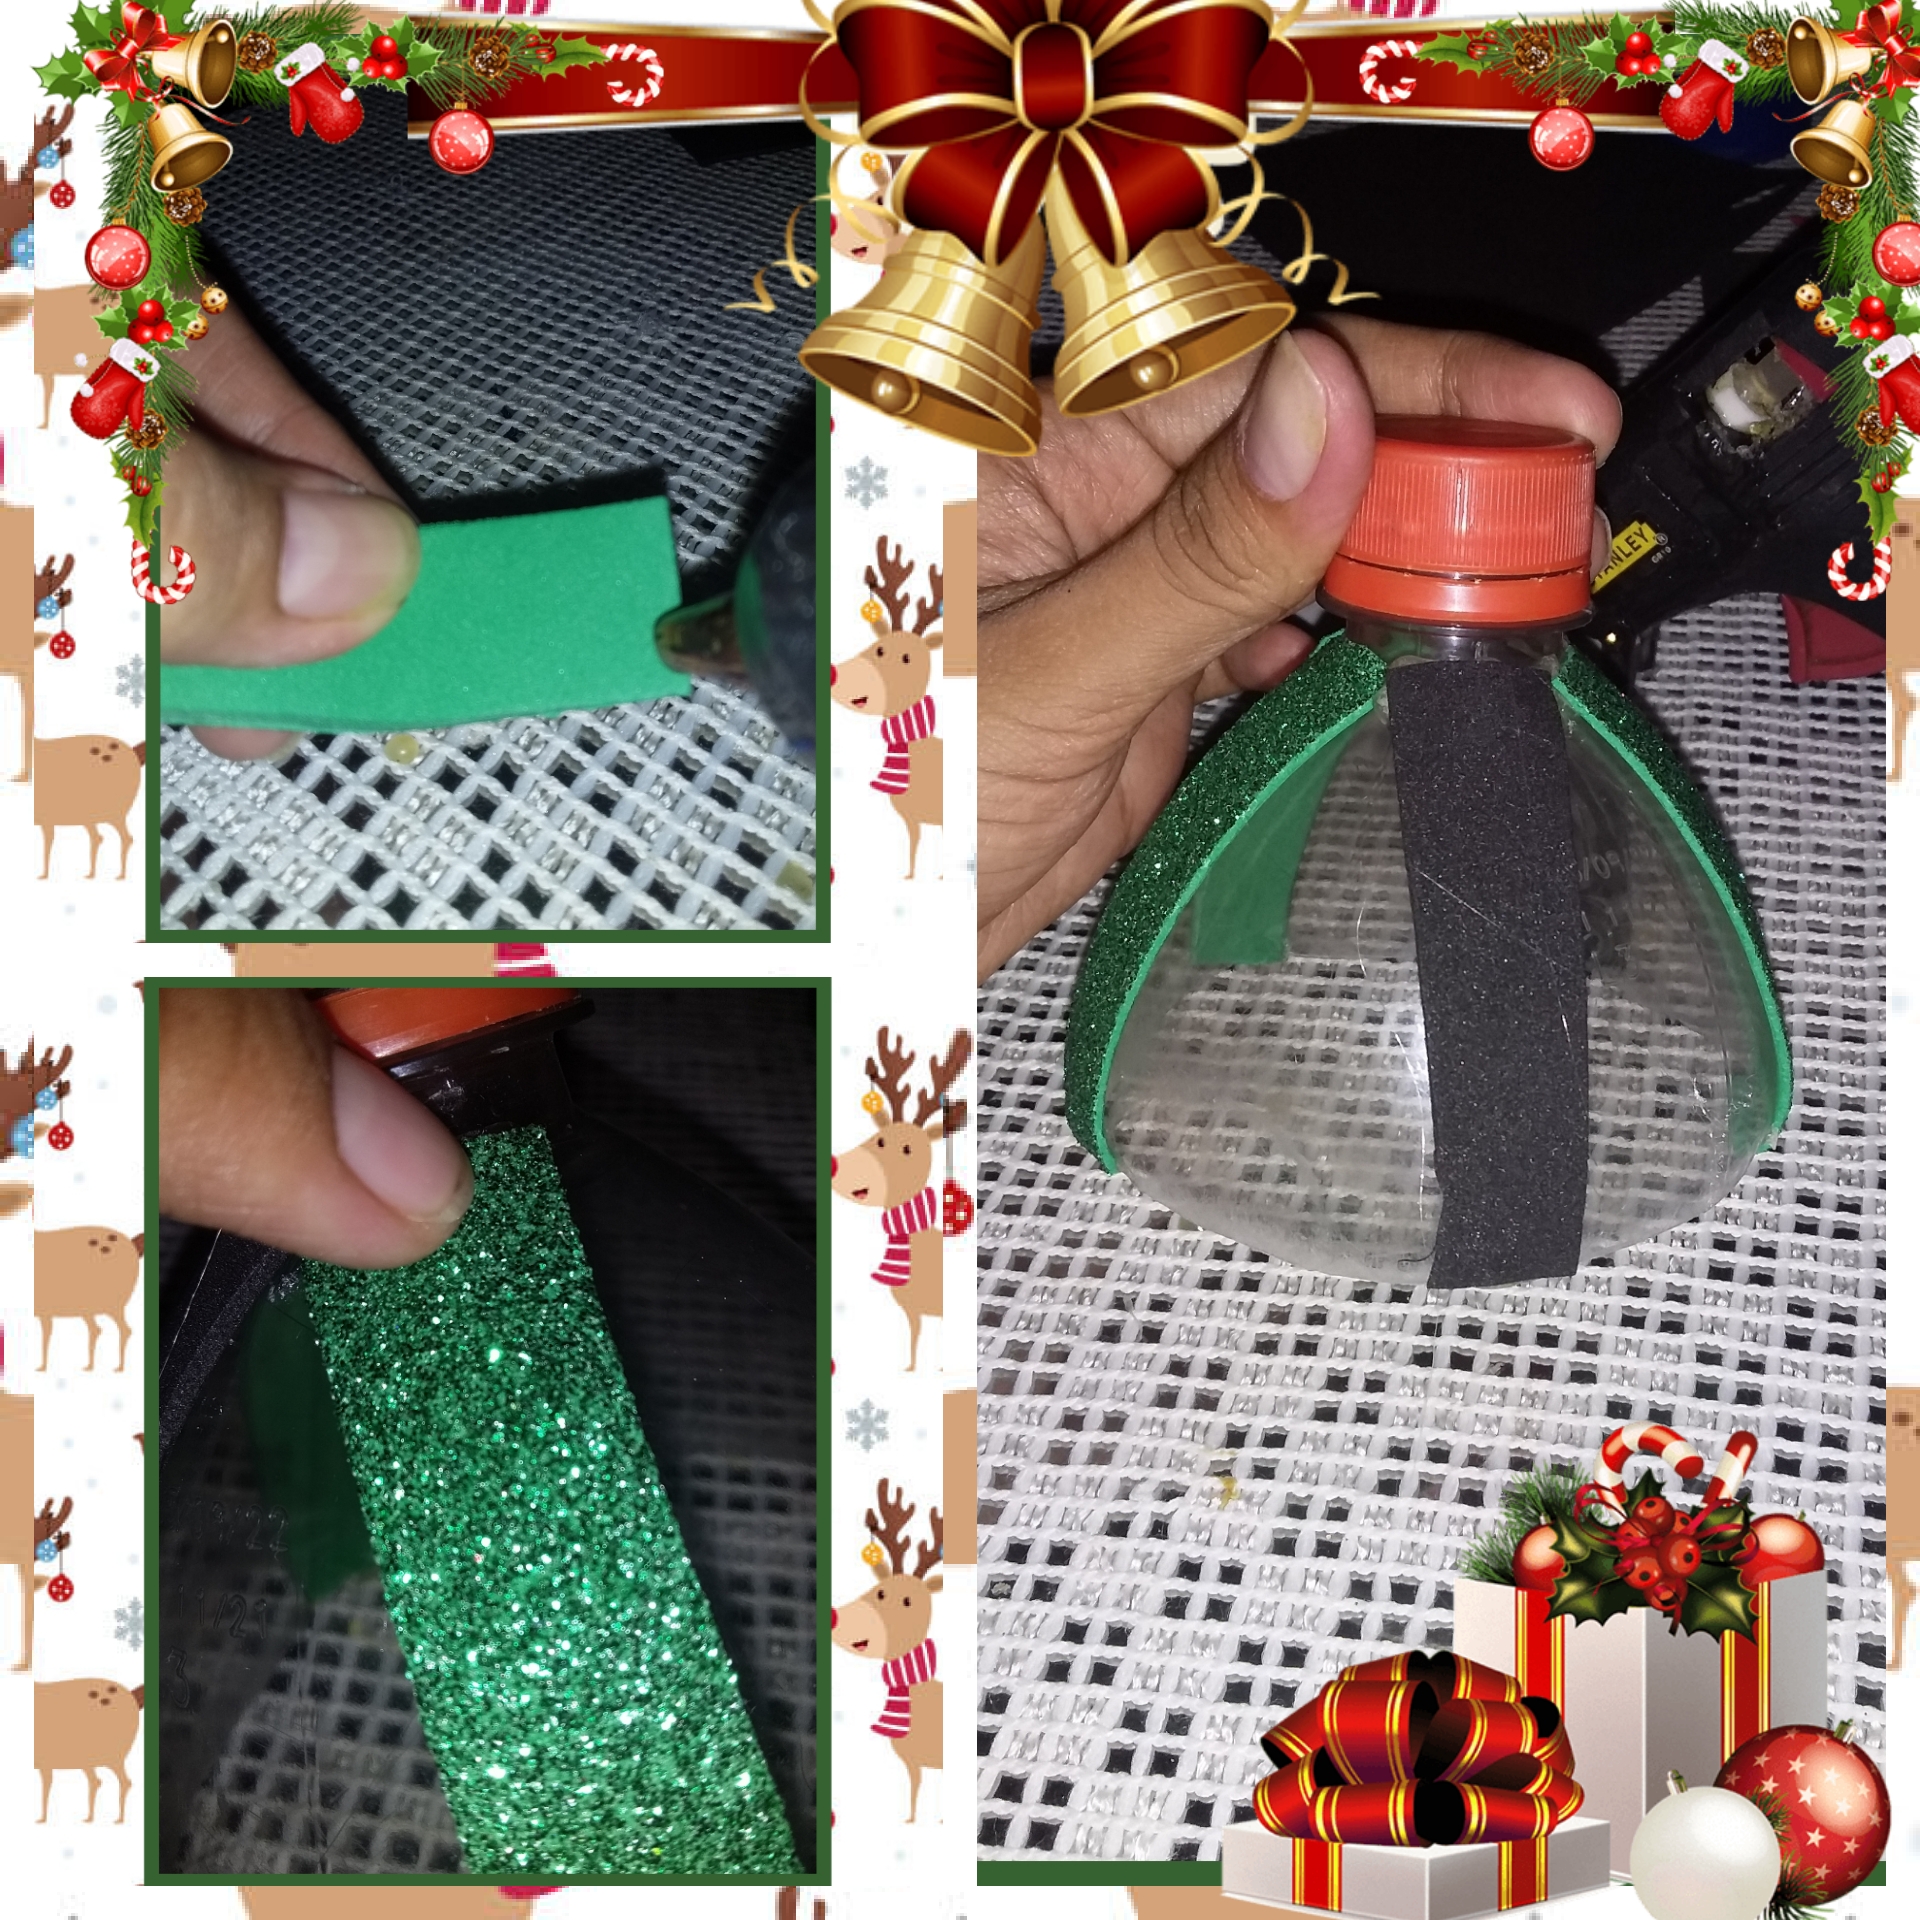
Pegamos las 6 tiras en las paredes de la campana de forma intercalada, es decir, una verde primero y luego una negra y así sucesivamente. Sería como puedes ver en la foto.
Step 2:
We glue the 6 strips on the walls of the hood in an interleaved way, that is, a green first and then a black one and so on. It would be as you can see in the photo.
Paso 3:
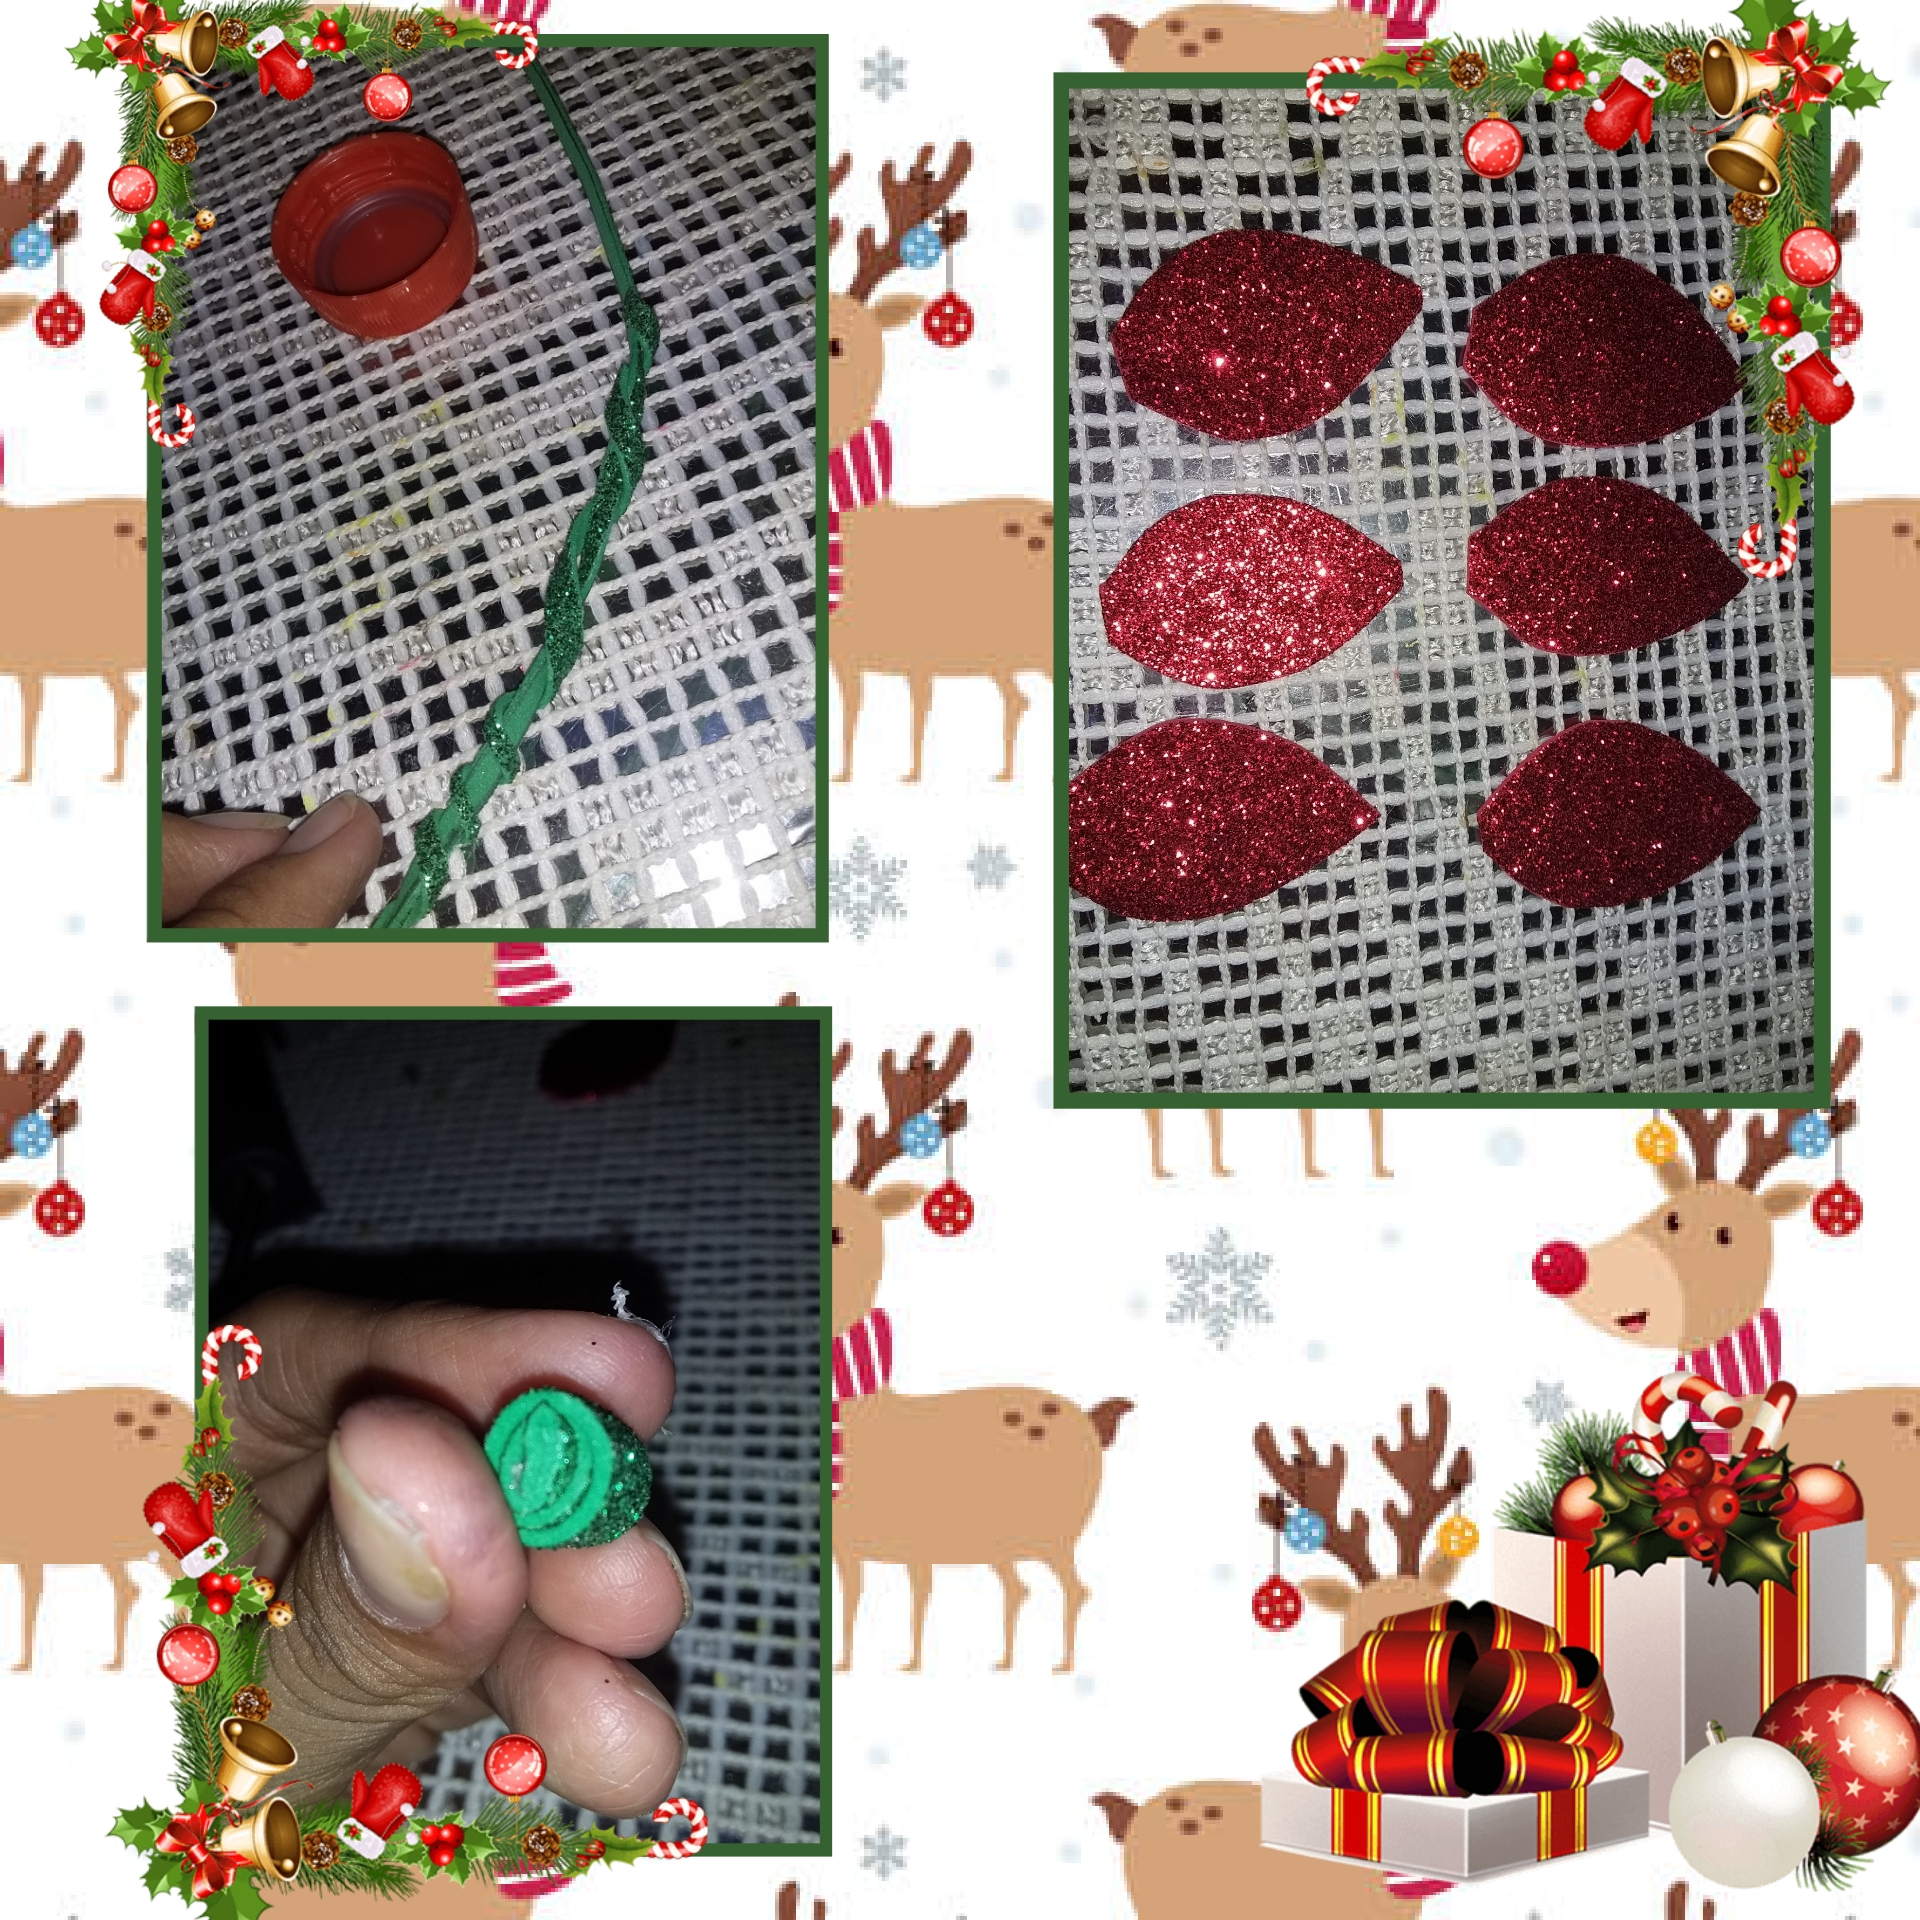
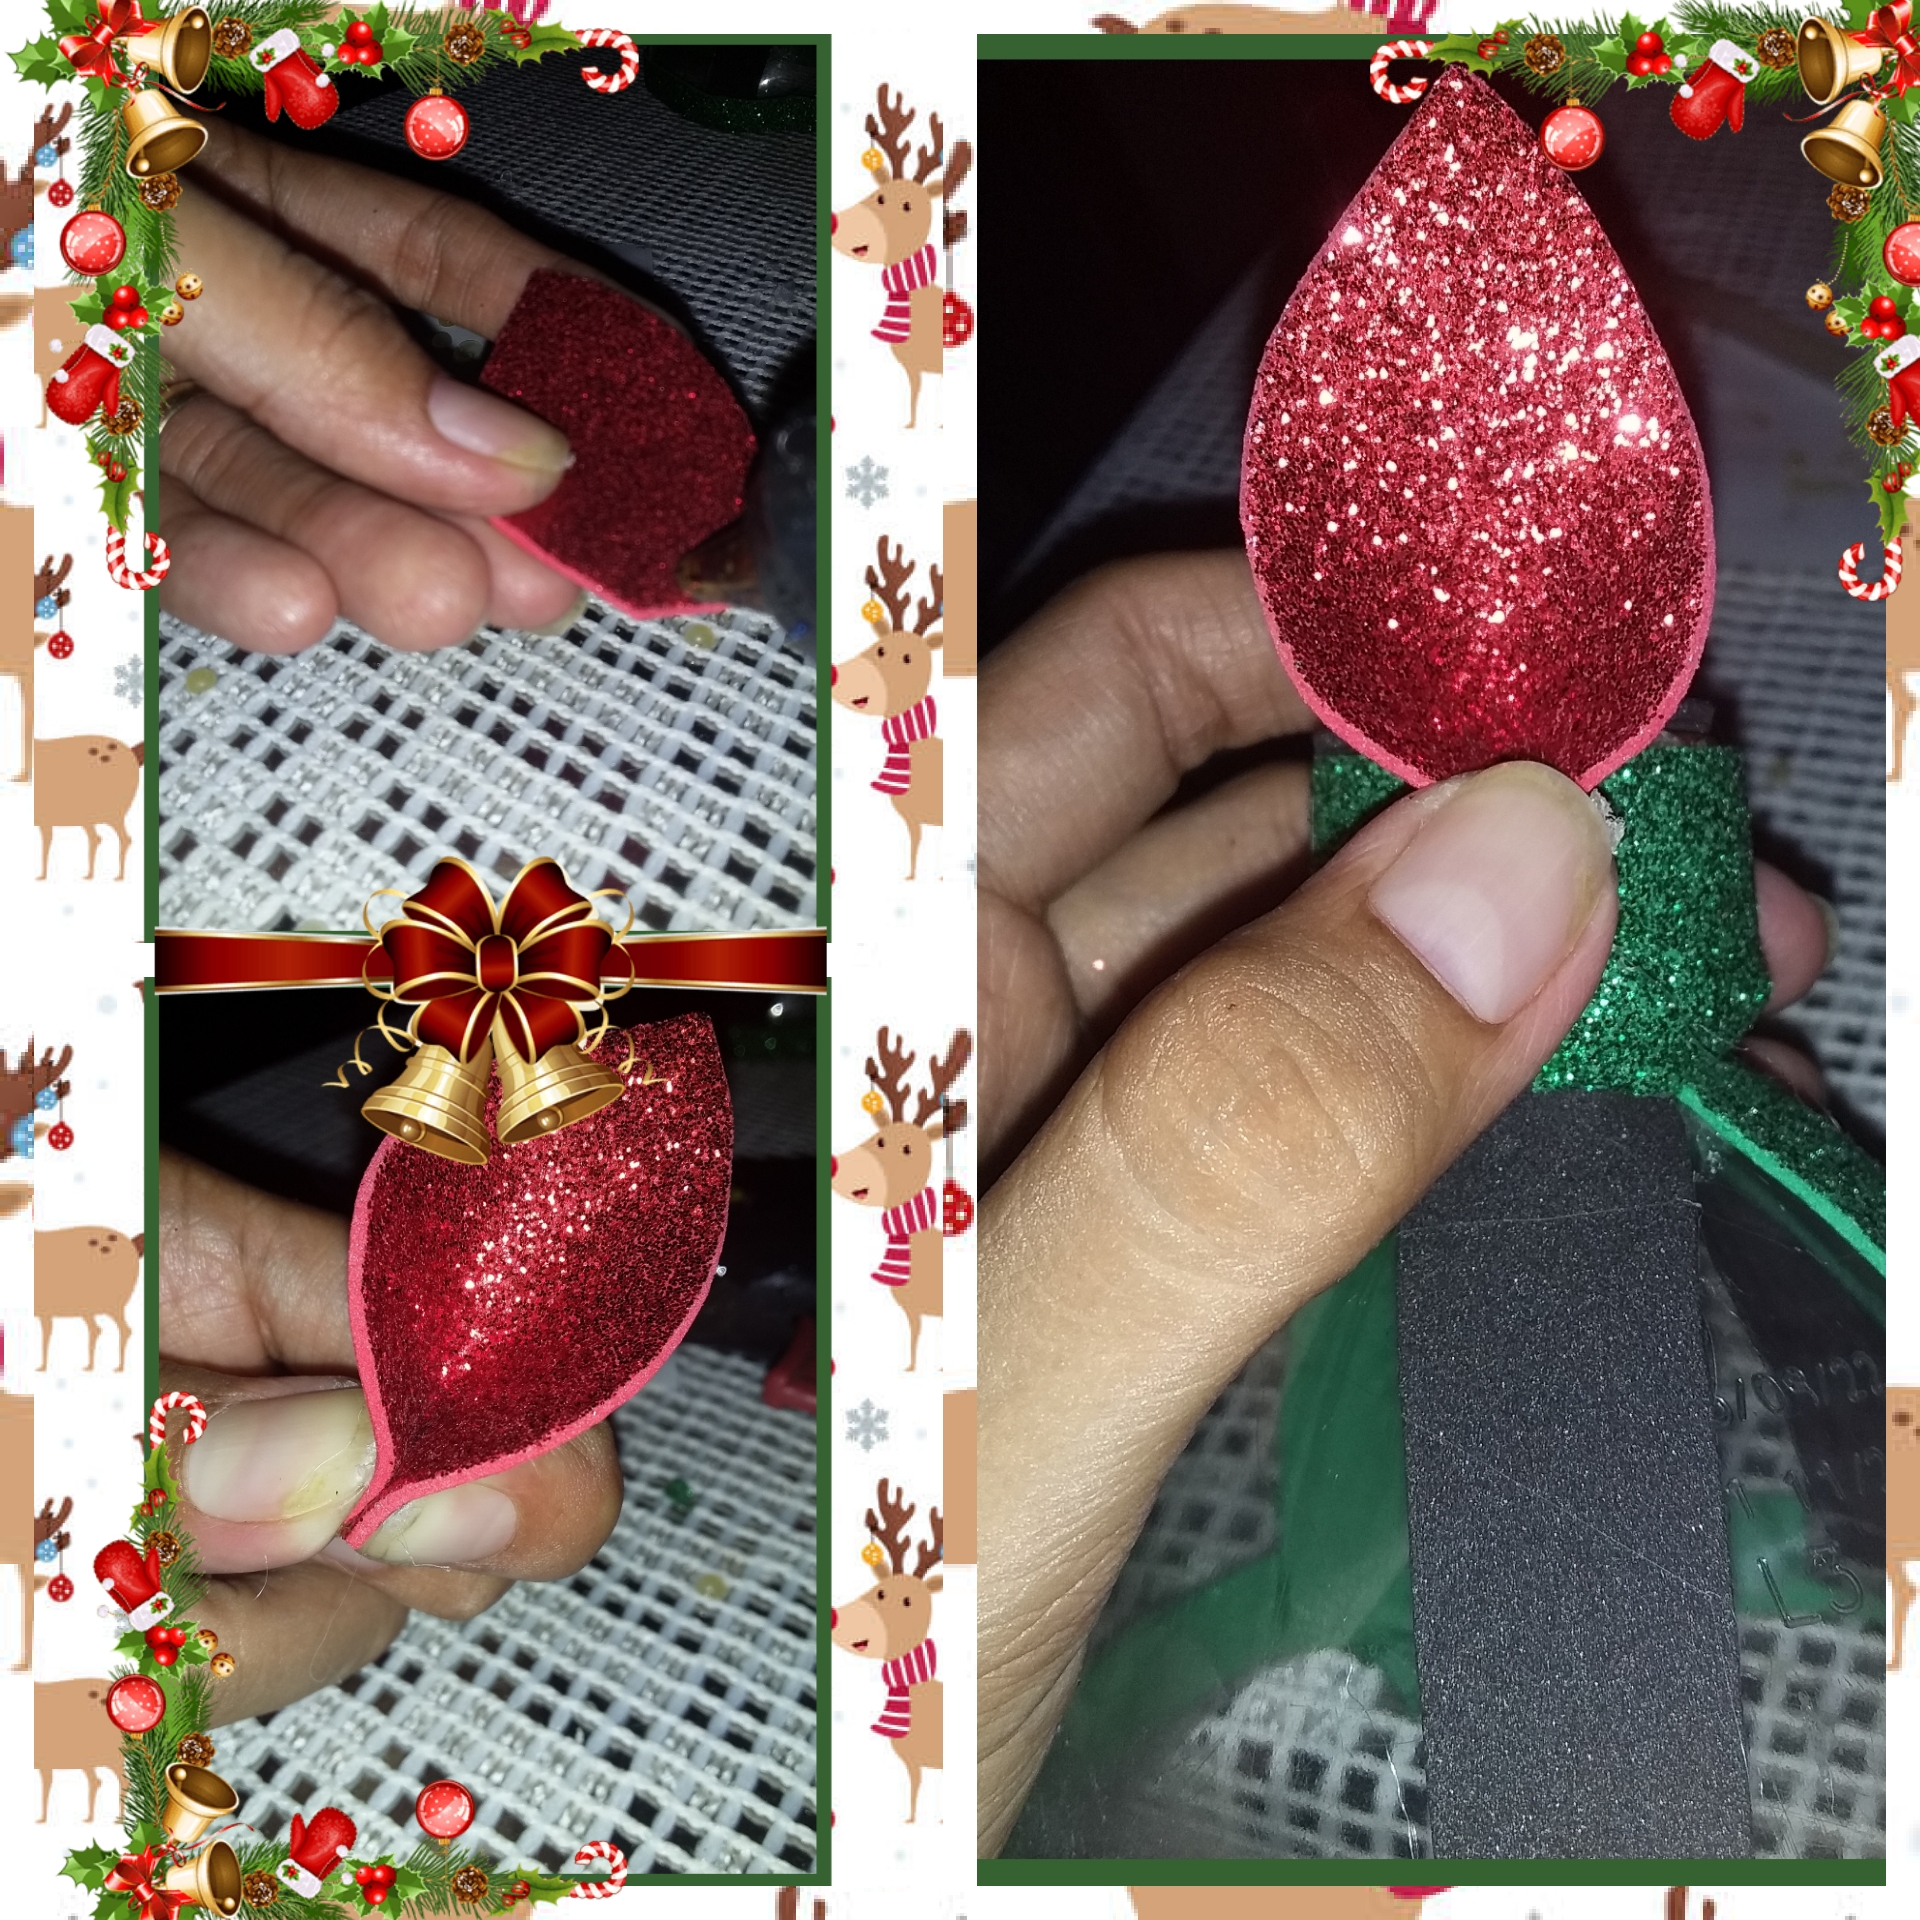
Antes de forrar la parte superior, hacemos una tira con la espuma verde brillante, retiramos la tapa y pegamos la tira en el centro de la misma, así será mucho más fácil y luego la volvemos a poner. Una vez hecho esto, forramos la parte superior. Luego haremos una flor, cortaremos 6 pétalos con la espuma roja brillante. Enrollamos una tira de espuma verde y hacemos unos pliegues con las tijeras, este sería el centro de nuestra flor.
Step 3:
Before lining the top, we make a strip with the bright green foam, remove the lid and glue the strip in the center of it, so it will be much easier and then we put it back. Once this is done, we line the upper part.
Then we will make a flower, we will cut 6 petals with the bright red foam. We roll up a strip of green foam and make some folds with the scissors, this would be the center of our flower.
Paso 4:
En cada pétalo colocamos una punta de silicona en la parte inferior y unimos cada extremo de los lados presionando para pegarlos, luego comenzamos a formar nuestra flor en la campana. Hacemos los últimos detalles colocando unas hojas con el foami verde en el fondo de la flor y haciendo unos rollos para colocarlos en la tira que cuelga del centro de la campana.
Step 4:
In each petal we place a point of silicone at the bottom and join each end of the sides by pressing to glue them, then we begin to form our flower in the bell. We make the final details by placing some leaves with the green foami in the bottom of the flower and making some rolls to place them on the strip that hangs from the center of the bell.
Y así queda una vez terminado, espero que les haya gustado, gracias por su atención y hasta un próximo post!
And this is how it looks once finished, I hope you liked it, thanks for your attention and until a next post!

Nota:
Las fotos son de mi propiedad y fueron editadas por el editor de fotos Polish
Note:
The photos are my property and edited by the Polish photo editor
Las fotos son de mi propiedad y fueron editadas por el editor de fotos Polish
Note: The photos are my property and edited by the Polish photo editor
Congratulations @gness! You have completed the following achievement on the Hive blockchain and have been rewarded with new badge(s):
Your next target is to reach 200 upvotes.
You can view your badges on your board and compare yourself to others in the Ranking
If you no longer want to receive notifications, reply to this comment with the word
STOPCheck out the last post from @hivebuzz:
Support the HiveBuzz project. Vote for our proposal!