Buenos días hermosa comunidad colmena, feliz año nuevo 2022 🎉🎊 Que tengan todos, este añolleno de salud, alegría, prosperidad y amor.
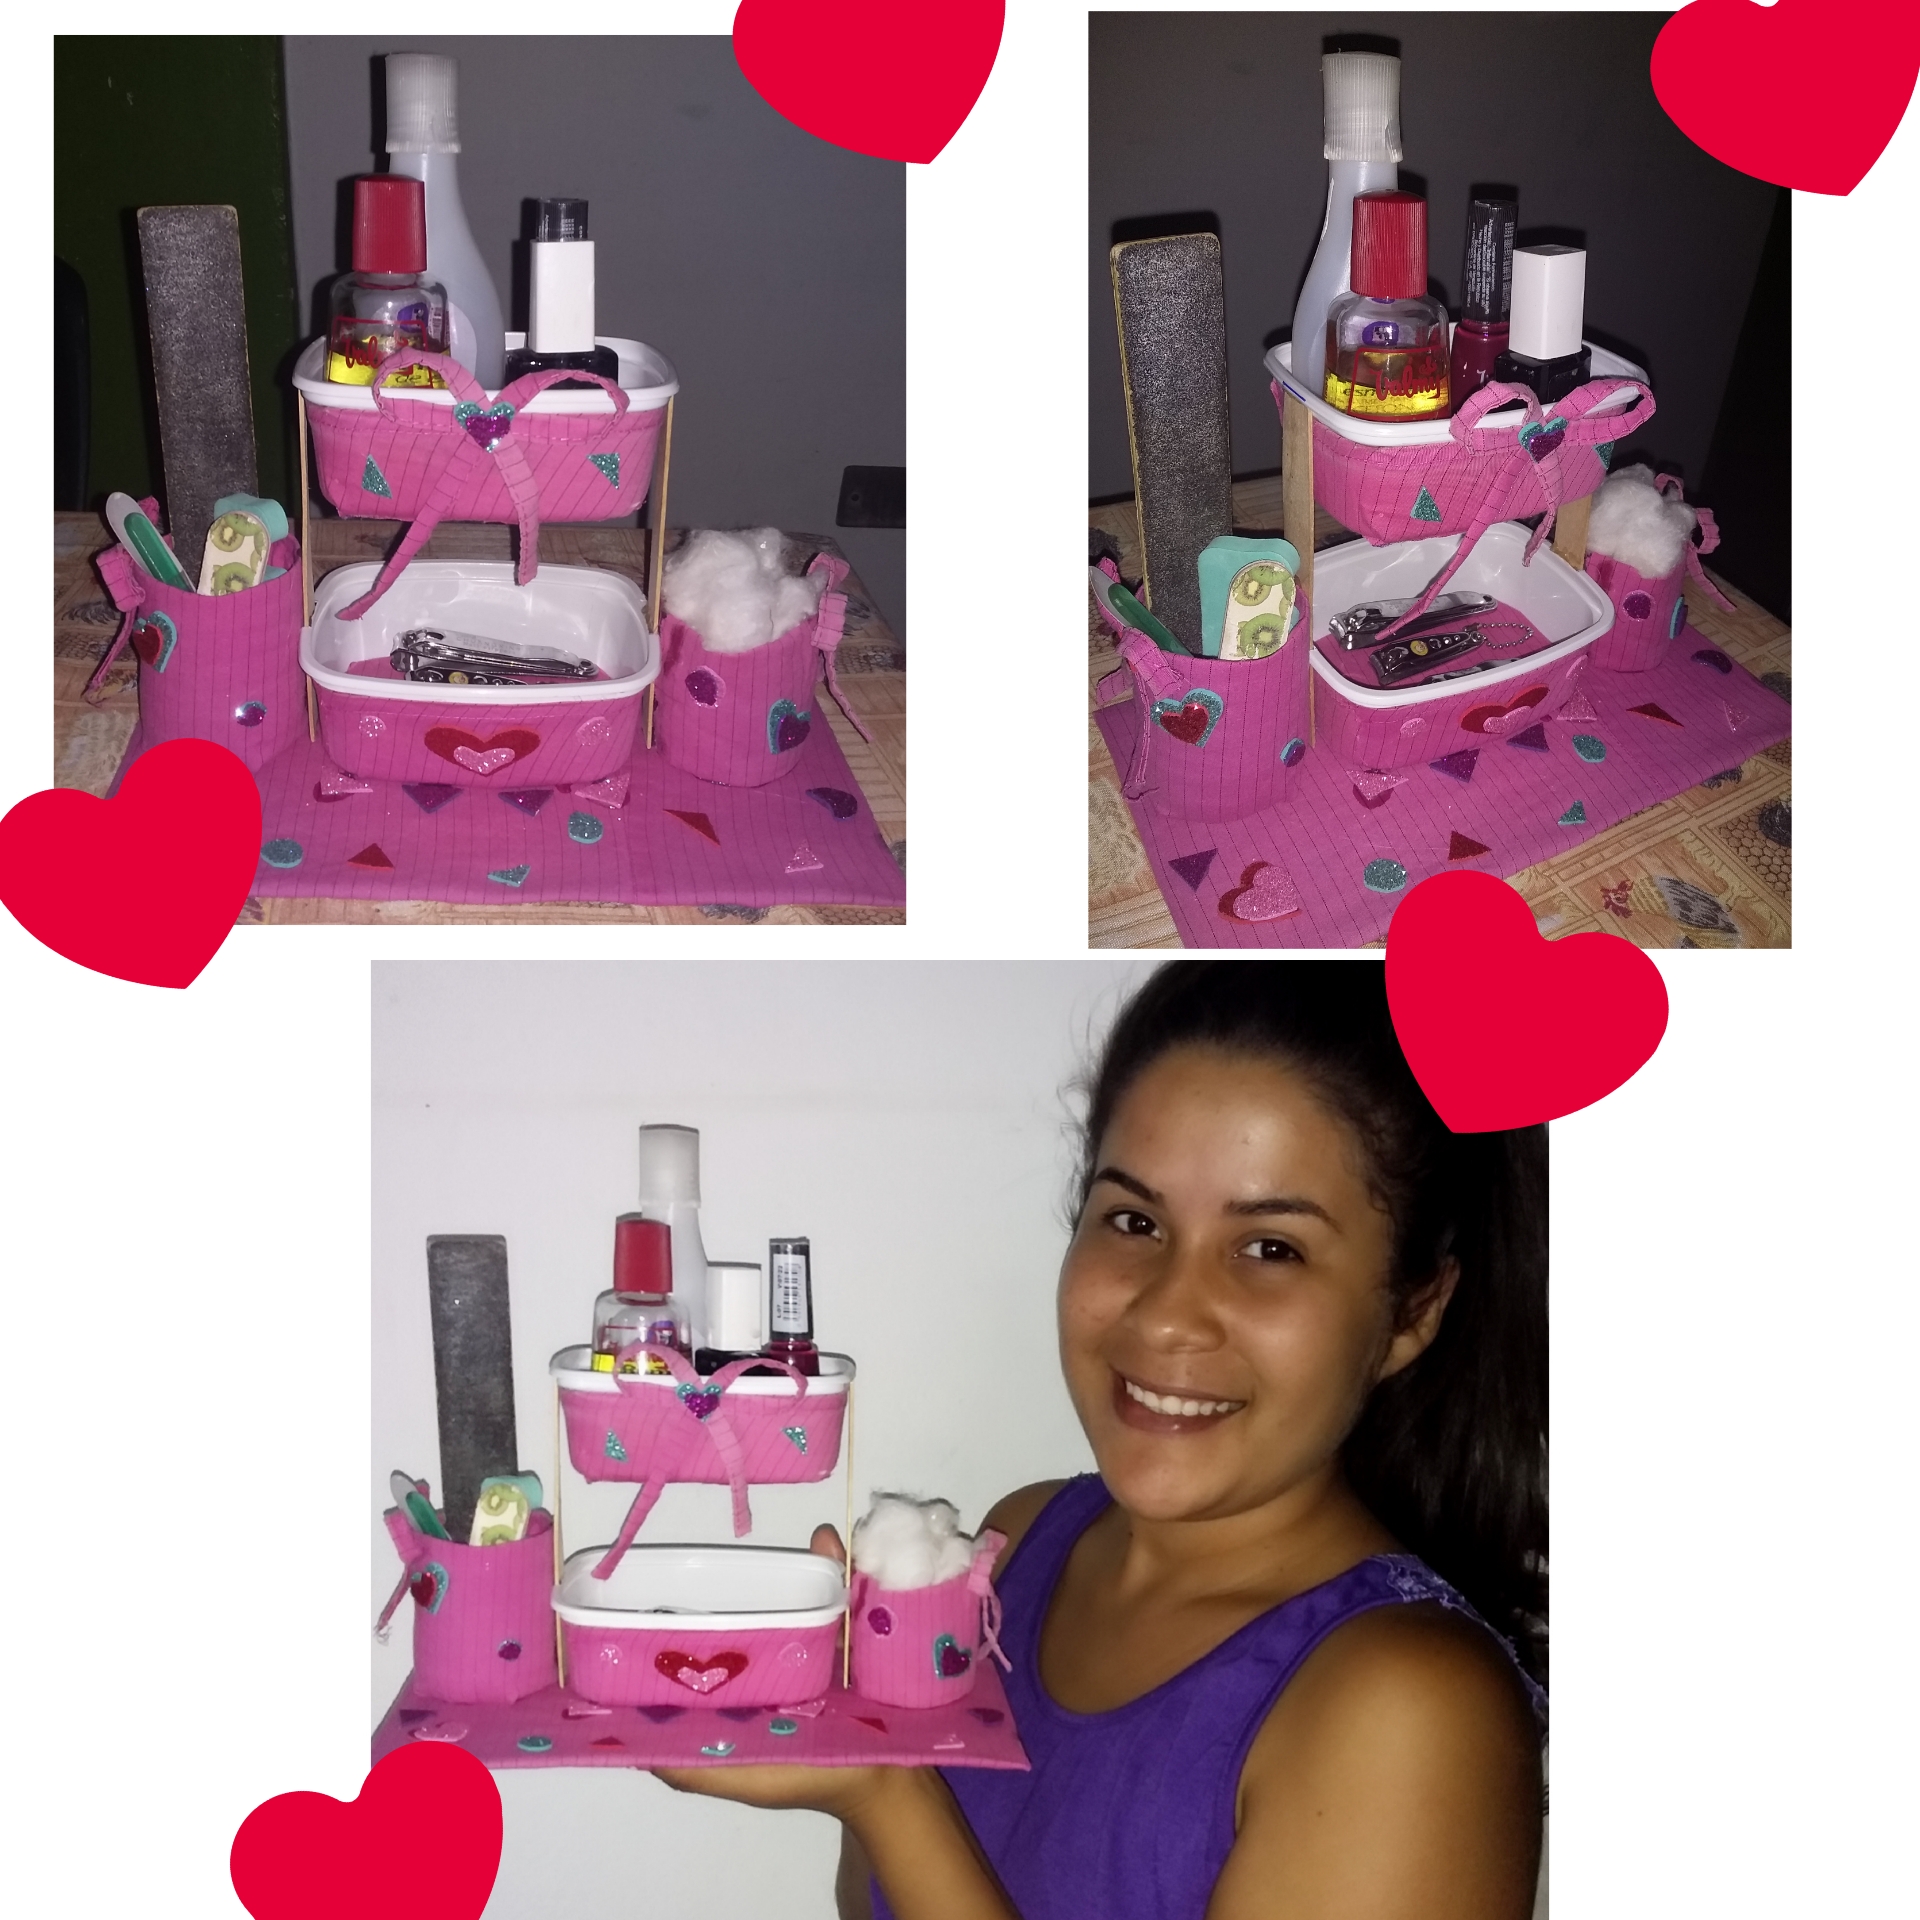
En esta oportunidad les mostrare como hacer un hermoso y practico organizador para instrumentos de manicure hecho con materiales reciclados.
Good morning, beautiful beehive community, Happy New Year 2022 🎉🎊Have everyone, this year is full of health, joy, prosperity and love.
In this opportunity I will show you how to make a beautiful and practical organizer for manicure instruments made with recycled materials.
Materiales:
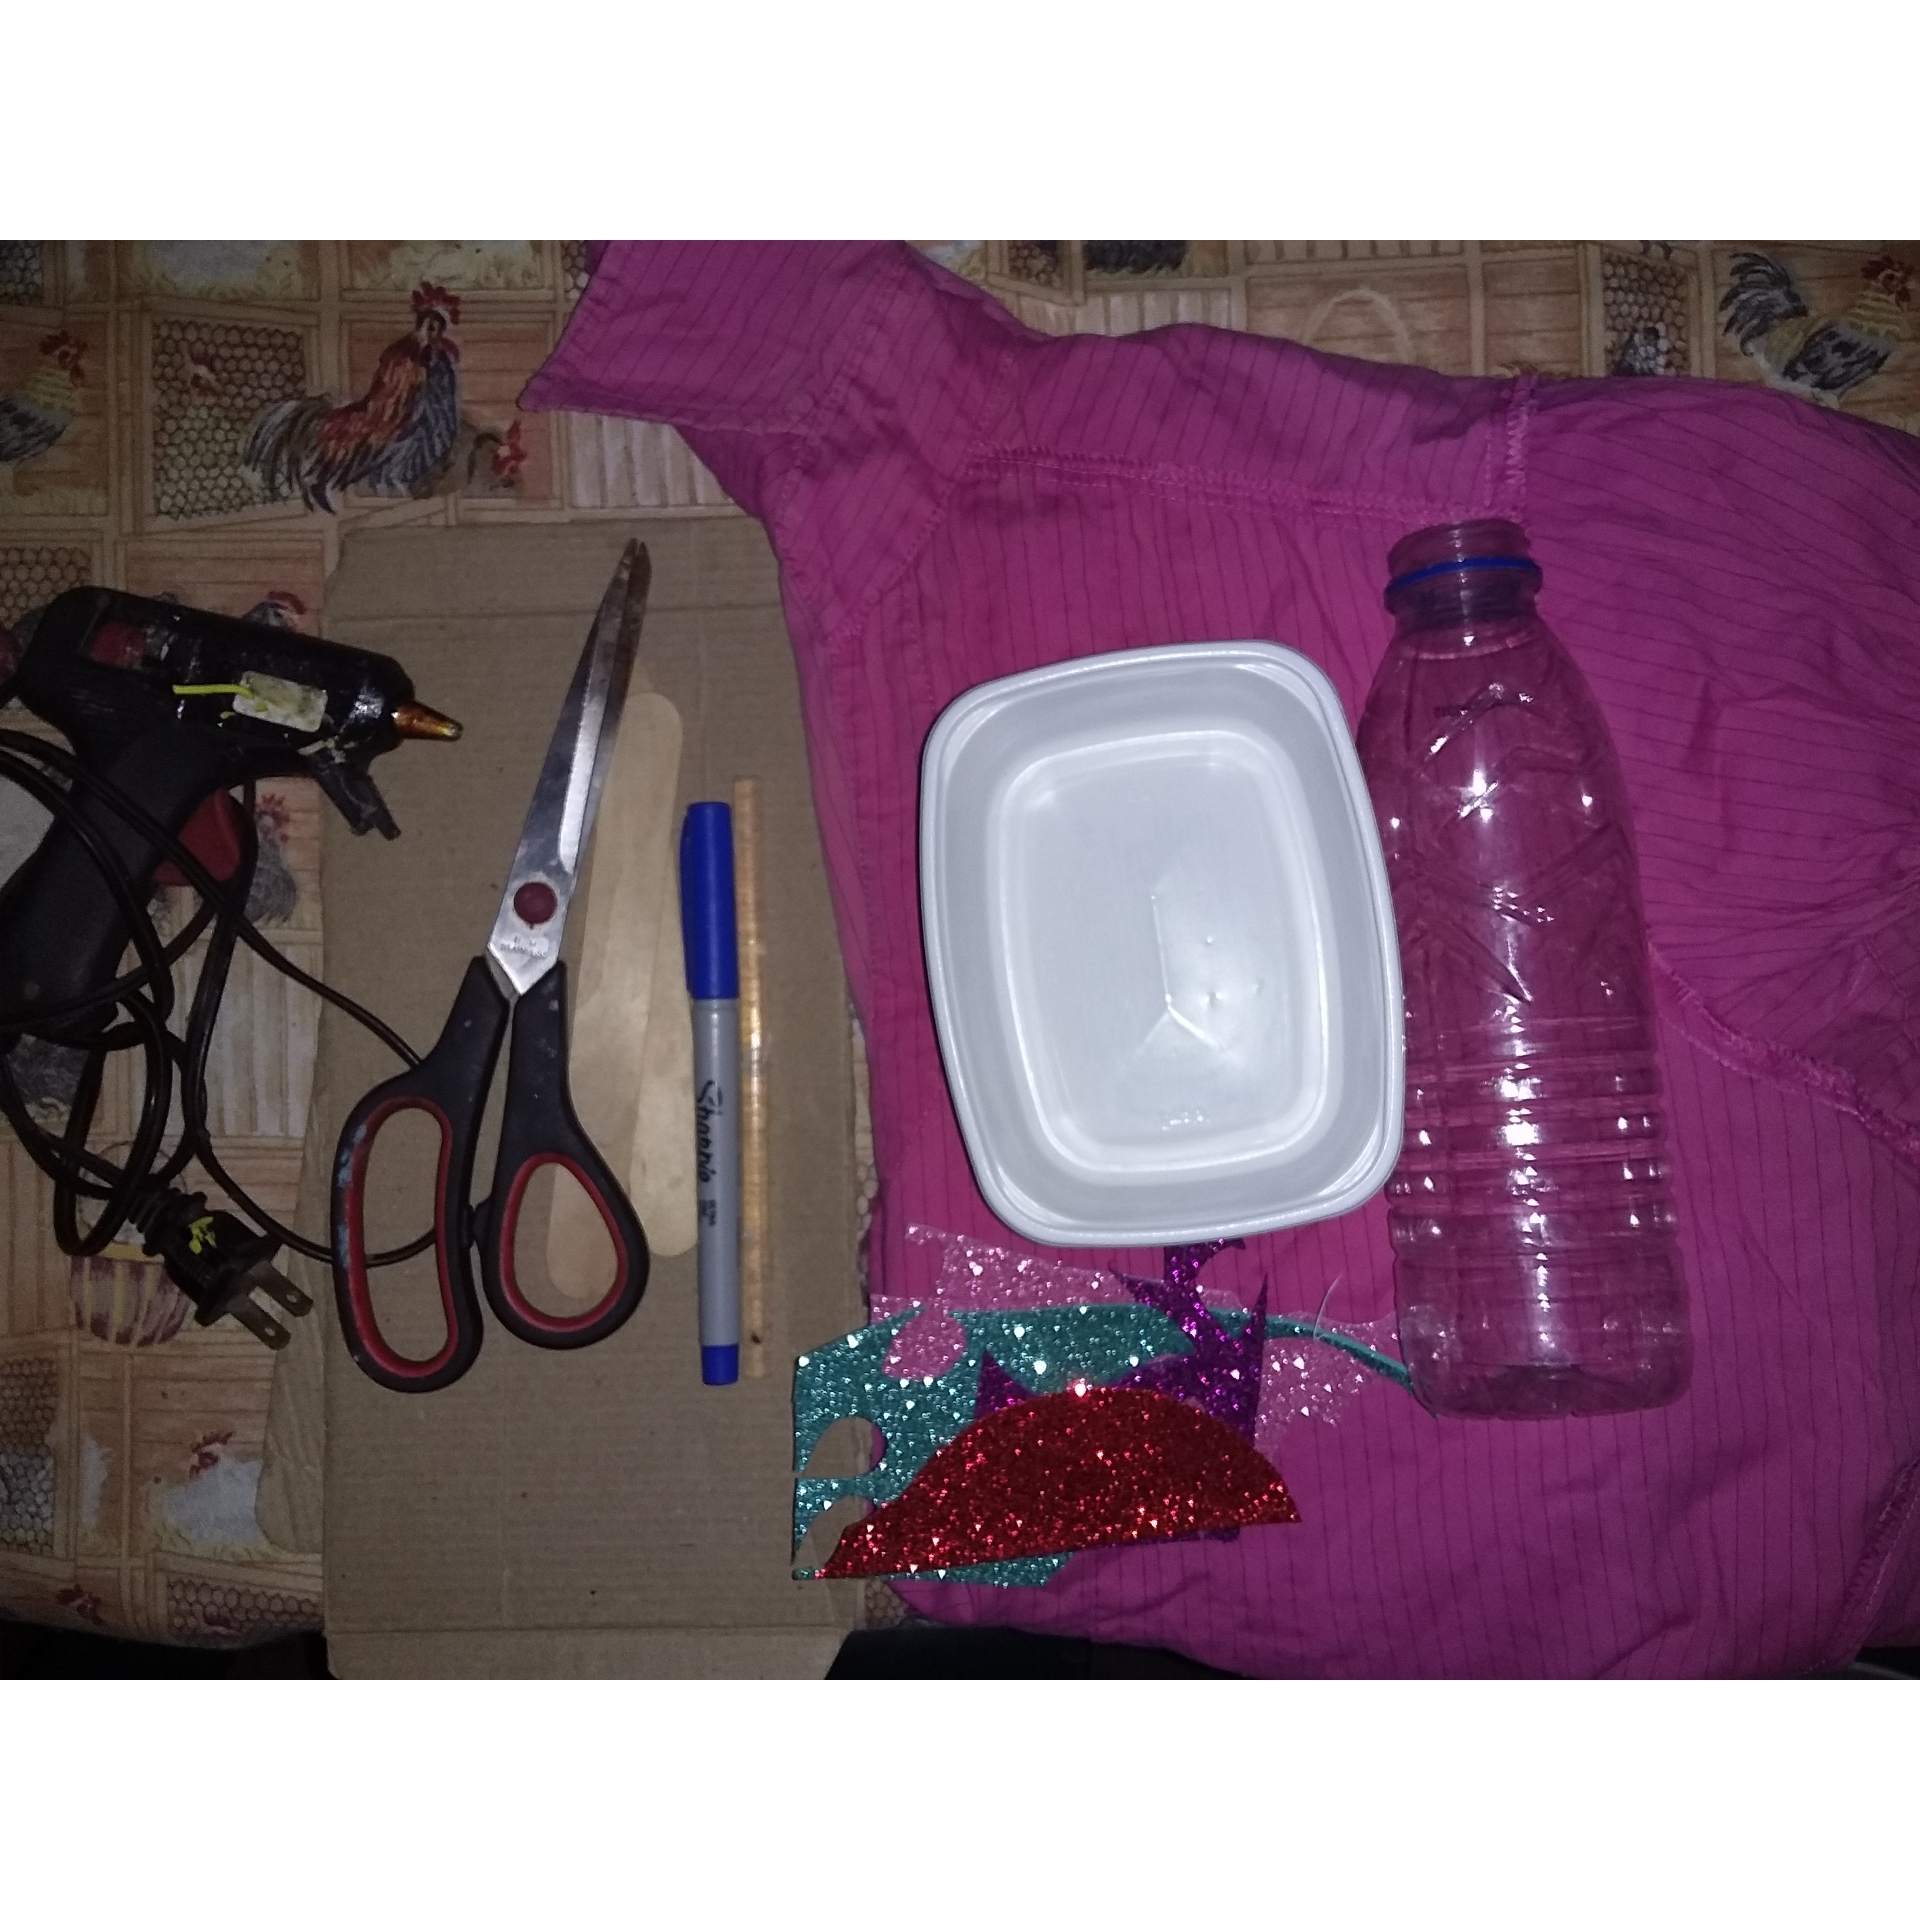
- Dos envases de mantequilla.
- Una botella pequeña de agua mineral.
- Una camisa vieja.
- Dos paletas de helado.
- Cartón
- Tijera.
- Marcador.
- Pistola y barra de silicona.
- Recortes de goma eva.
Materials:
- Two containers of butter.
- A small bottle of mineral water.
- An old shirt.
- Two ice cream popsicles.
- Cardboard
- Scissor.
- Marker.
- Gun and silicone bar.
- Eva rubber cutouts.
Paso 1
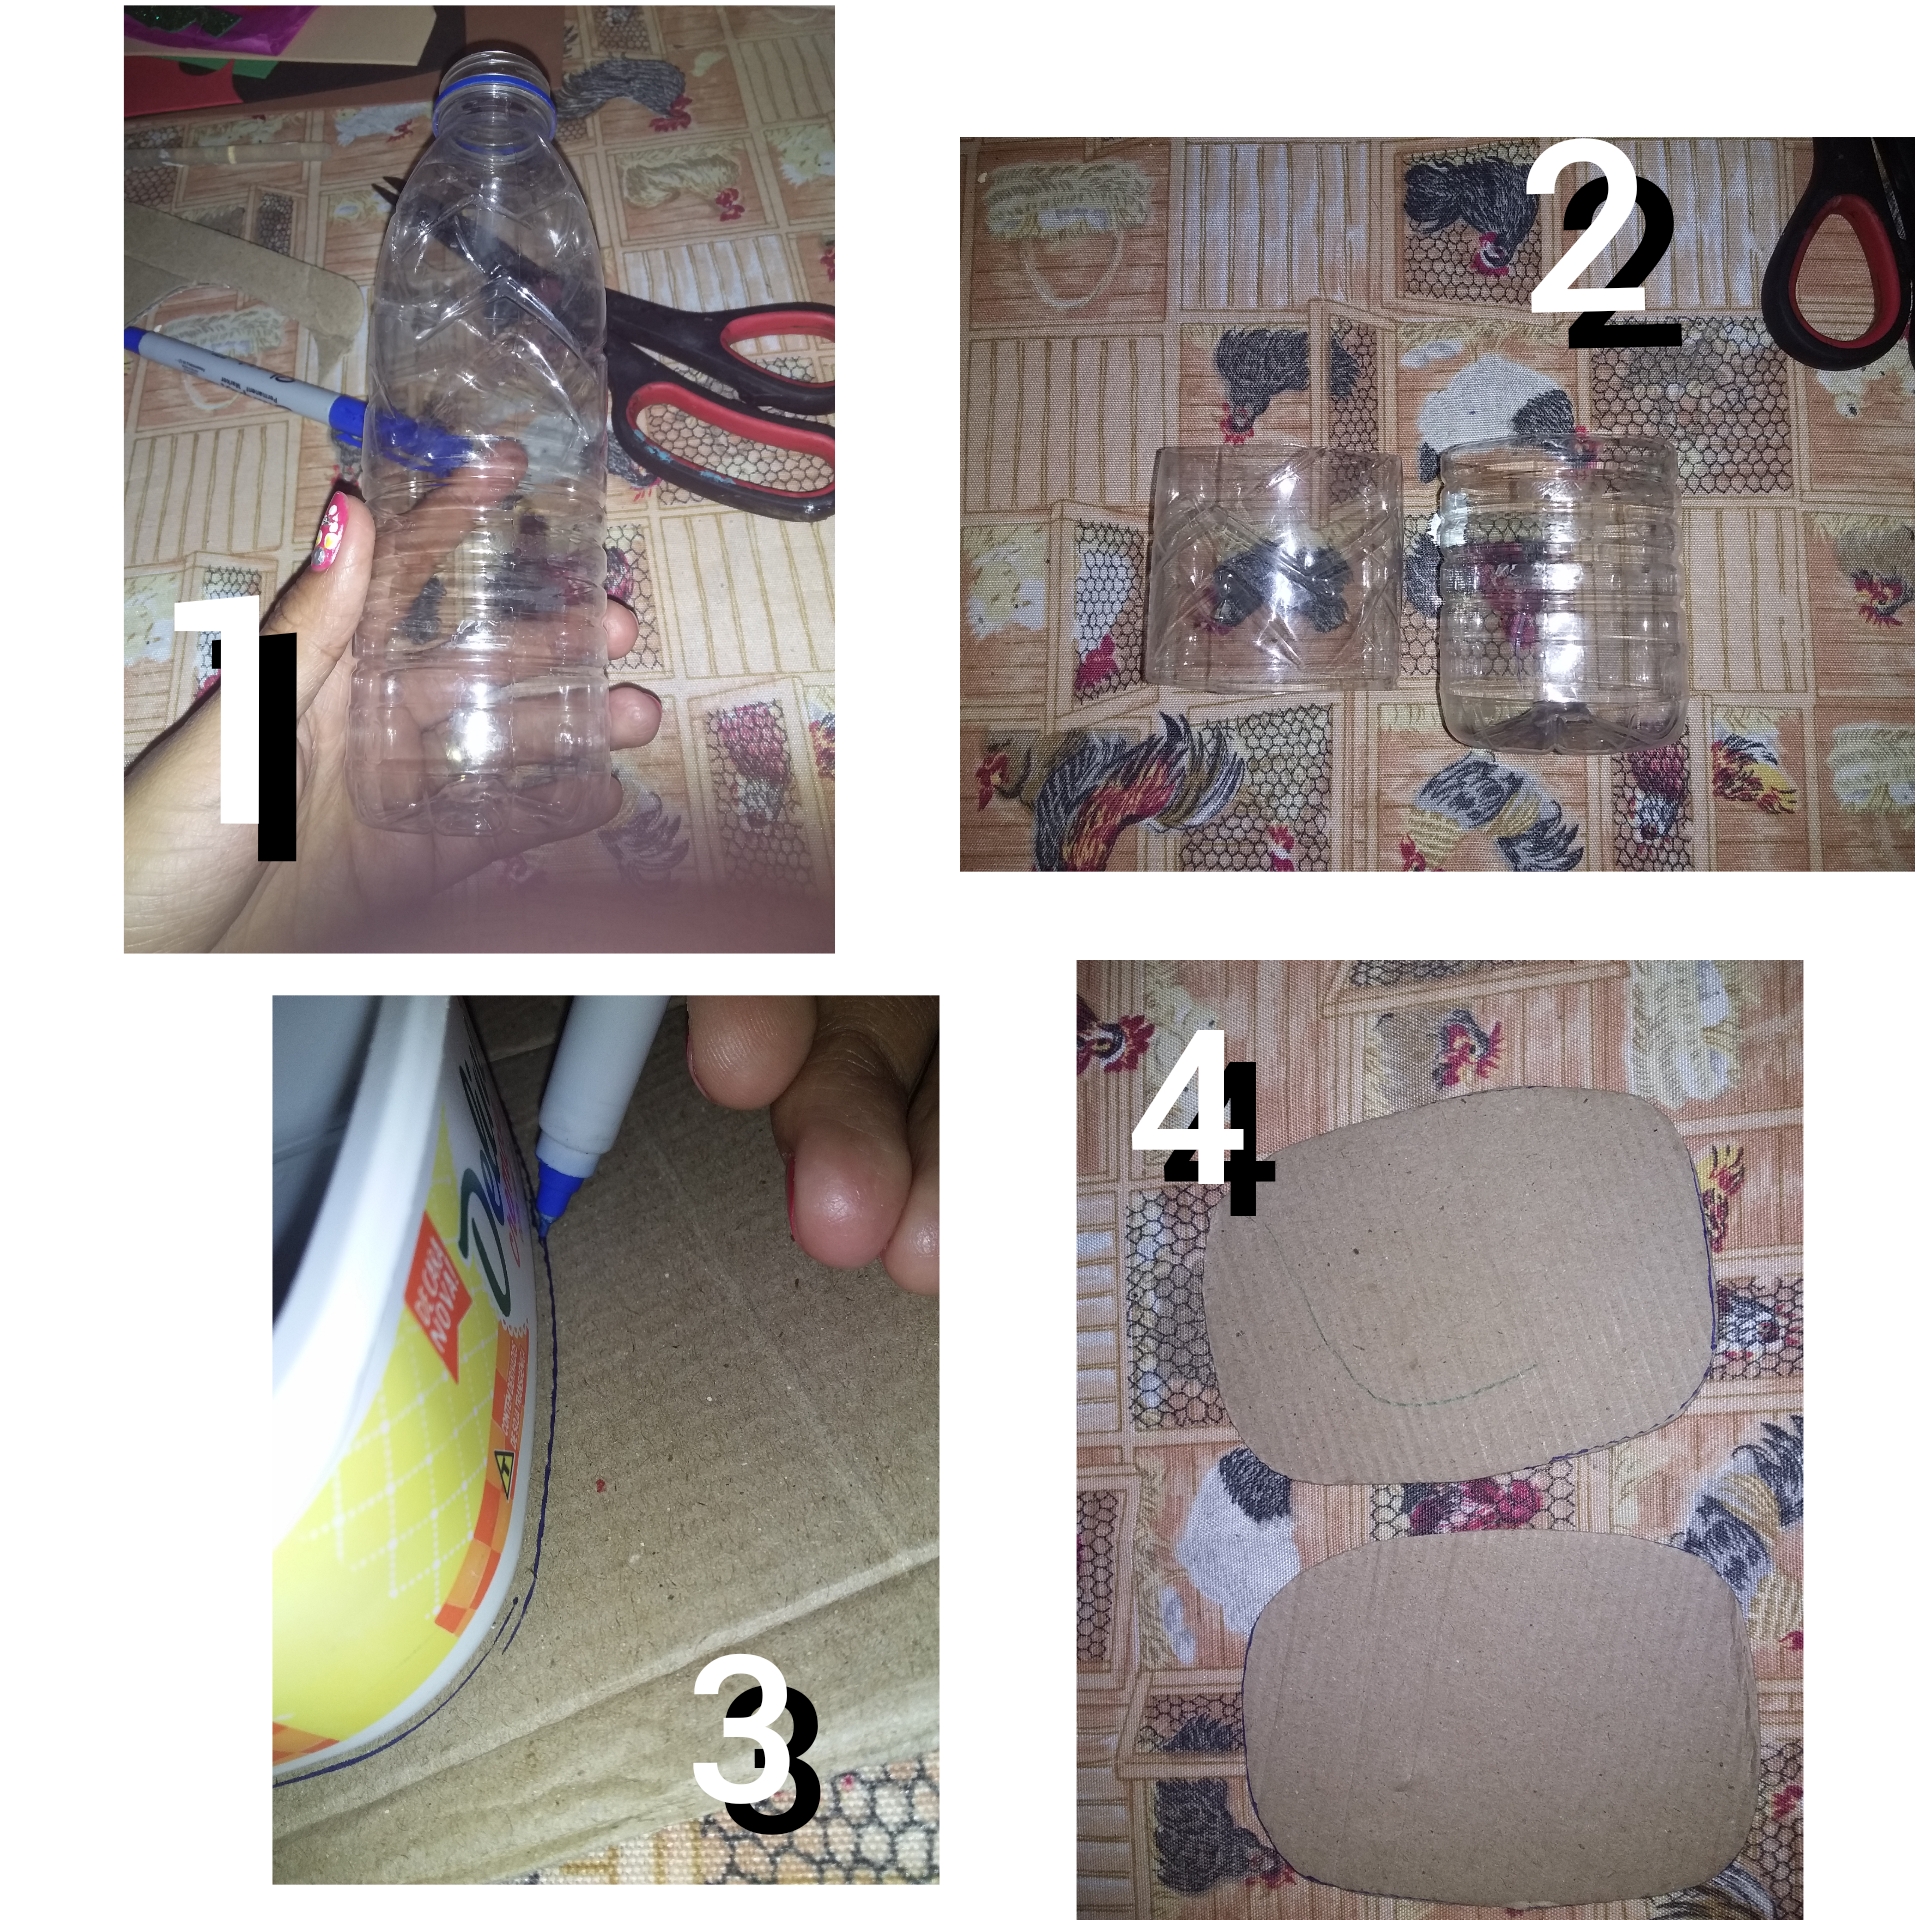
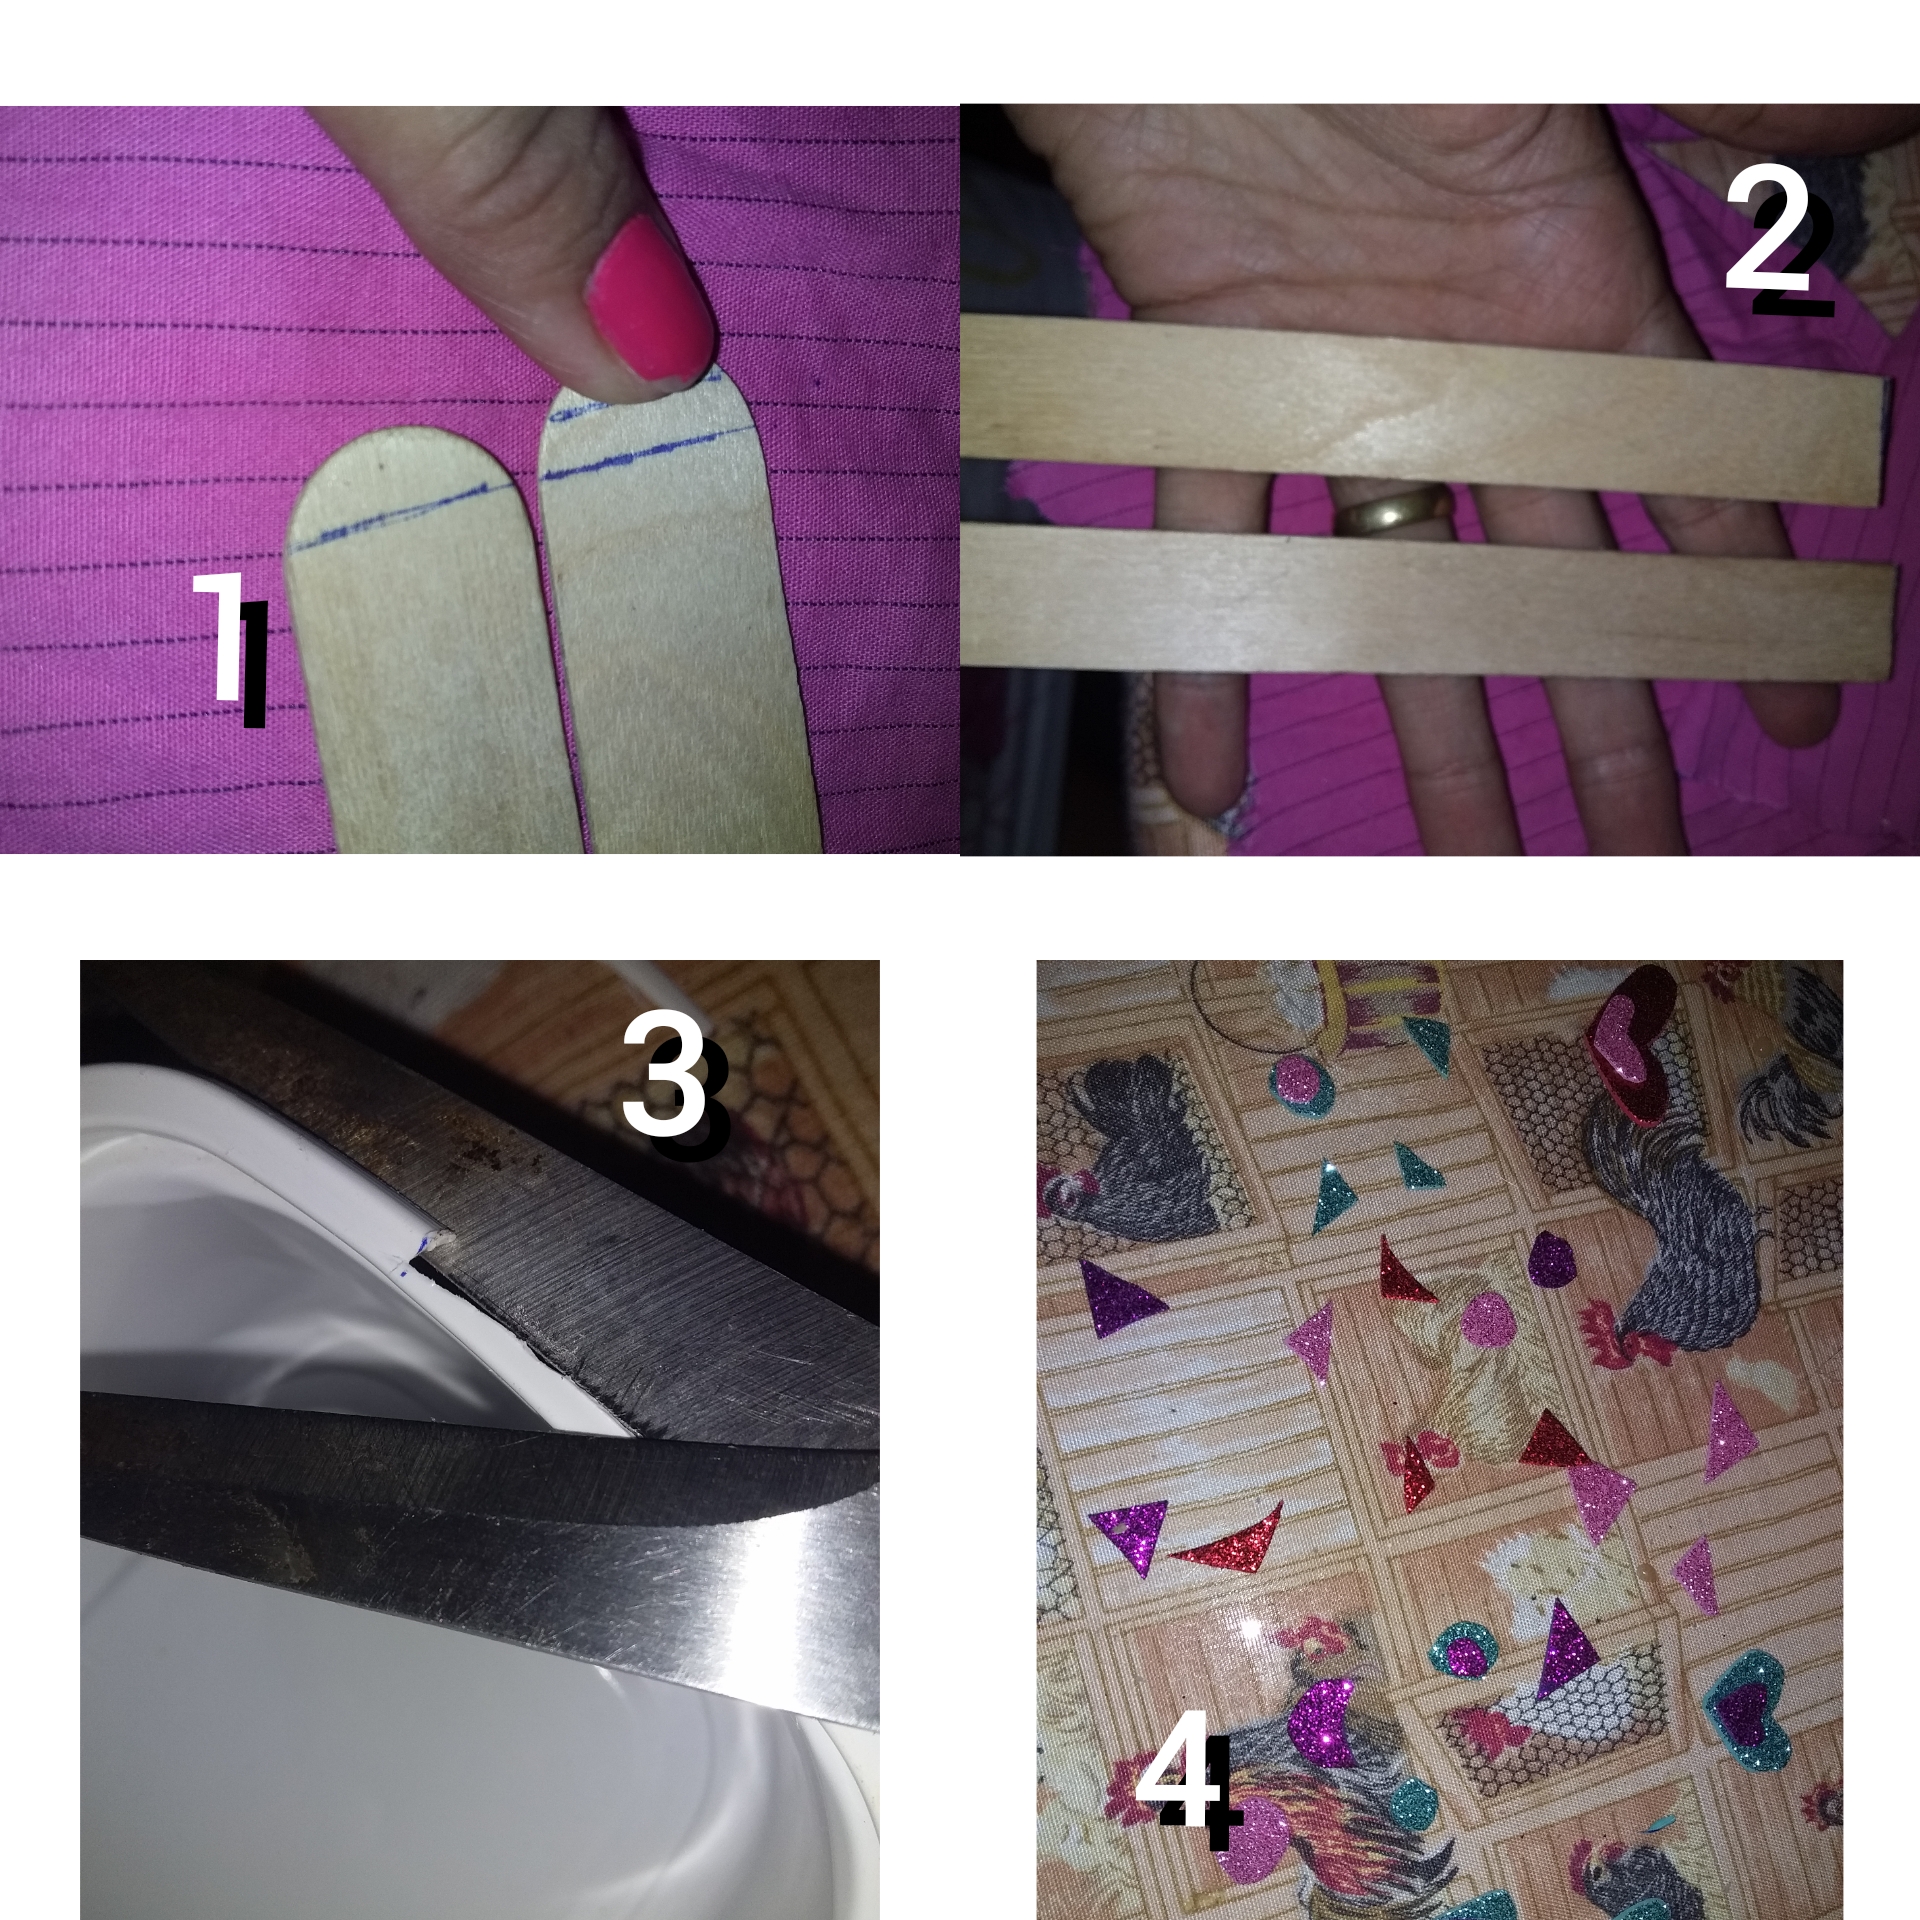
Dividimos la botella de agua mineral en dos partes y retiramos la parte donde va el tapón. Luego tomamos las medidas de los envases de mantequilla sobre el cartón y cortamos.
Step 1
We divide the bottle of mineral water into two parts and remove the part where the cap goes. Then we take the measurements of the butter containers on the cardboard and cut.
Paso 2
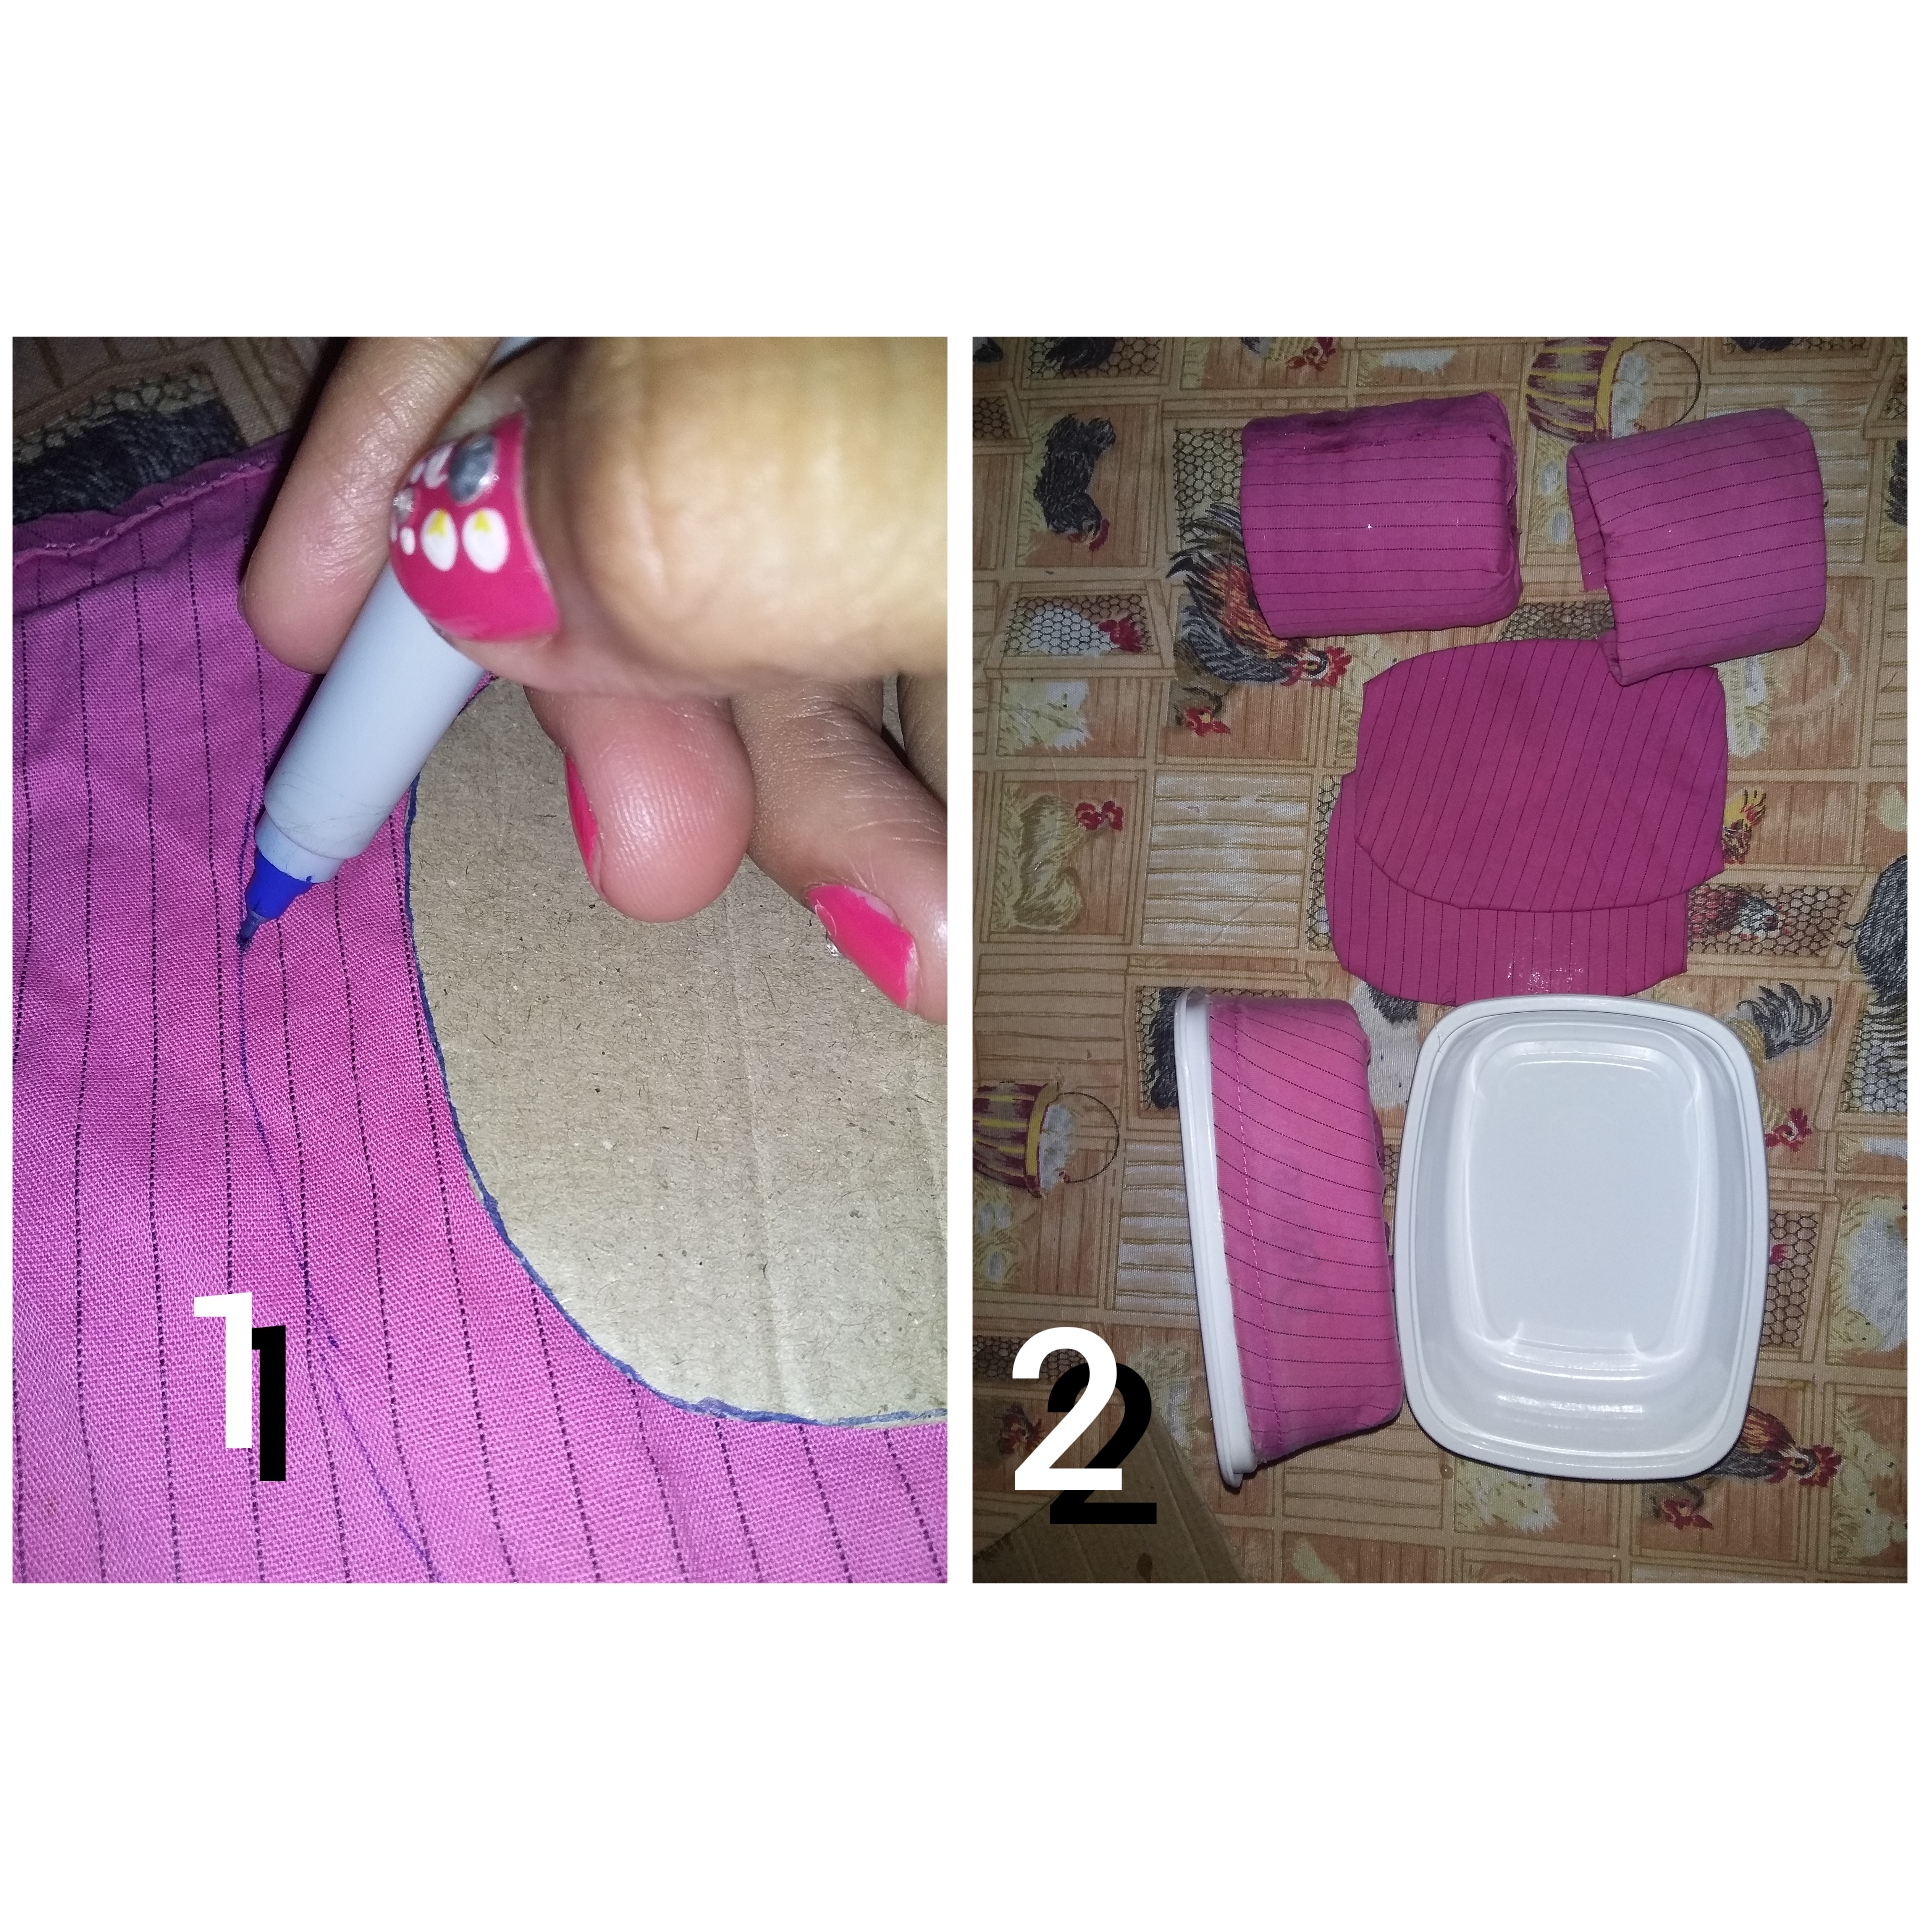
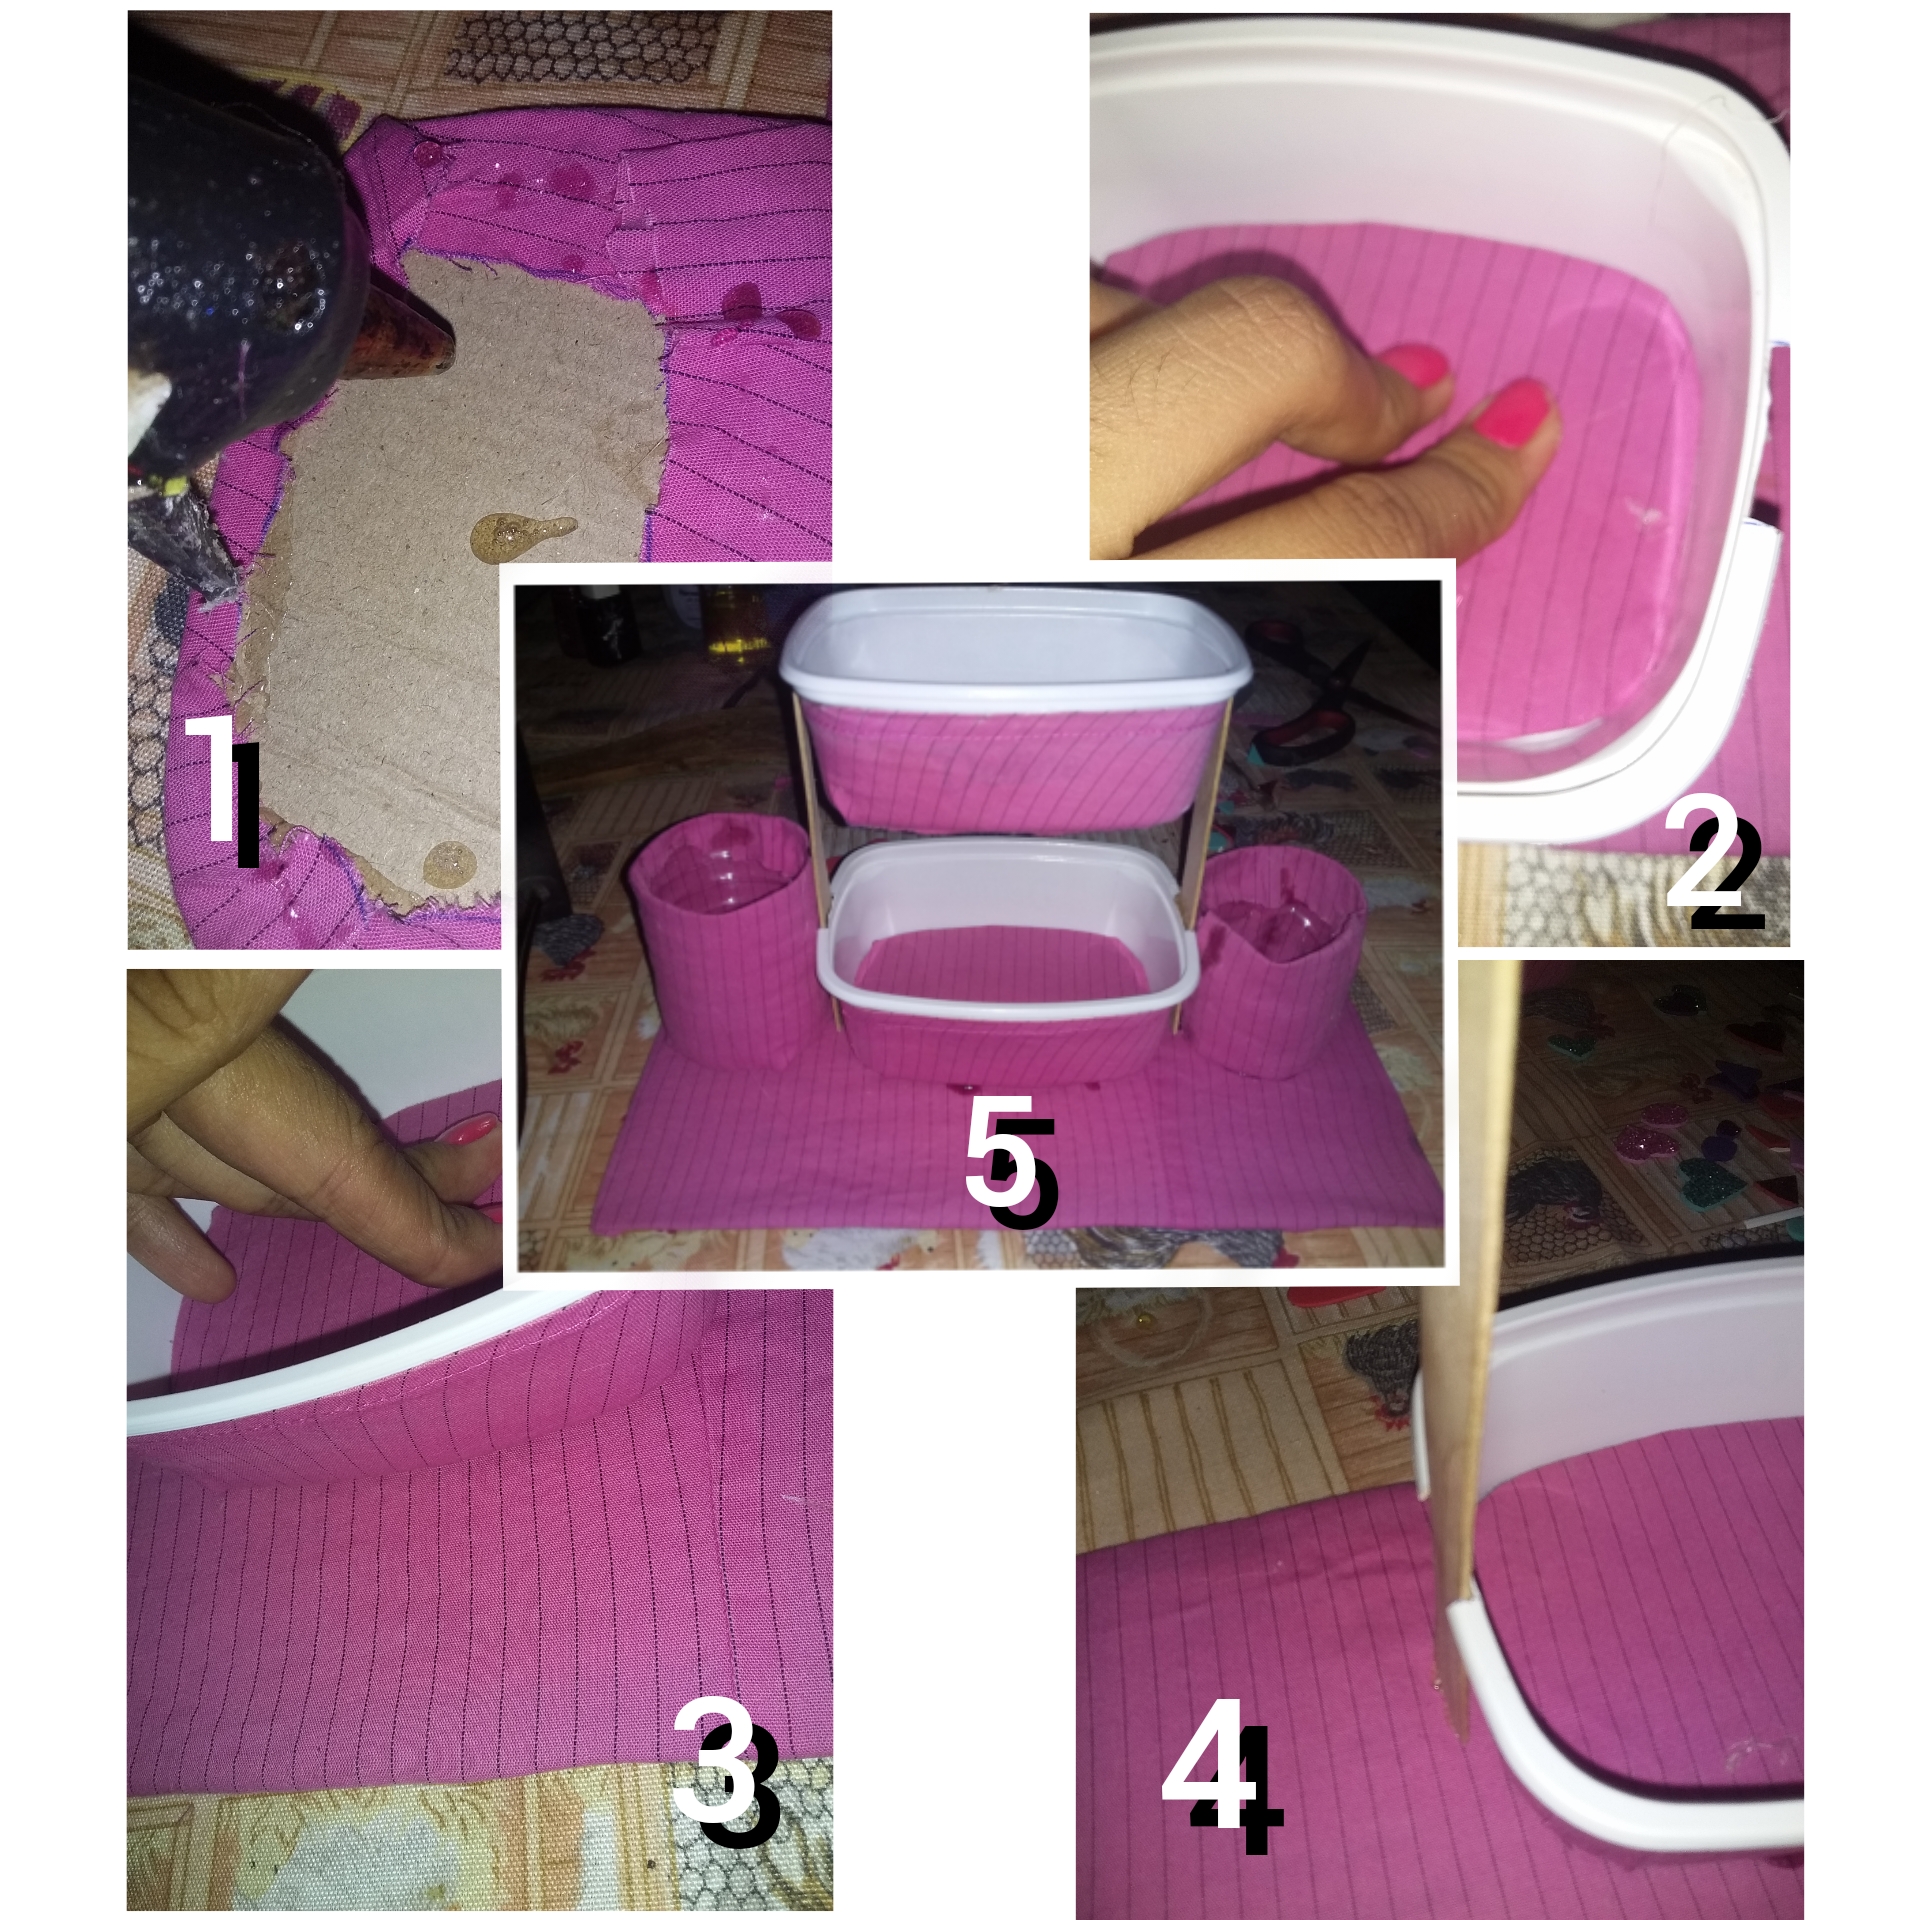
Luego forraremos los cartones con tela (uno para la base), y los envases.
Step 2
Then we will line the cartons with fabric (one for the base), and containers.
Paso 3
Retiramos los extremos de las paletas para que queden rectos y no curvos, a los costados de los envases de mantequilla tomamos la medida del ancho de la paleta y vamos a quitar el borde del envase. Luego con los cortes de foami haremos corazones y formas.
Step 3
We remove the ends of the pallets so that they are straight and not curved, on the sides of the butter containers we take the measurement of the width of the palette and we will remove the edge of the container. Then with the foami cuts we will make hearts and shapes.
Paso 4
Ahora comenzamos a armar y pegar nuestro organizador. Pegamos el cartón por dentro de los envases de mantequilla, luego pegamos el envase de mantequilla al centro de nuestro cartón base, luego pegamos los palets a los costados, seguido de esto terminamos de pegar los demás envases restantes. Y por último lo decoraremos con los corazones y formas de goma eva.
Step 4
Now we begin to assemble and glue our organizer. We glue the cardboard inside the butter containers, then we glue the butter container to the center of our base cardboard, then we glue the pallets to the sides, followed by this we finish gluing the other remaining containers. And finally we will decorate it with the hearts and shapes of eva rubber..
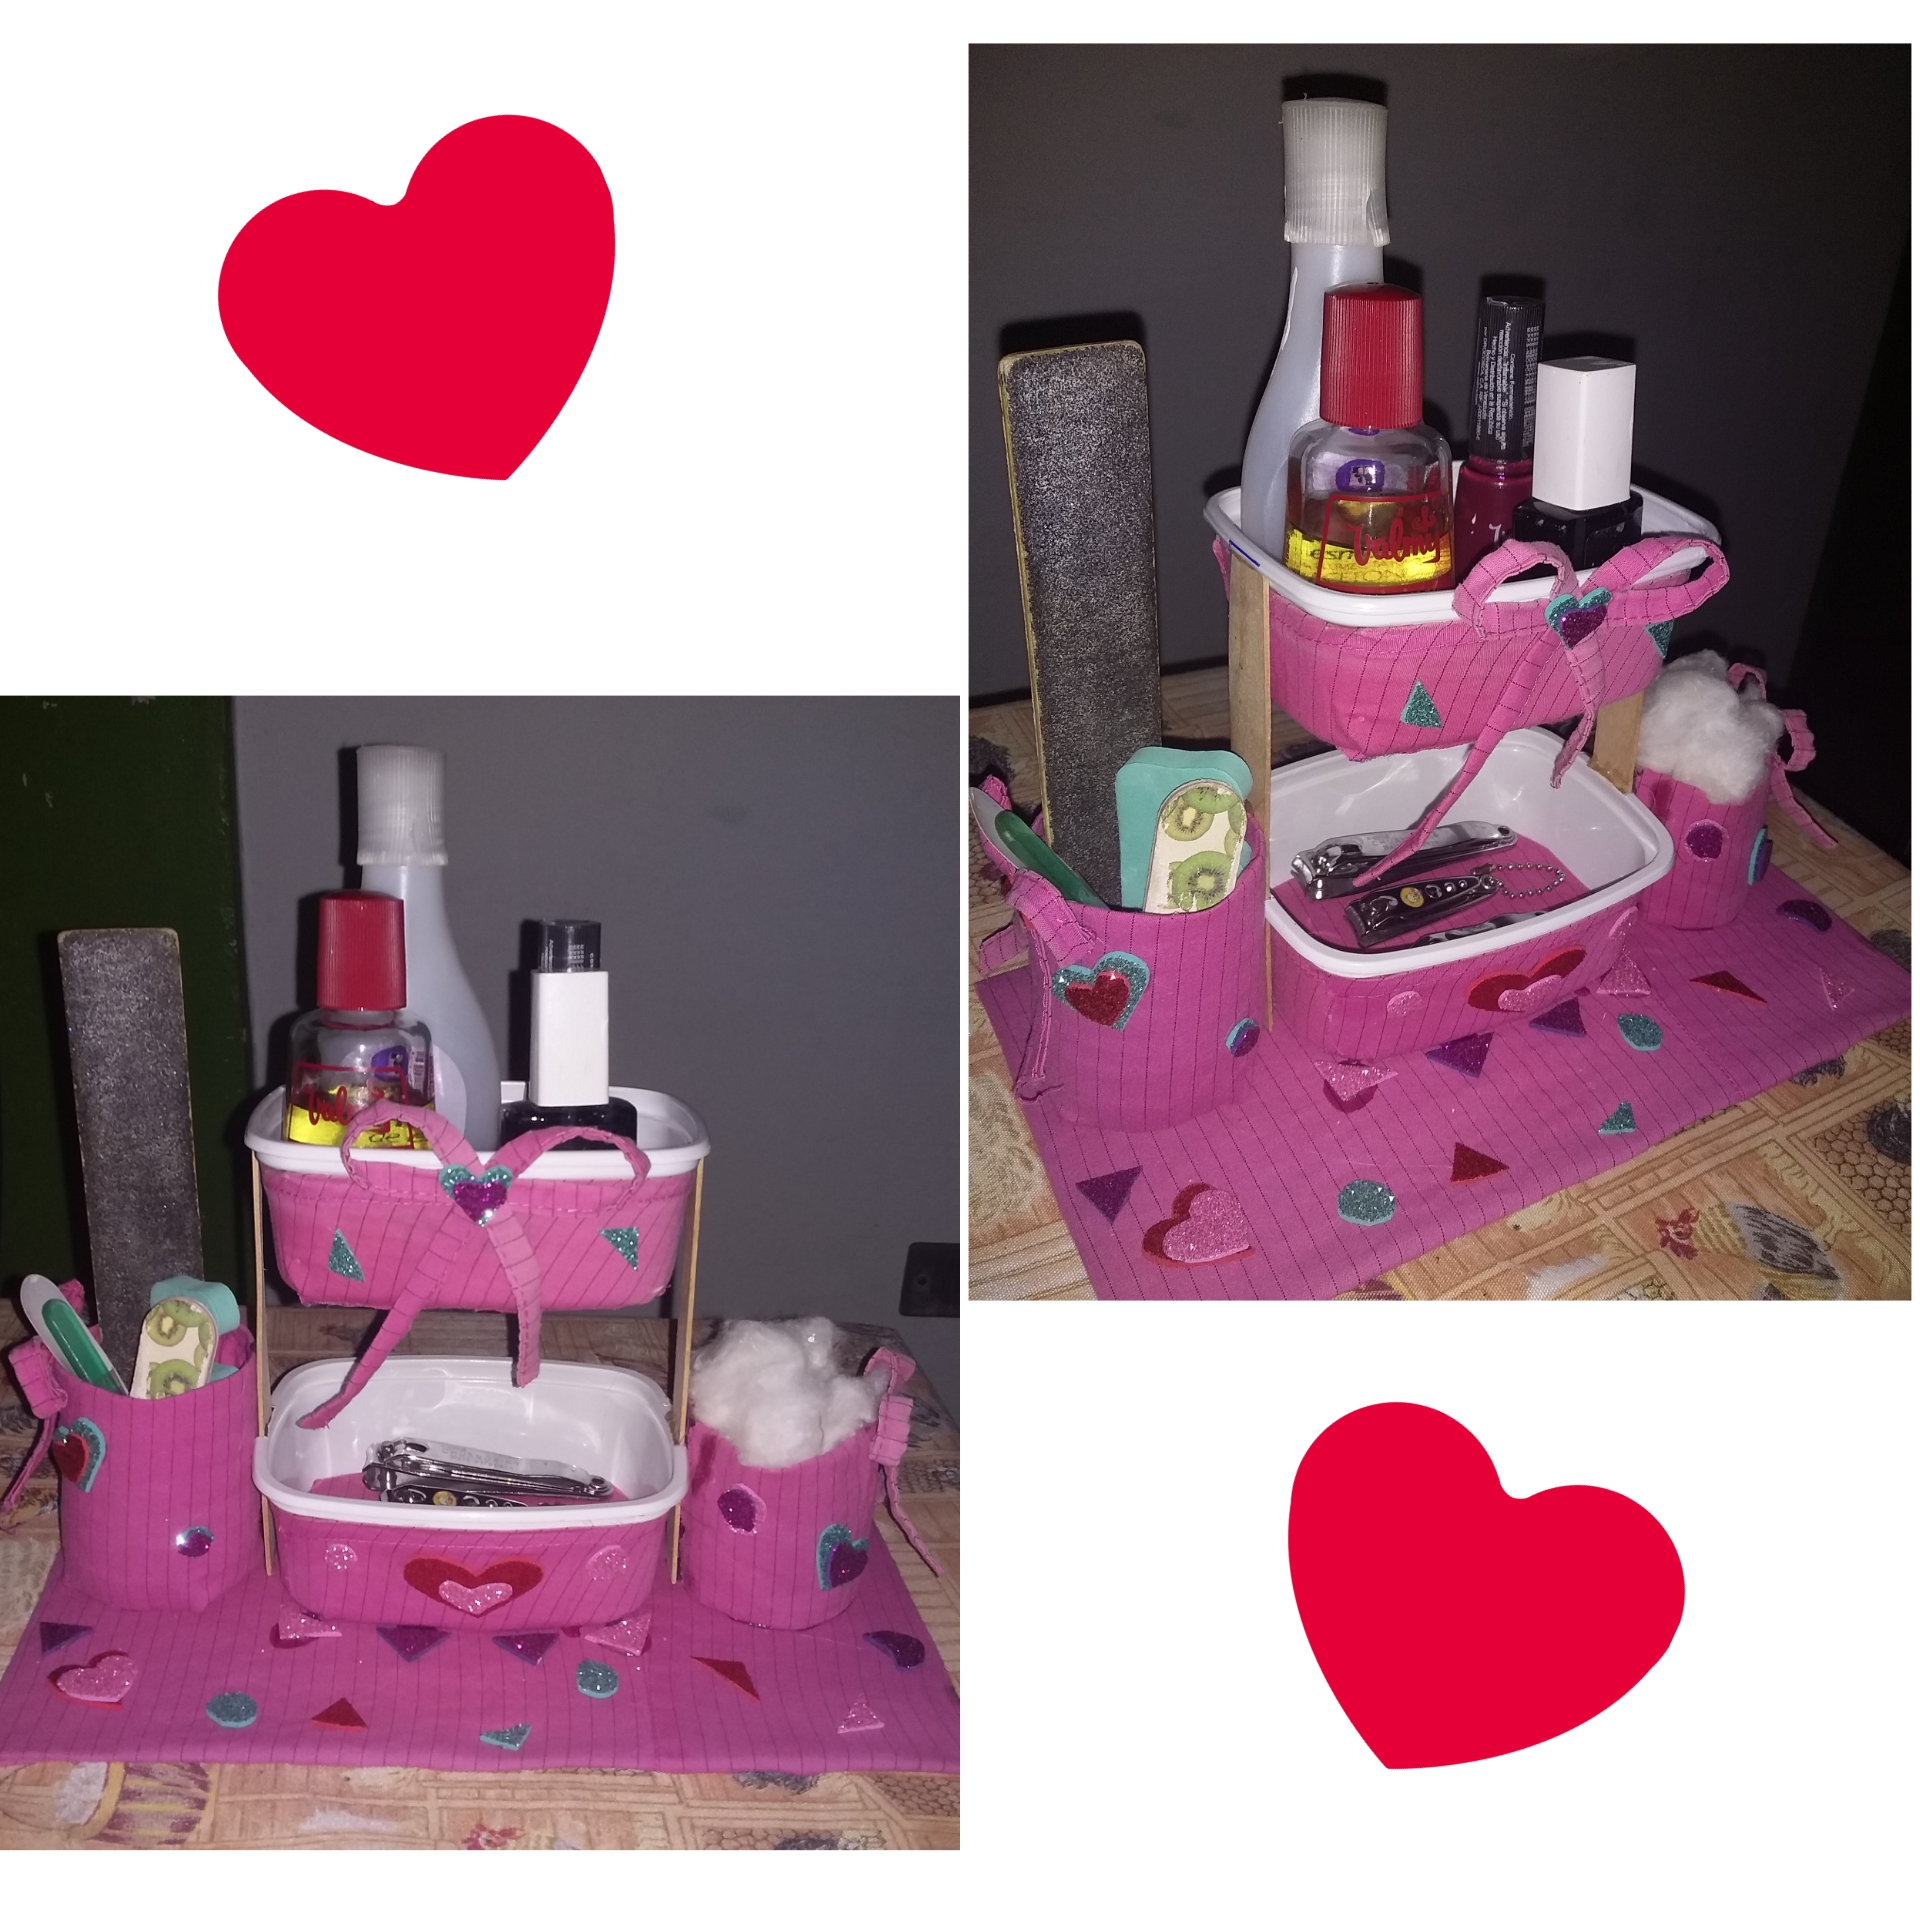
Así queda una vez realizados todos los pasos. Espero que les haya gustado esta idea amigos, hasta la próxima.
This is how it remains once all the steps have been completed. I hope you liked this idea friends, see you next time.
Las fotos son de mi propiedad y están editadas por la aplicación Polish
The photos are my property and edited by the Polish app
Pero que ingenió tenéis. Te ha quedado muy chulo guapa. Lo que si te voy a recomendar es el uso de etiquetas. Que sirven para clasificar correctamente tu contenido. Usar " OCD, OCDB, rocky1 e incluso Cervantes" Es solo un mal uso ya que ninguno de ellos filtran sus votos a través de estas etiquetas.